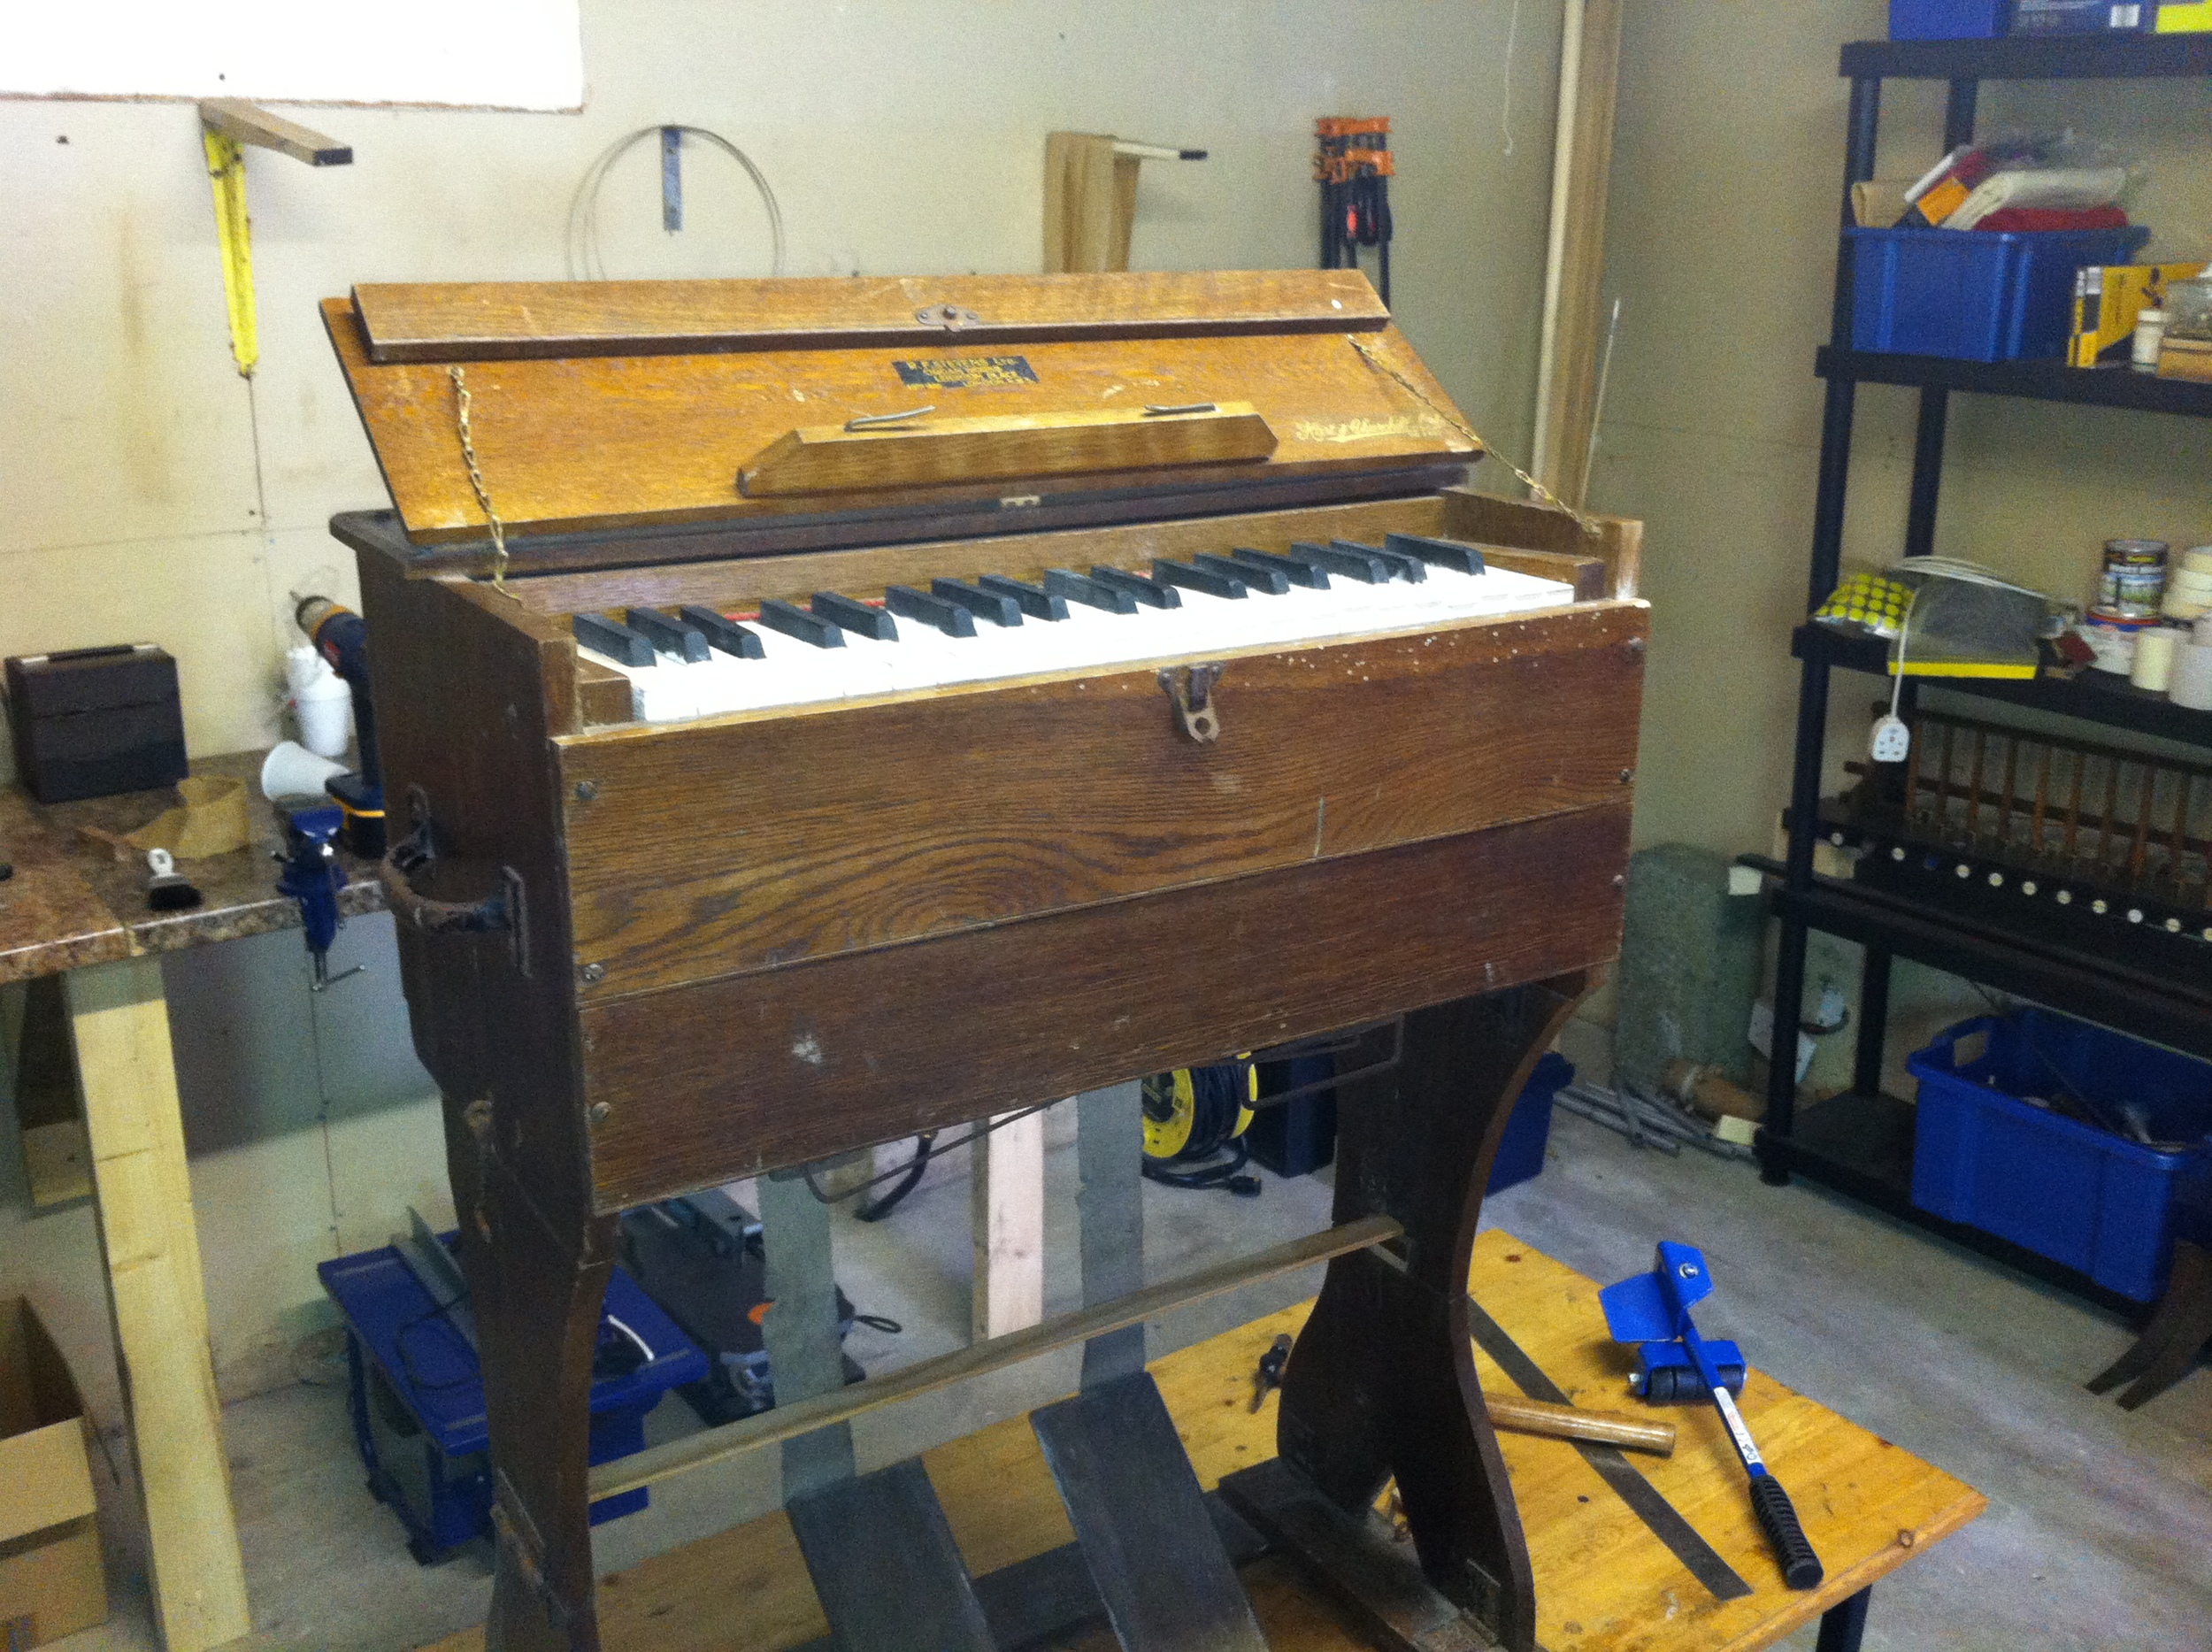
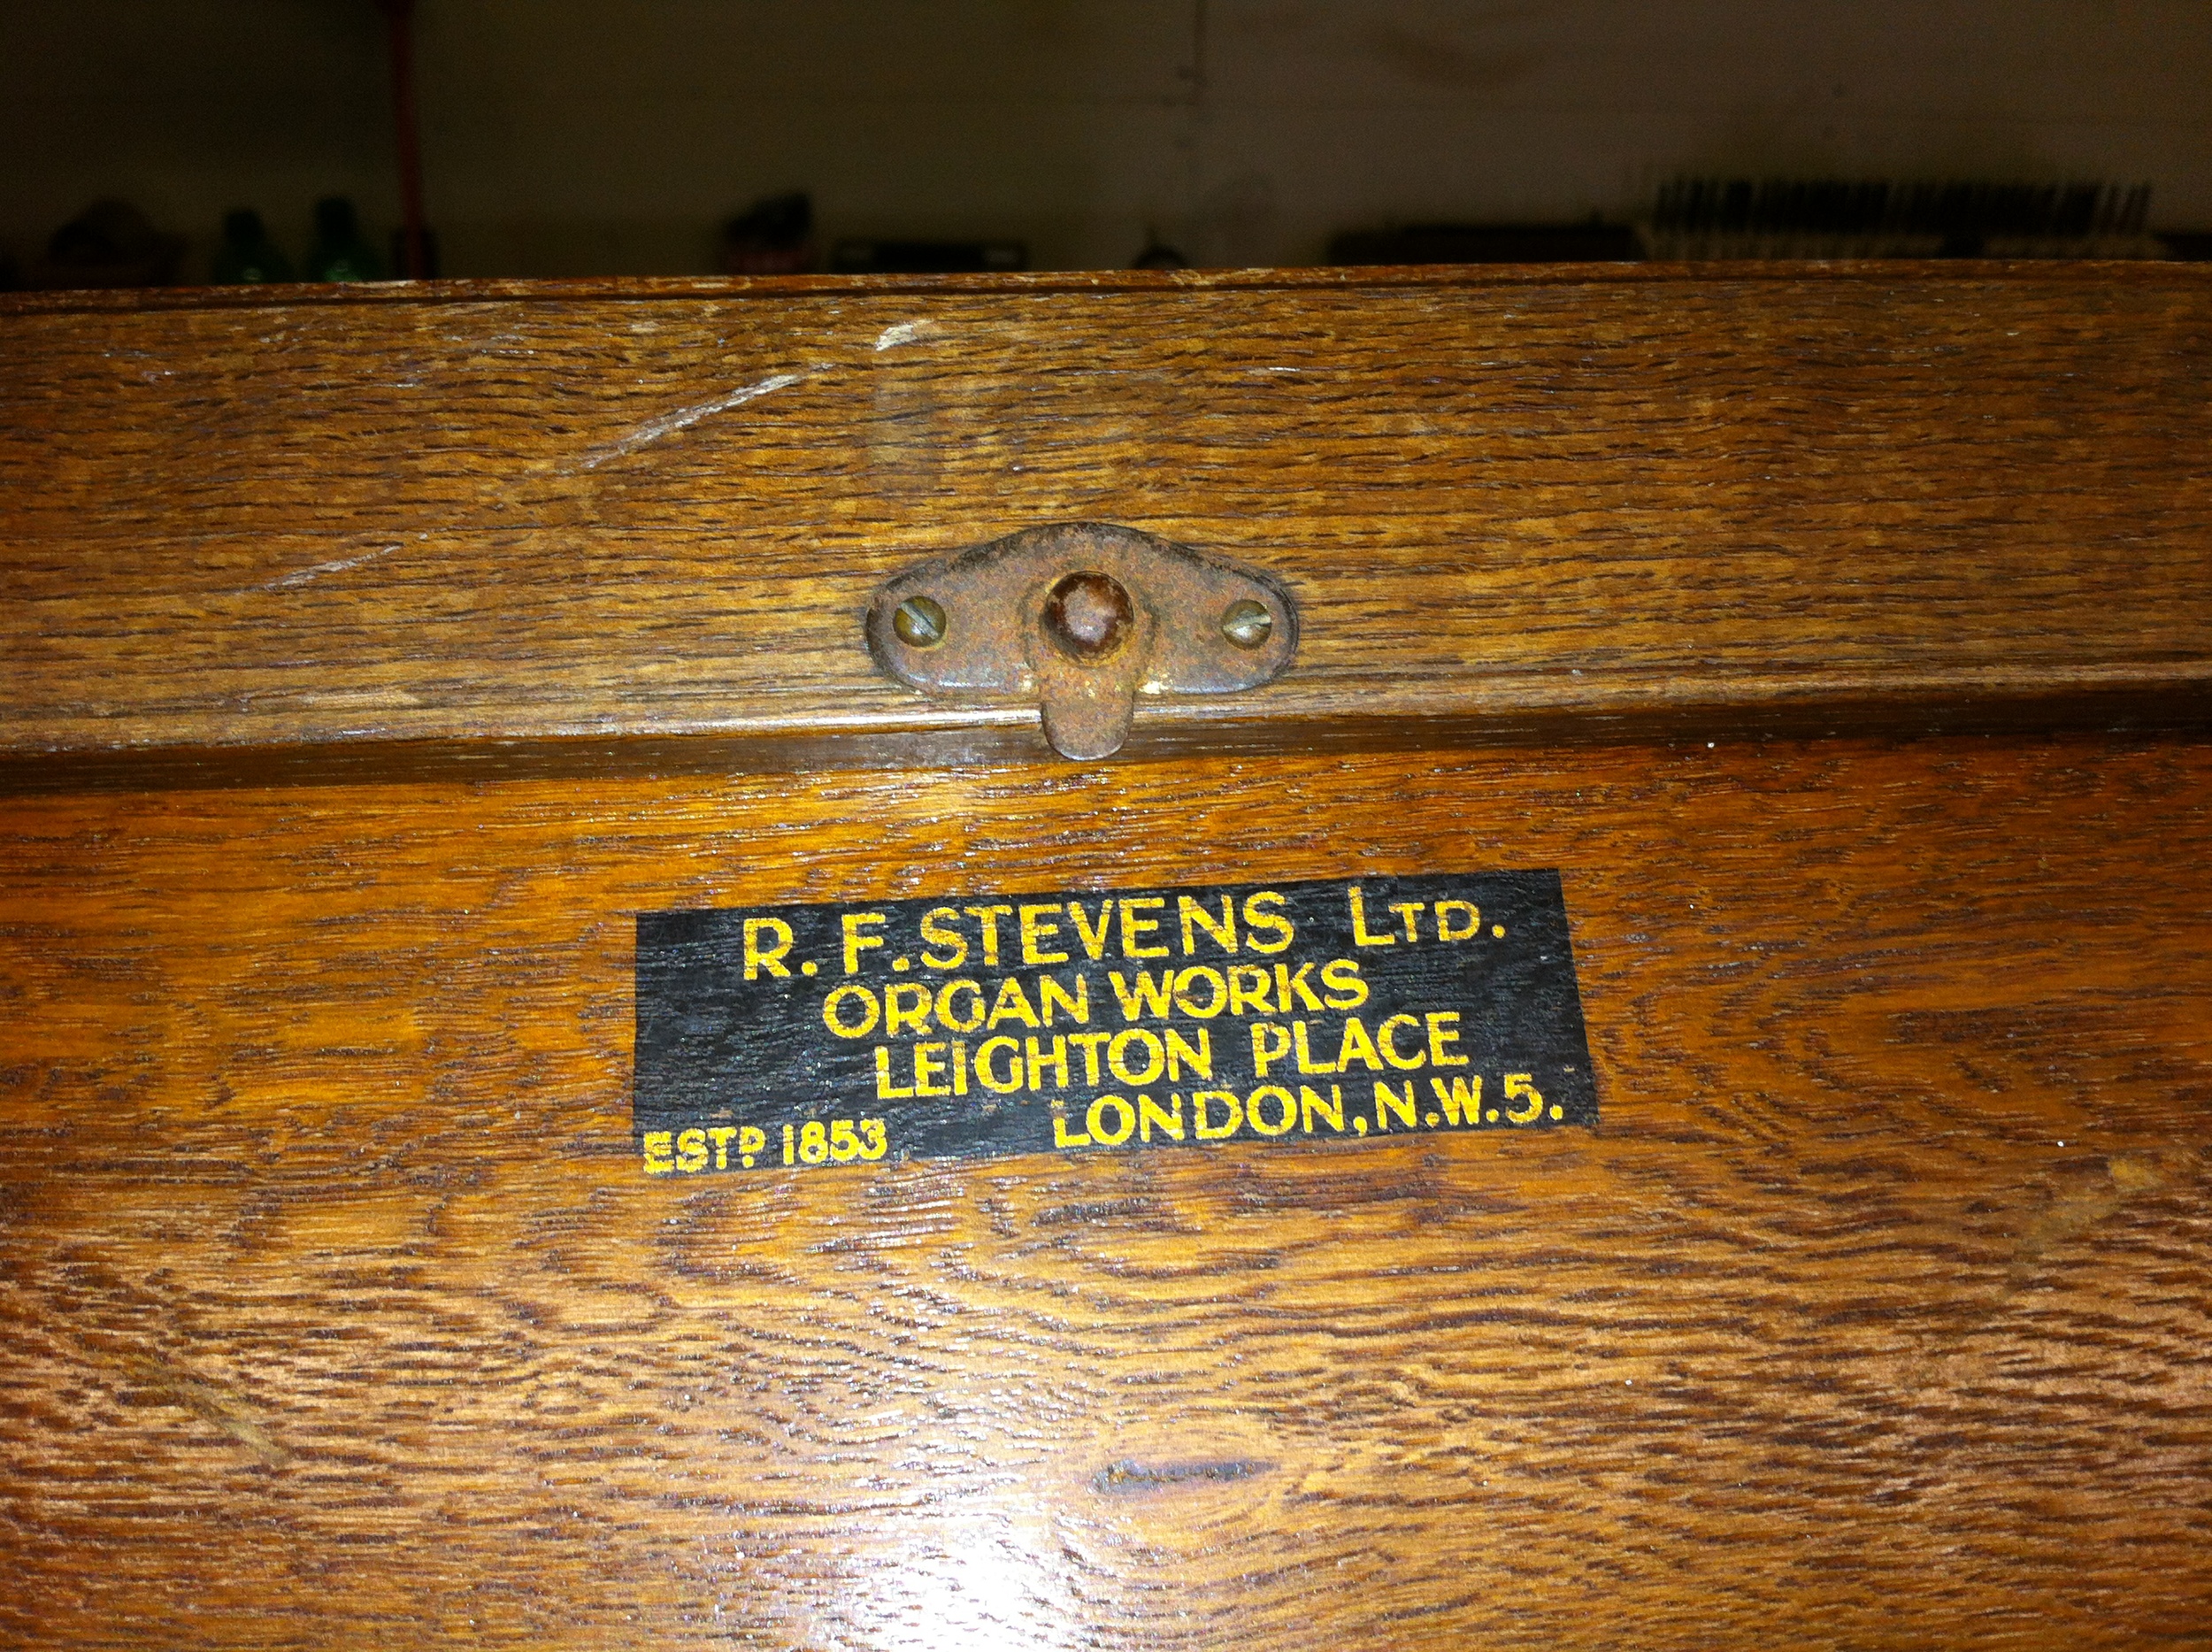
R.F. Stevens Child's Reed Organ
This is a small child's folding reed organ made by R.F. Stevens Reed Organ Company of London. I bought it at auction. It was very damp with some wood worm in it. After dismantling the reed pan fell apart and warped. I thought this was the death of the organ but I was advised on the Yahoo! Restoration group that it could be glued and clamped back together. It worked and is now as good as new.
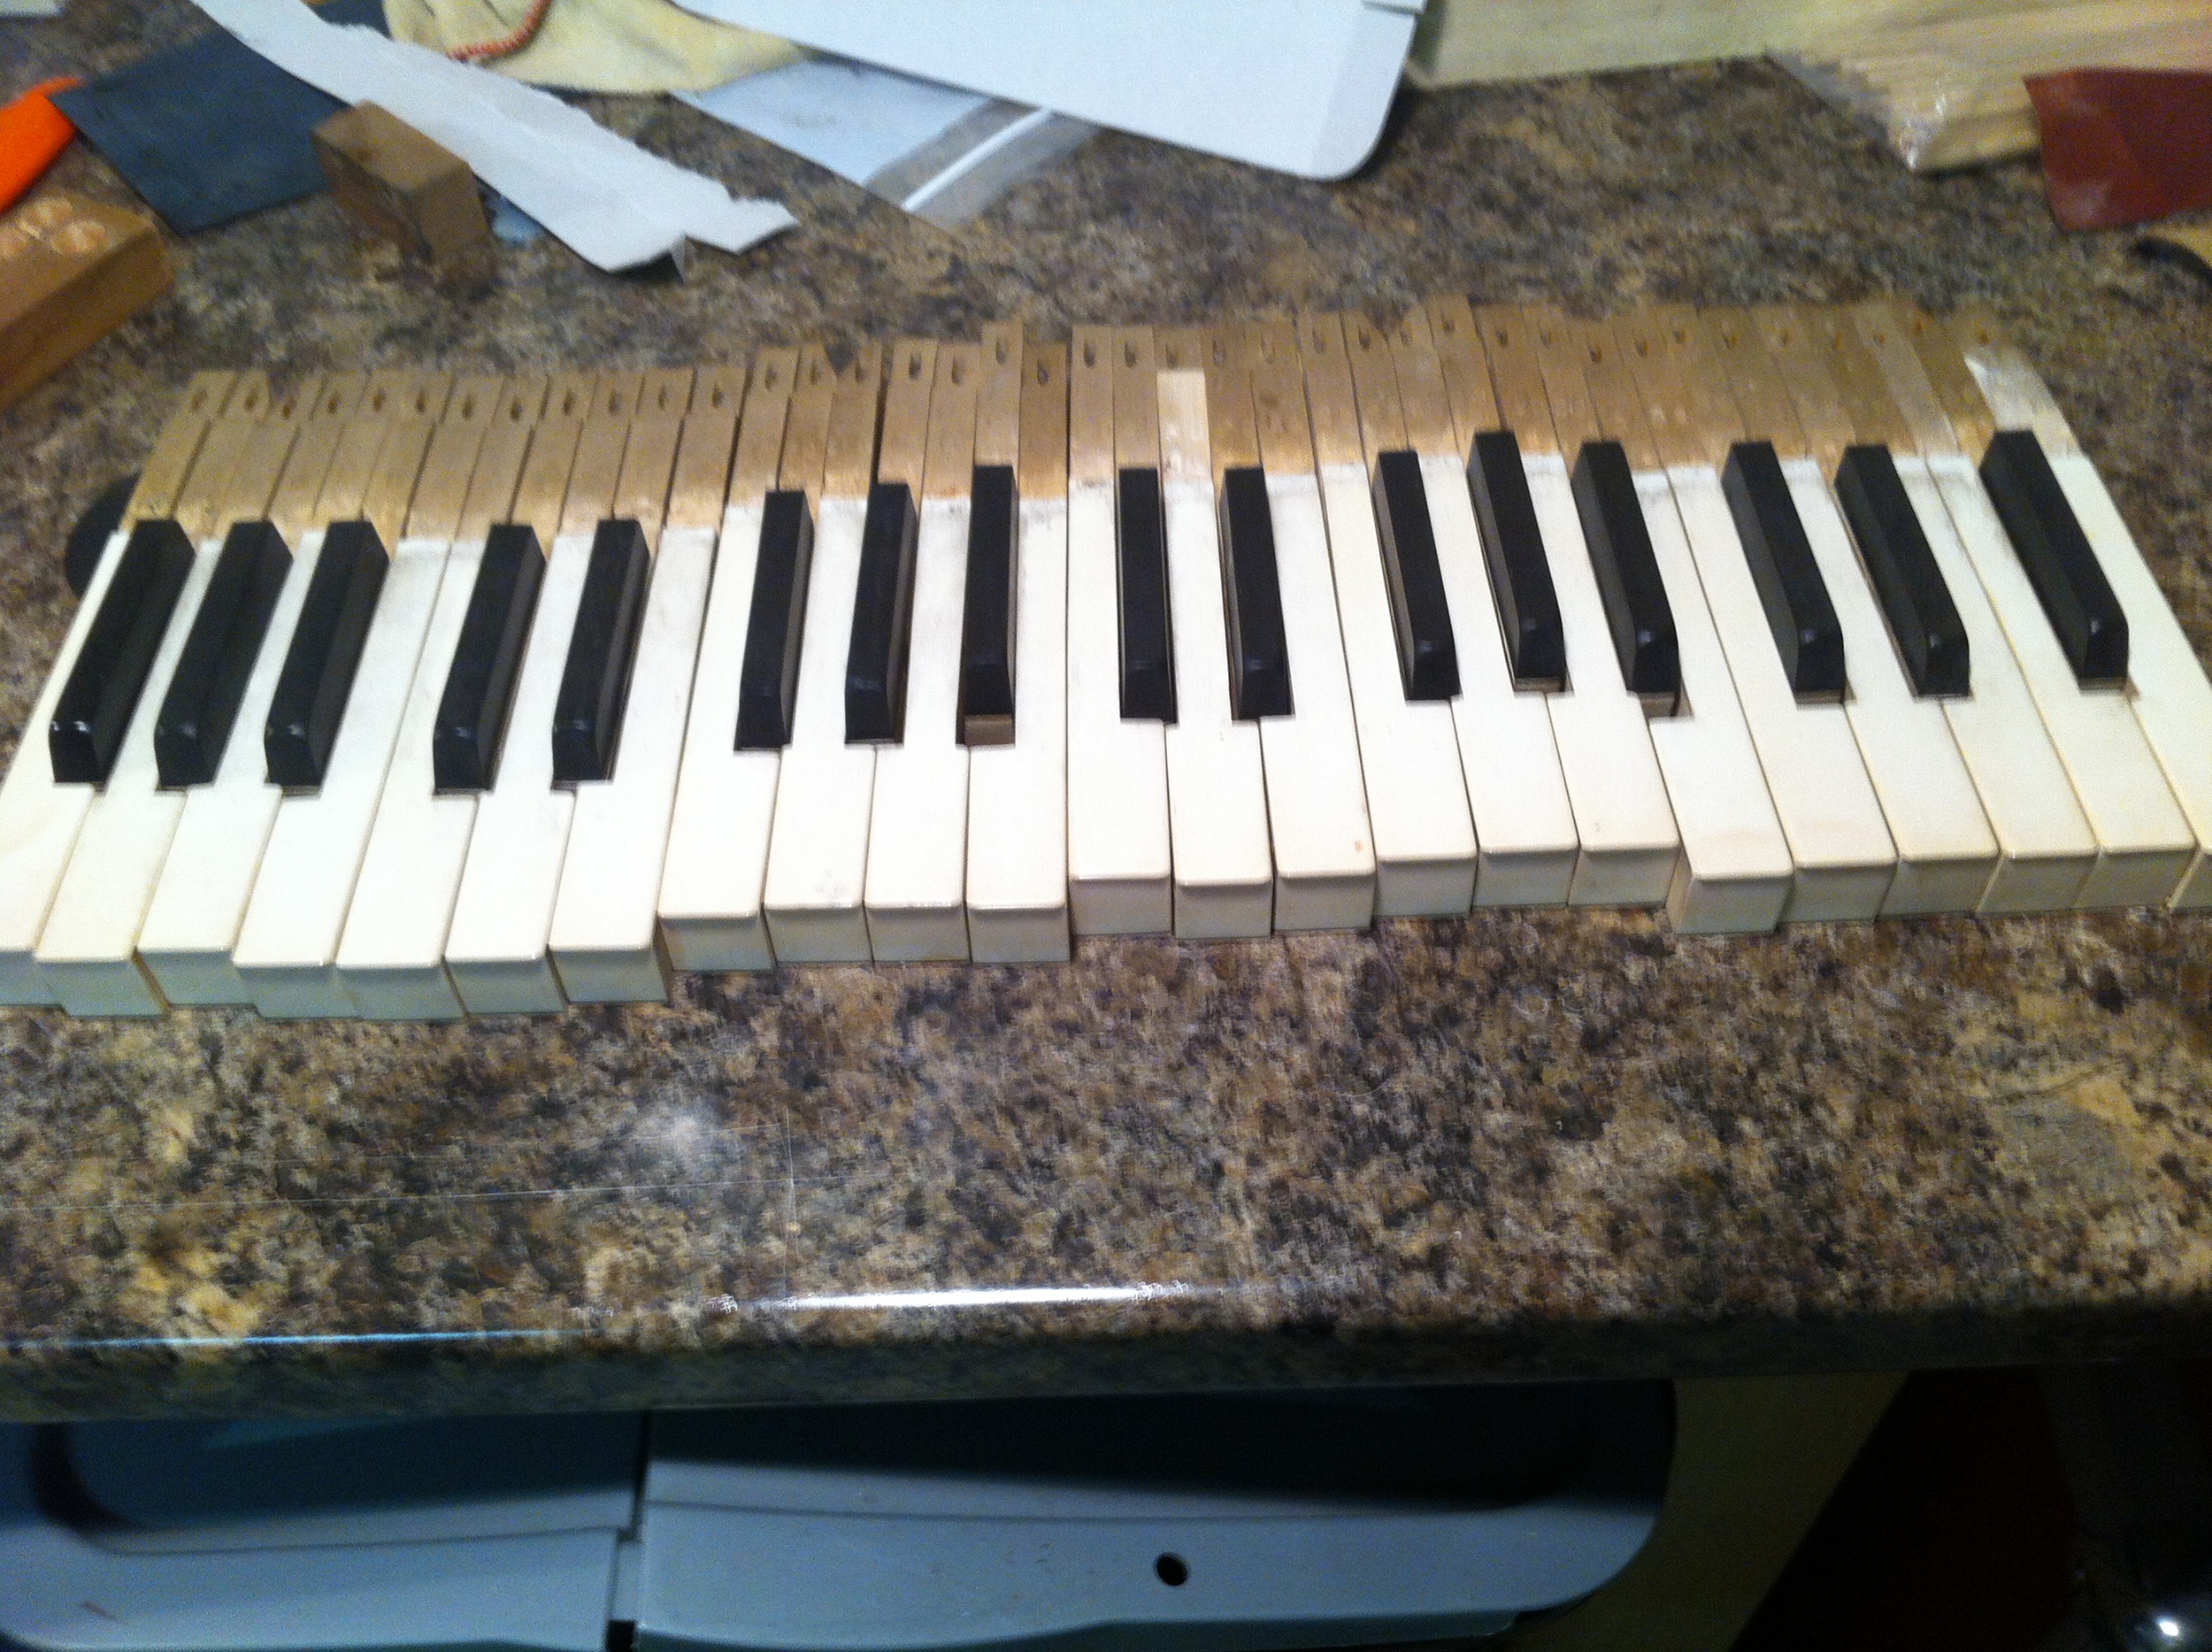
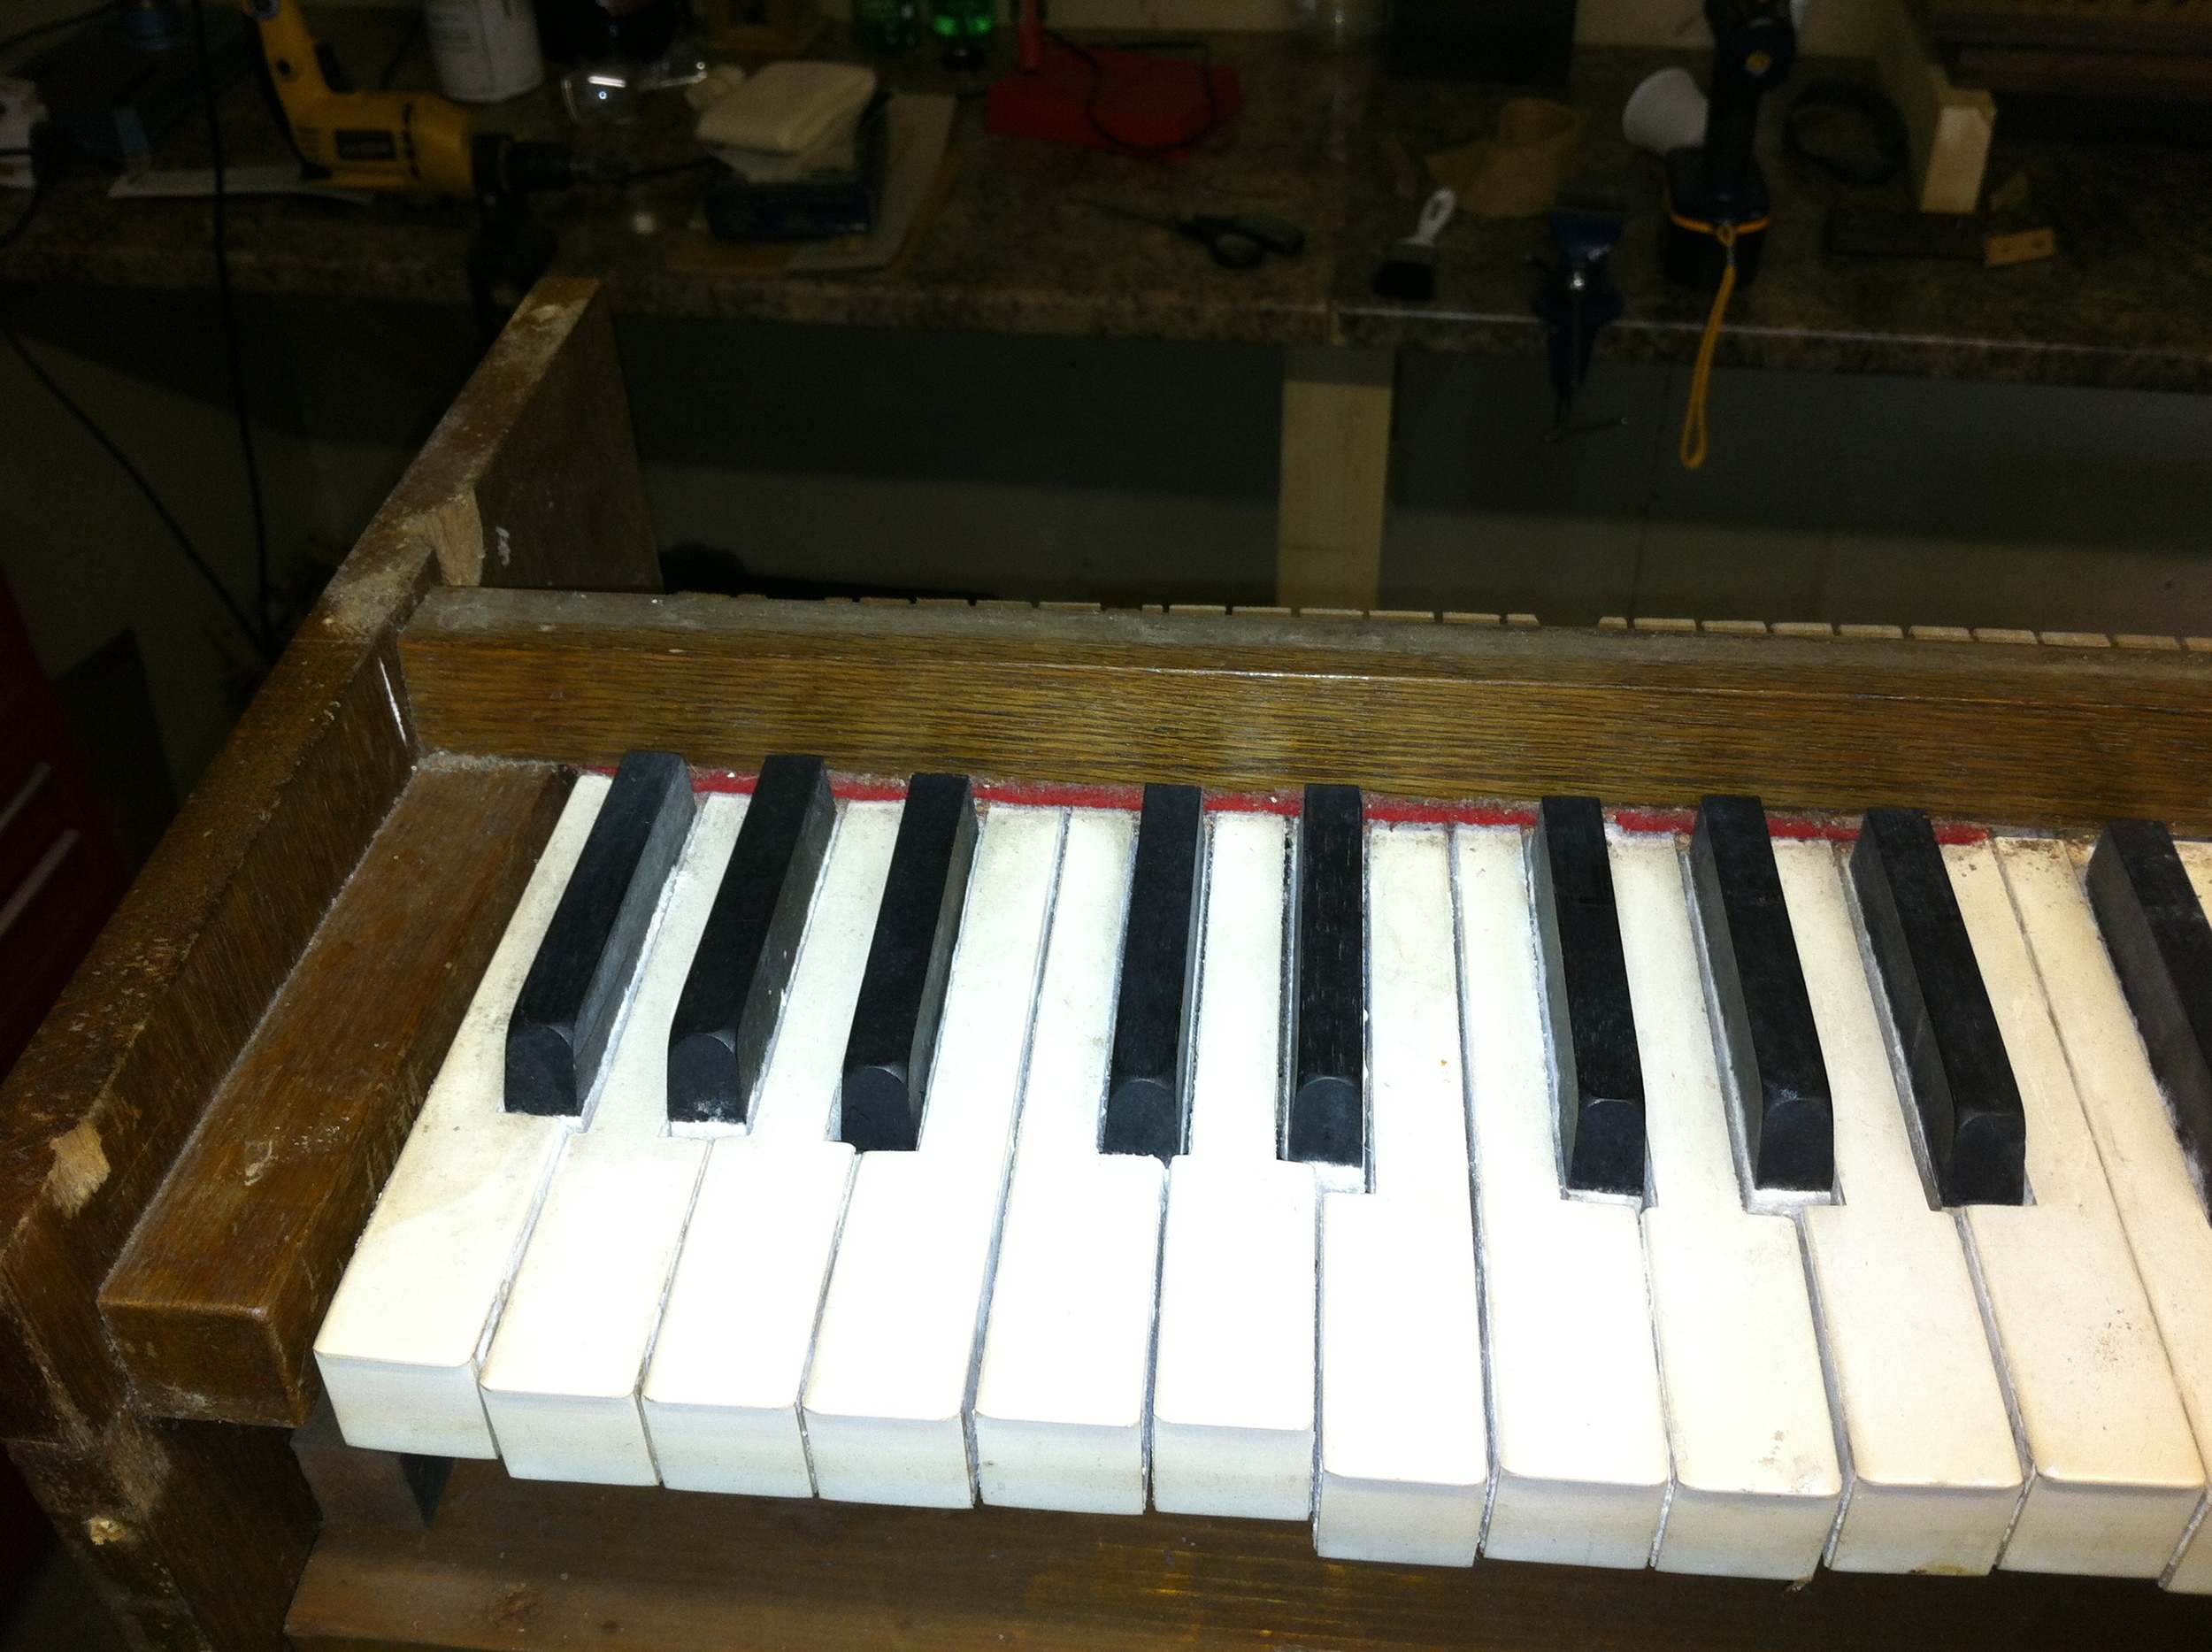
The keys have had significant woodworm and need treatment.
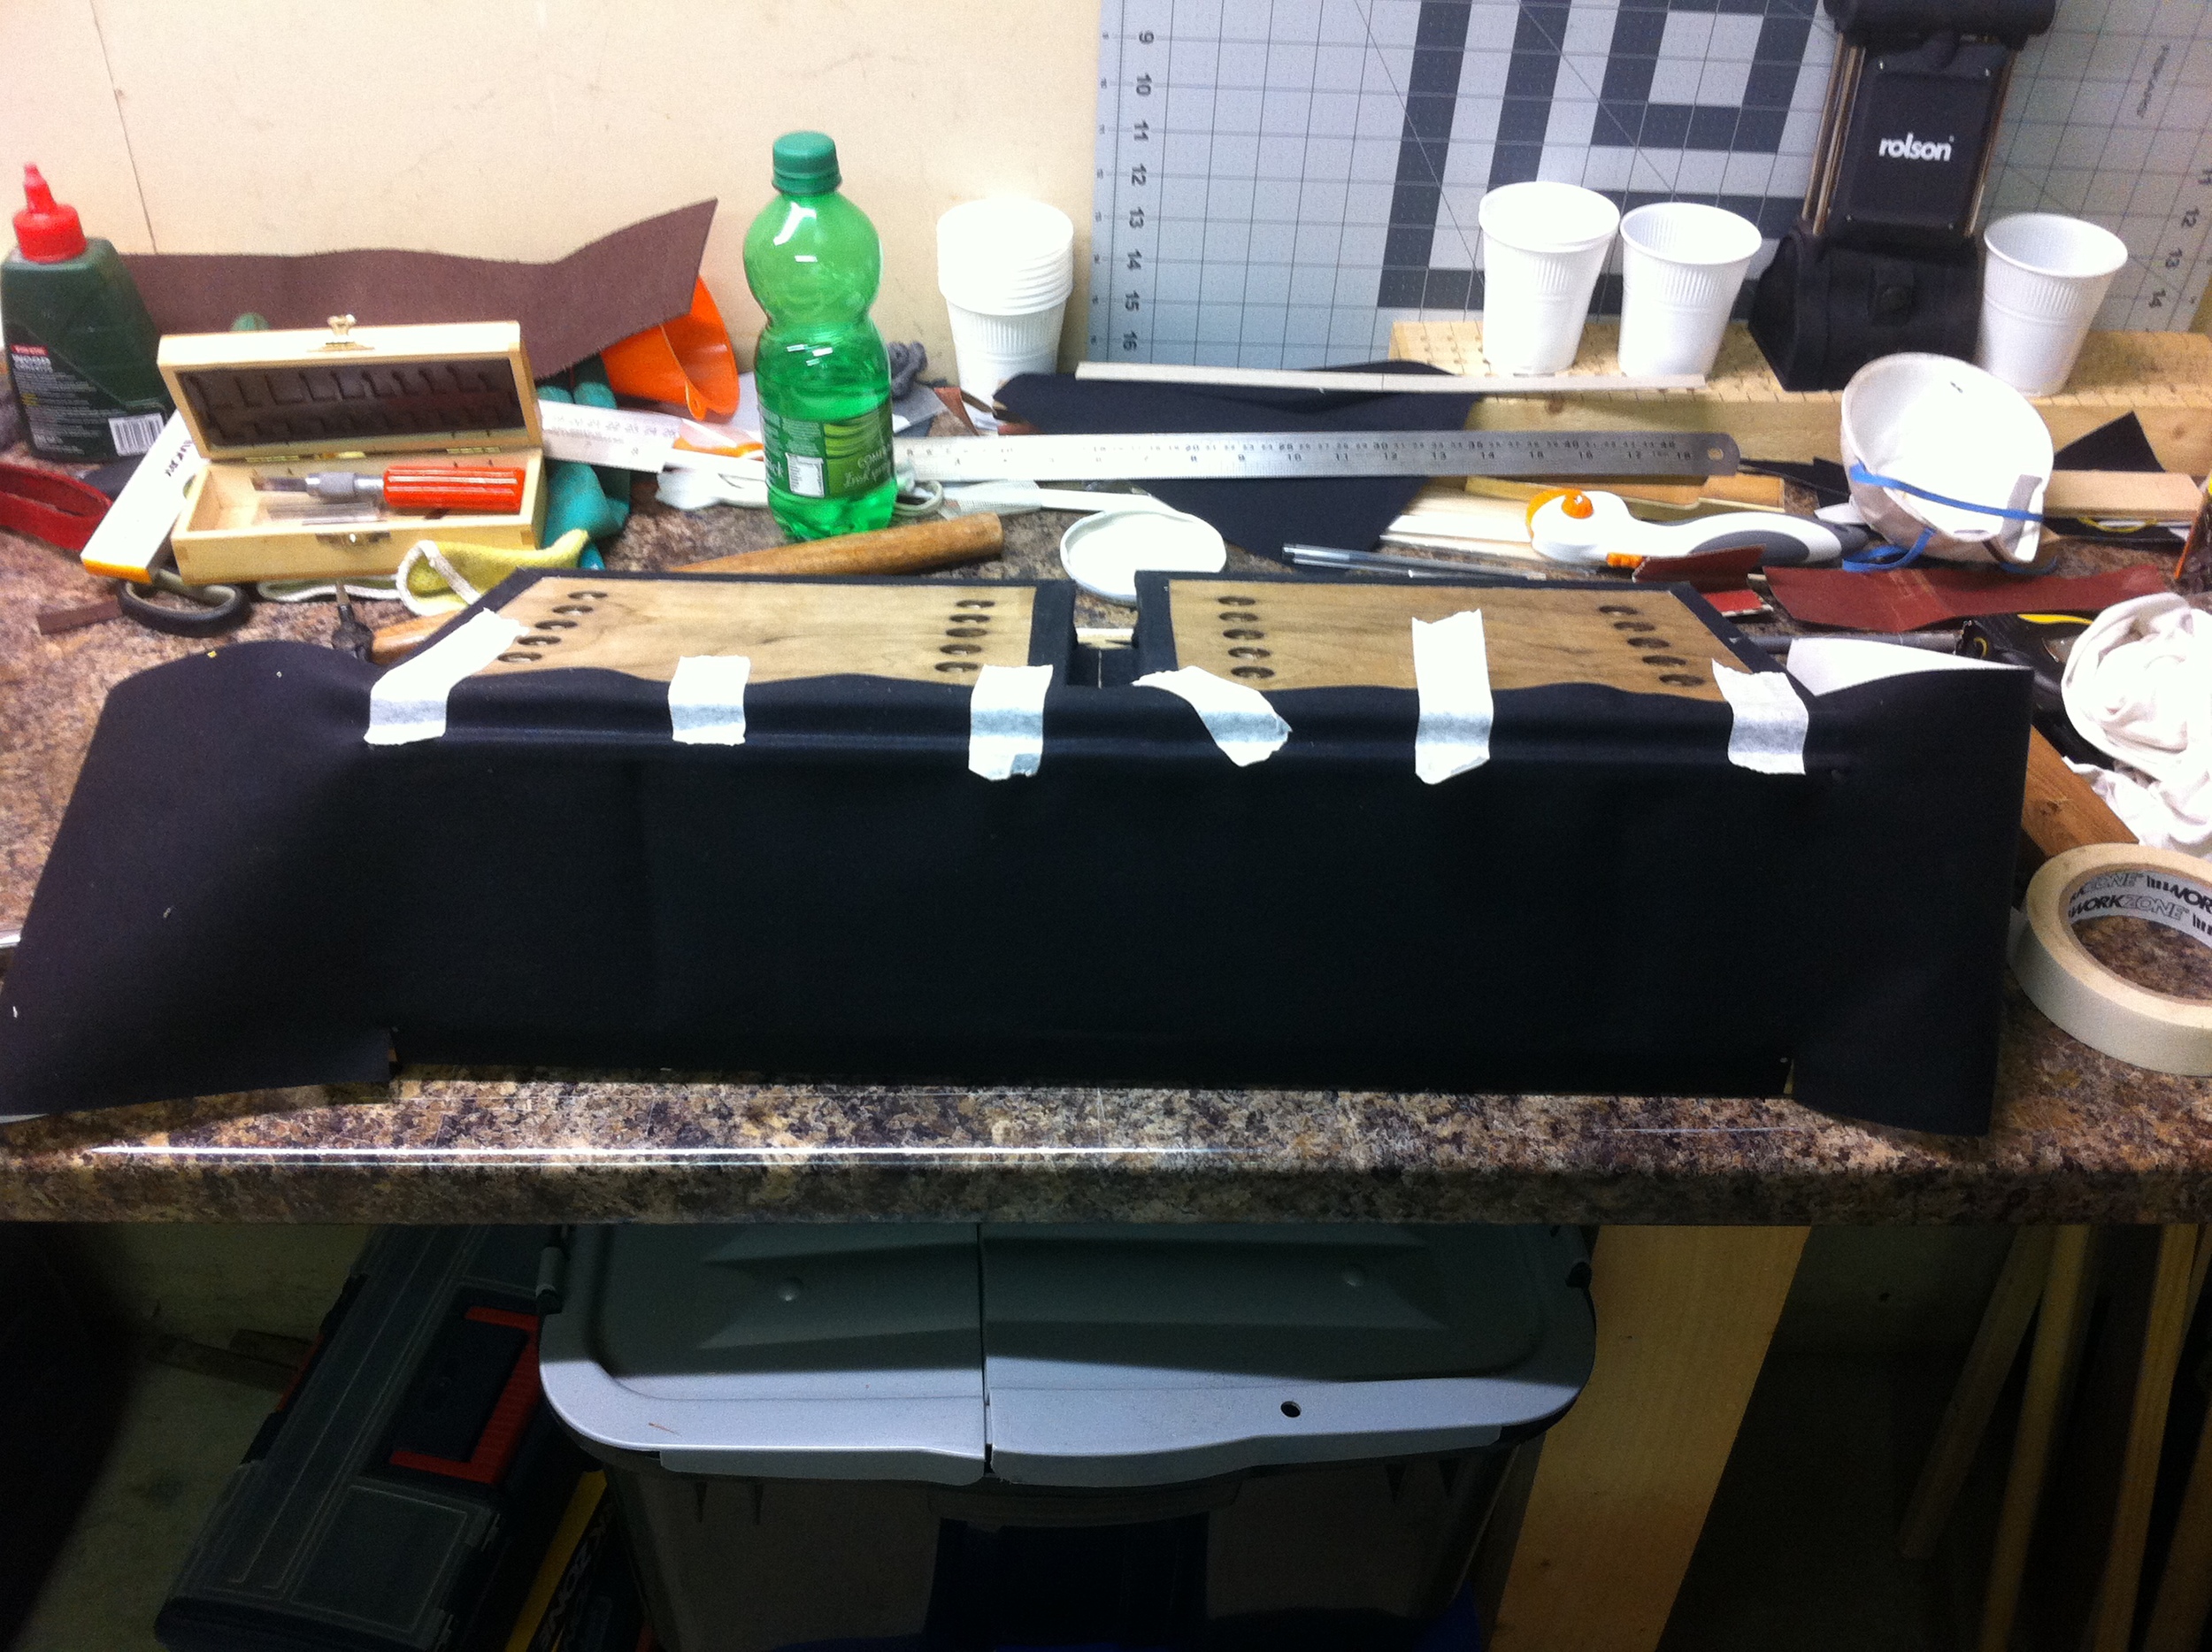
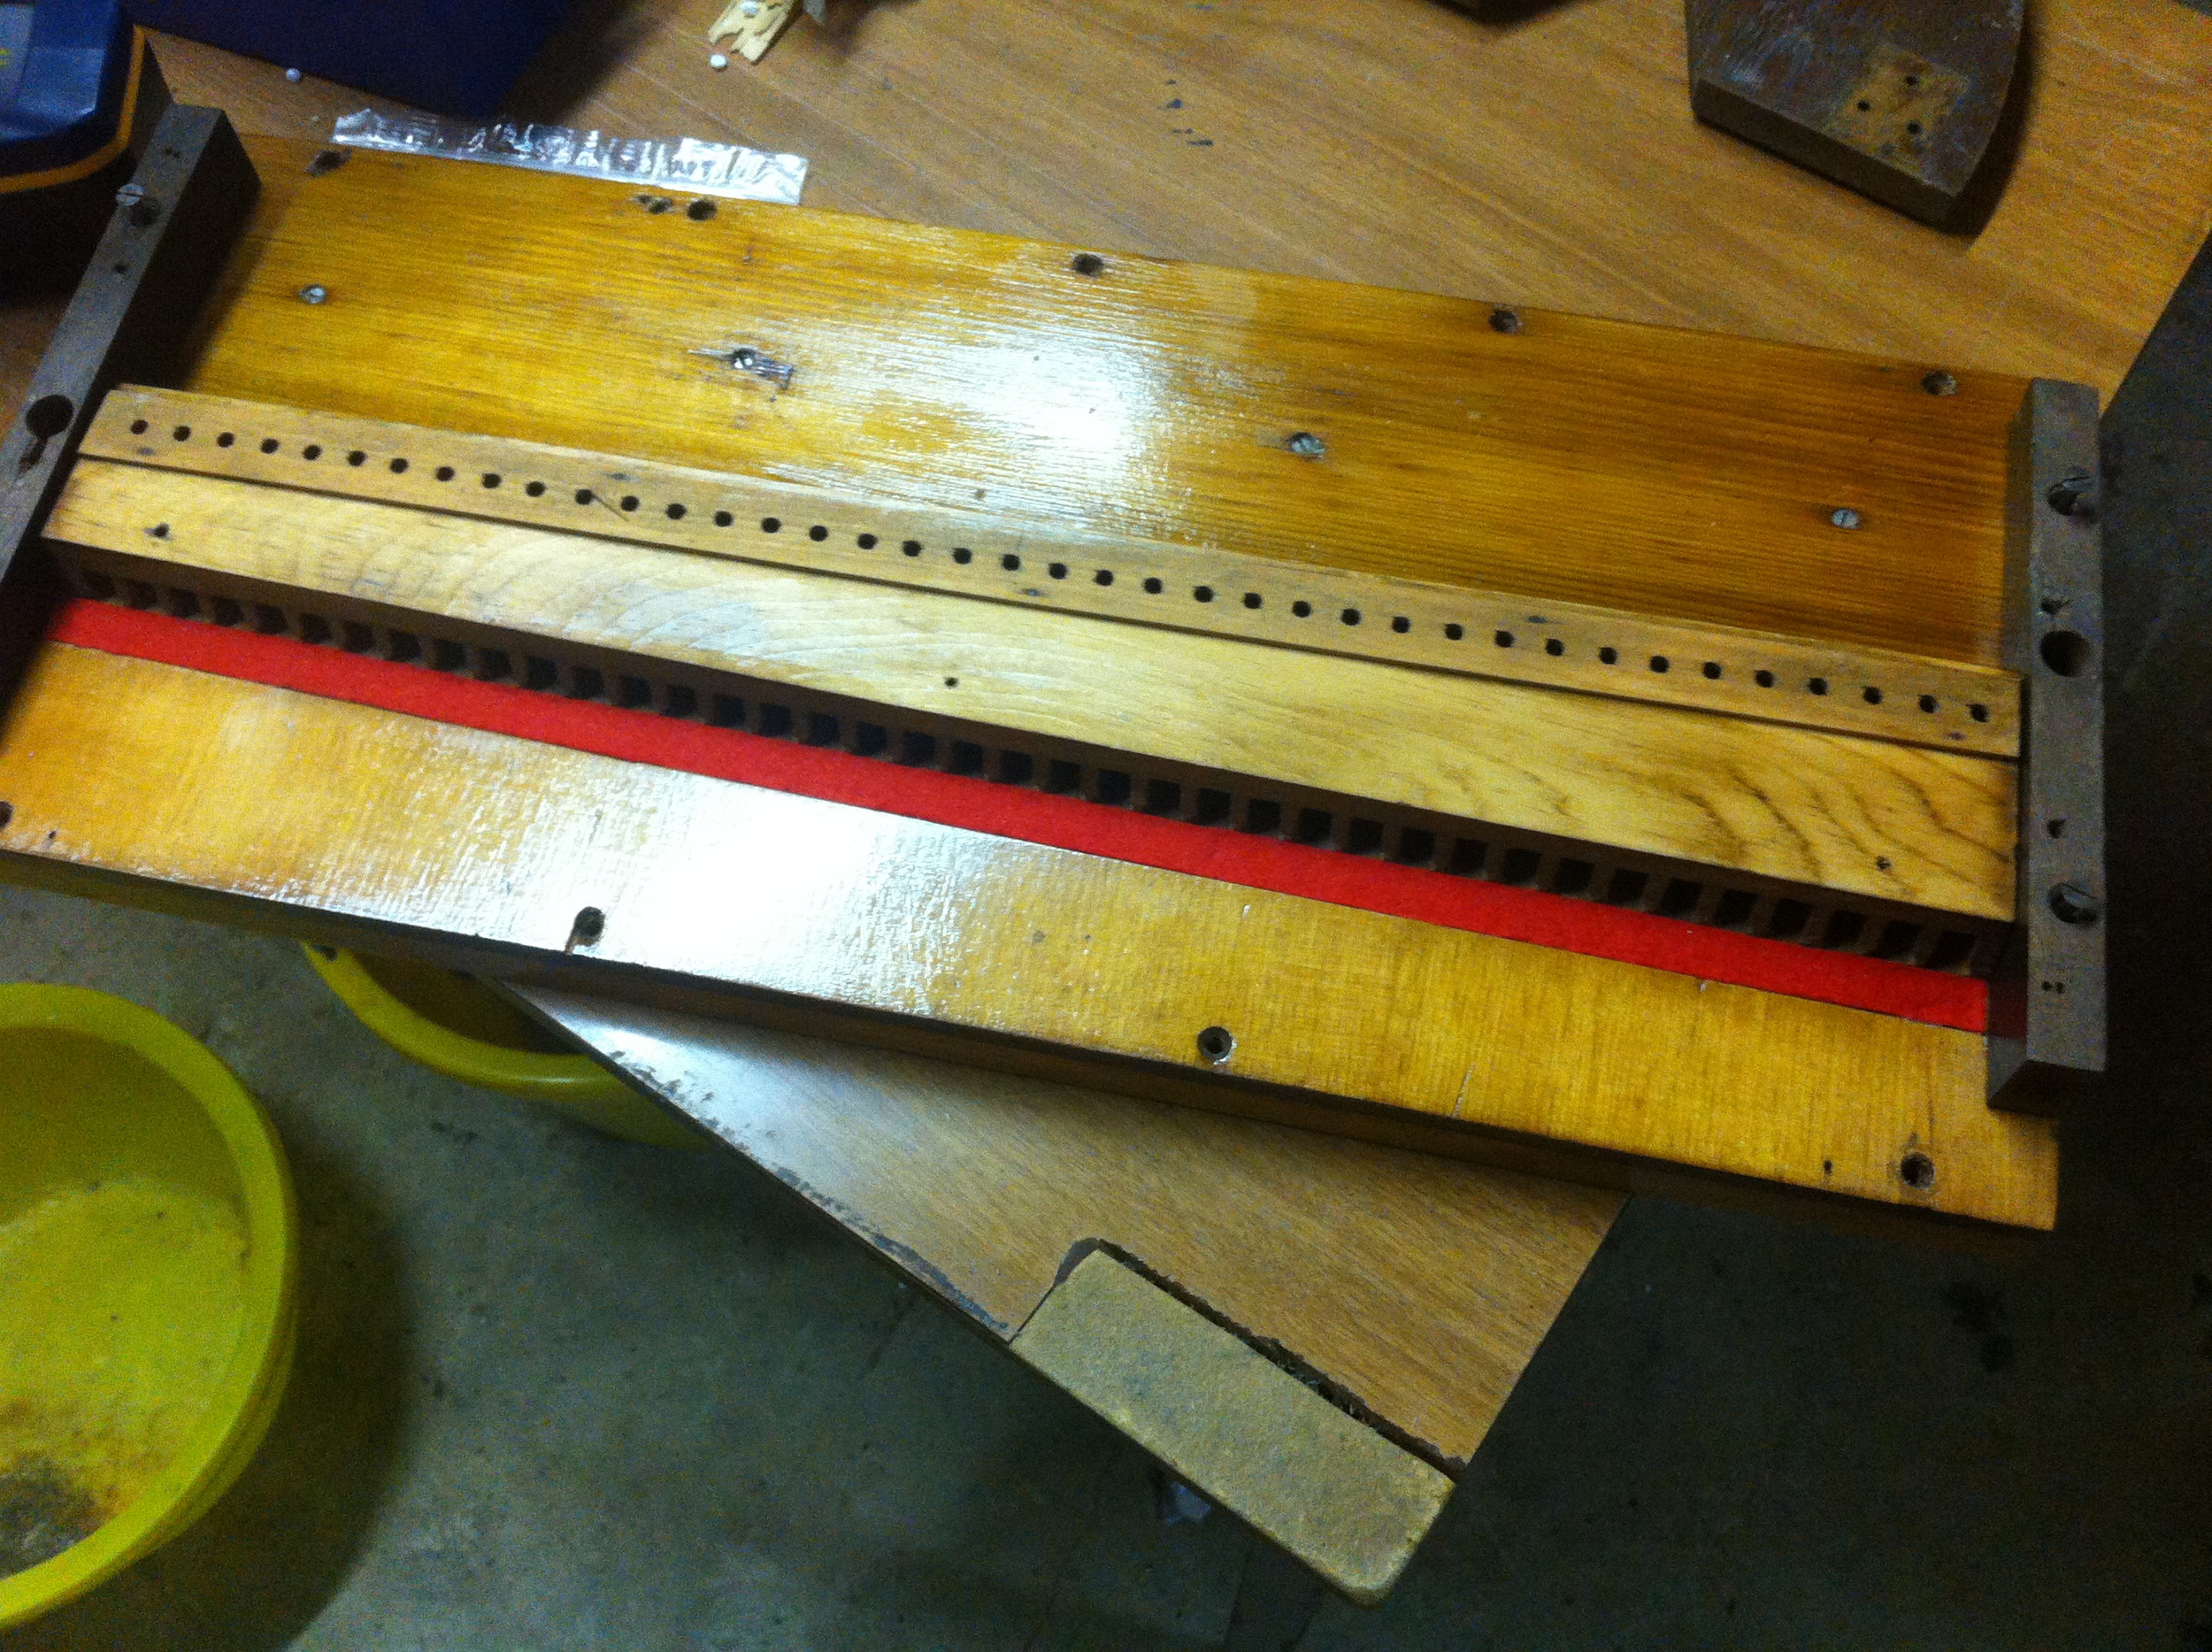
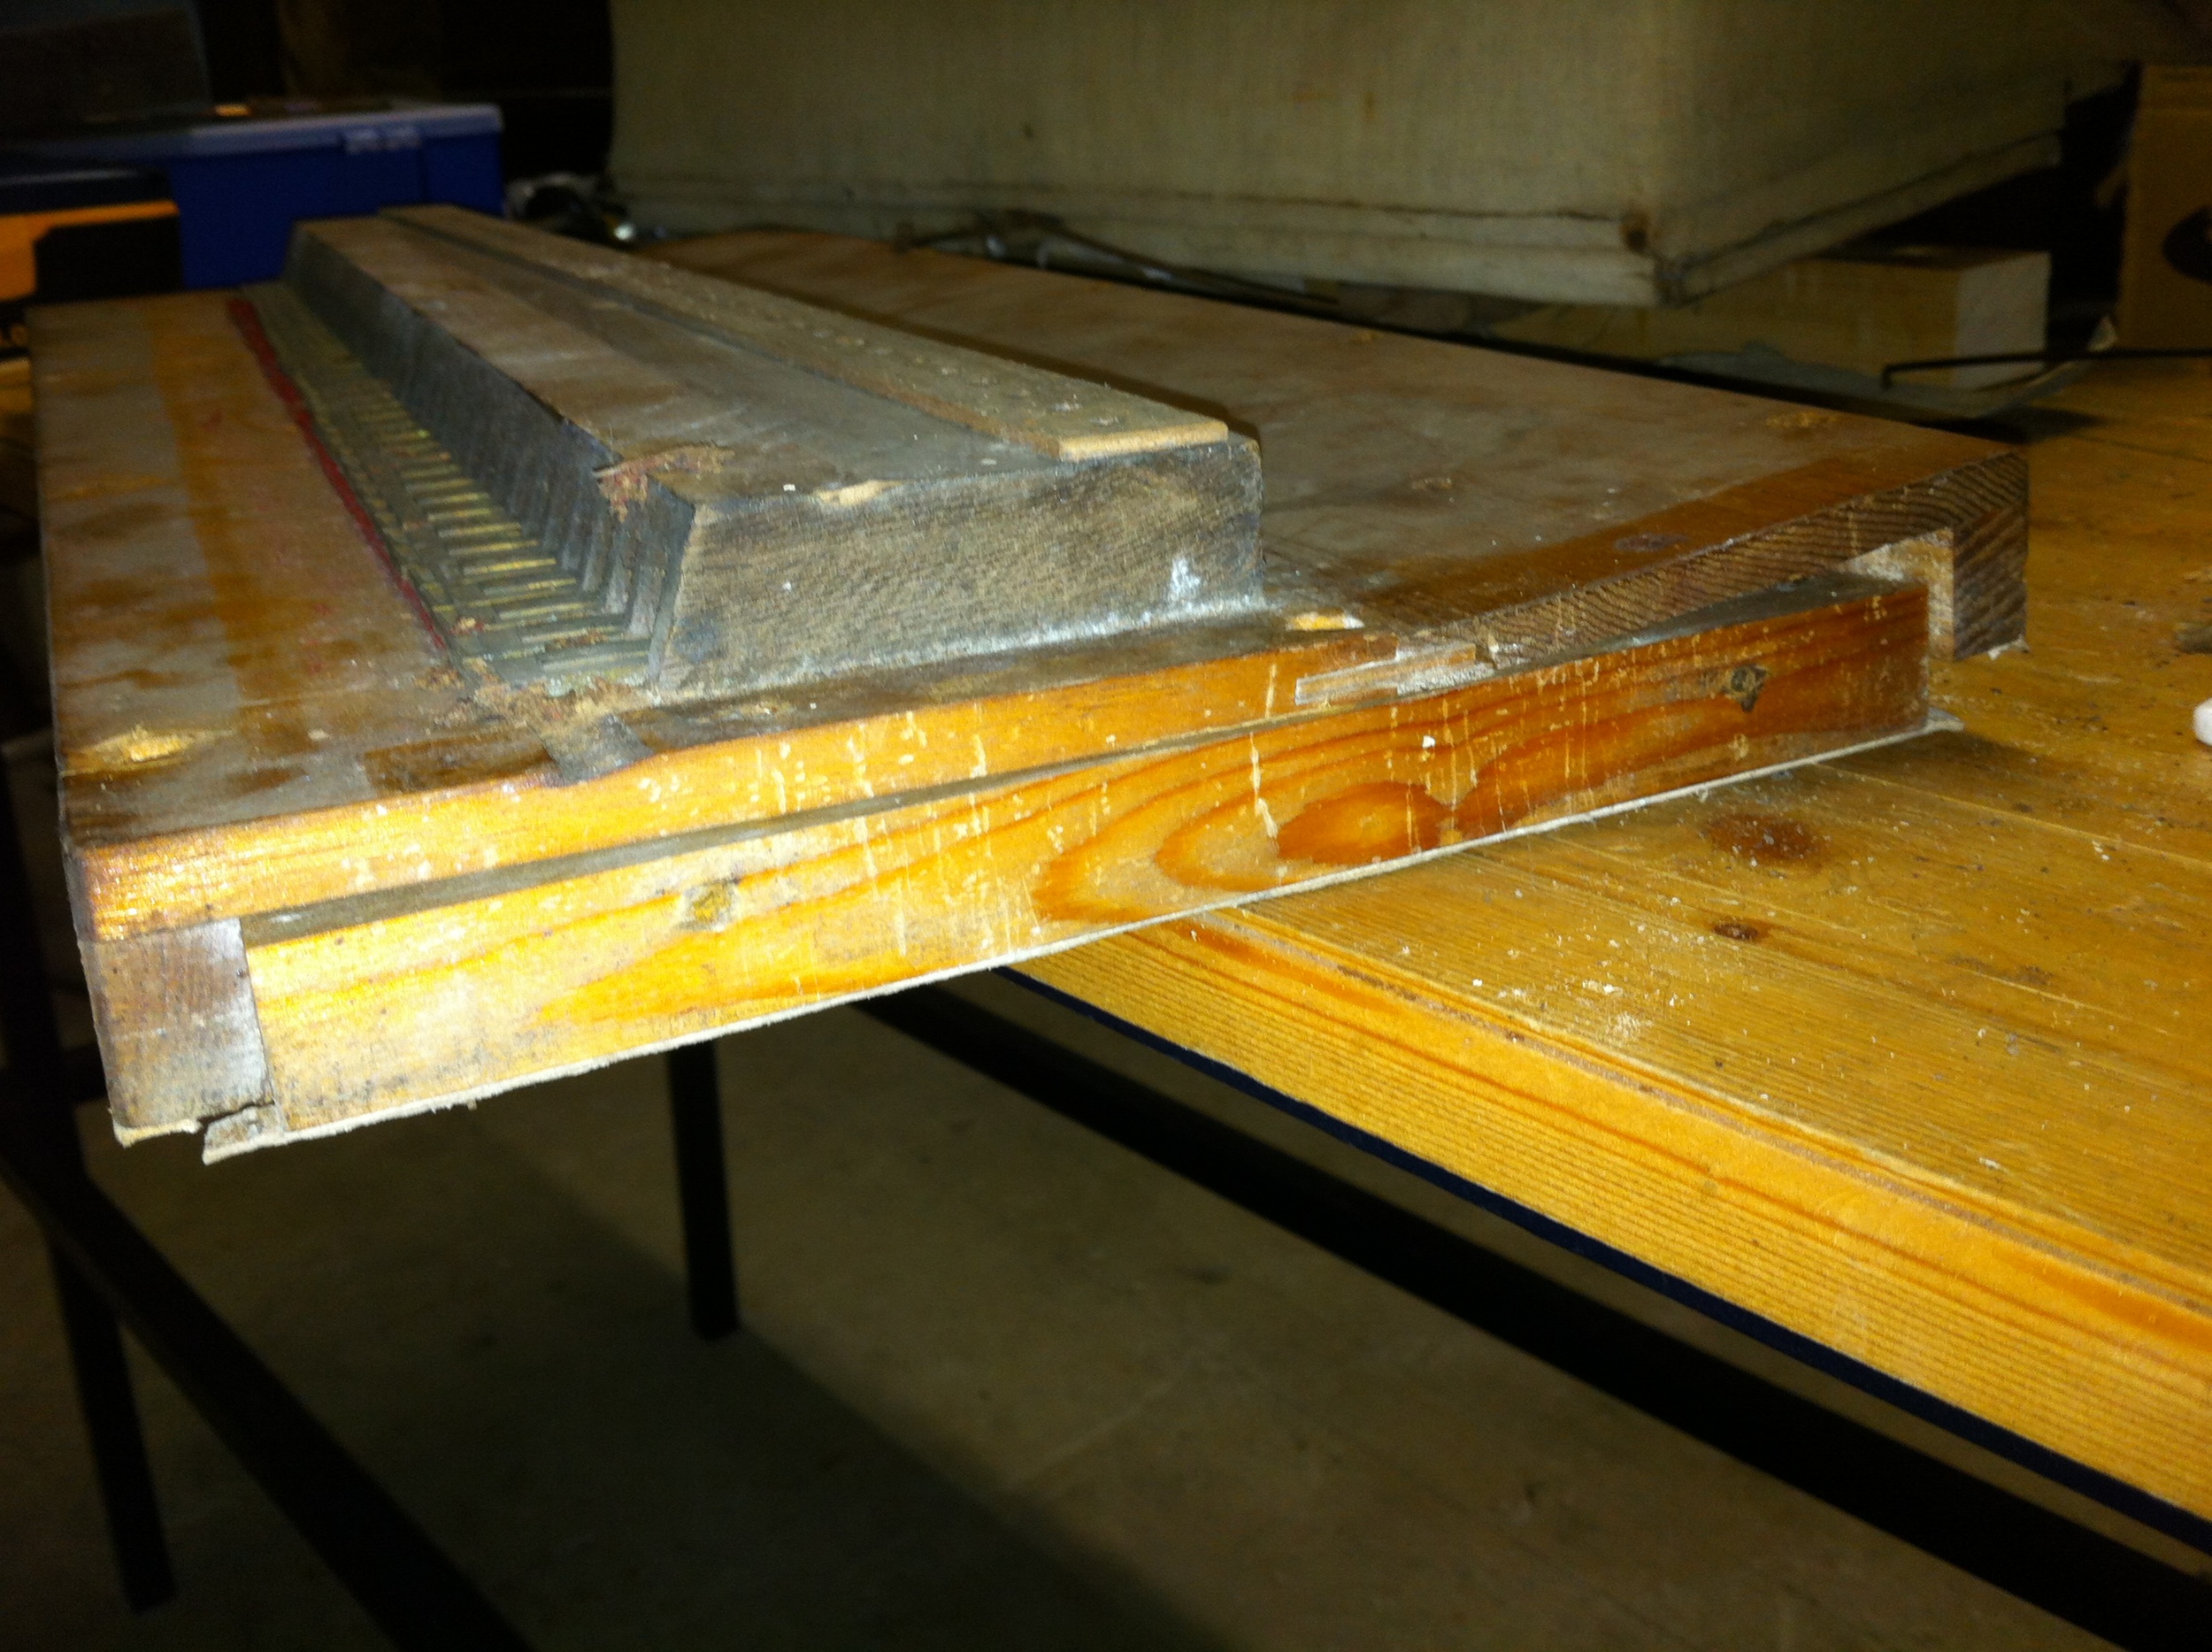
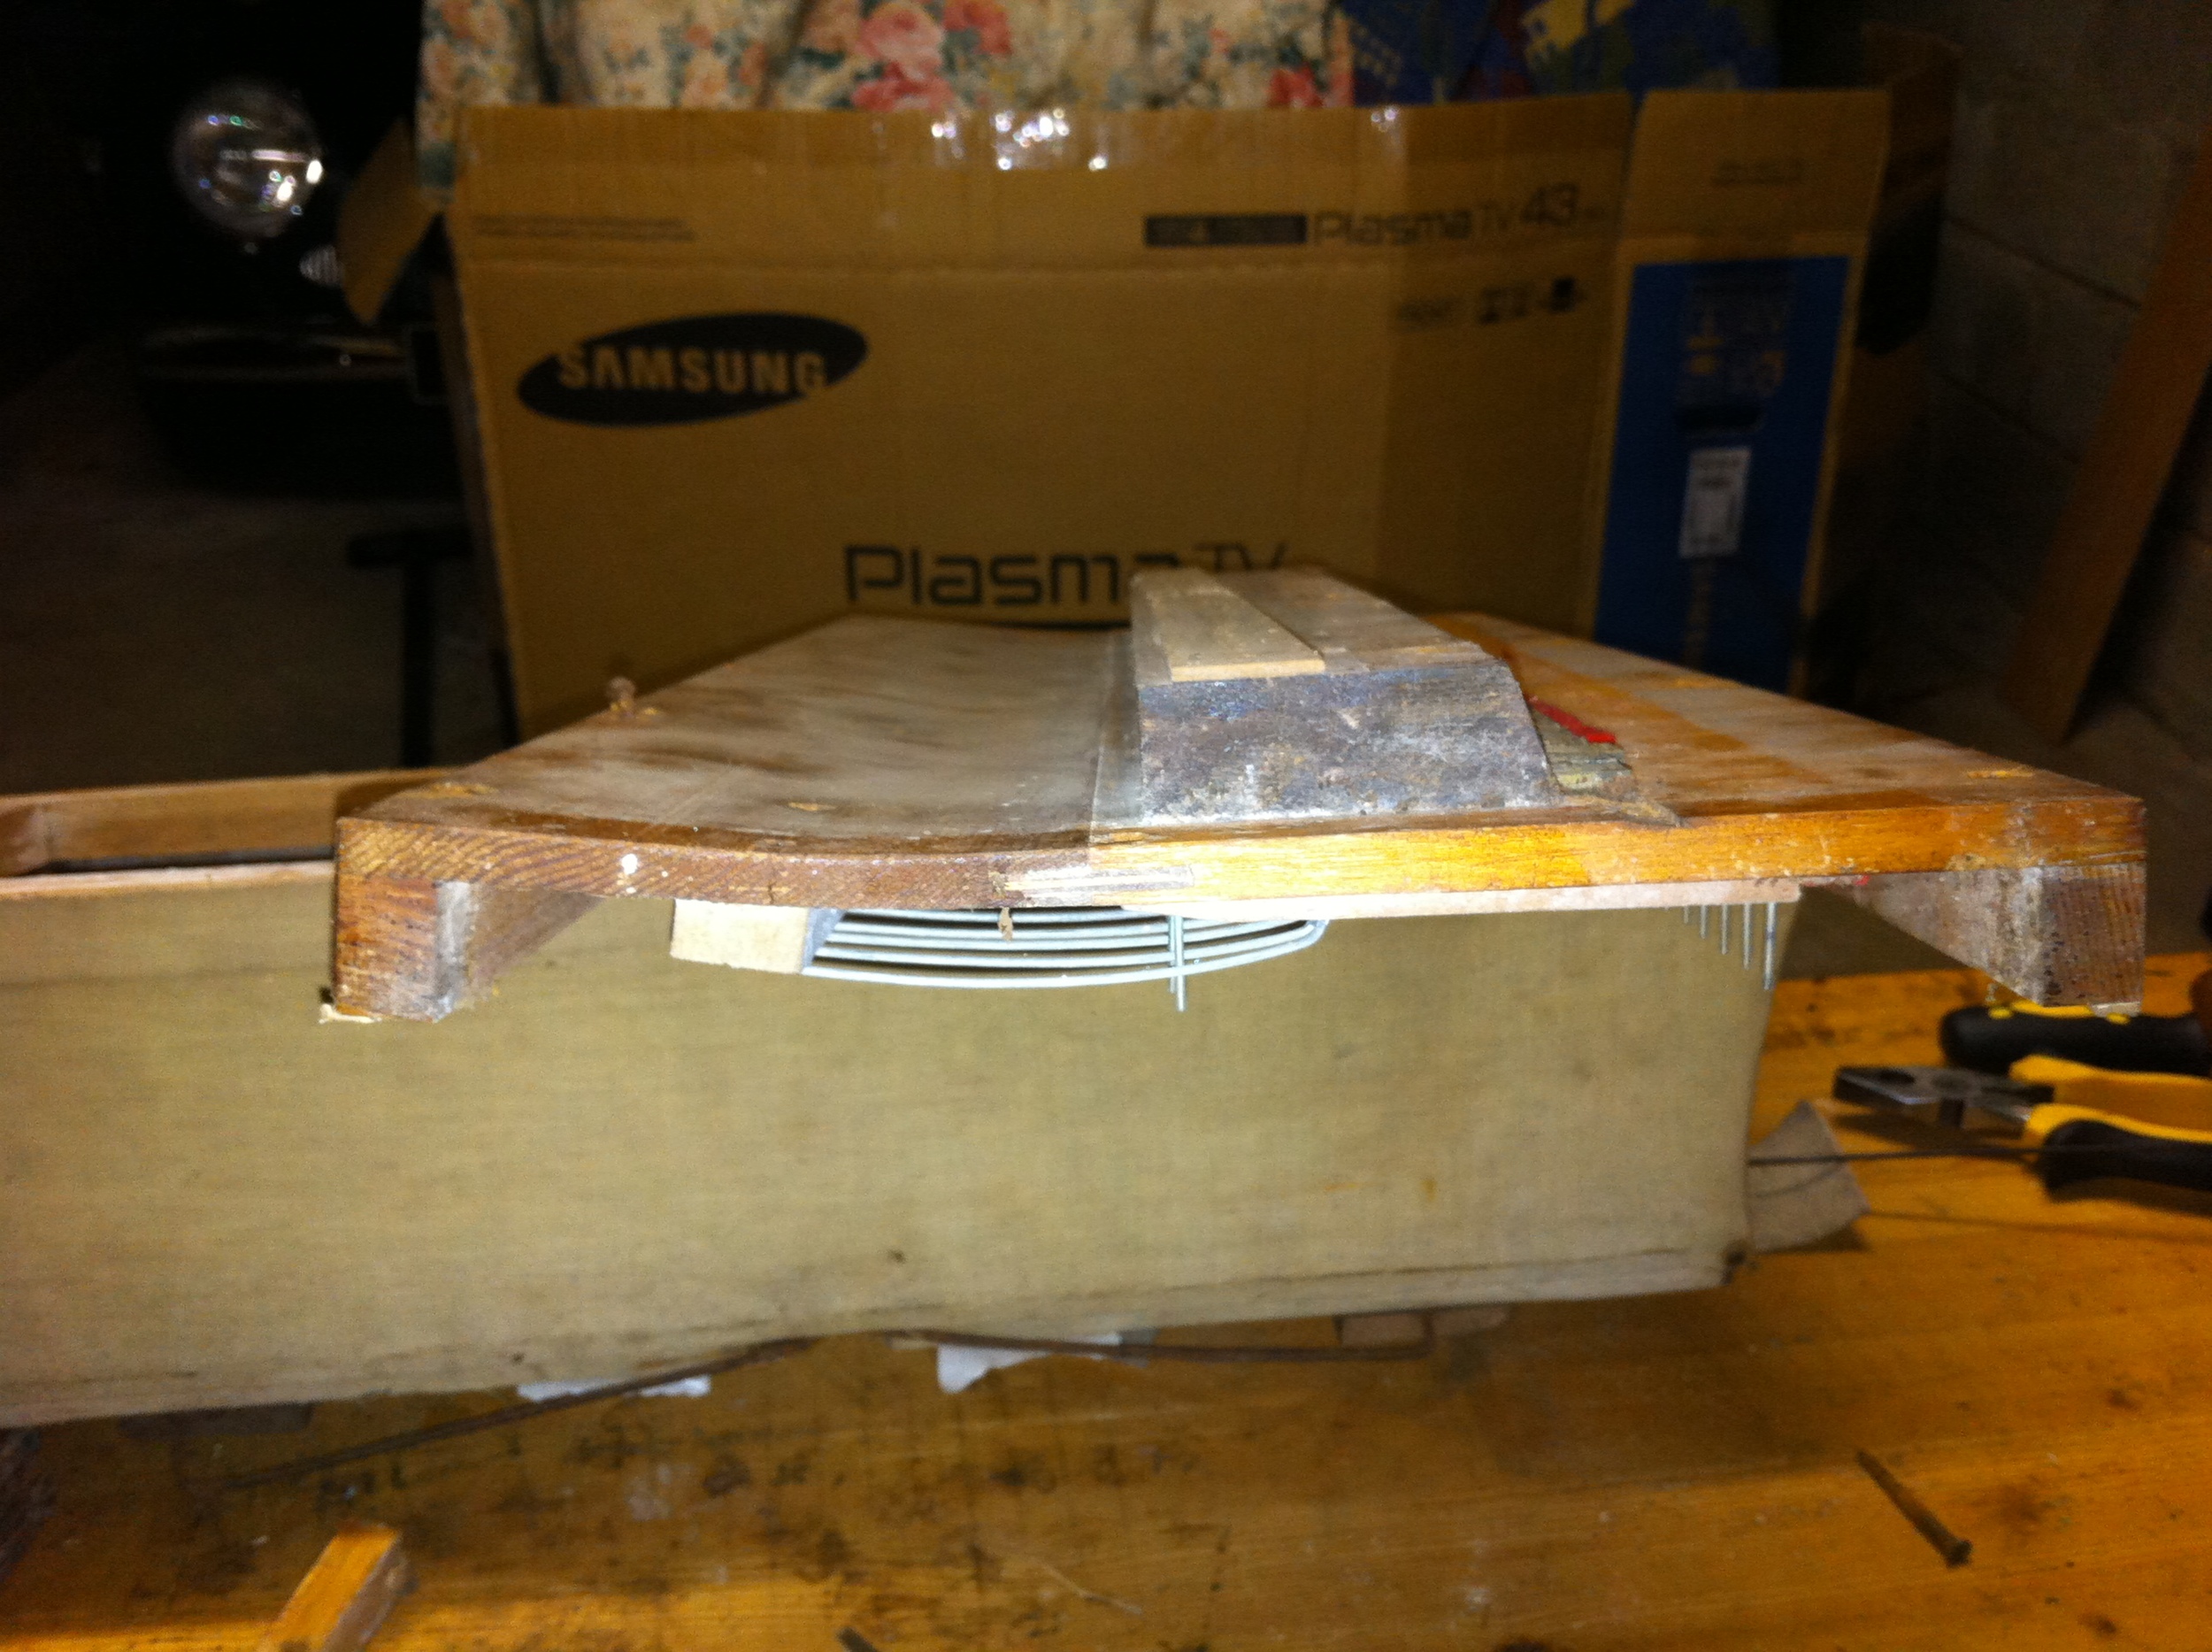
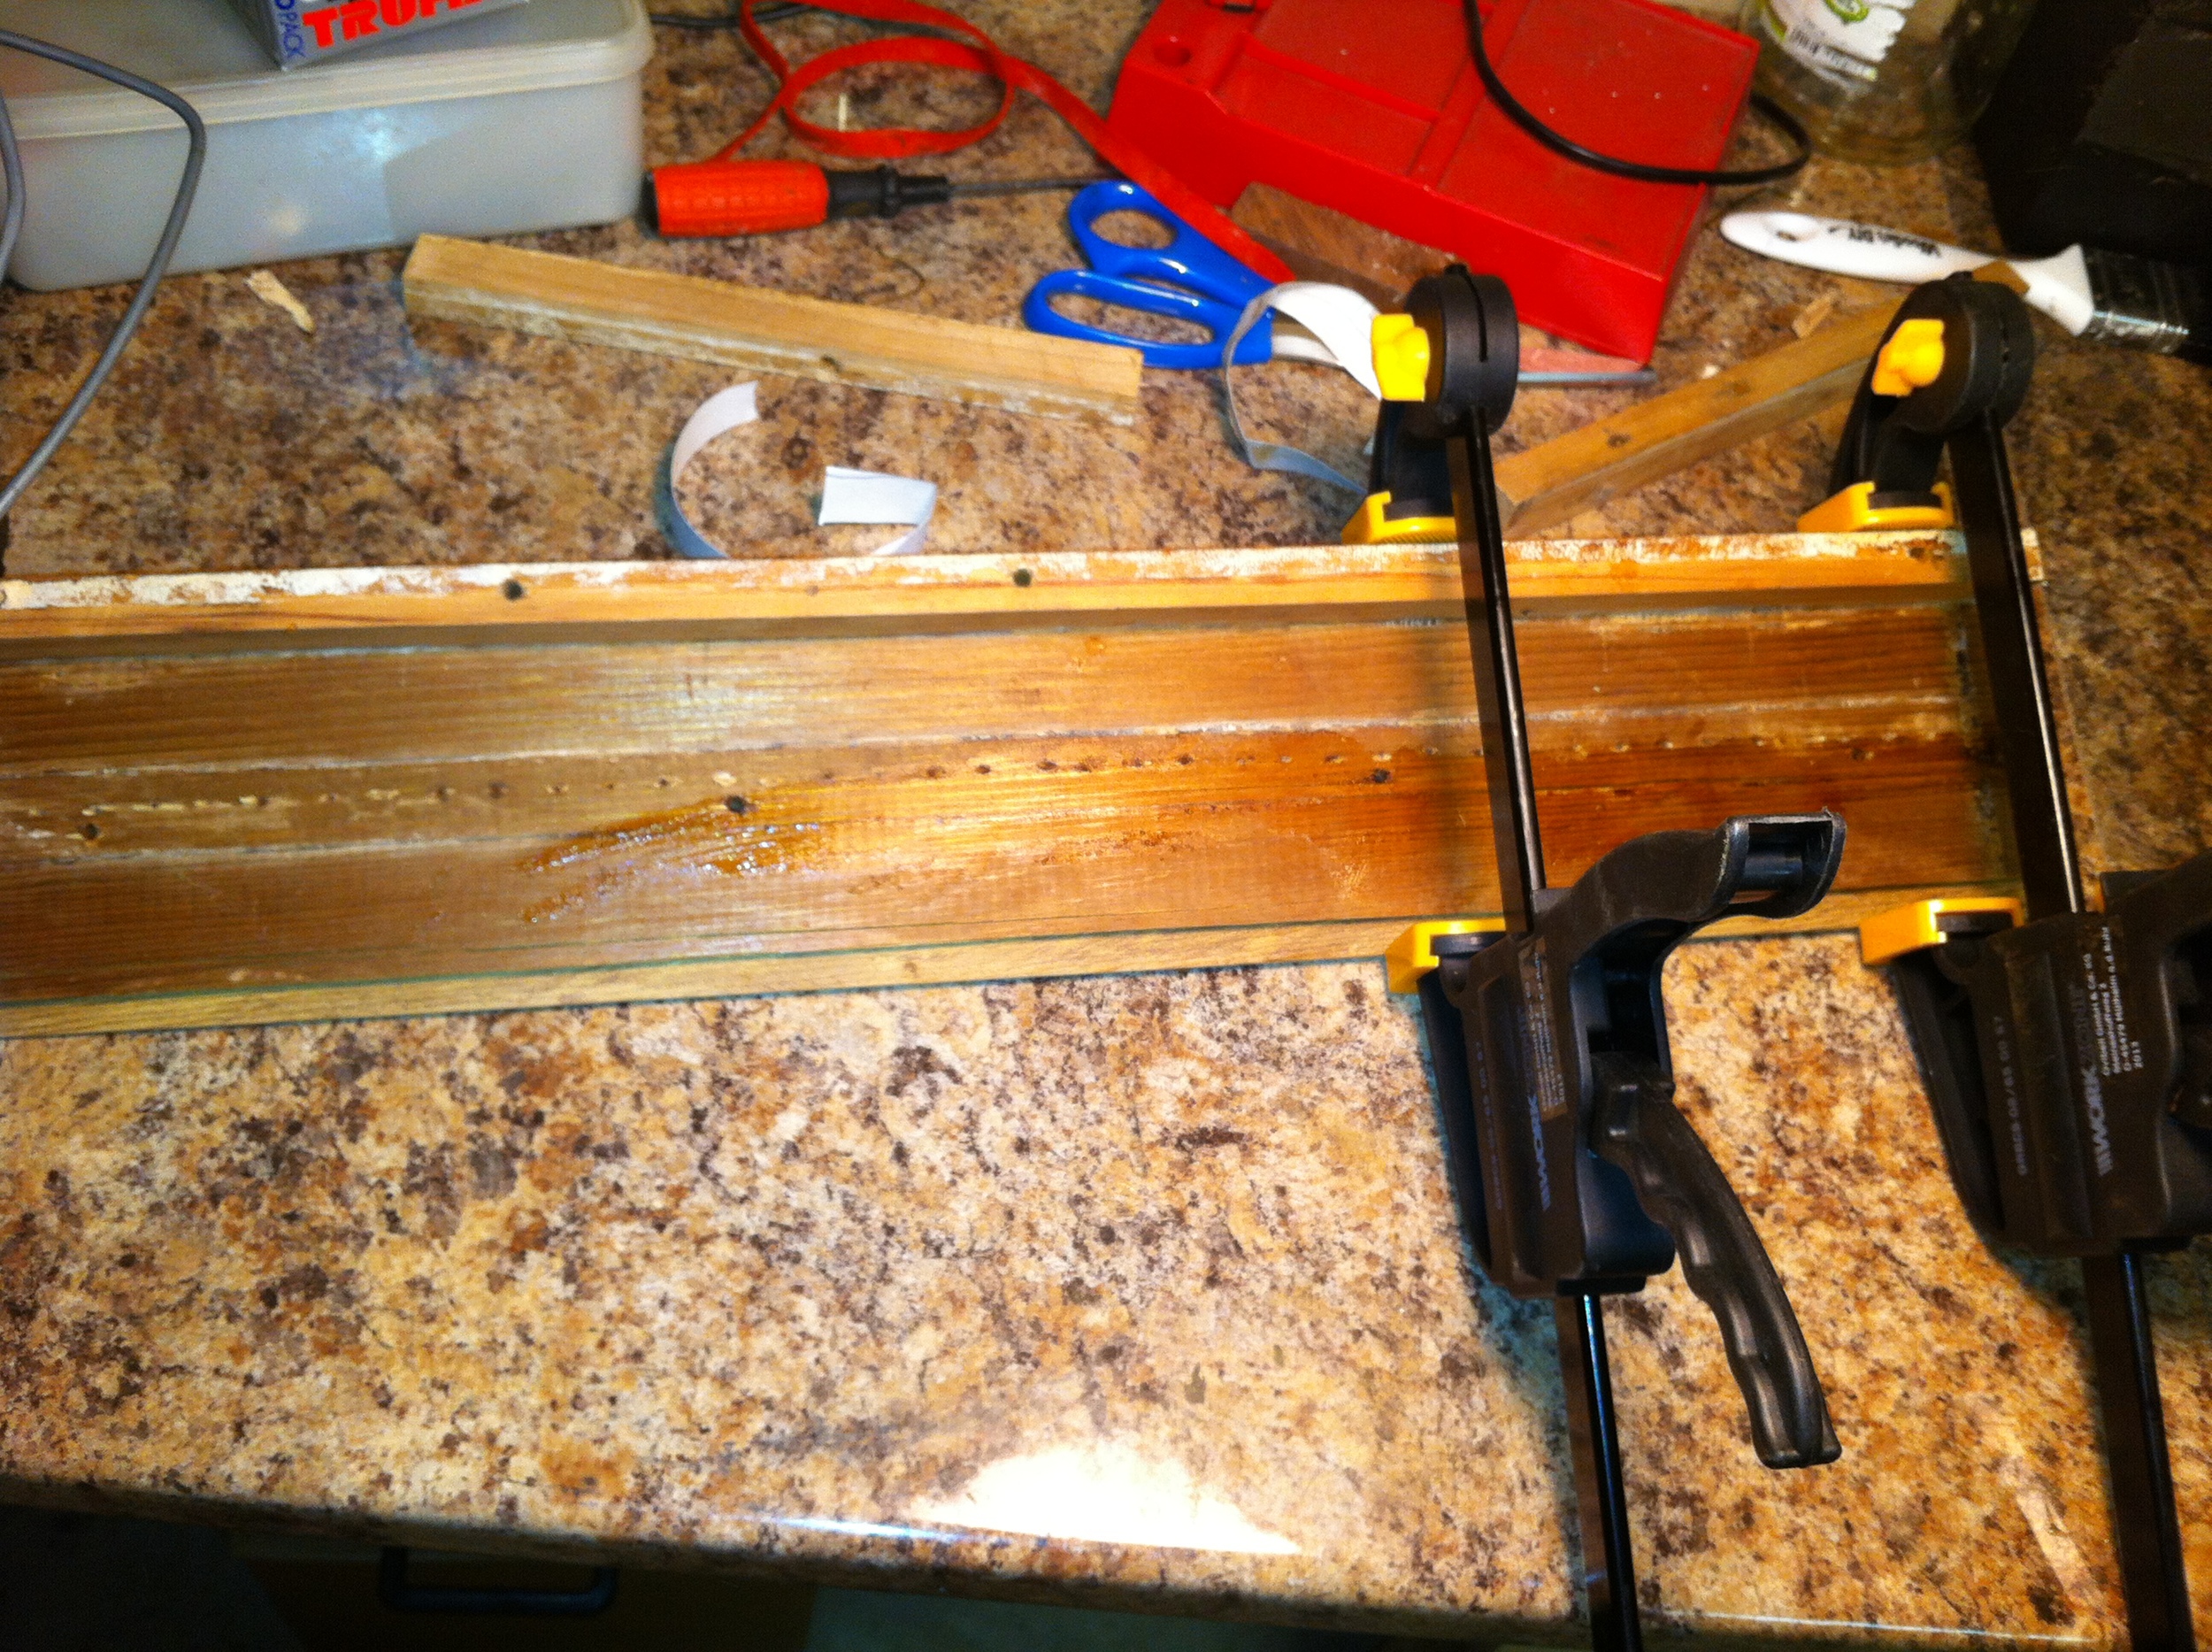
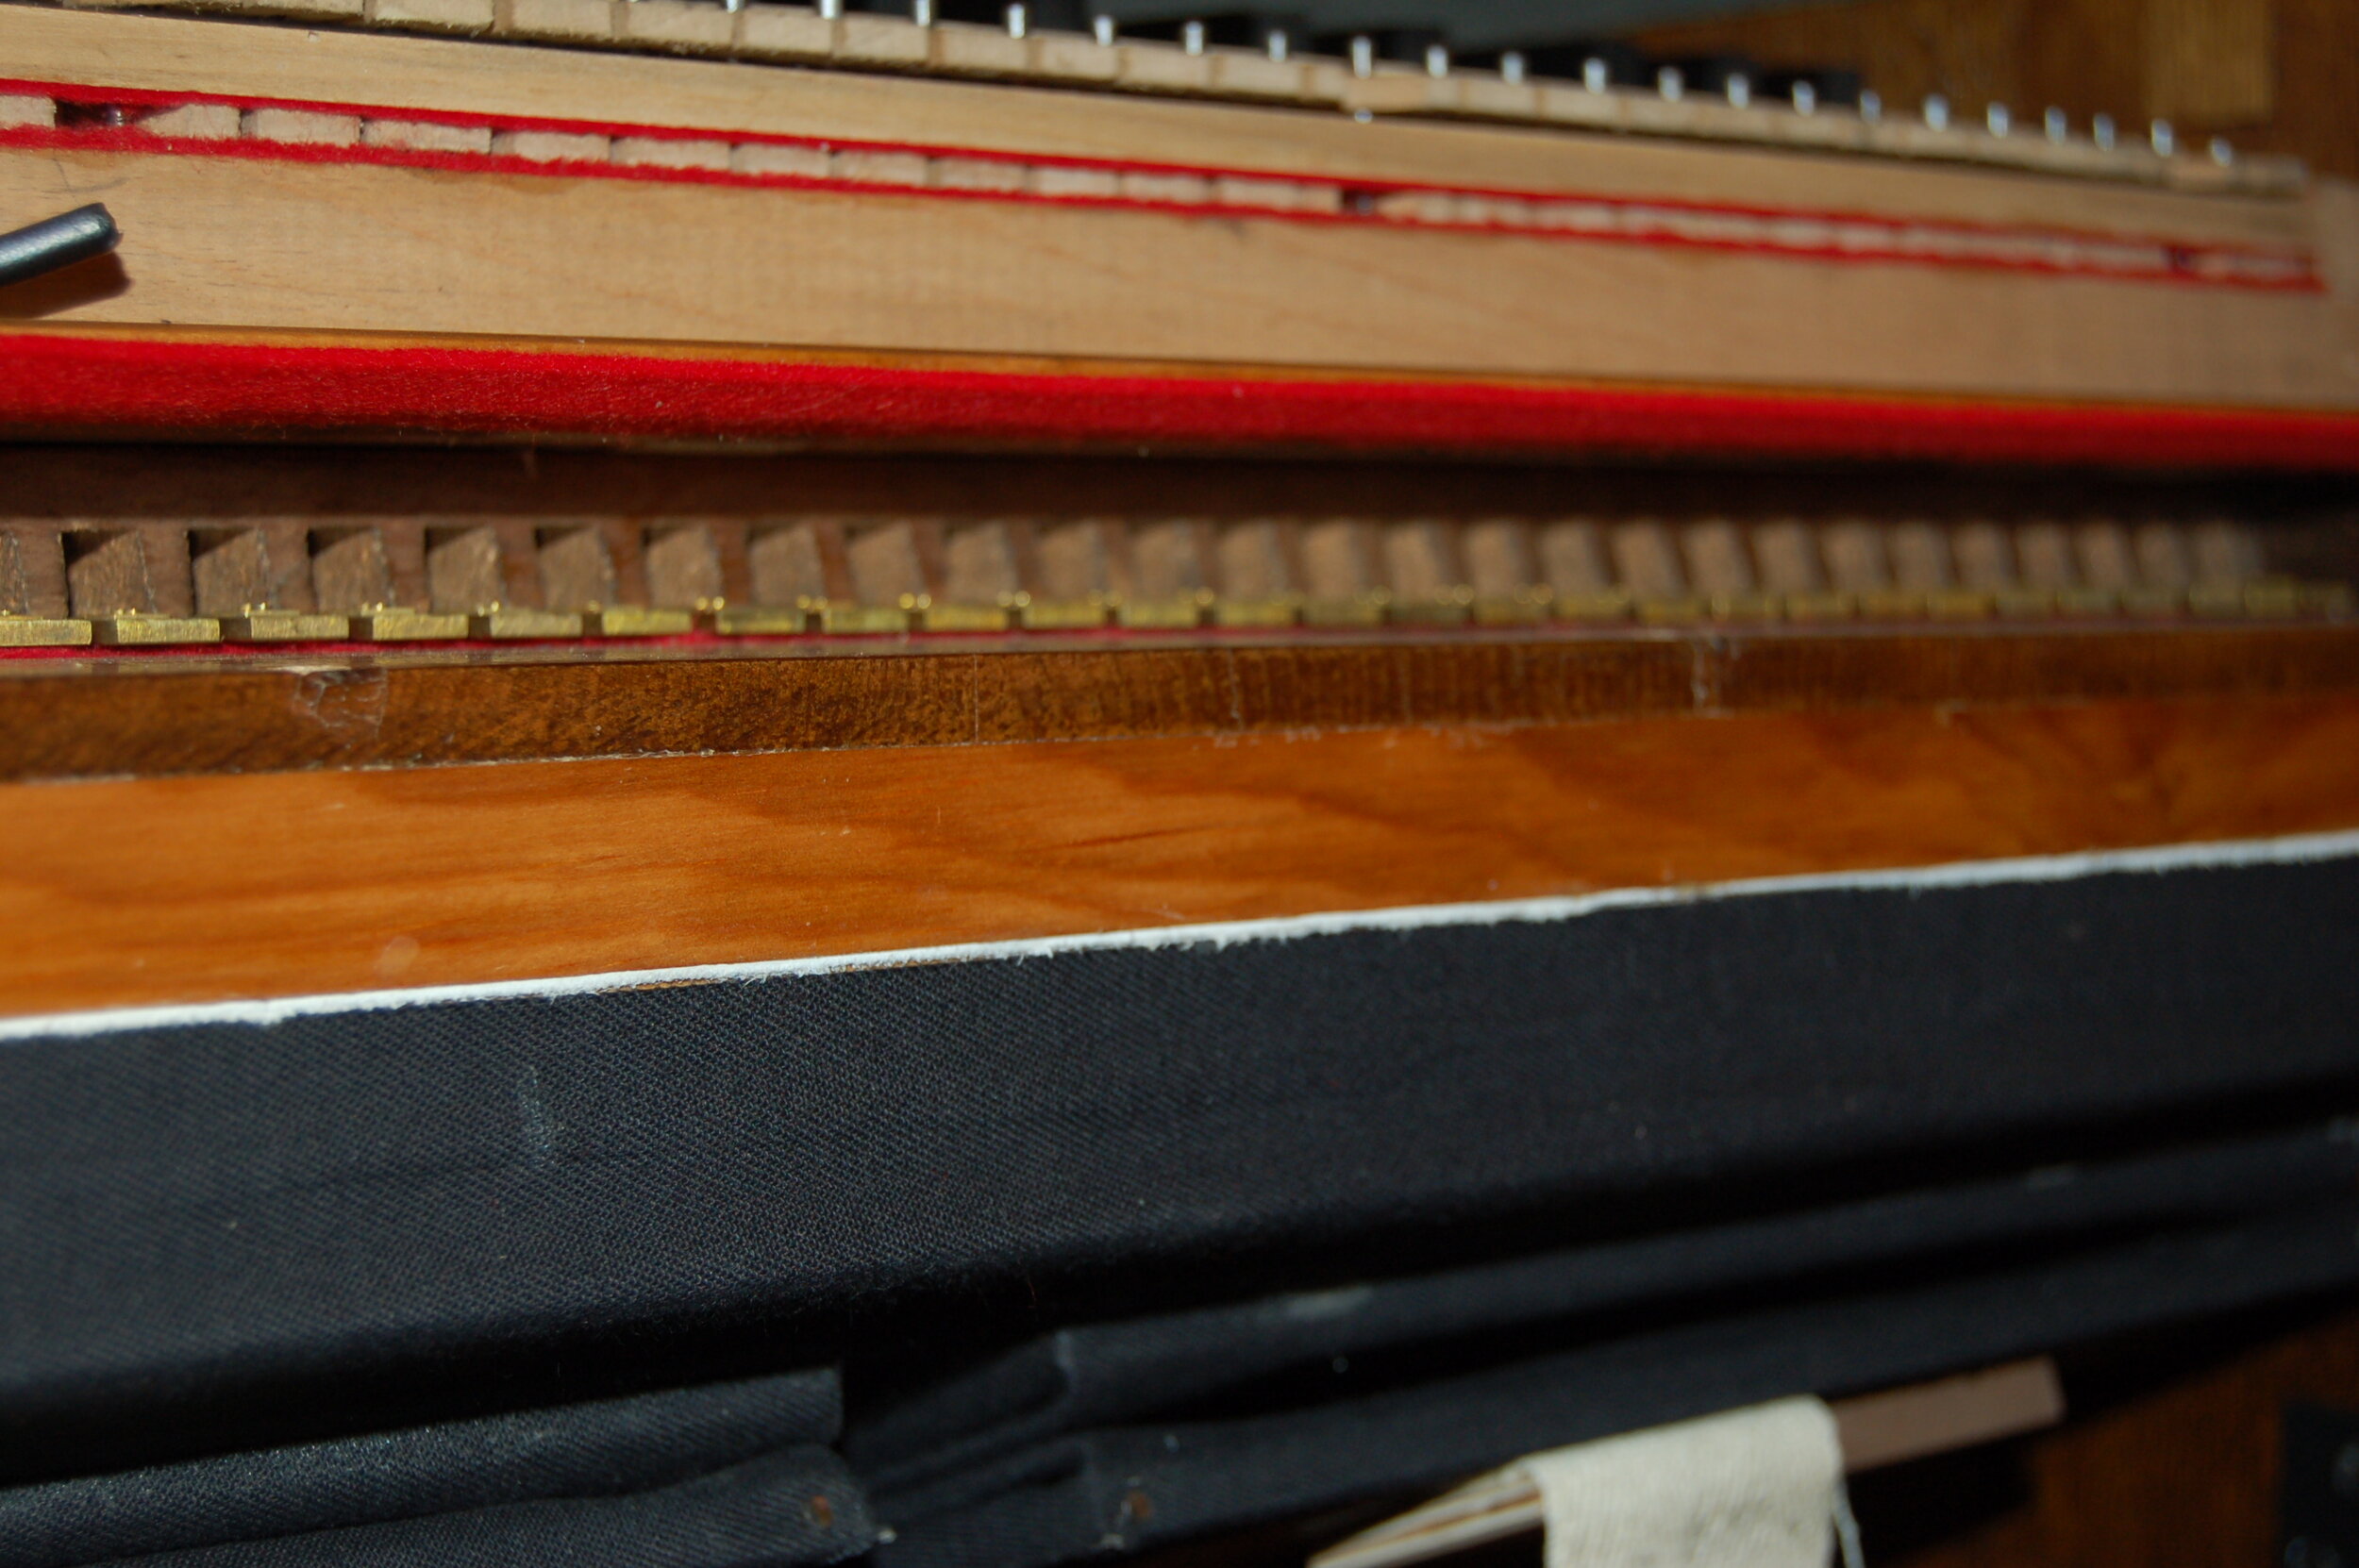
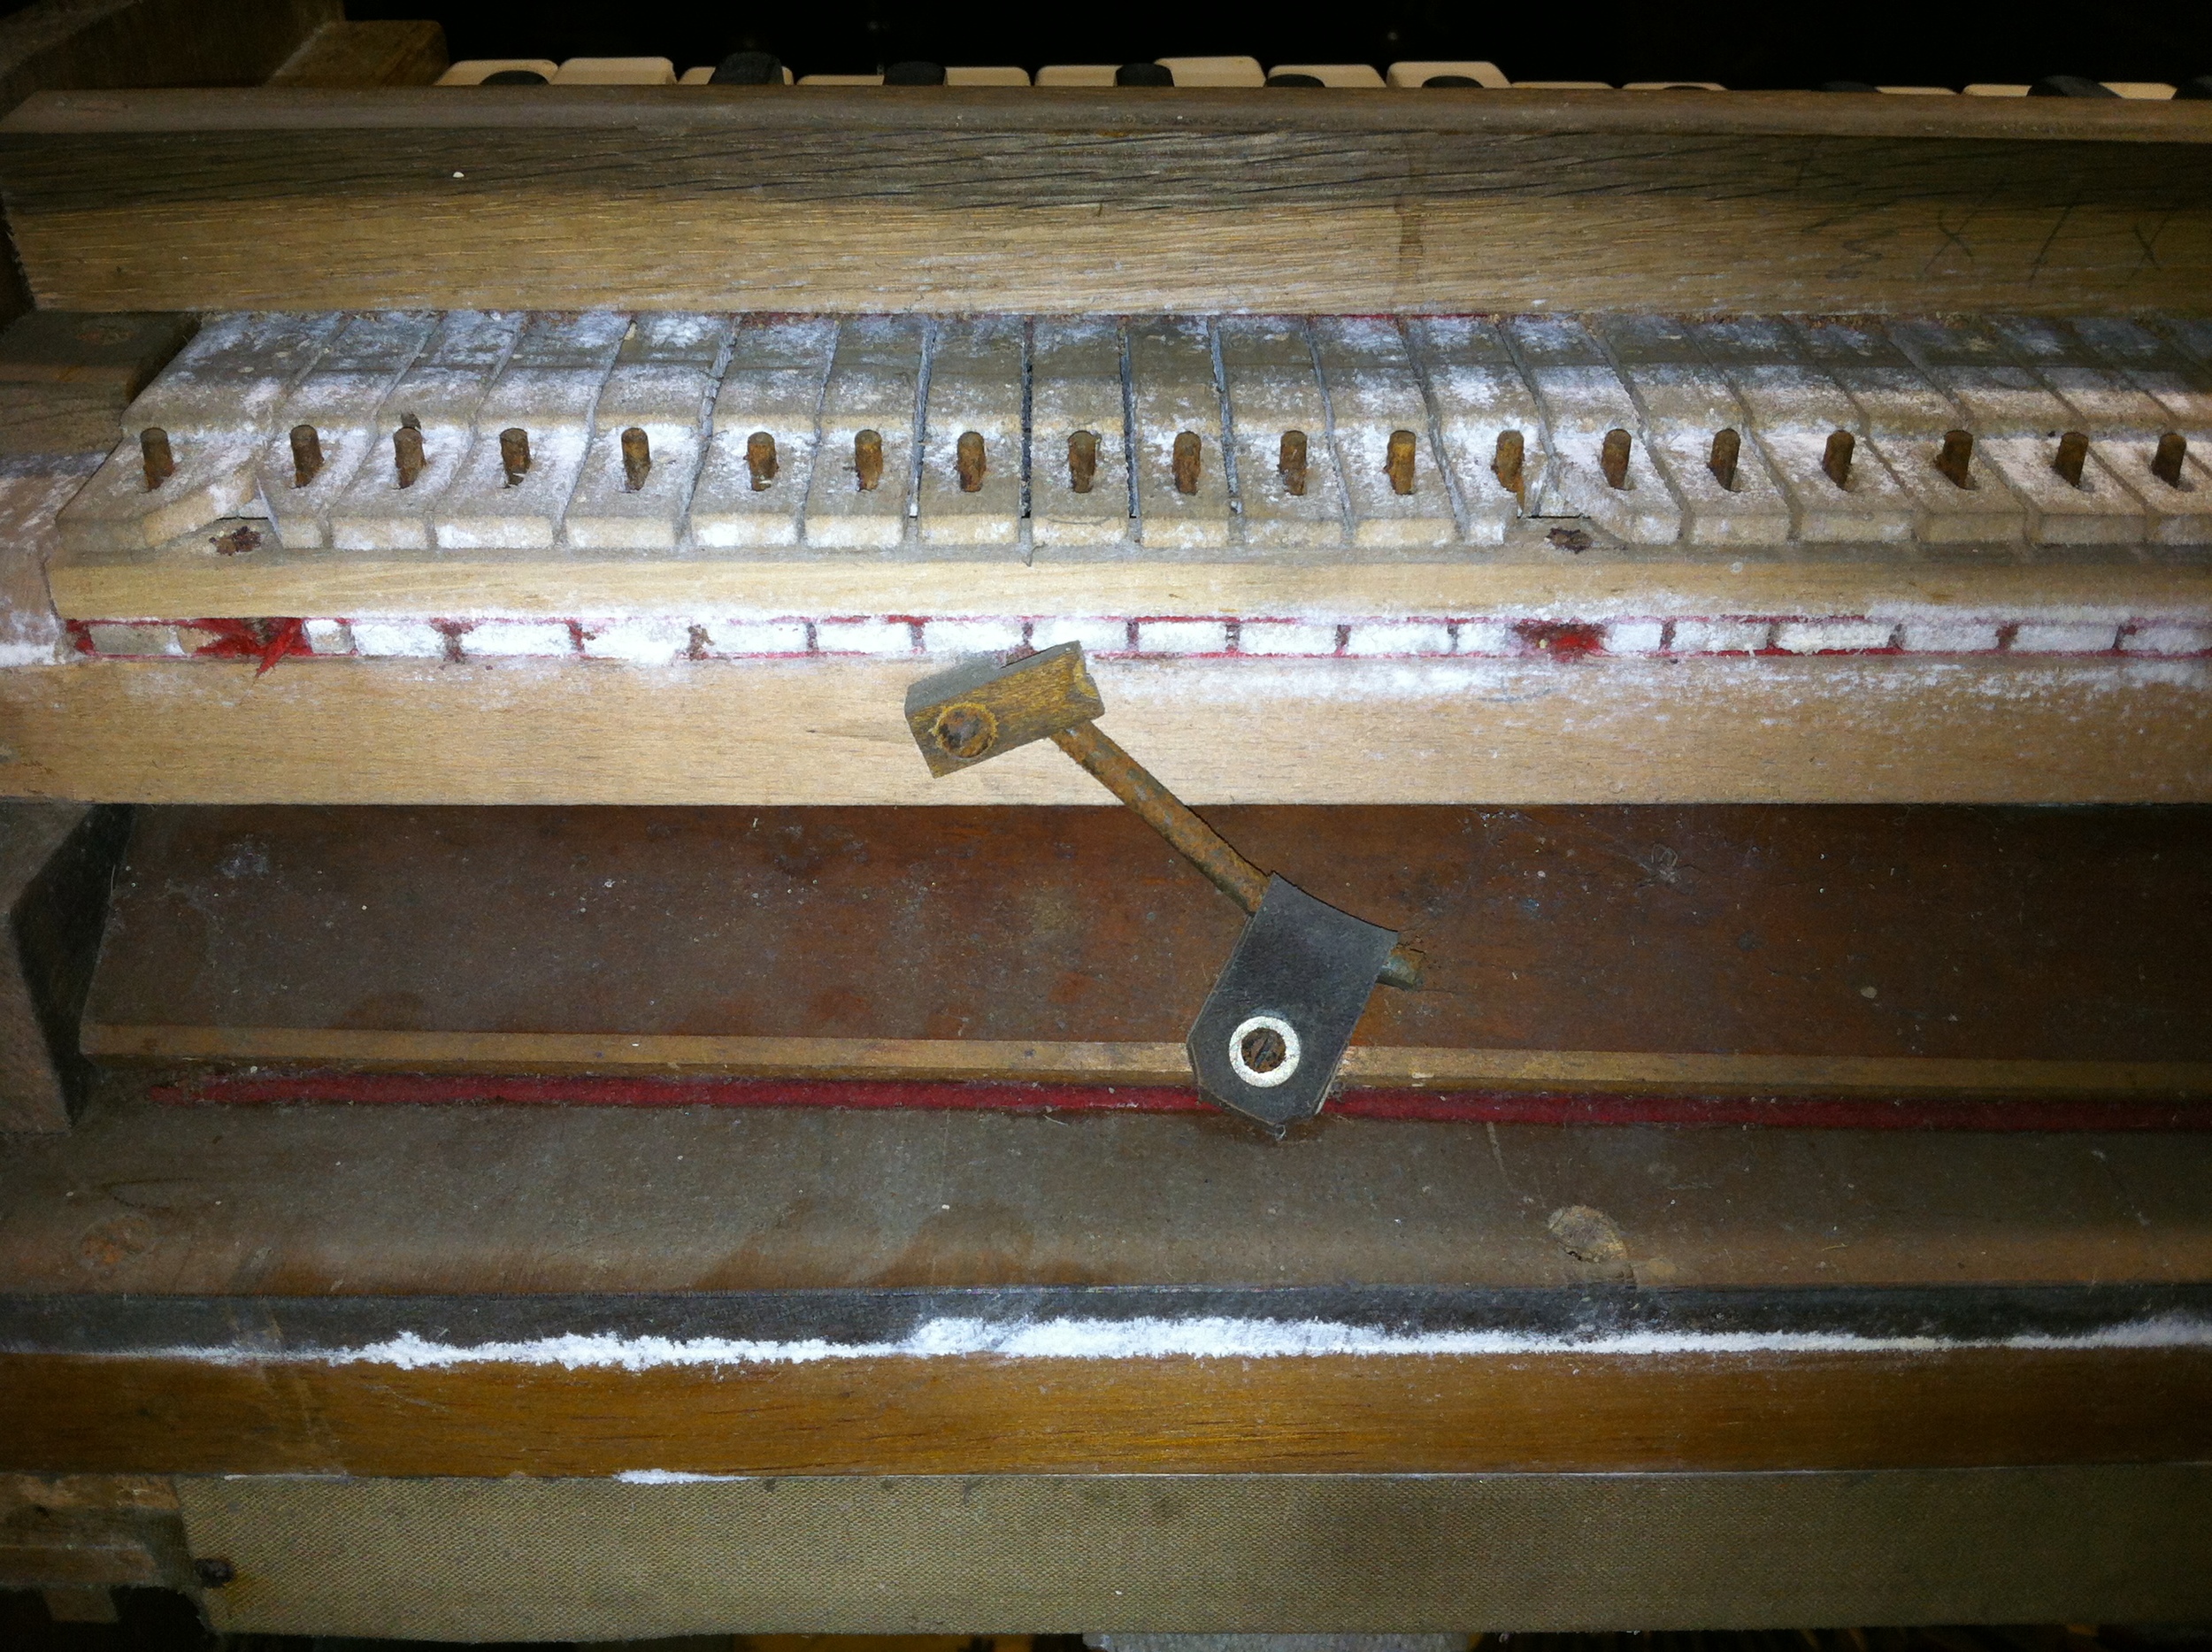
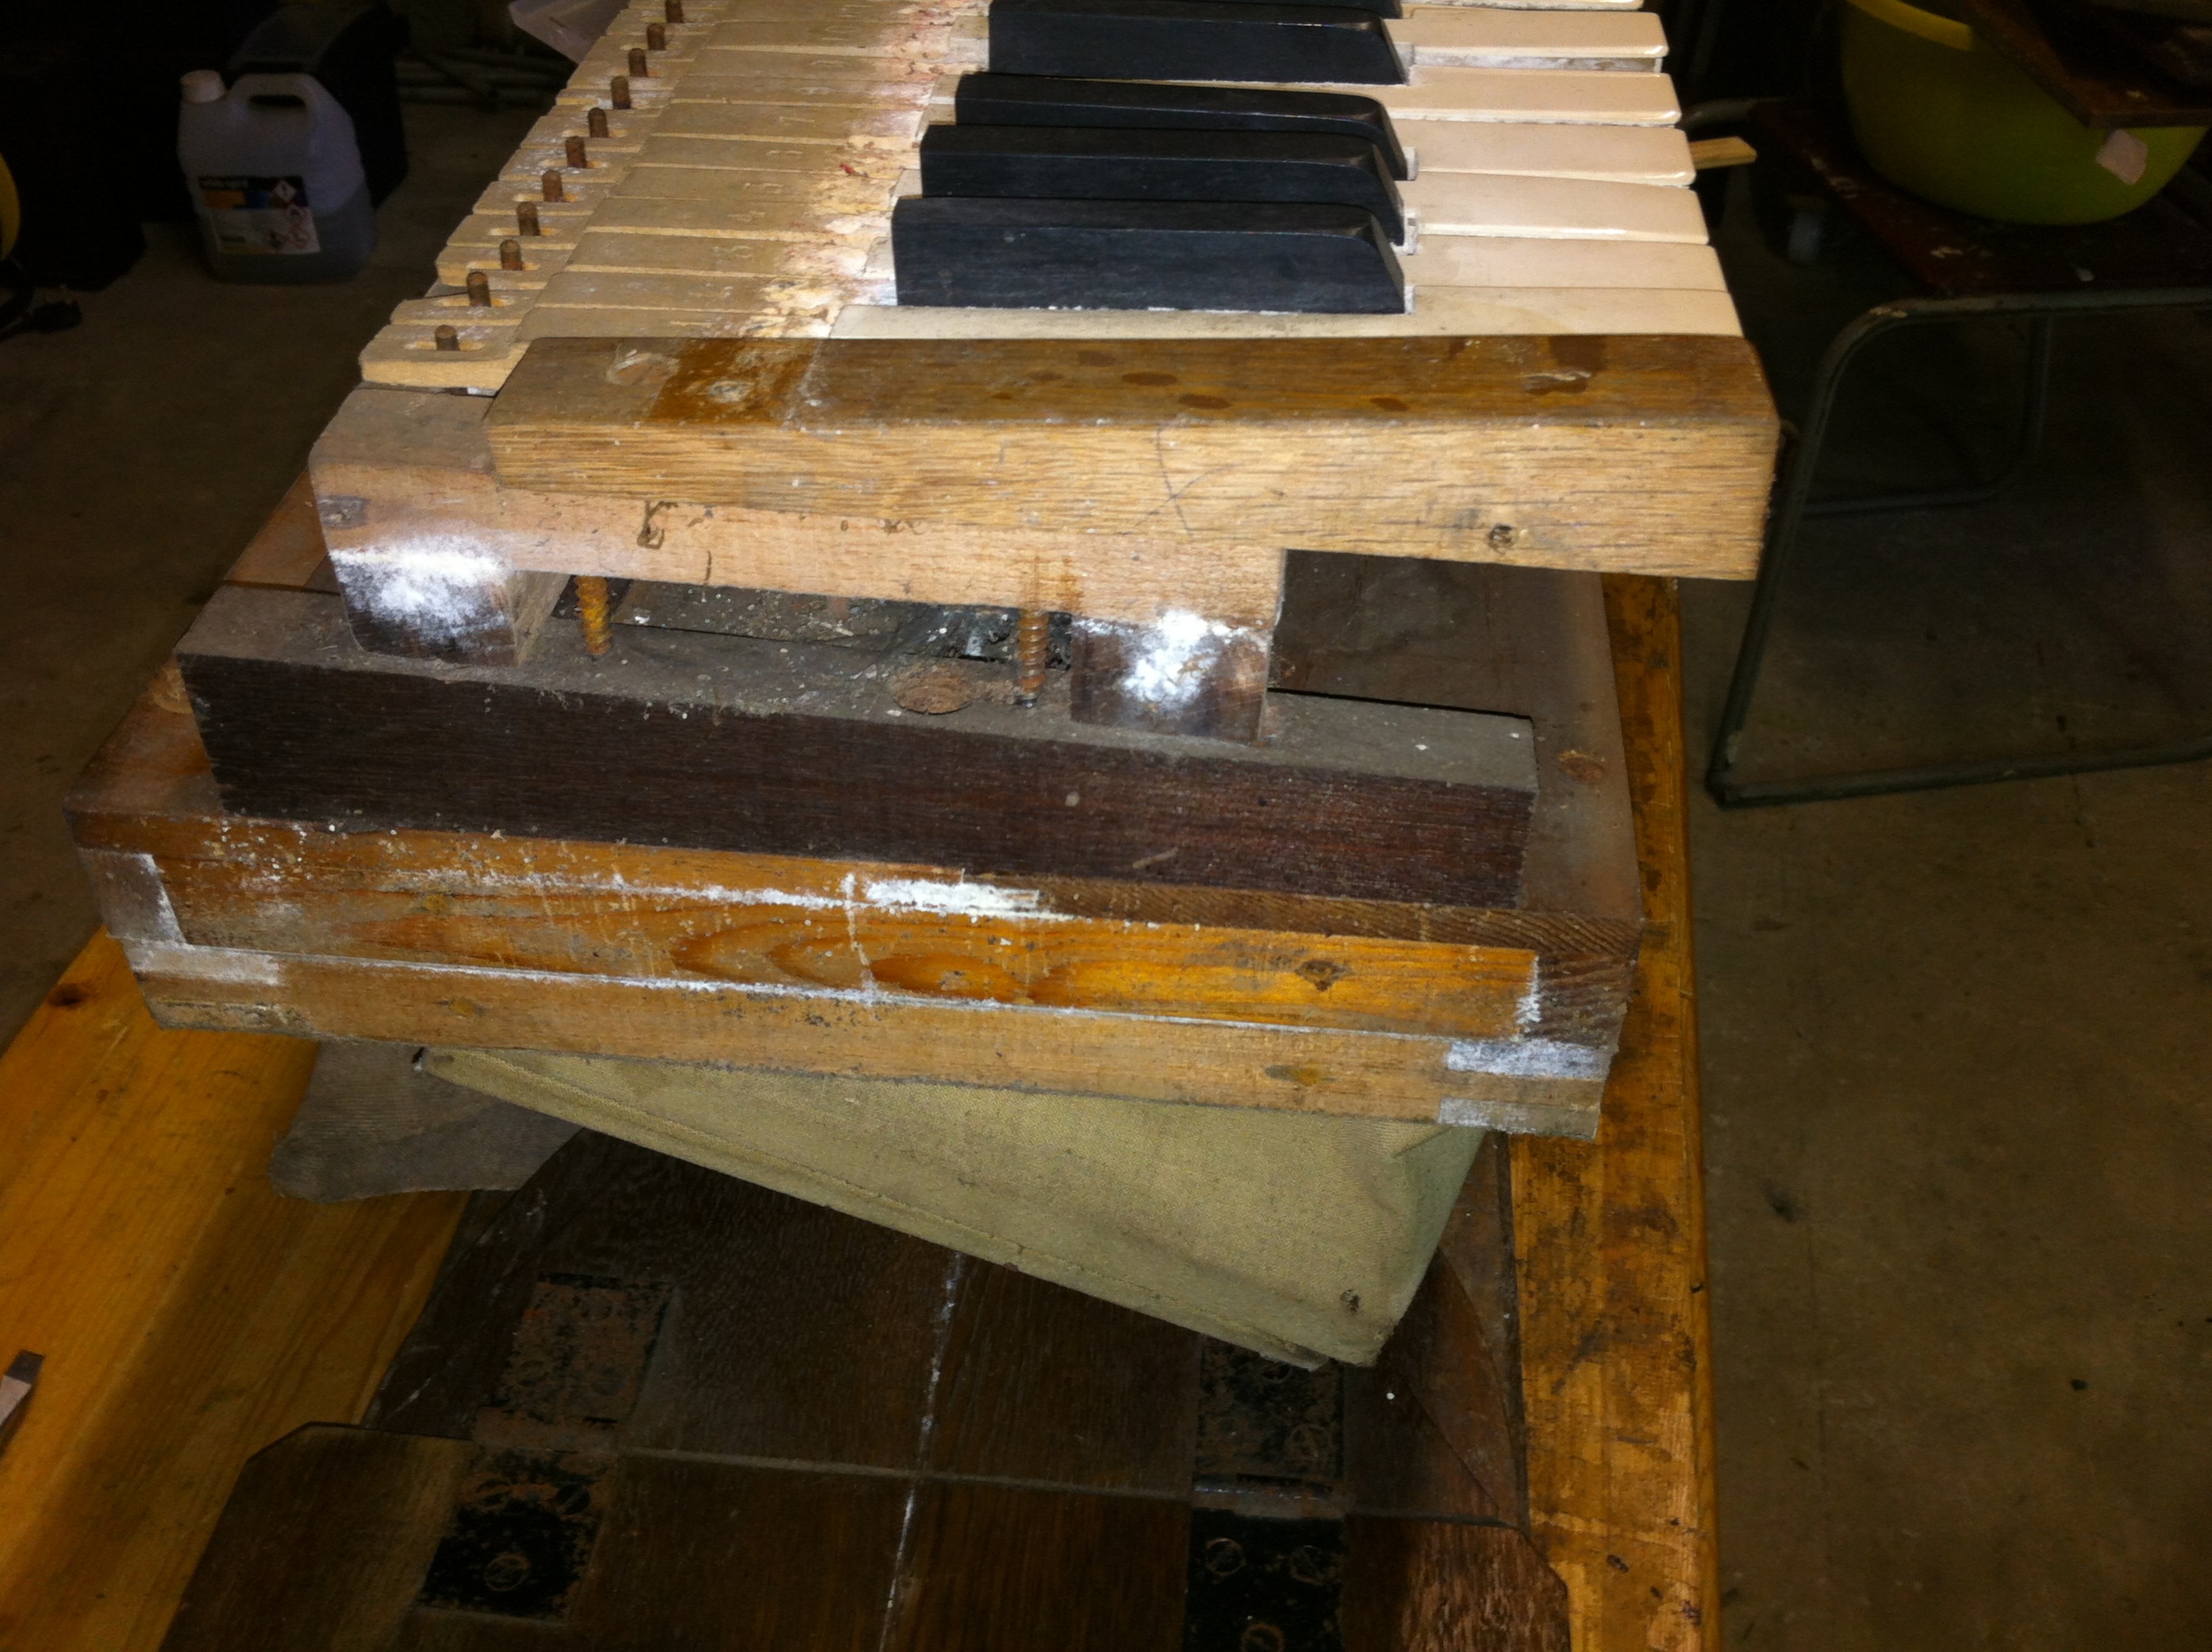
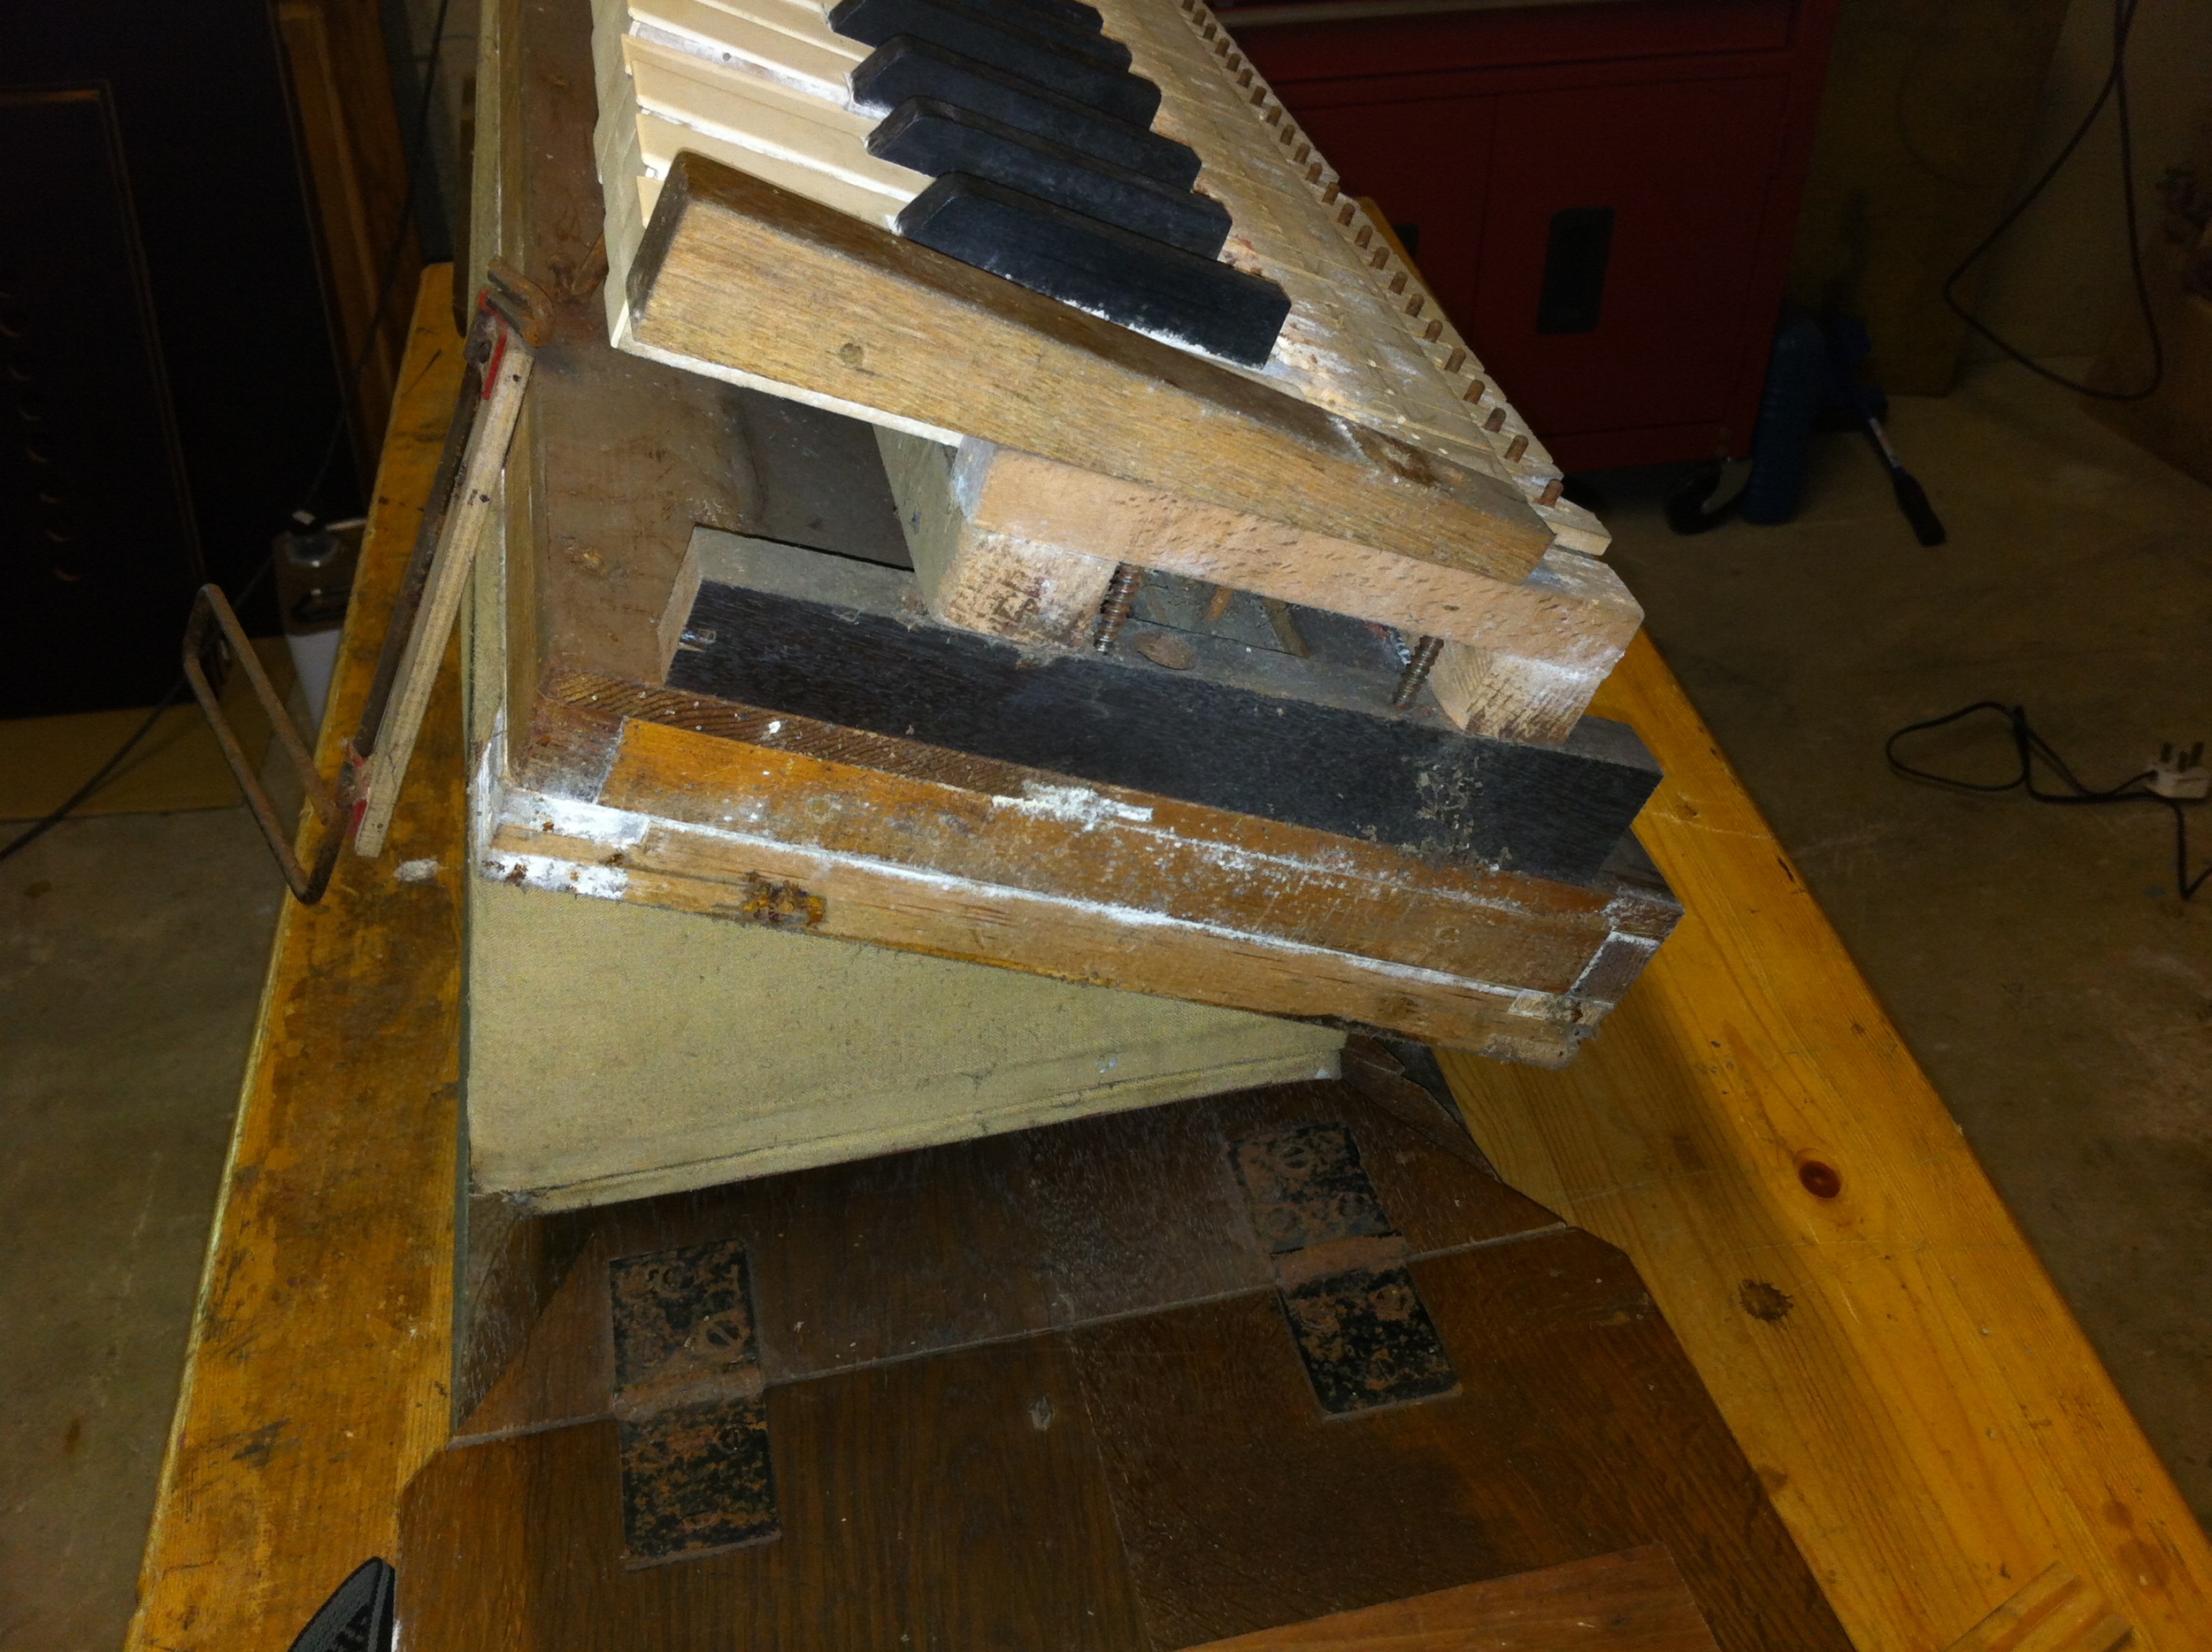
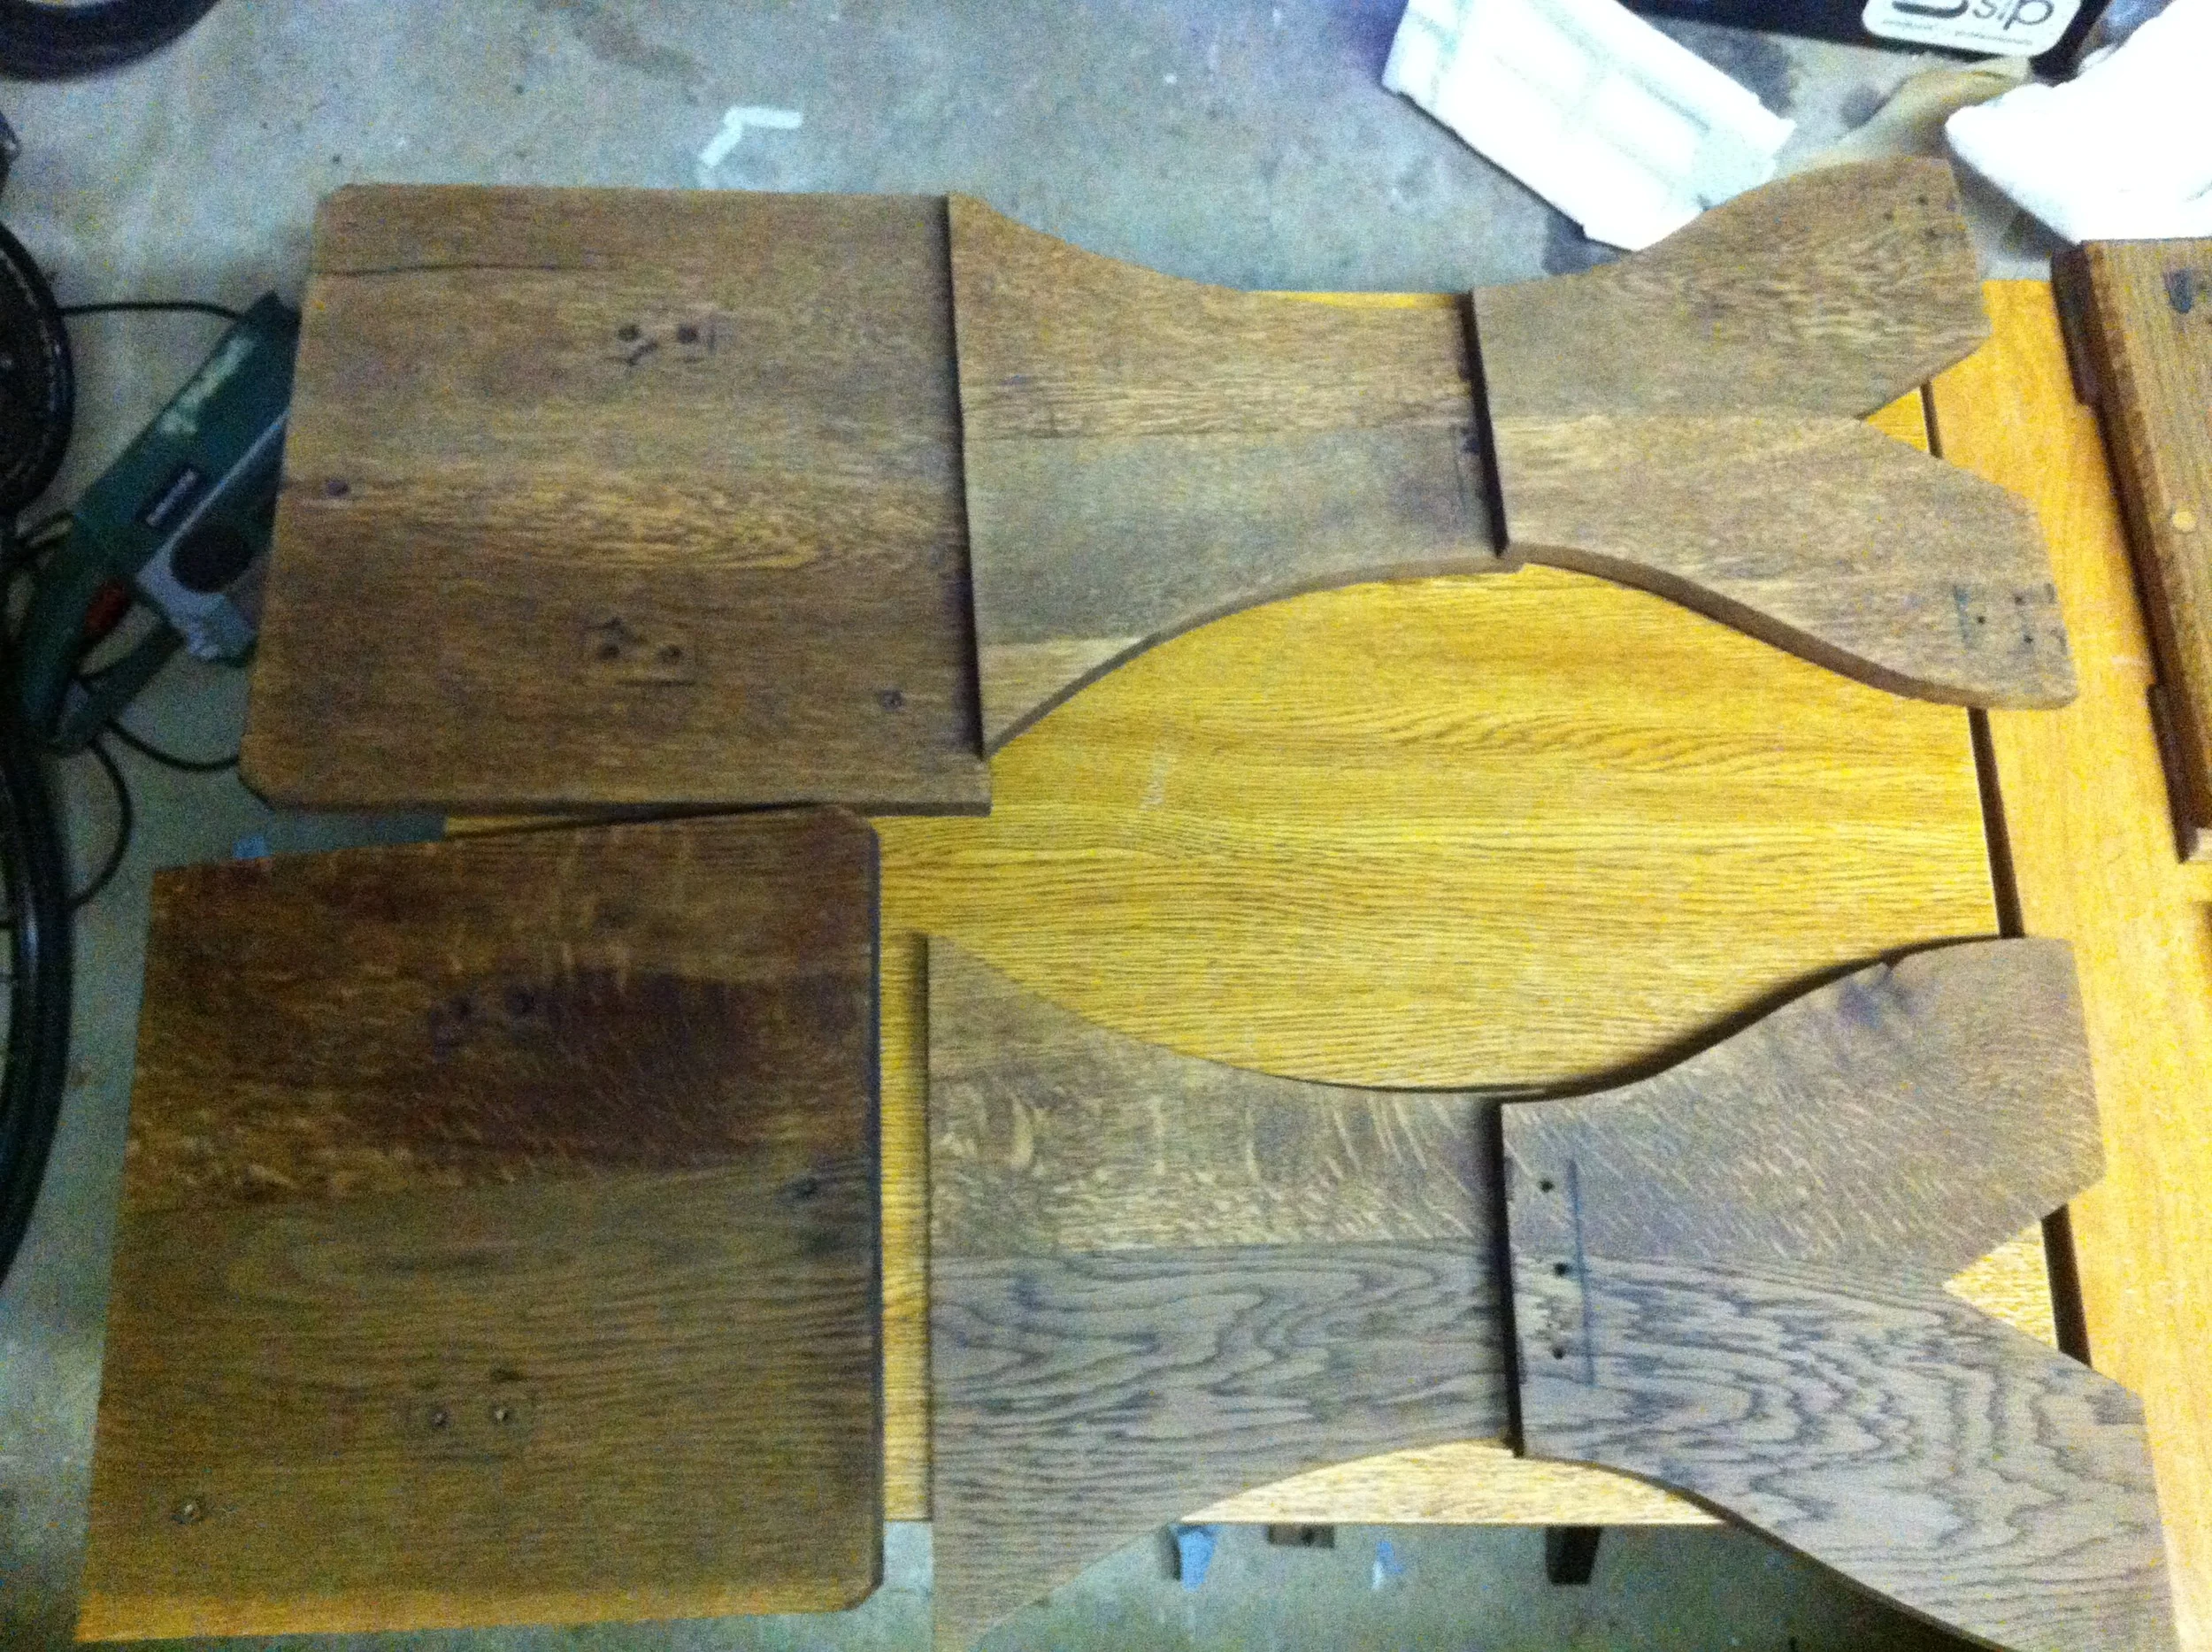
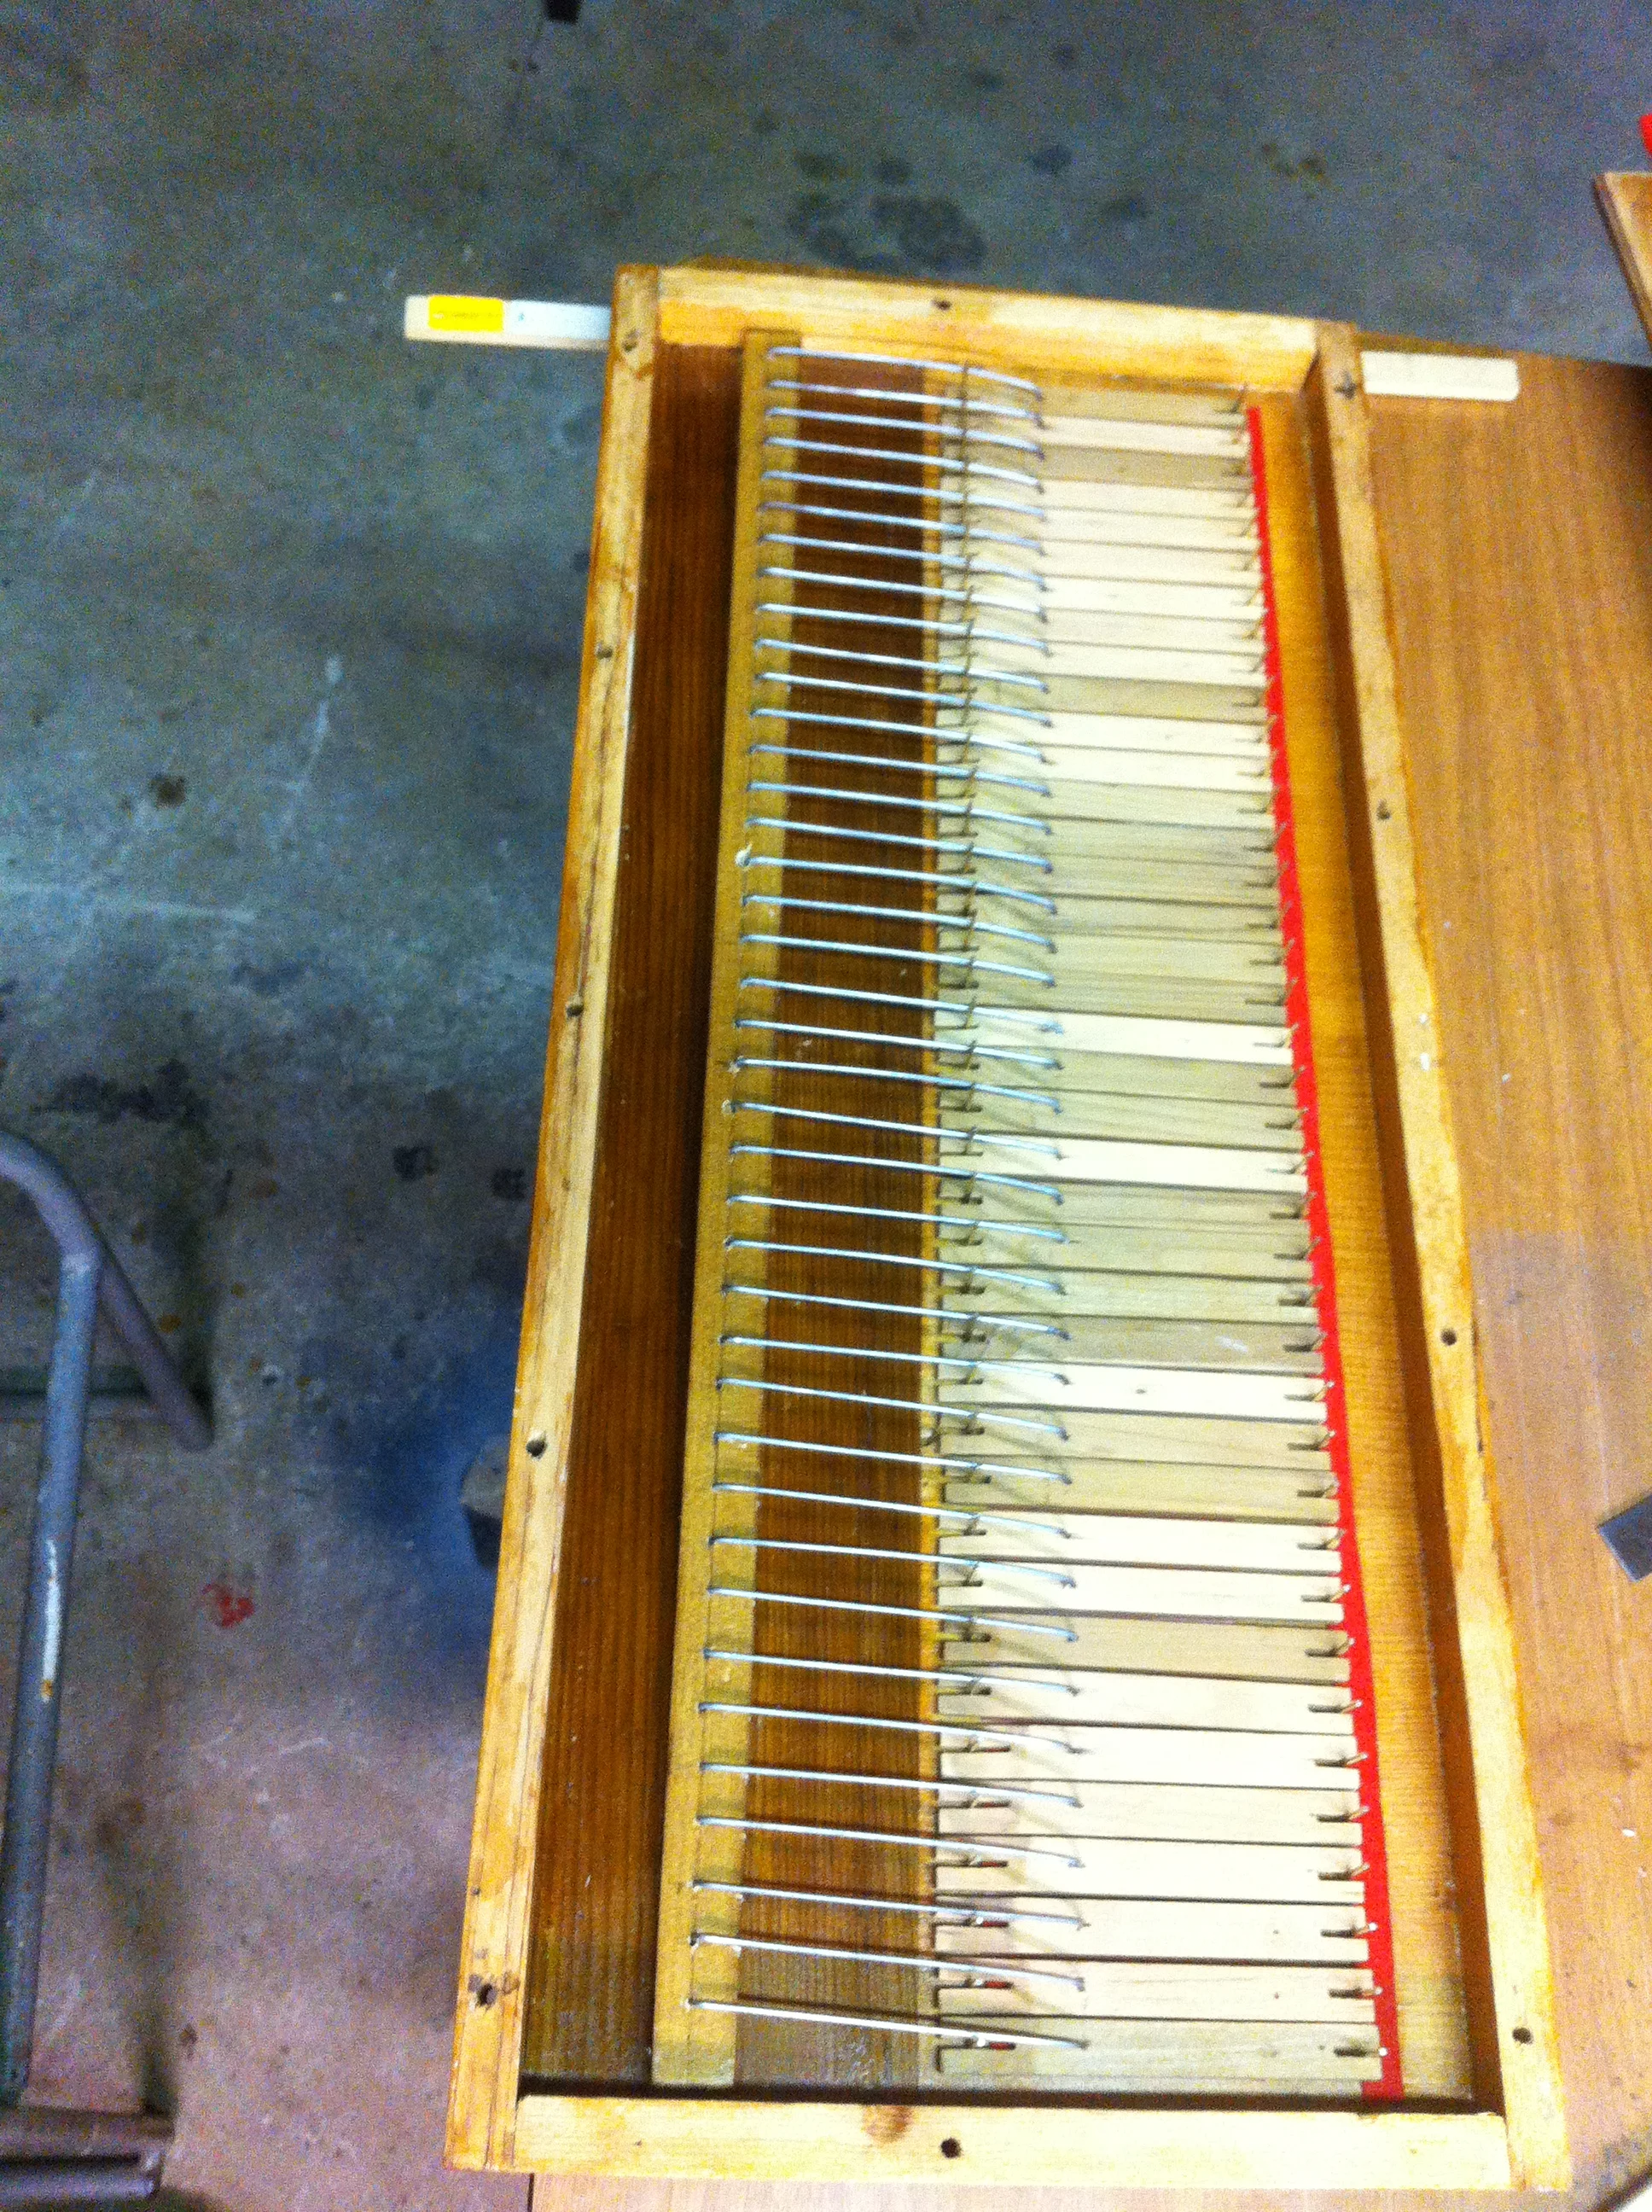
The Reed pan warped because of the pressure of the pallet valve springs acting on the thin damp wood over the years. Repairing the reed pan required cleaning and sanding as you would expect. Hot hide glue was used to piece it back together as illustrated in the photos below.


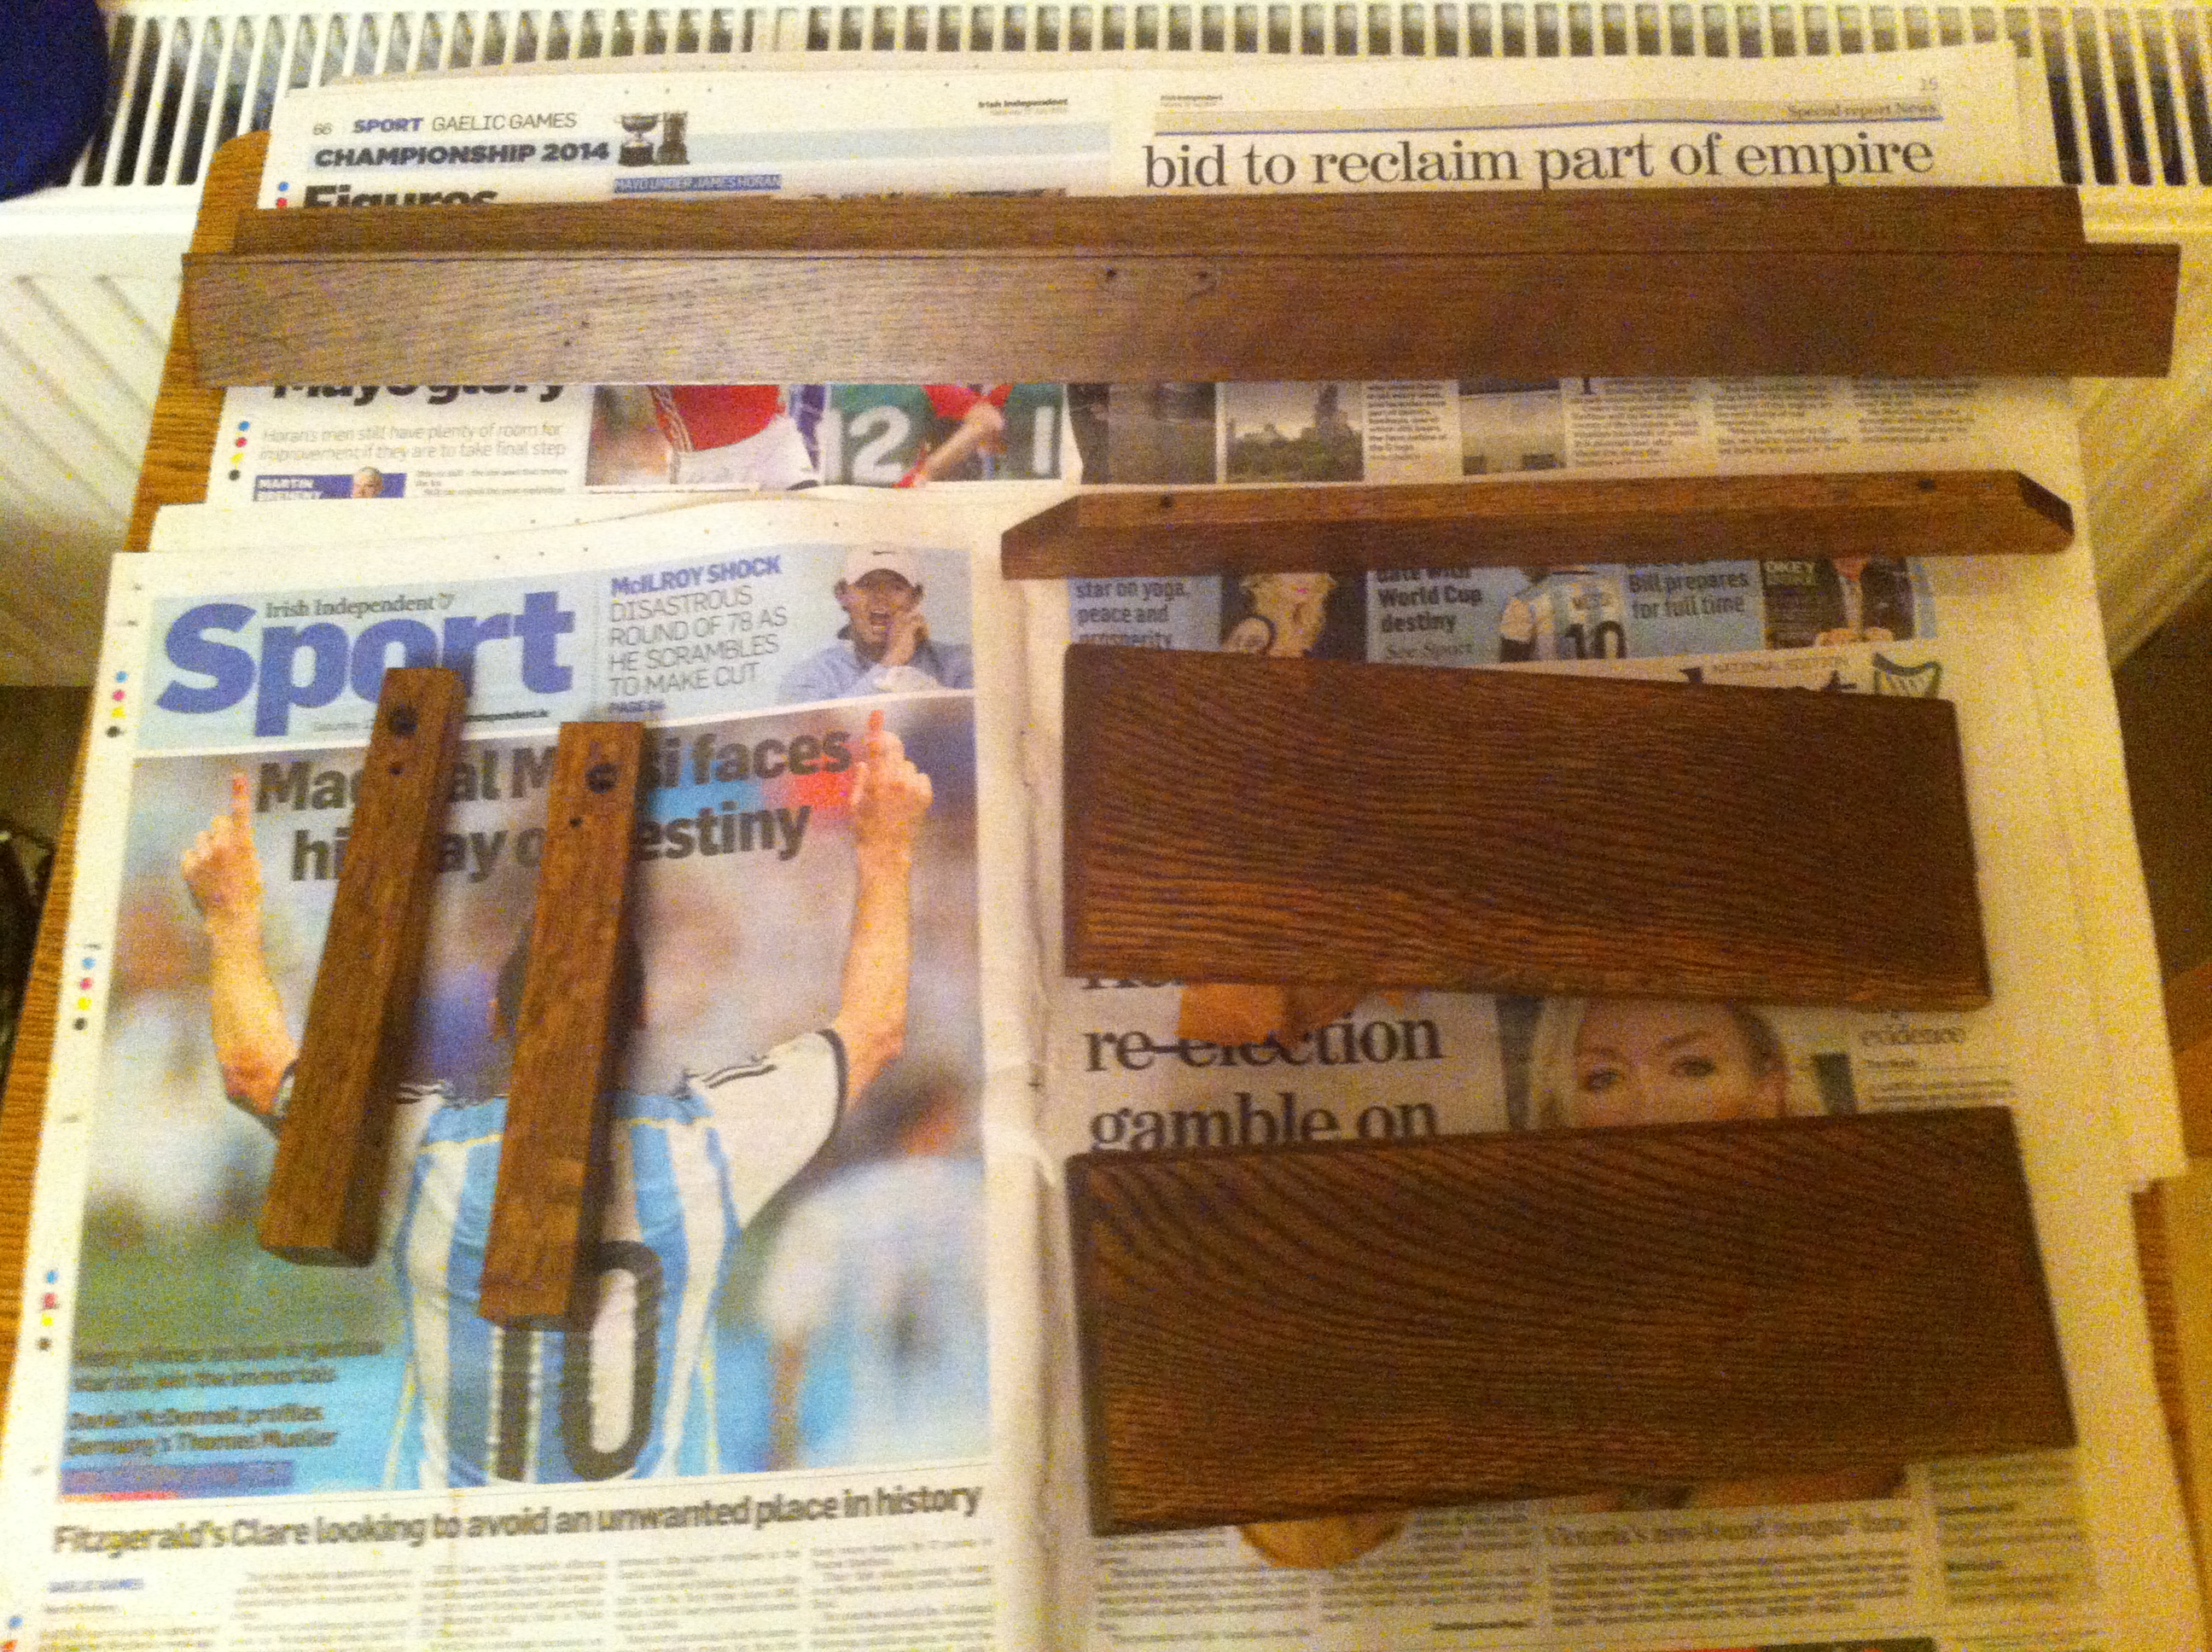
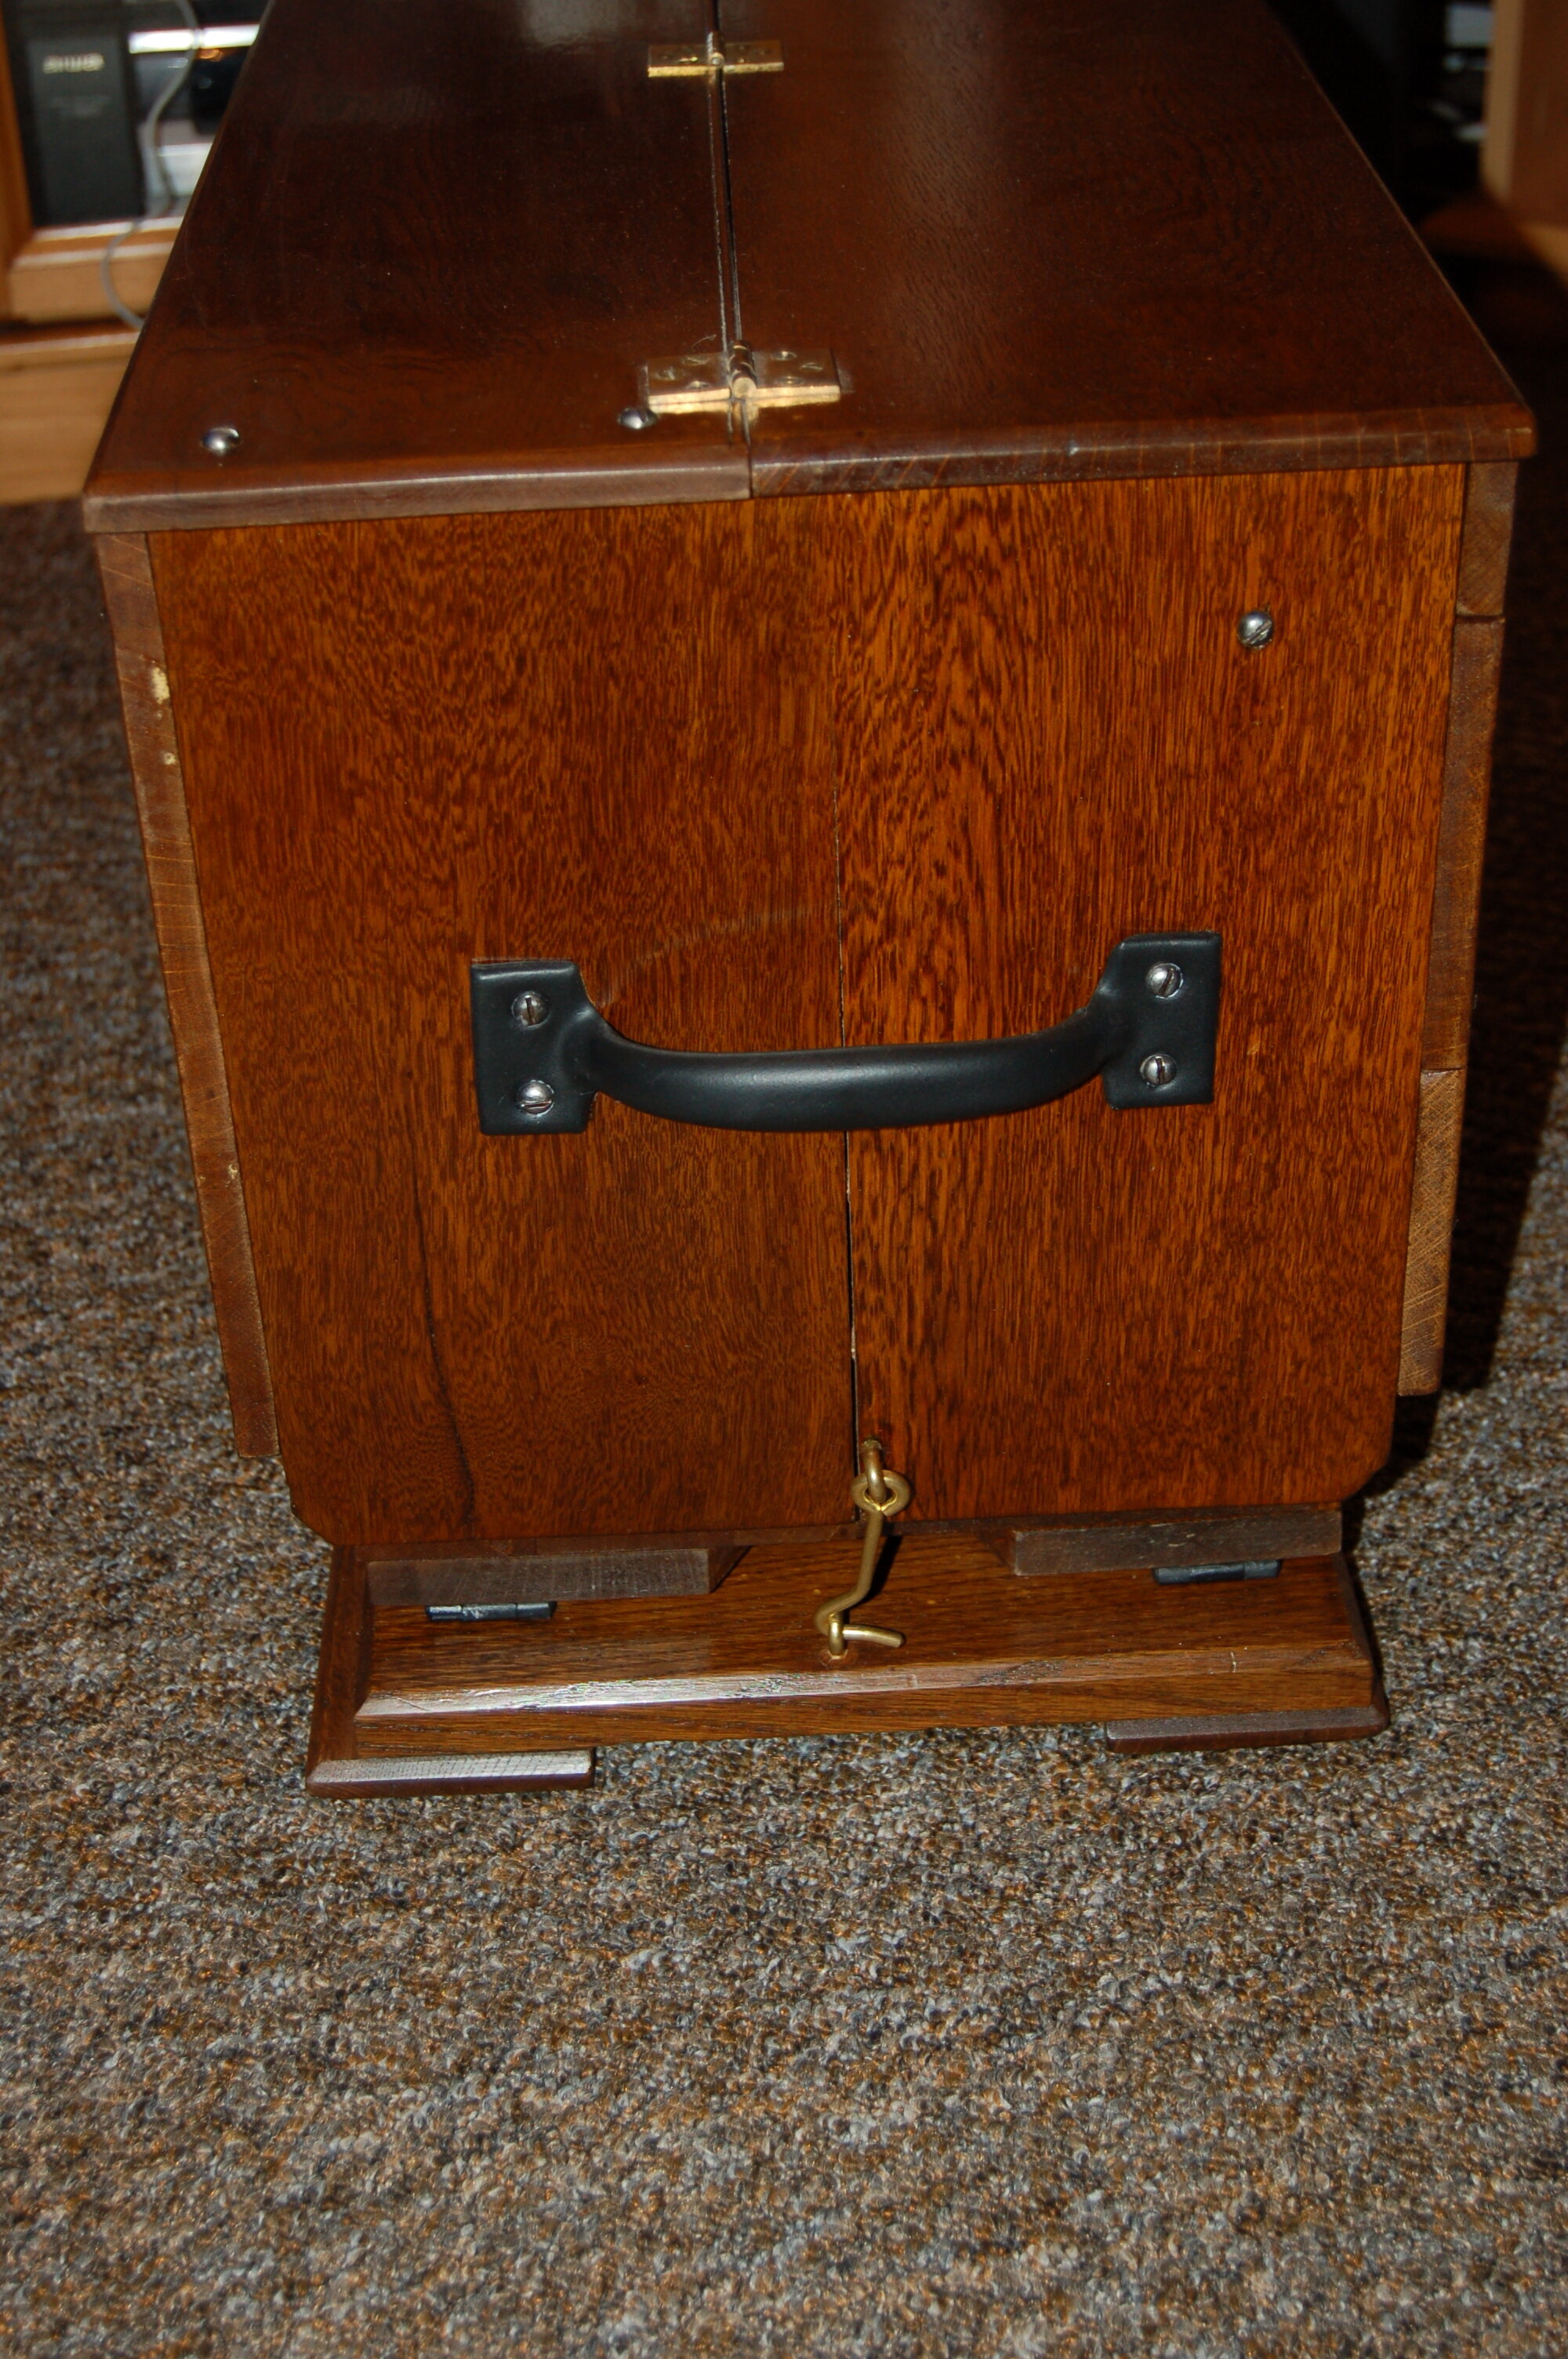
I have begun French Polishing the case. It will take a few coats but will look really well. Photos below.
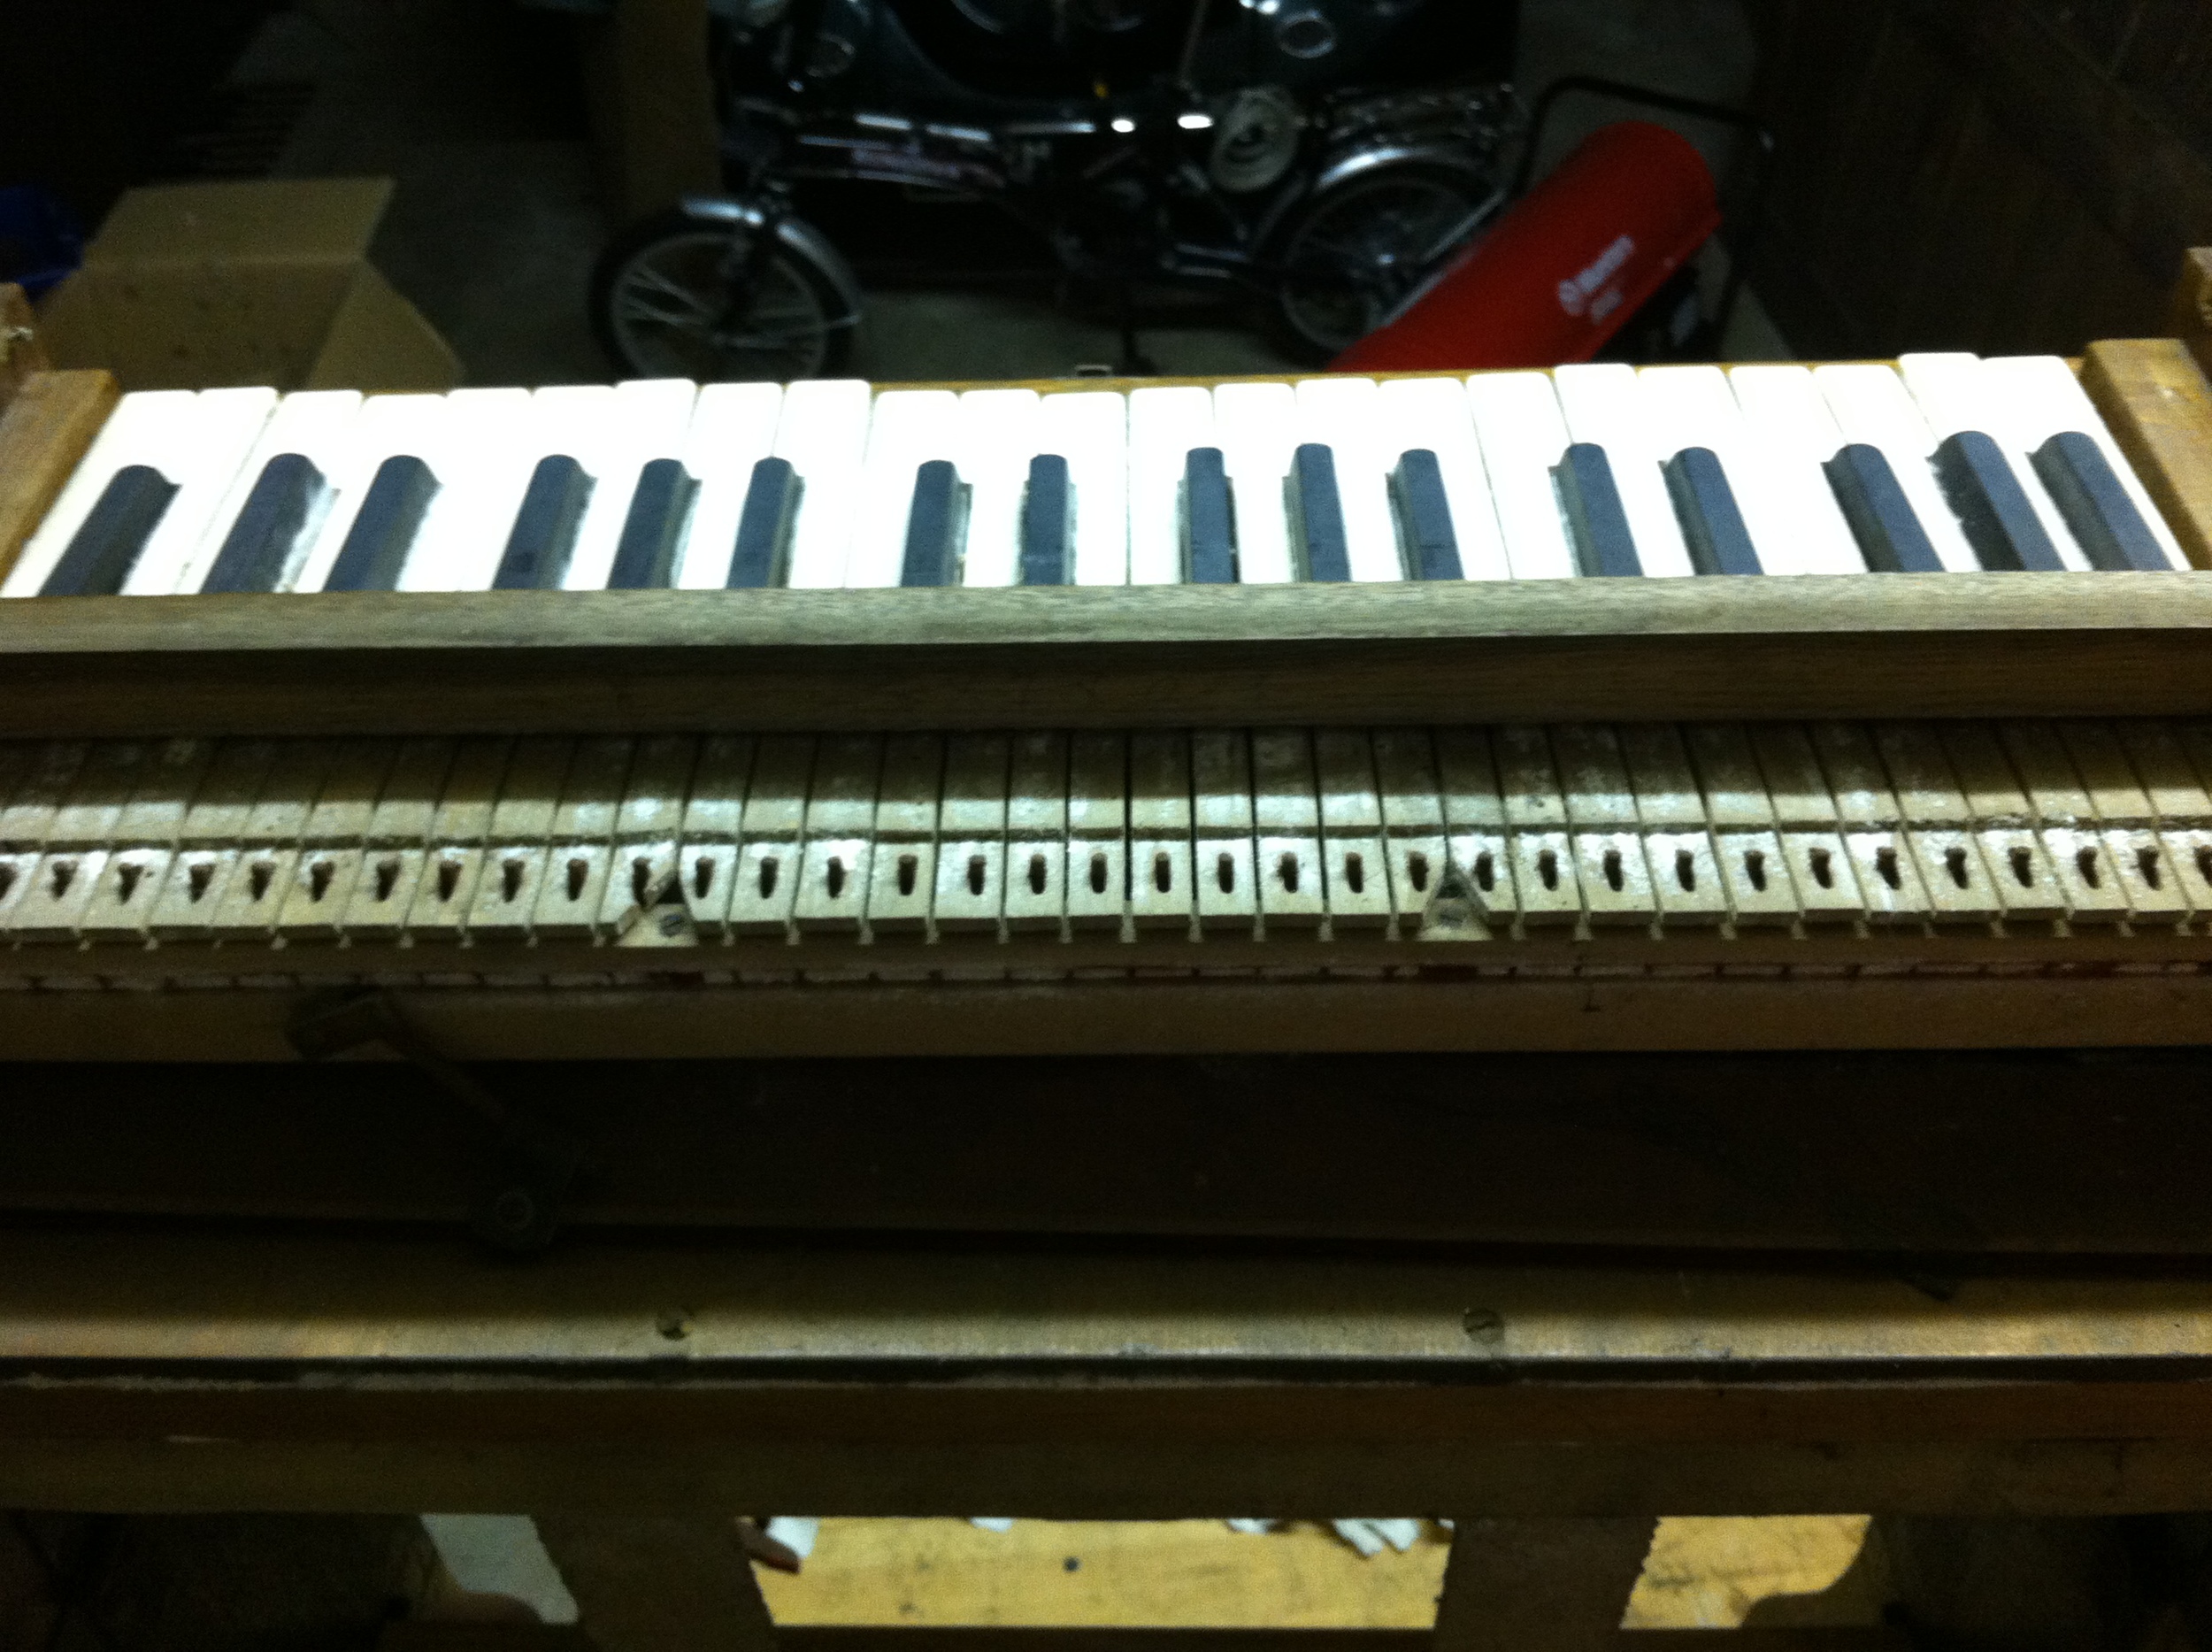
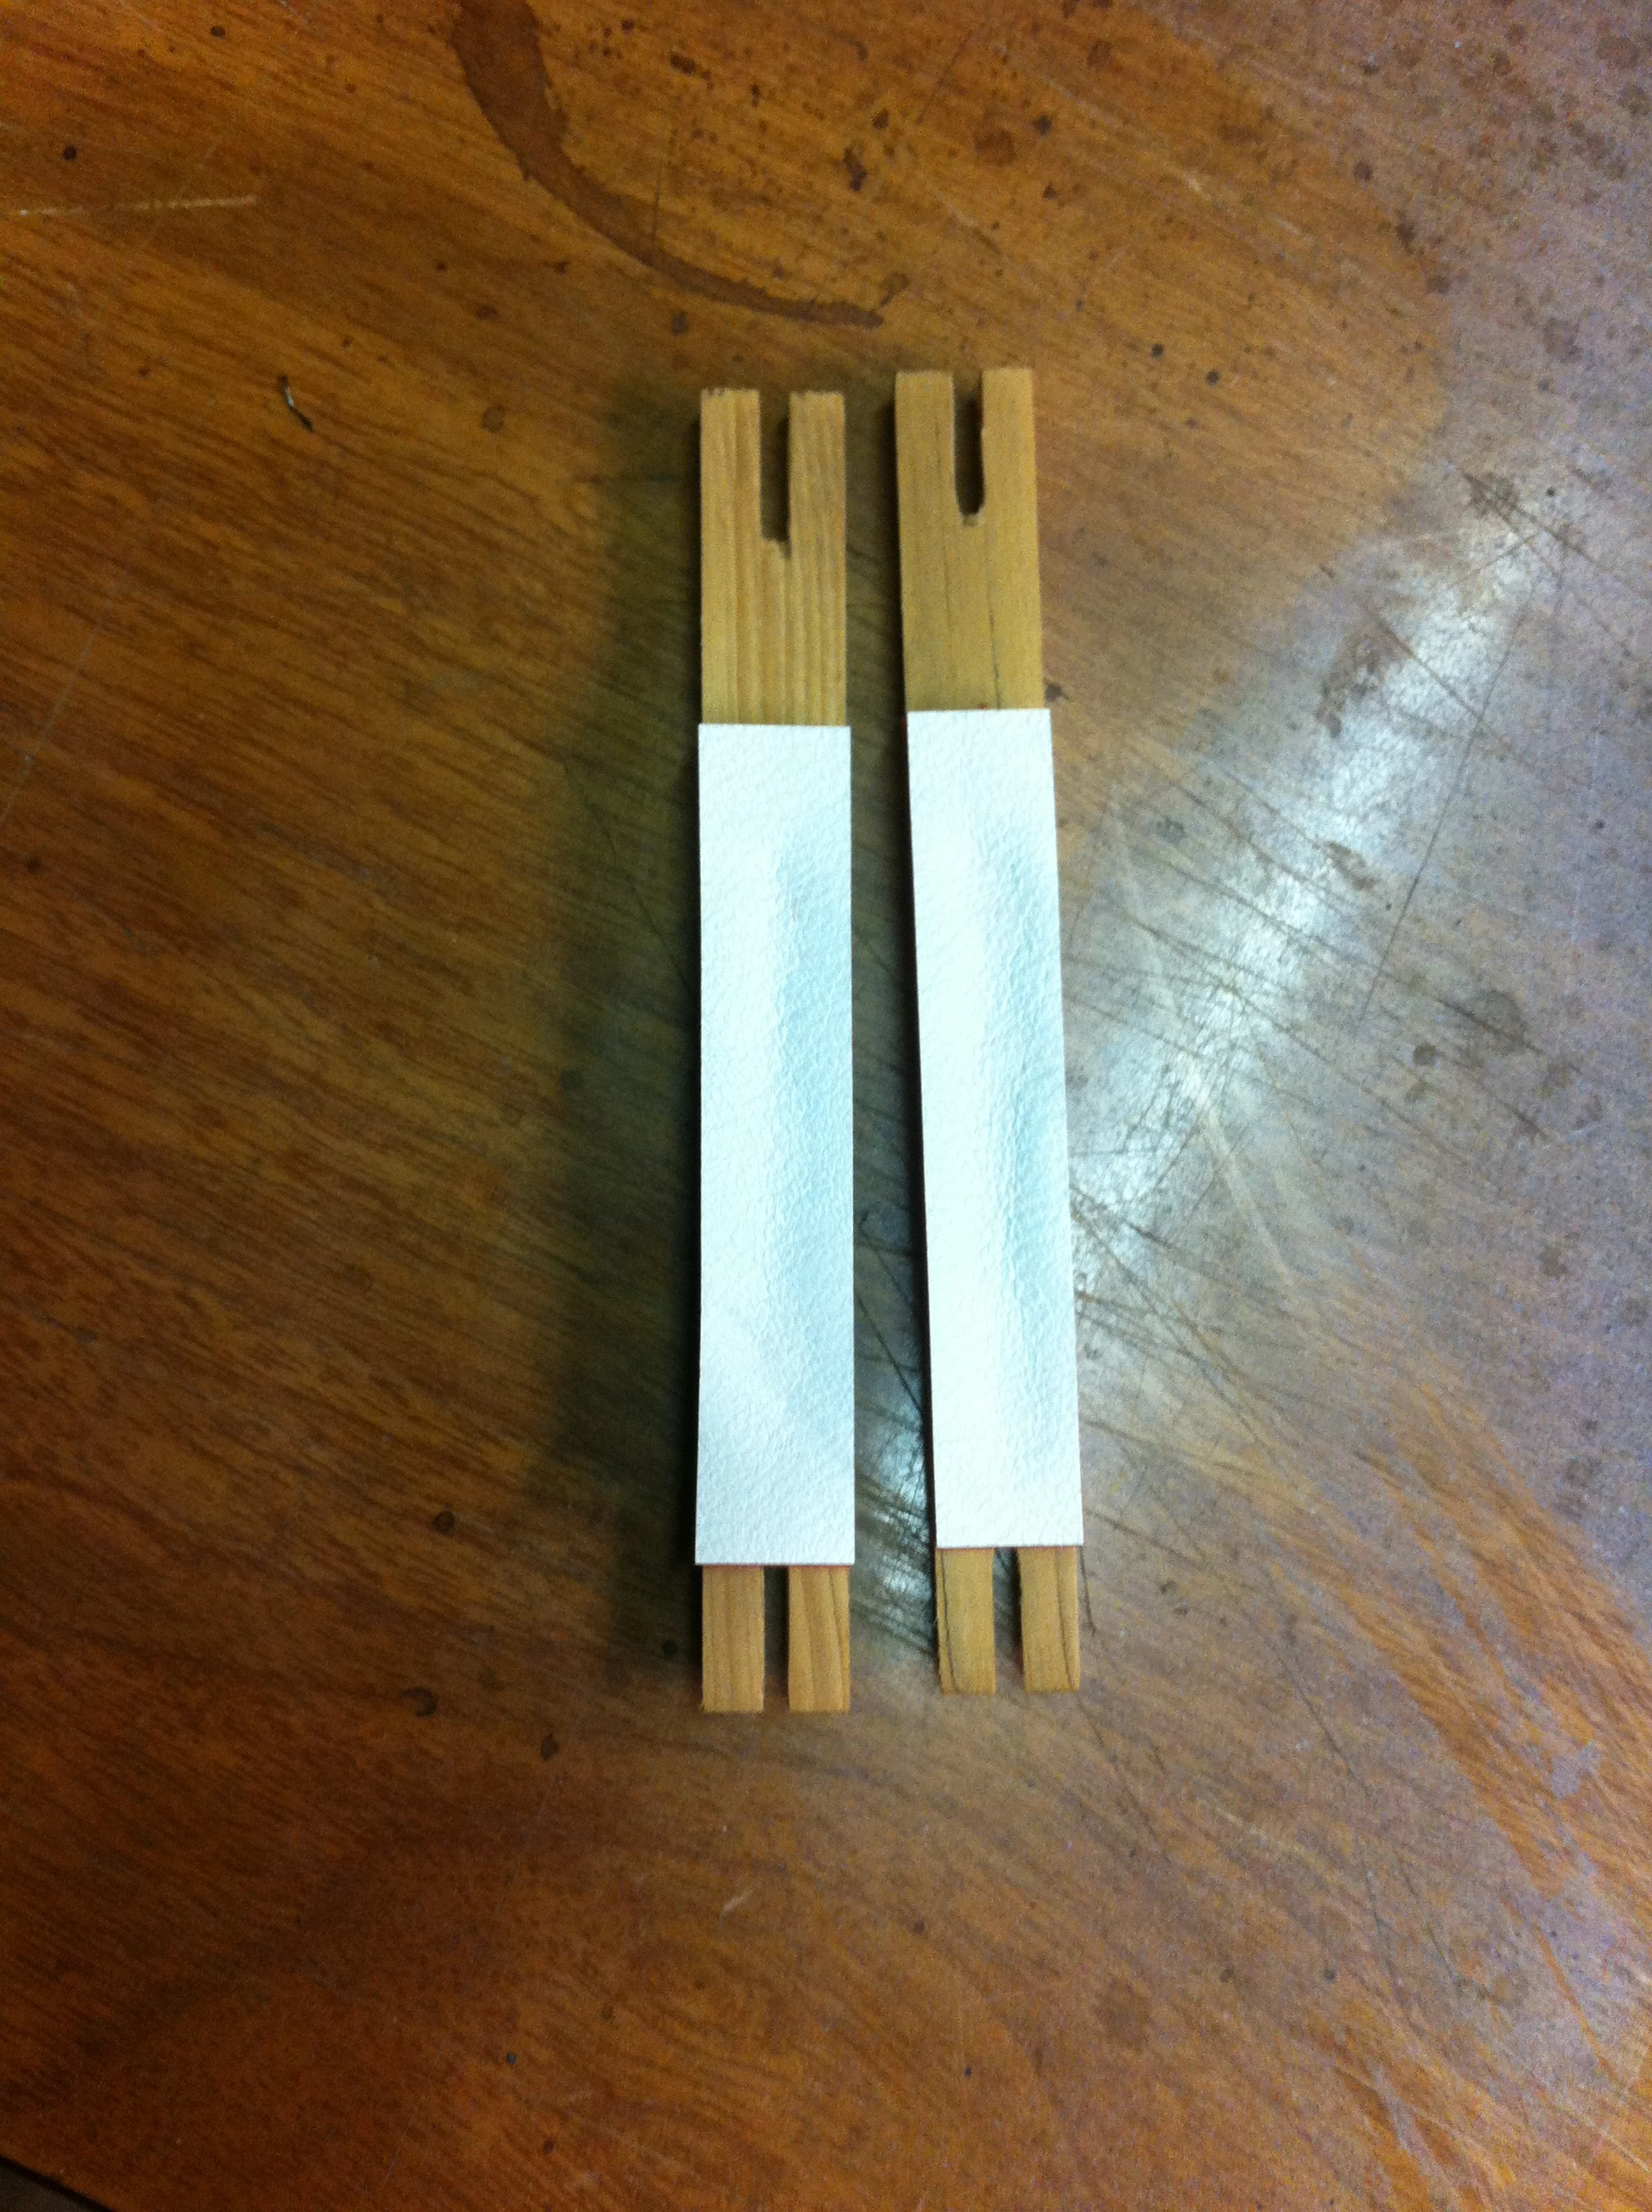
Restoration continues with work on the reed pan. All the keys have had their tops and fronts stuck back on and then polished. The key frame is now almost completely restored. The key guide pins were made of ferrous metal and were badly rusted. They were fixed solid in the frame so the only option was to sand and polish them in situ. This was a terribly tedious job since they were all quite badly pitted and took quite a while to finish.
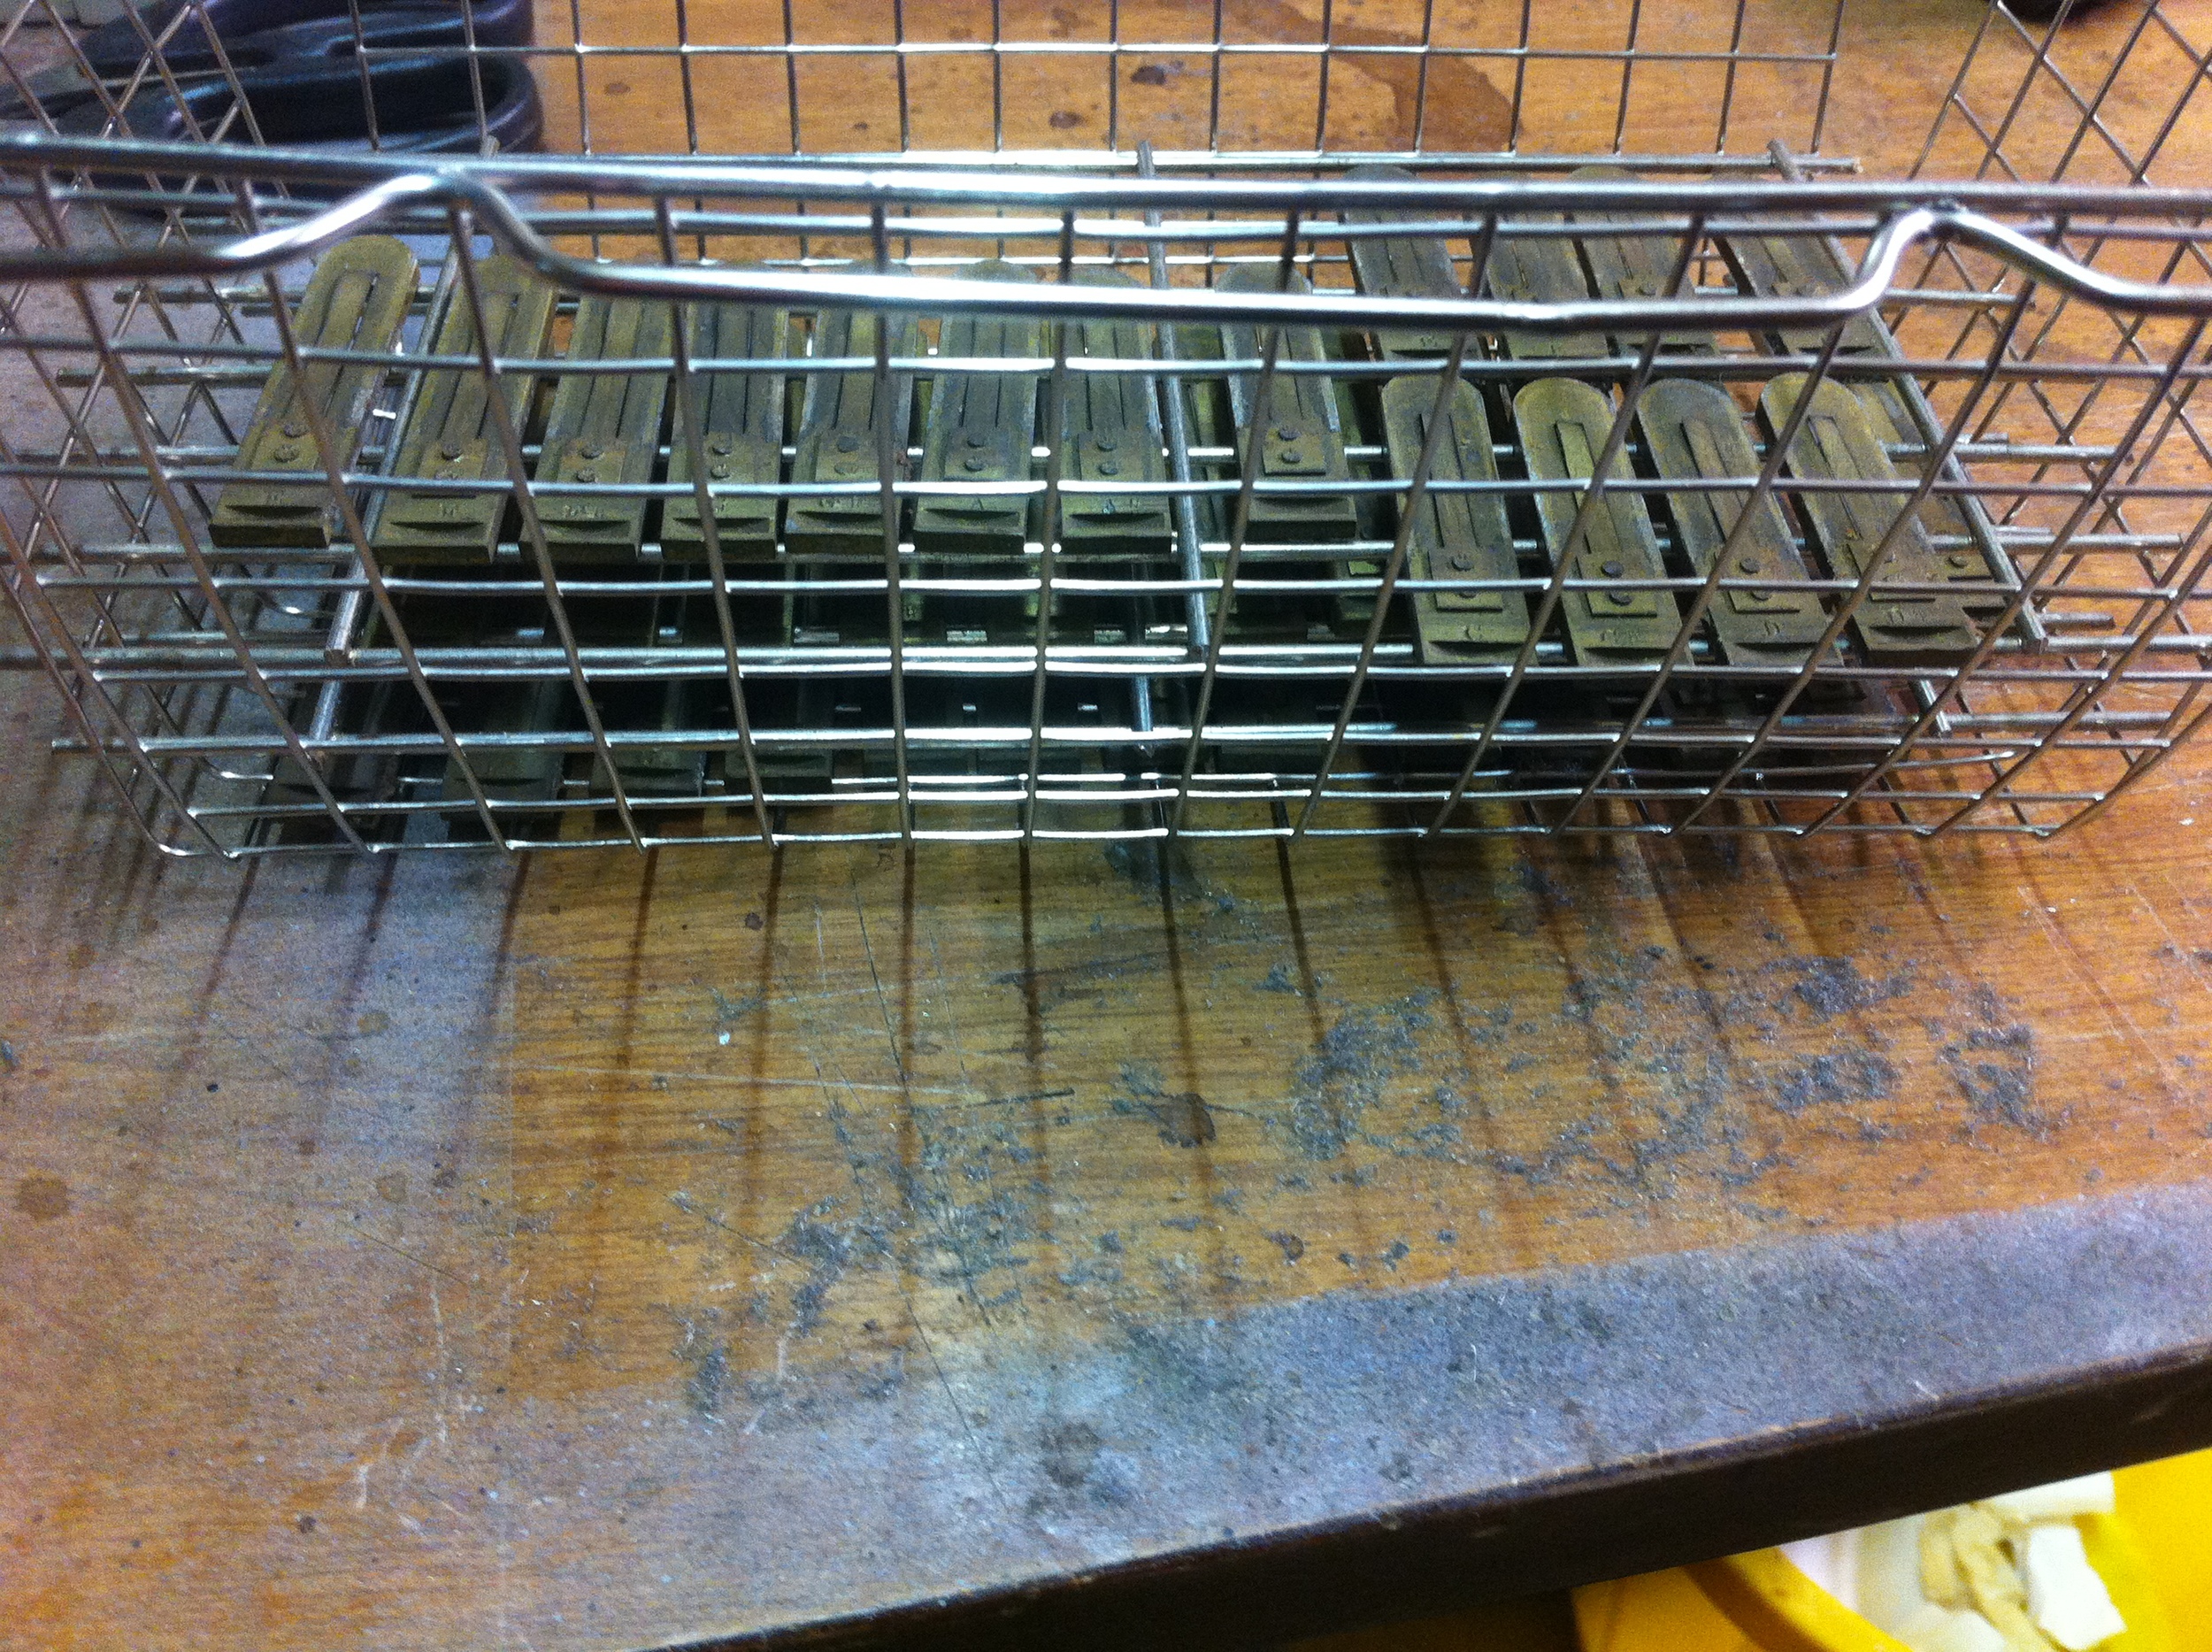
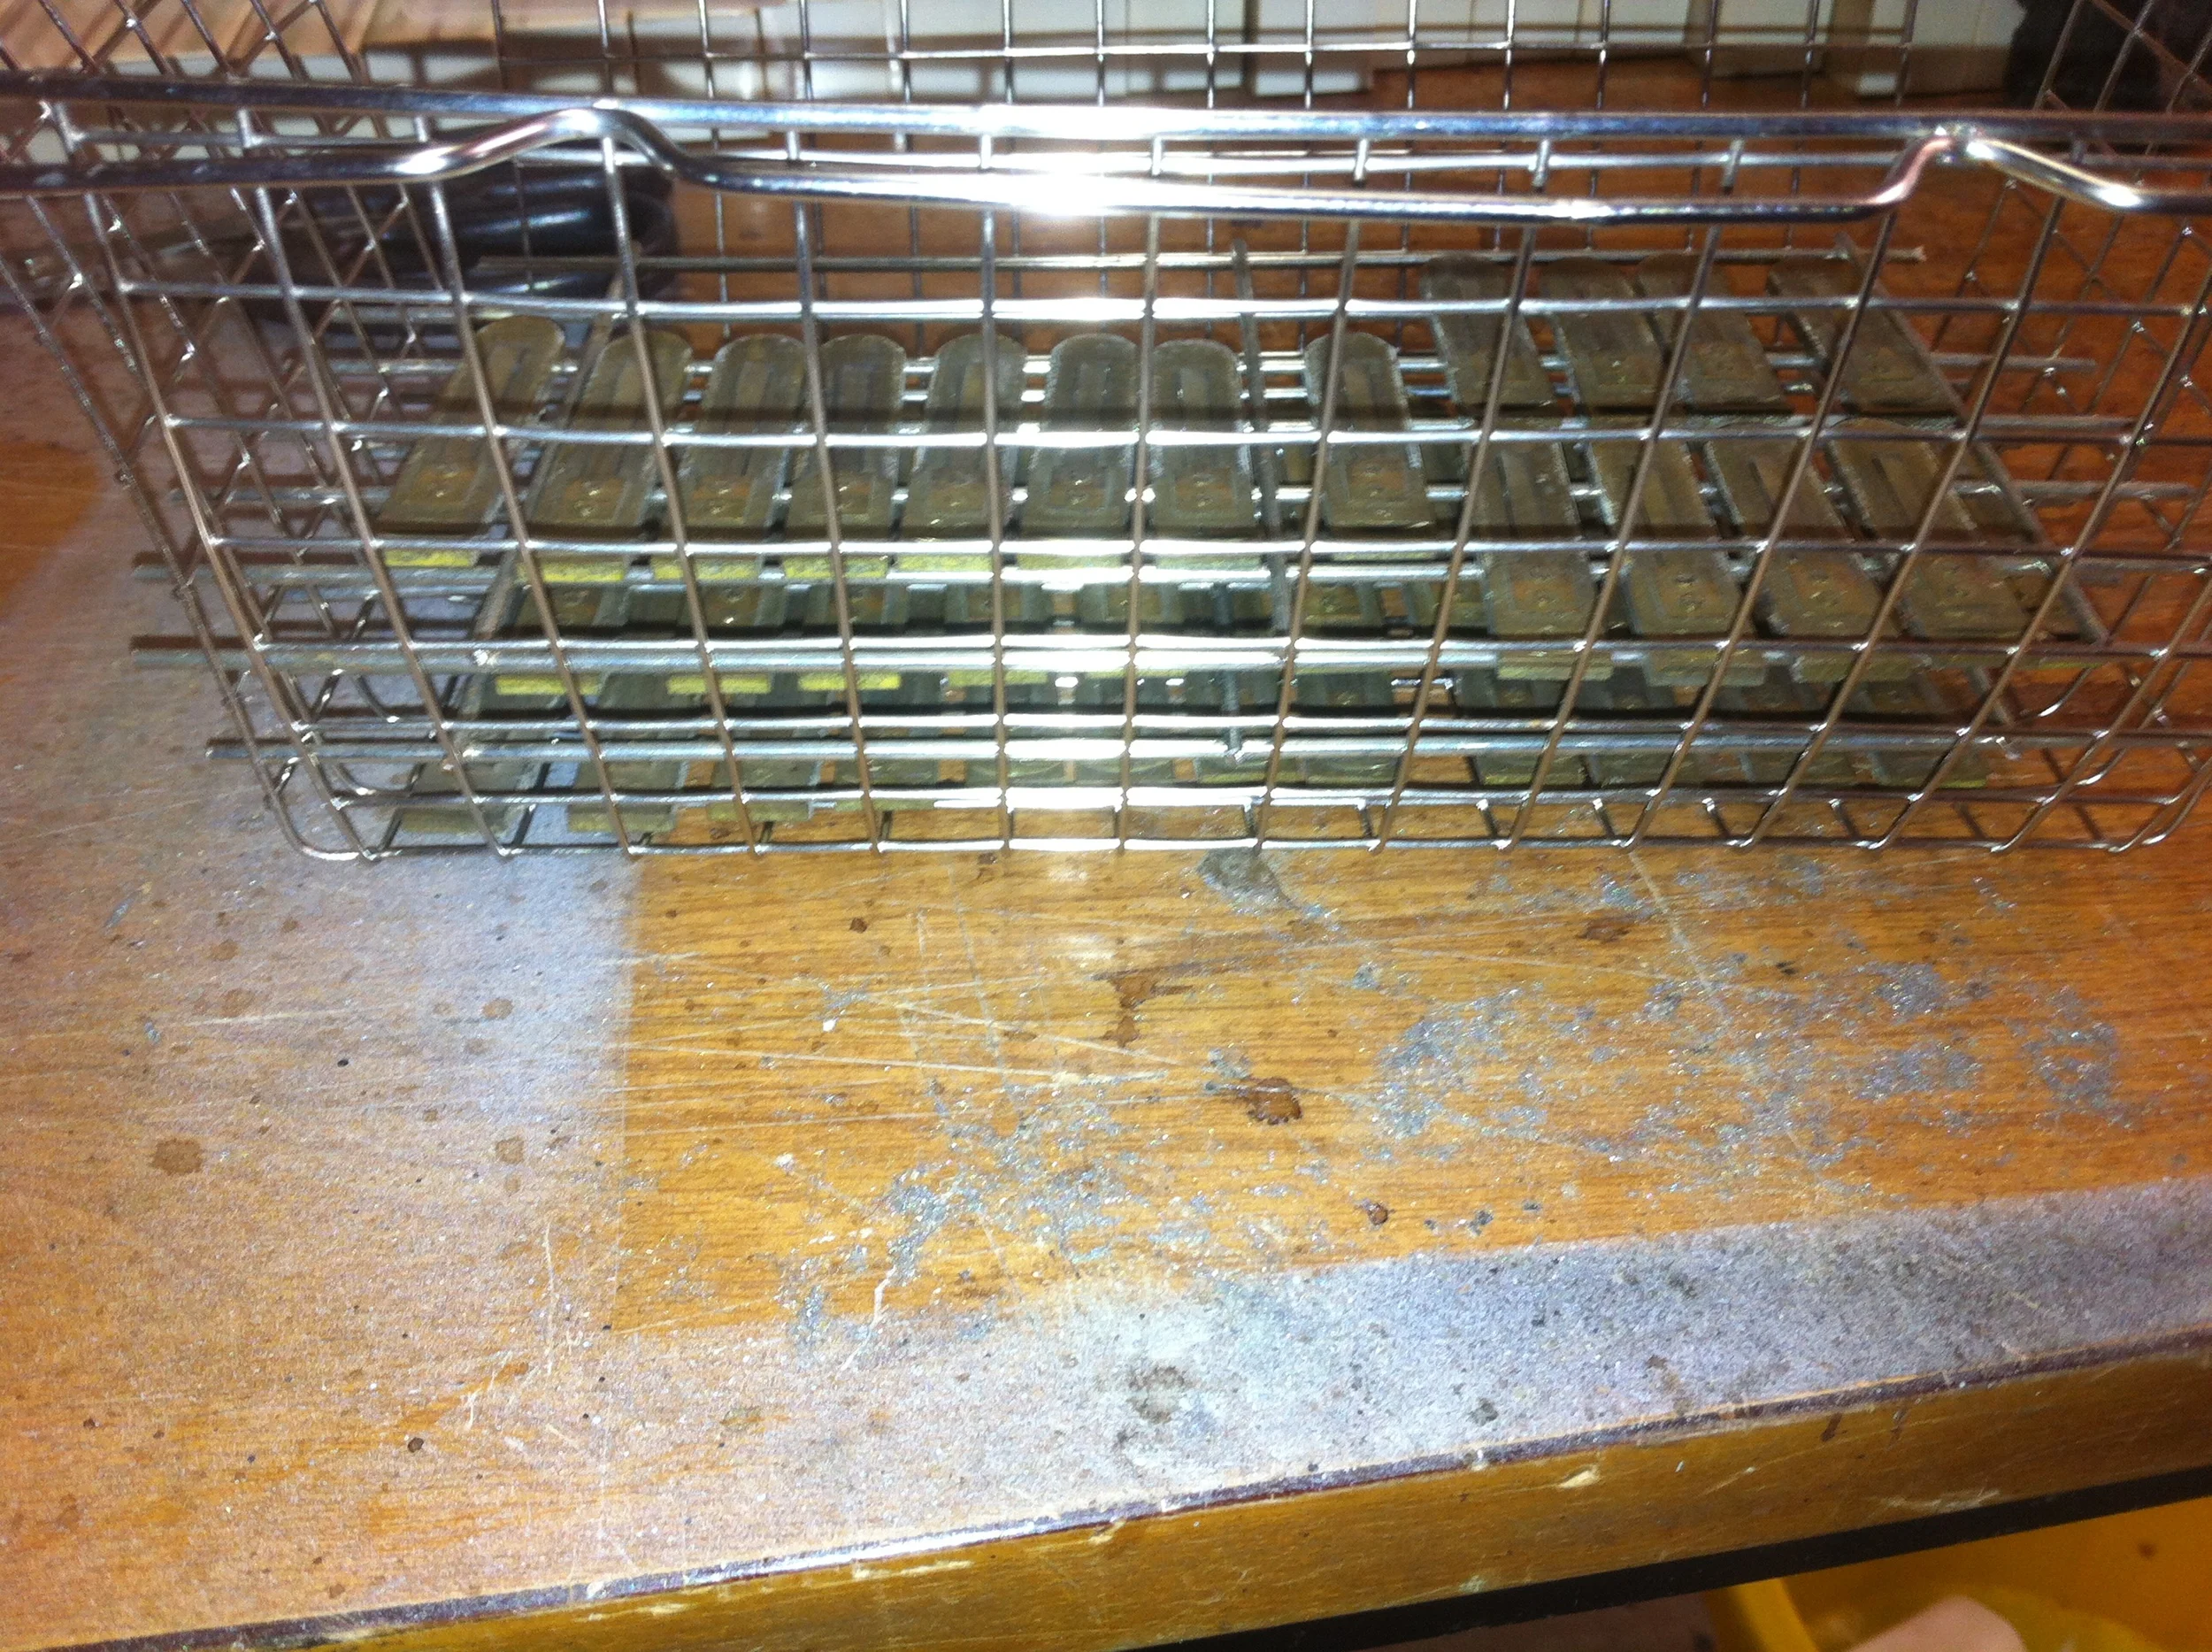
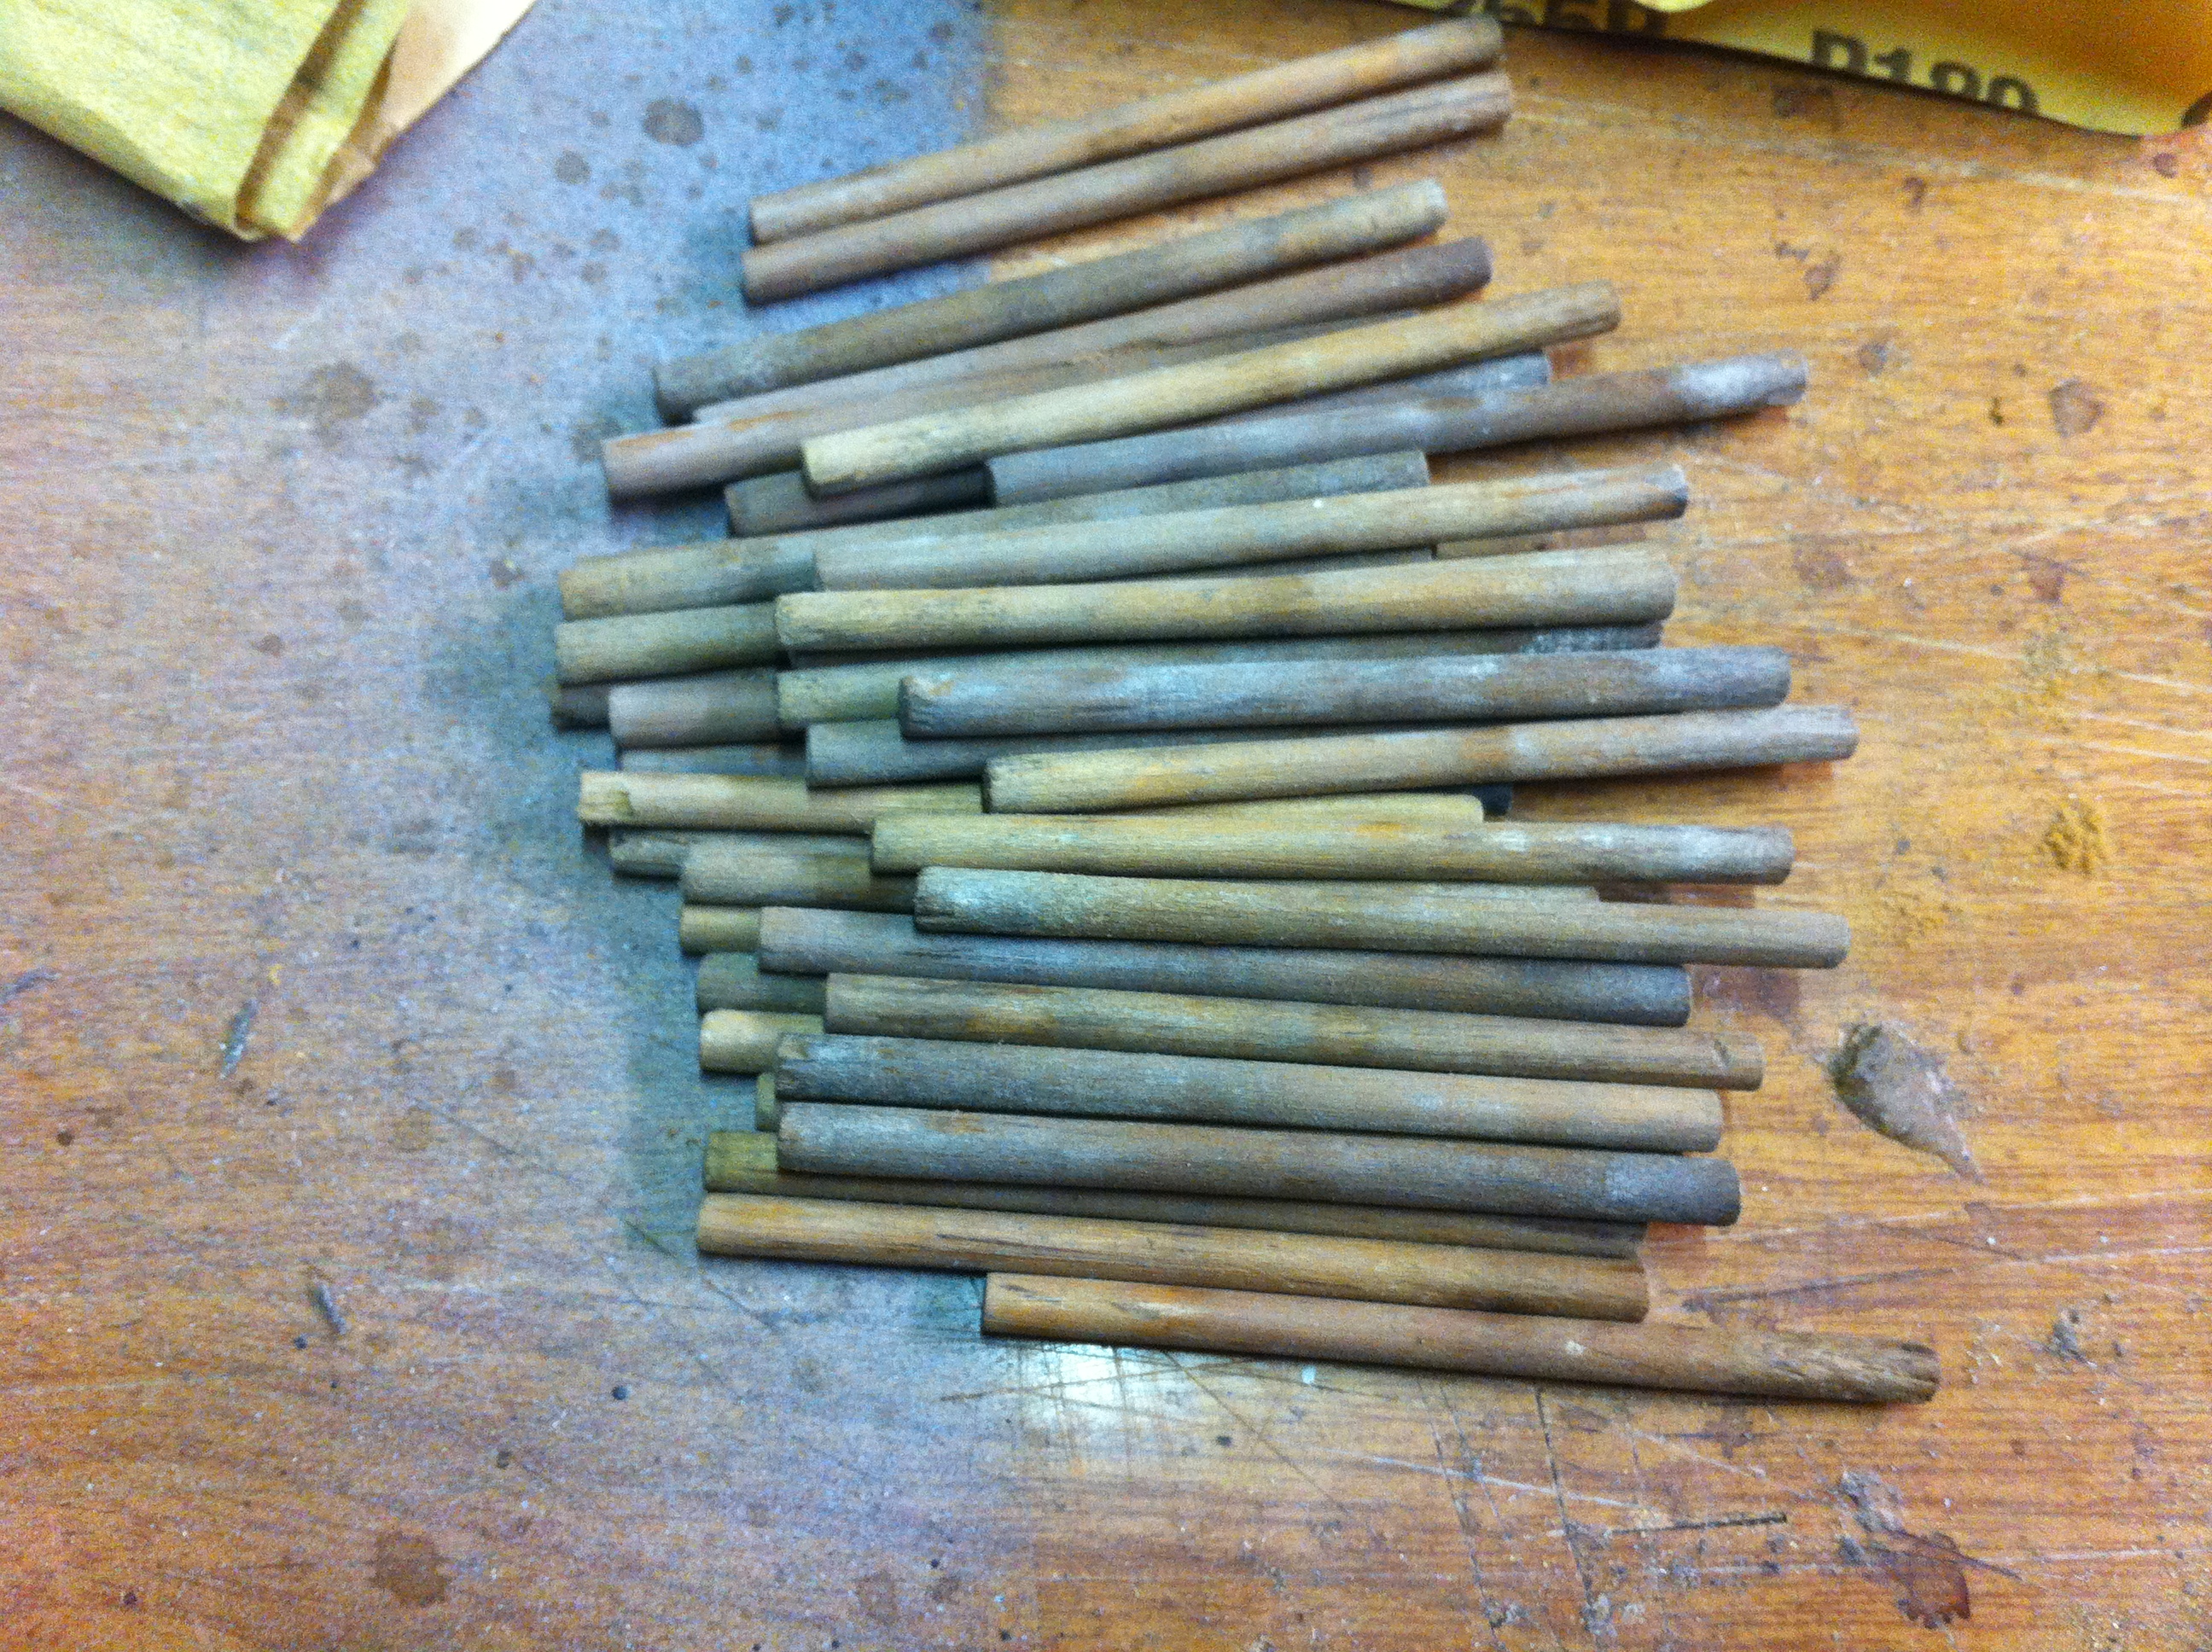
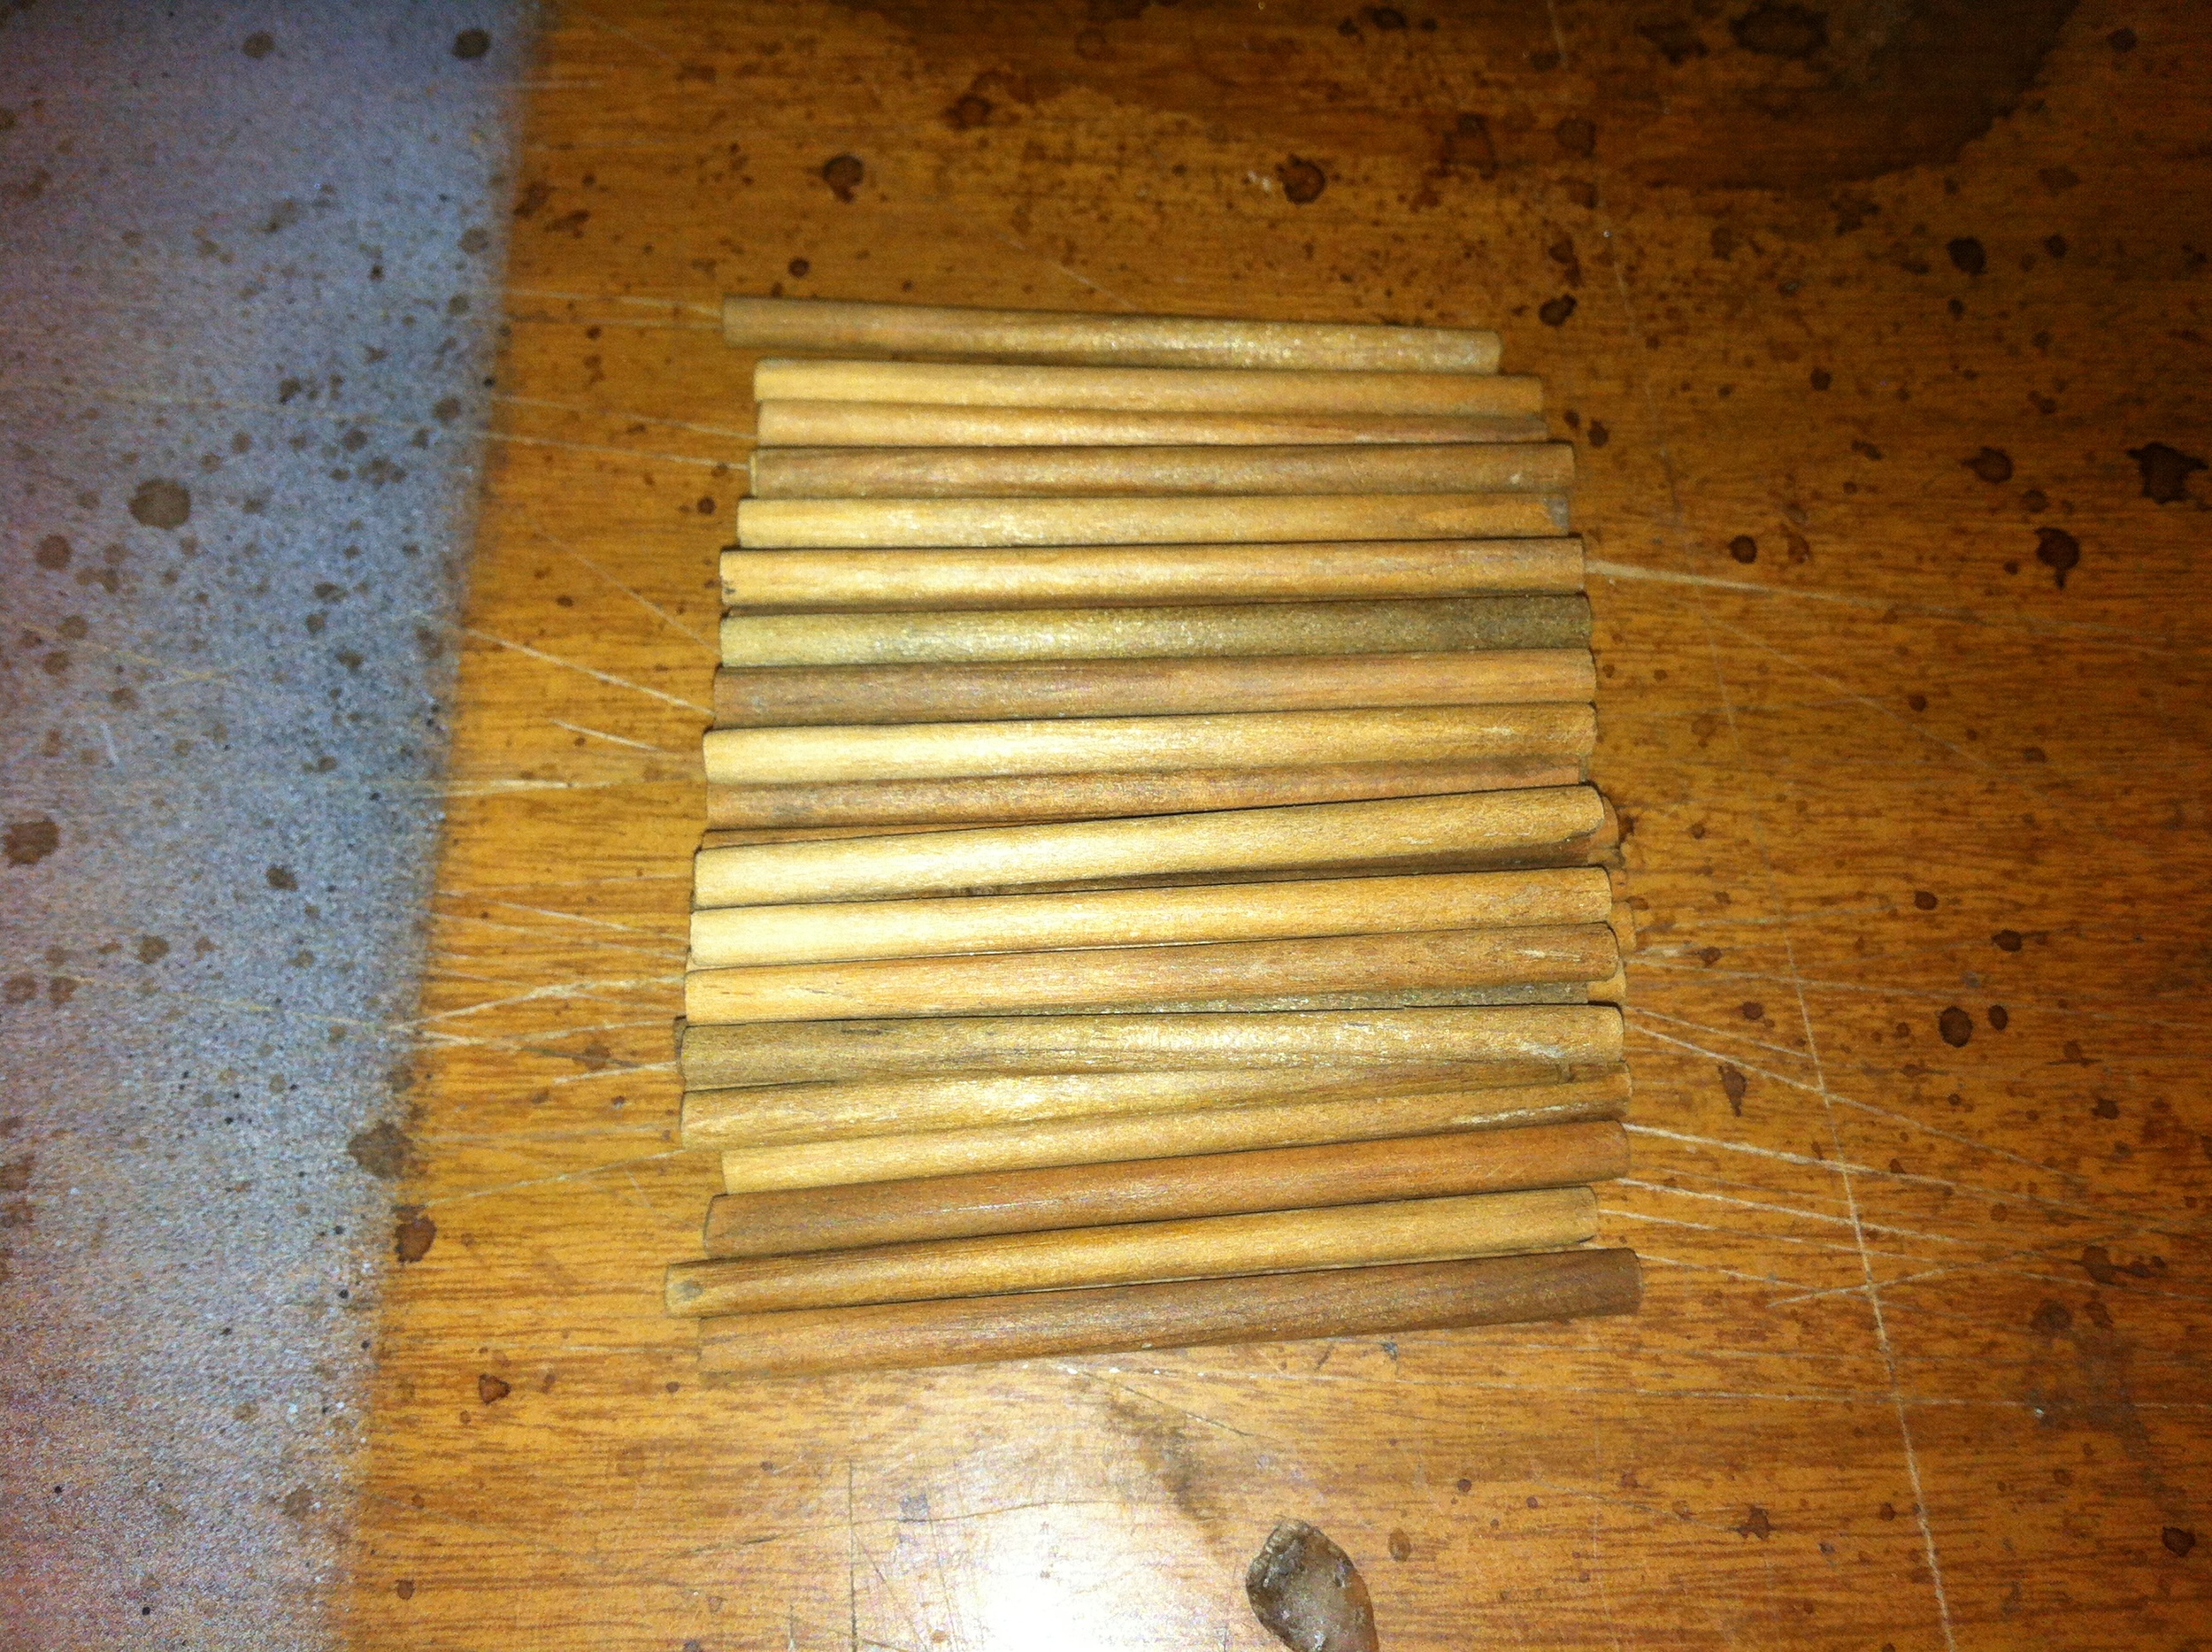
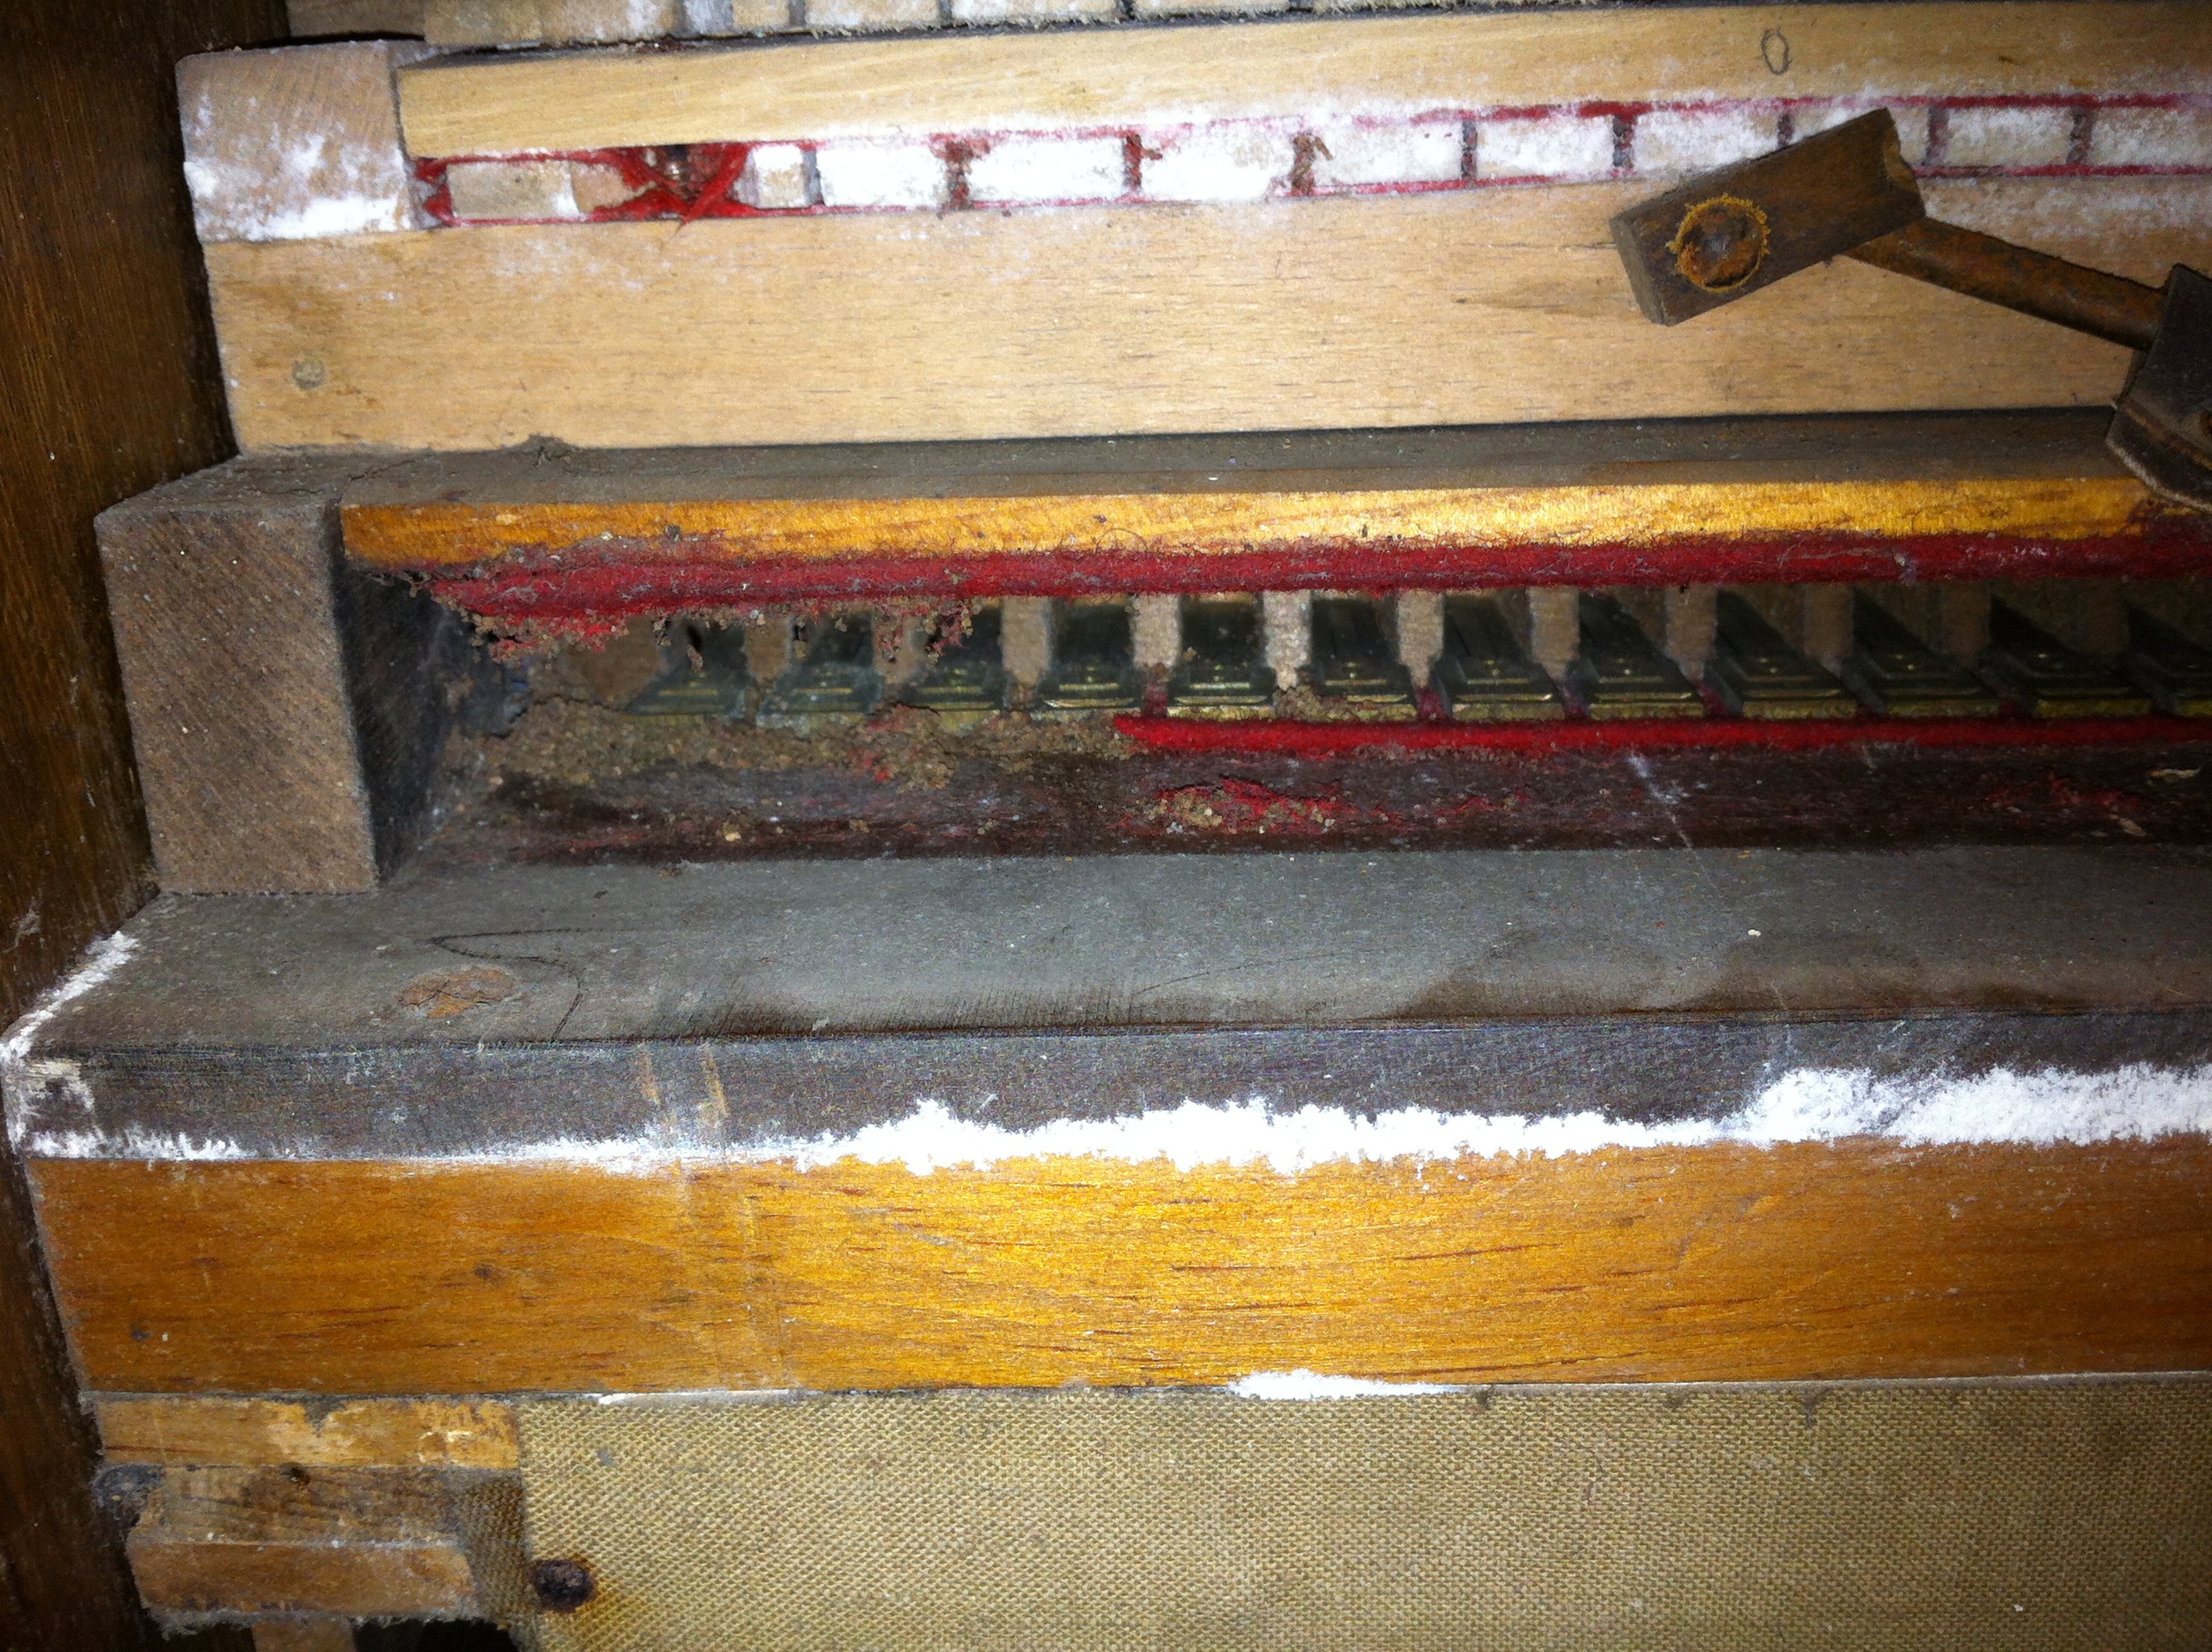
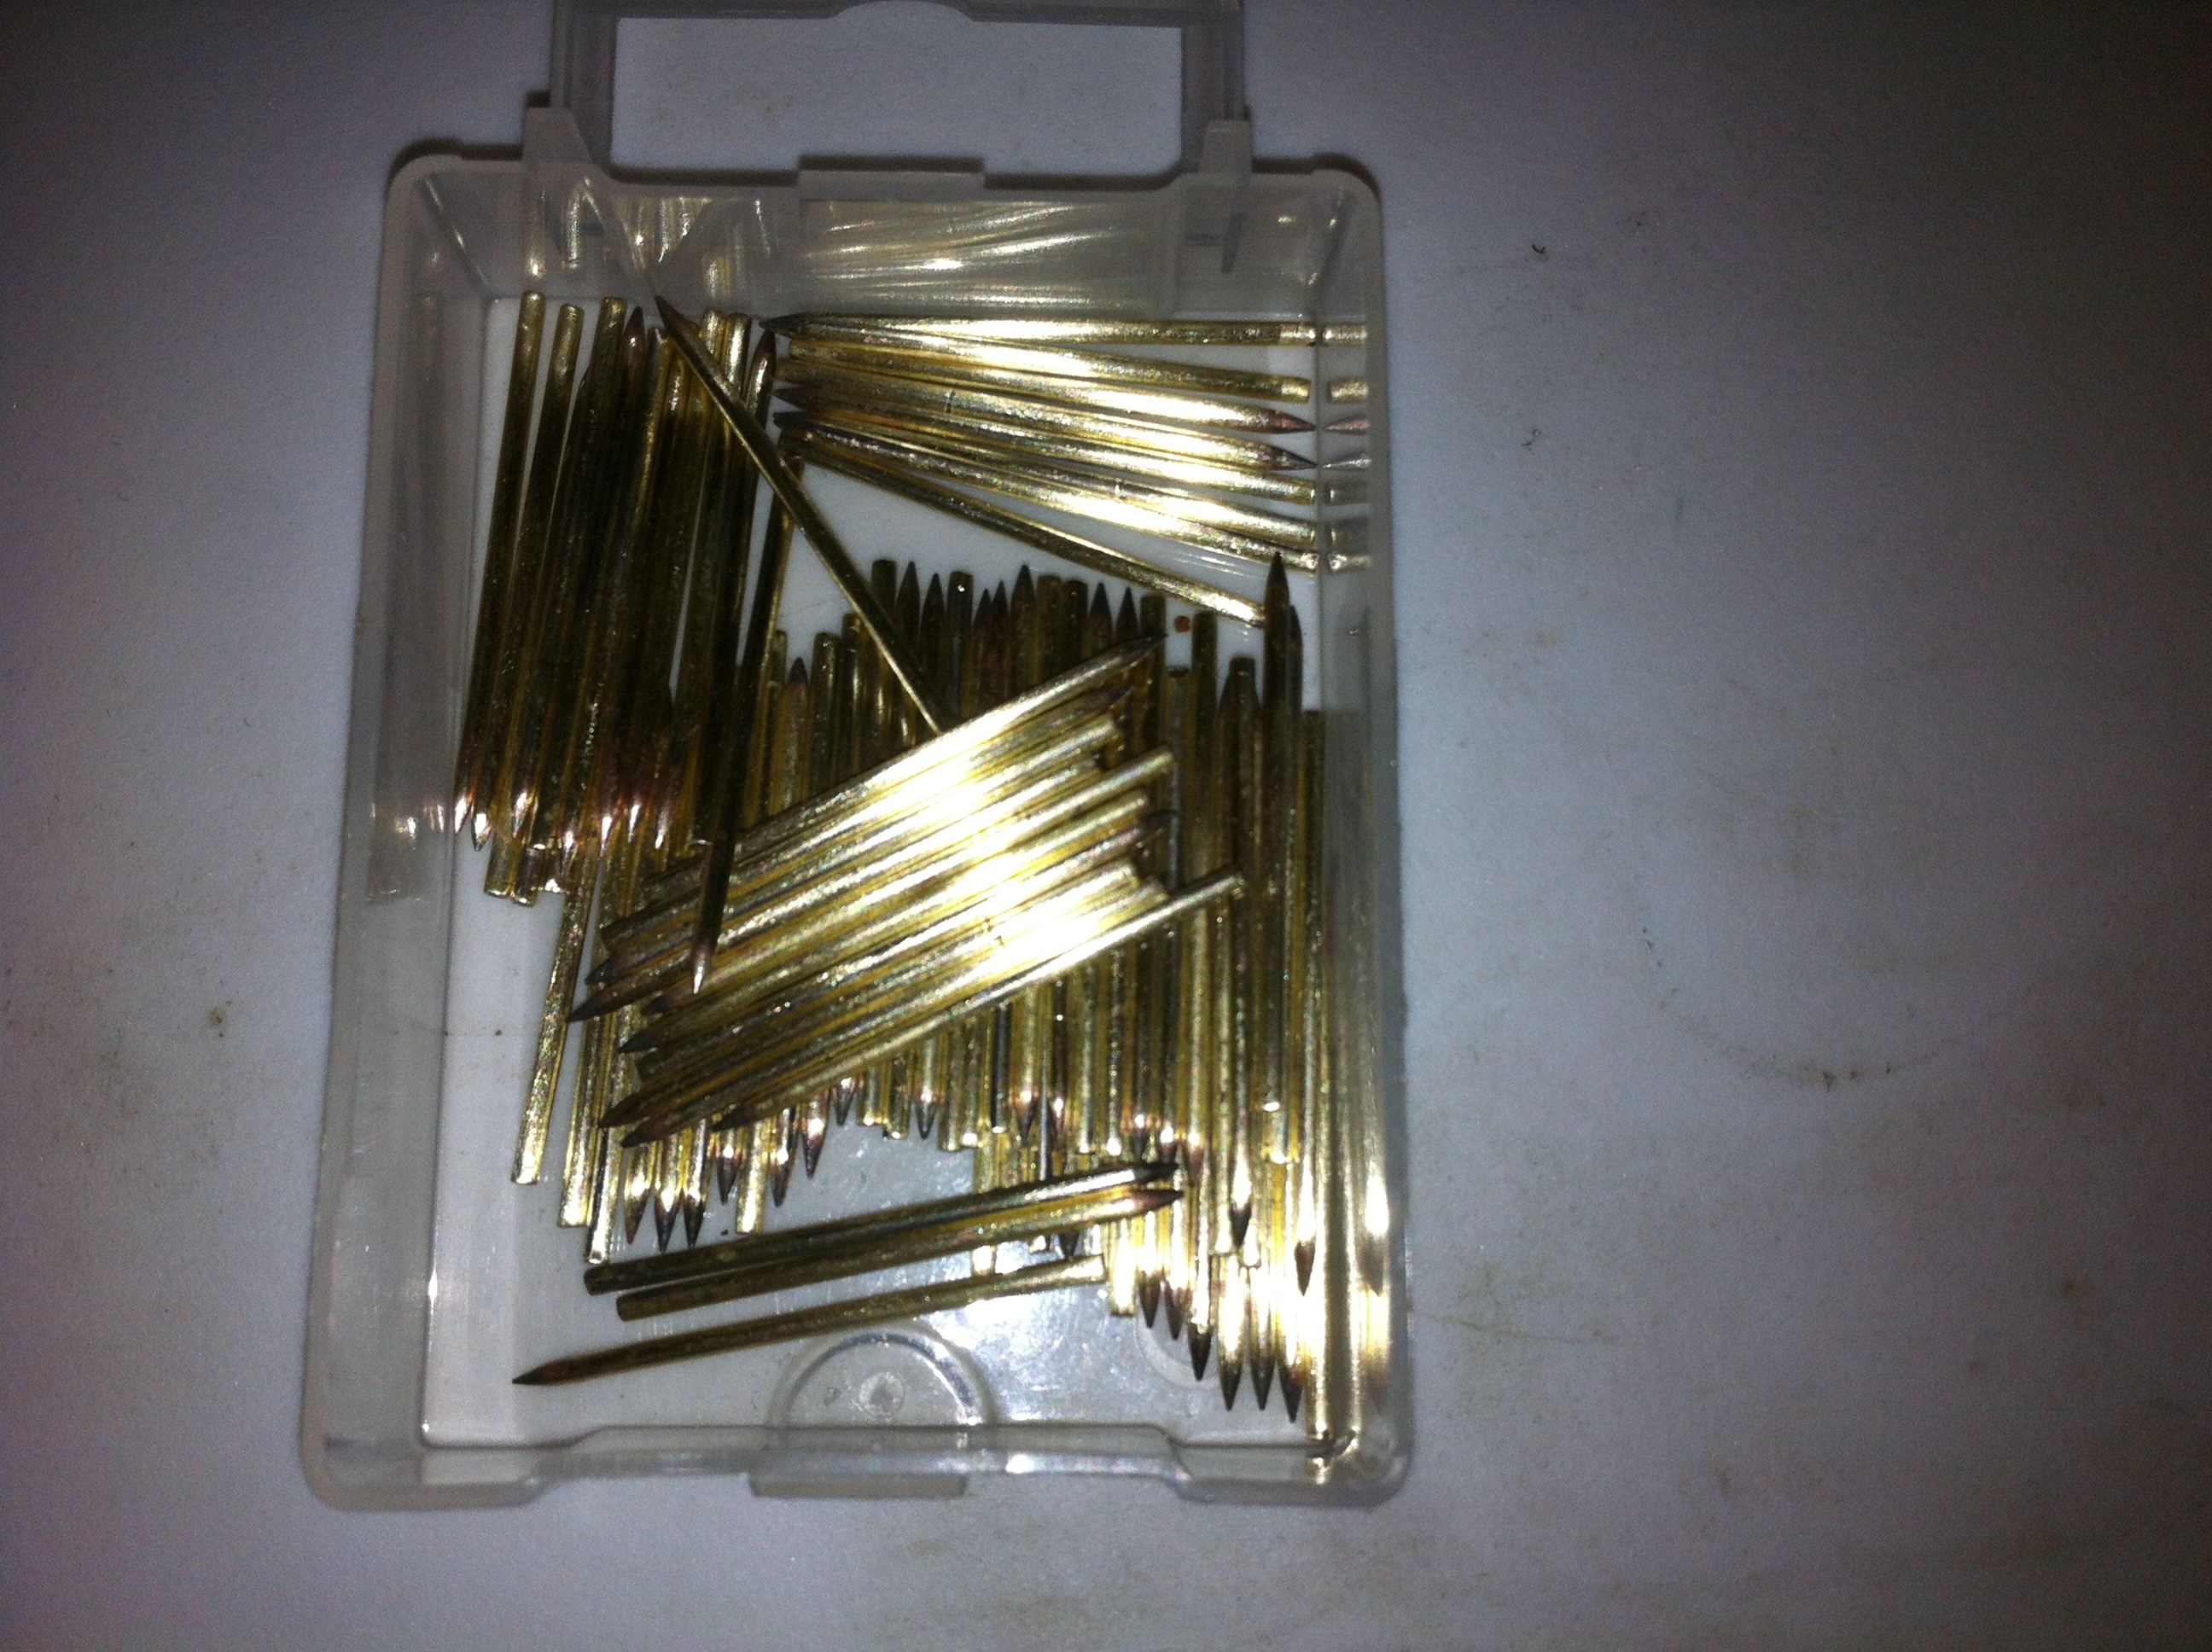
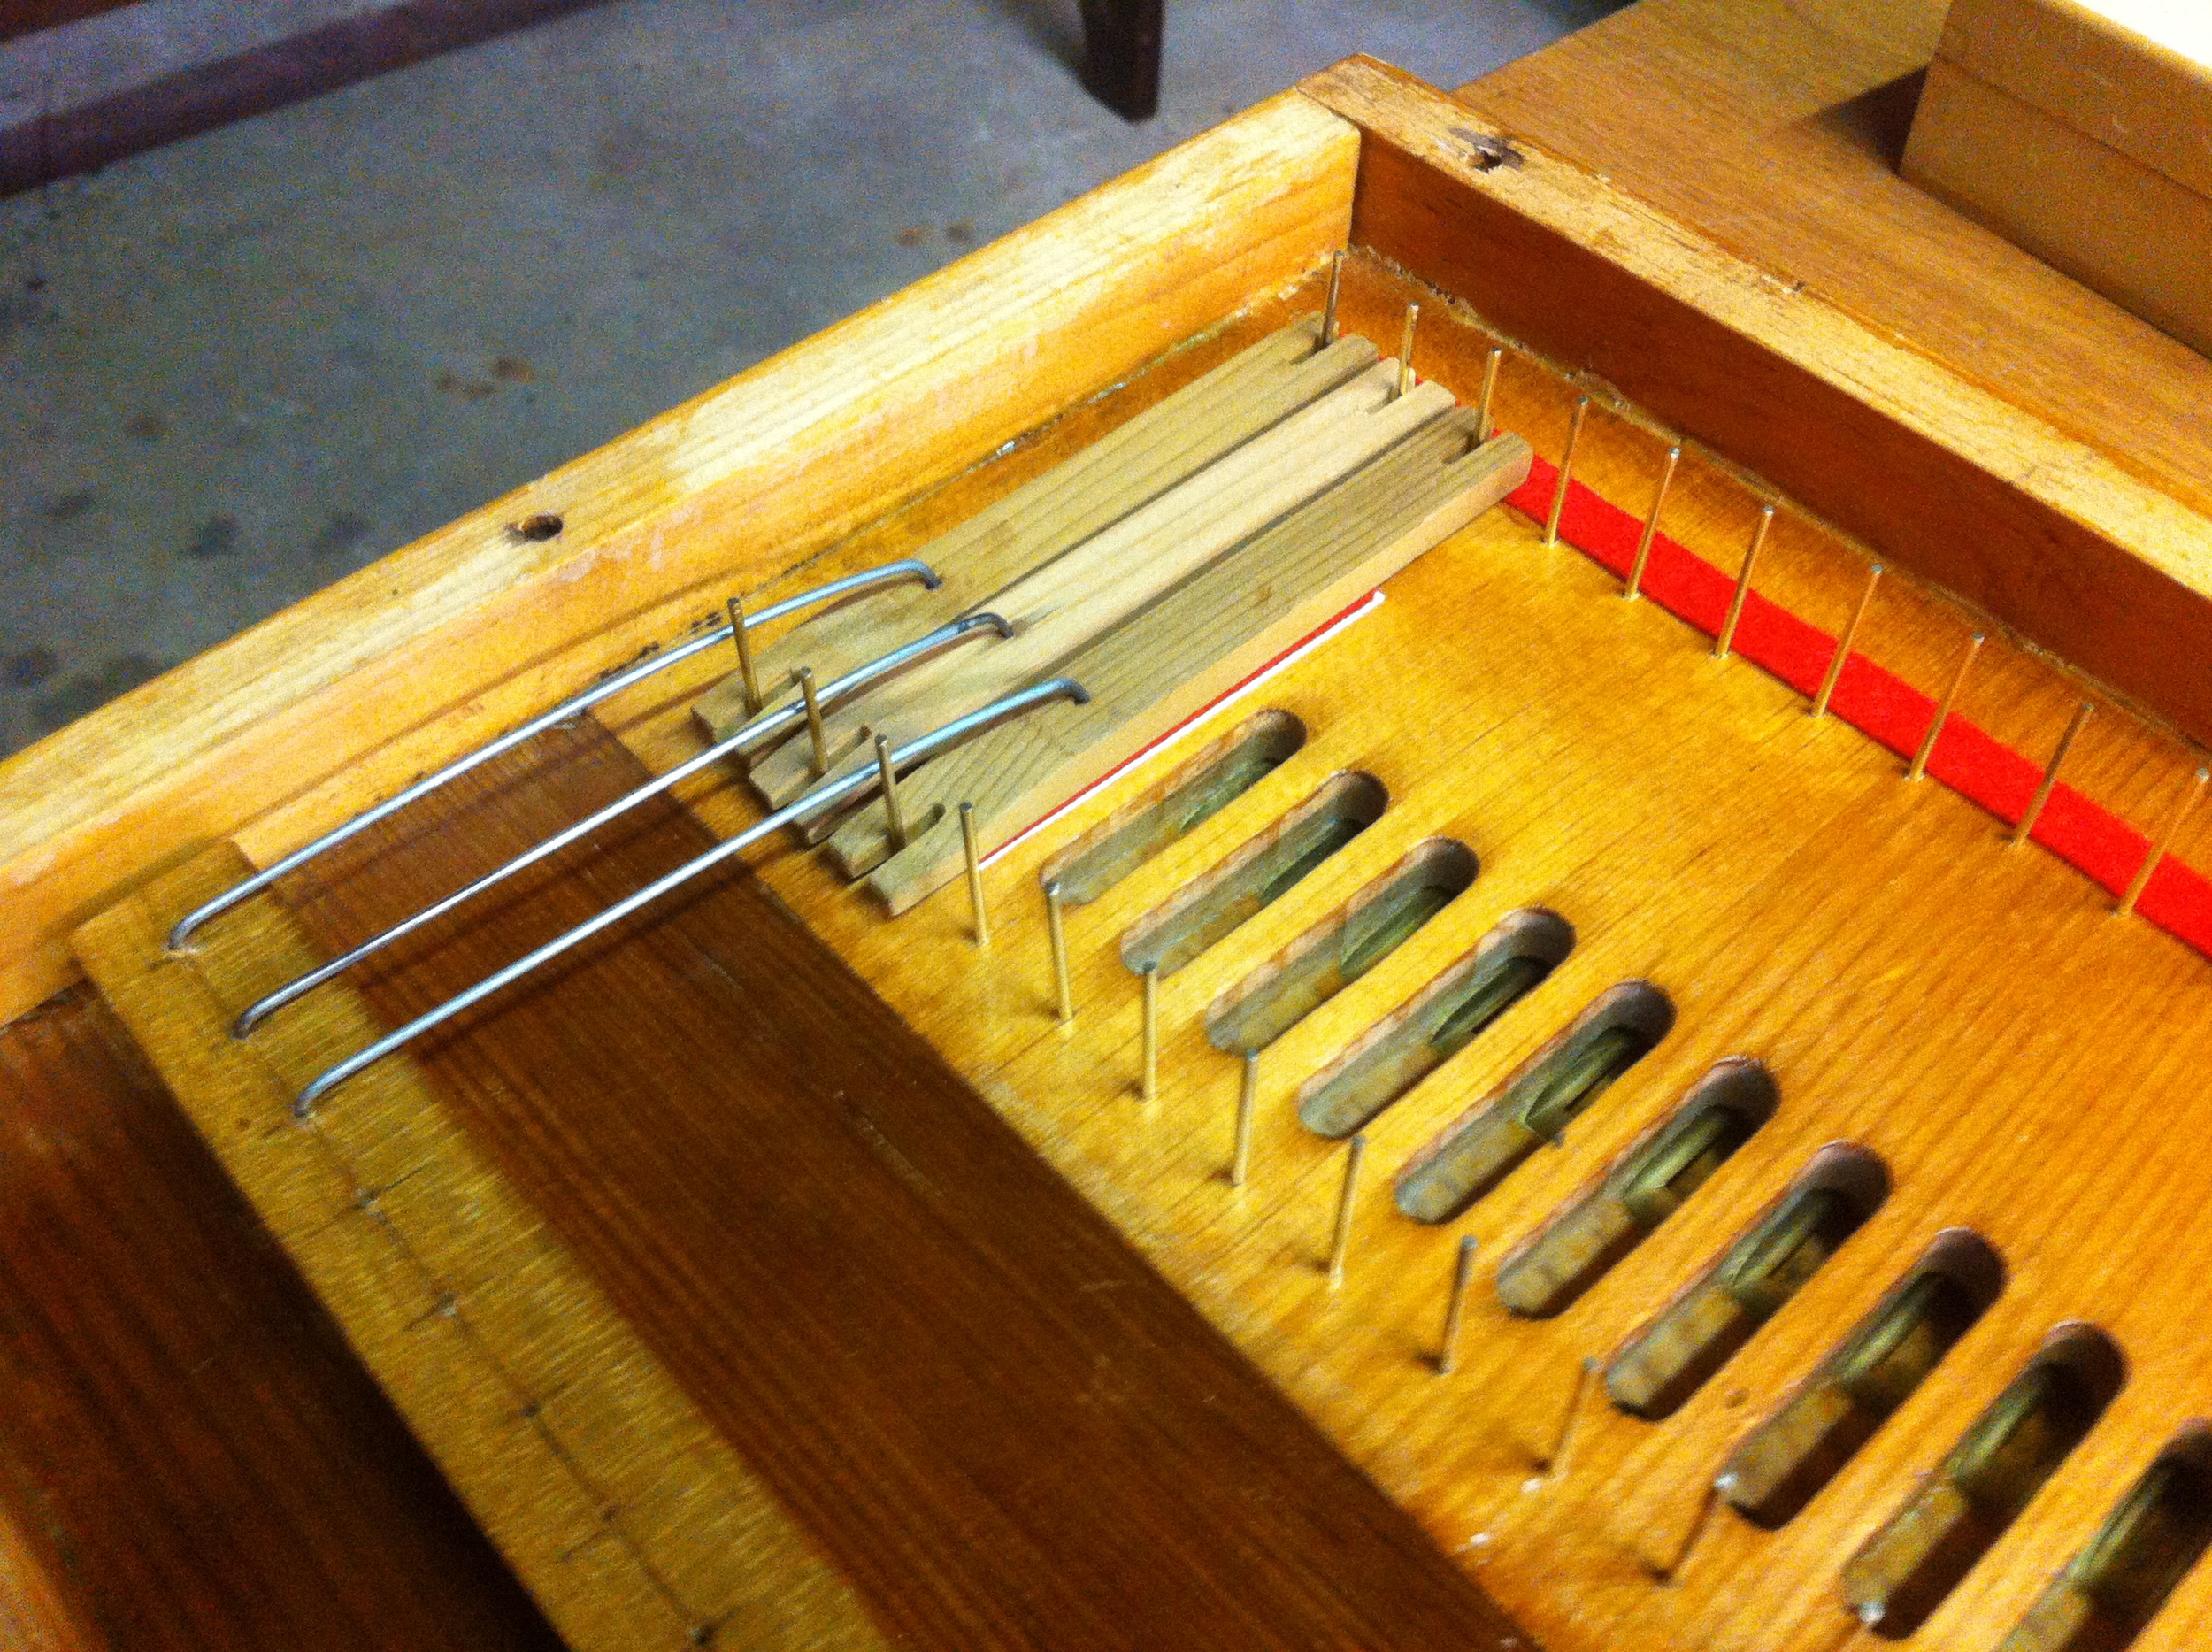
The reeds are now in the basket of the ultrasonic cleaner ready for cleaning. I use an ammonia based clock cleaning fluid which does a great job on the brass. The pitmans have also been lightly sanded to clean them up. They will be graphited before being replaced in the reed pan.


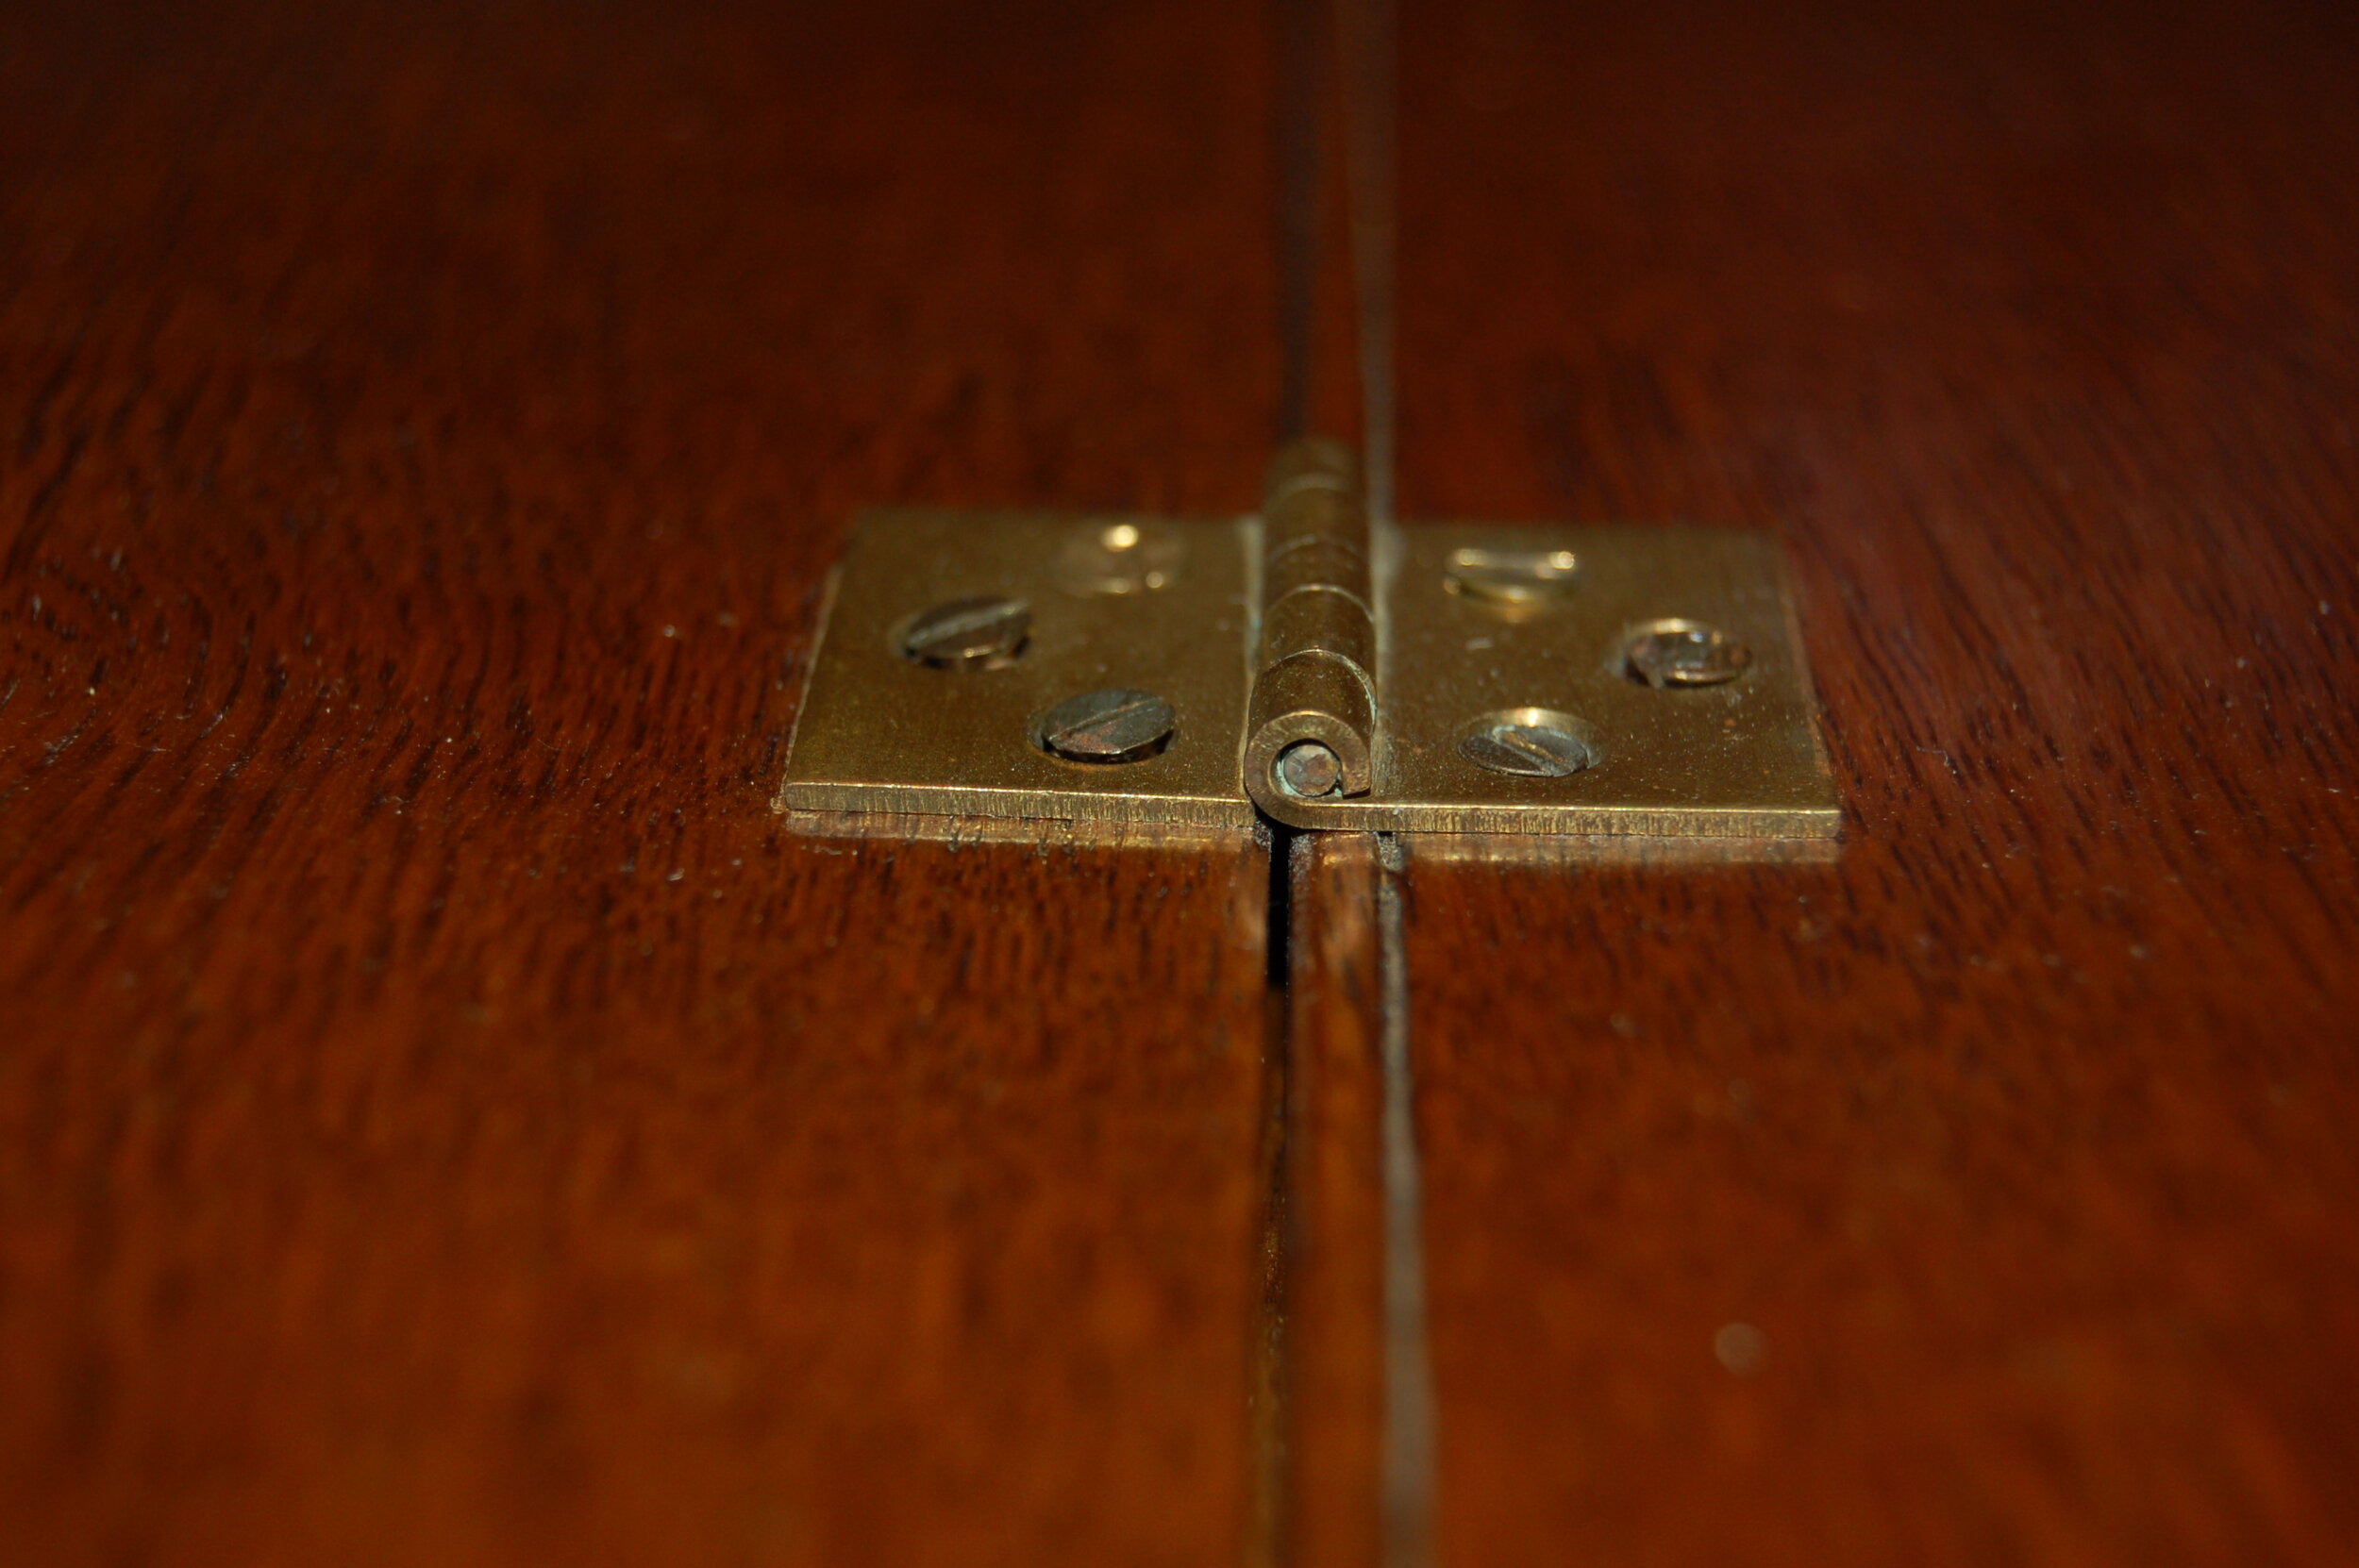
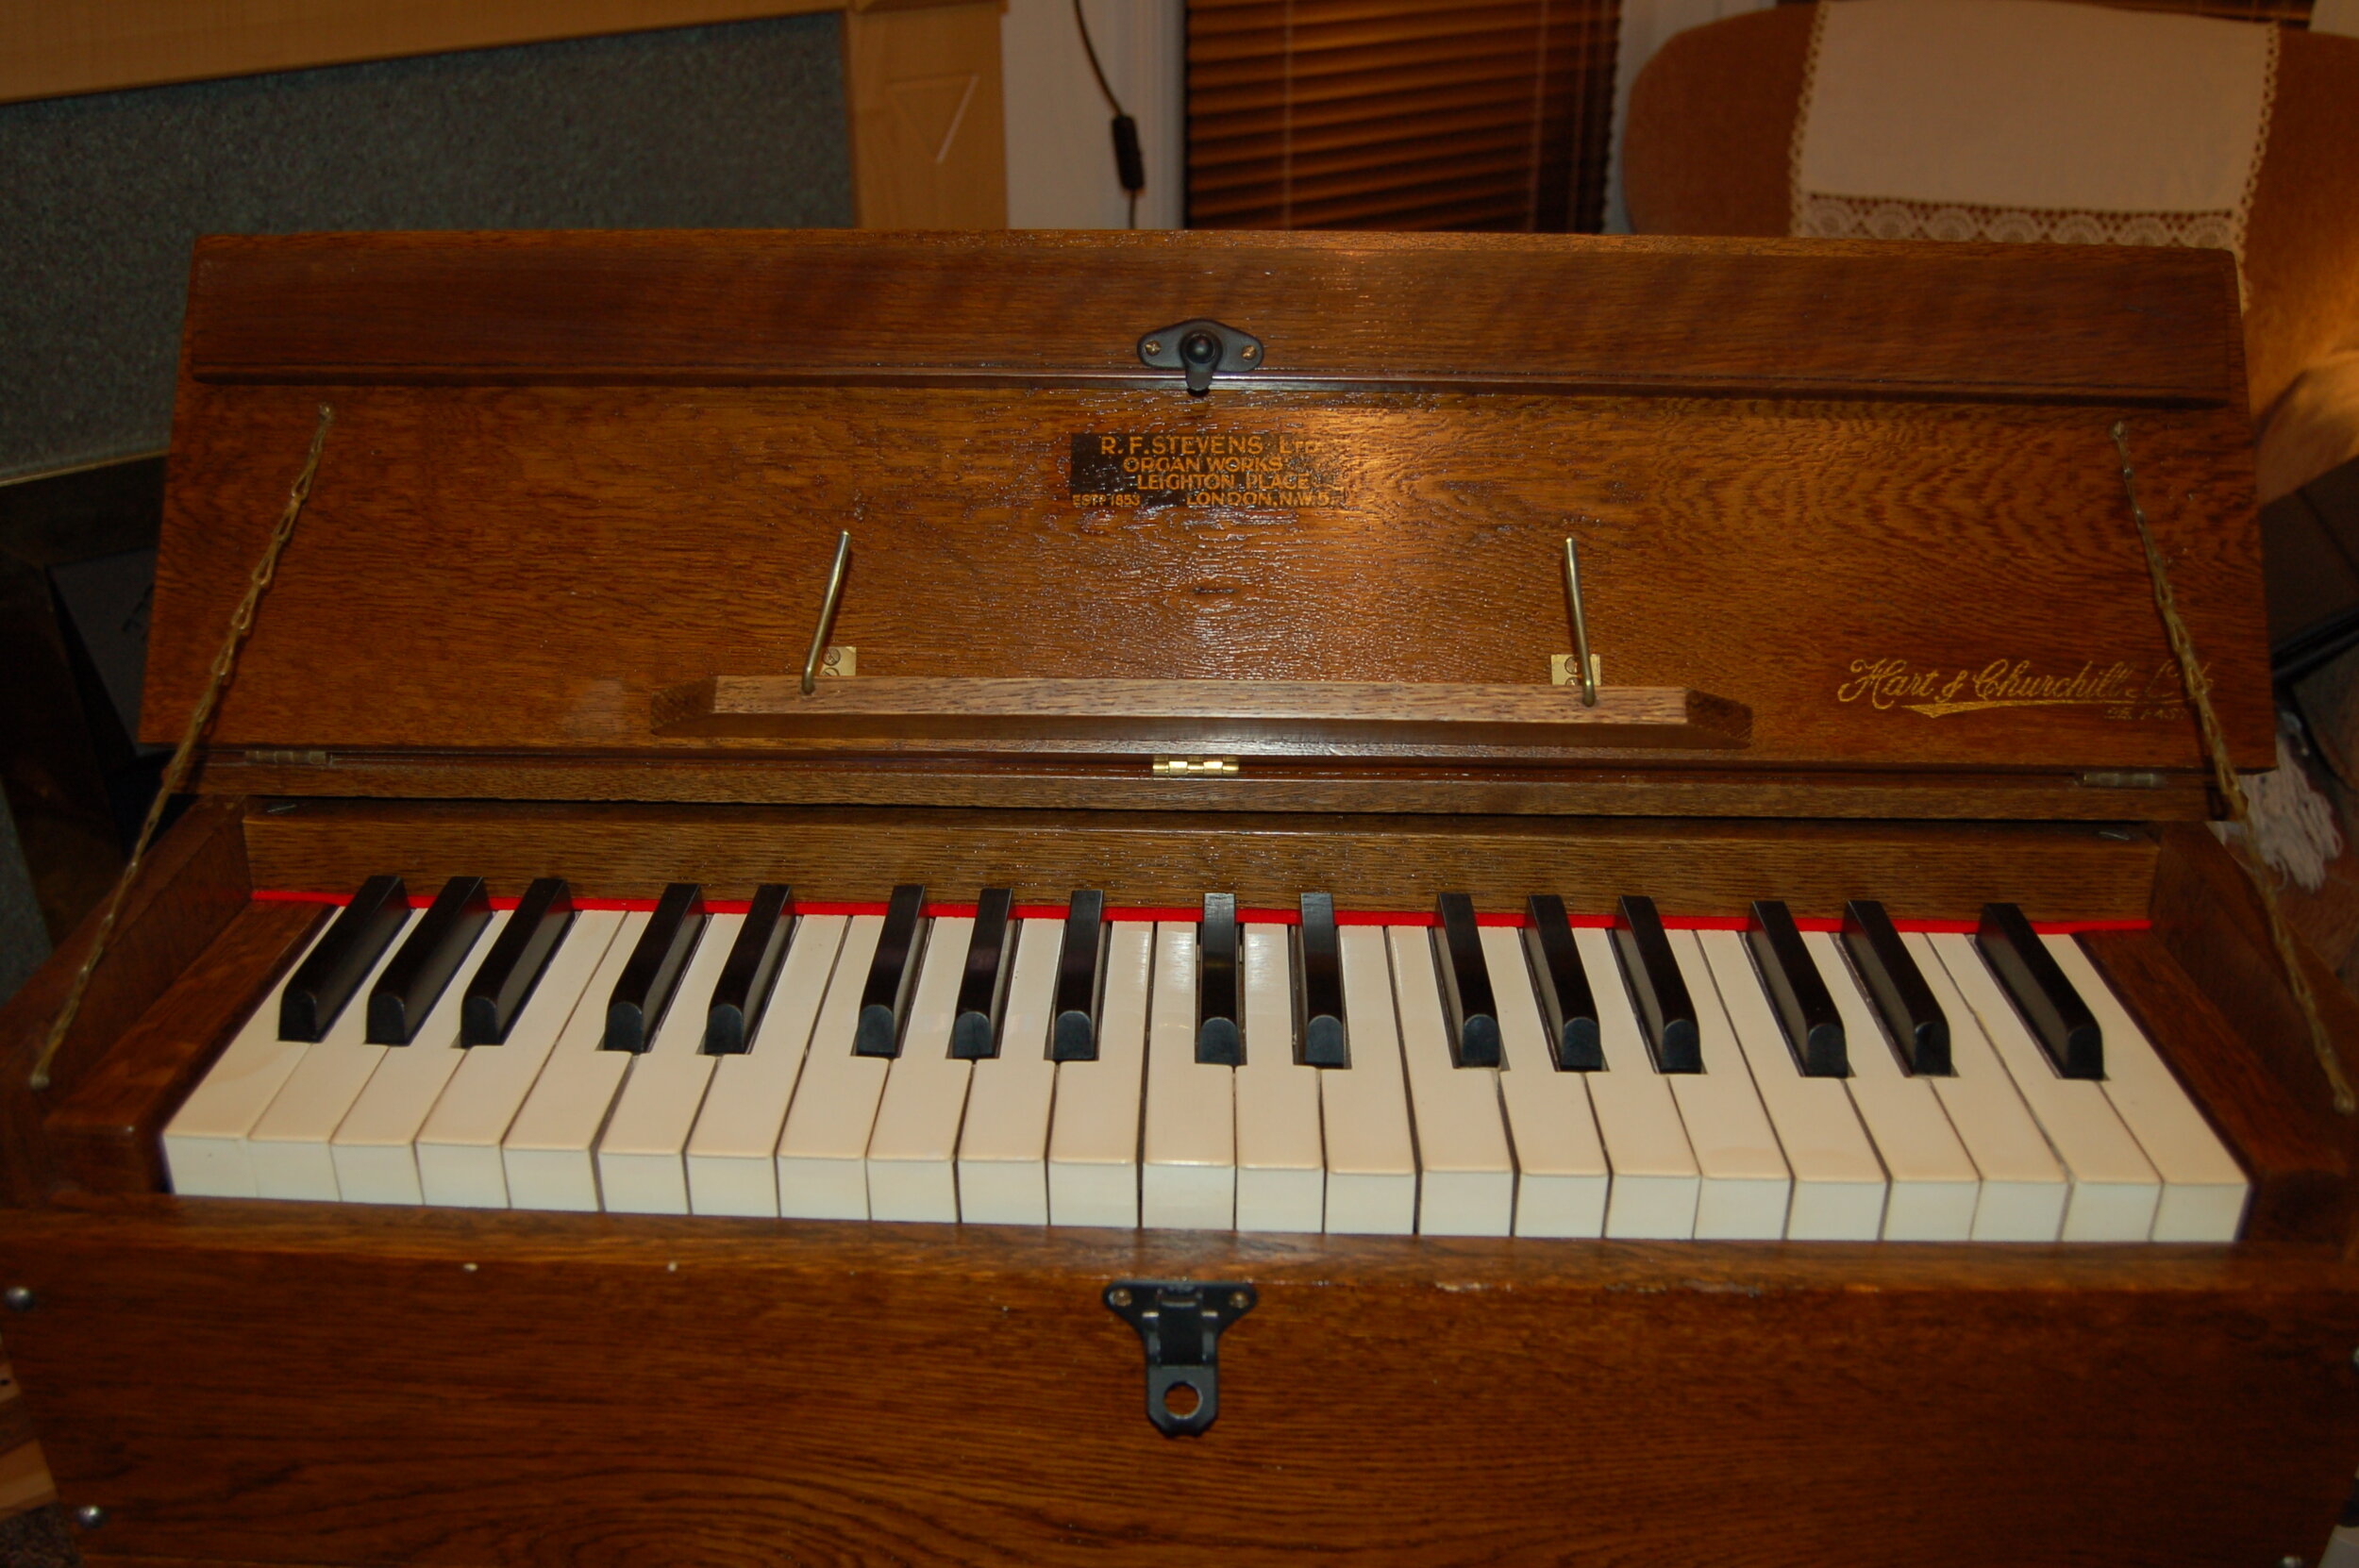

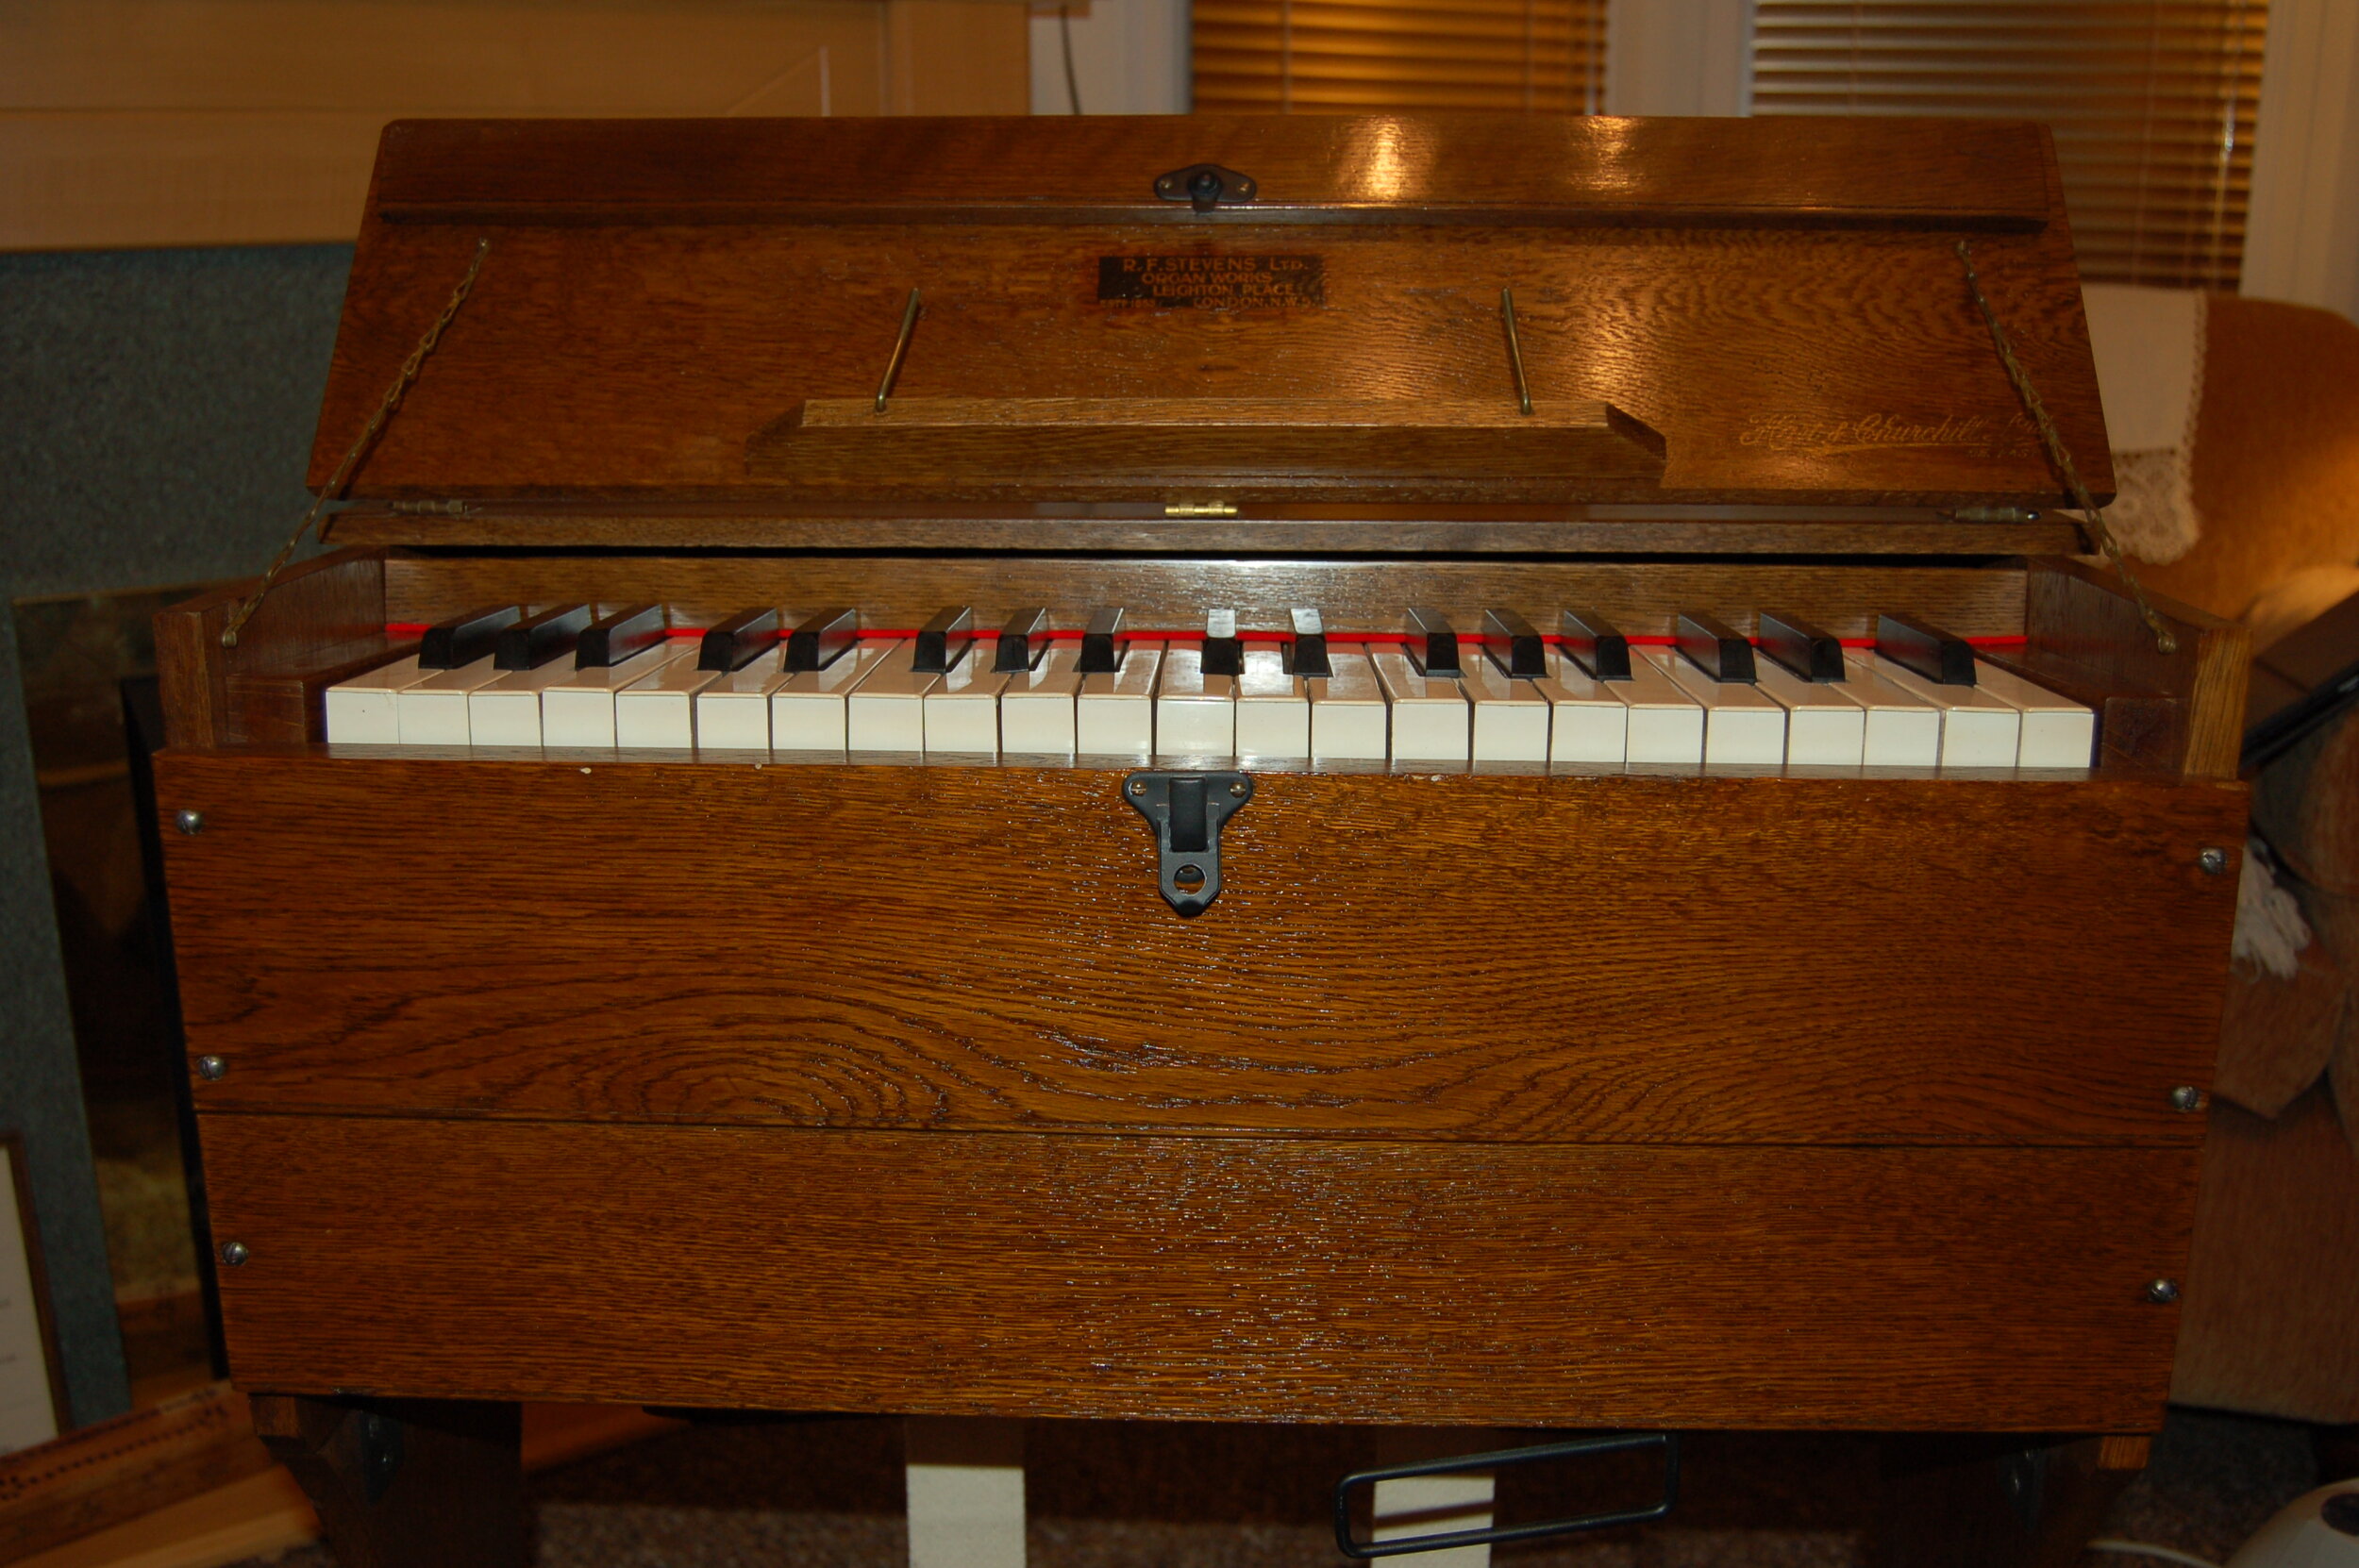


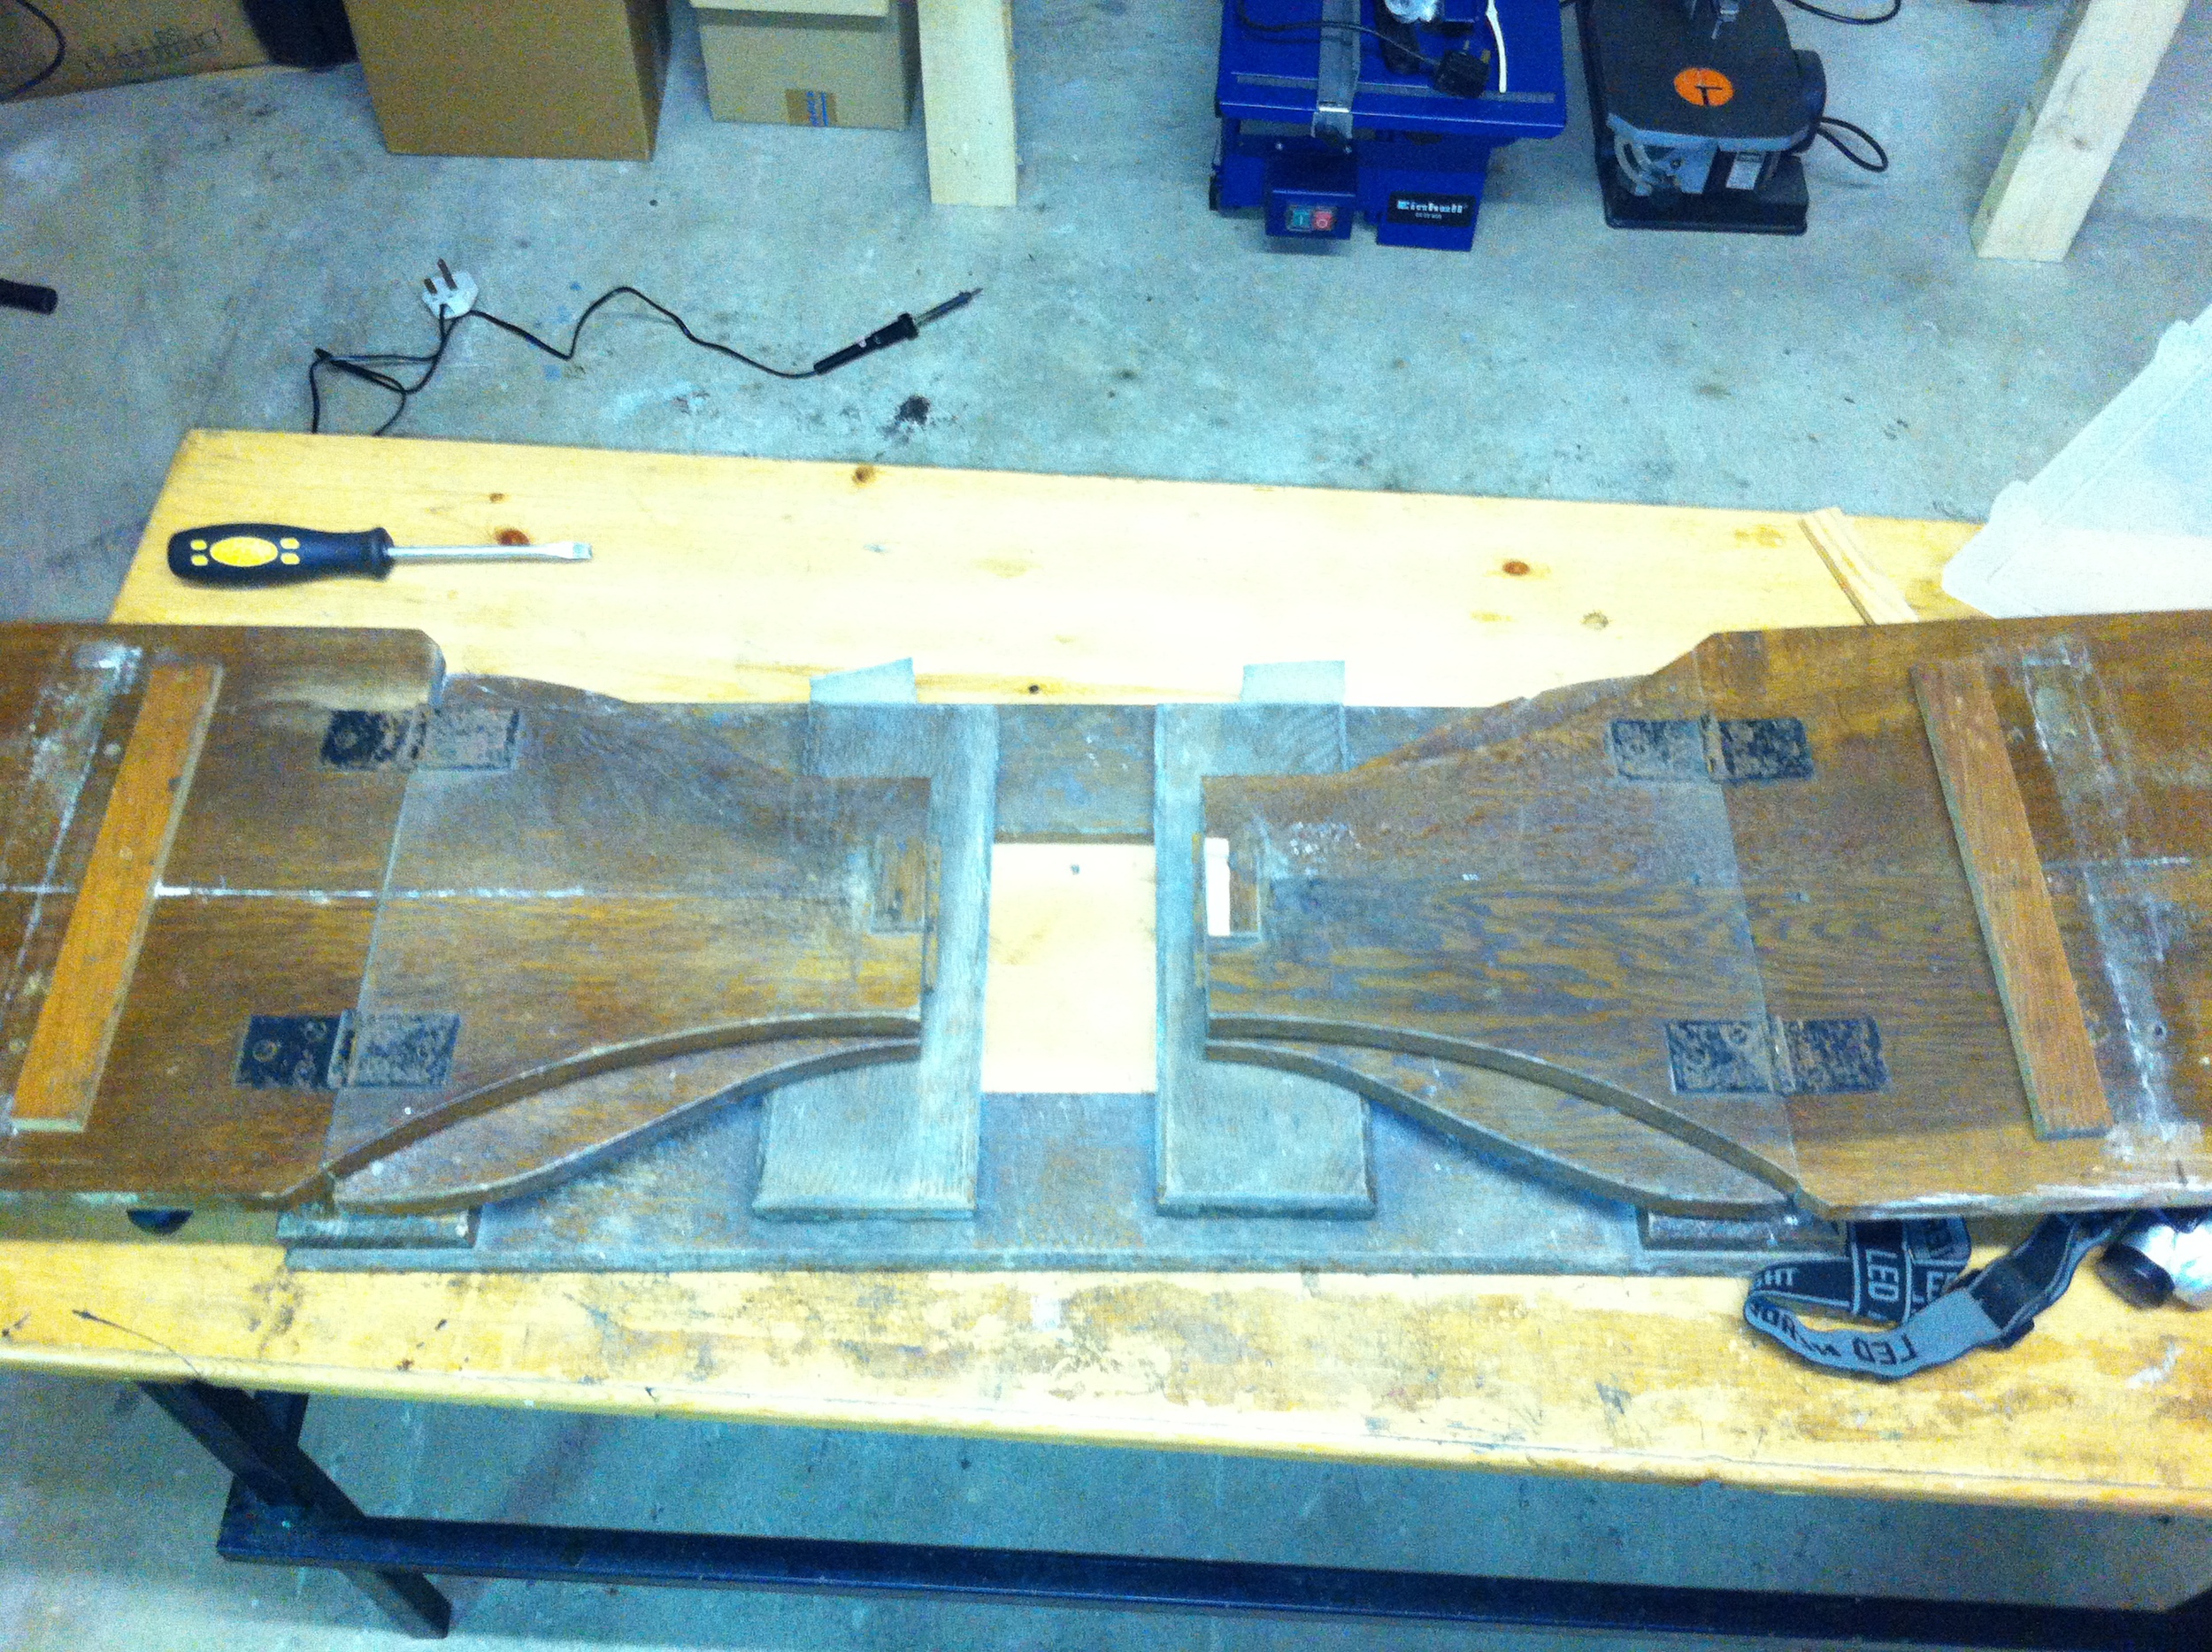
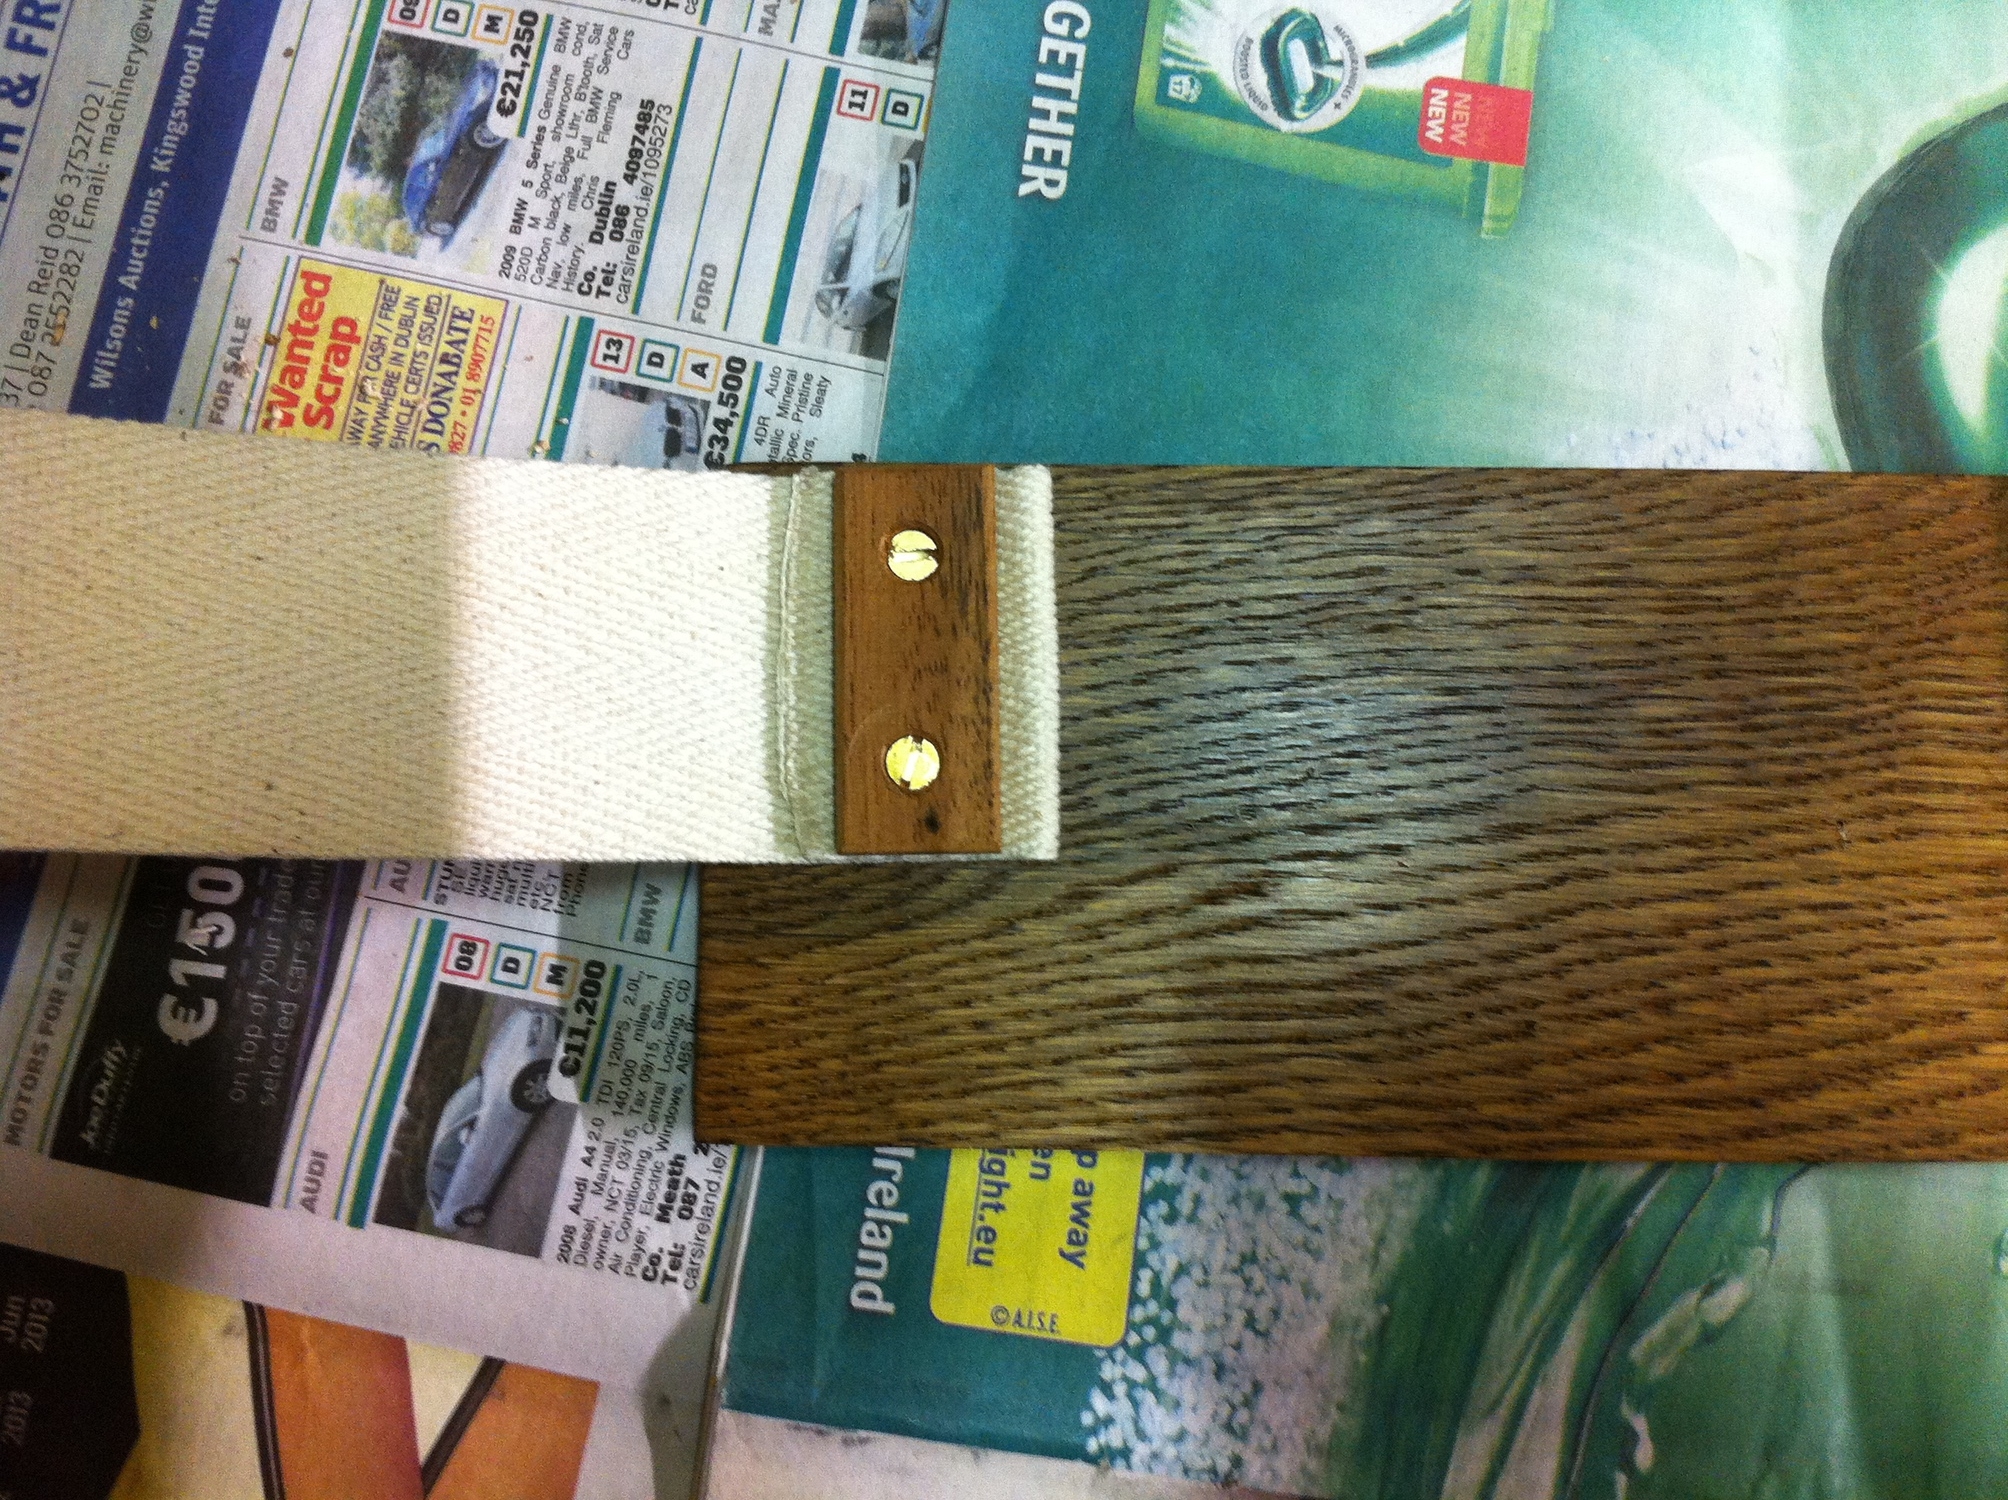
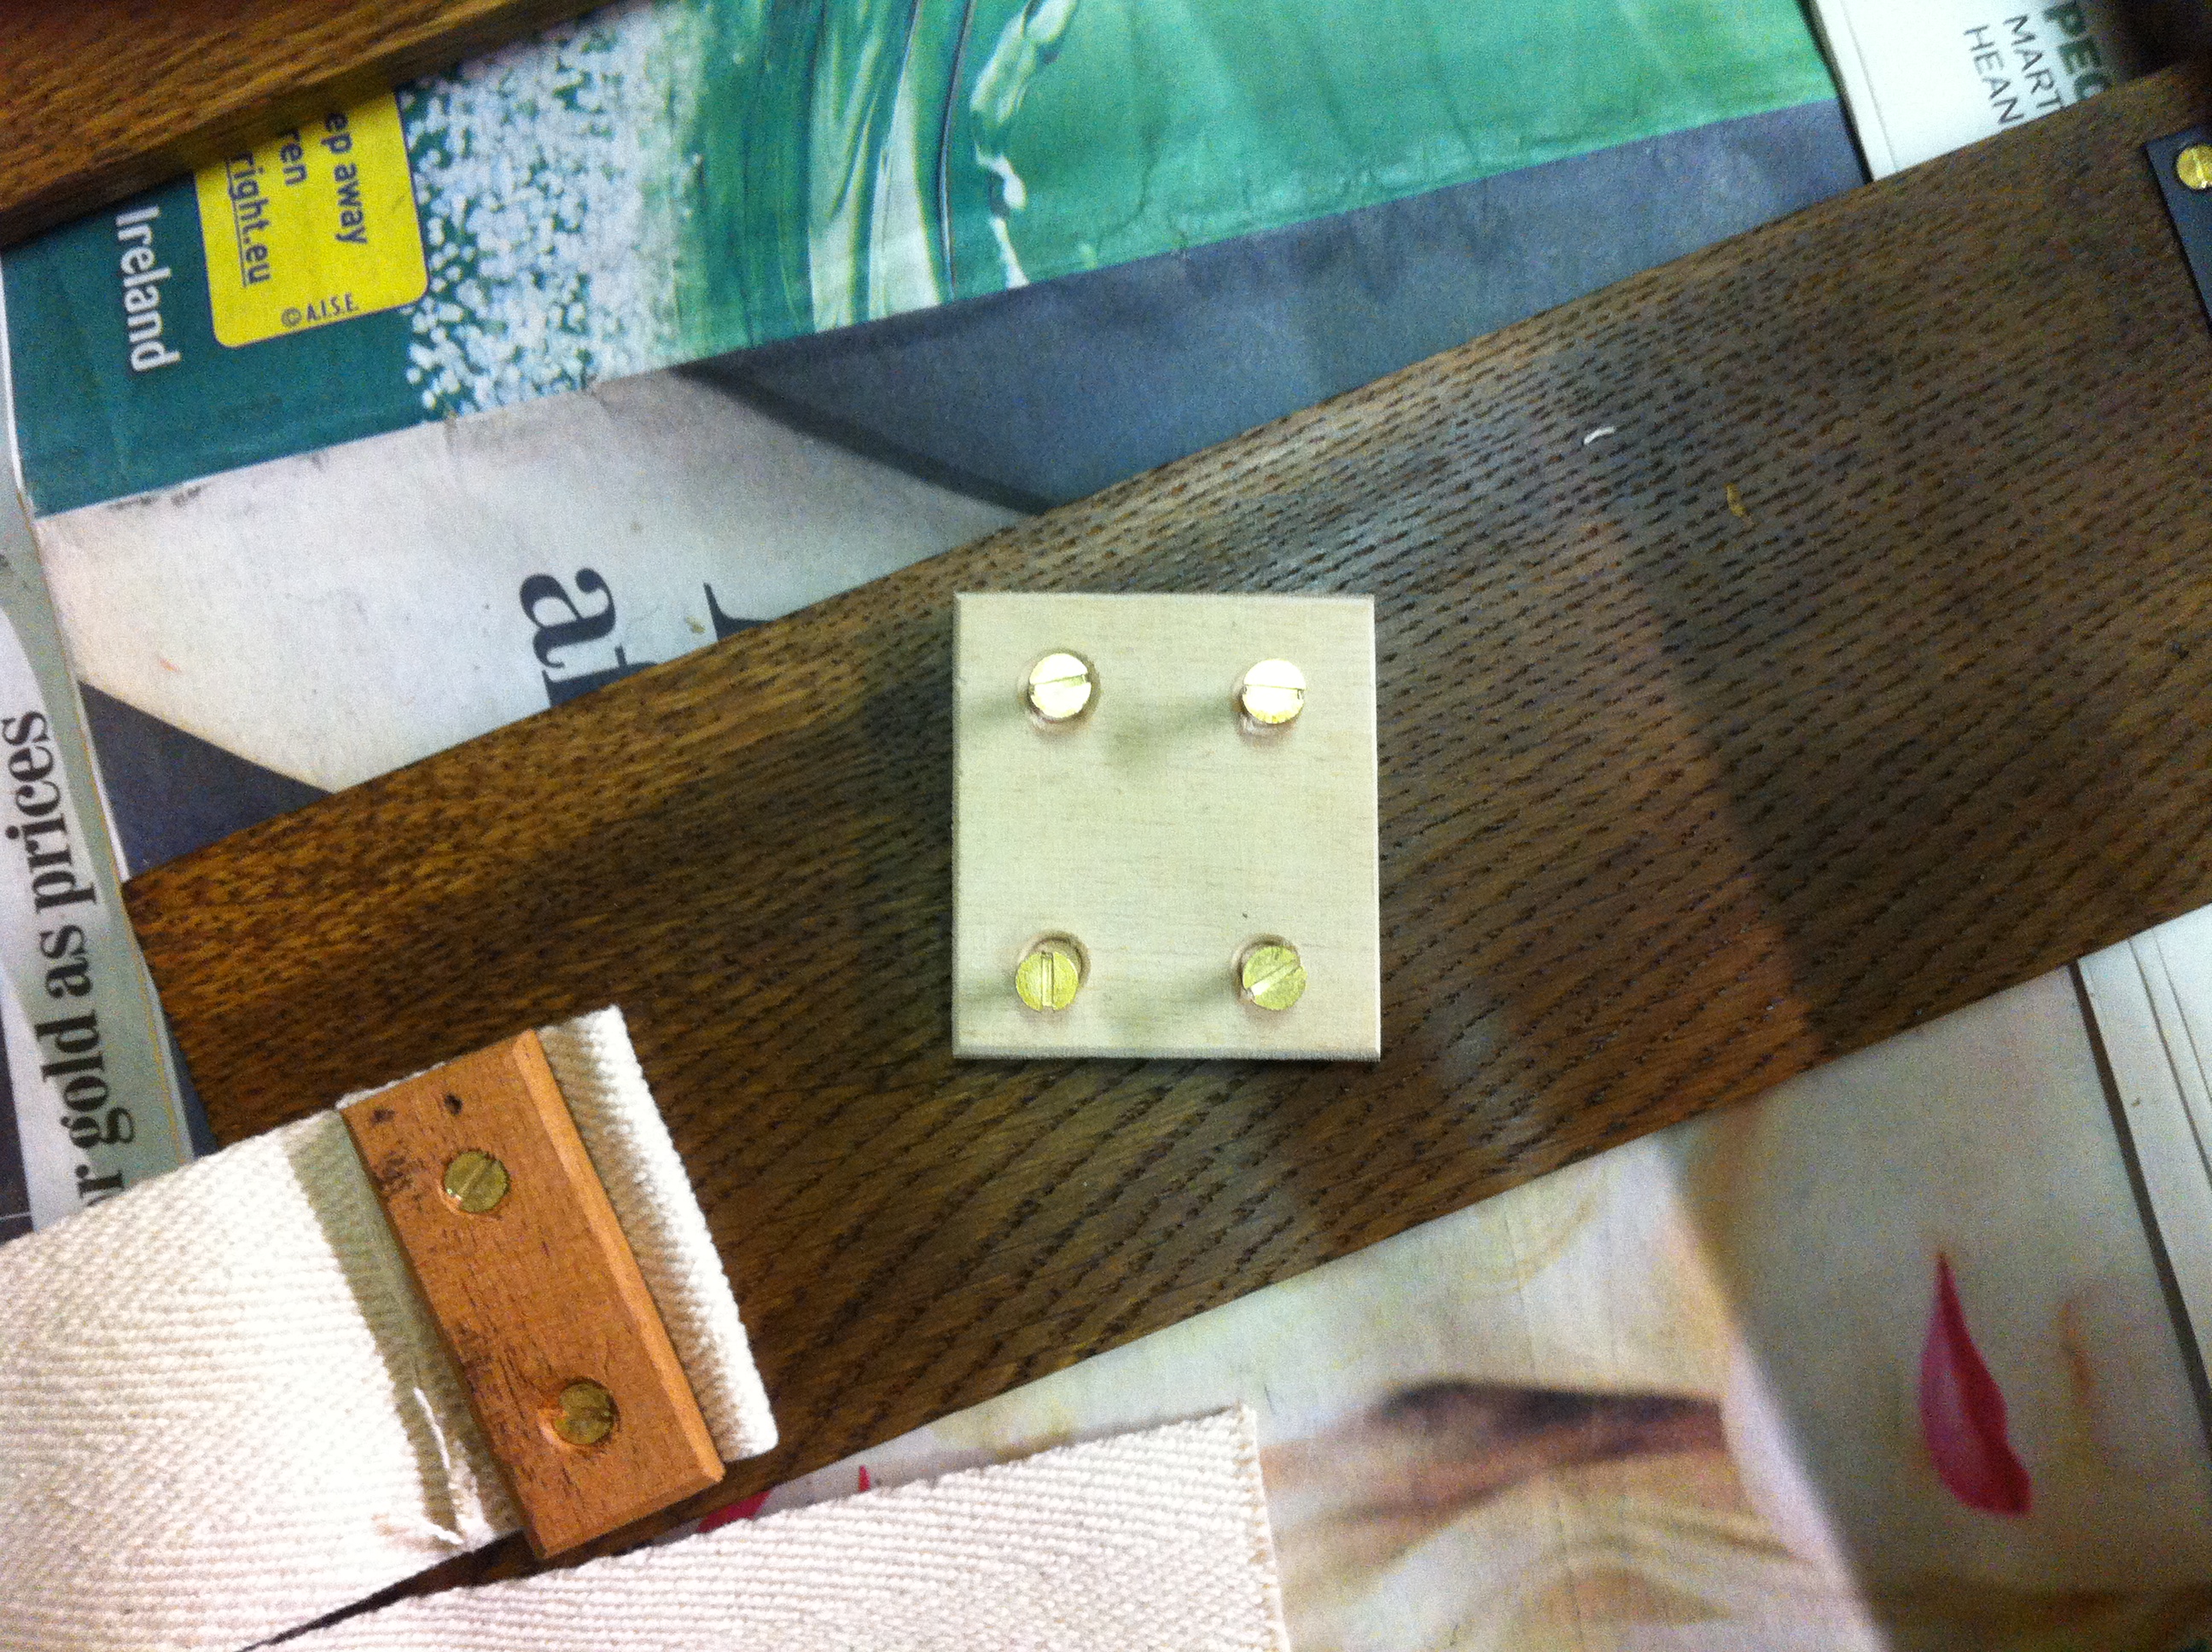
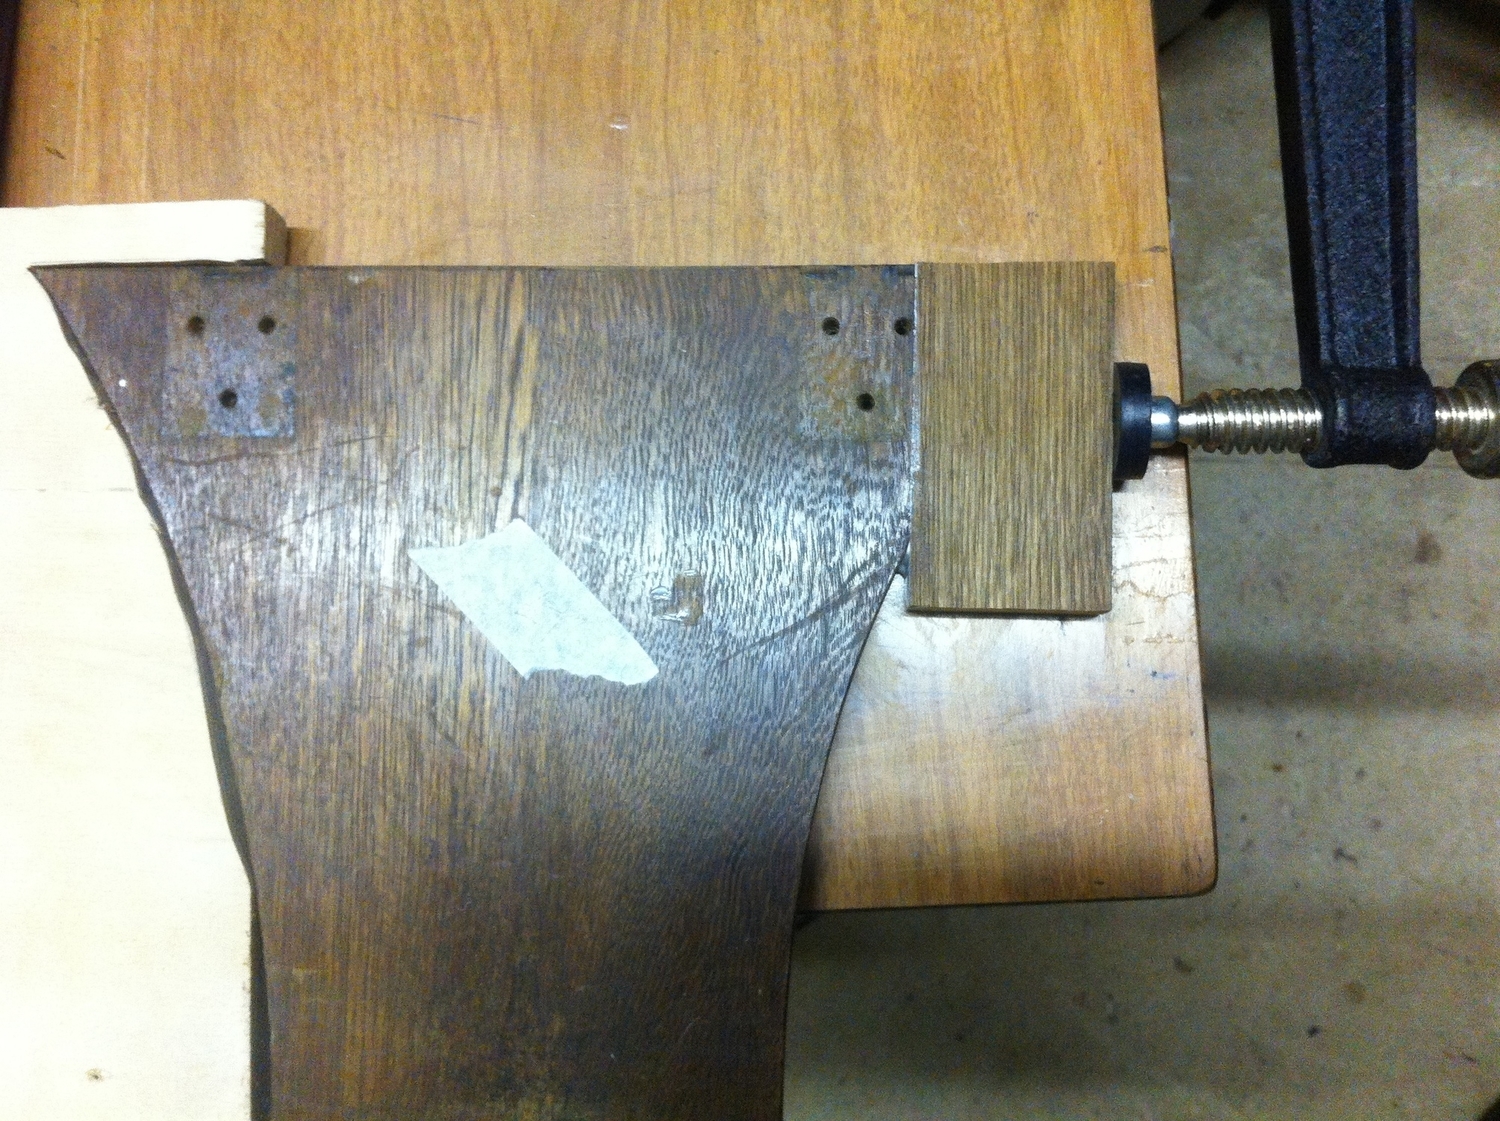
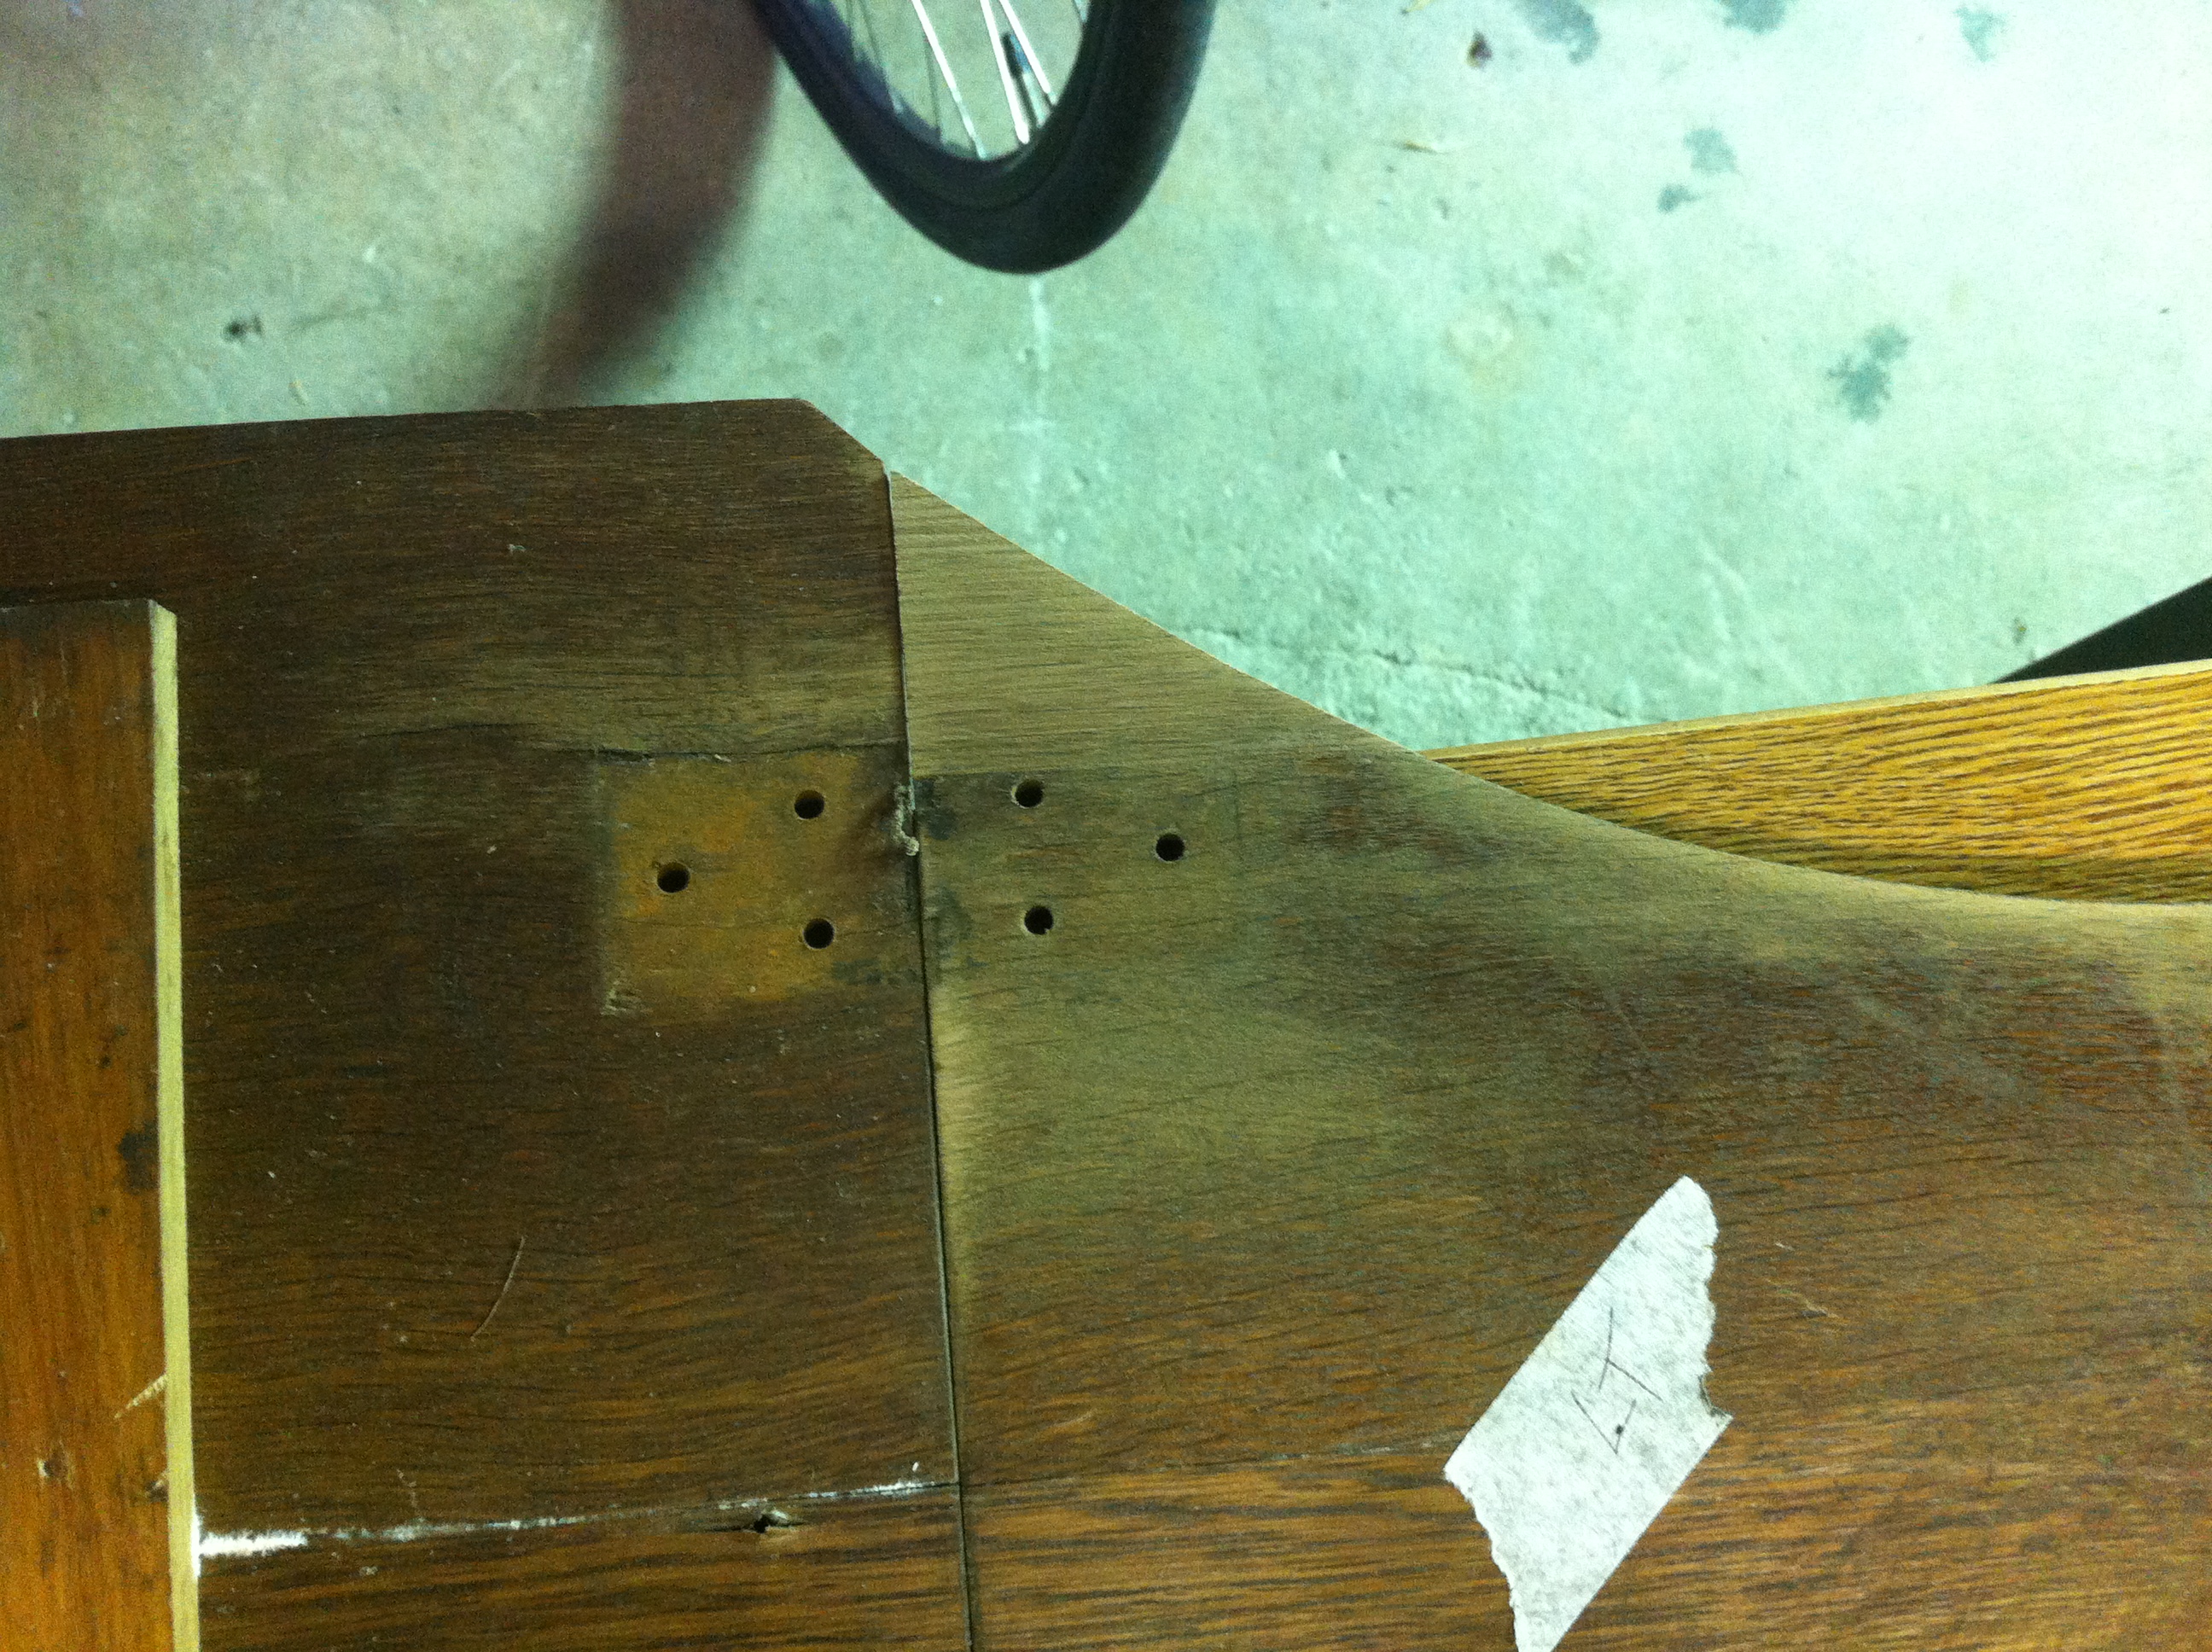
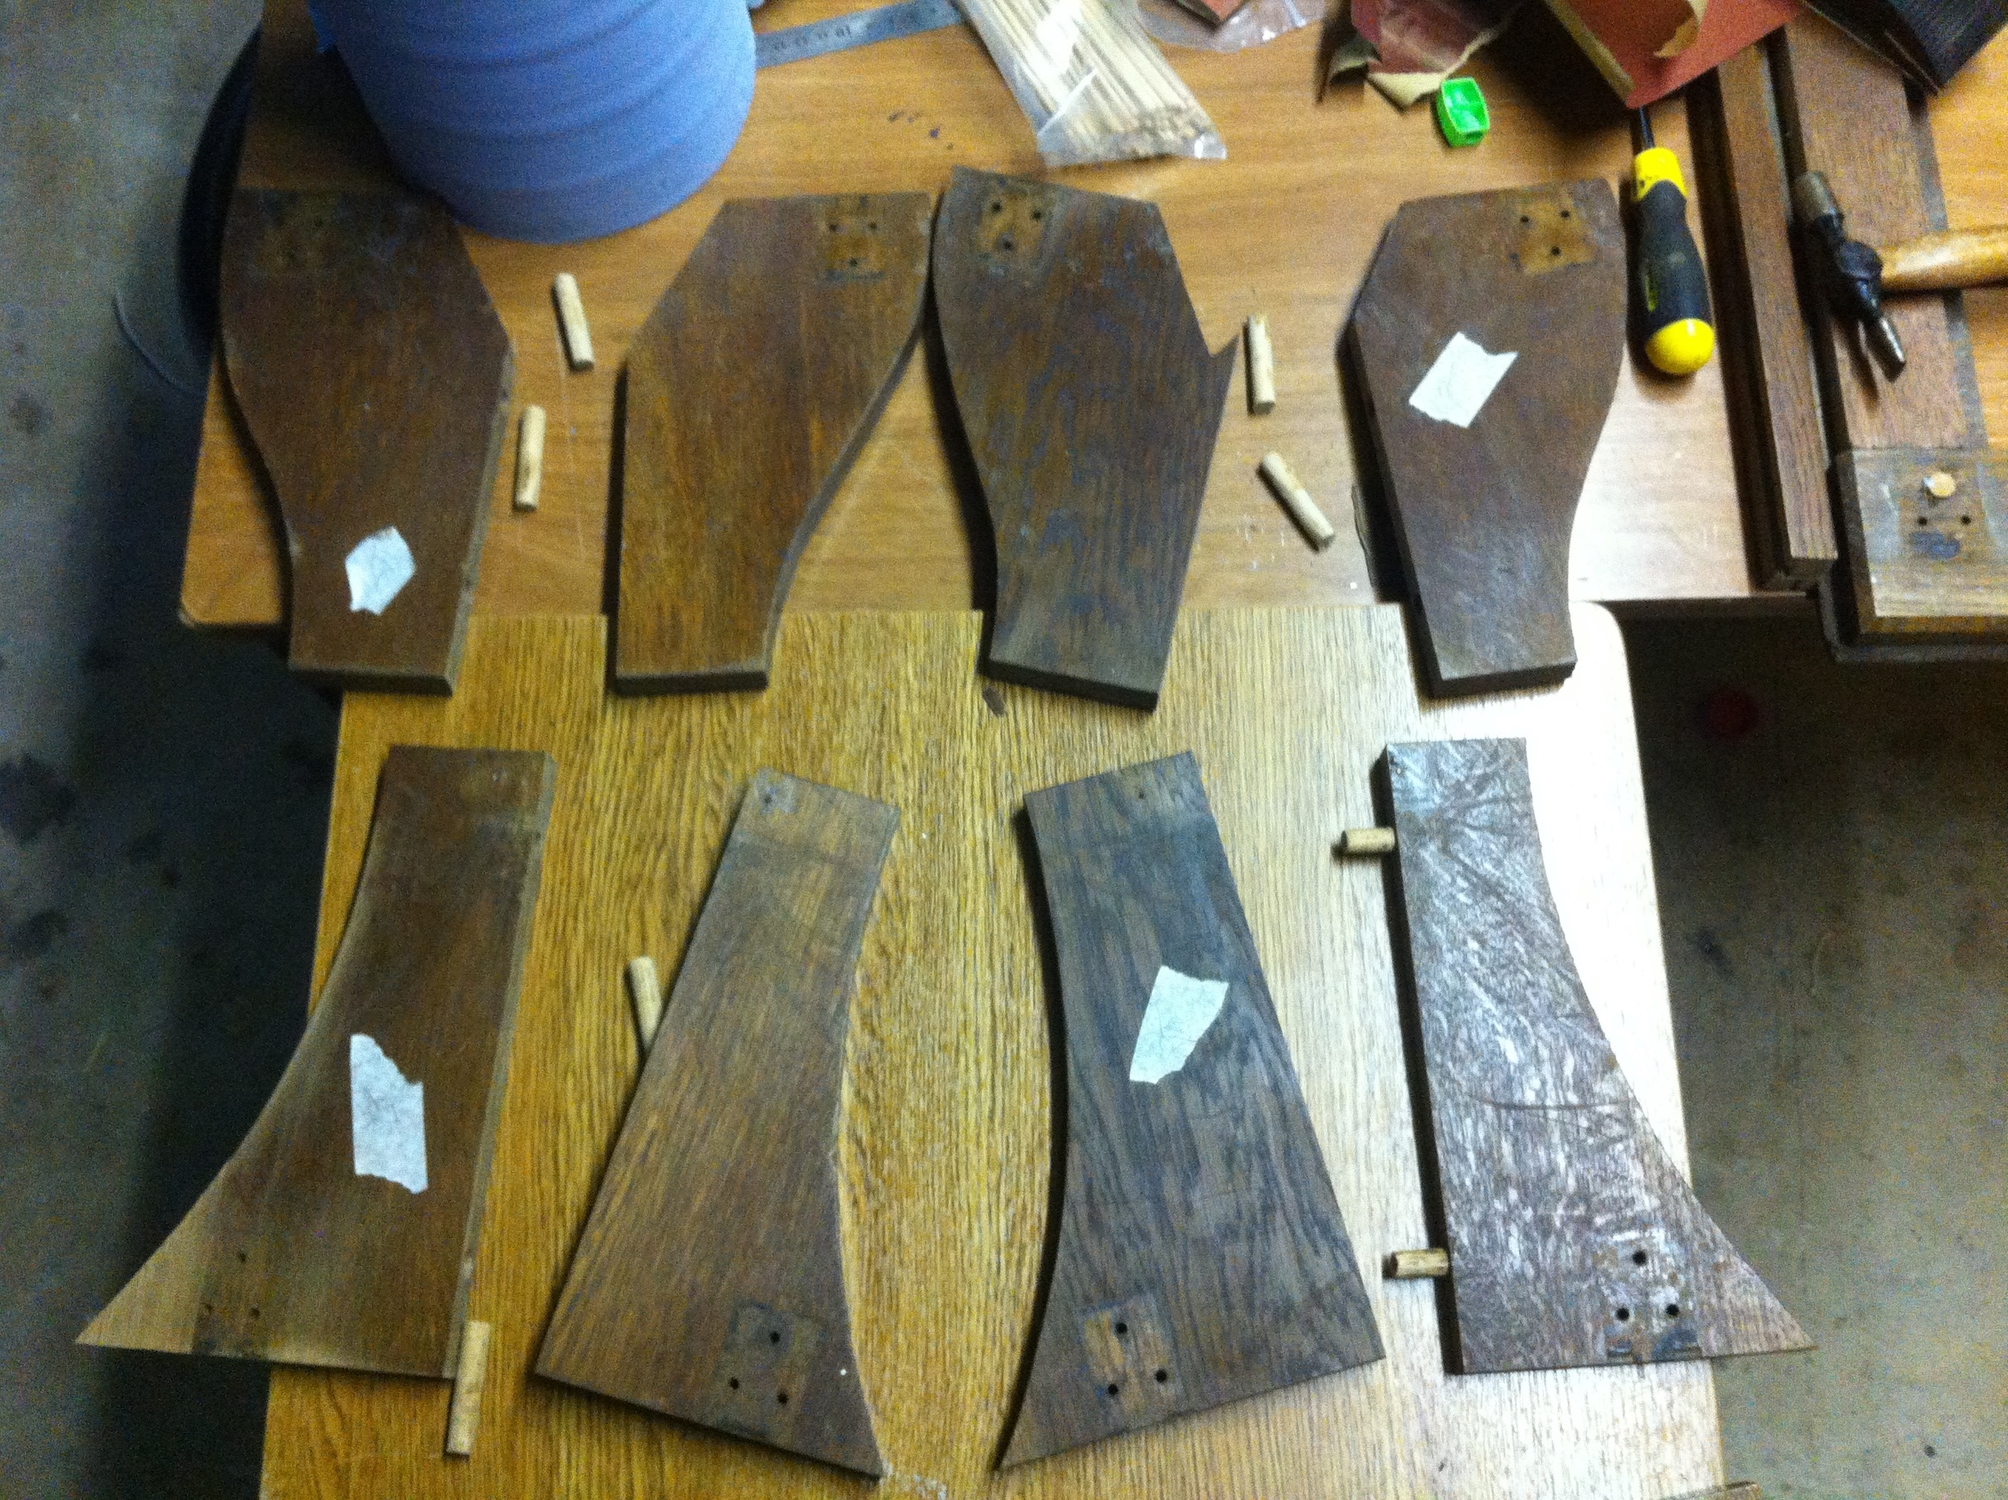
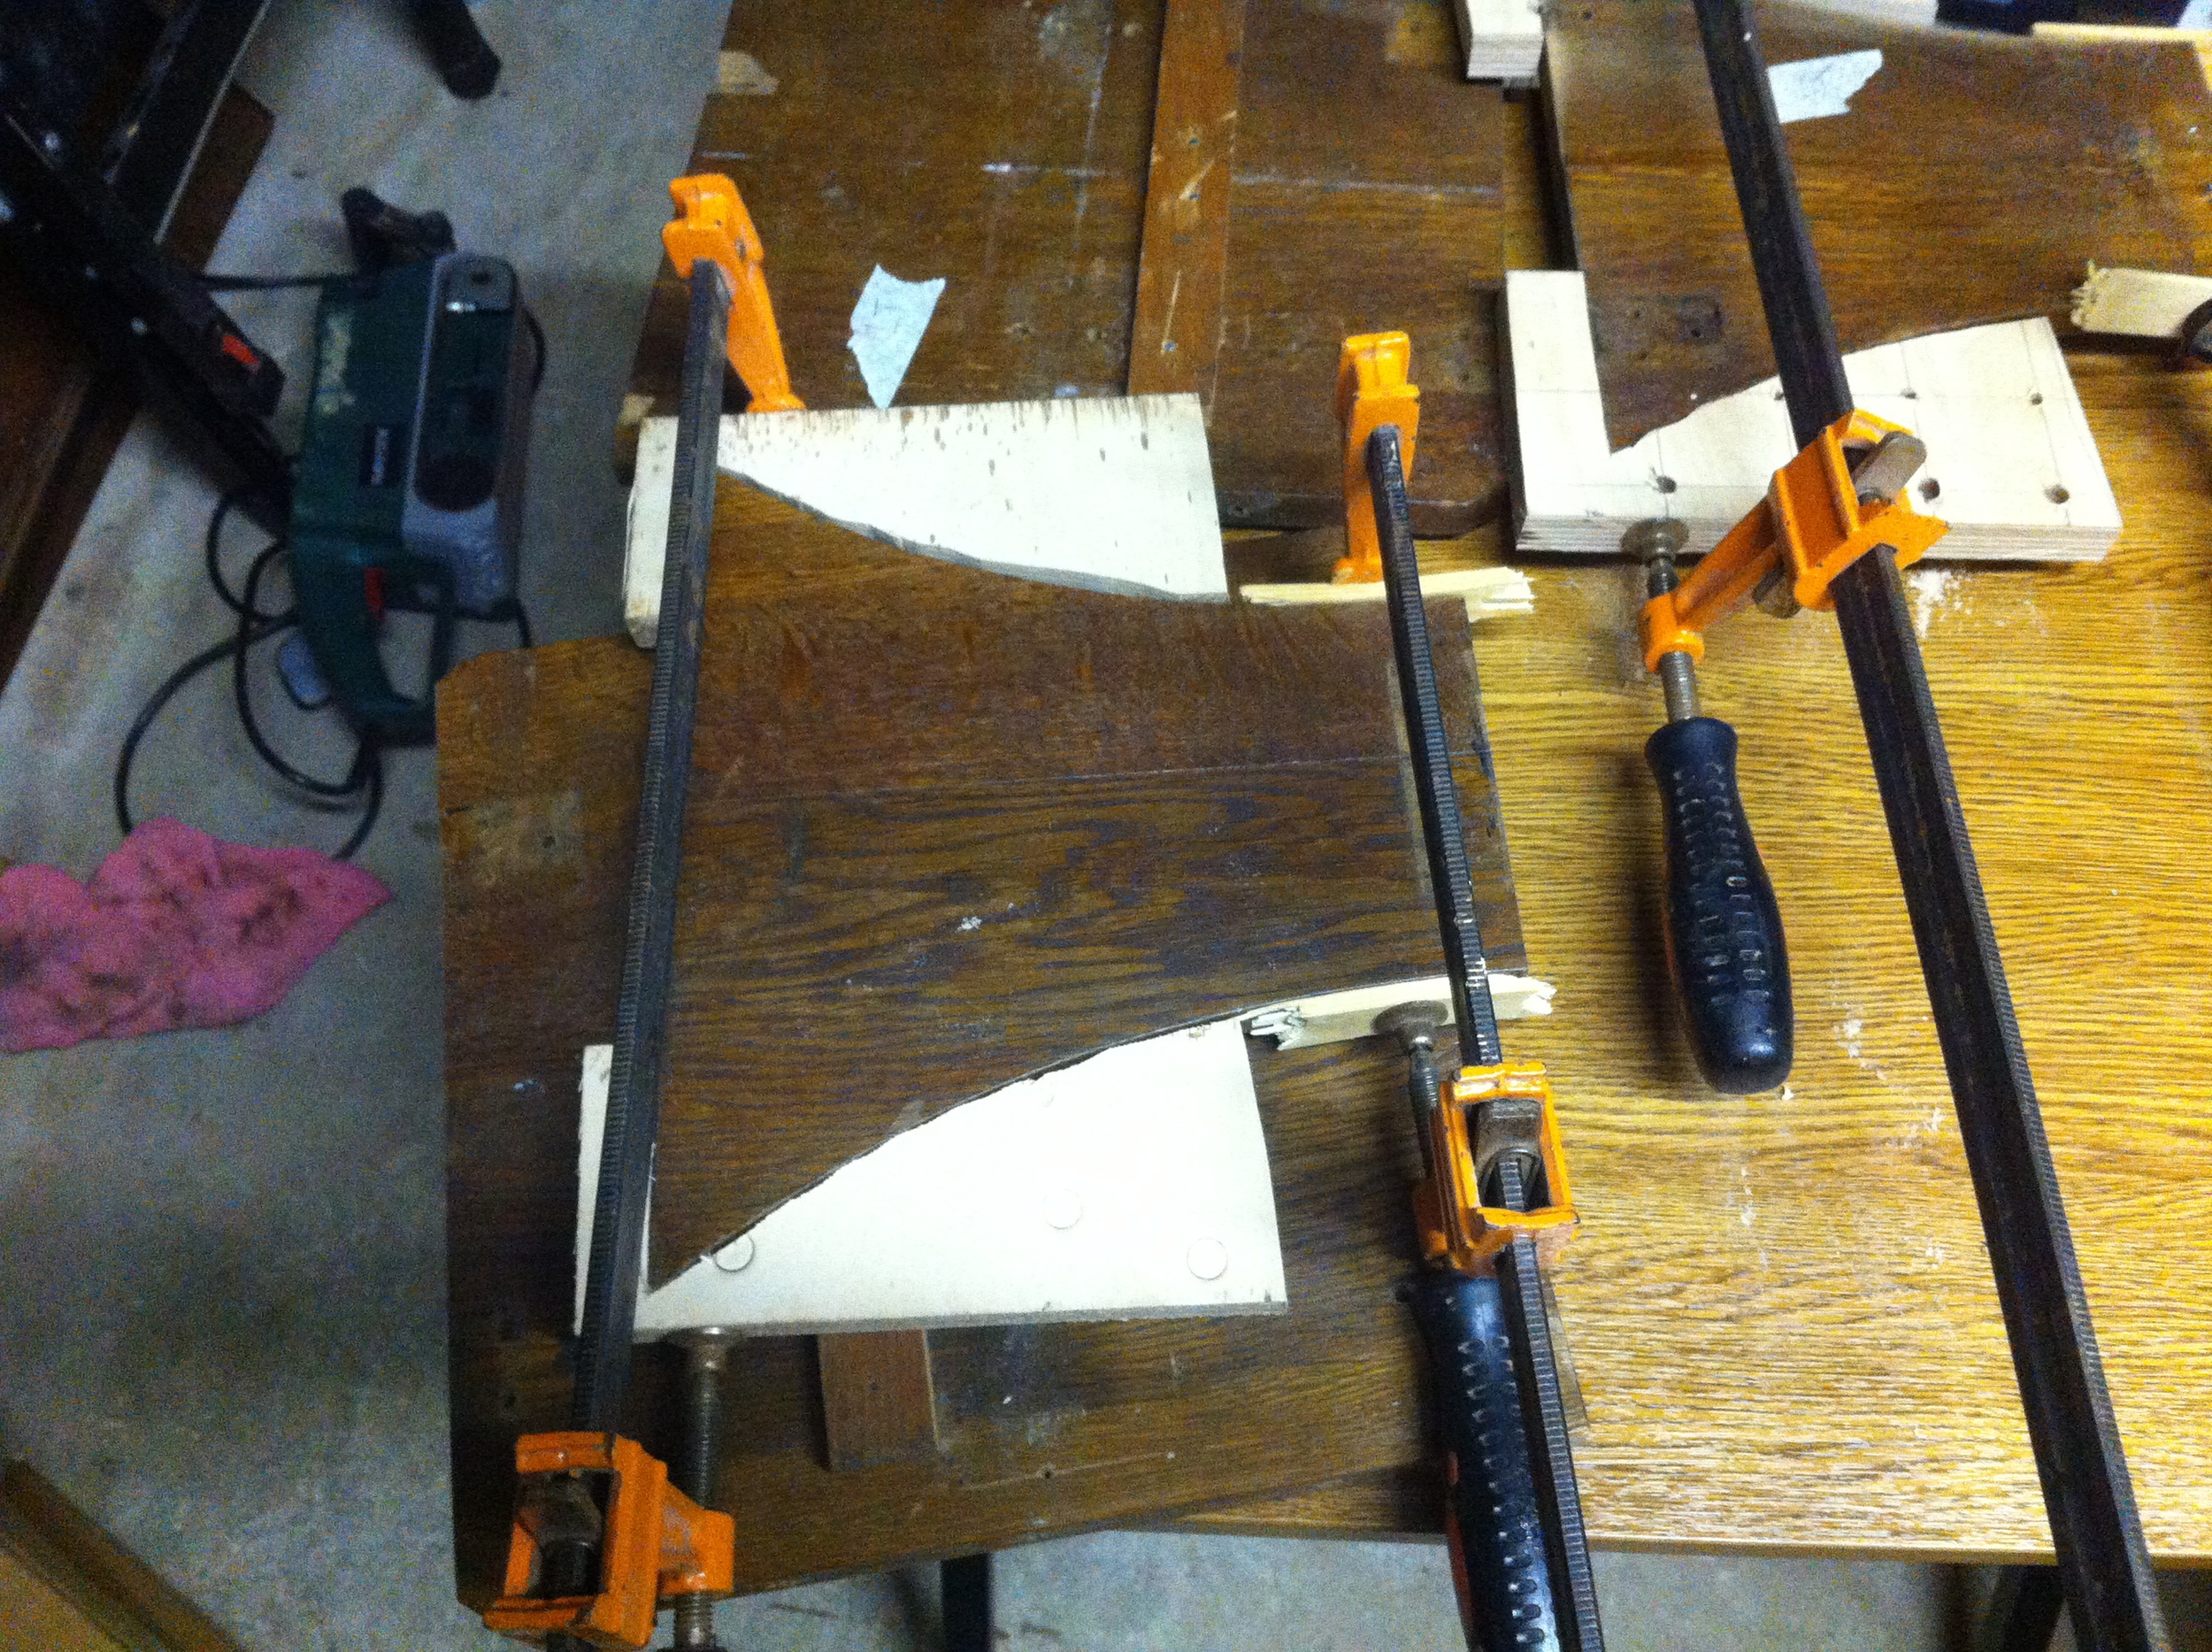
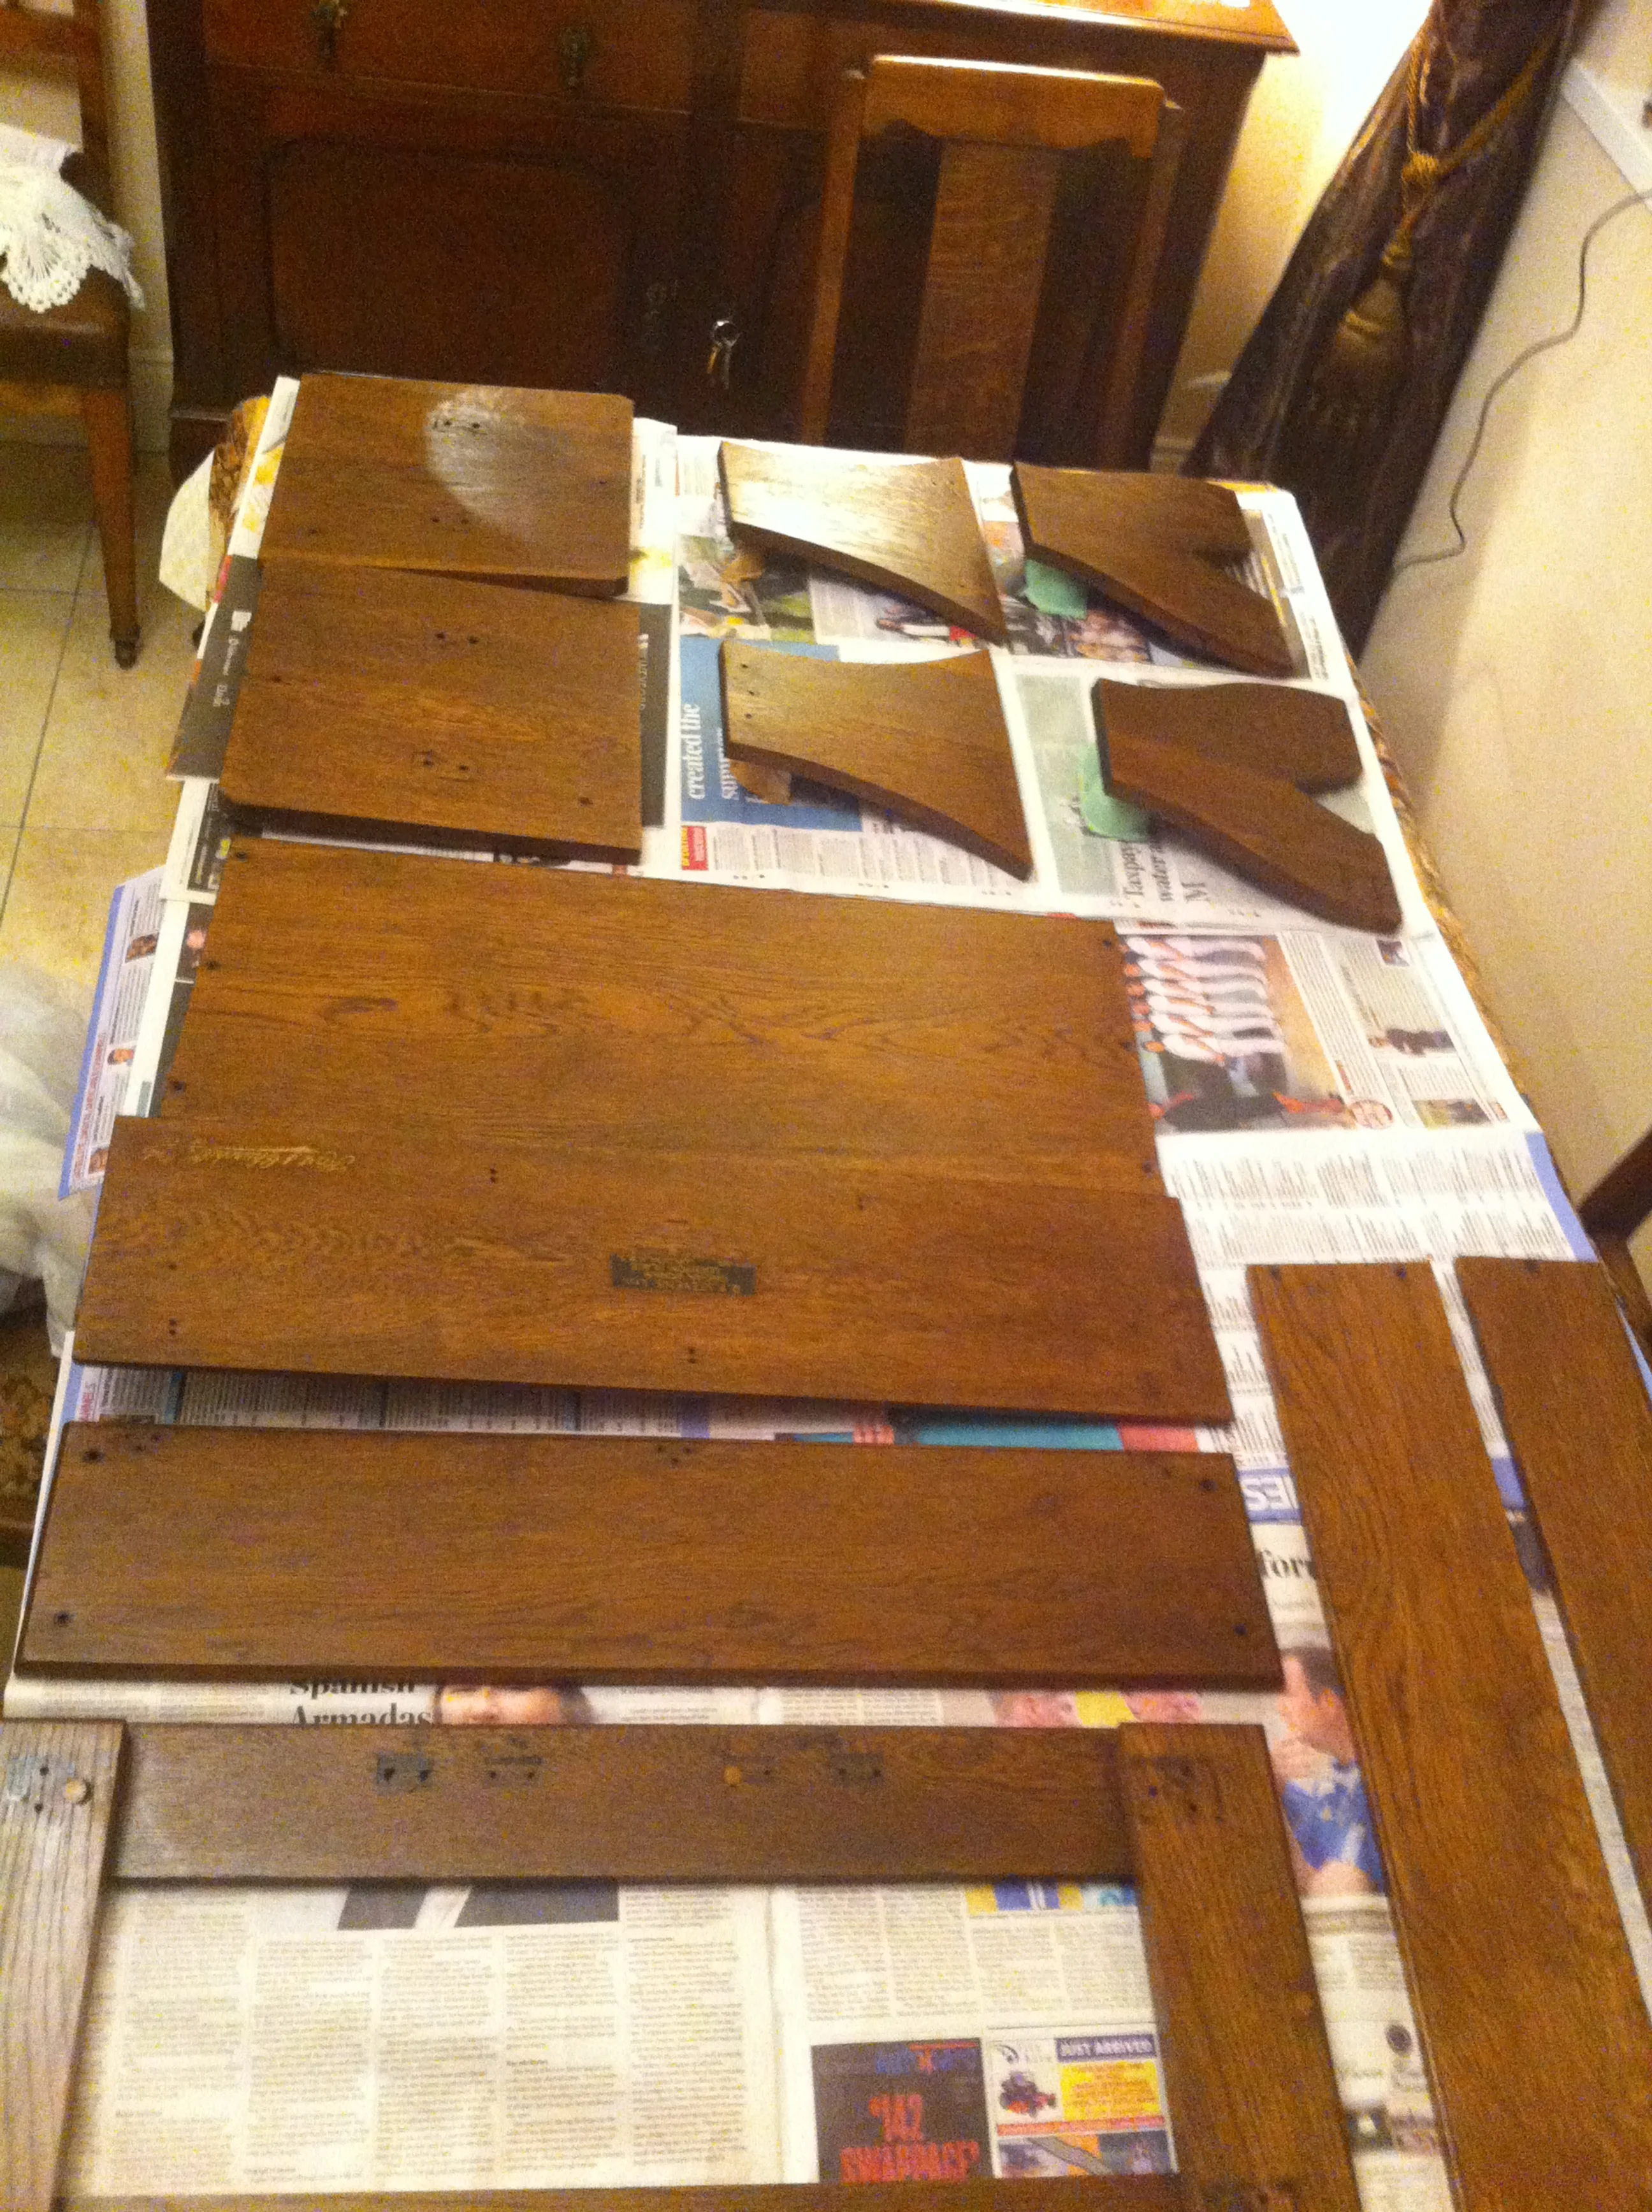
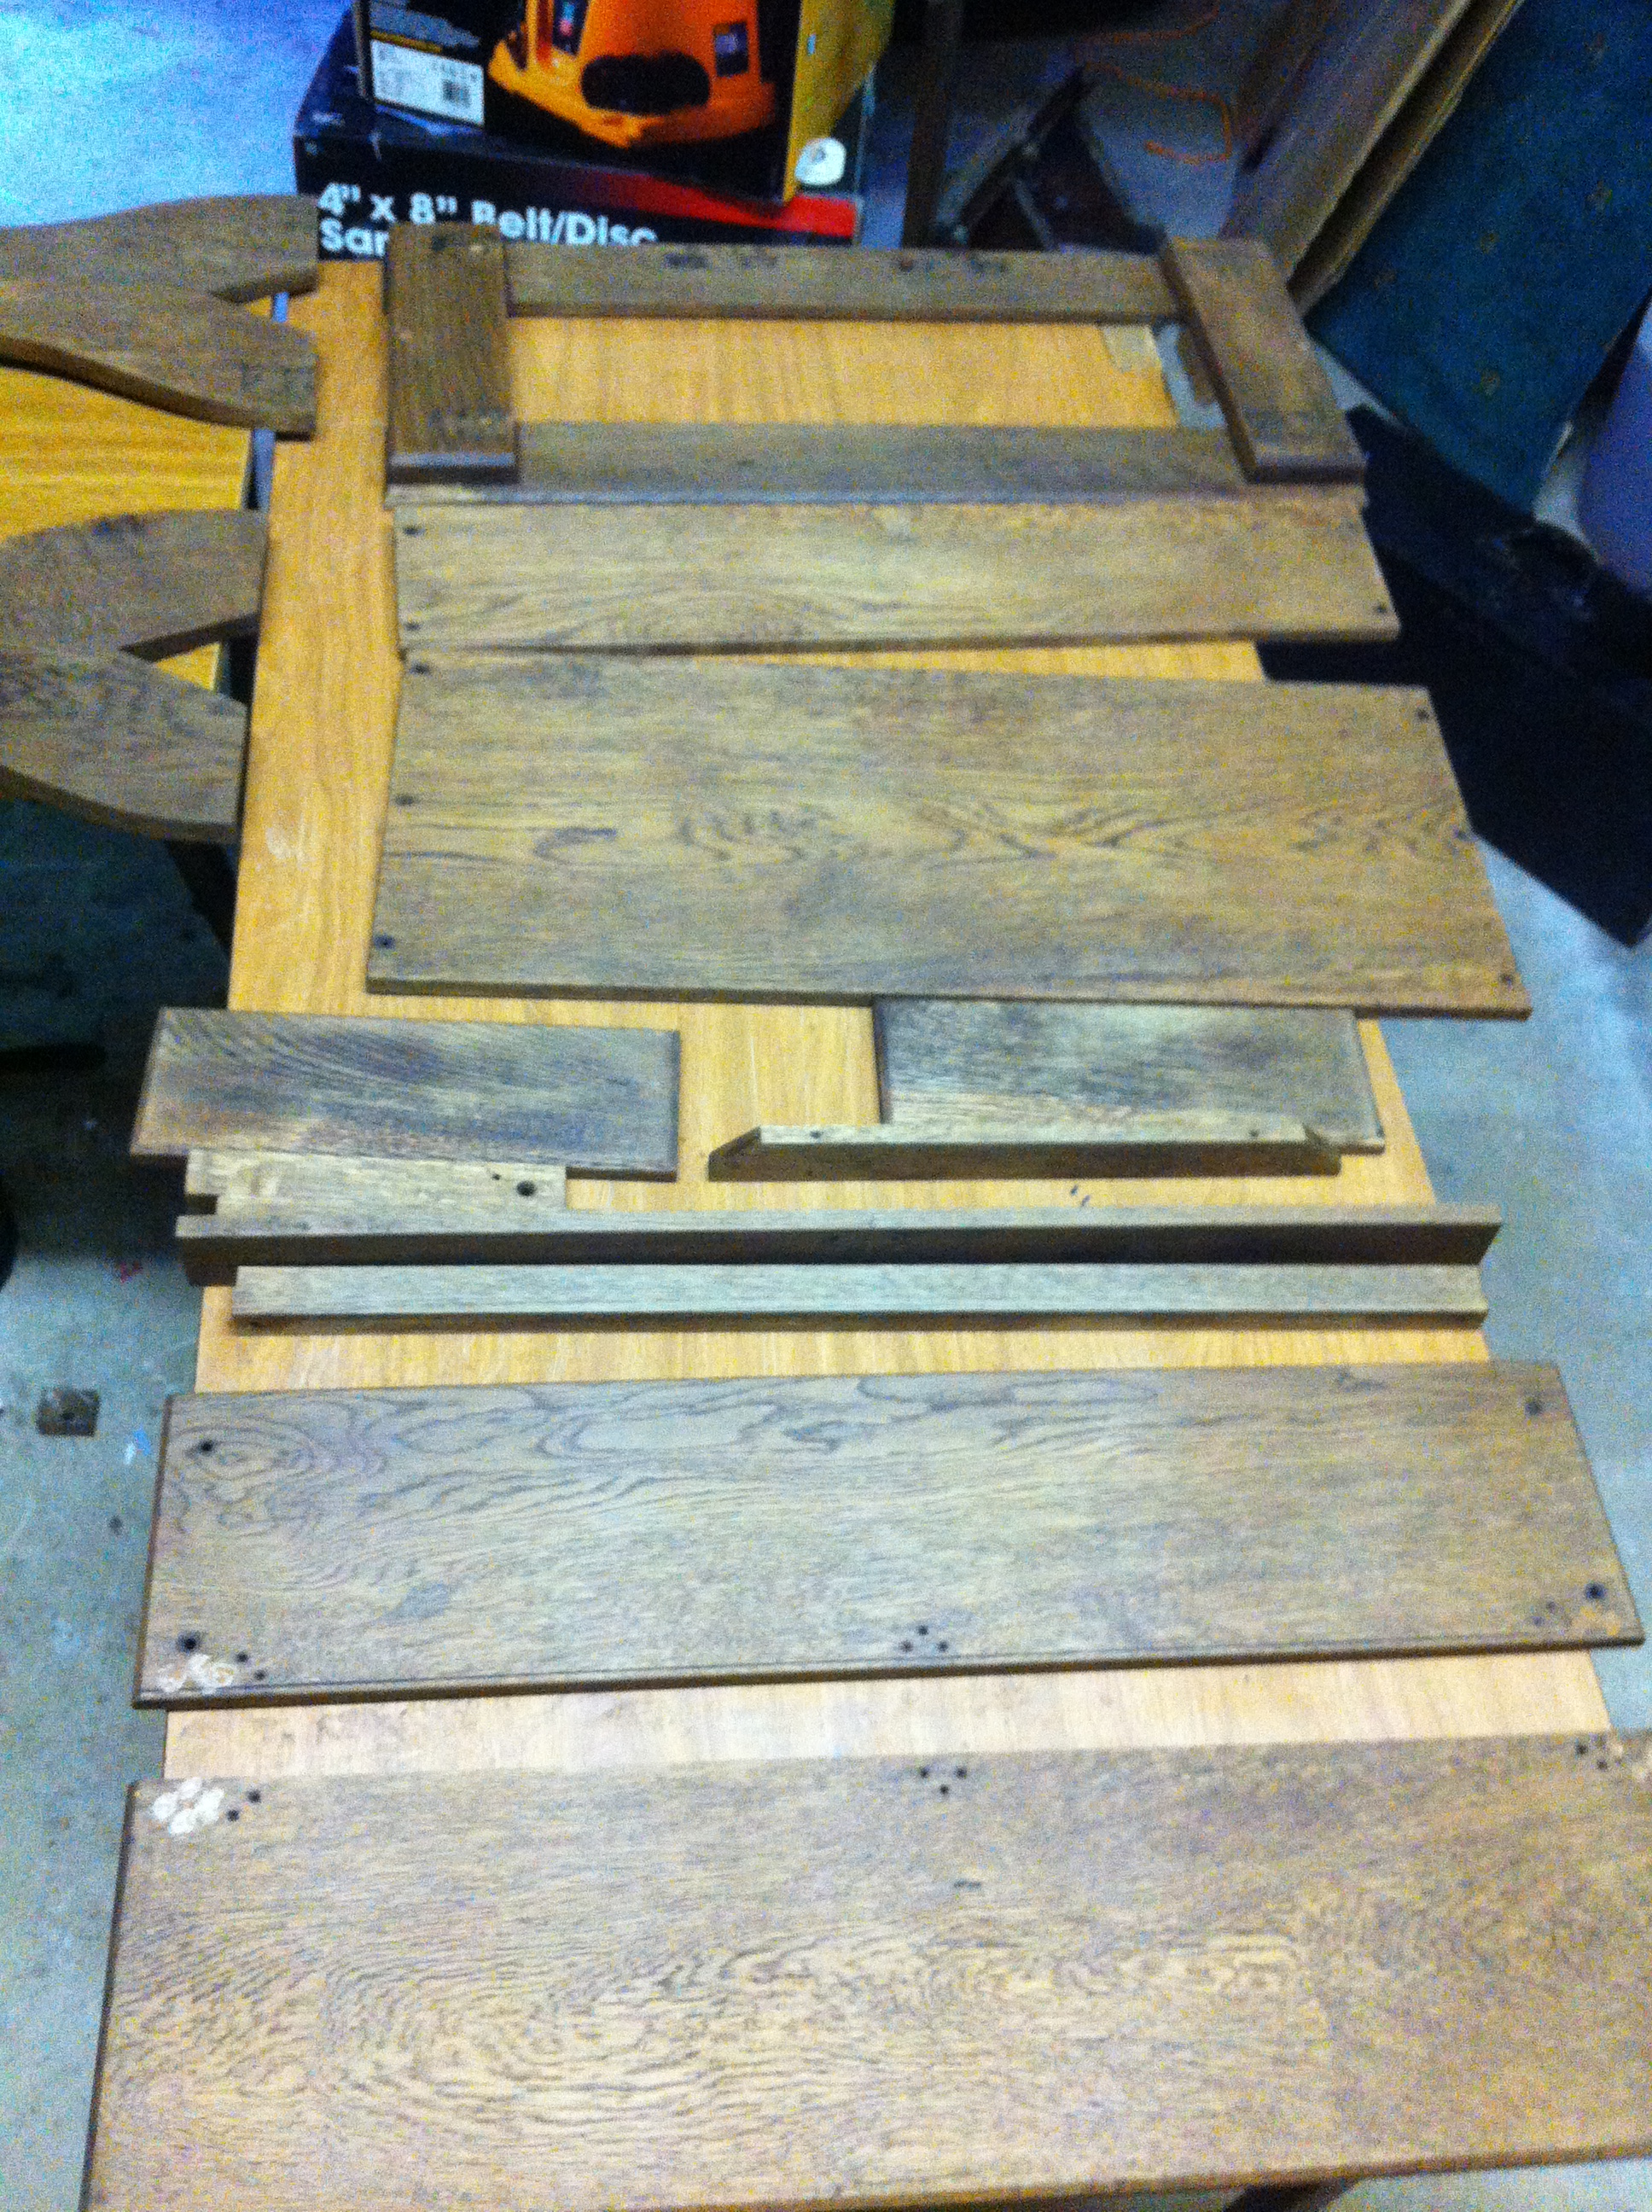
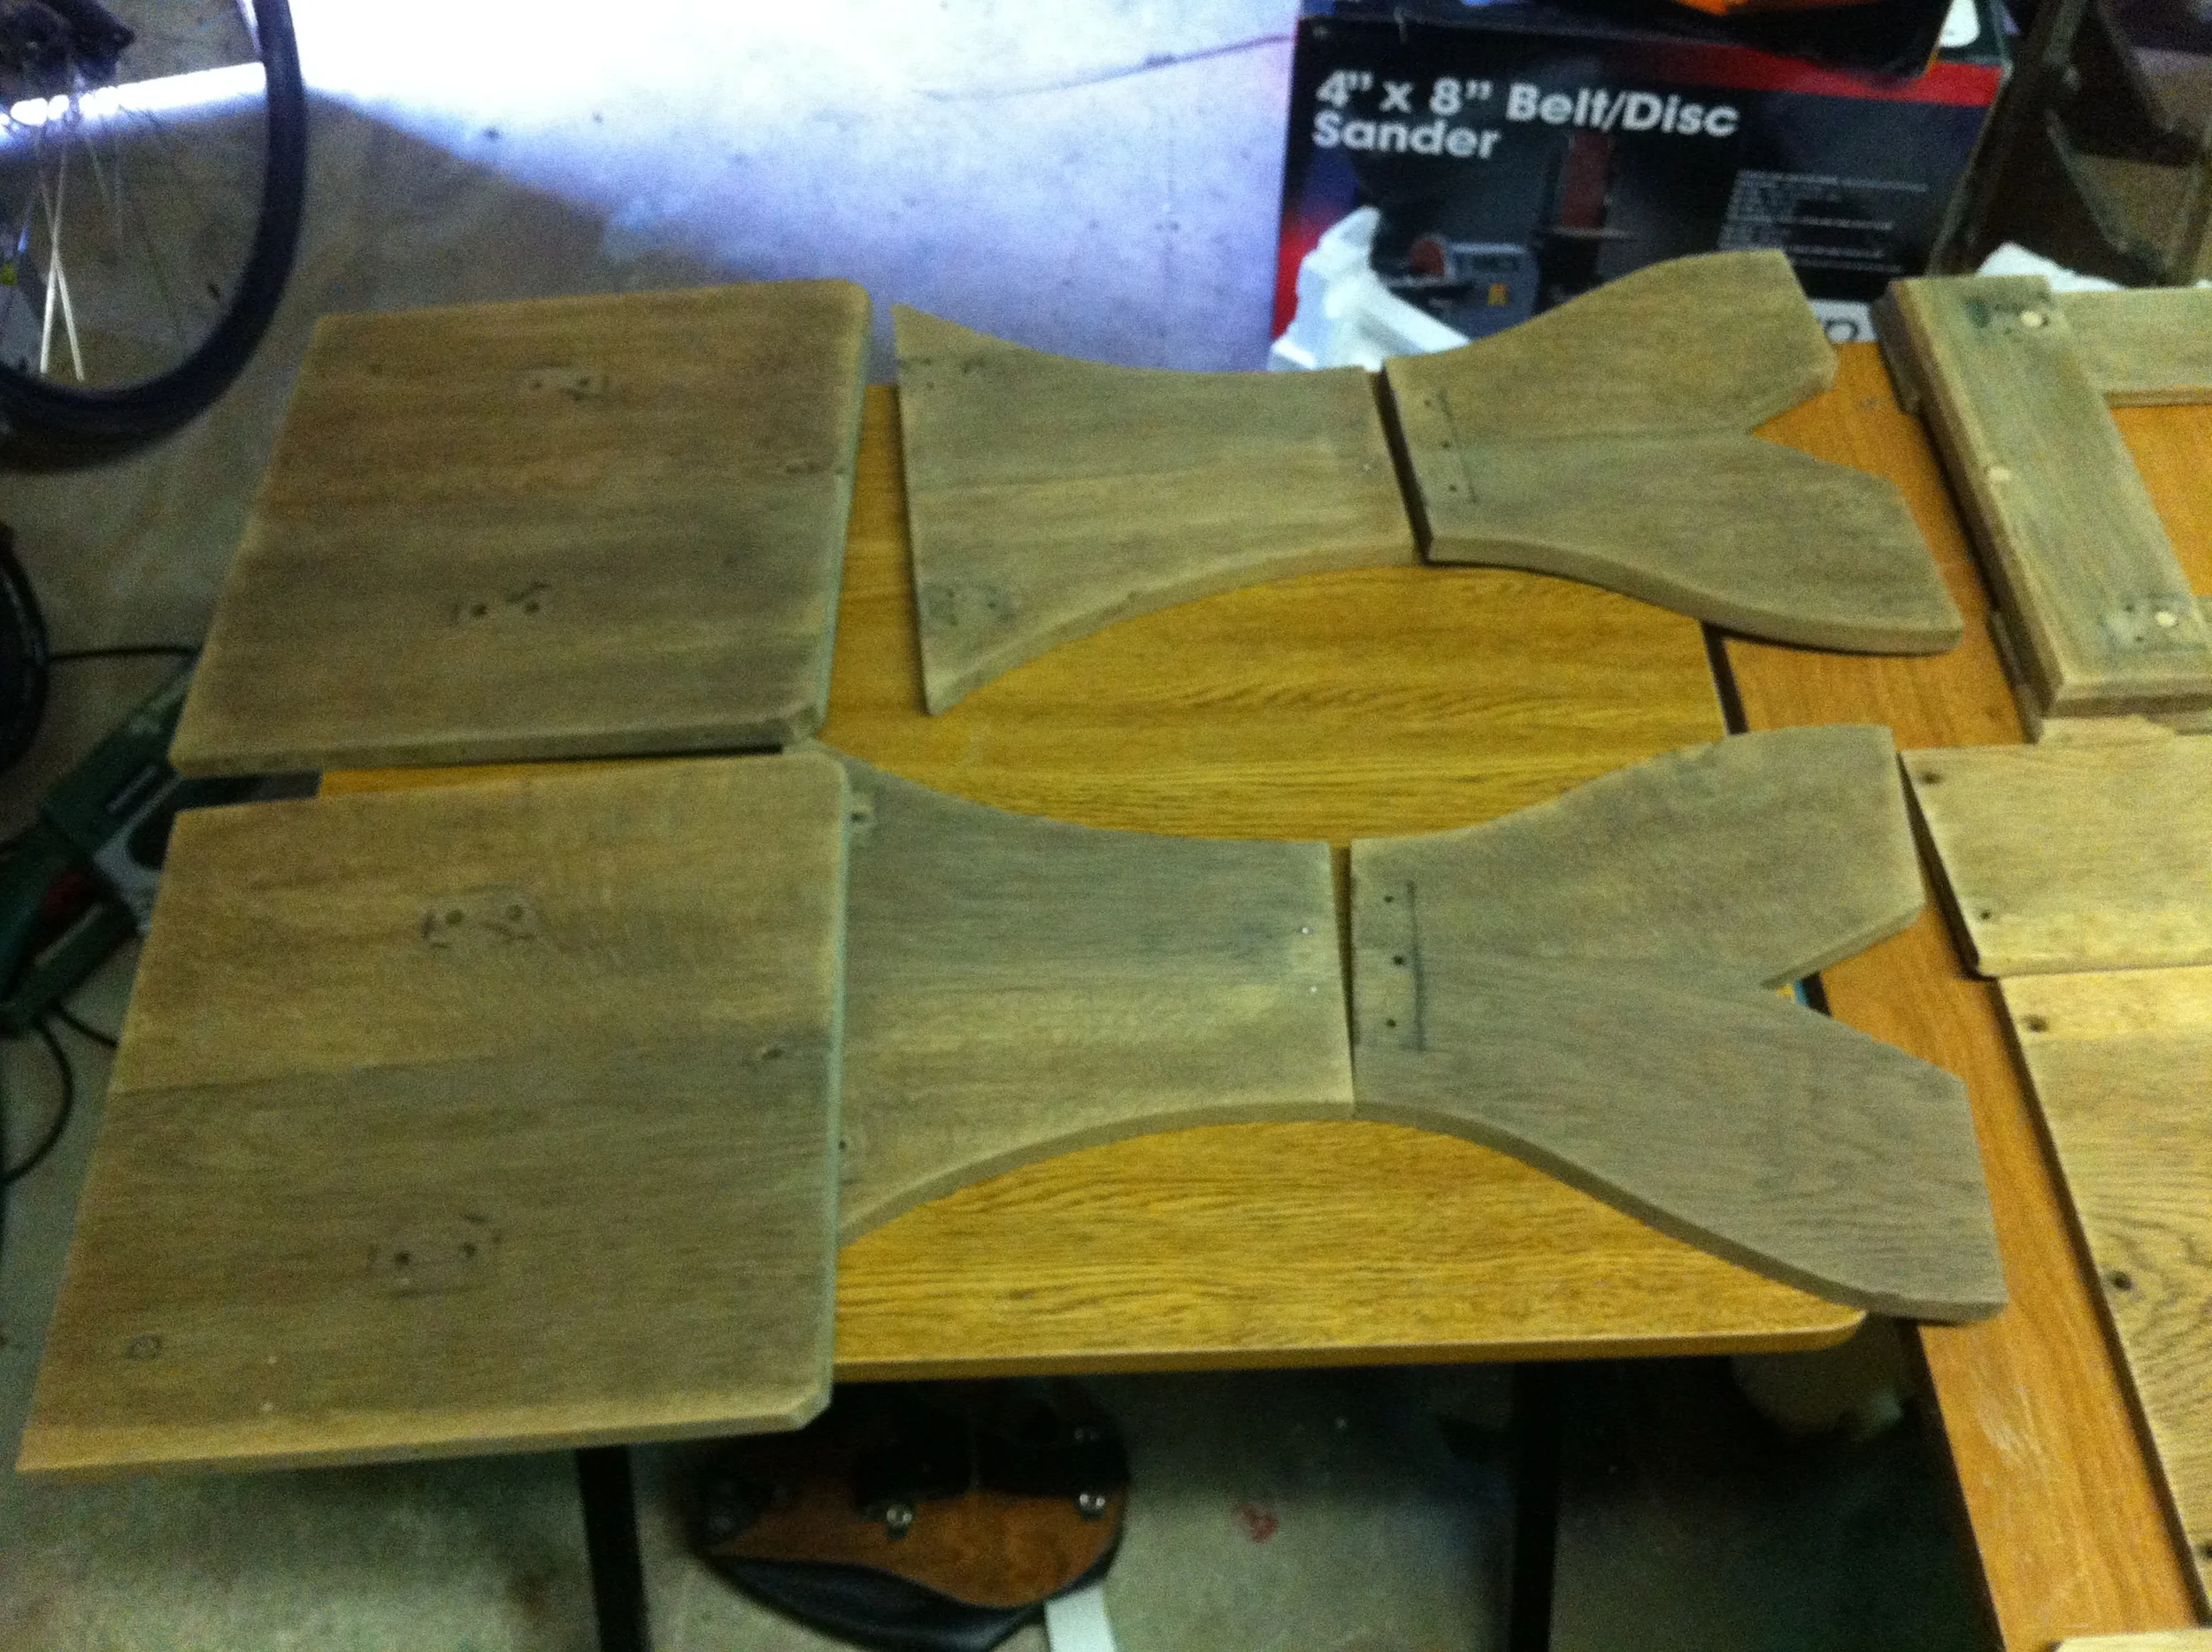
The case is made of oak. The repair of the case began with gluing back together most of the side panels. These are doweled together and had come loose because of the dampness. In order to clamp curved pieces together I roughly cut some pieces out of scrap plywood to hold the pieces between the clamps. The photos show it below.
One corner of one panel was broken so this was replaced with a piece of oak and then shaped on an oscillating bobbin sander.
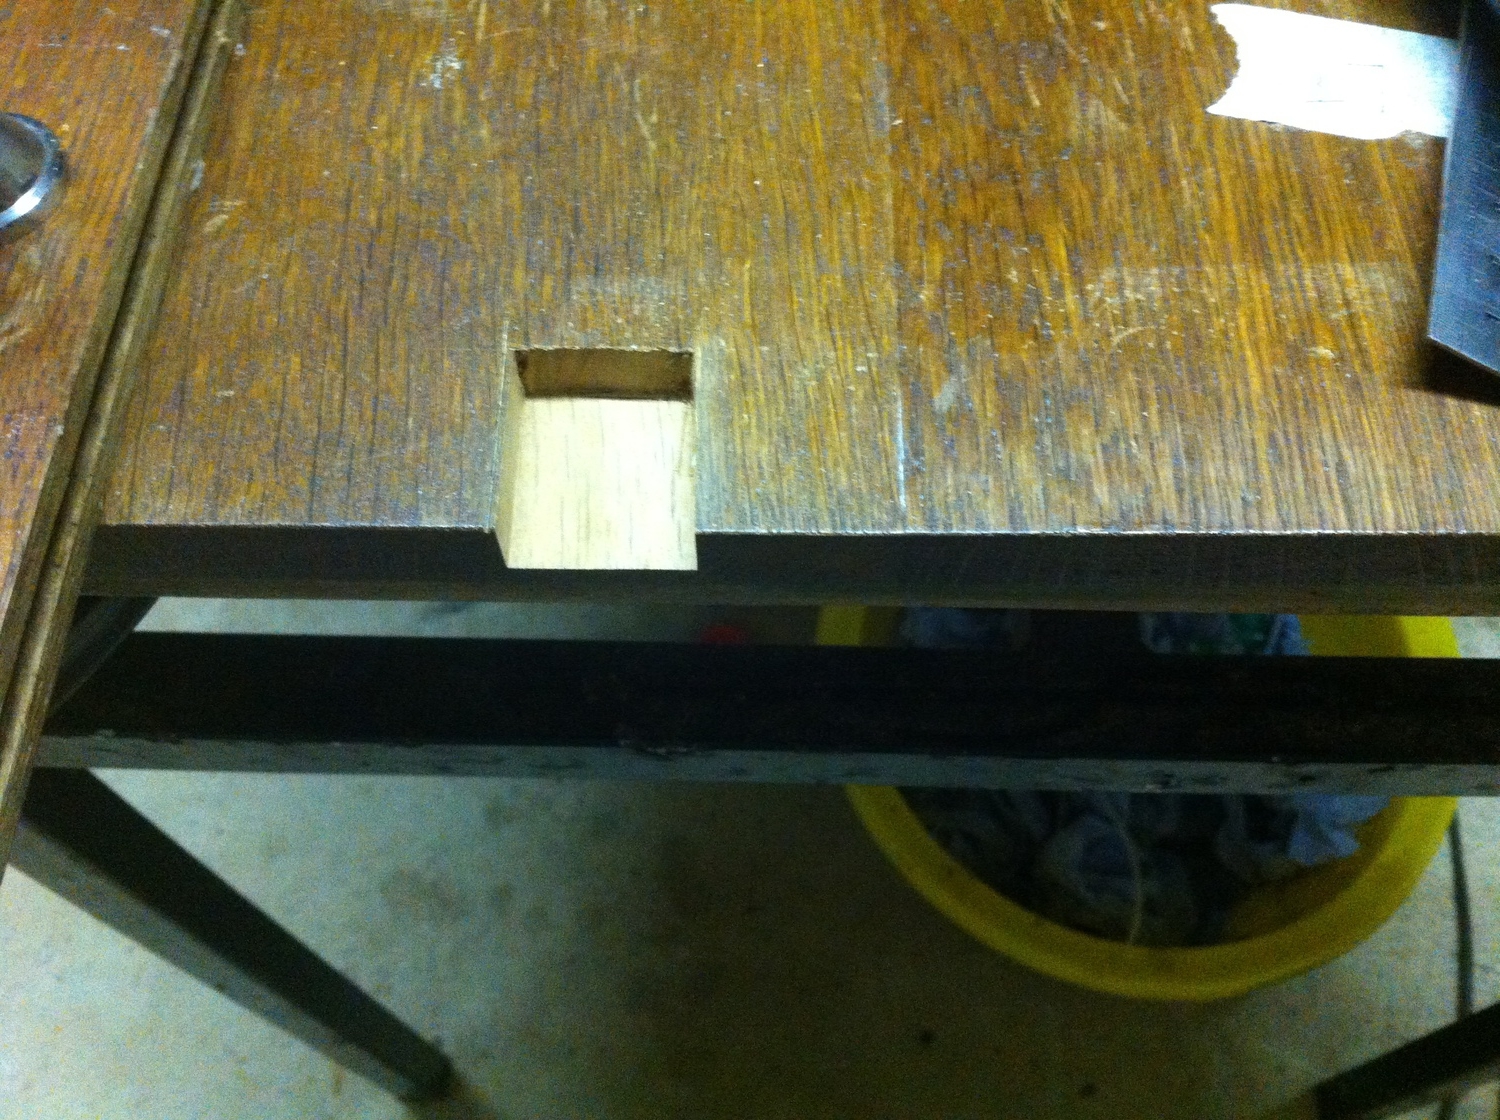
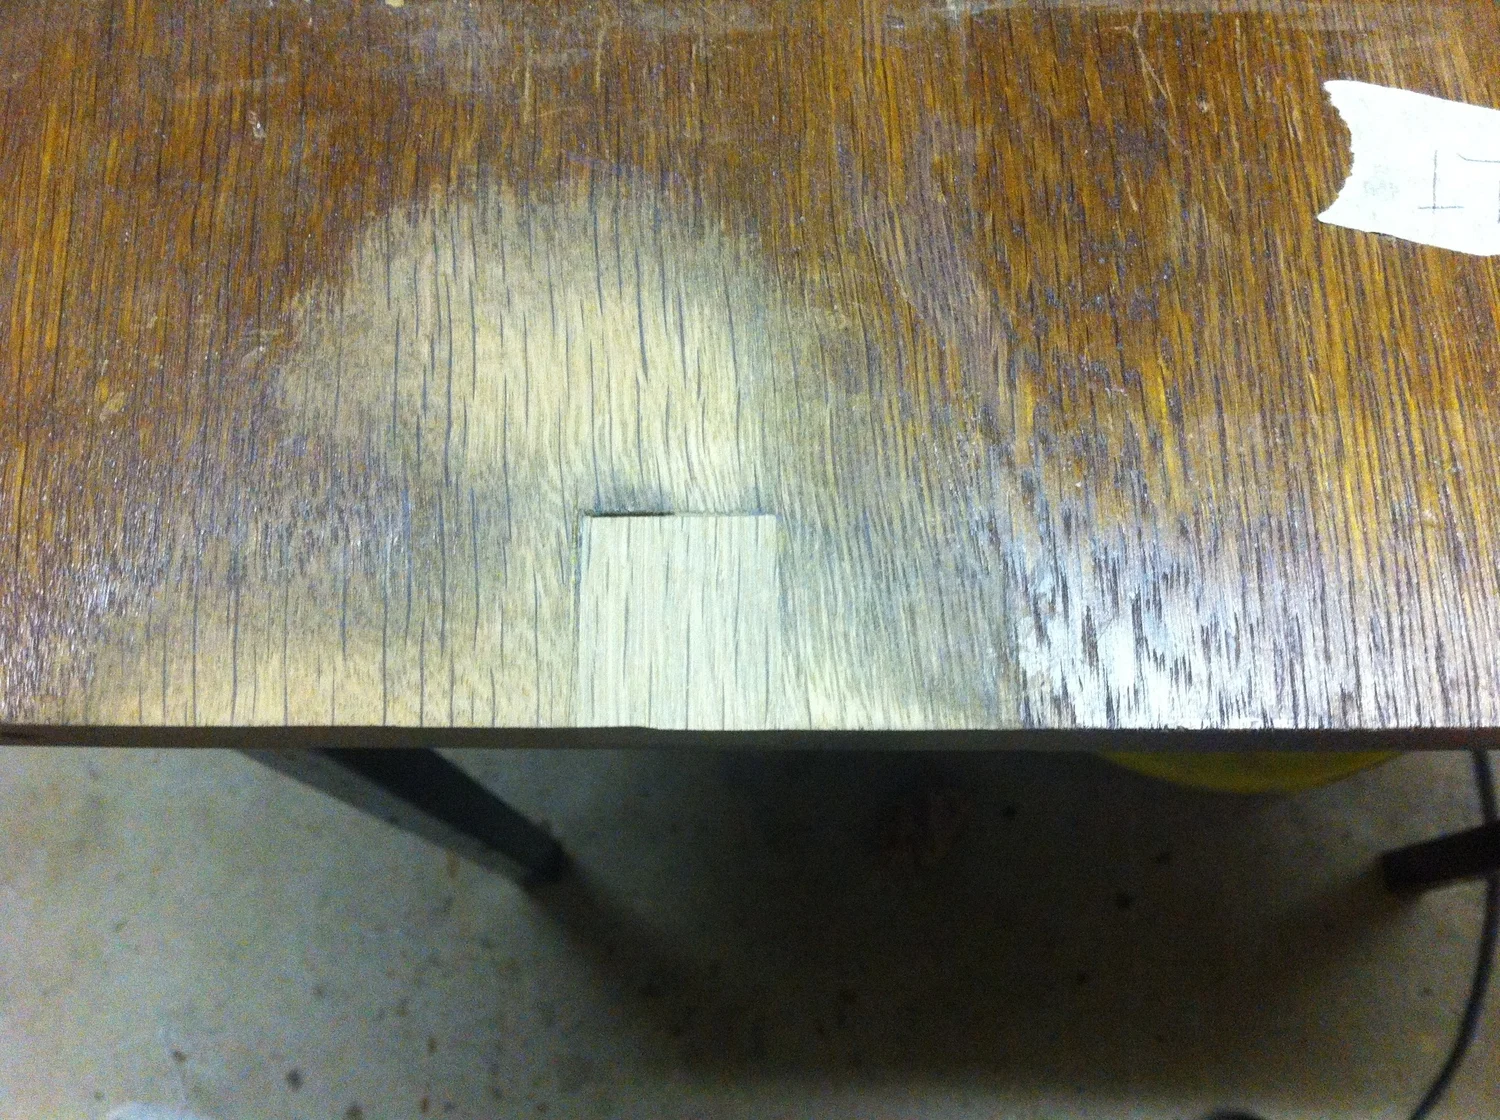
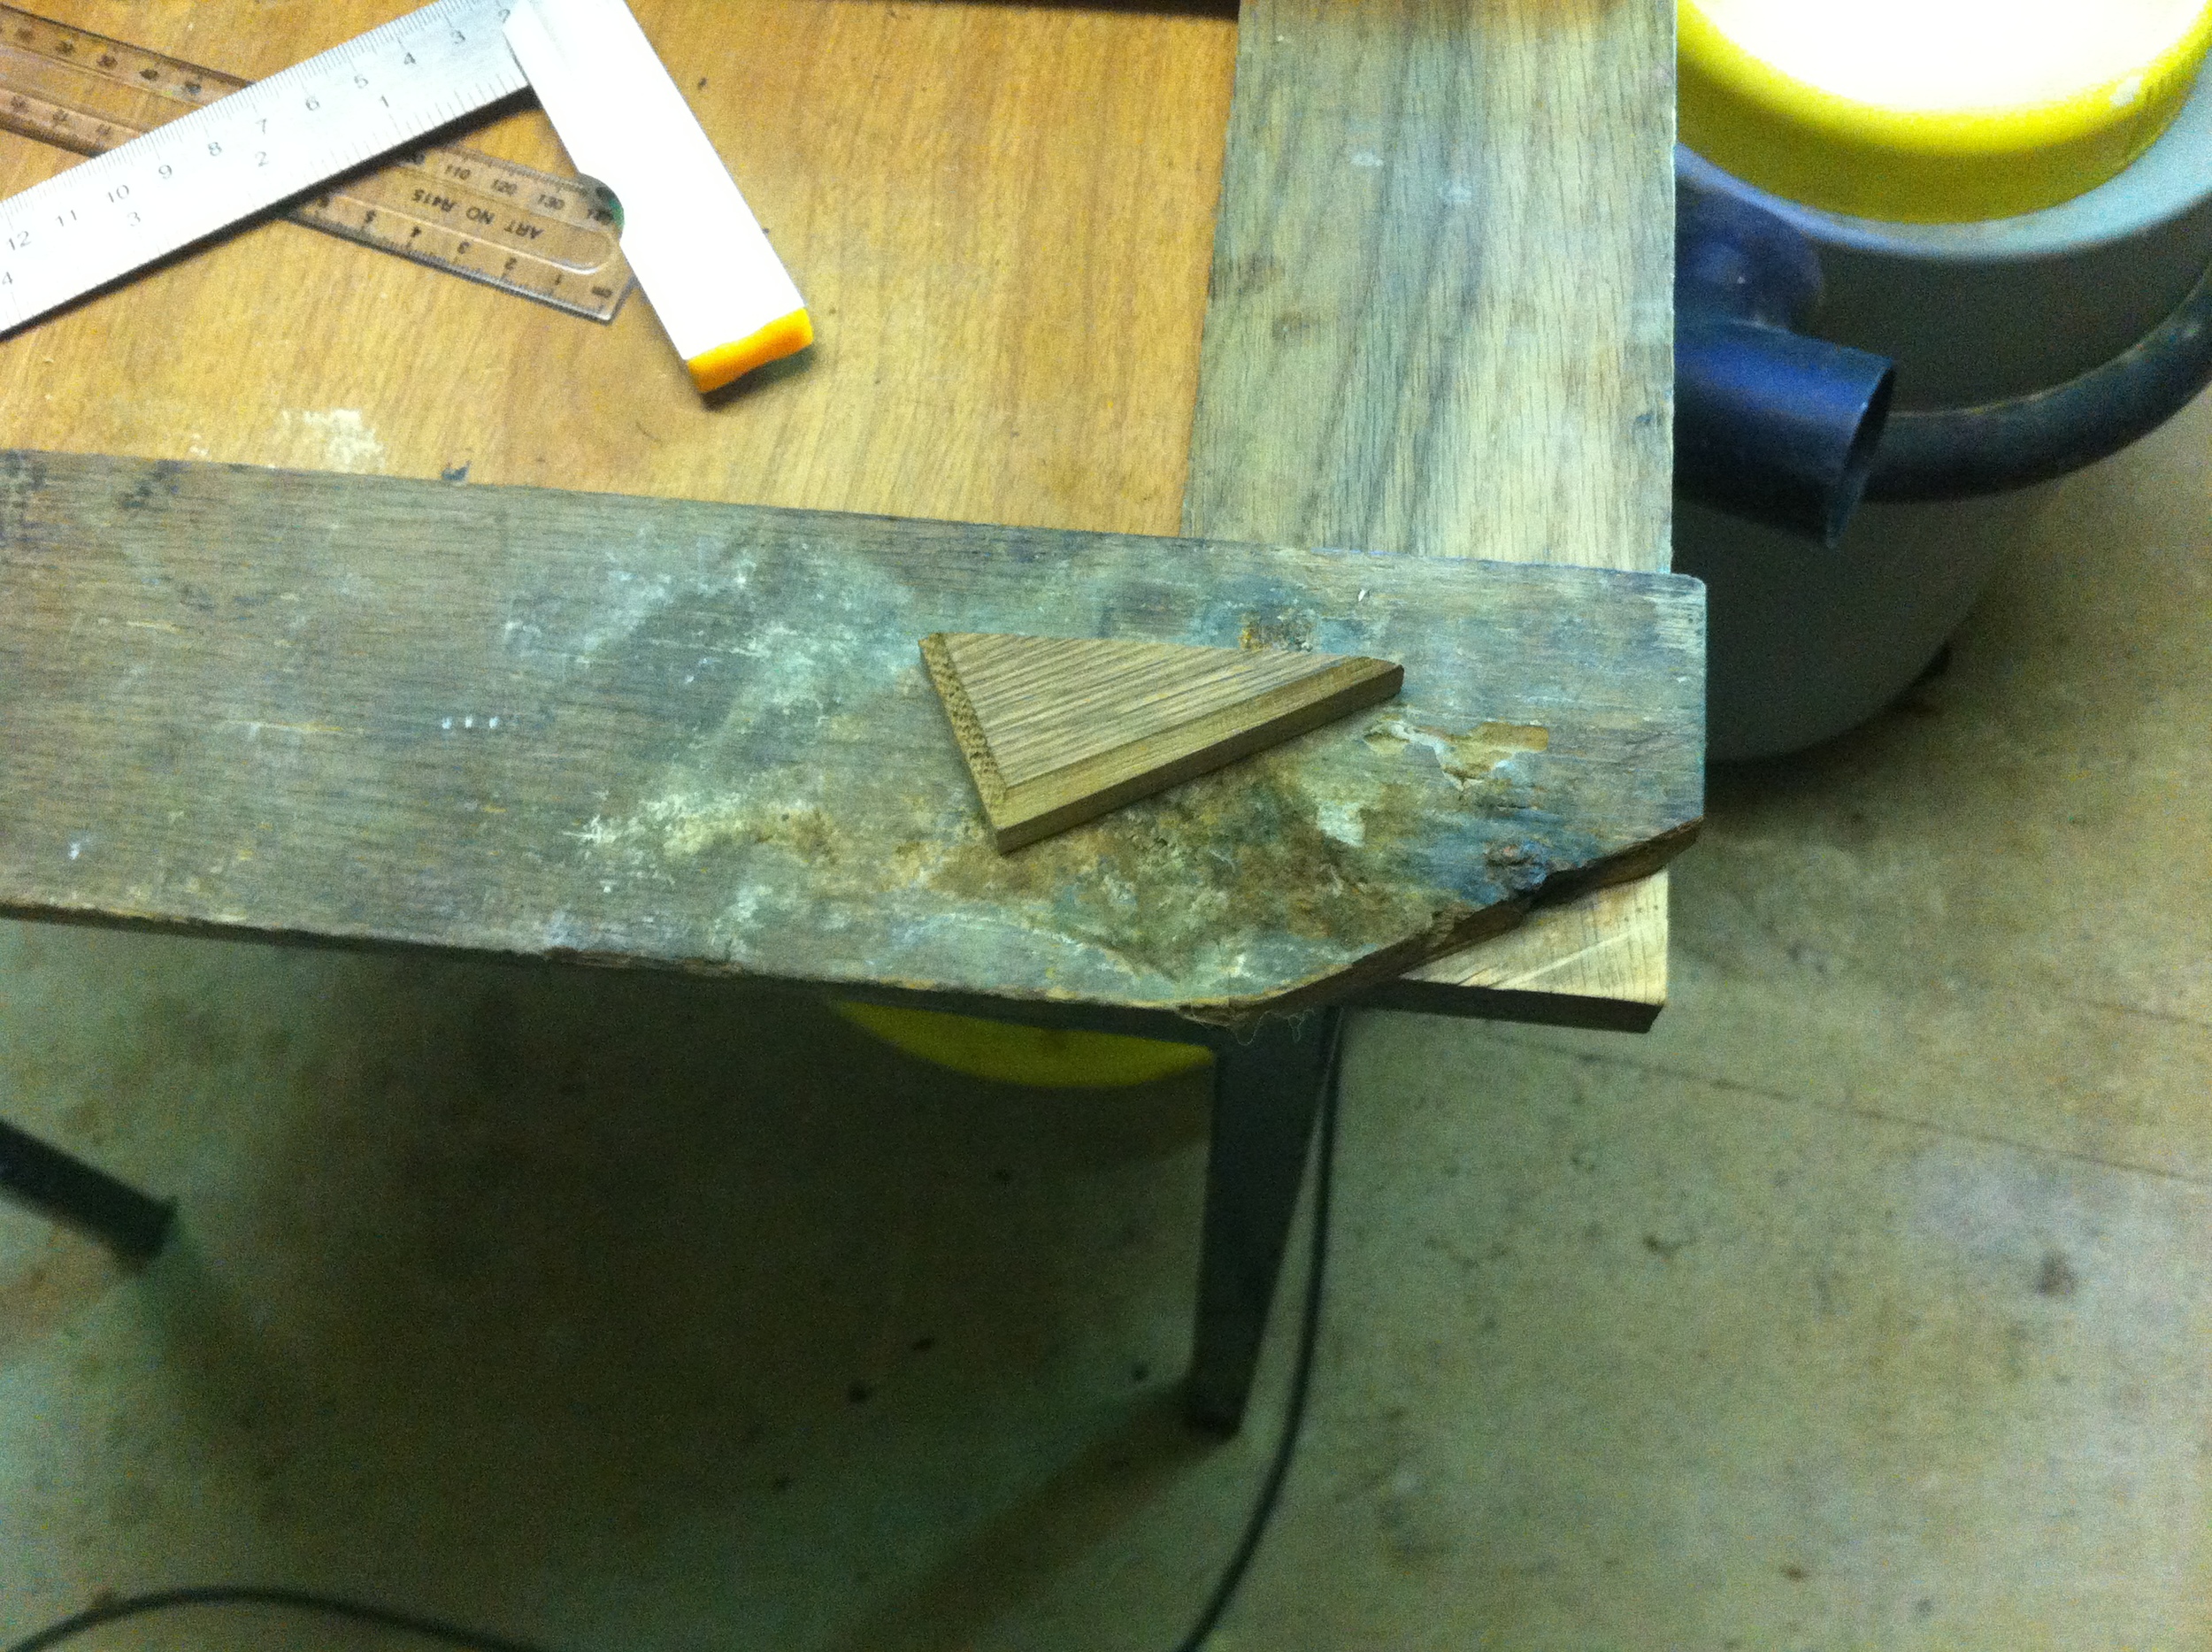
Another necessary repair required routering out a piece of the side and putting in a replacement piece of oak. I used shellac sticks to fill in the woodworm holes. I have not used these before so it will be interesting to see how it appears when stained.

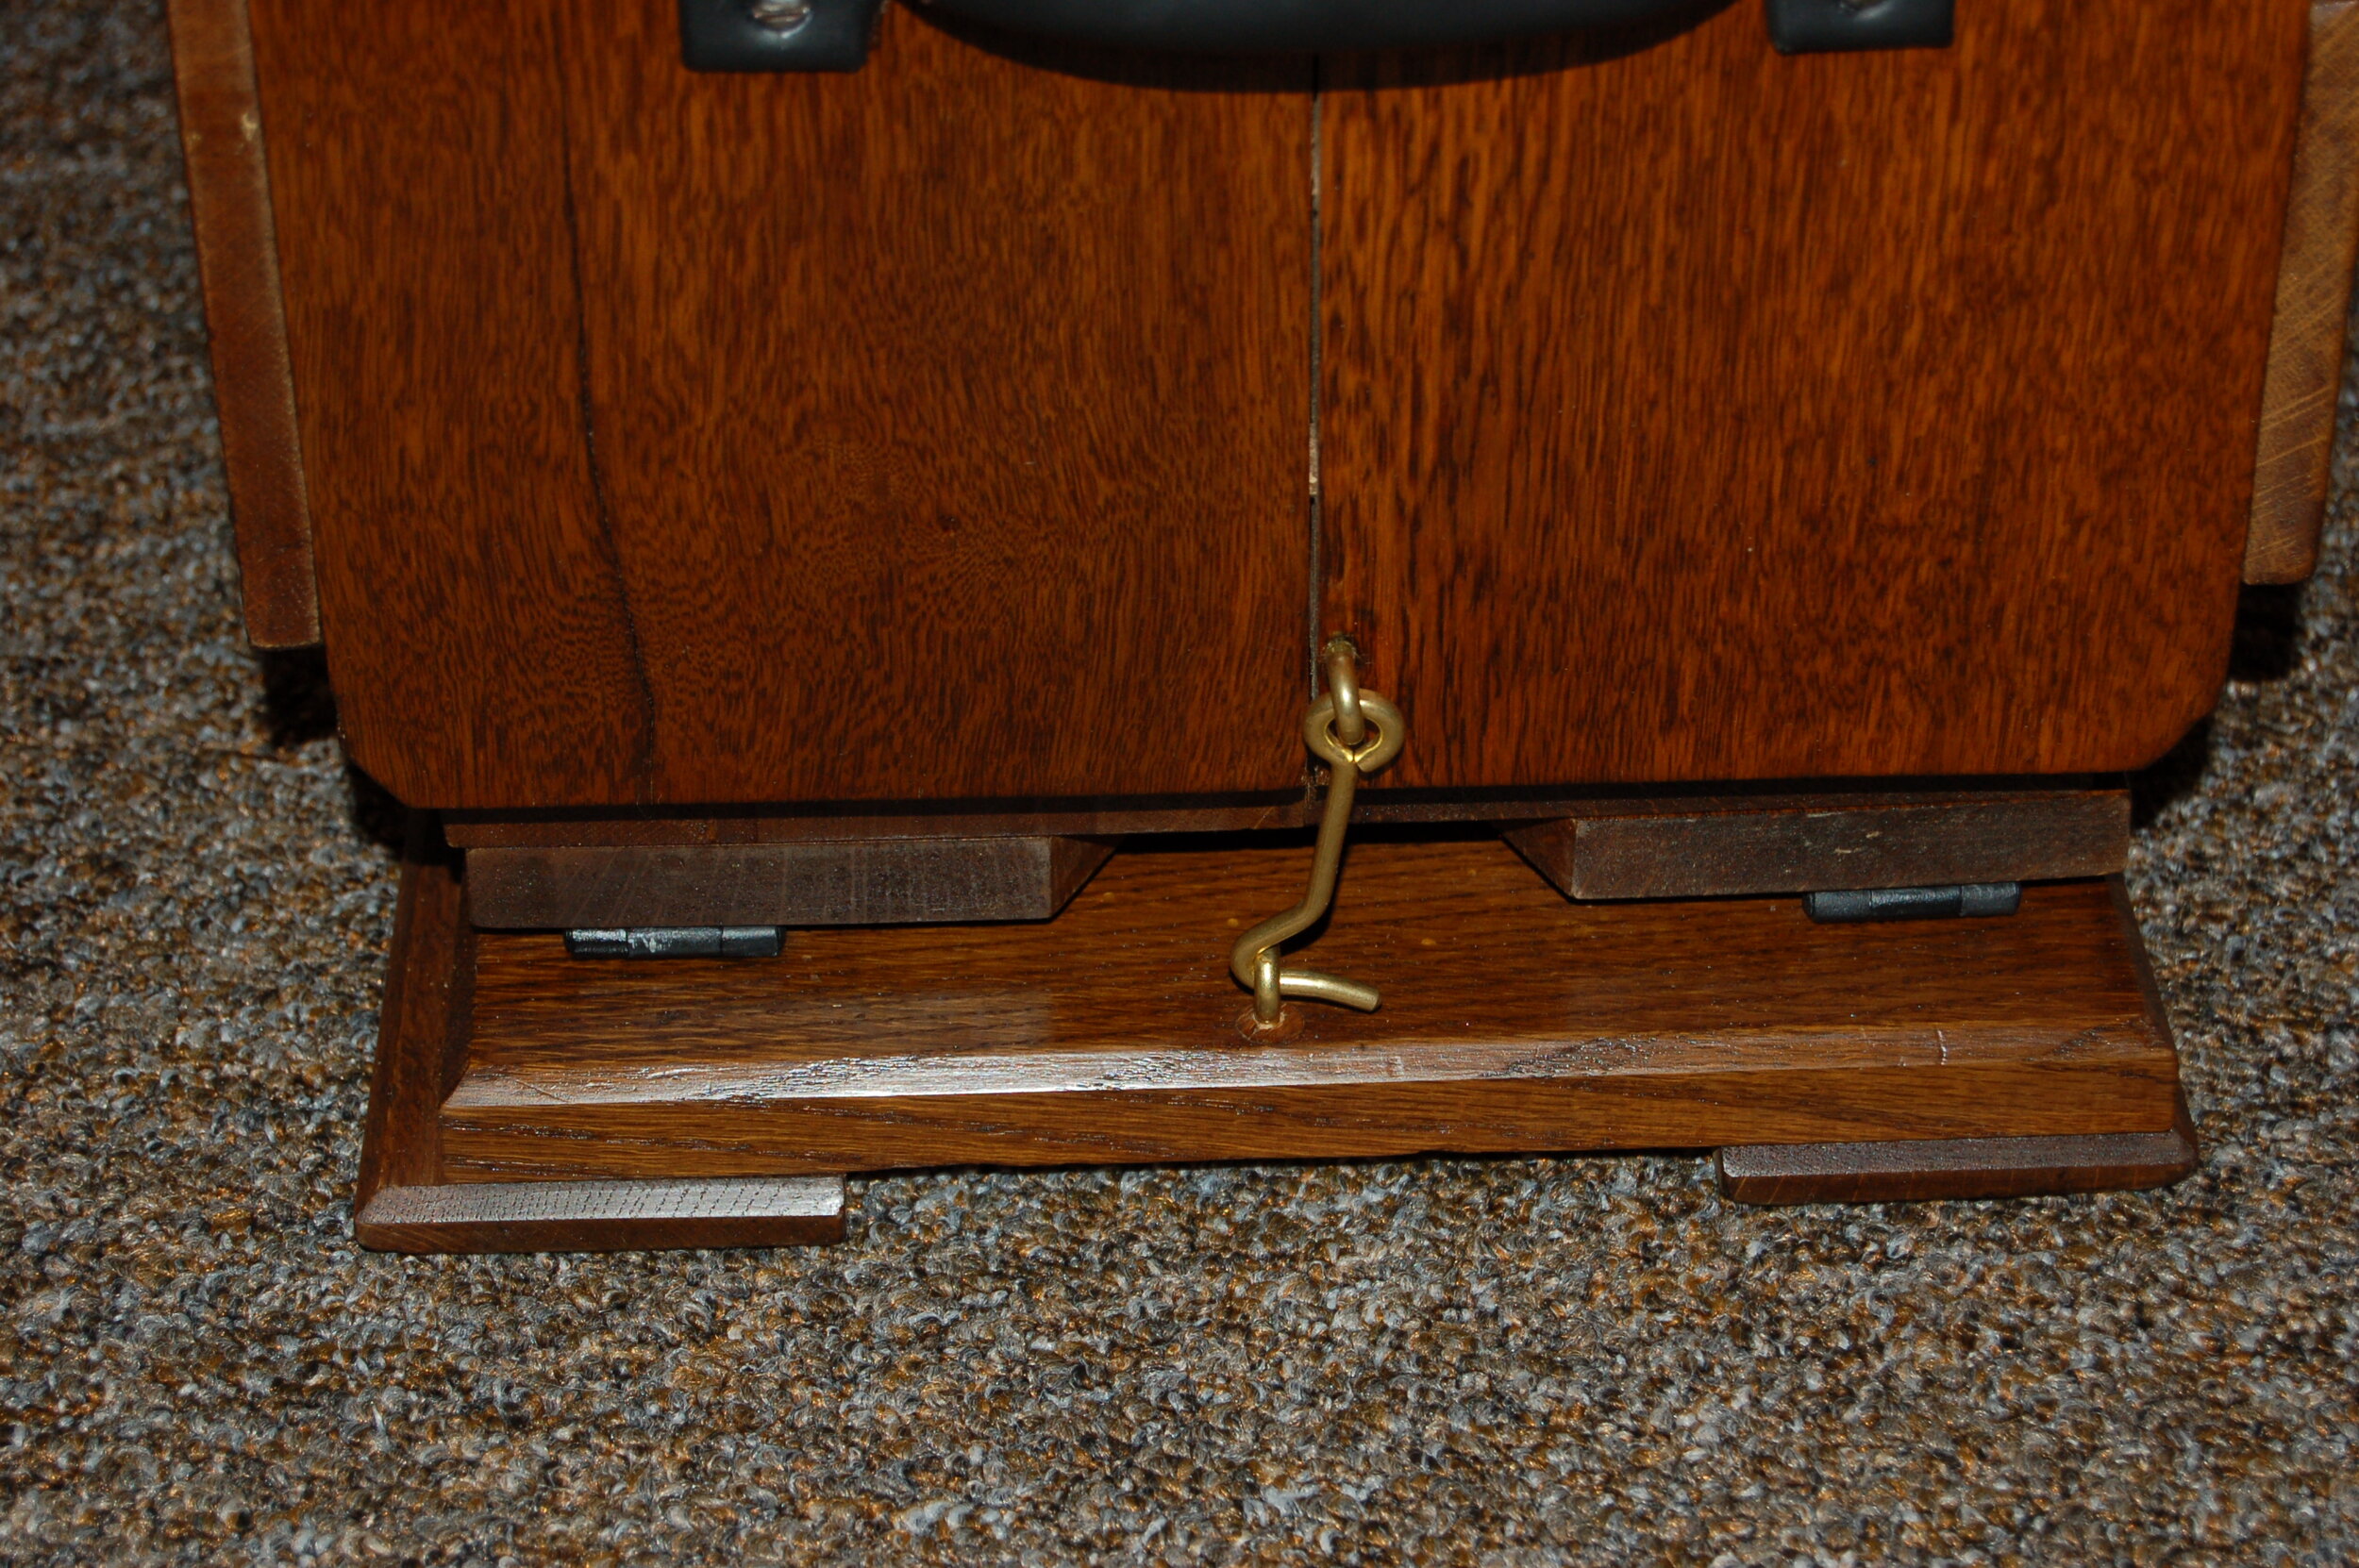
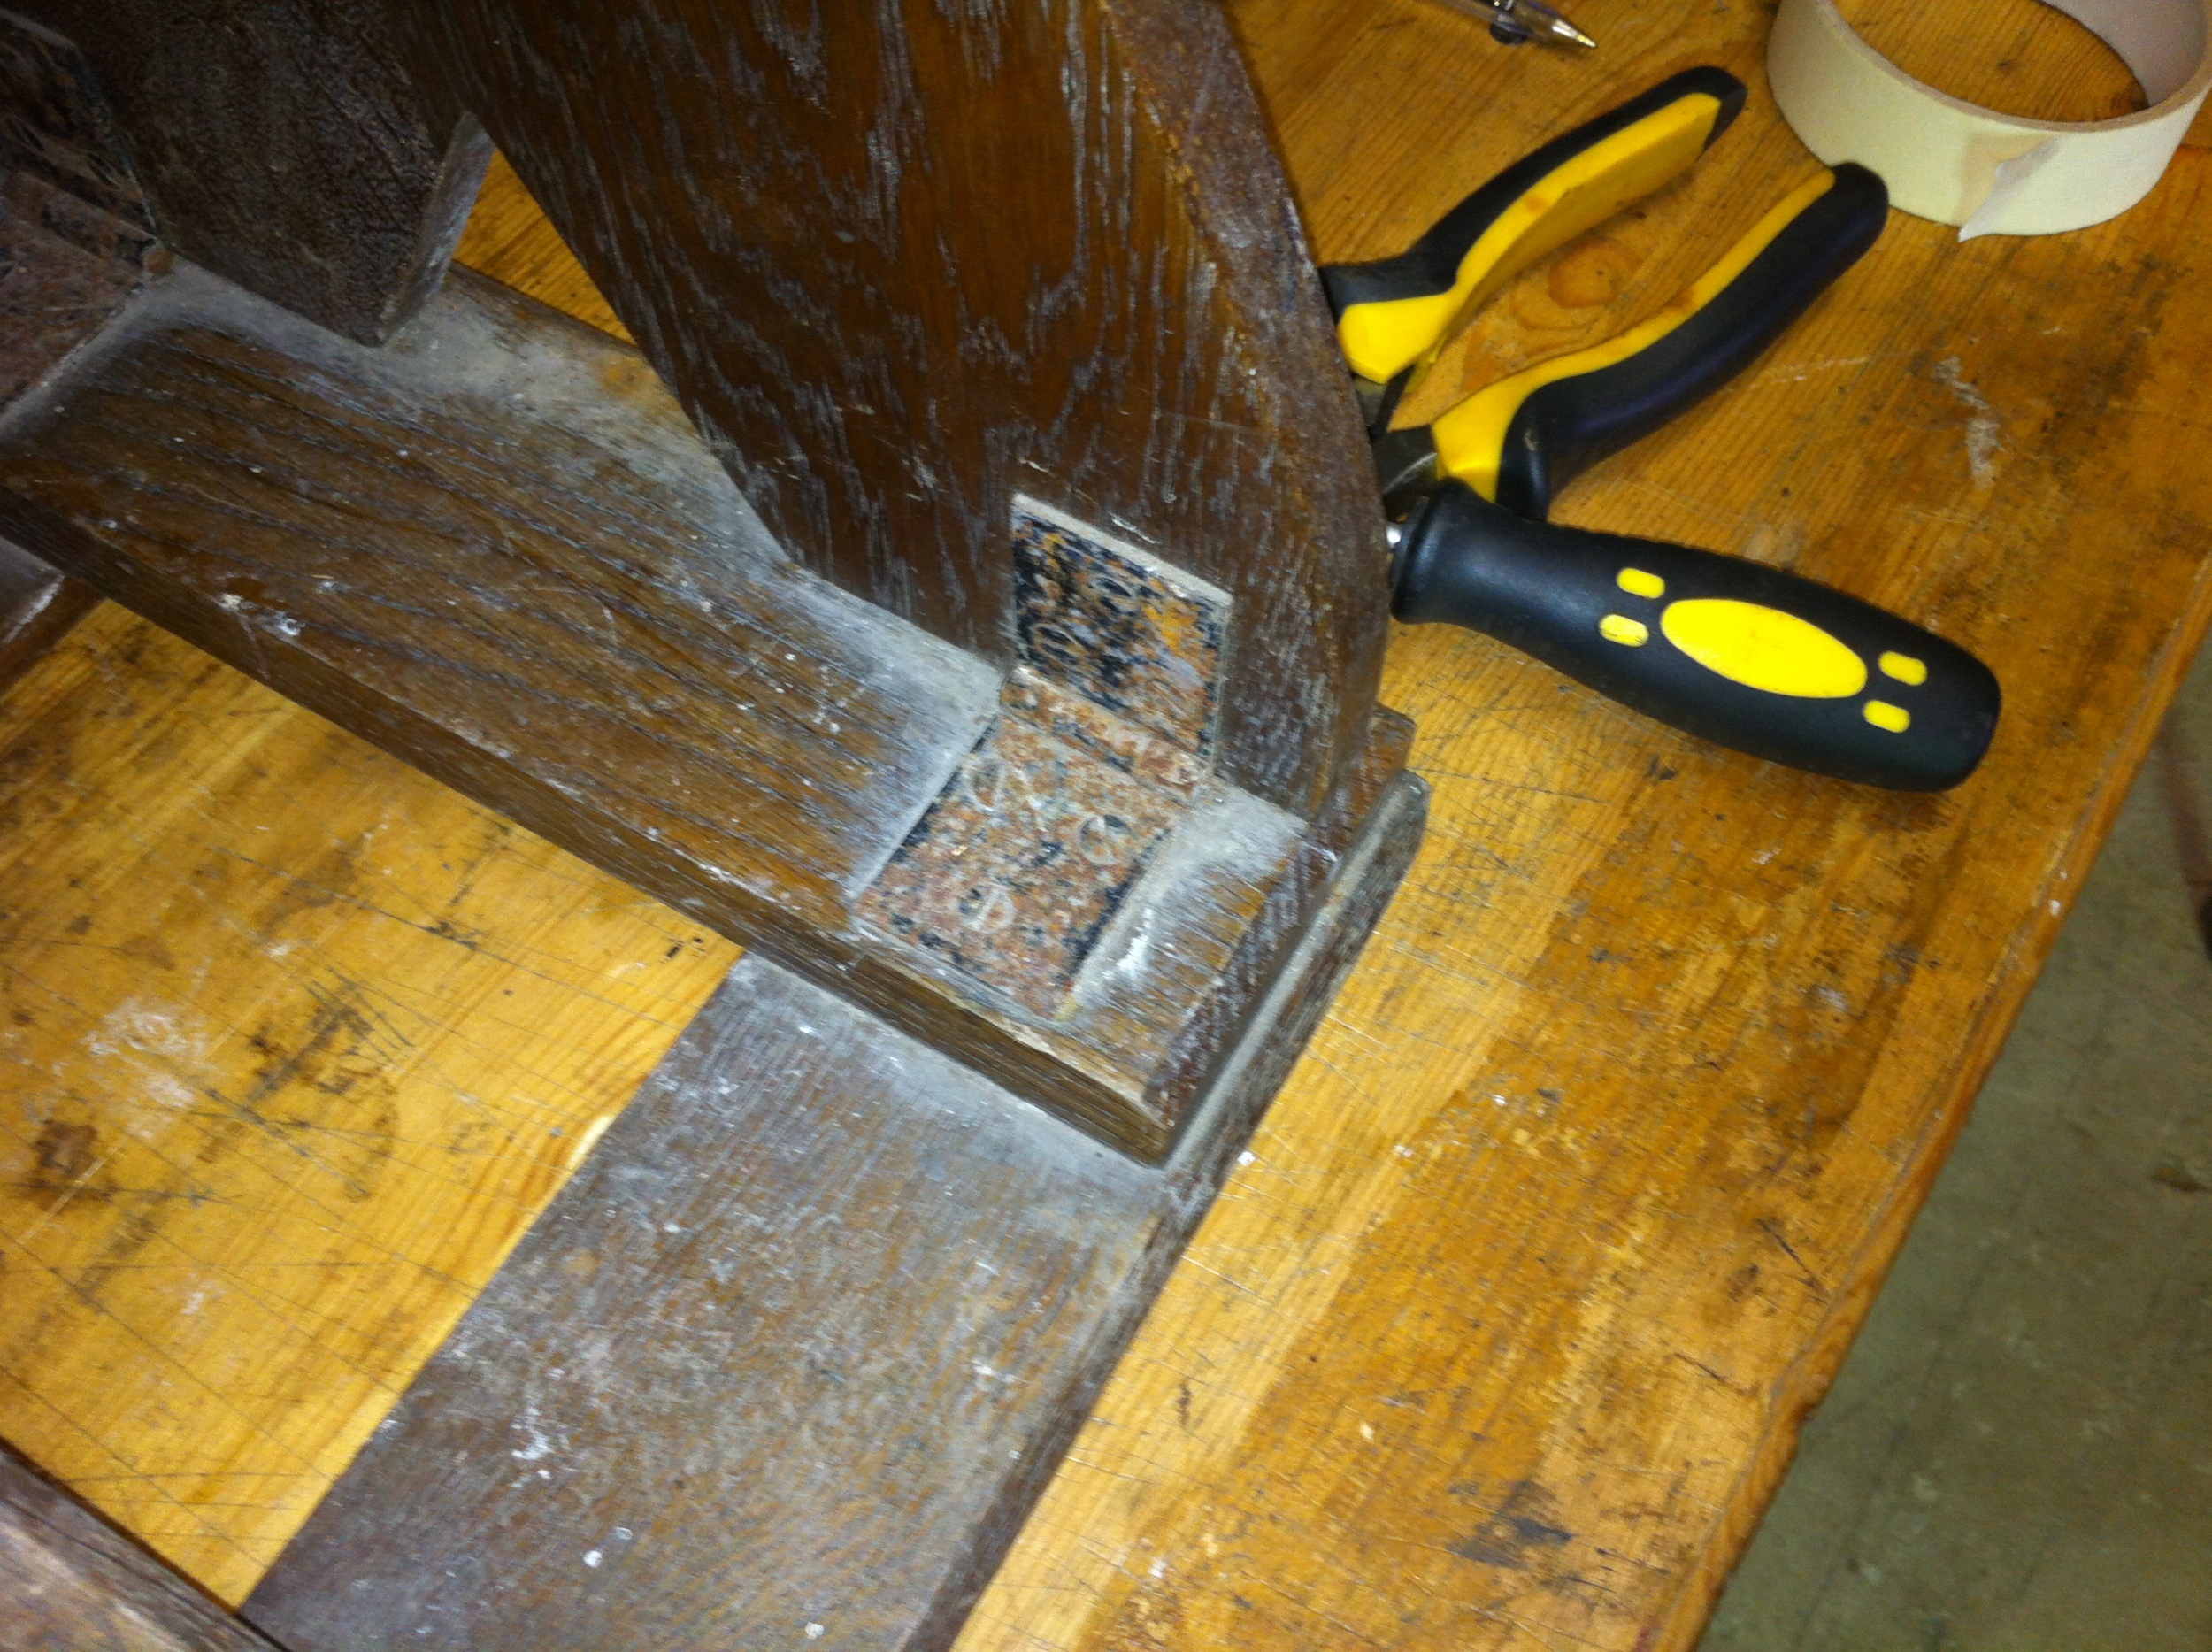
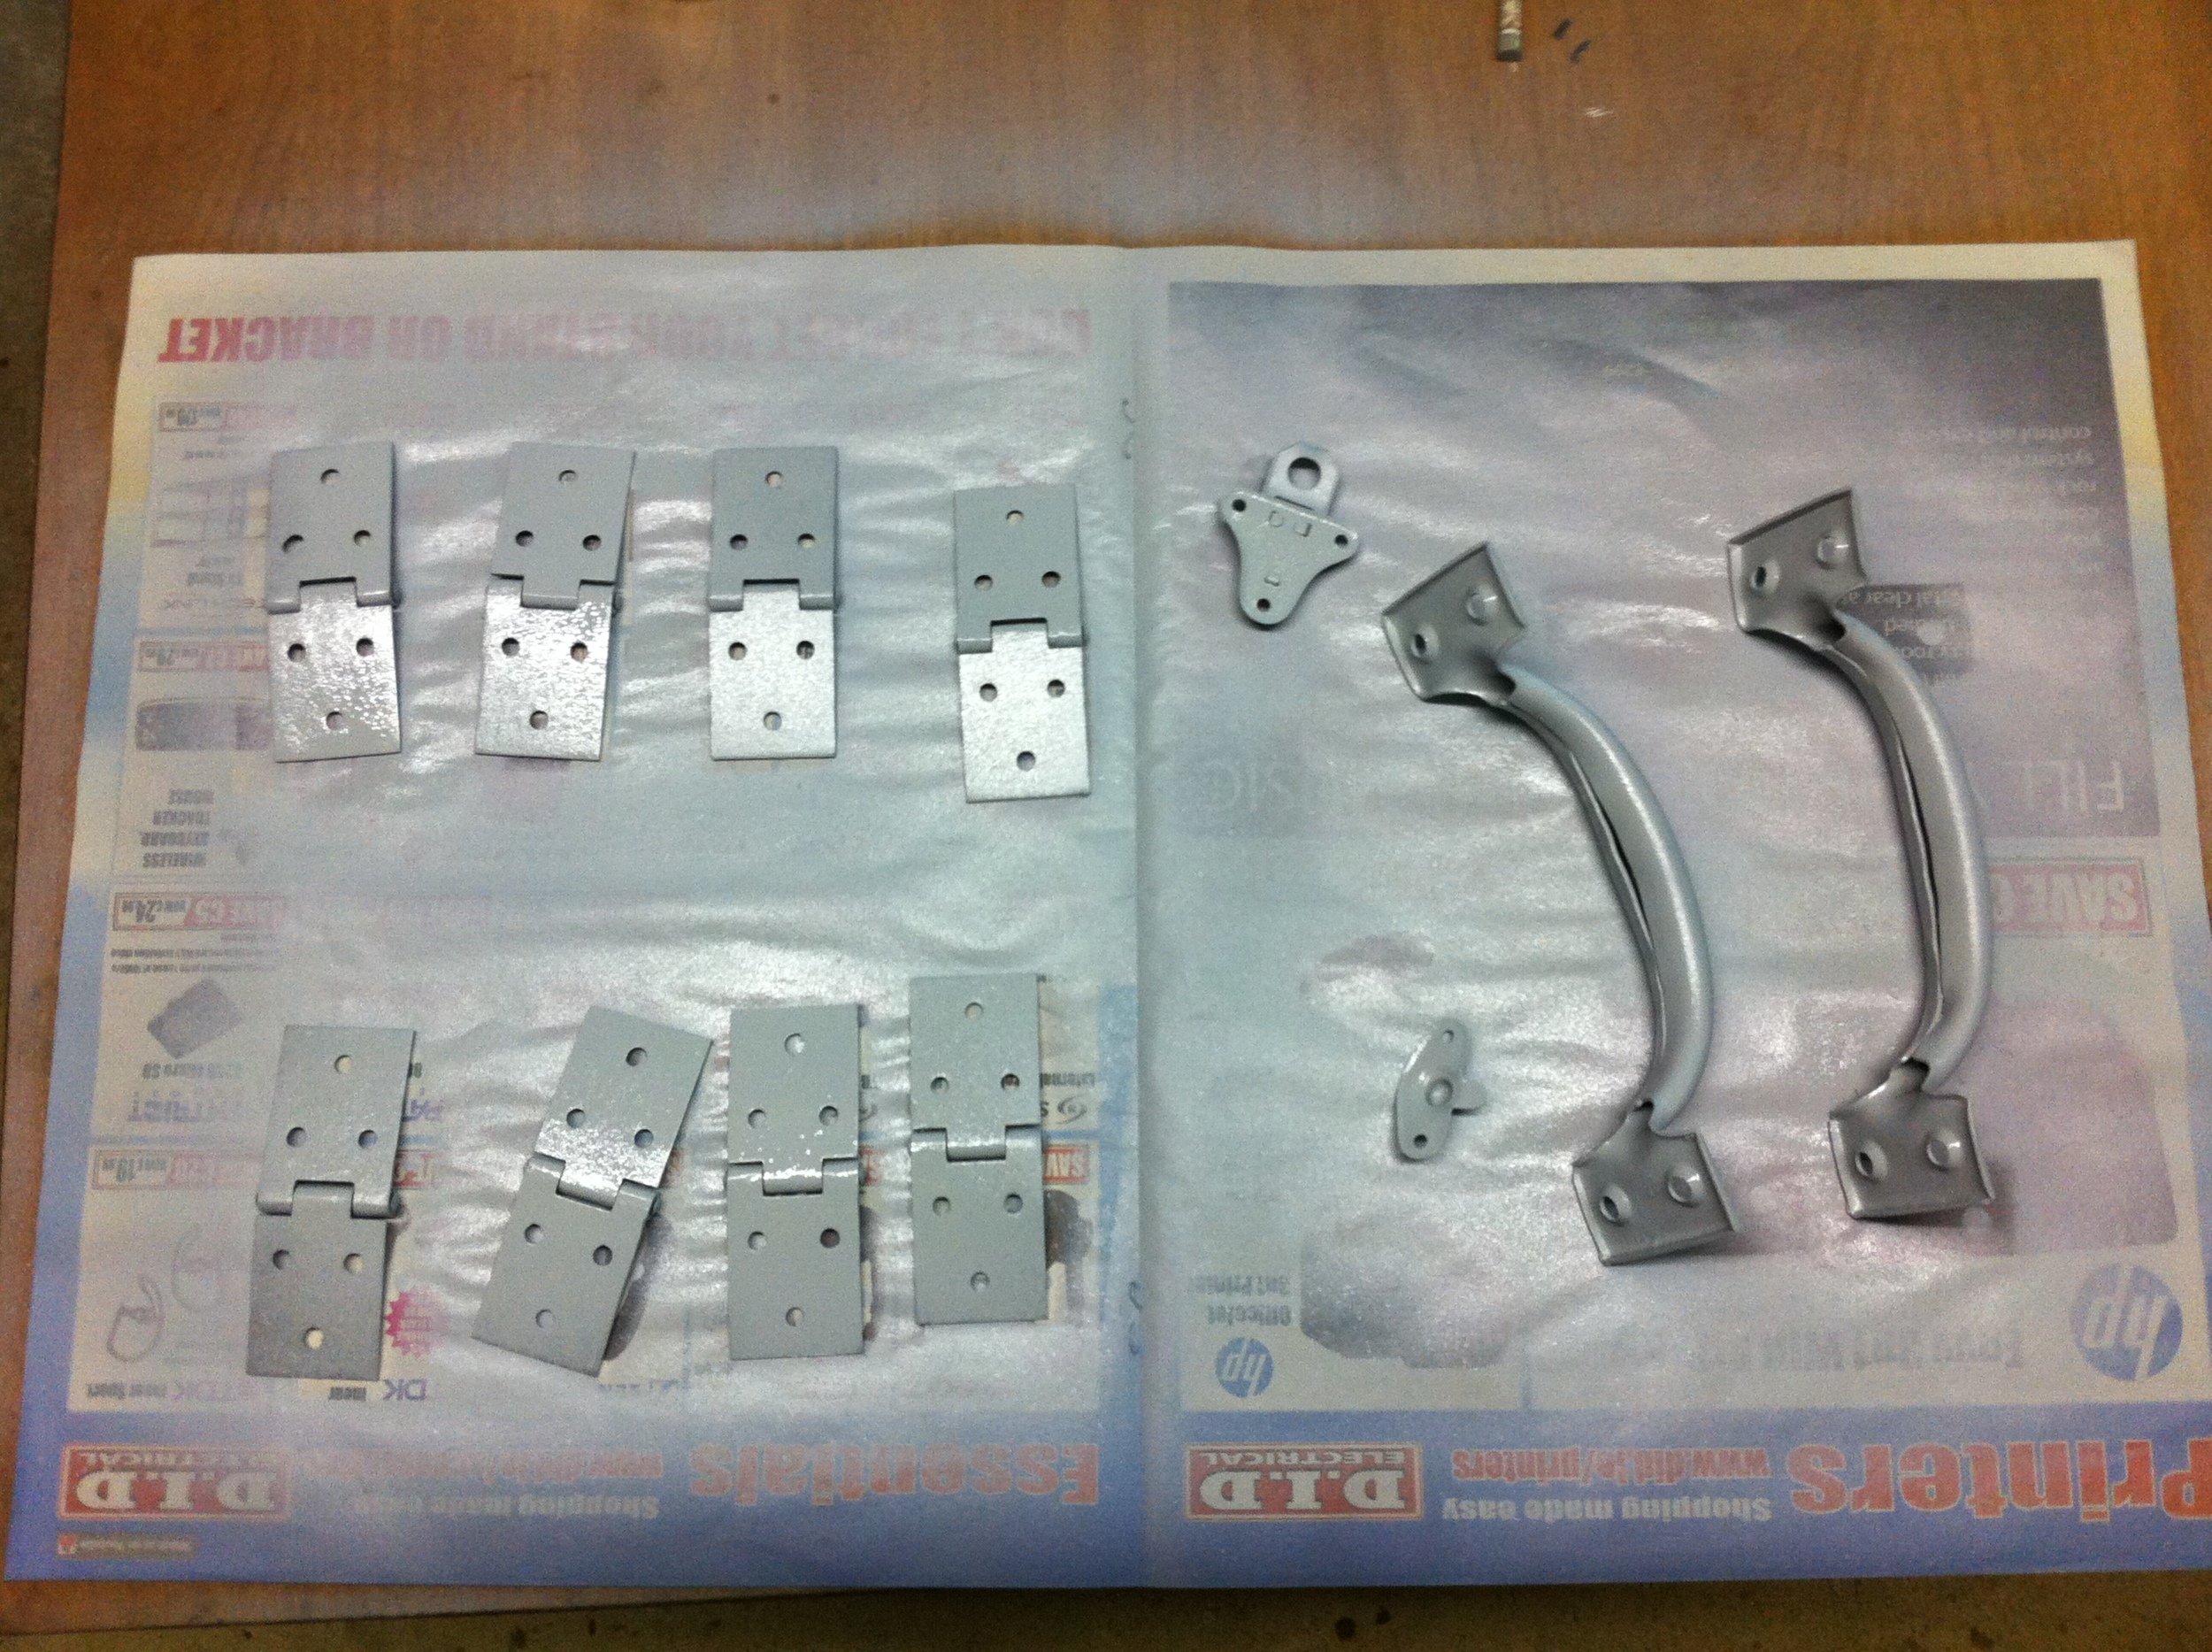
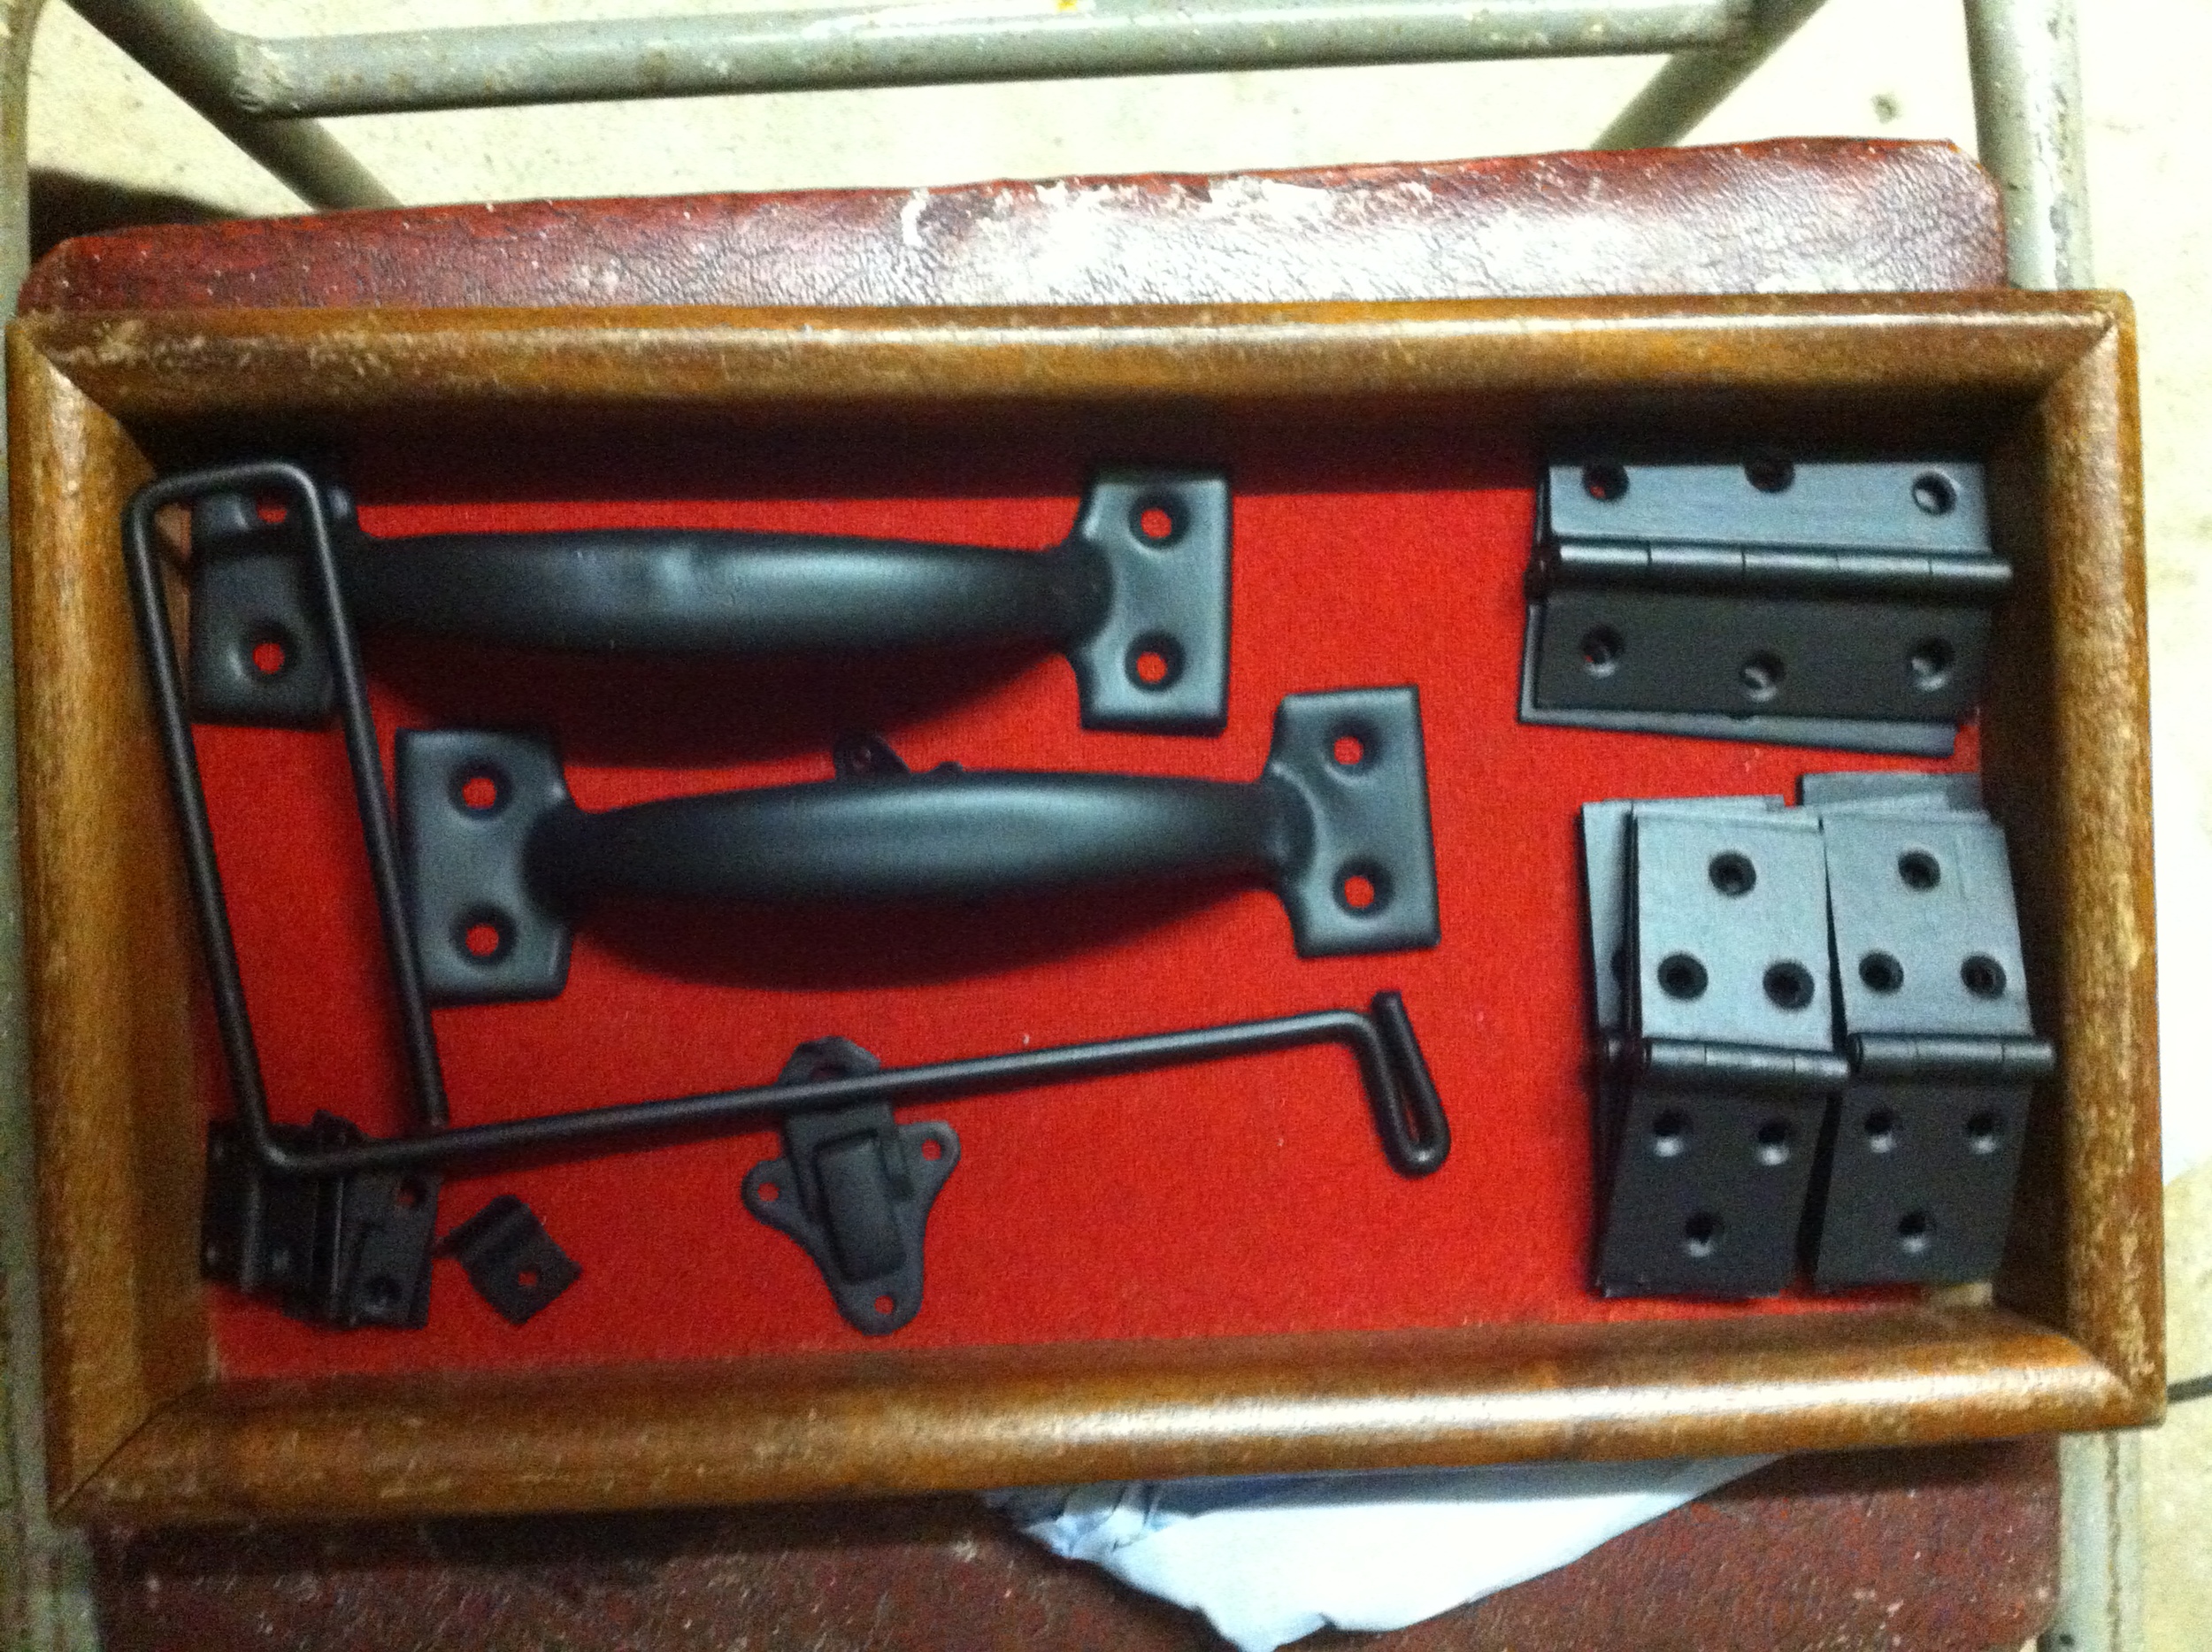
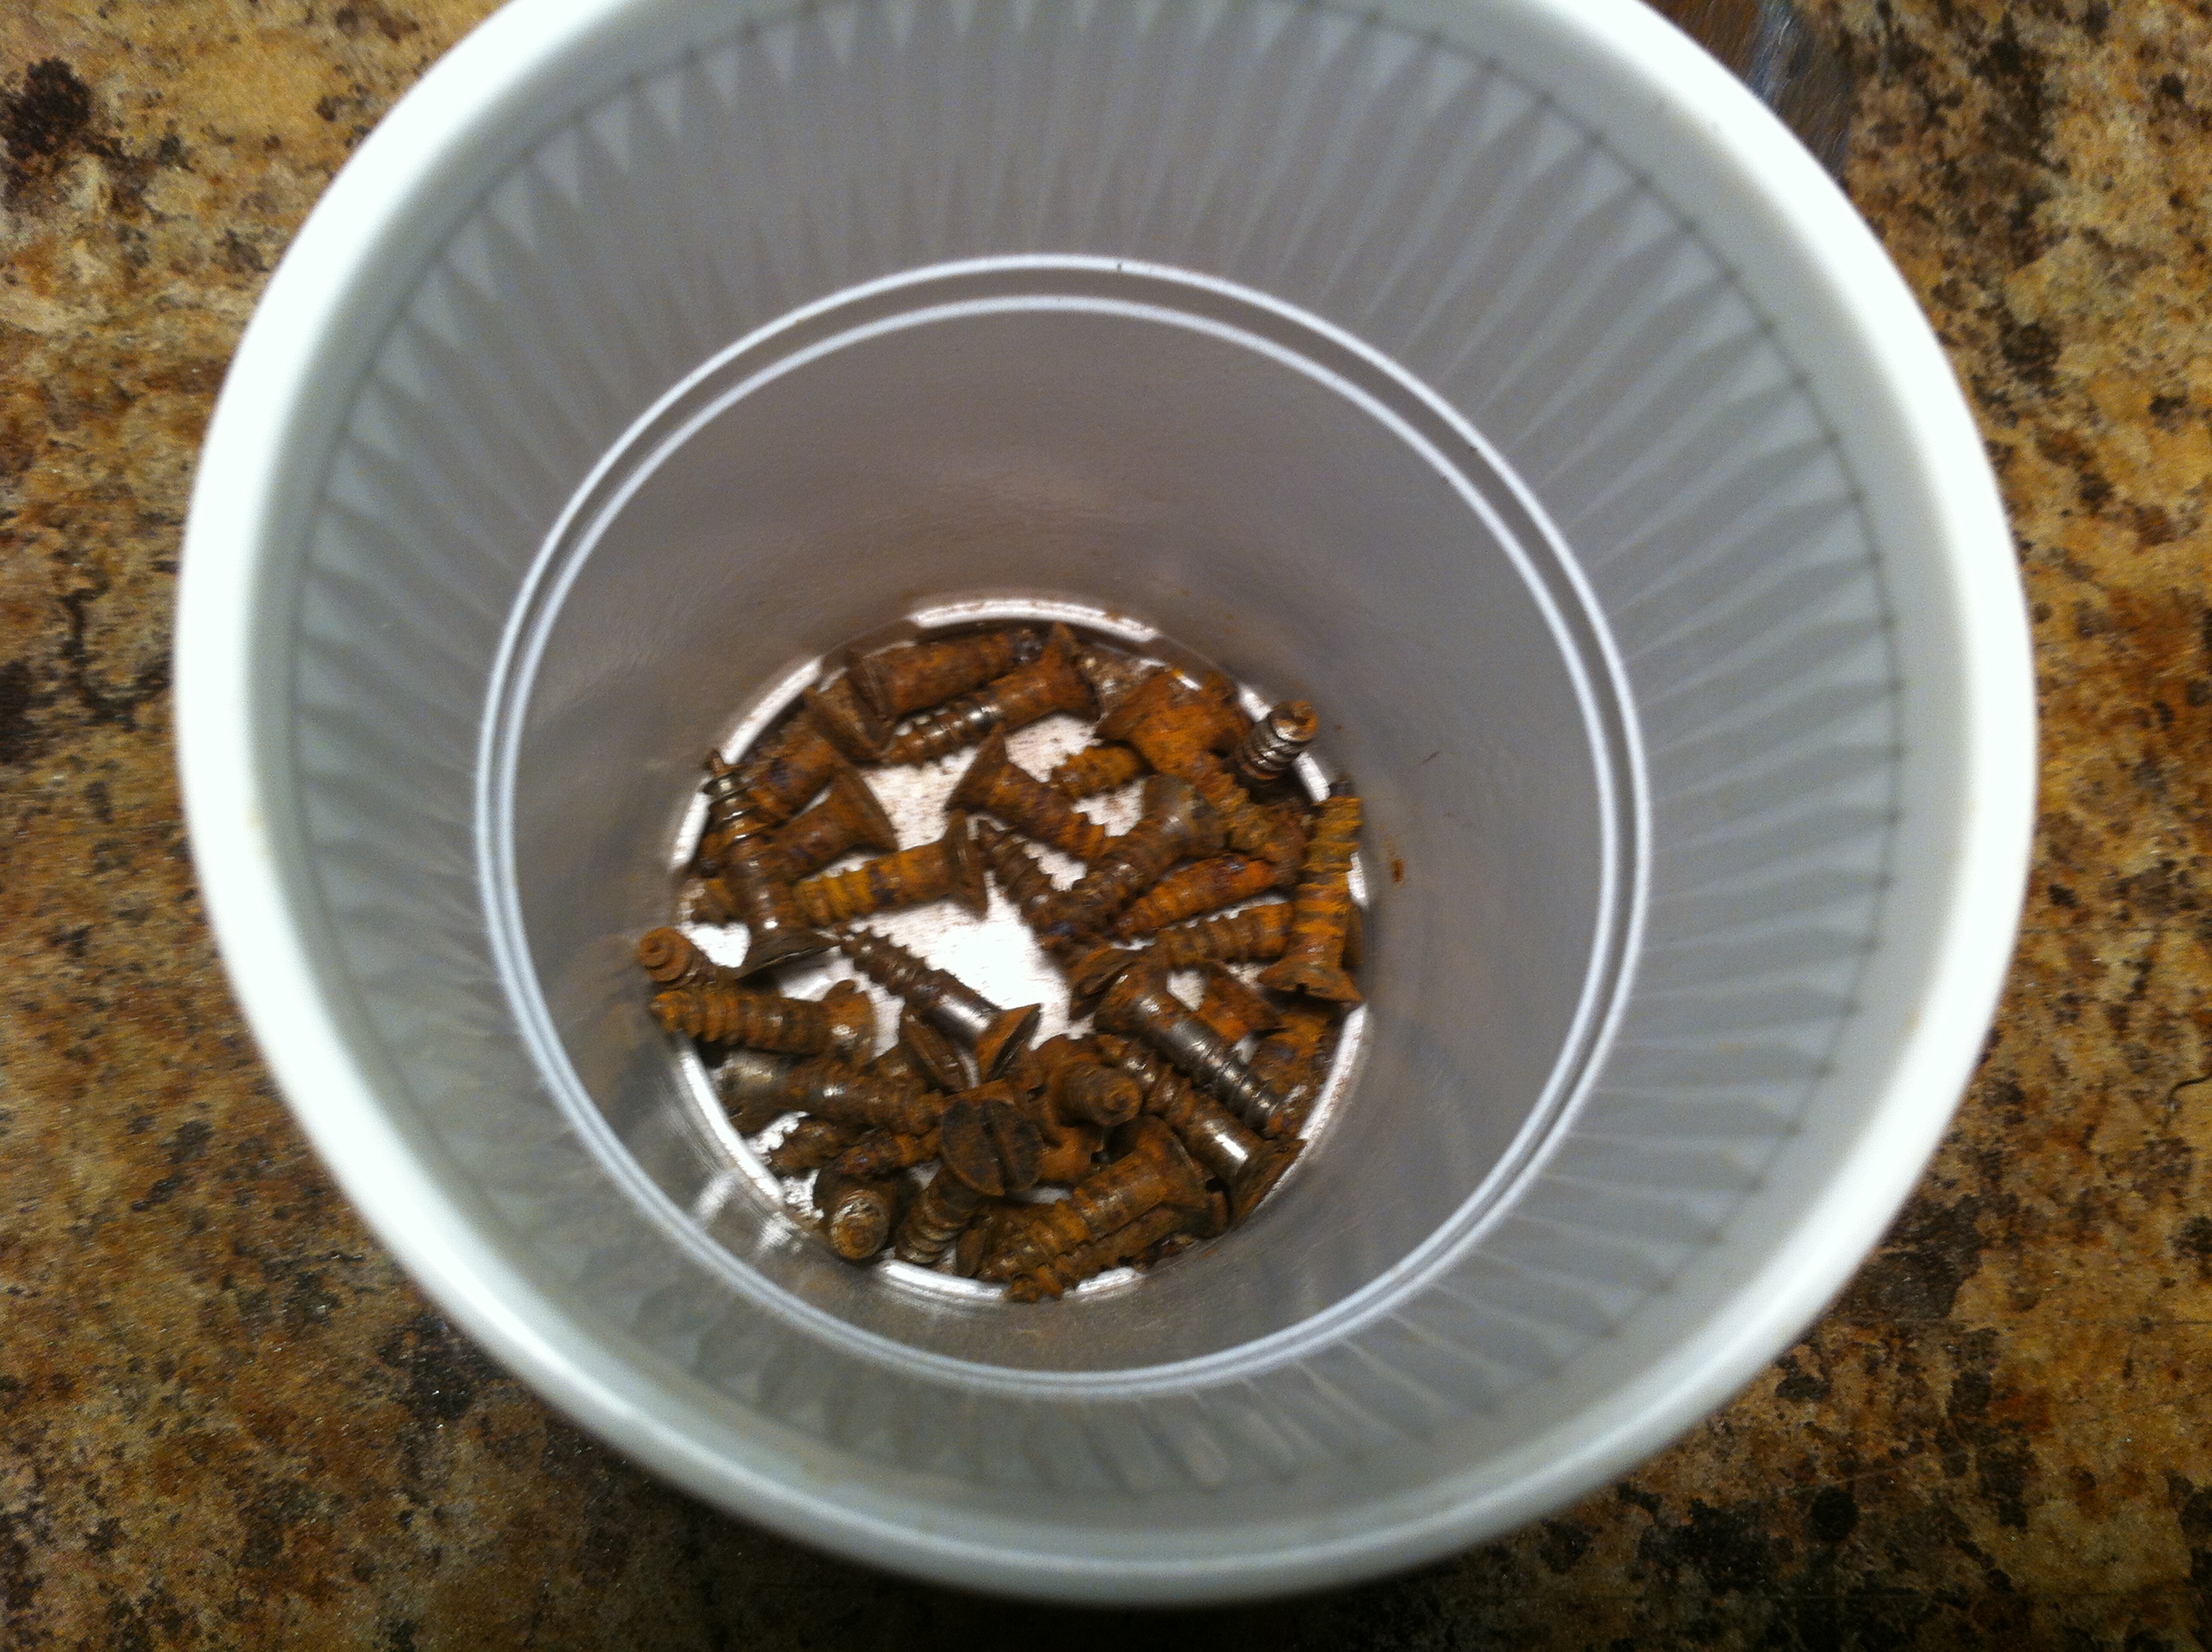
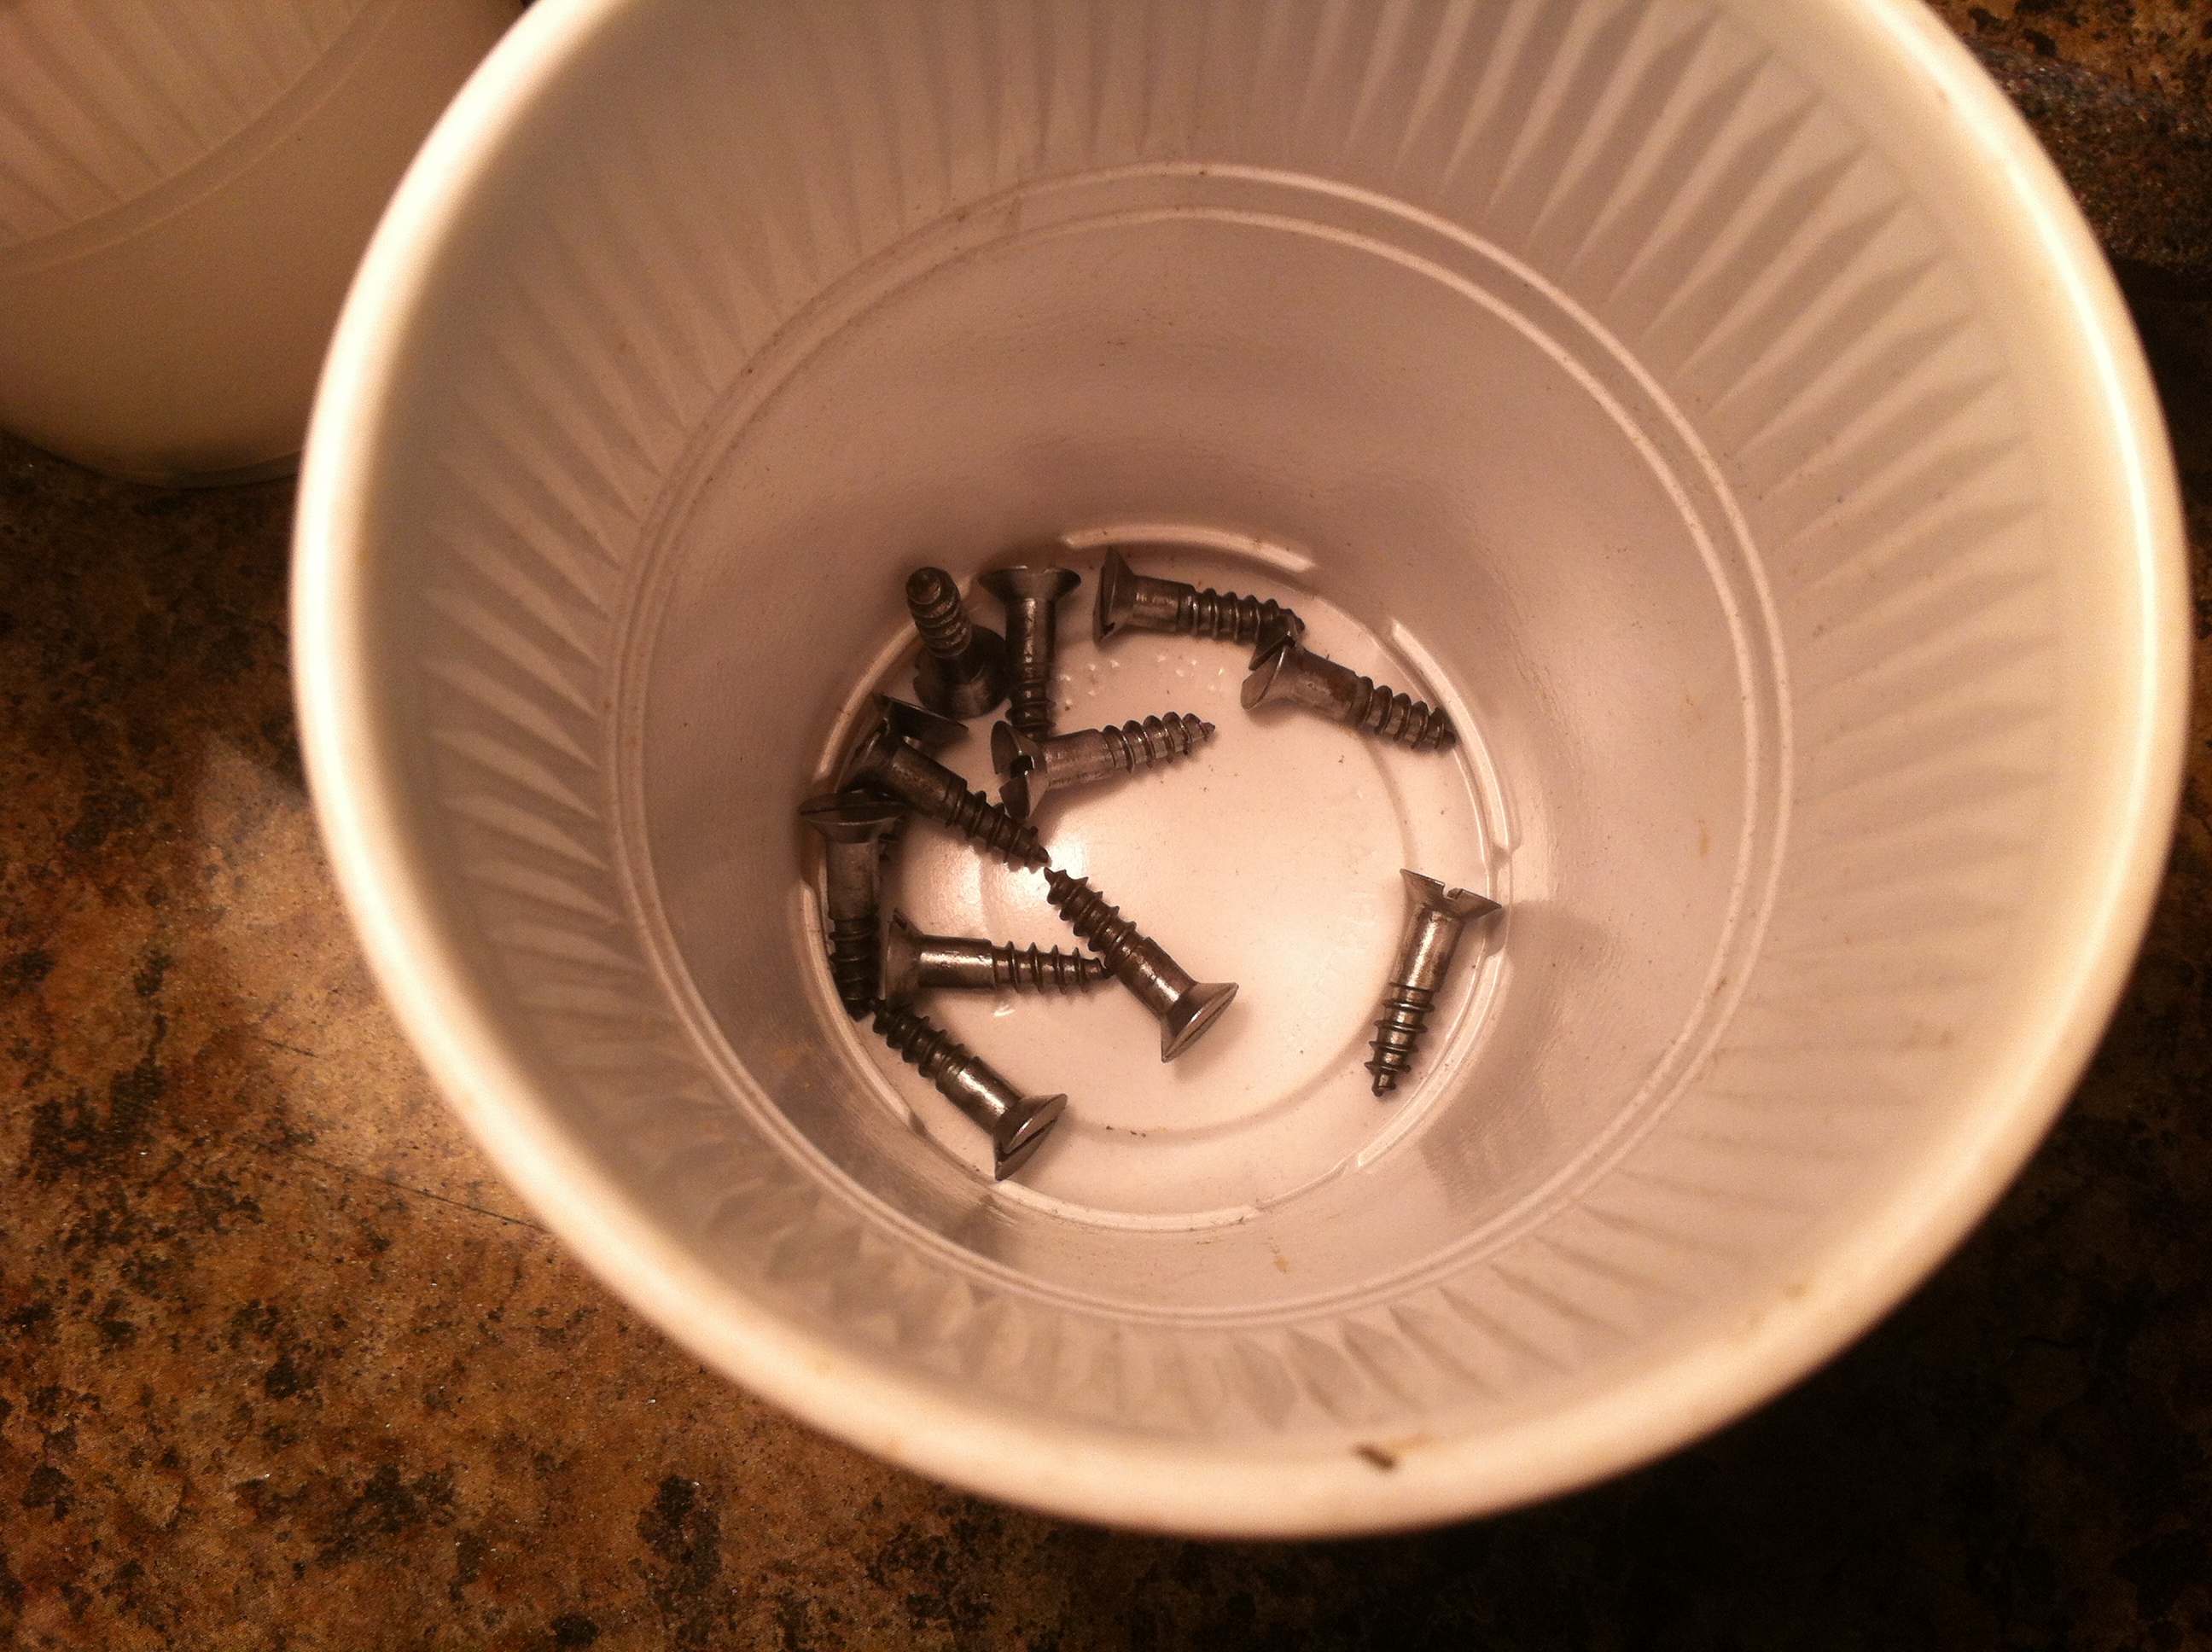
I have cleaned all the metal work for the case. The hinges were very rusty as was anything else made of ferrous metal. I then etch primed them and sprayed them matt black. All screws, of which there were many, were cleaned of rust and then immediately dipped in molten candle wax to protect from immediate rusting. I haven't done this before but it will help with rust prevention before reinserting.
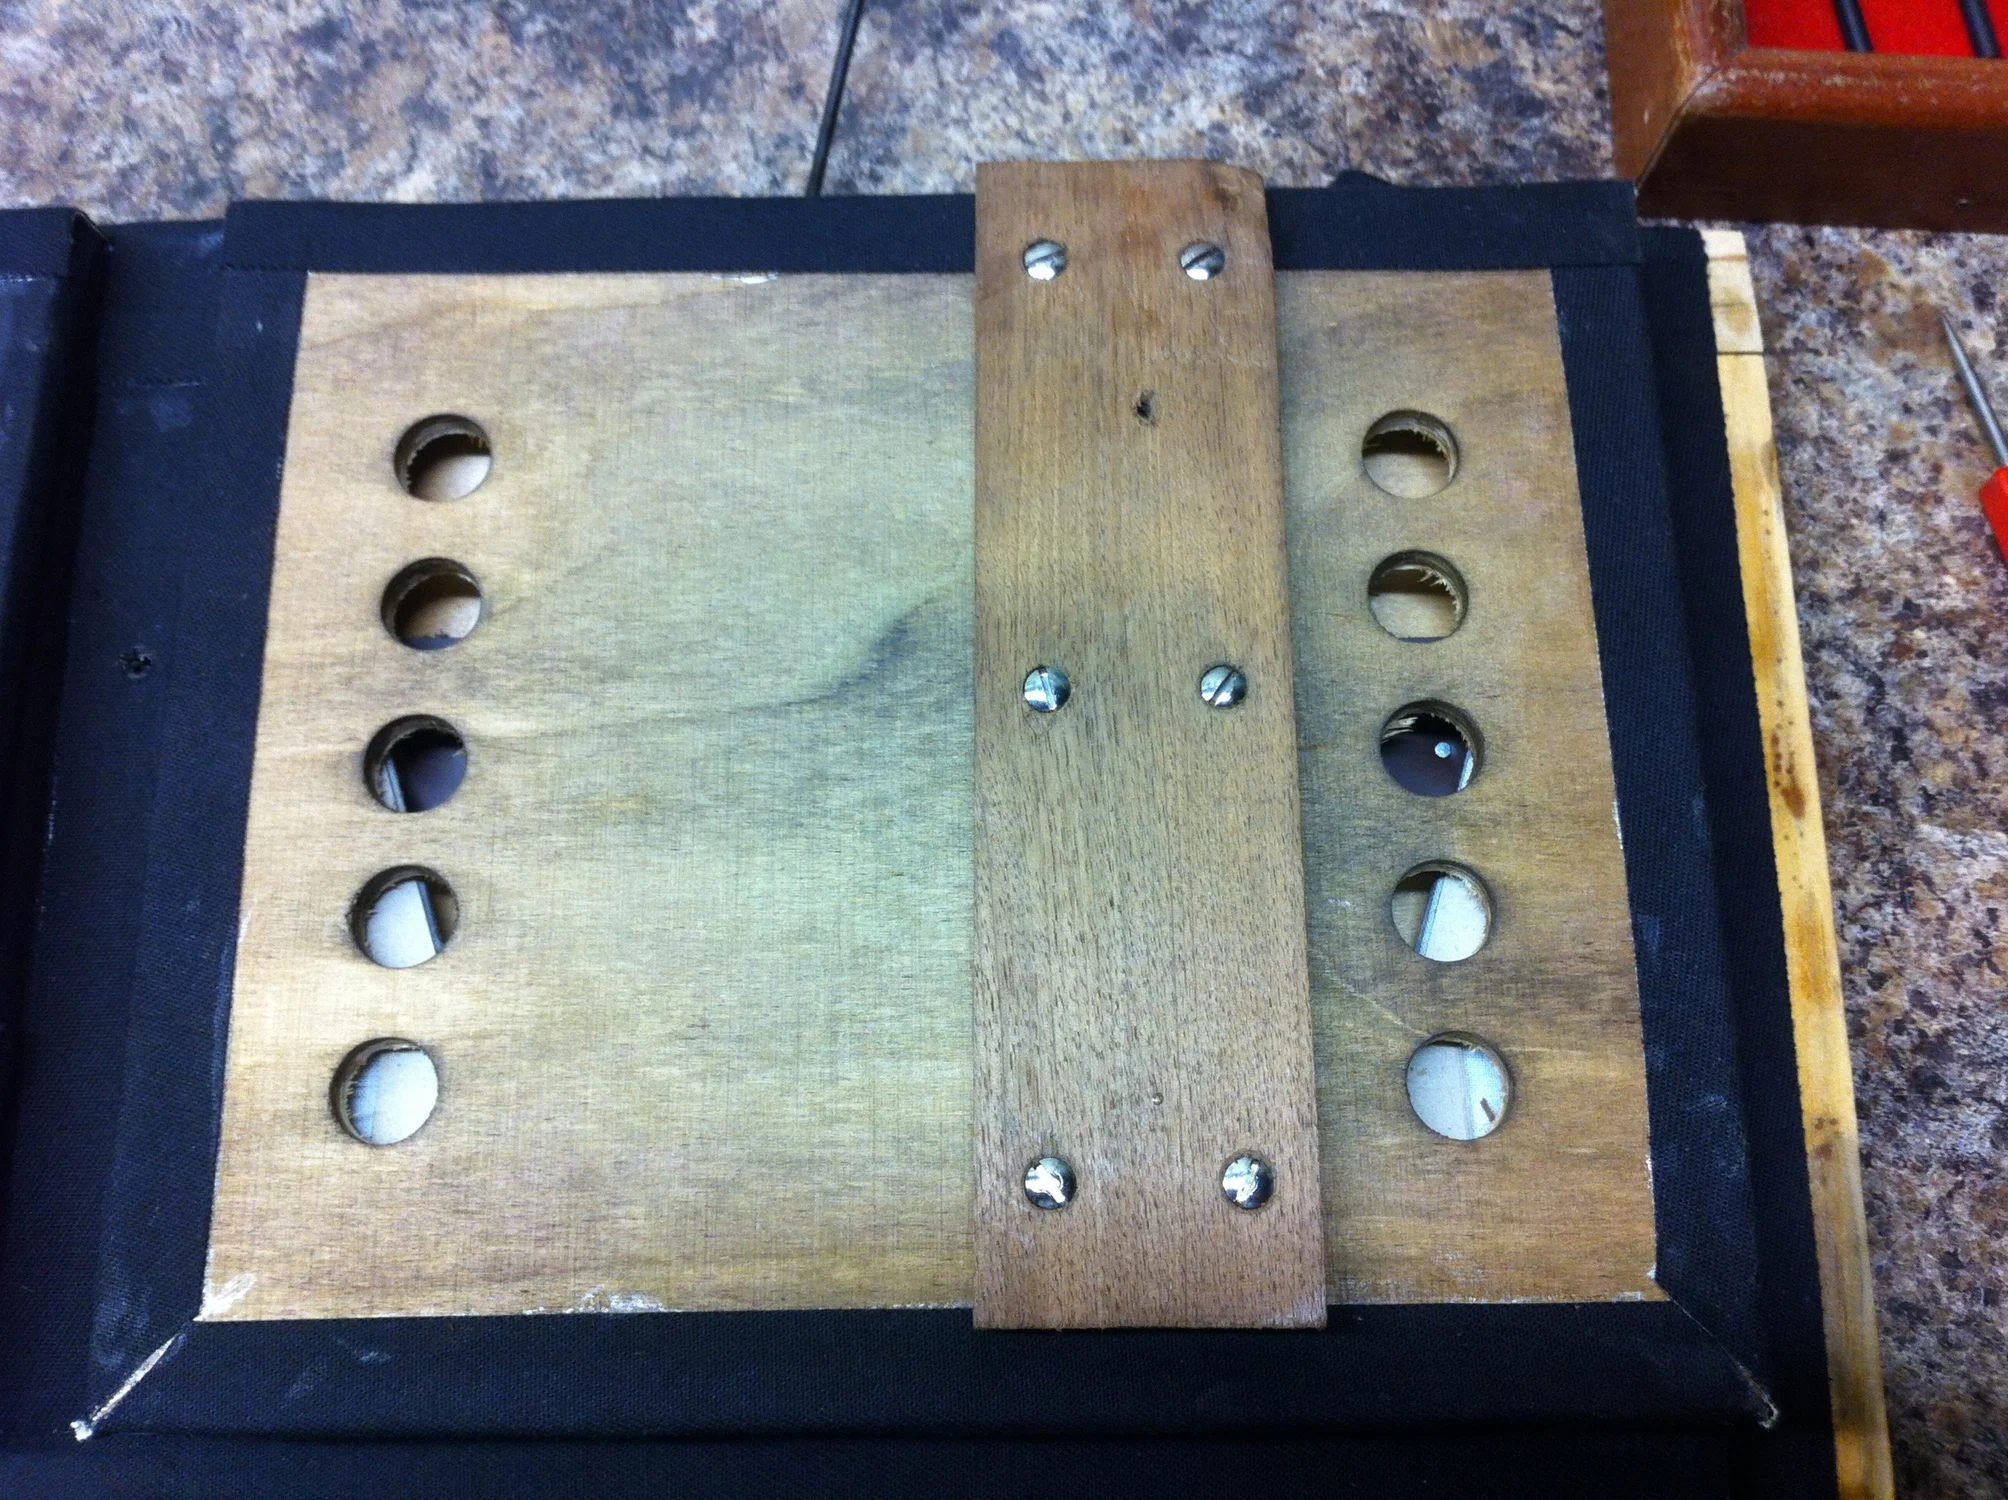
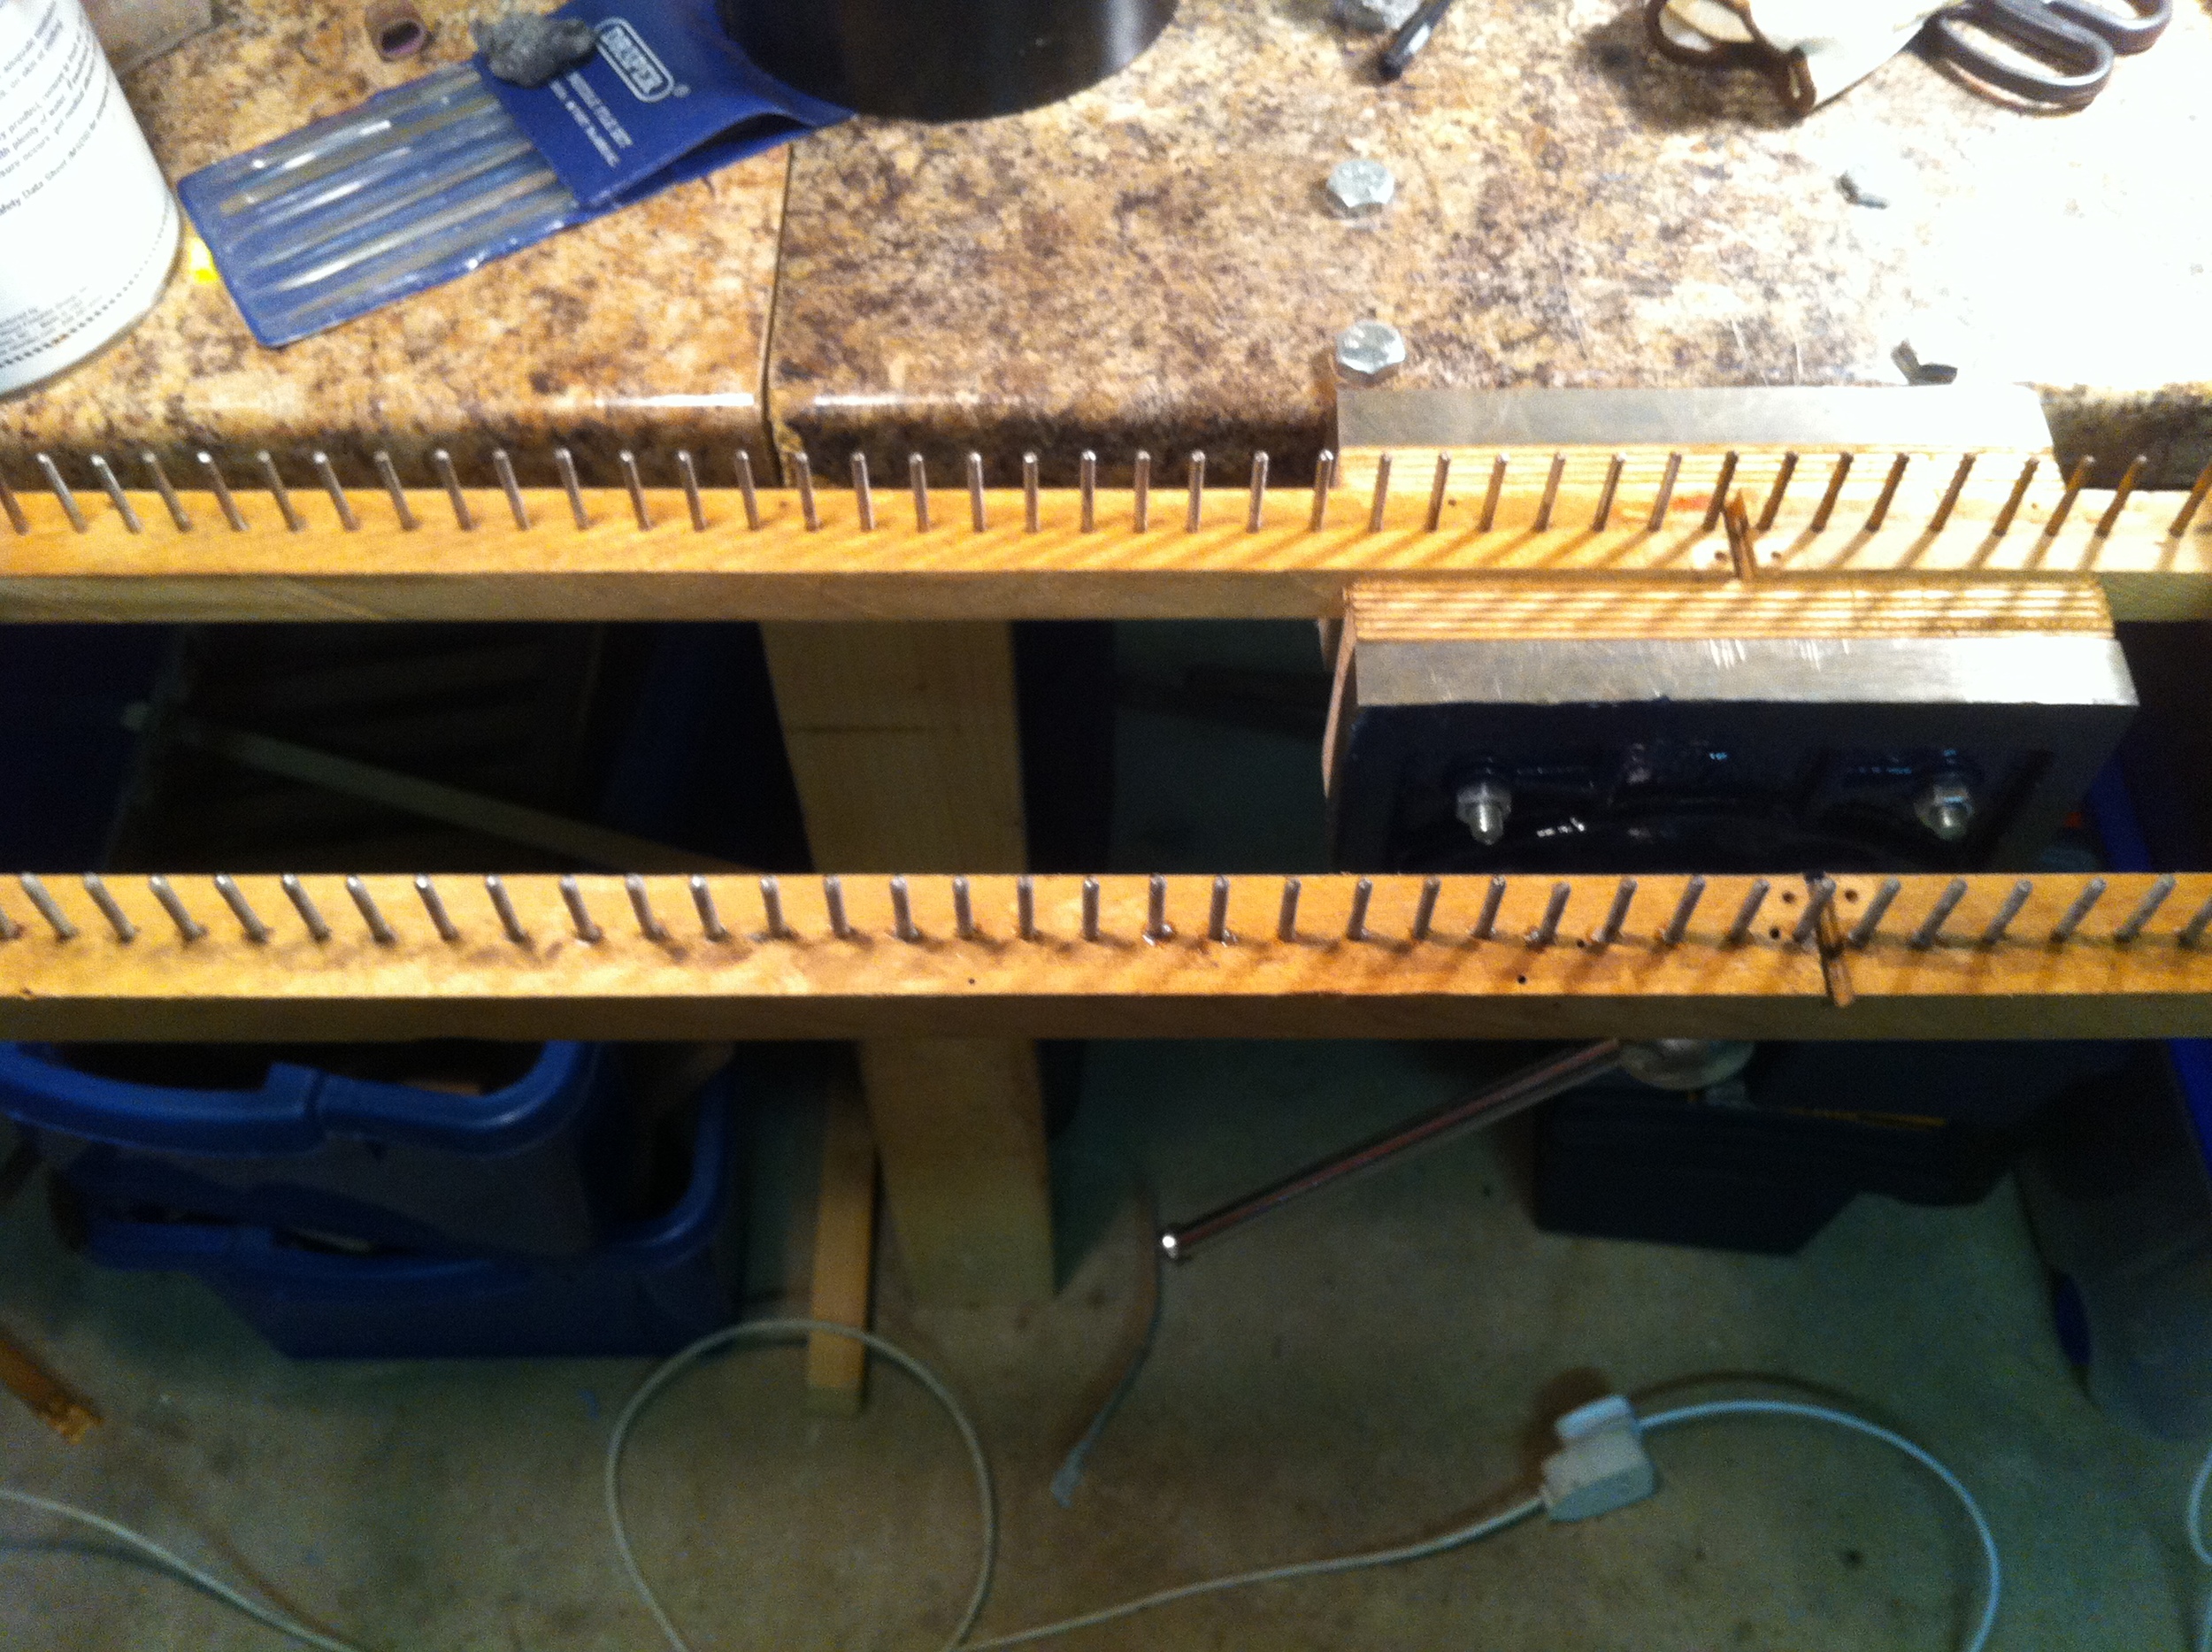
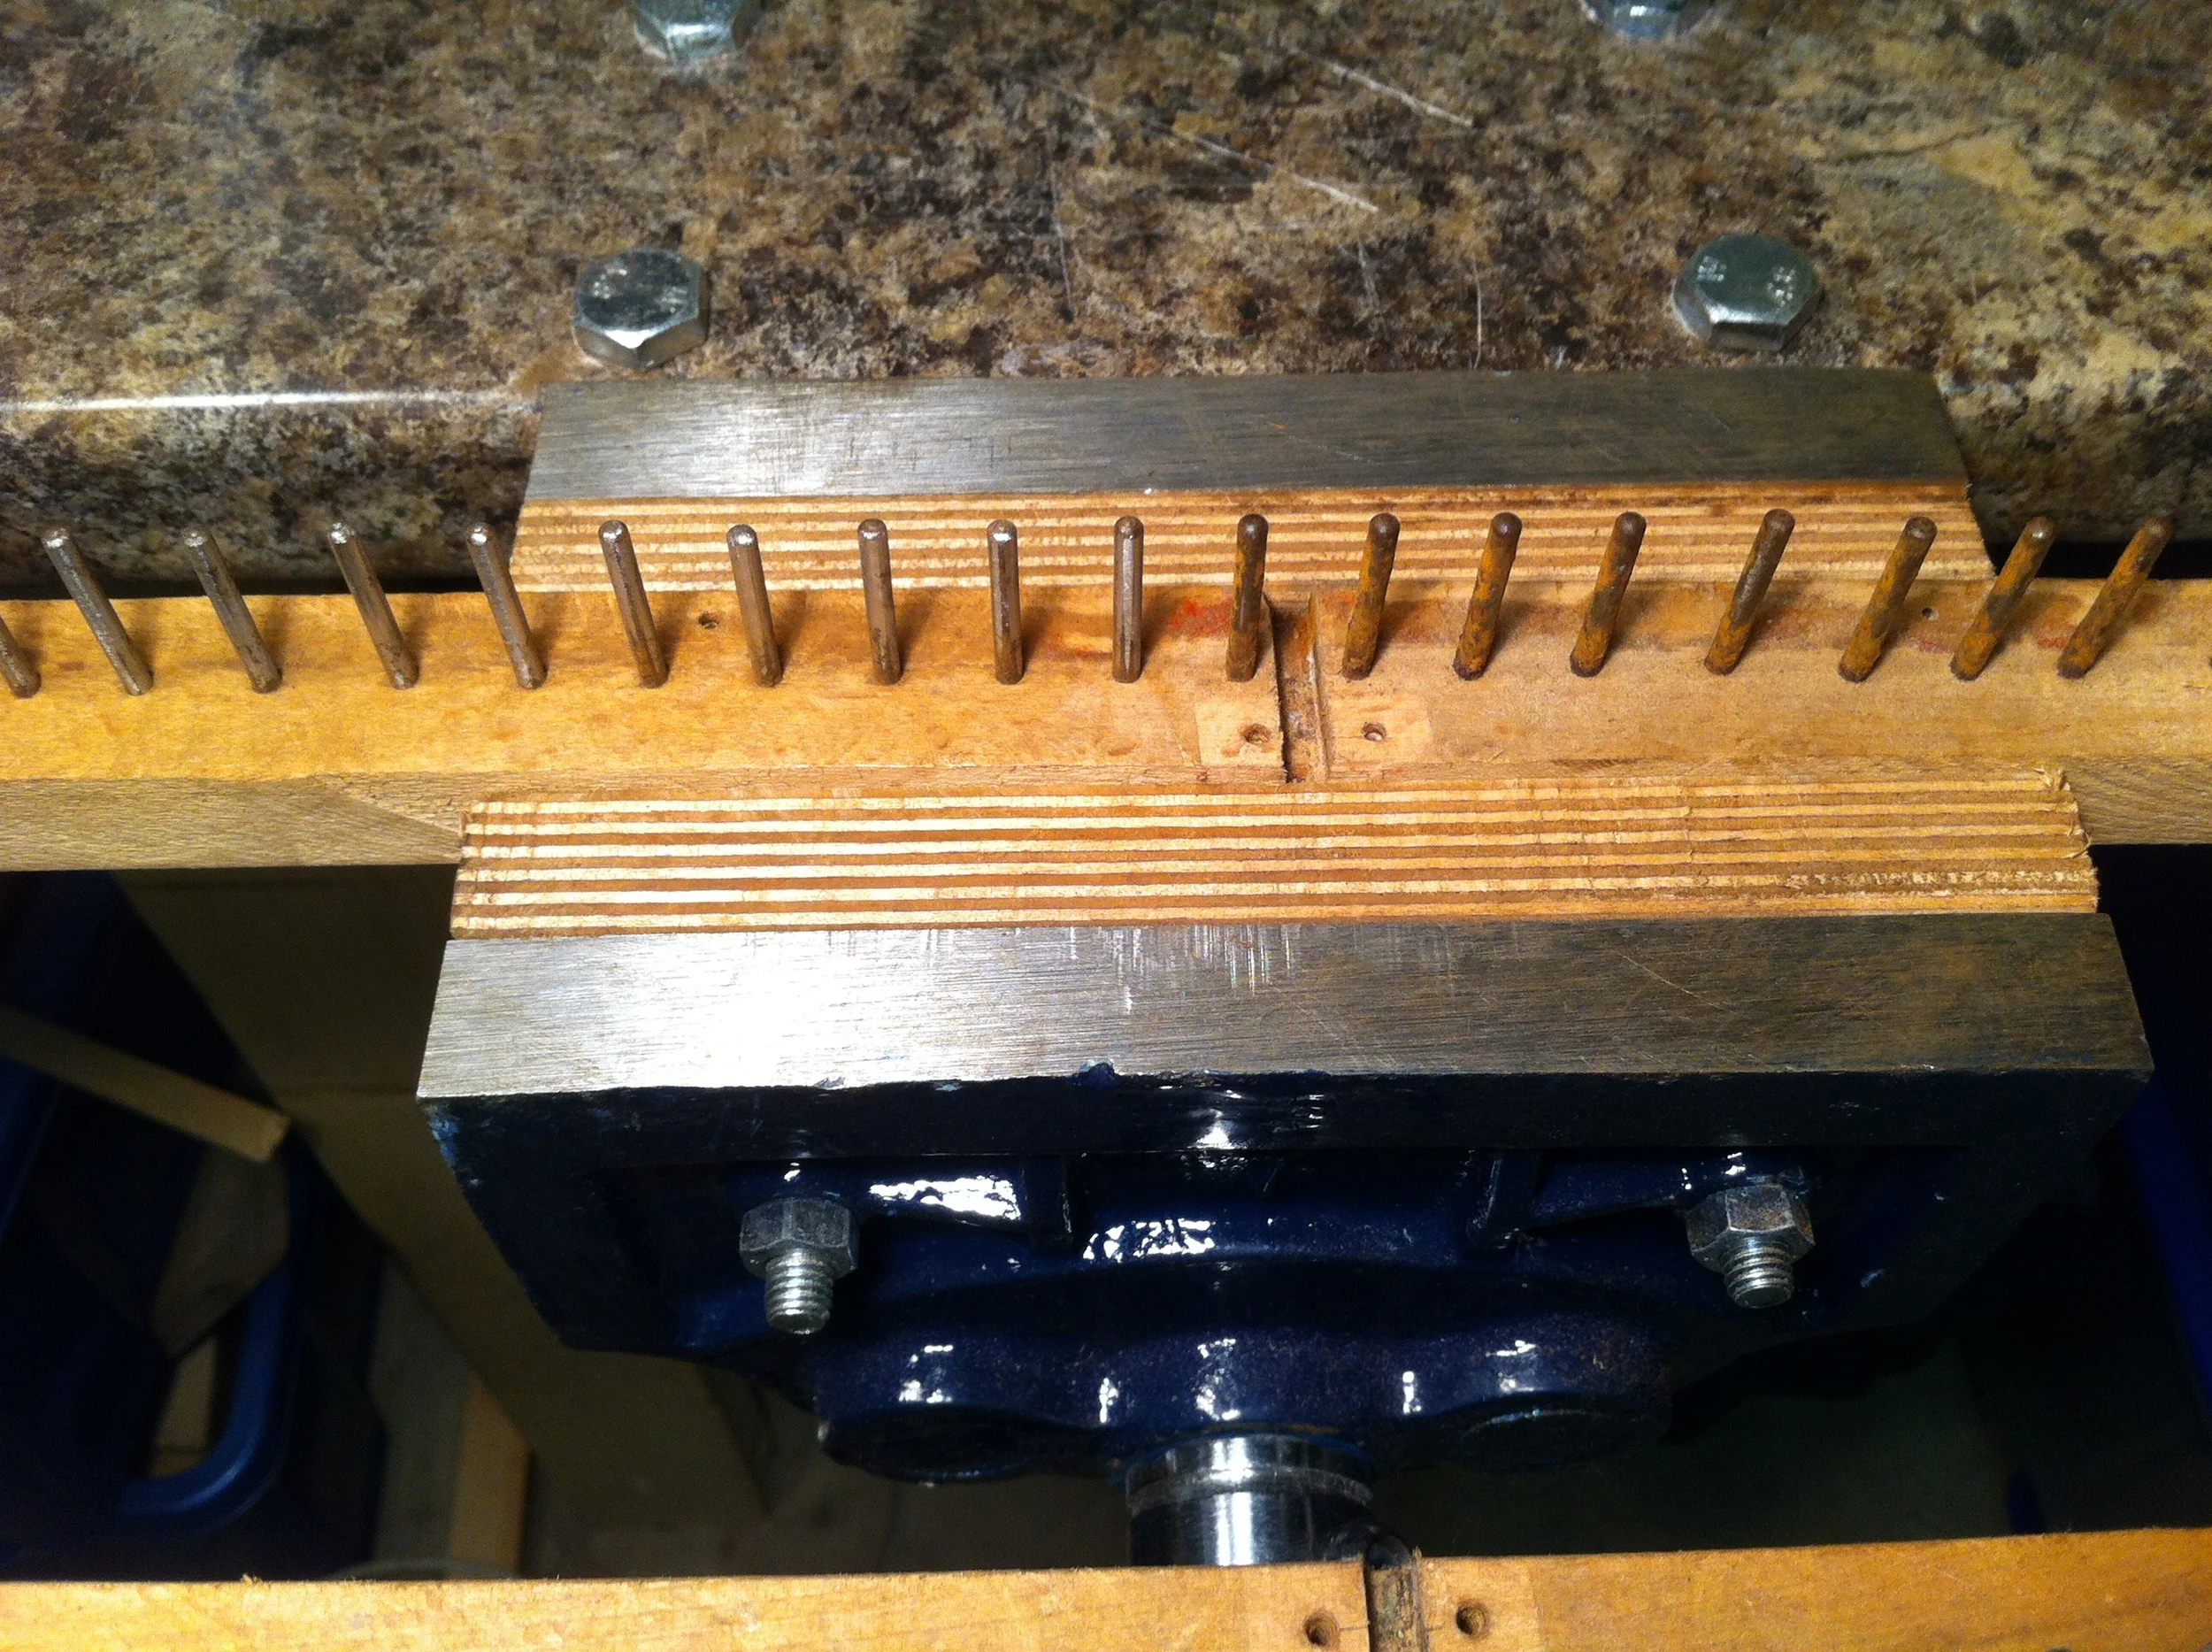
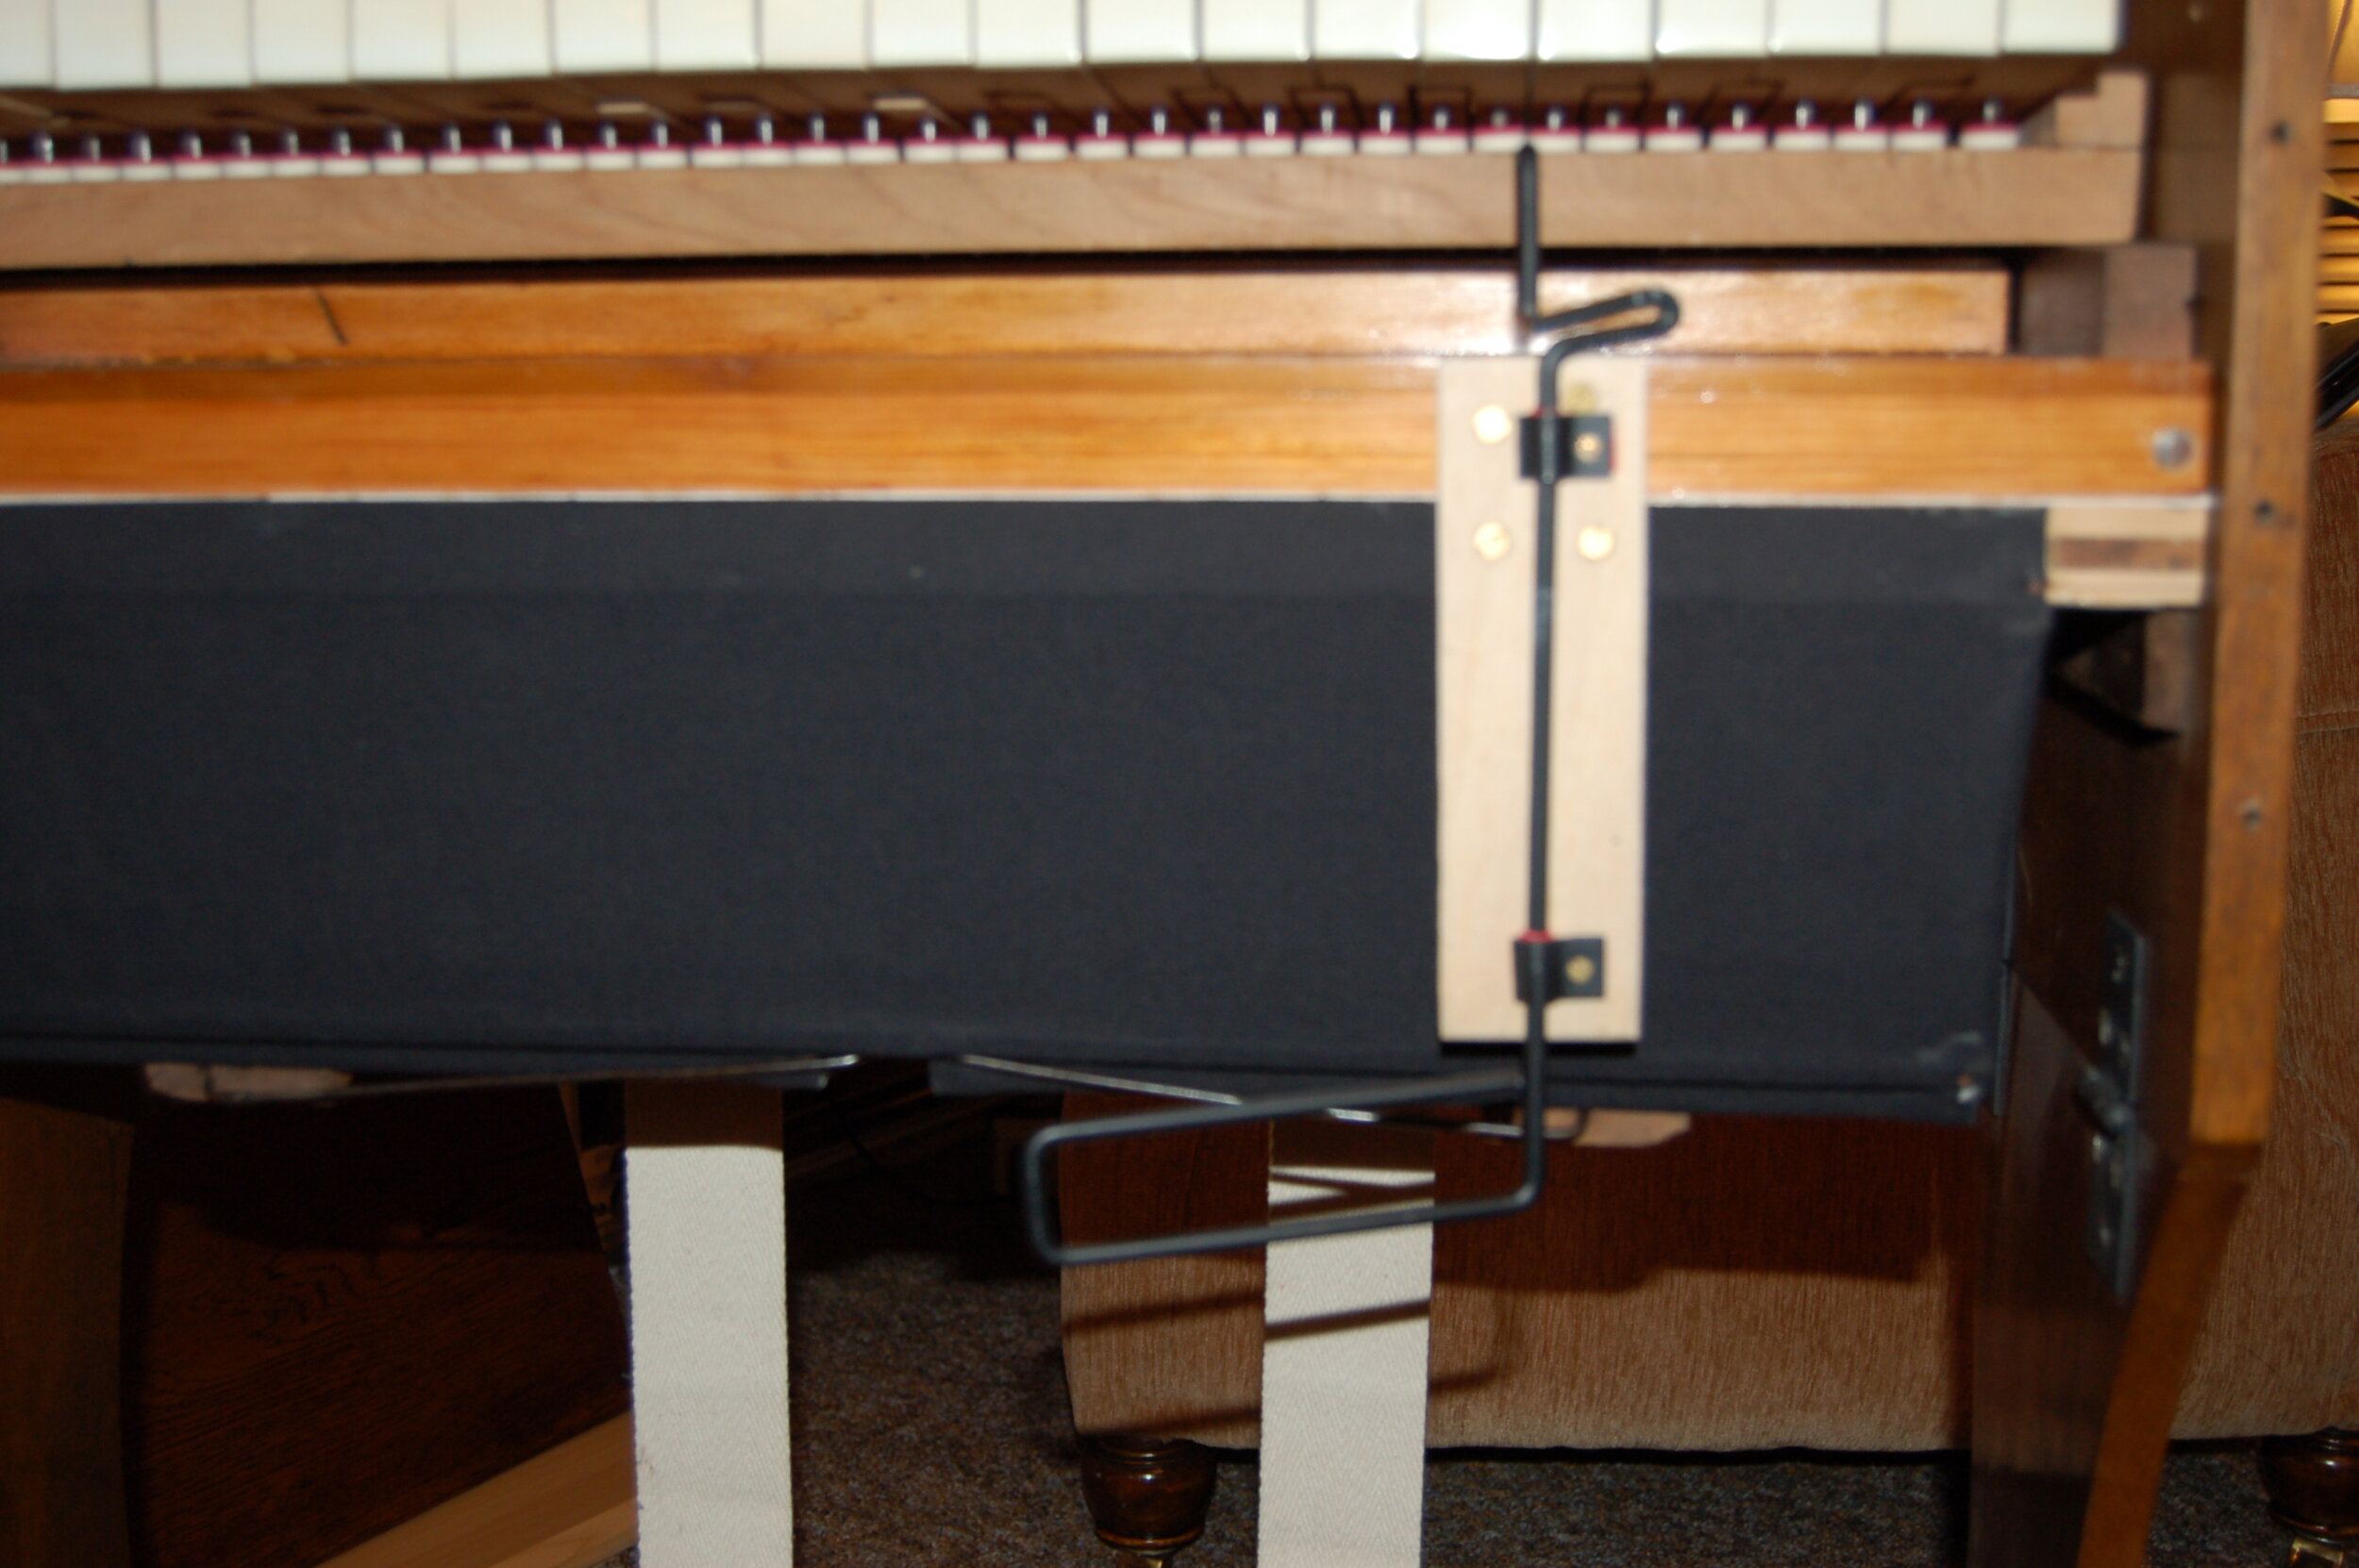
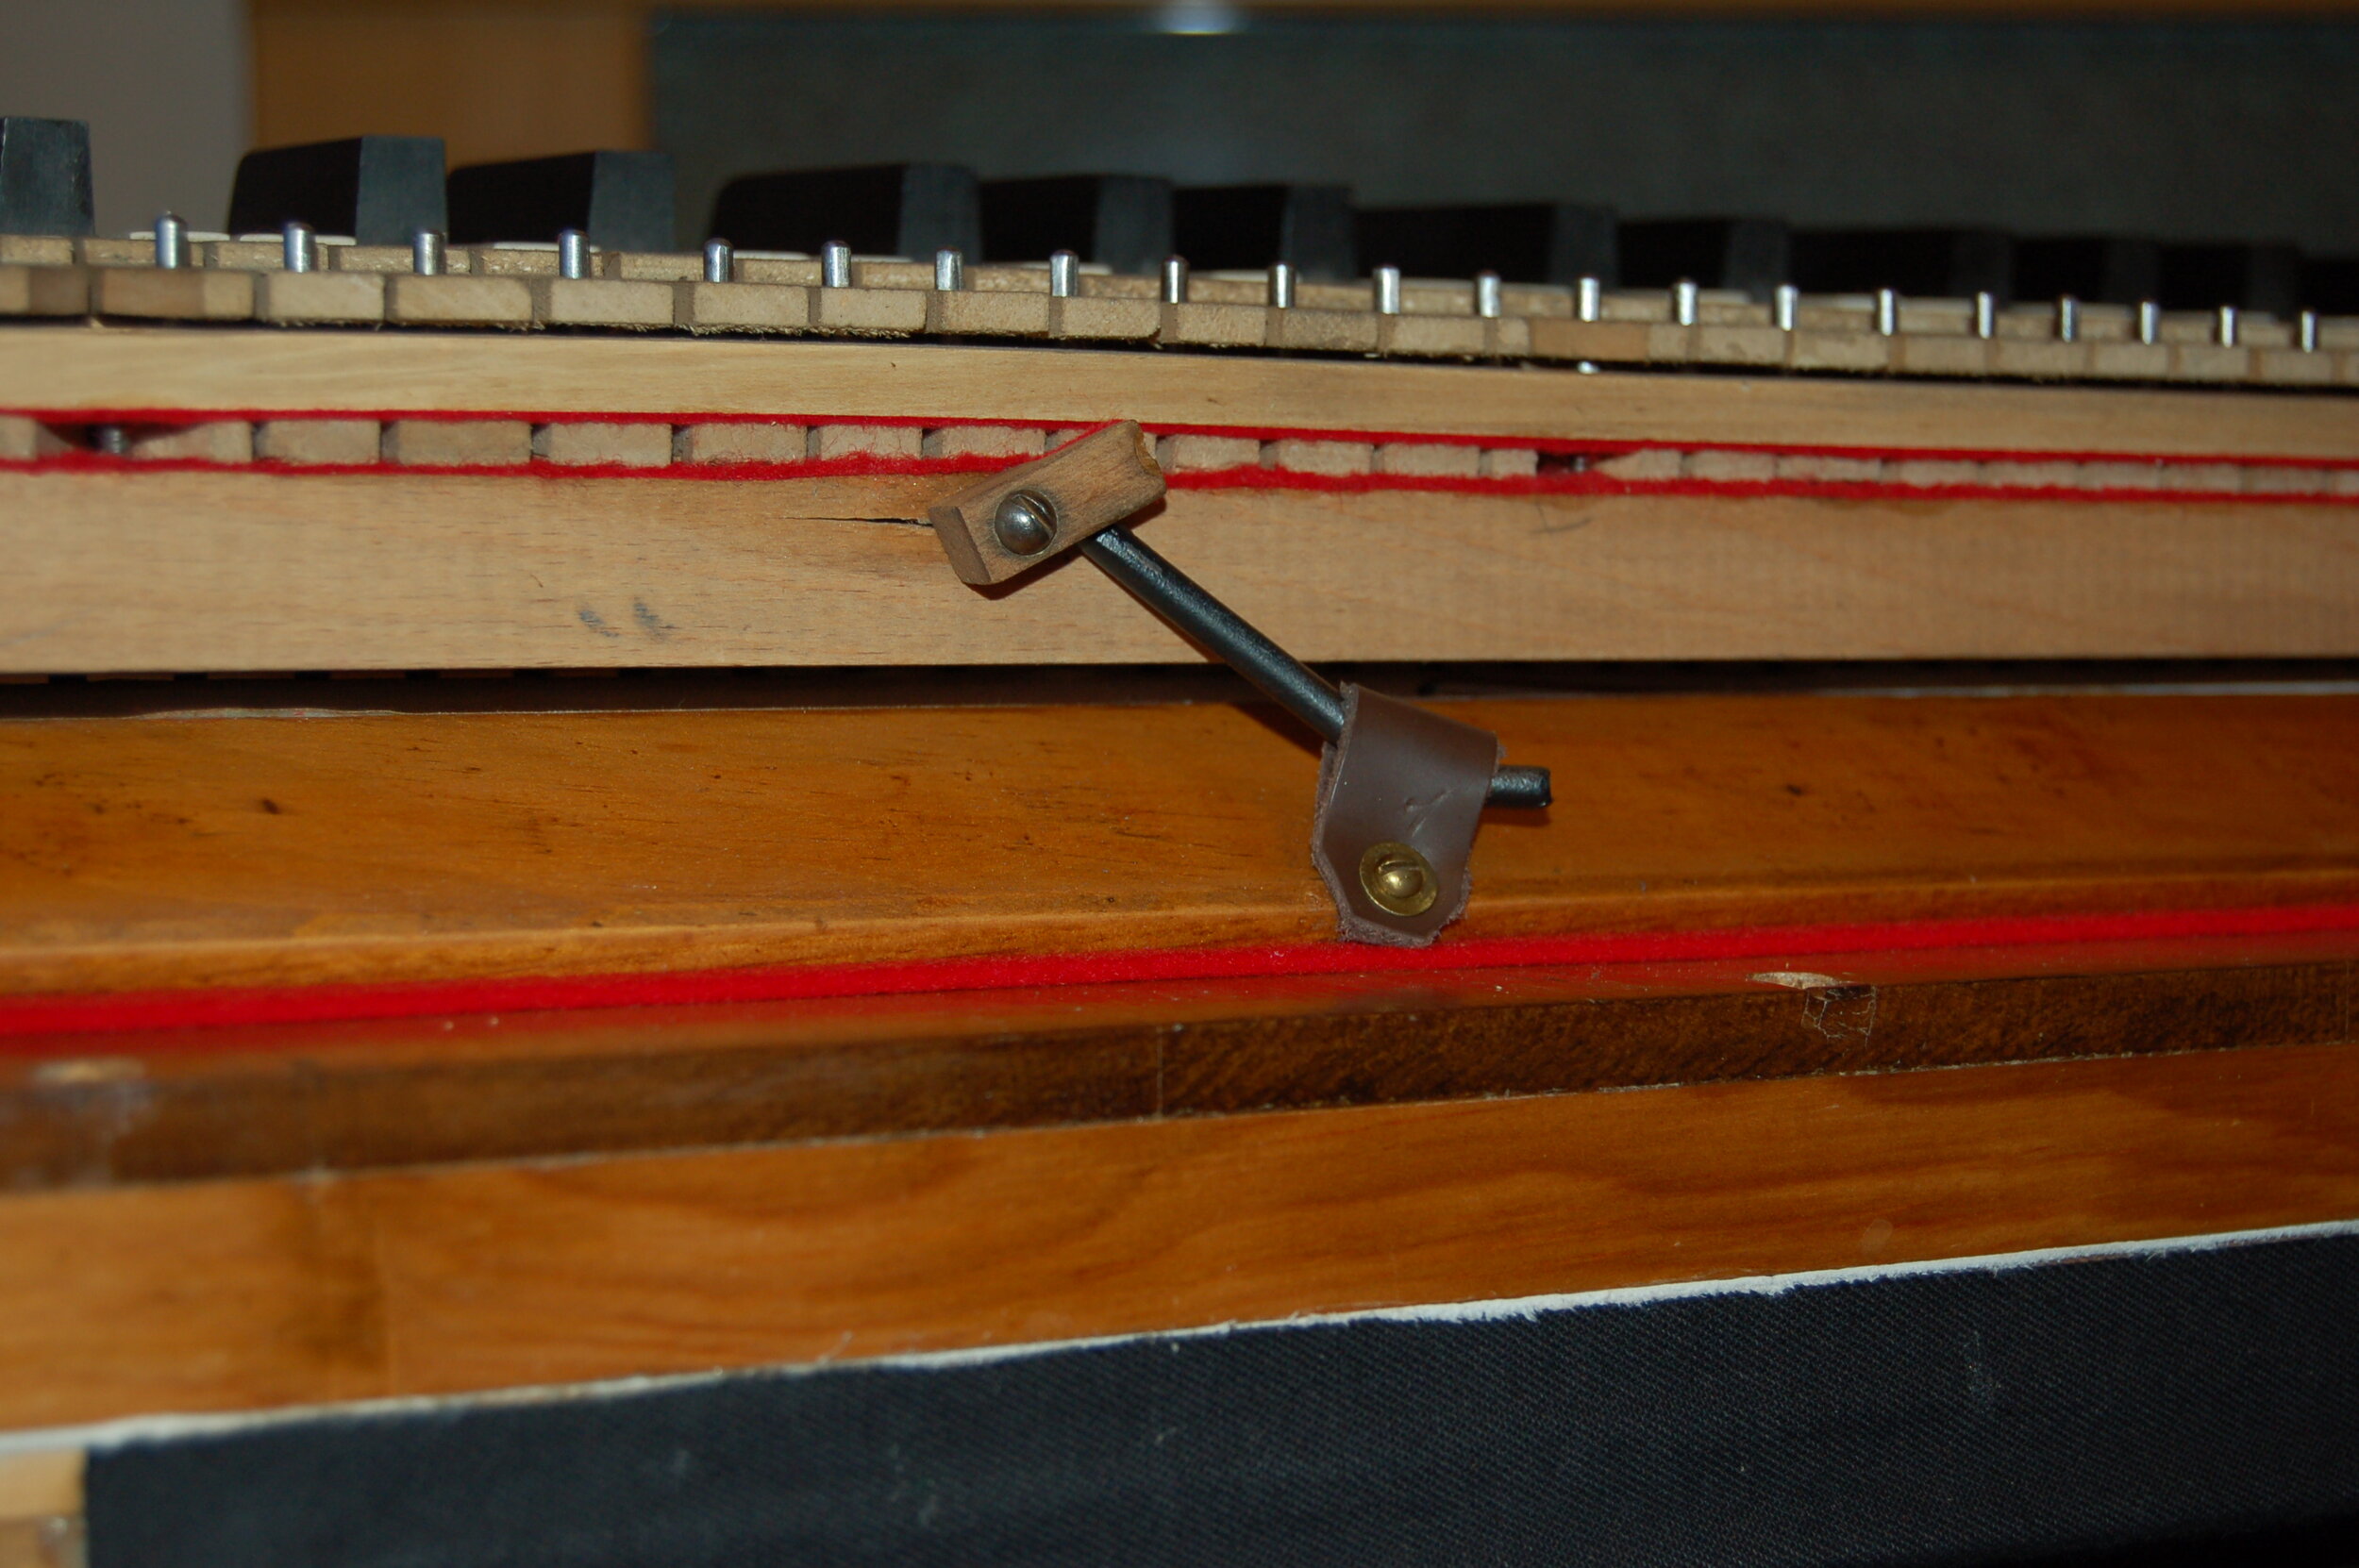
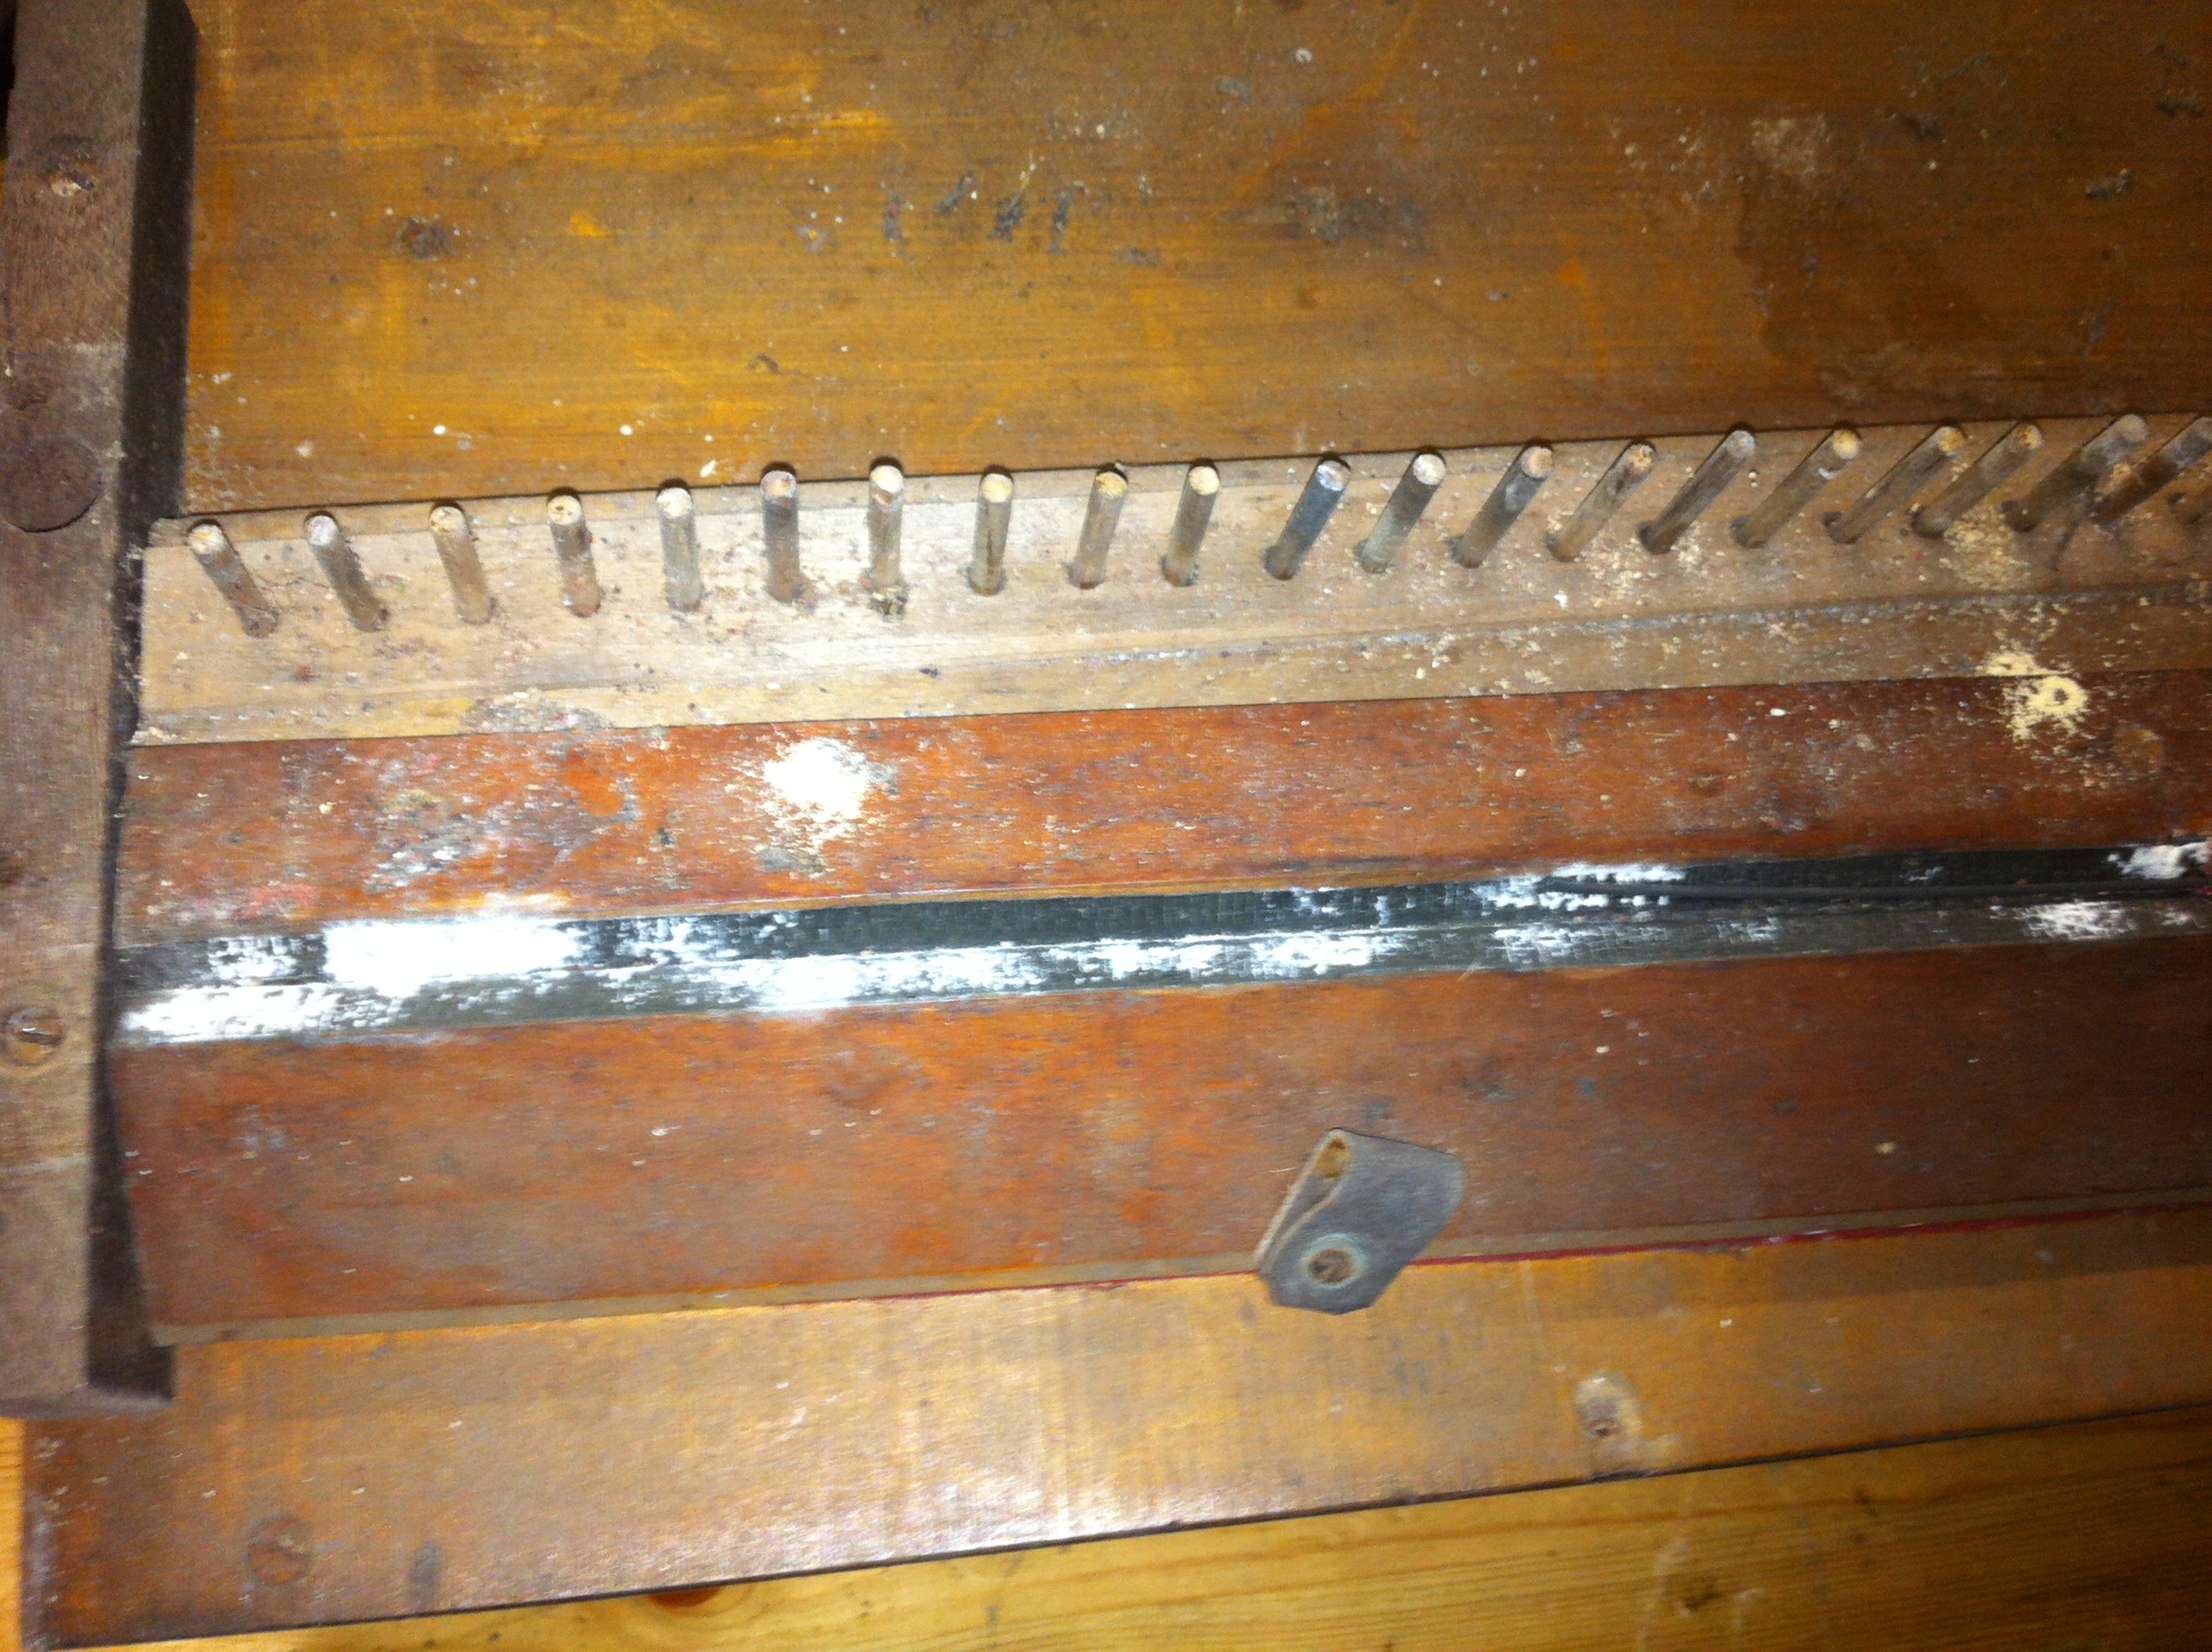
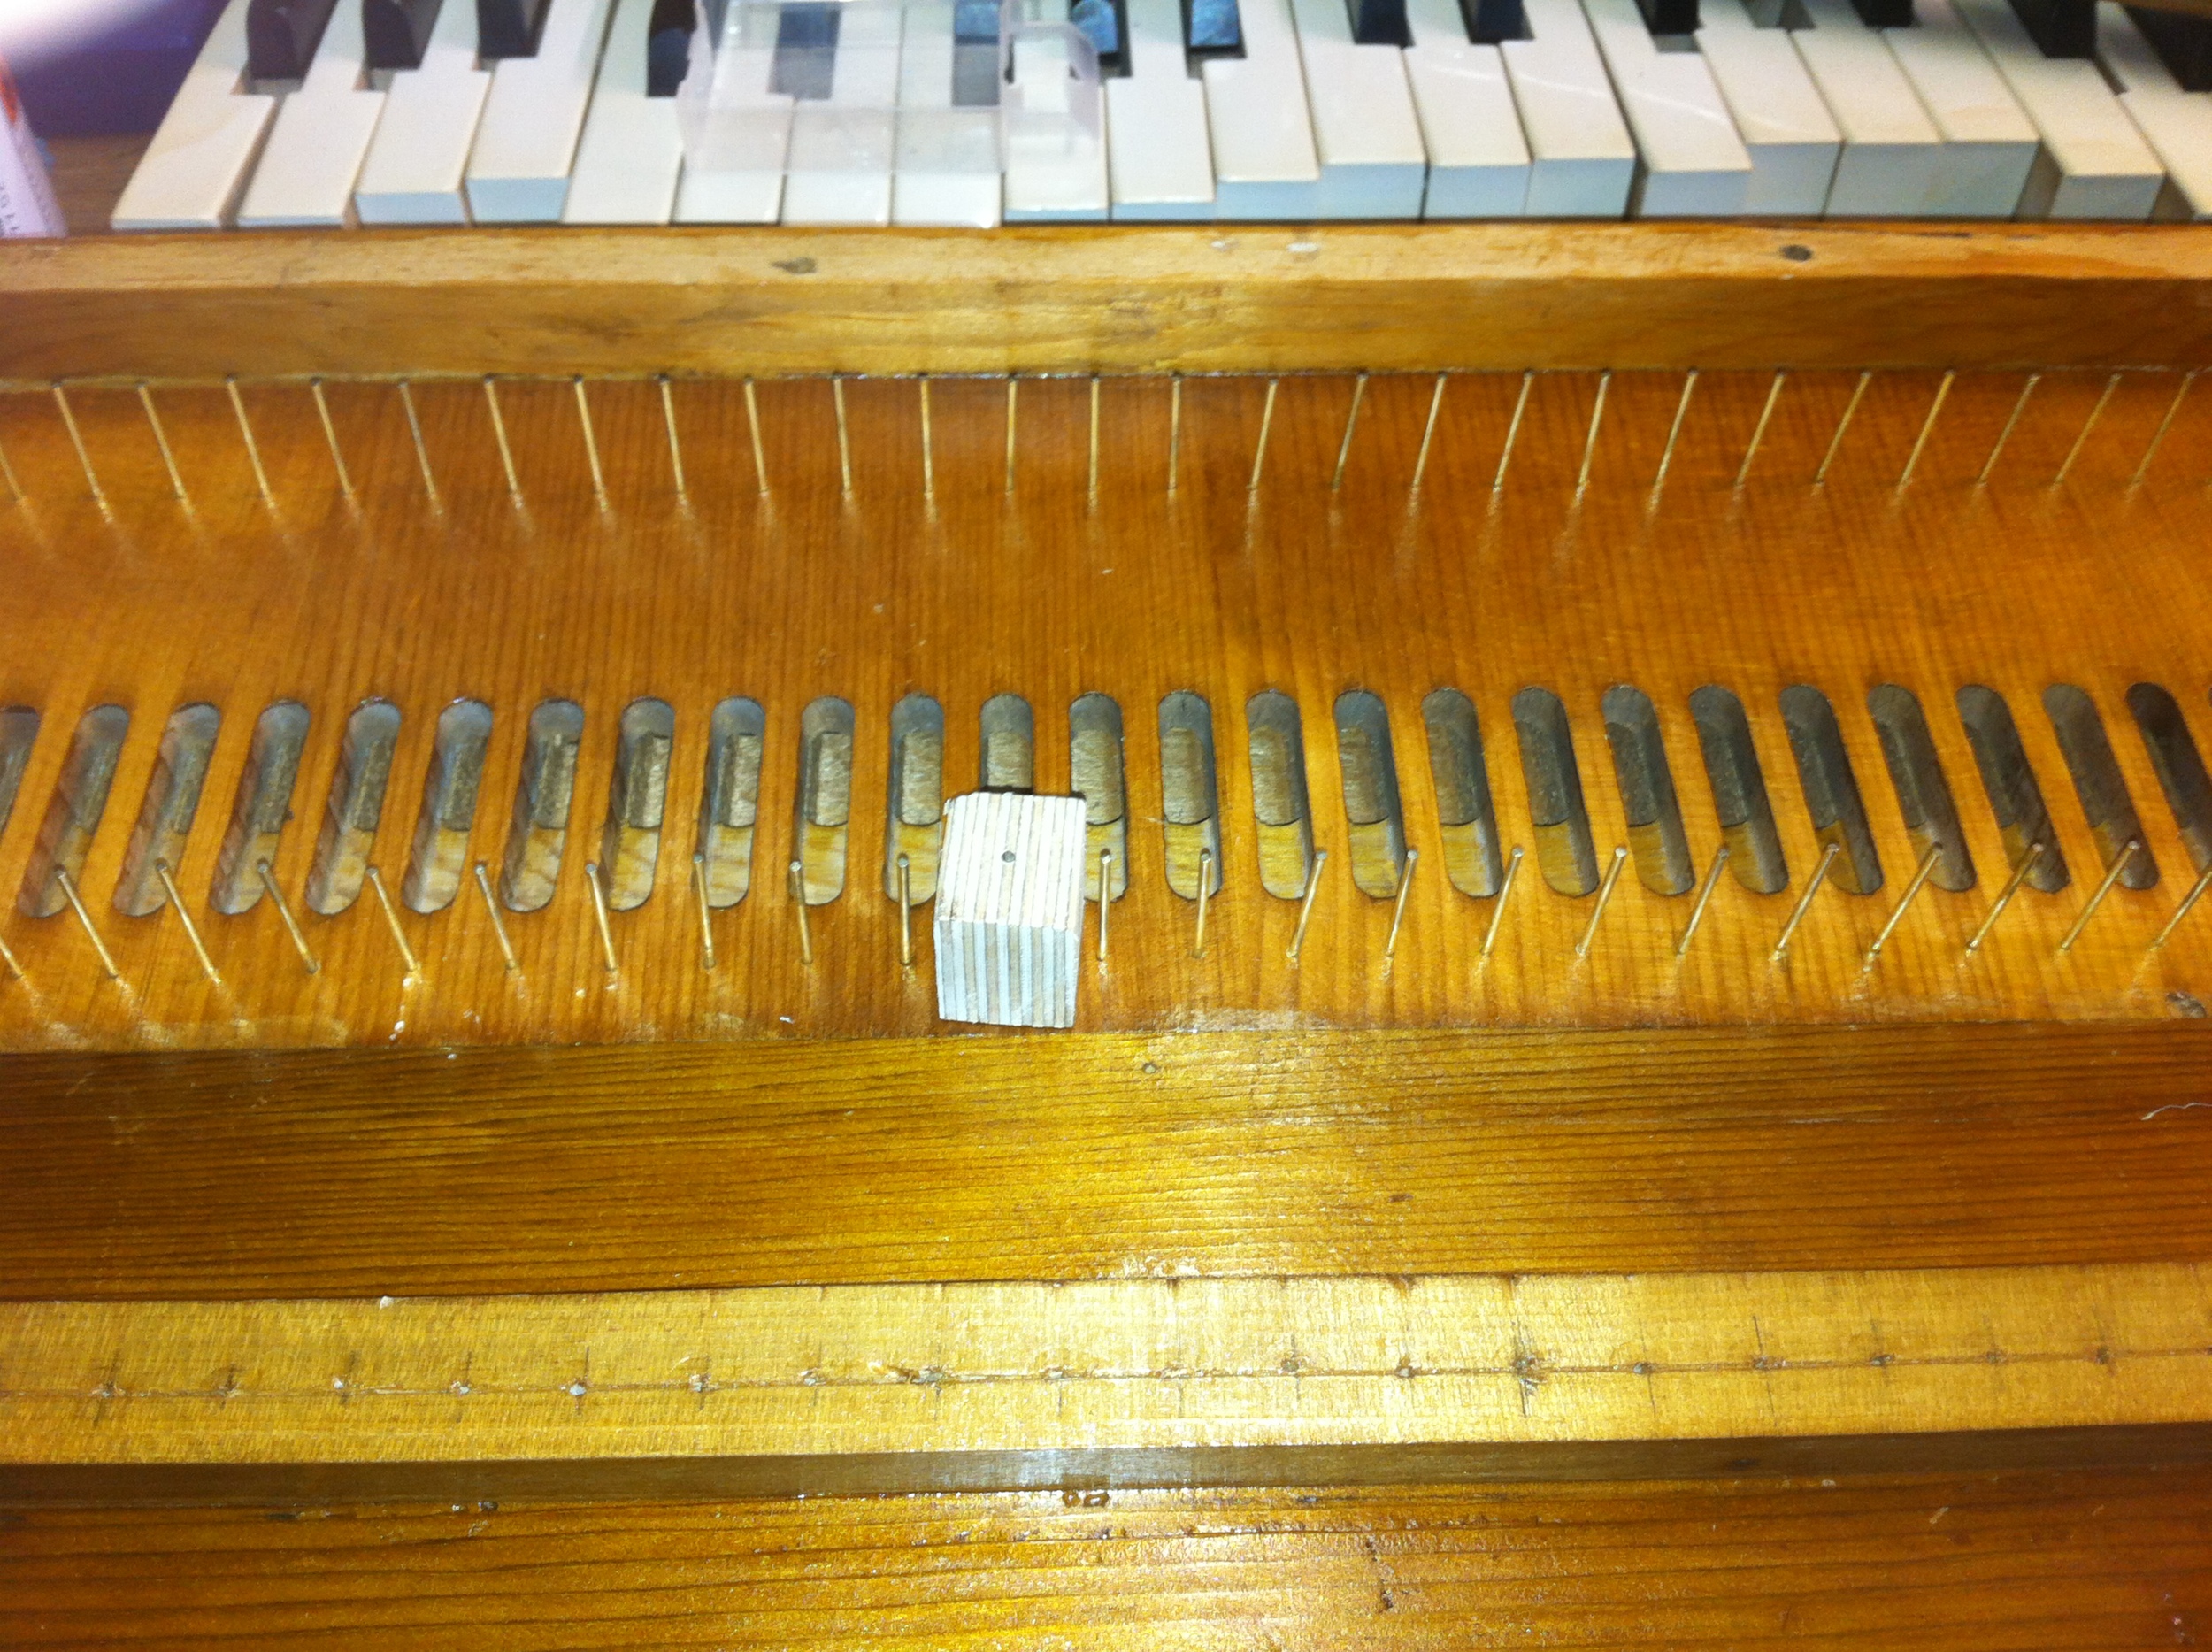
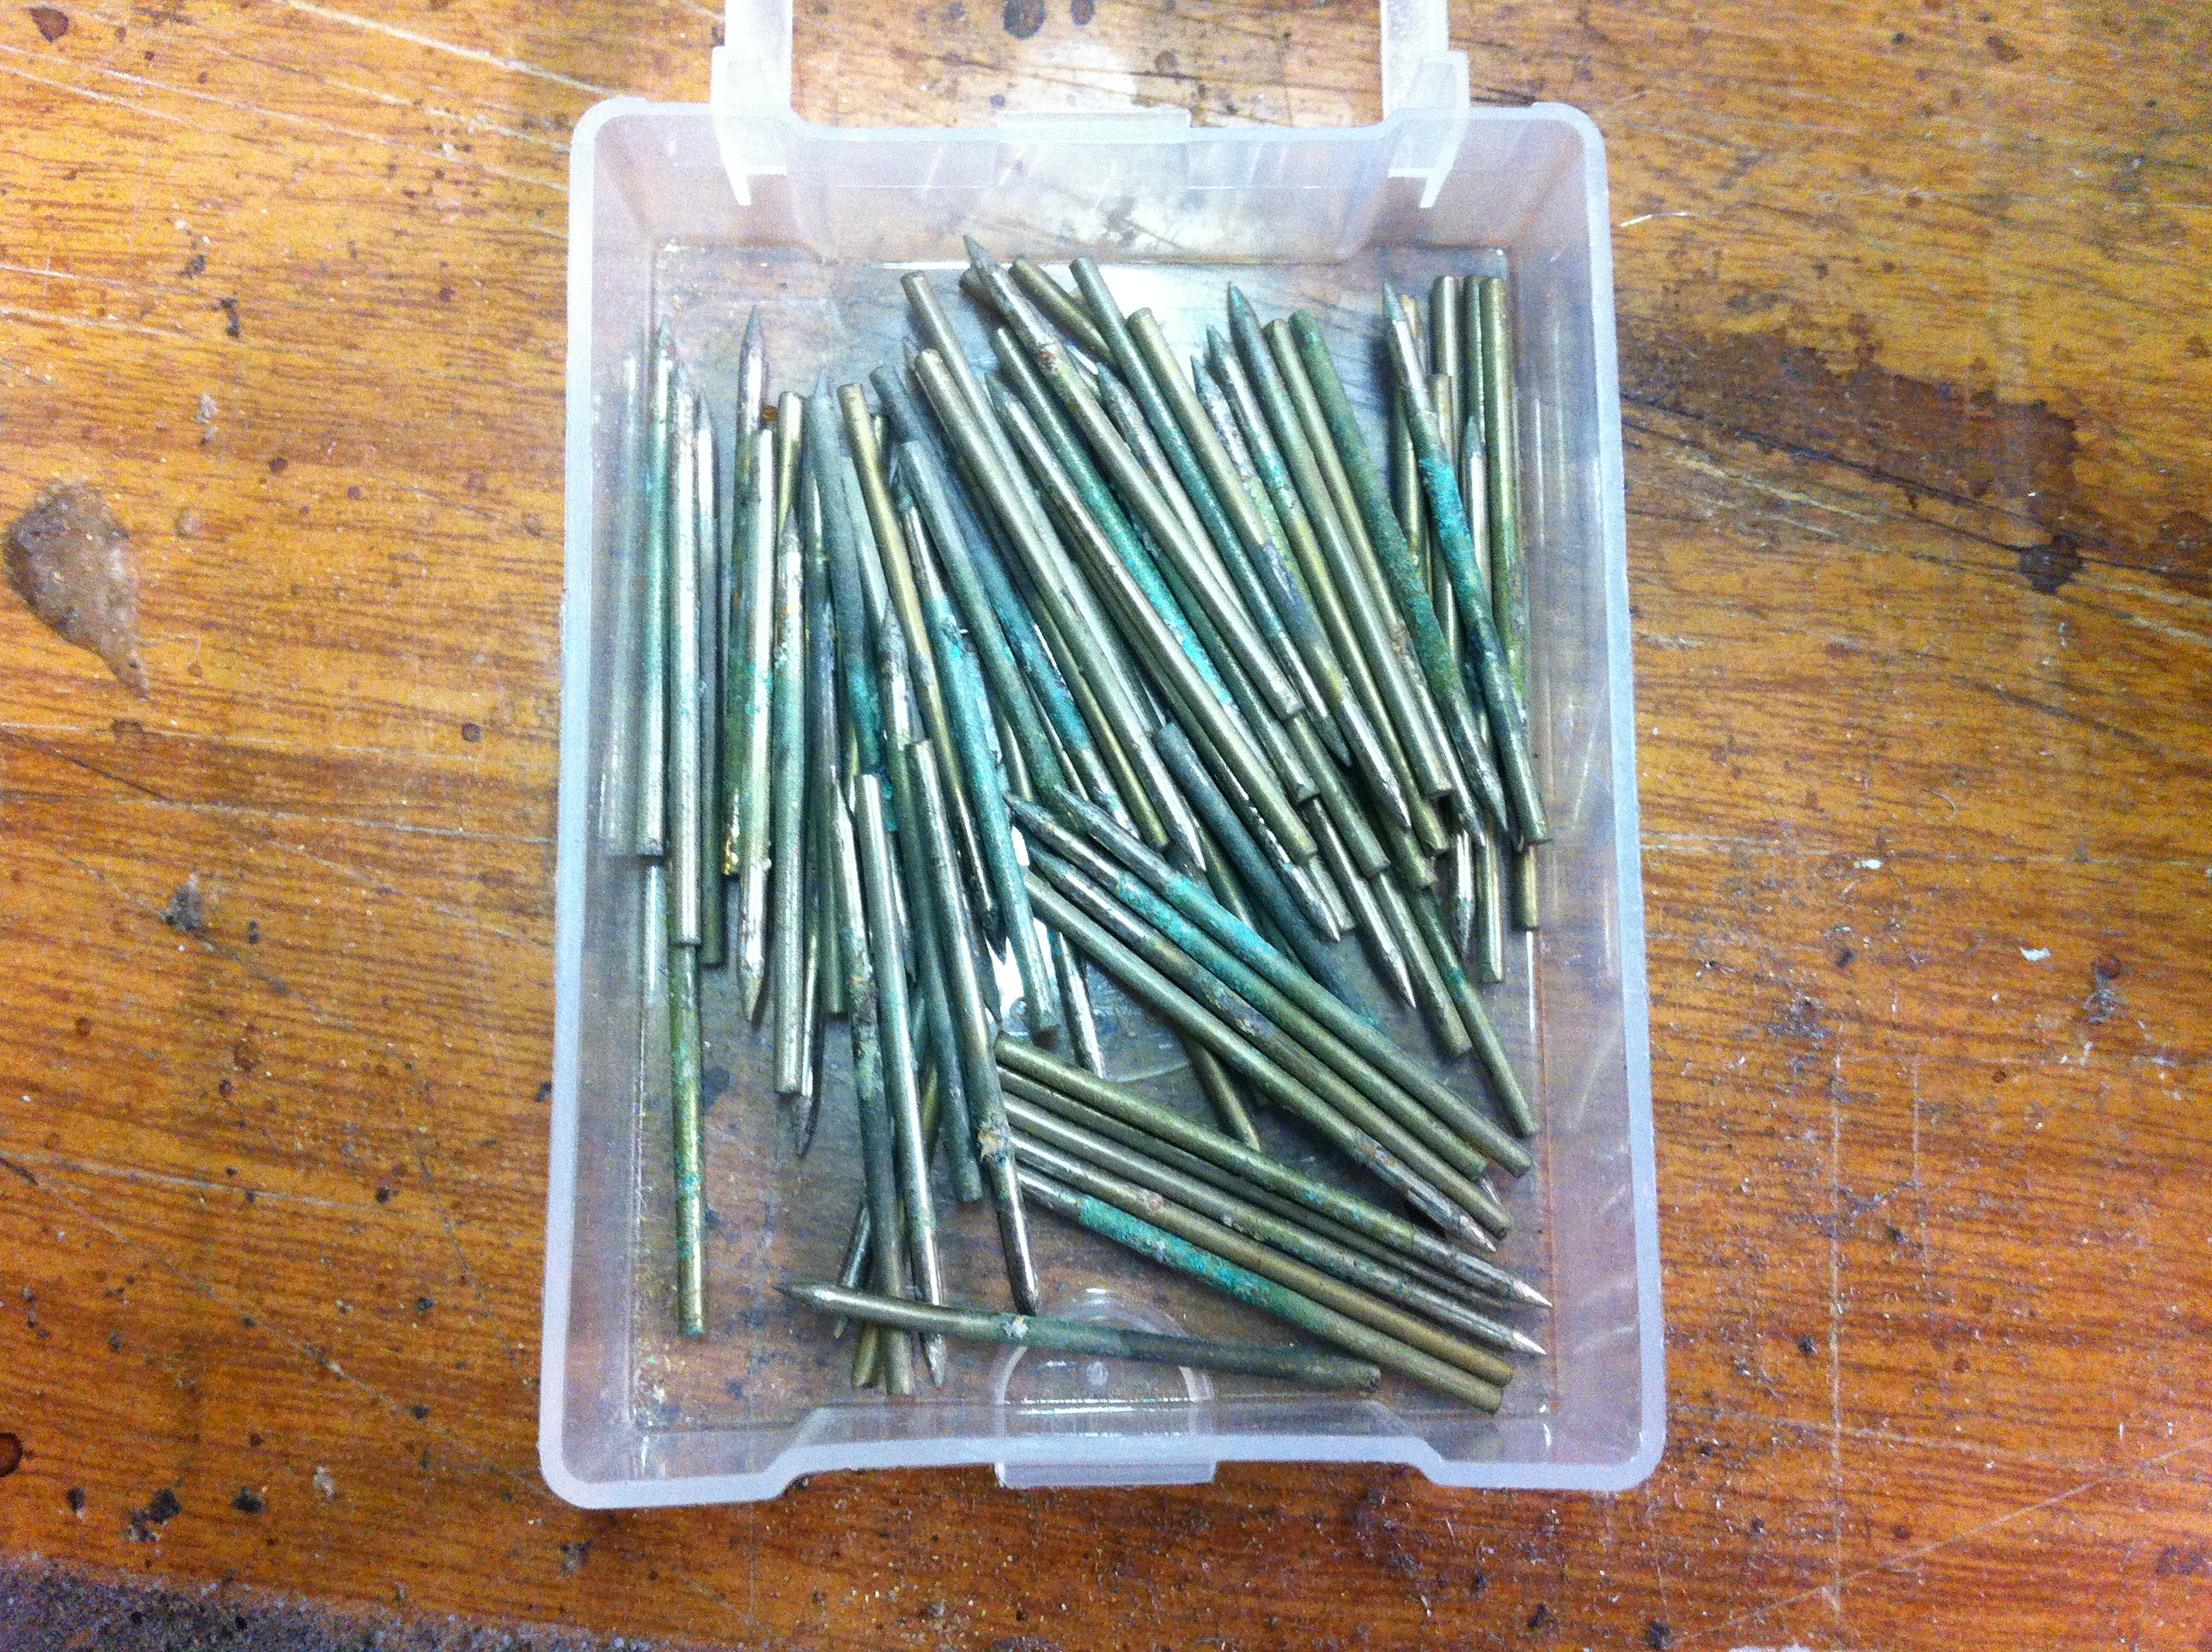
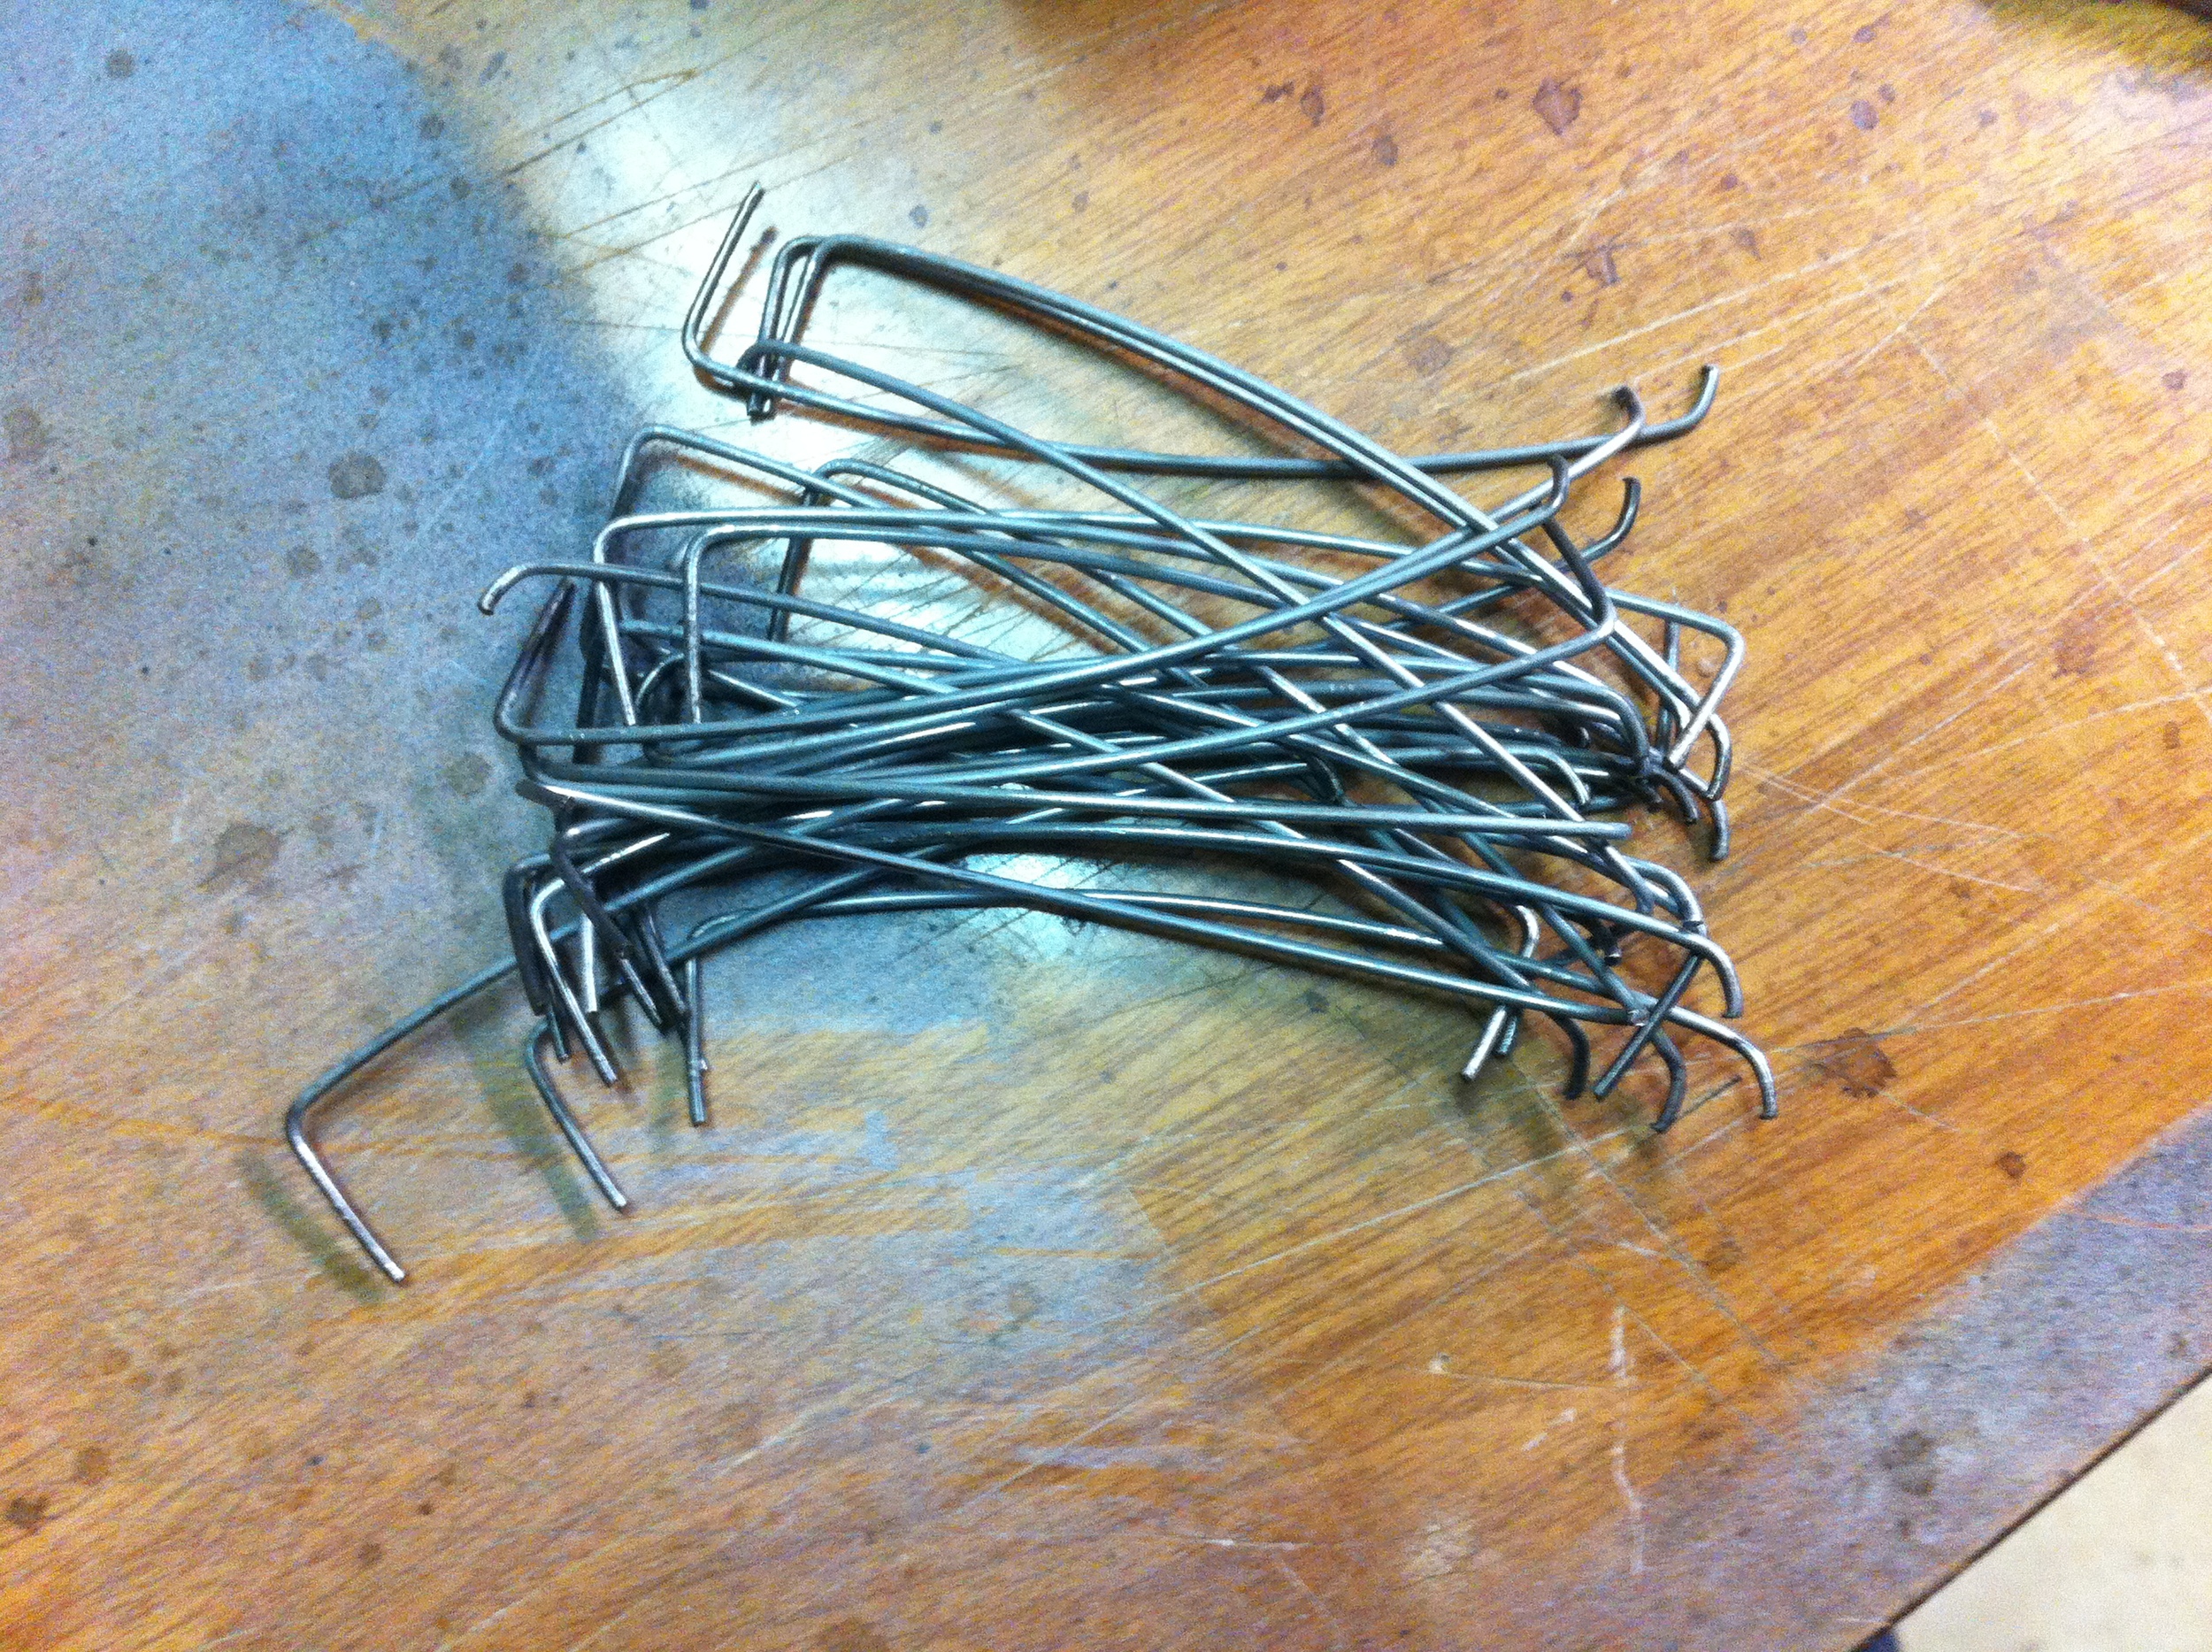
All the pallet valve guide pins were removed and each carefully polished till they were shiny. The purpose of such careful polishing of something which won't be seen is so that the pallet valves will more smoothly without snagging when a key is depressed. Each pin protruded from the reed pan by 23mm and were replaced by using a spacer with a hole drilled through to ensure that each went back at exactly 23mm.

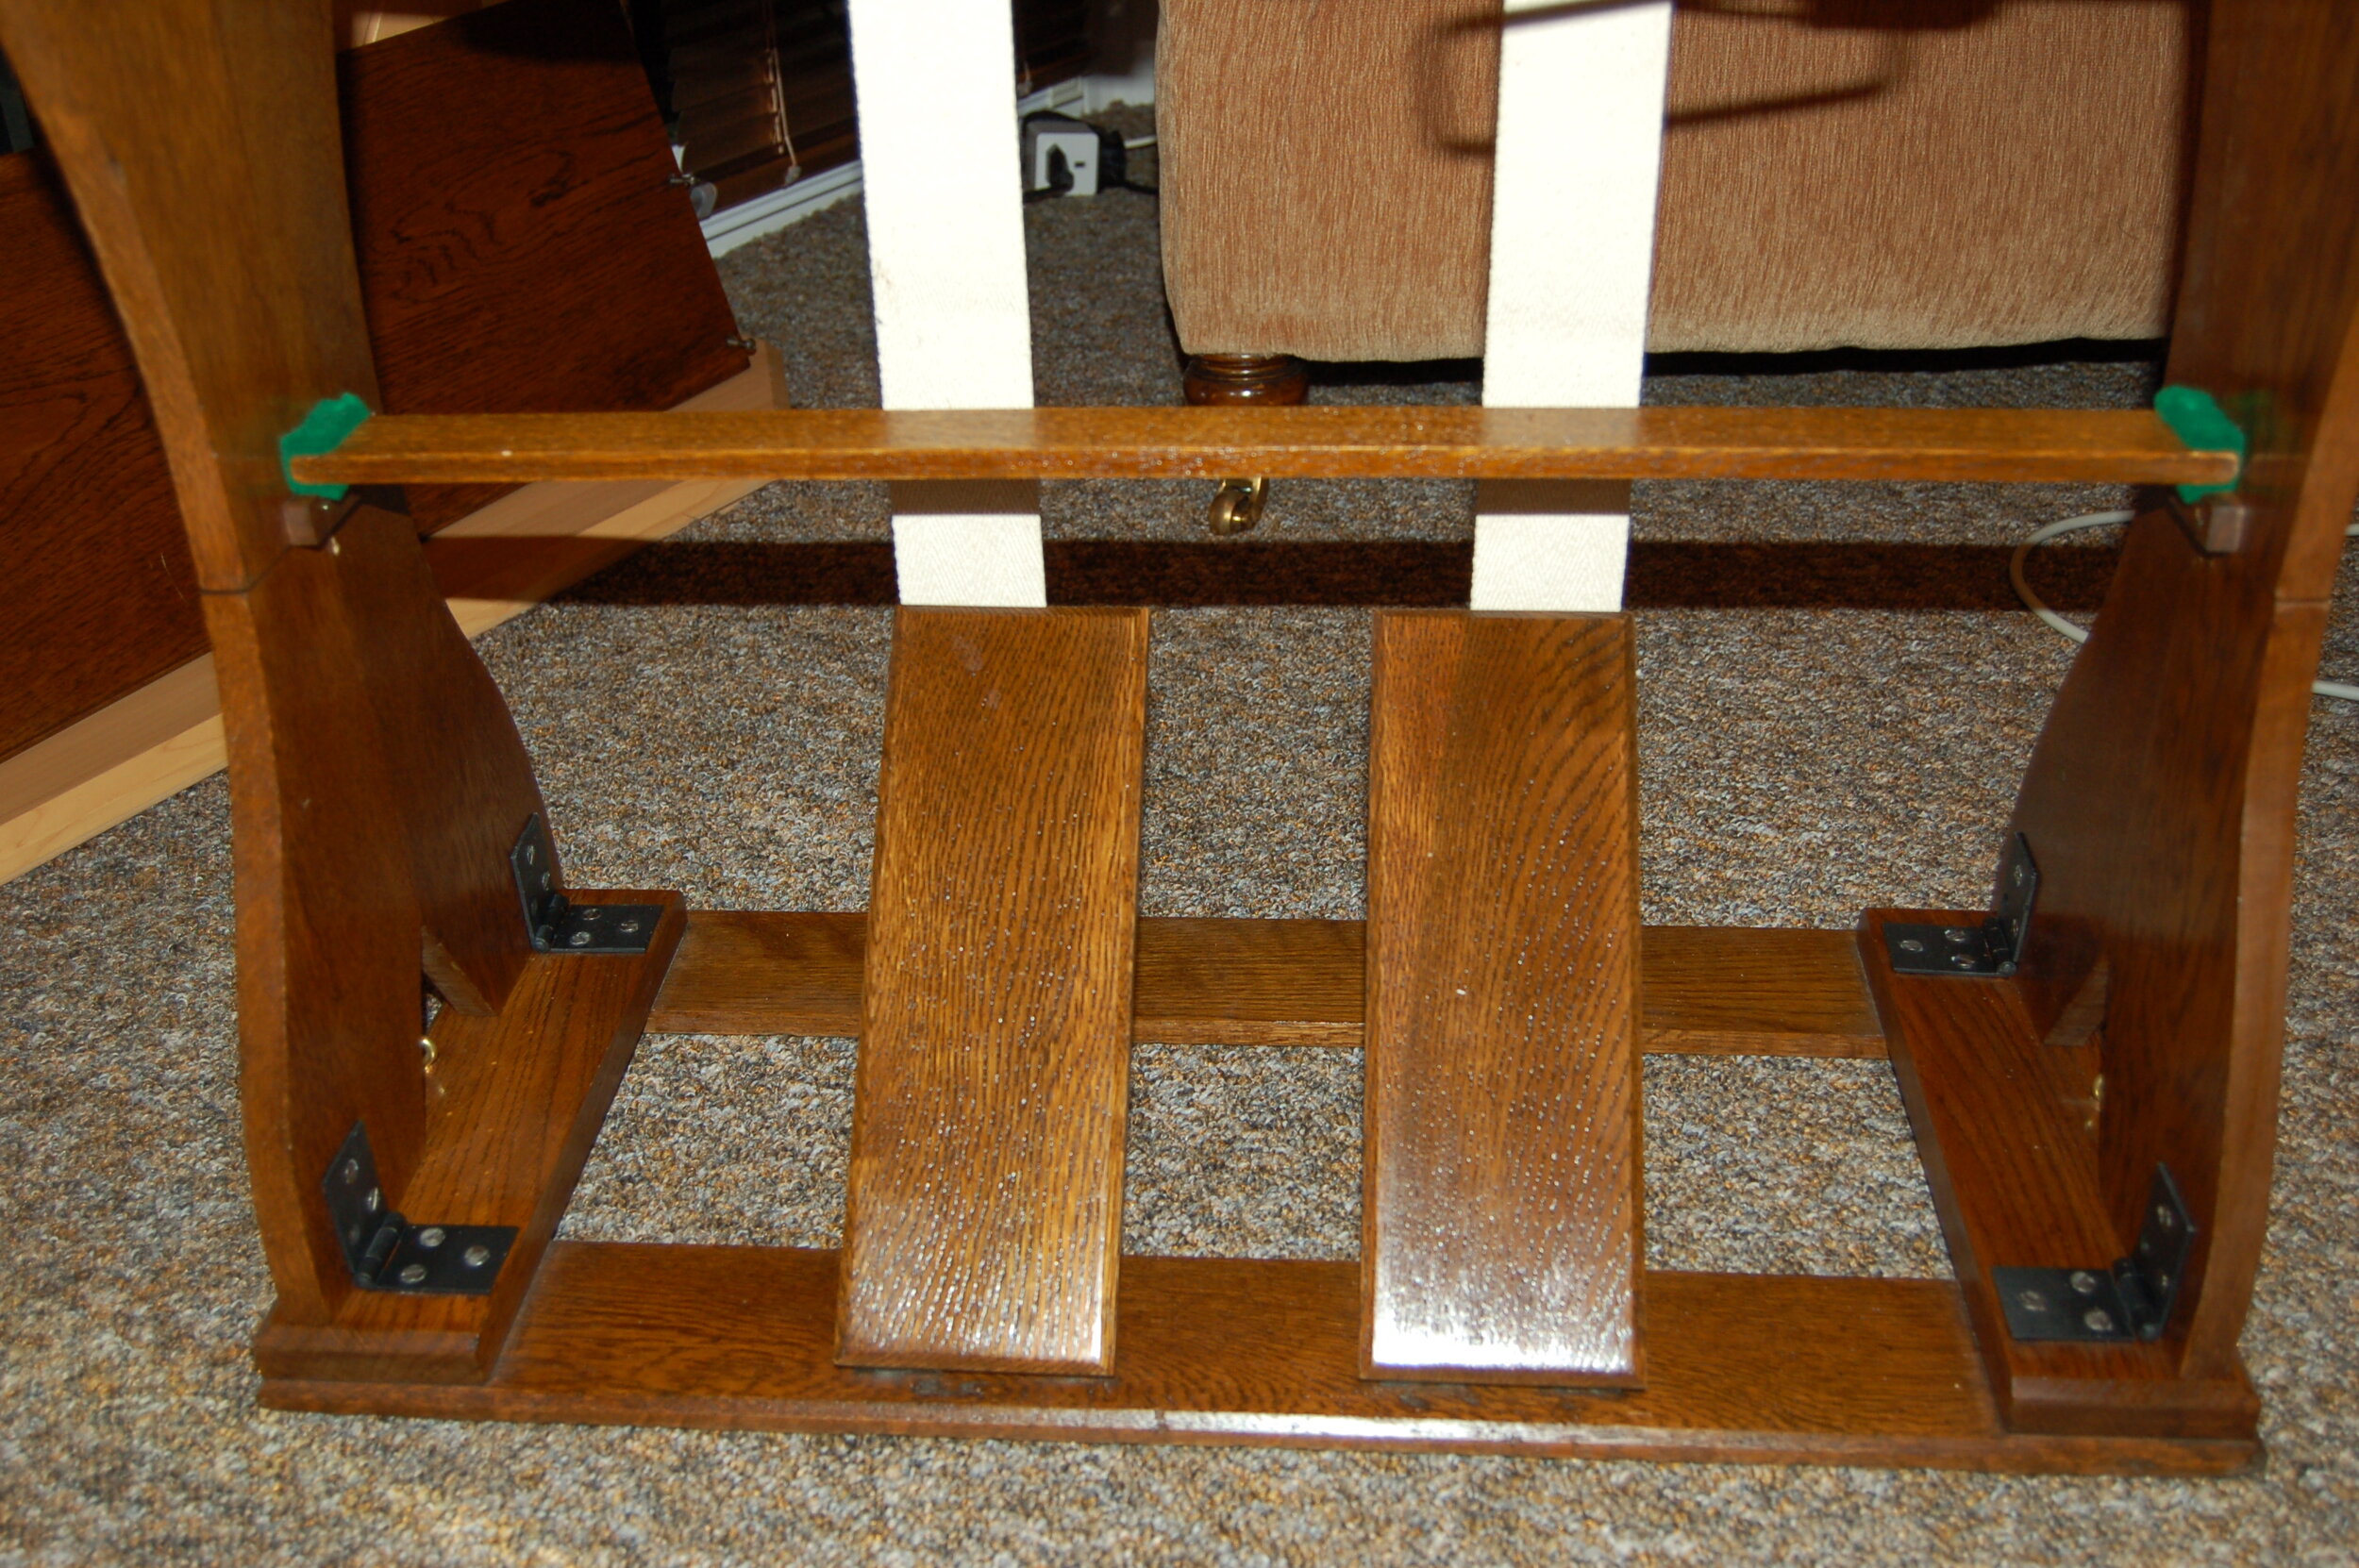
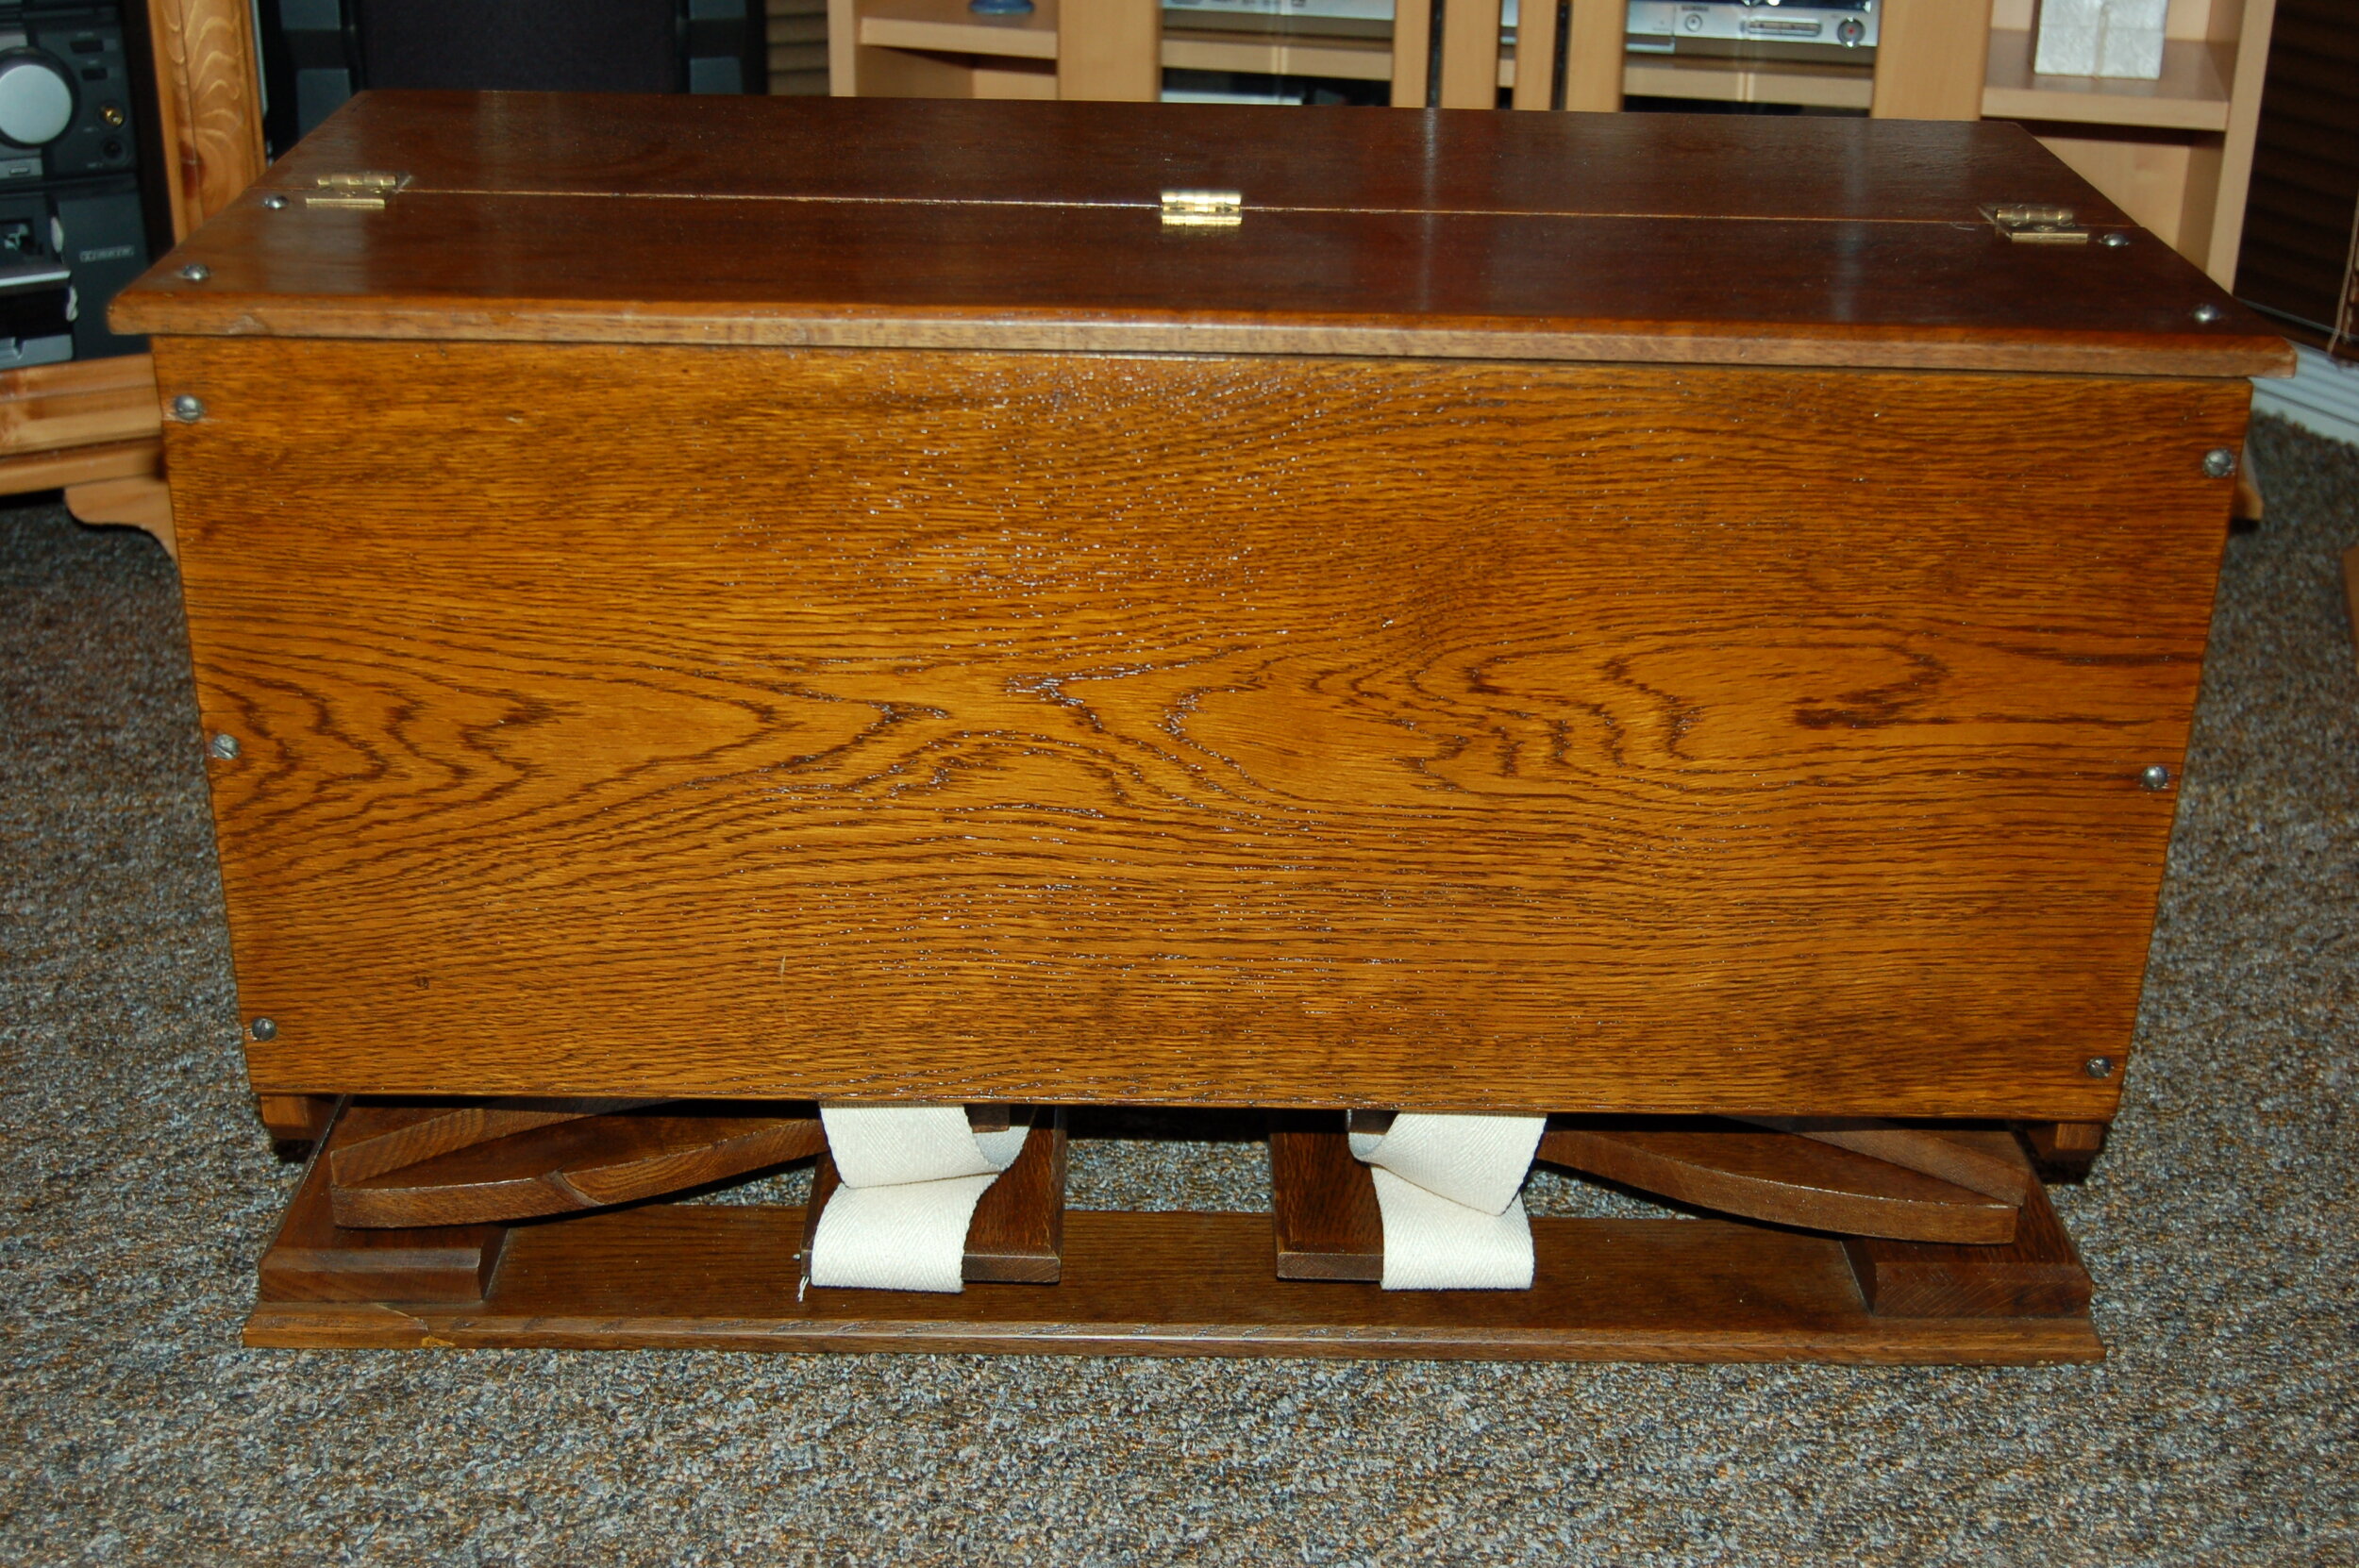
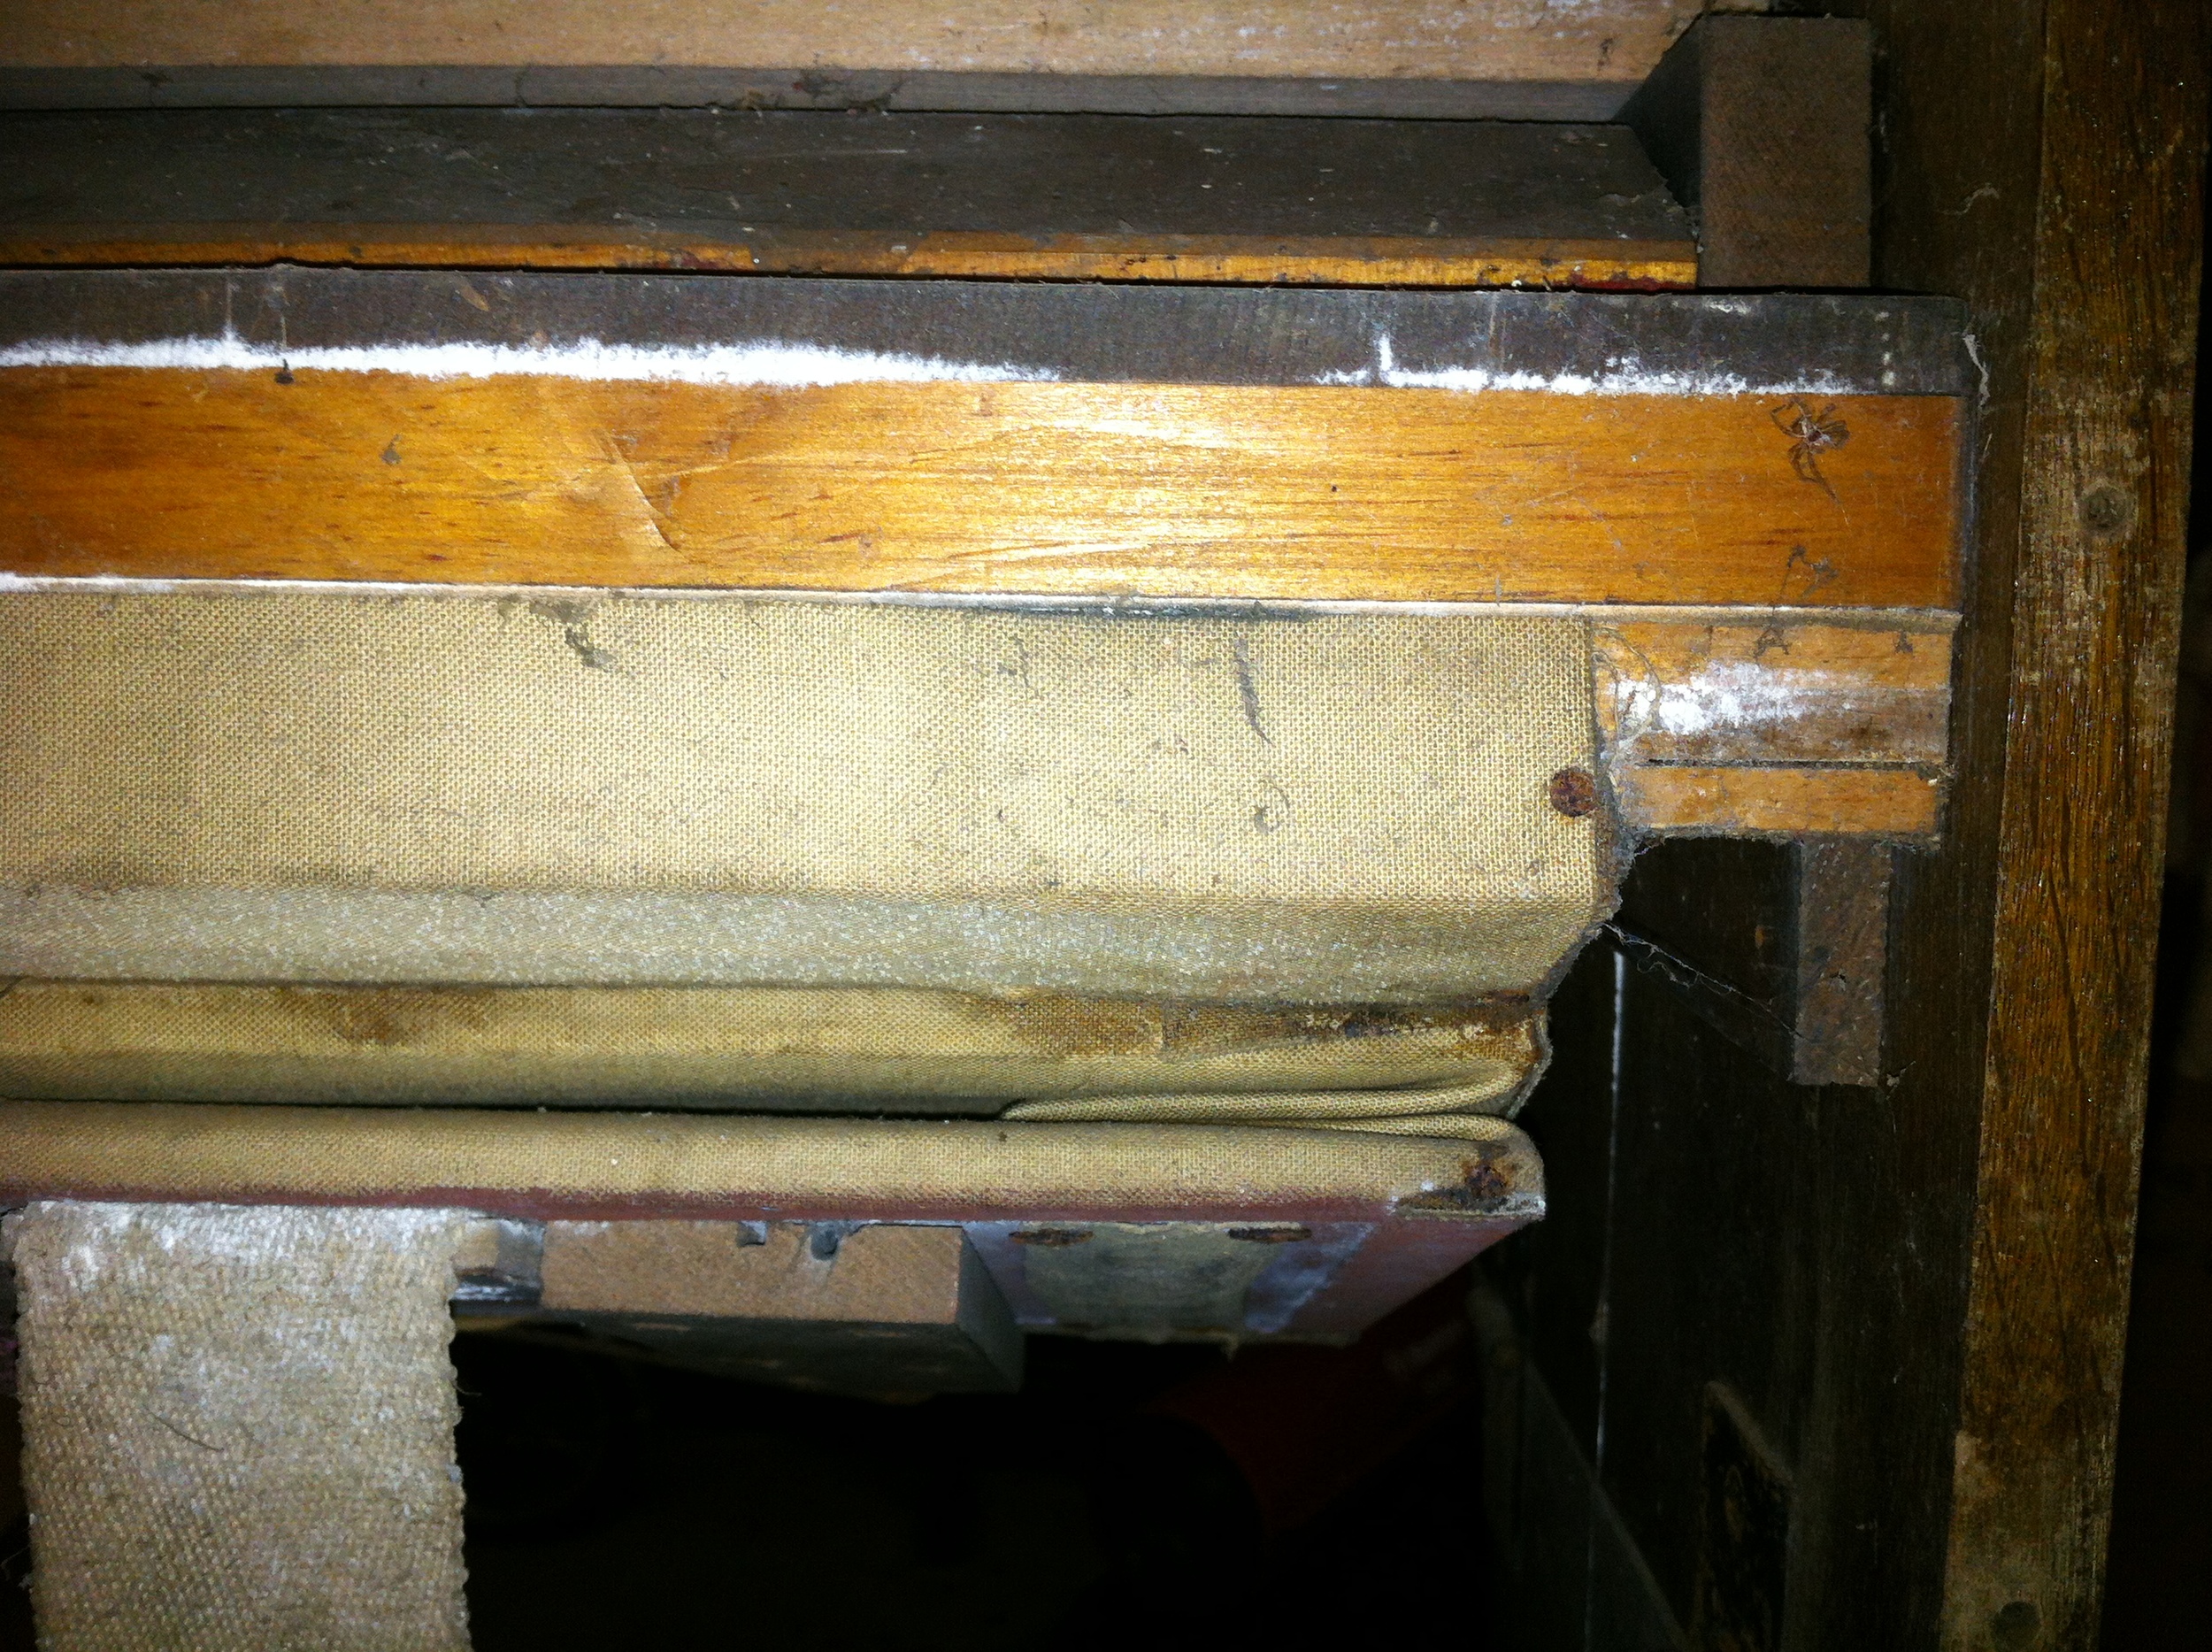
The last major job to be done before installing the action is to re-cover the bellows. I had to use a colour other than the original since I could not get any tan bellows cloth. You will notice a shiny new bolt holding on the exhauster springs. Not something I would normally do but the original bolt was missing its nut and had been supplemented by non-original screws. I will find a suitable nut eventually and re-install it. I also used new screws on the spring retainers on the front of the exhausters since they have to hold quite a lot of pressure.