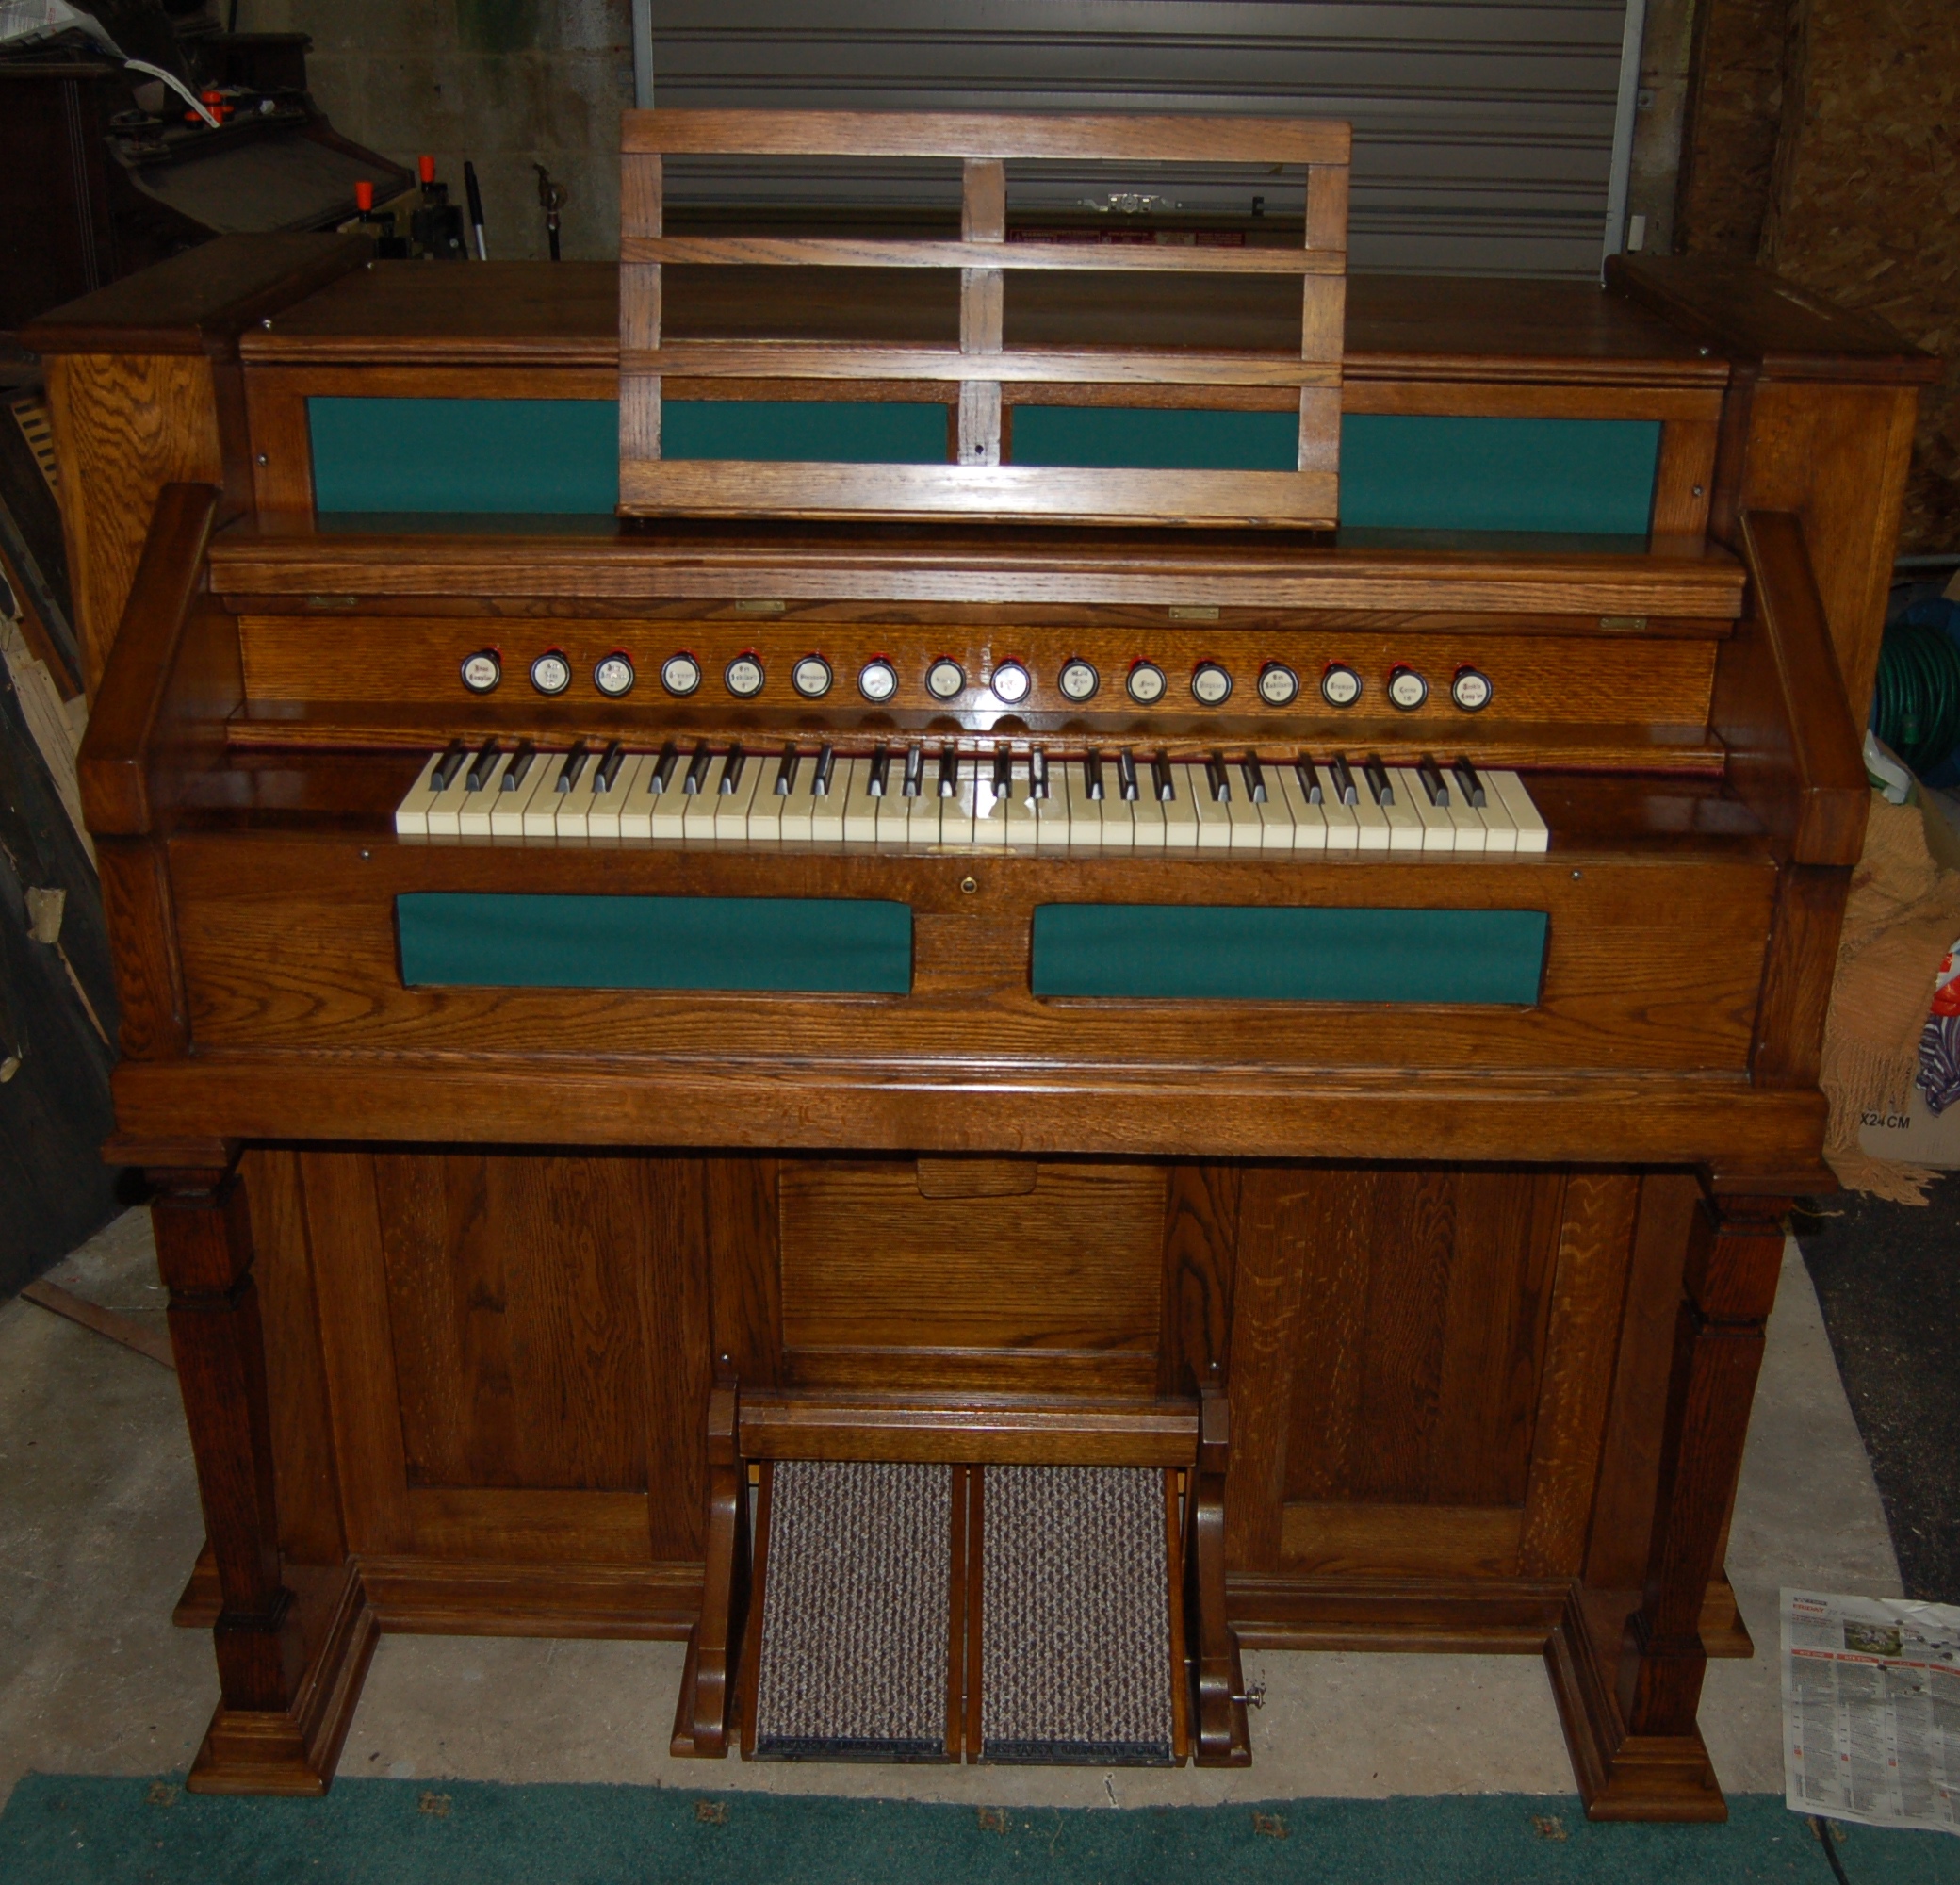
Restoration of Estey Model O
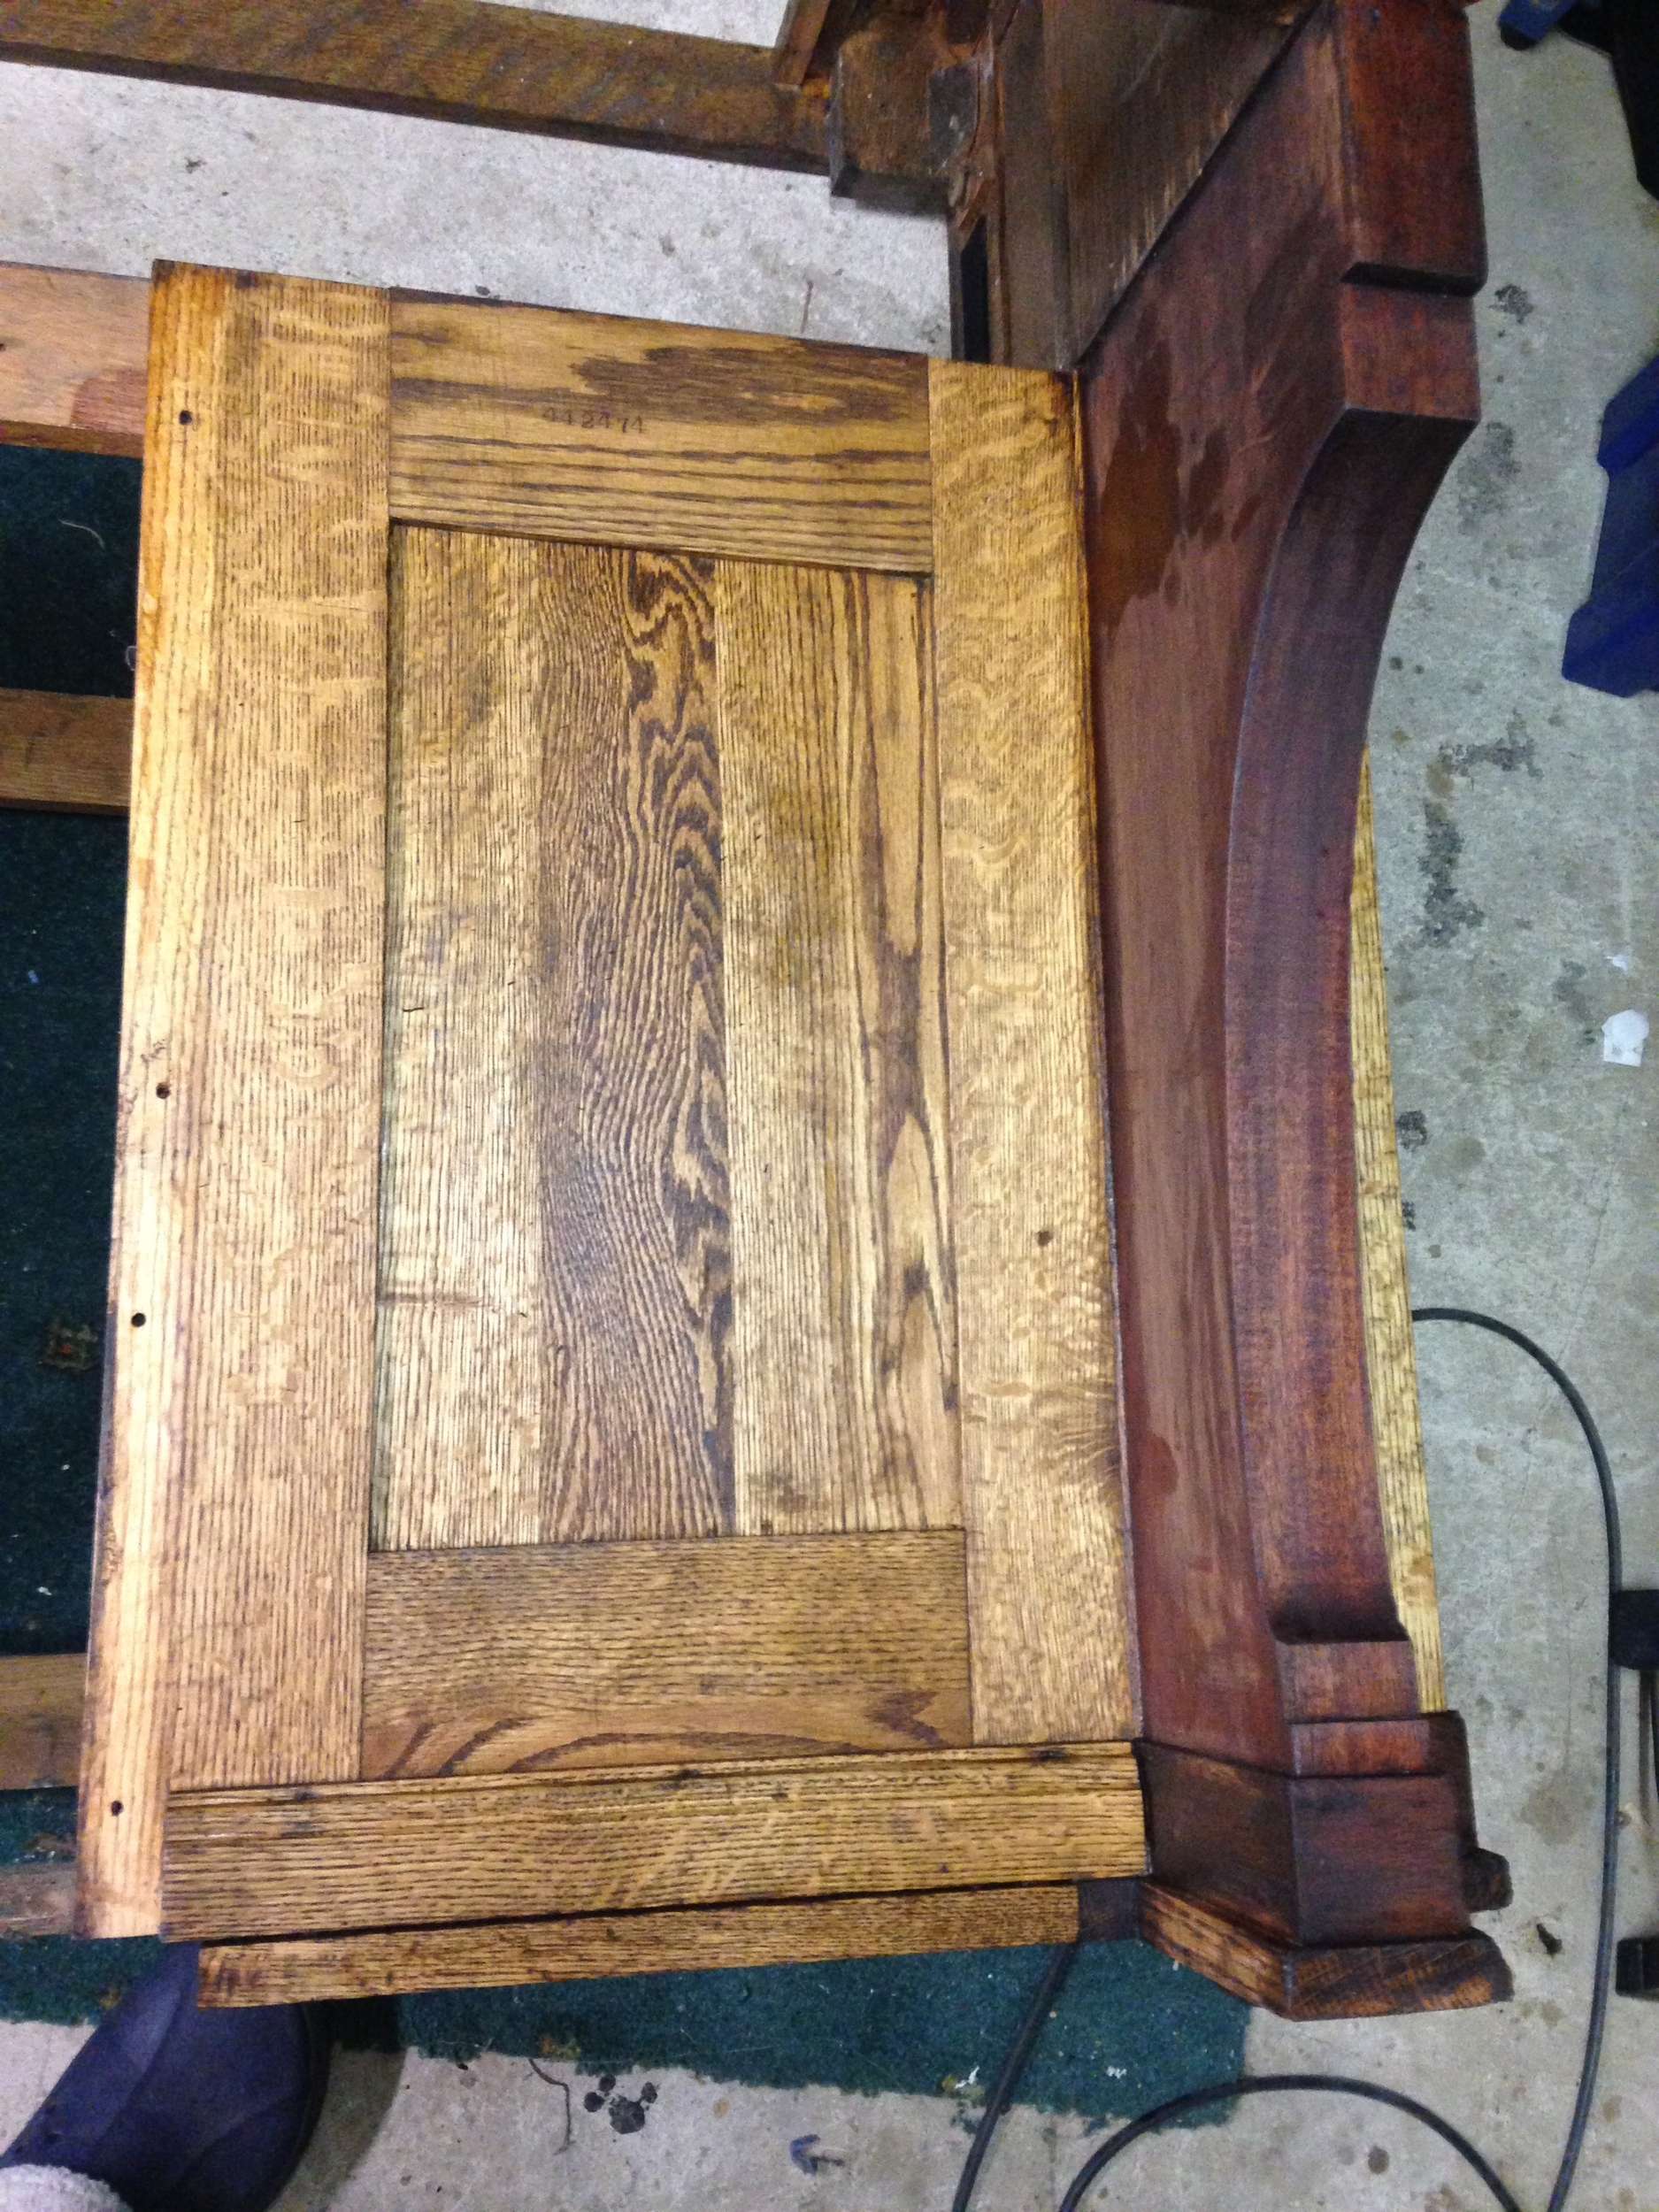
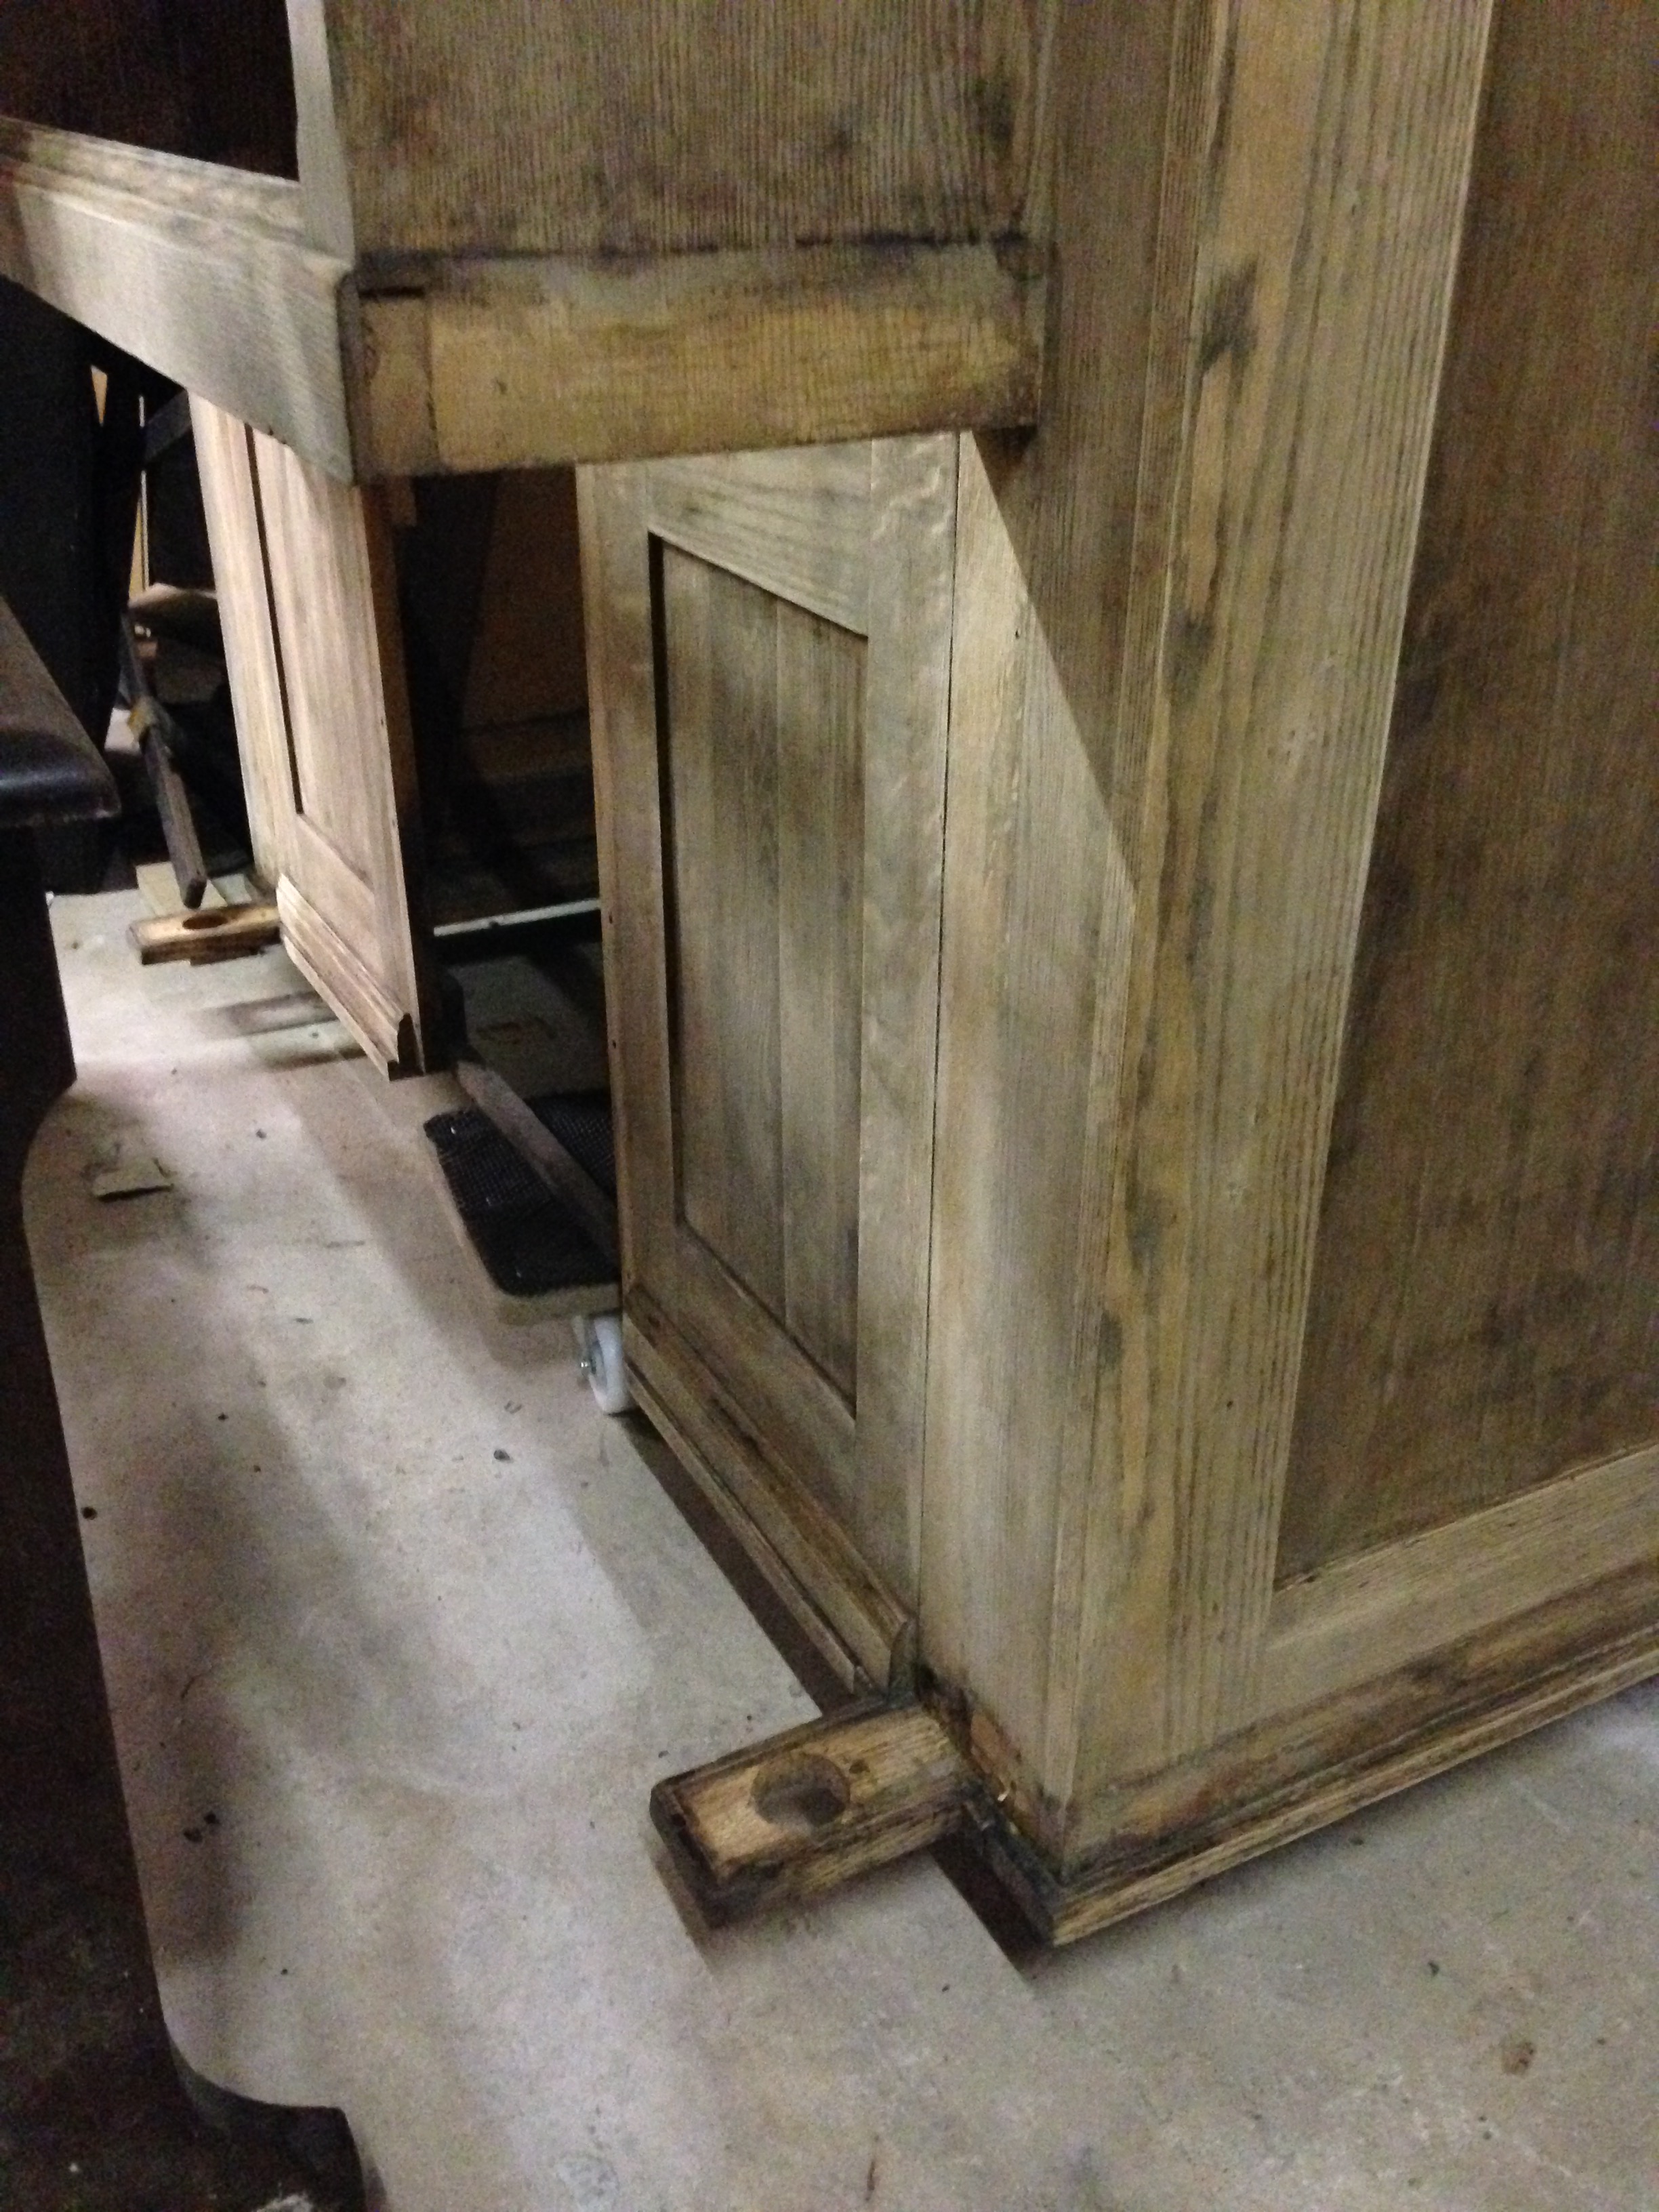
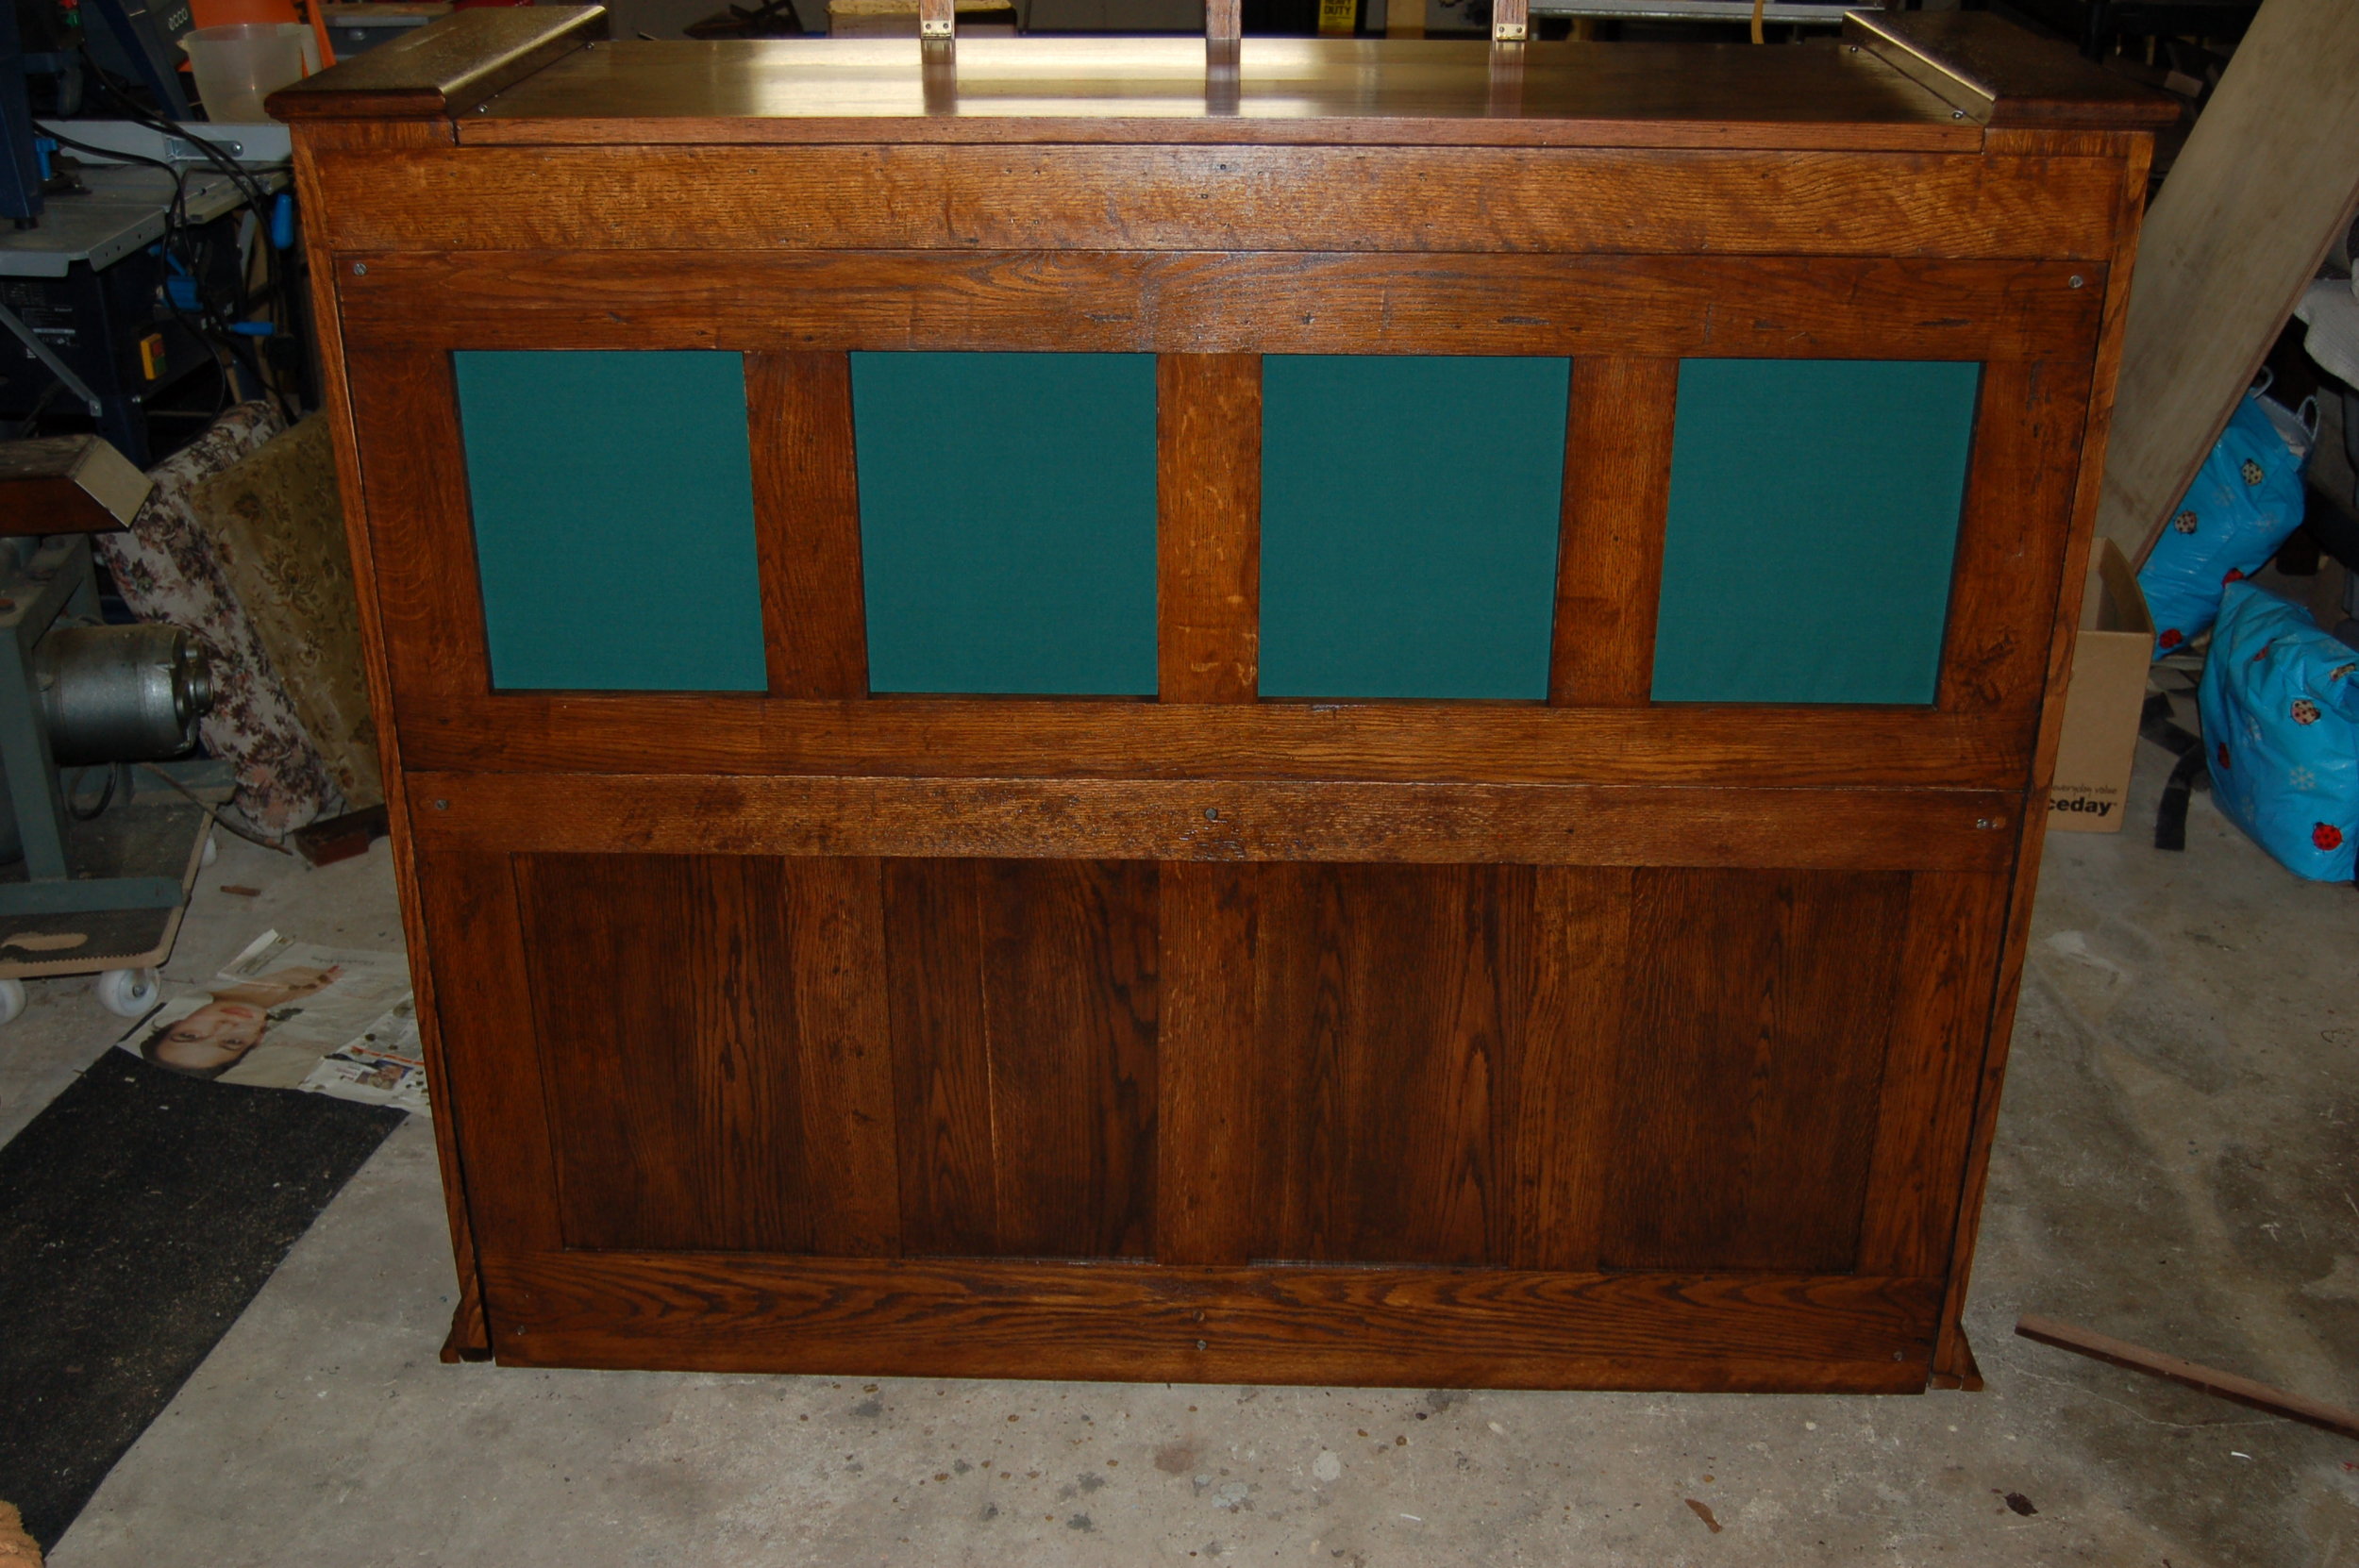
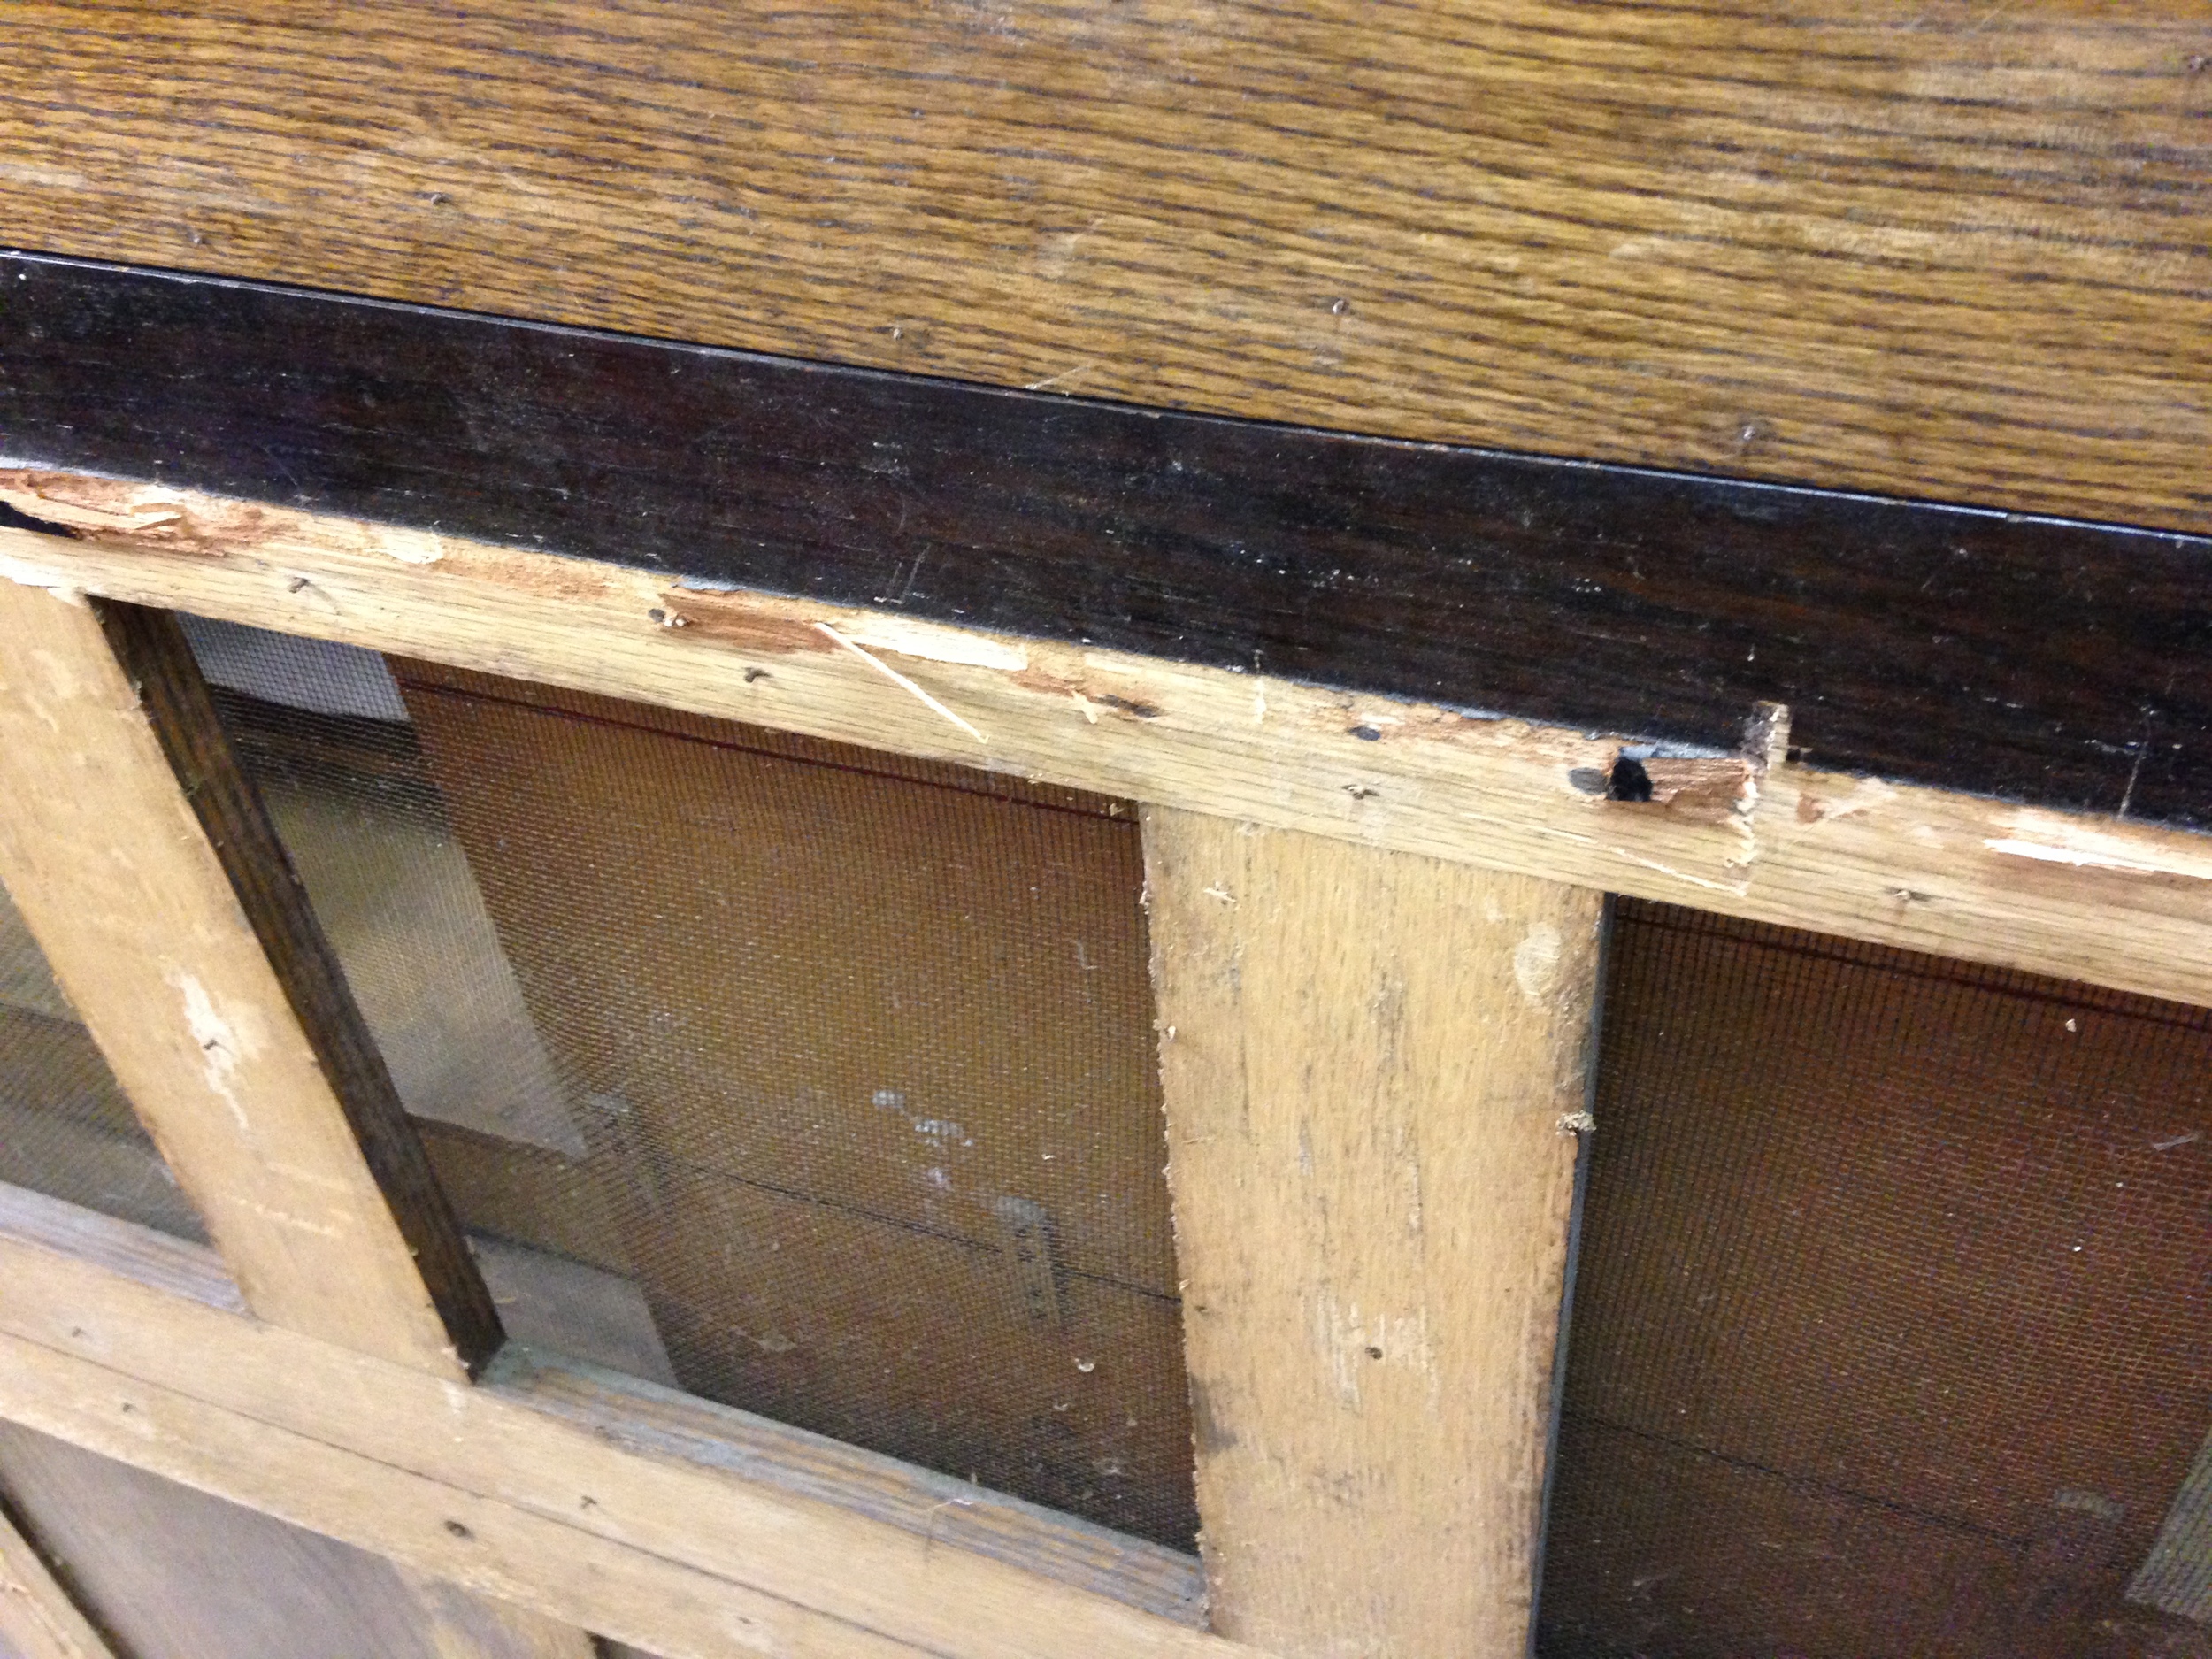
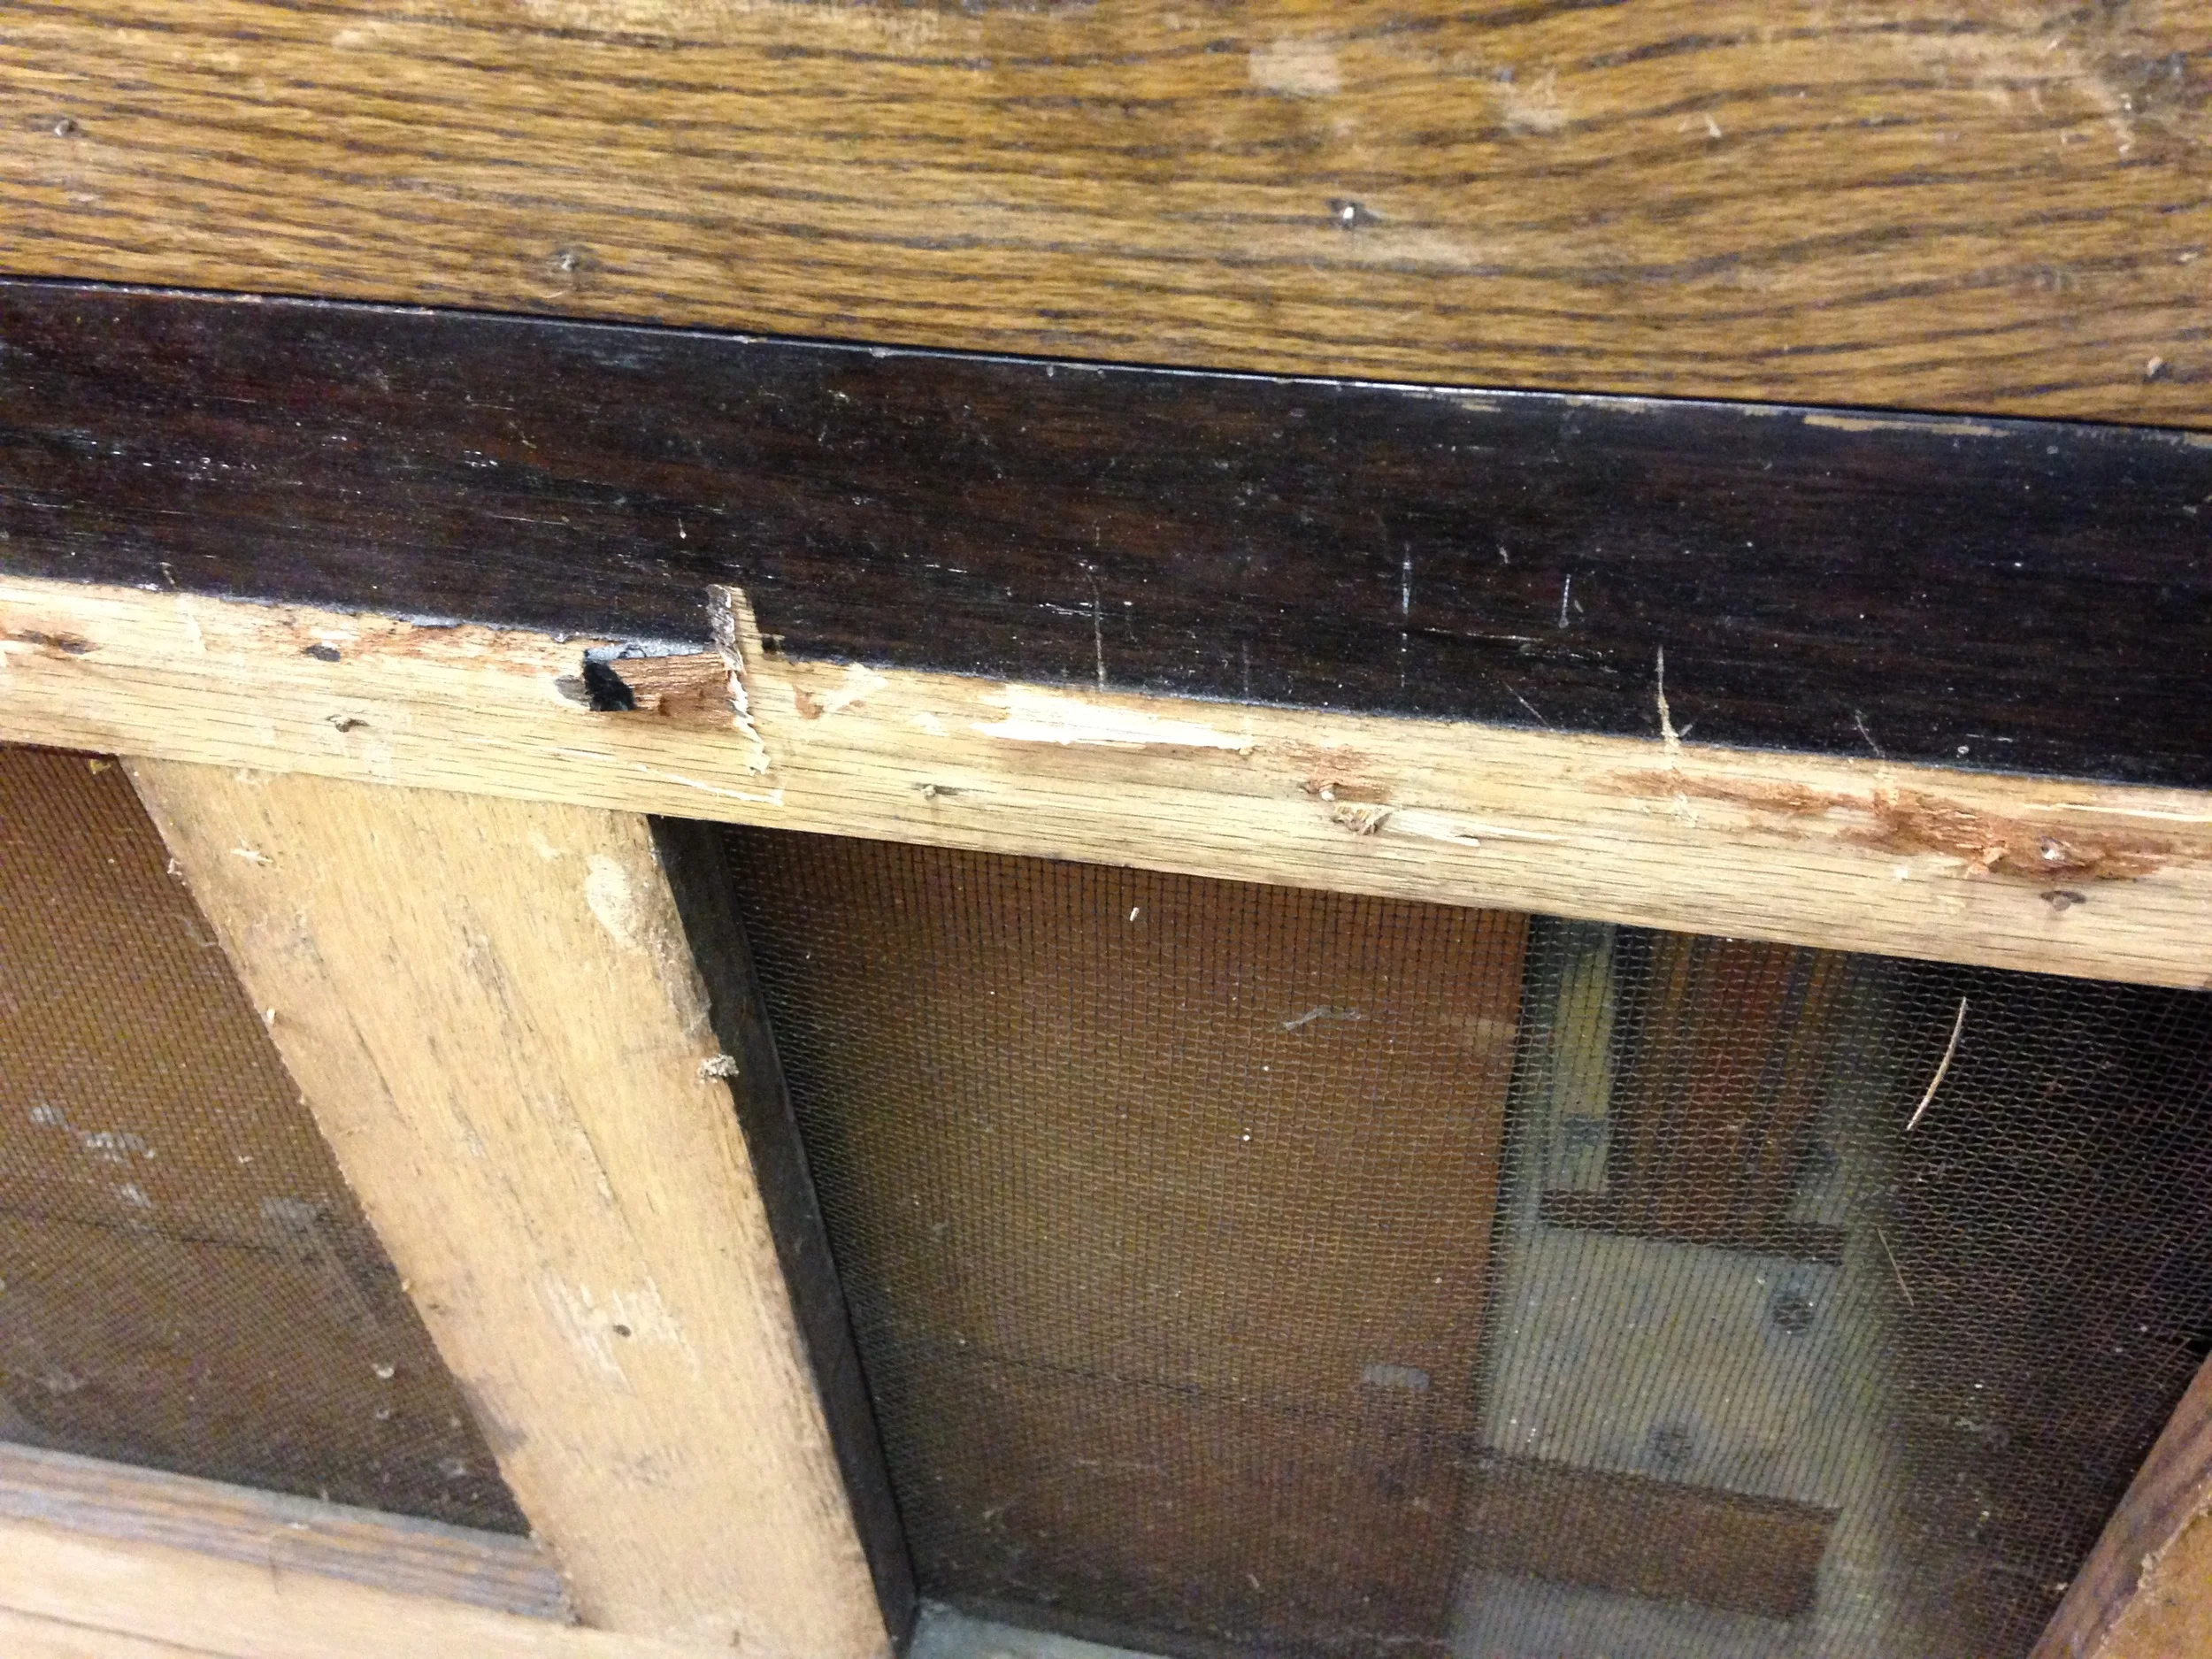
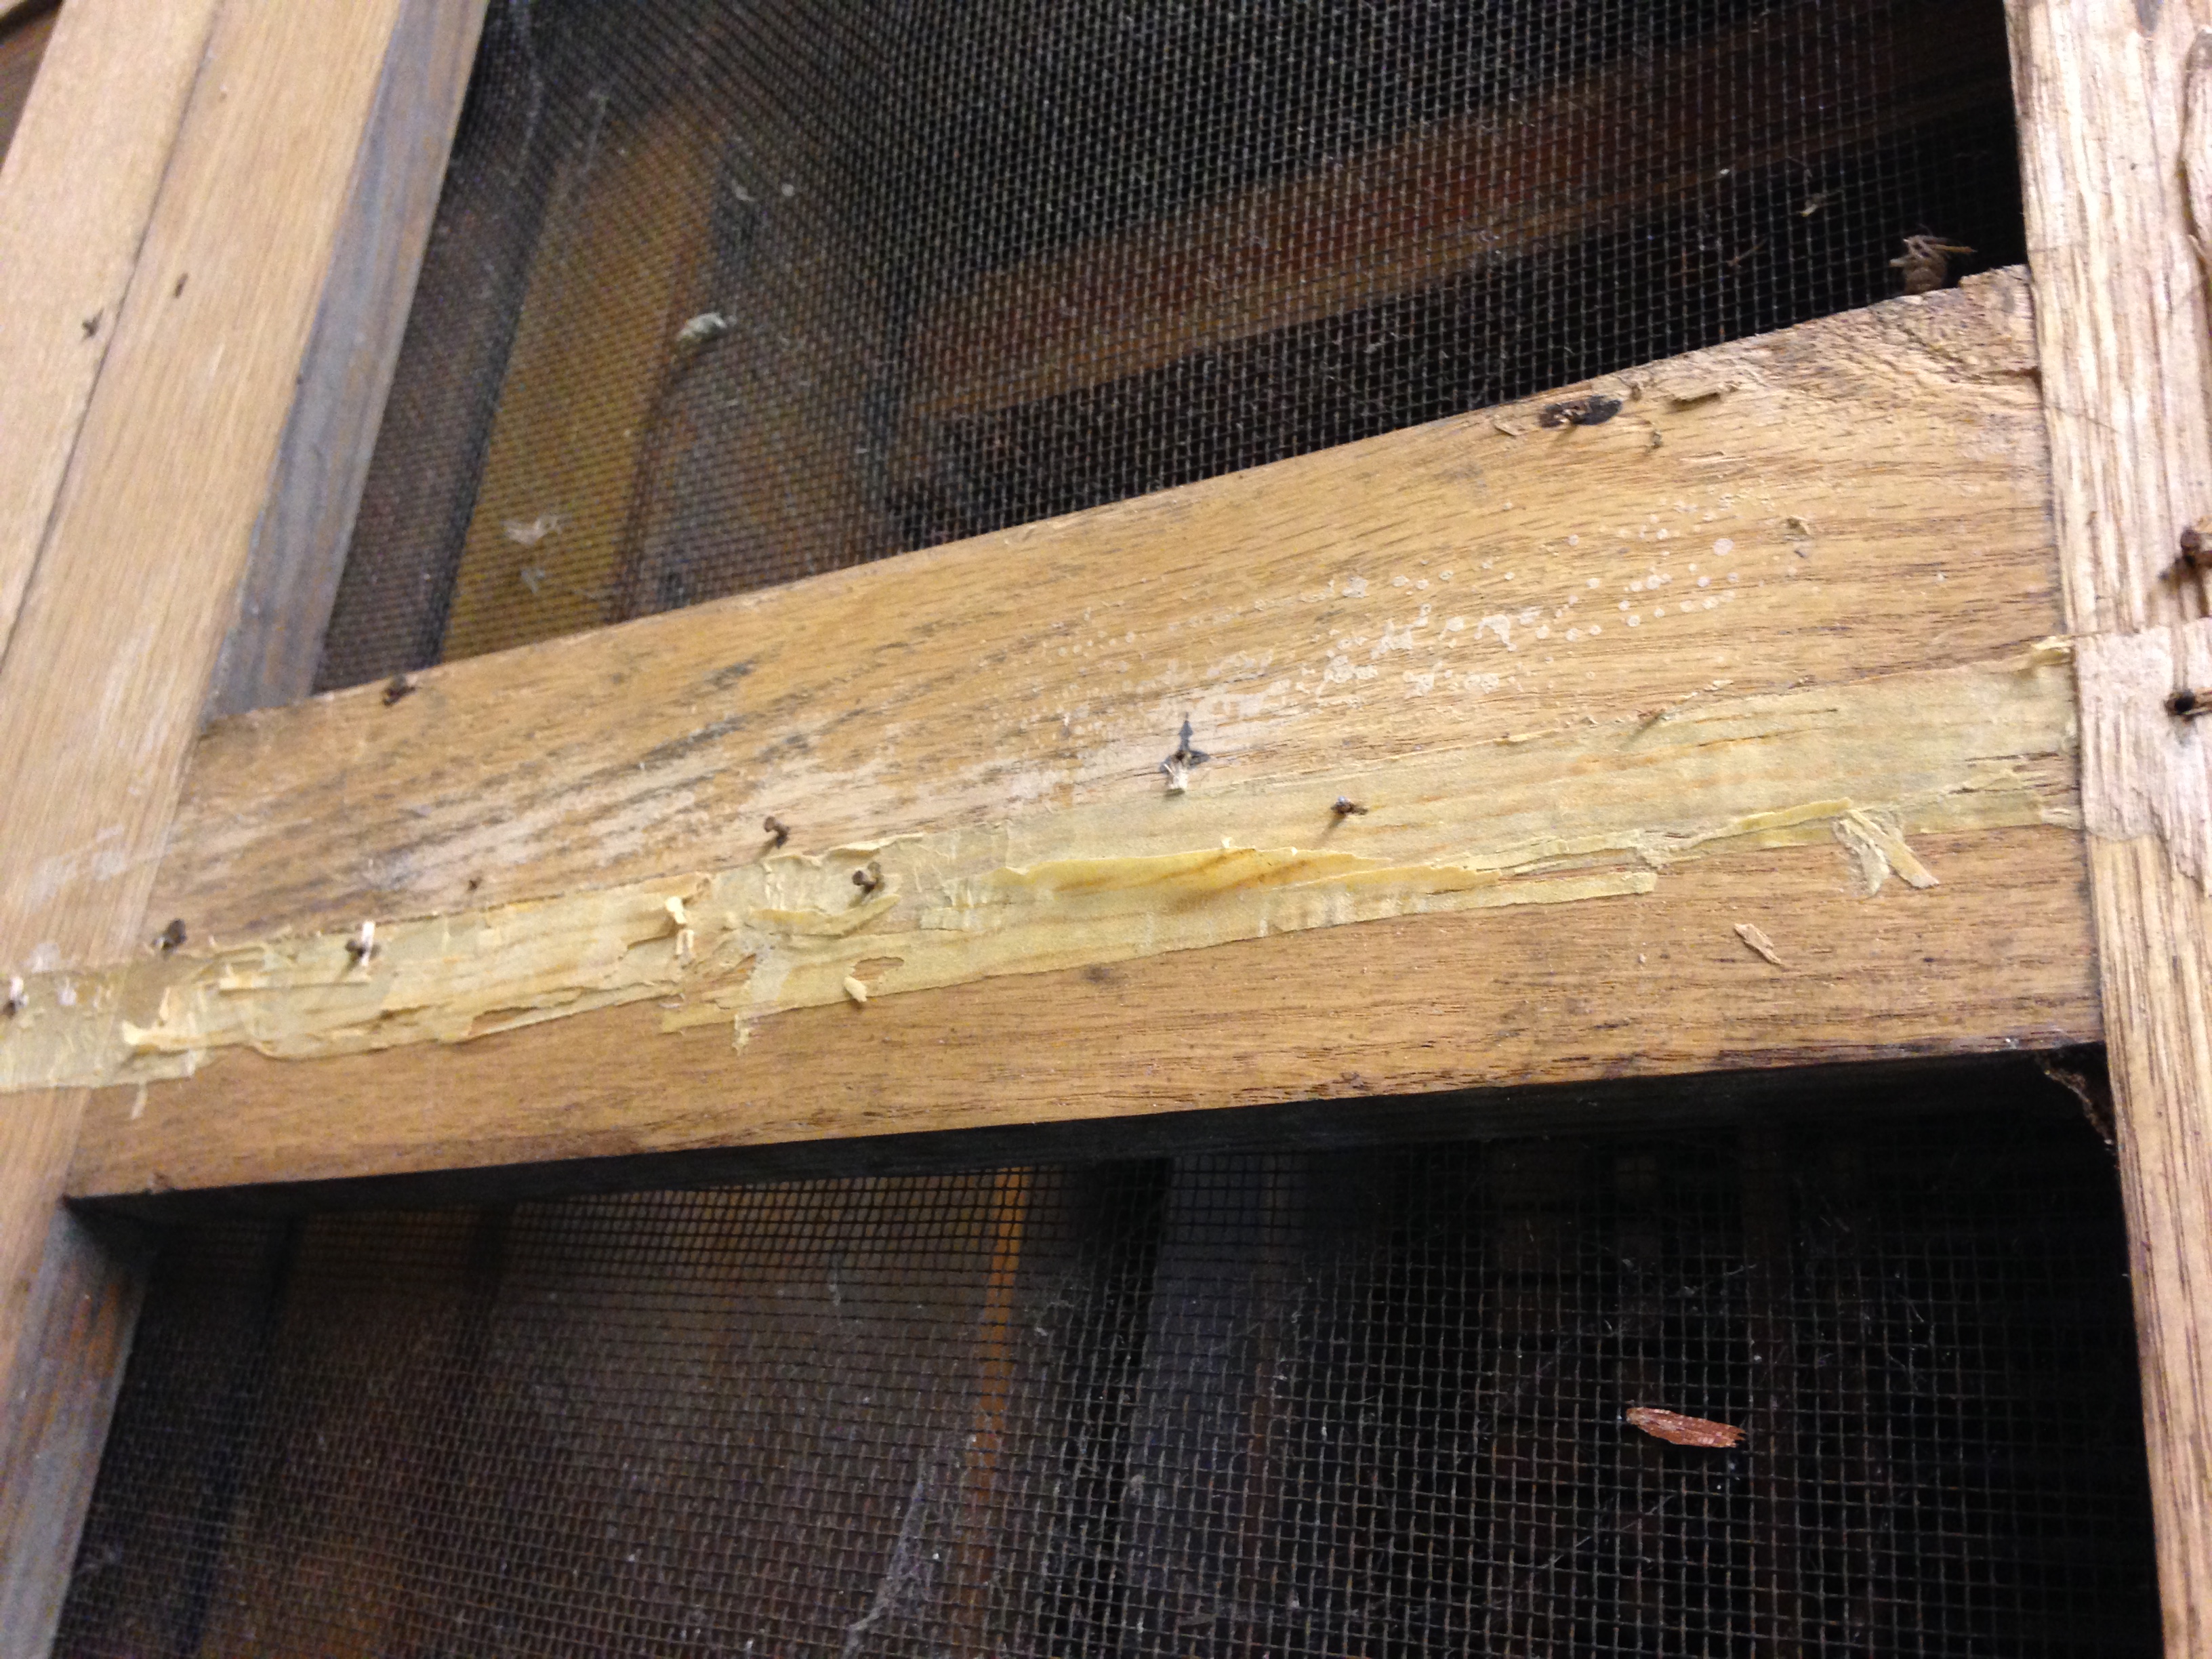
I had this organ for several years. It originally came from a Masonic Lodge in London and then spent many years in a shed in Kilkenny. The case is oak but has been destroyed by the placement of horrible plywood panels with black wooden trim. The case was then darkened. There were two parts missing from the top of the organ and the original front legs had been replaced. Unfortunately, when removing a lot of the aftermarket panels the tiny panel pins could not be removed because they had rusted. This made the refinishing of the case quite a challenge. The bellows was replaced. The entire action was rebuilt.

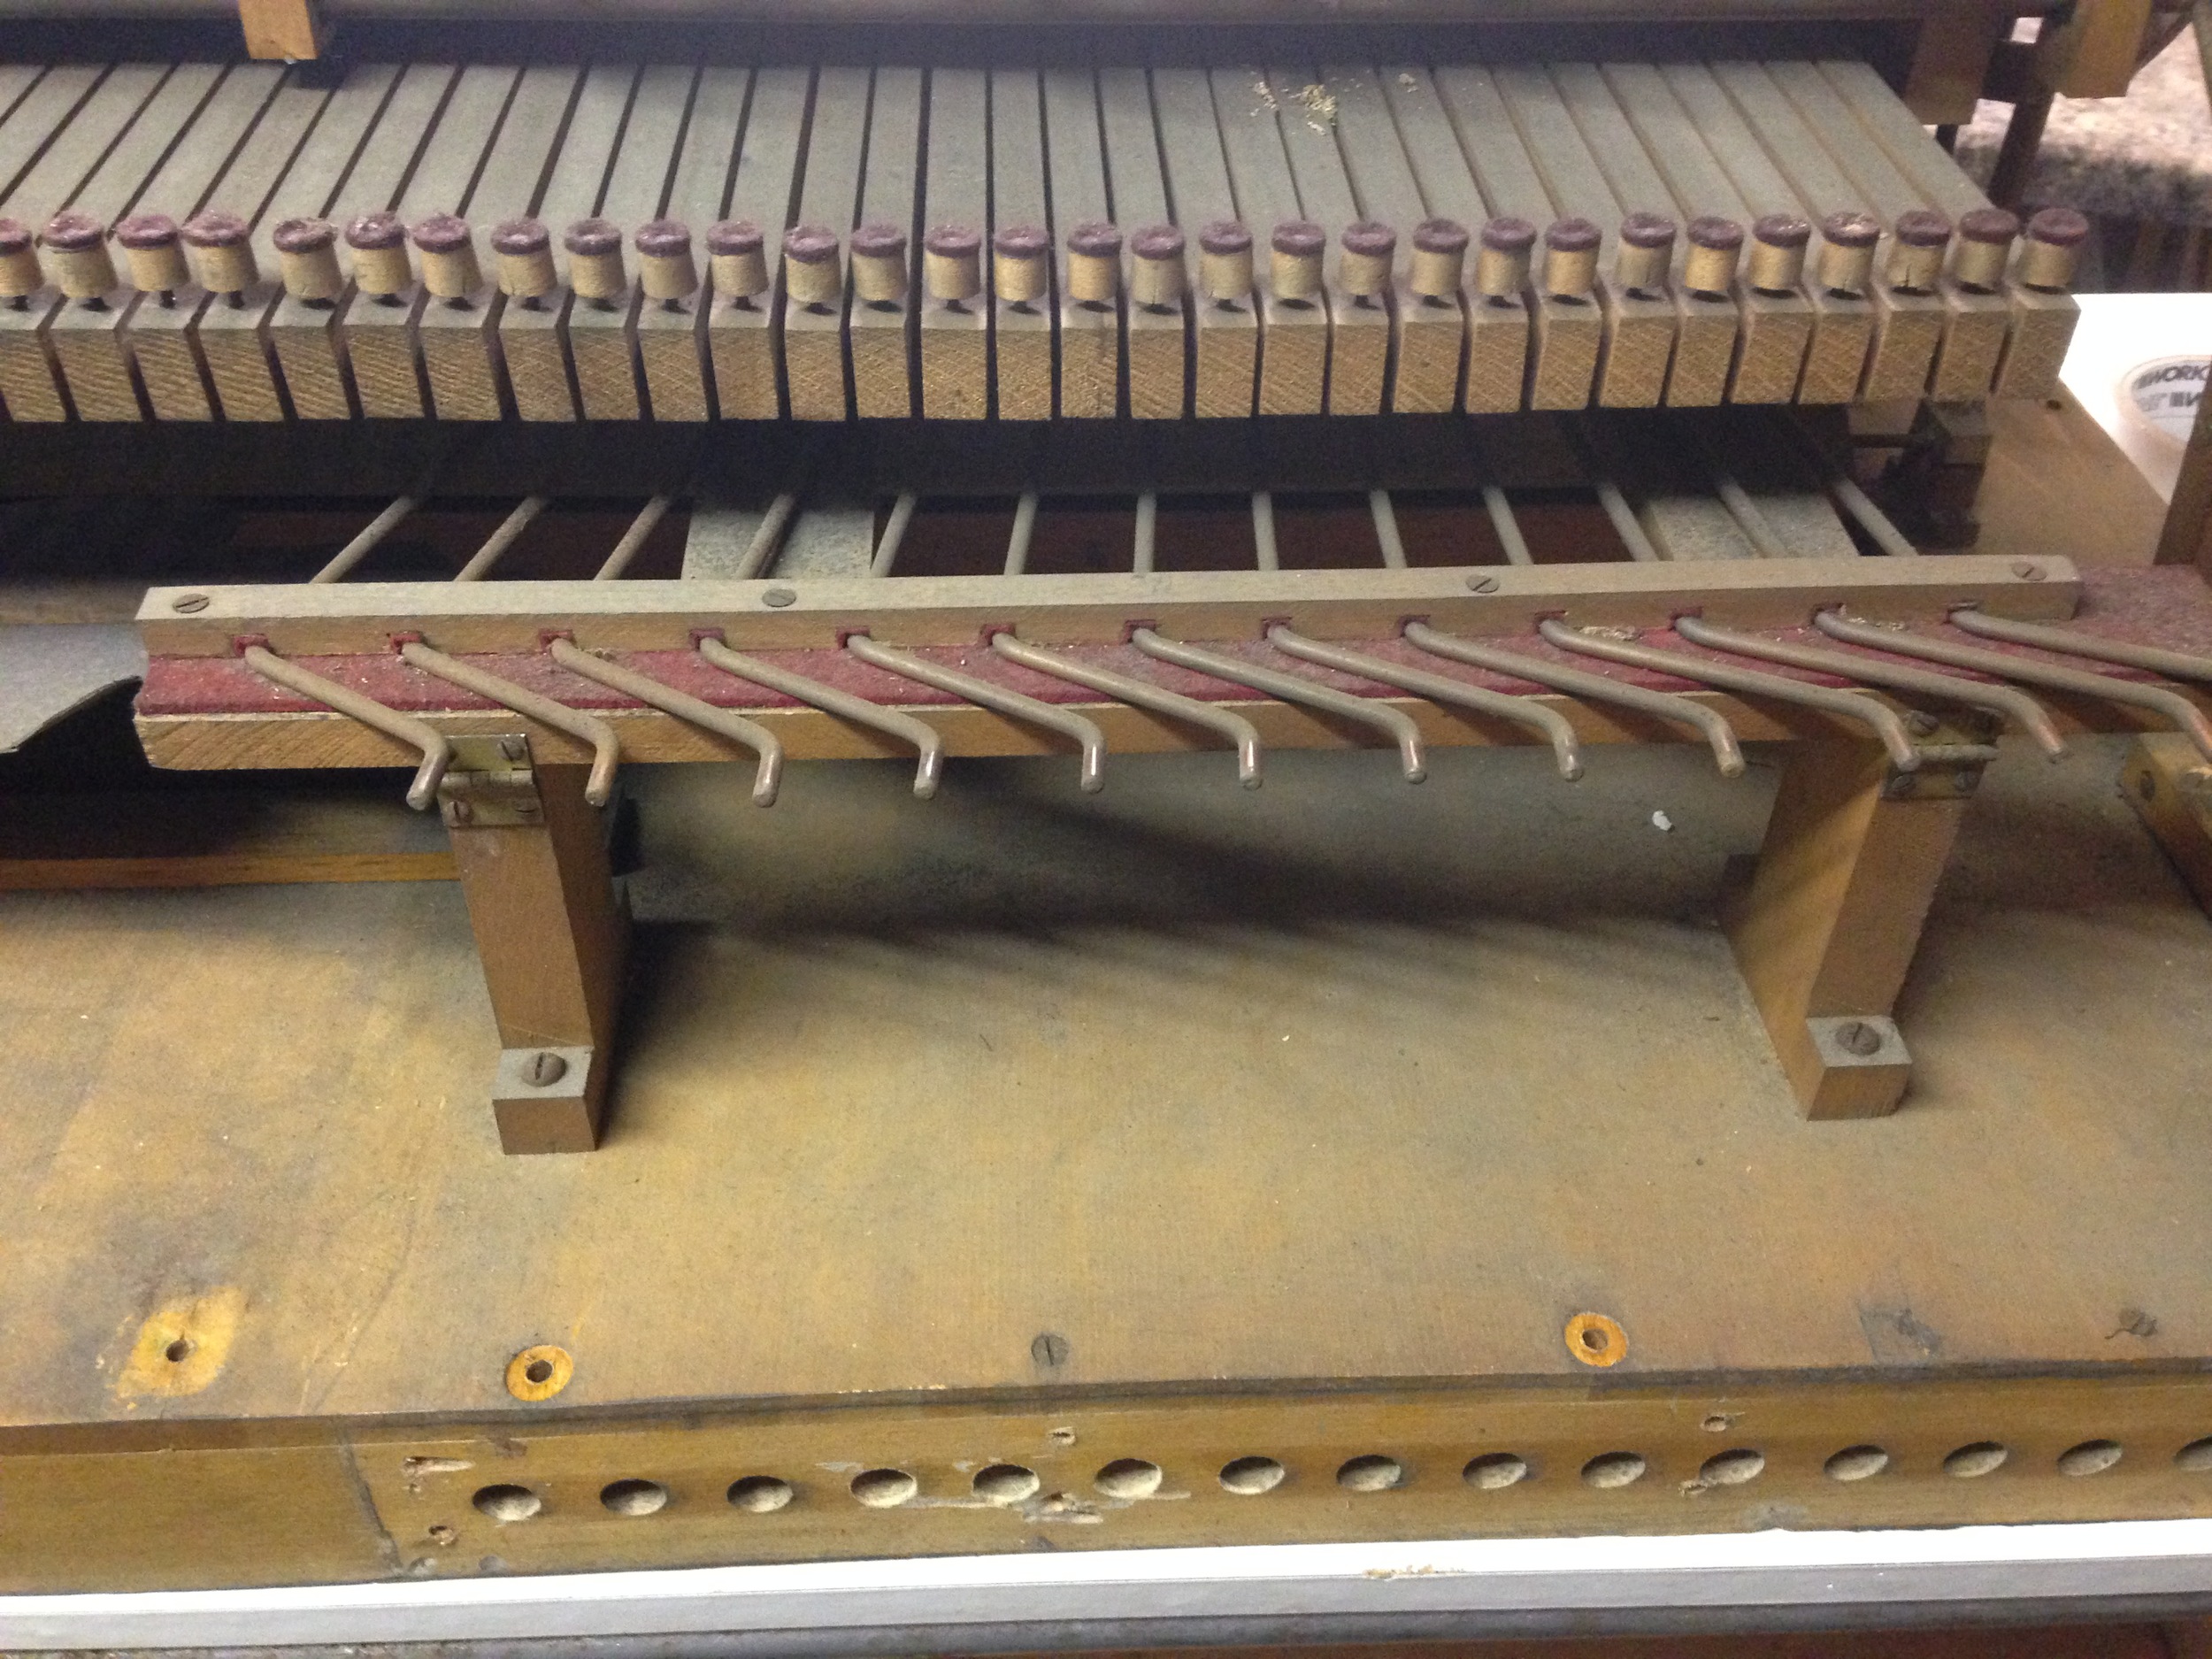

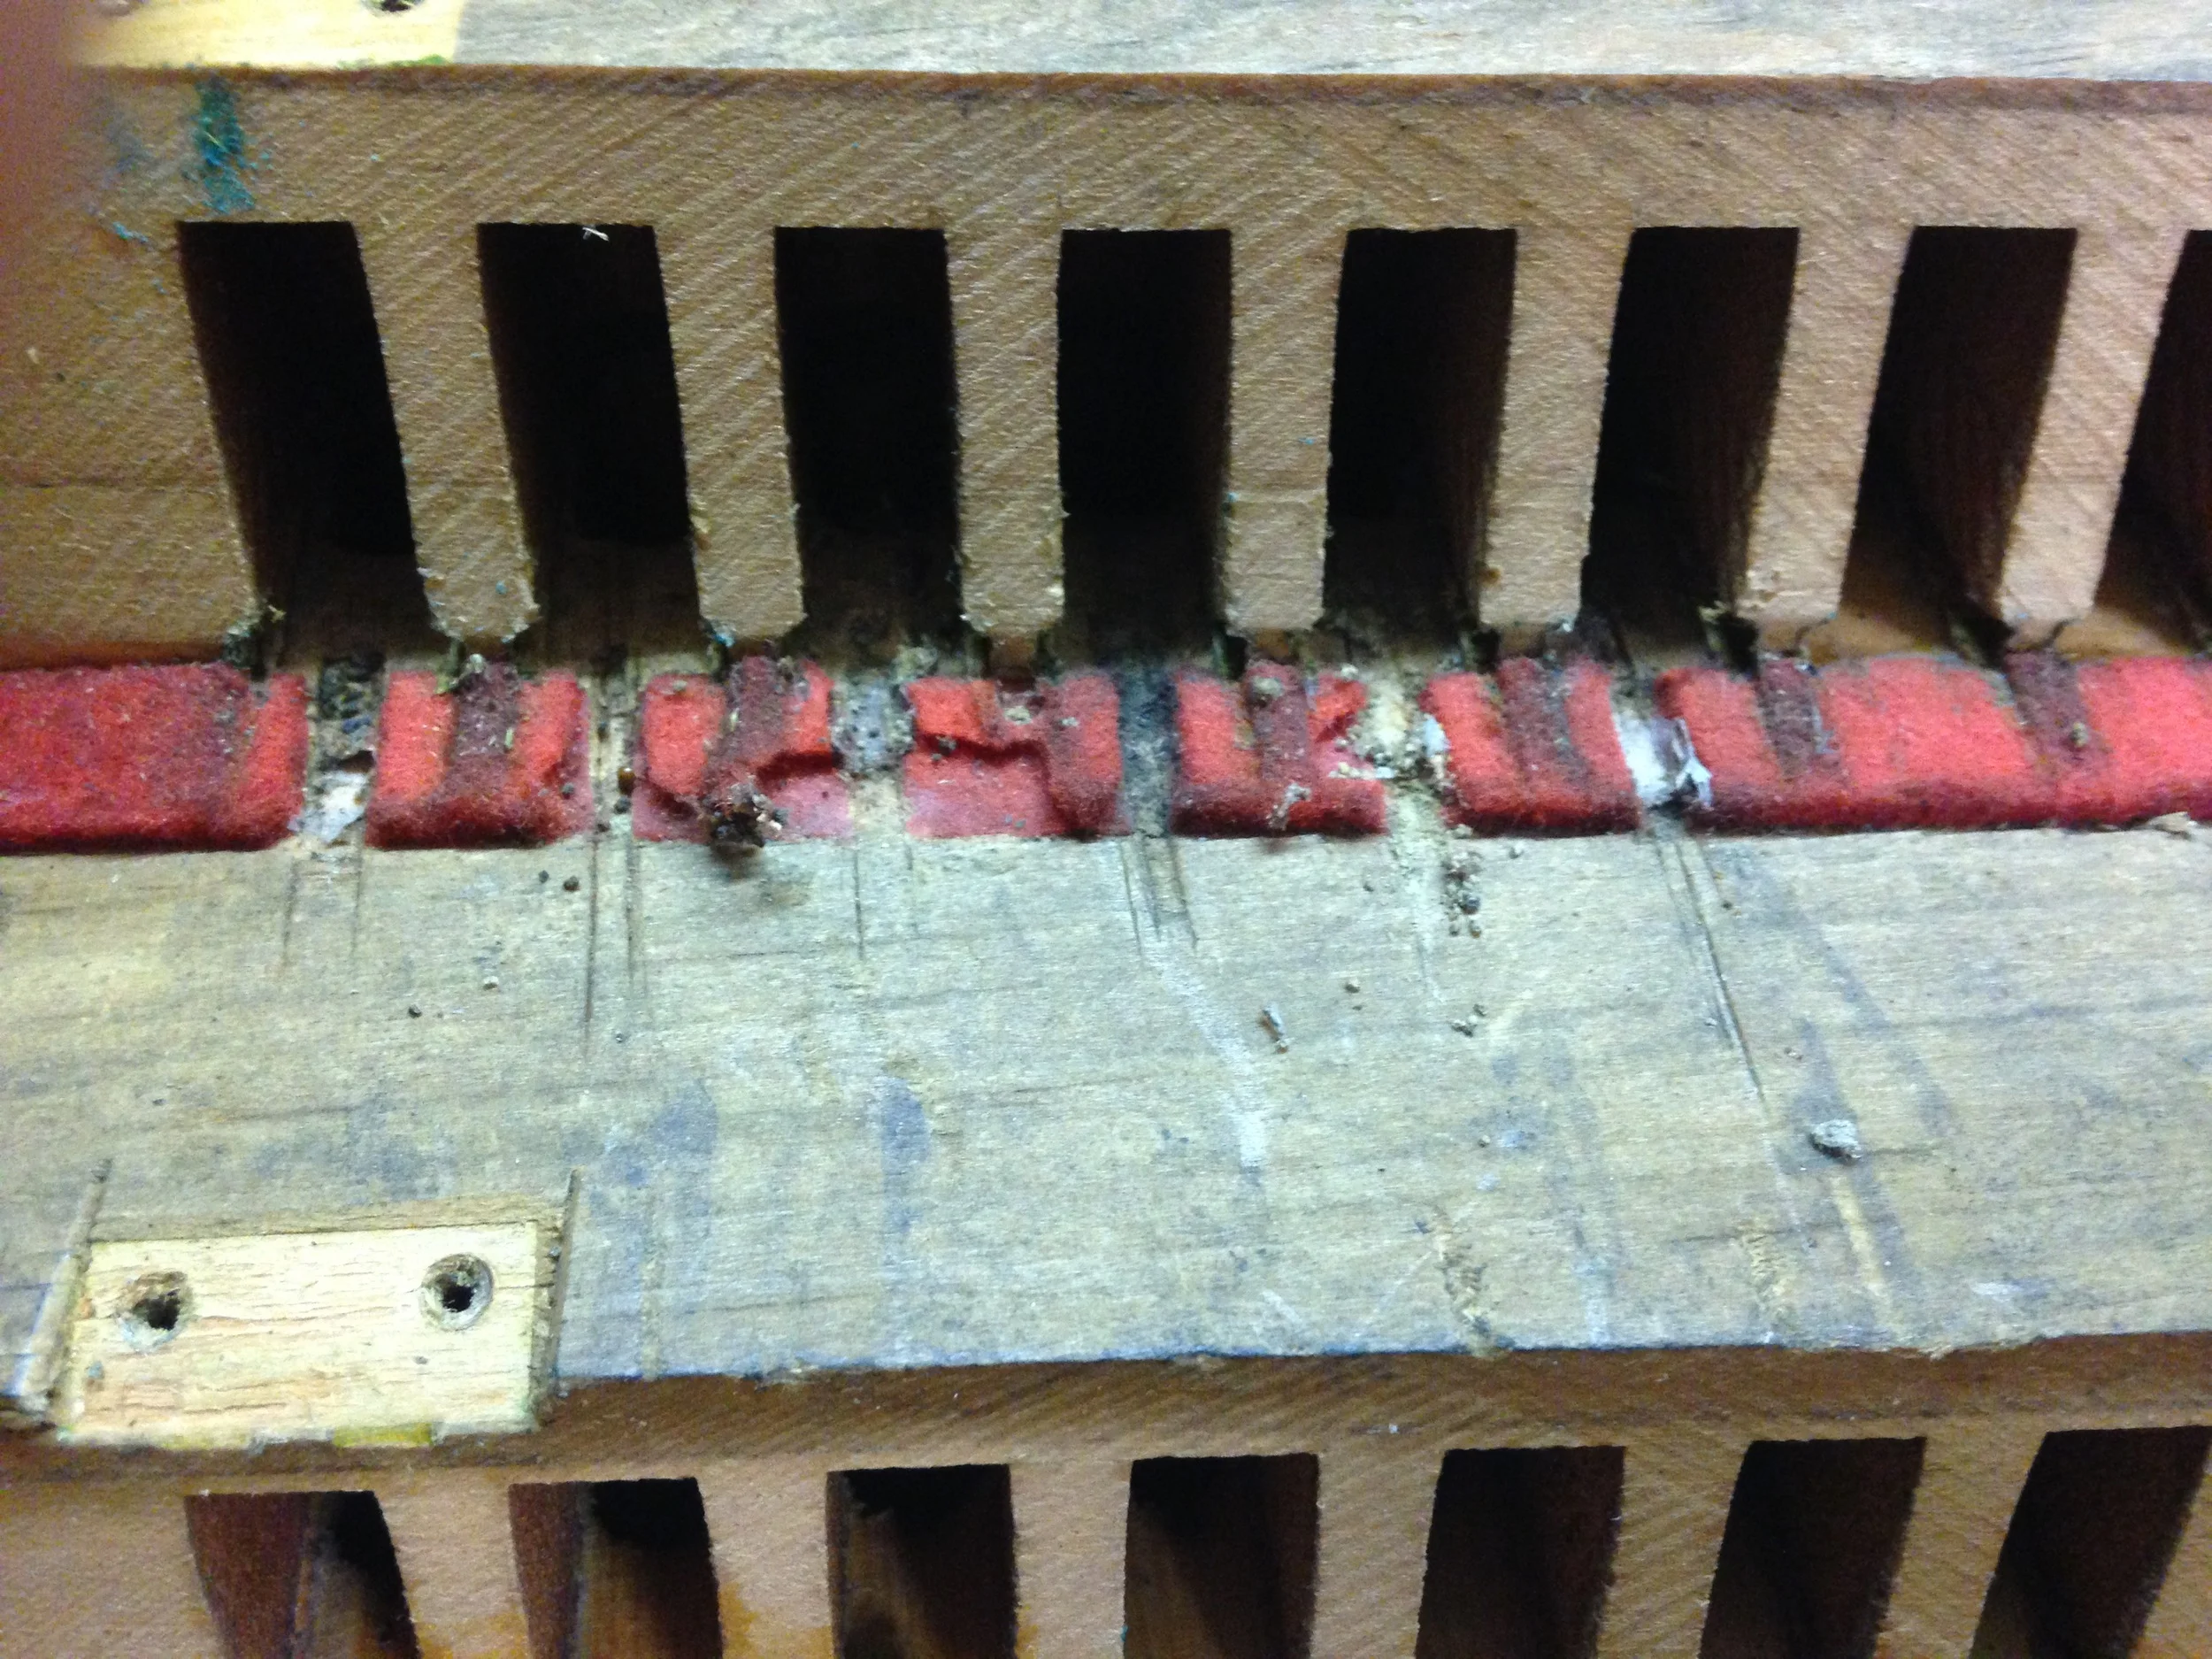
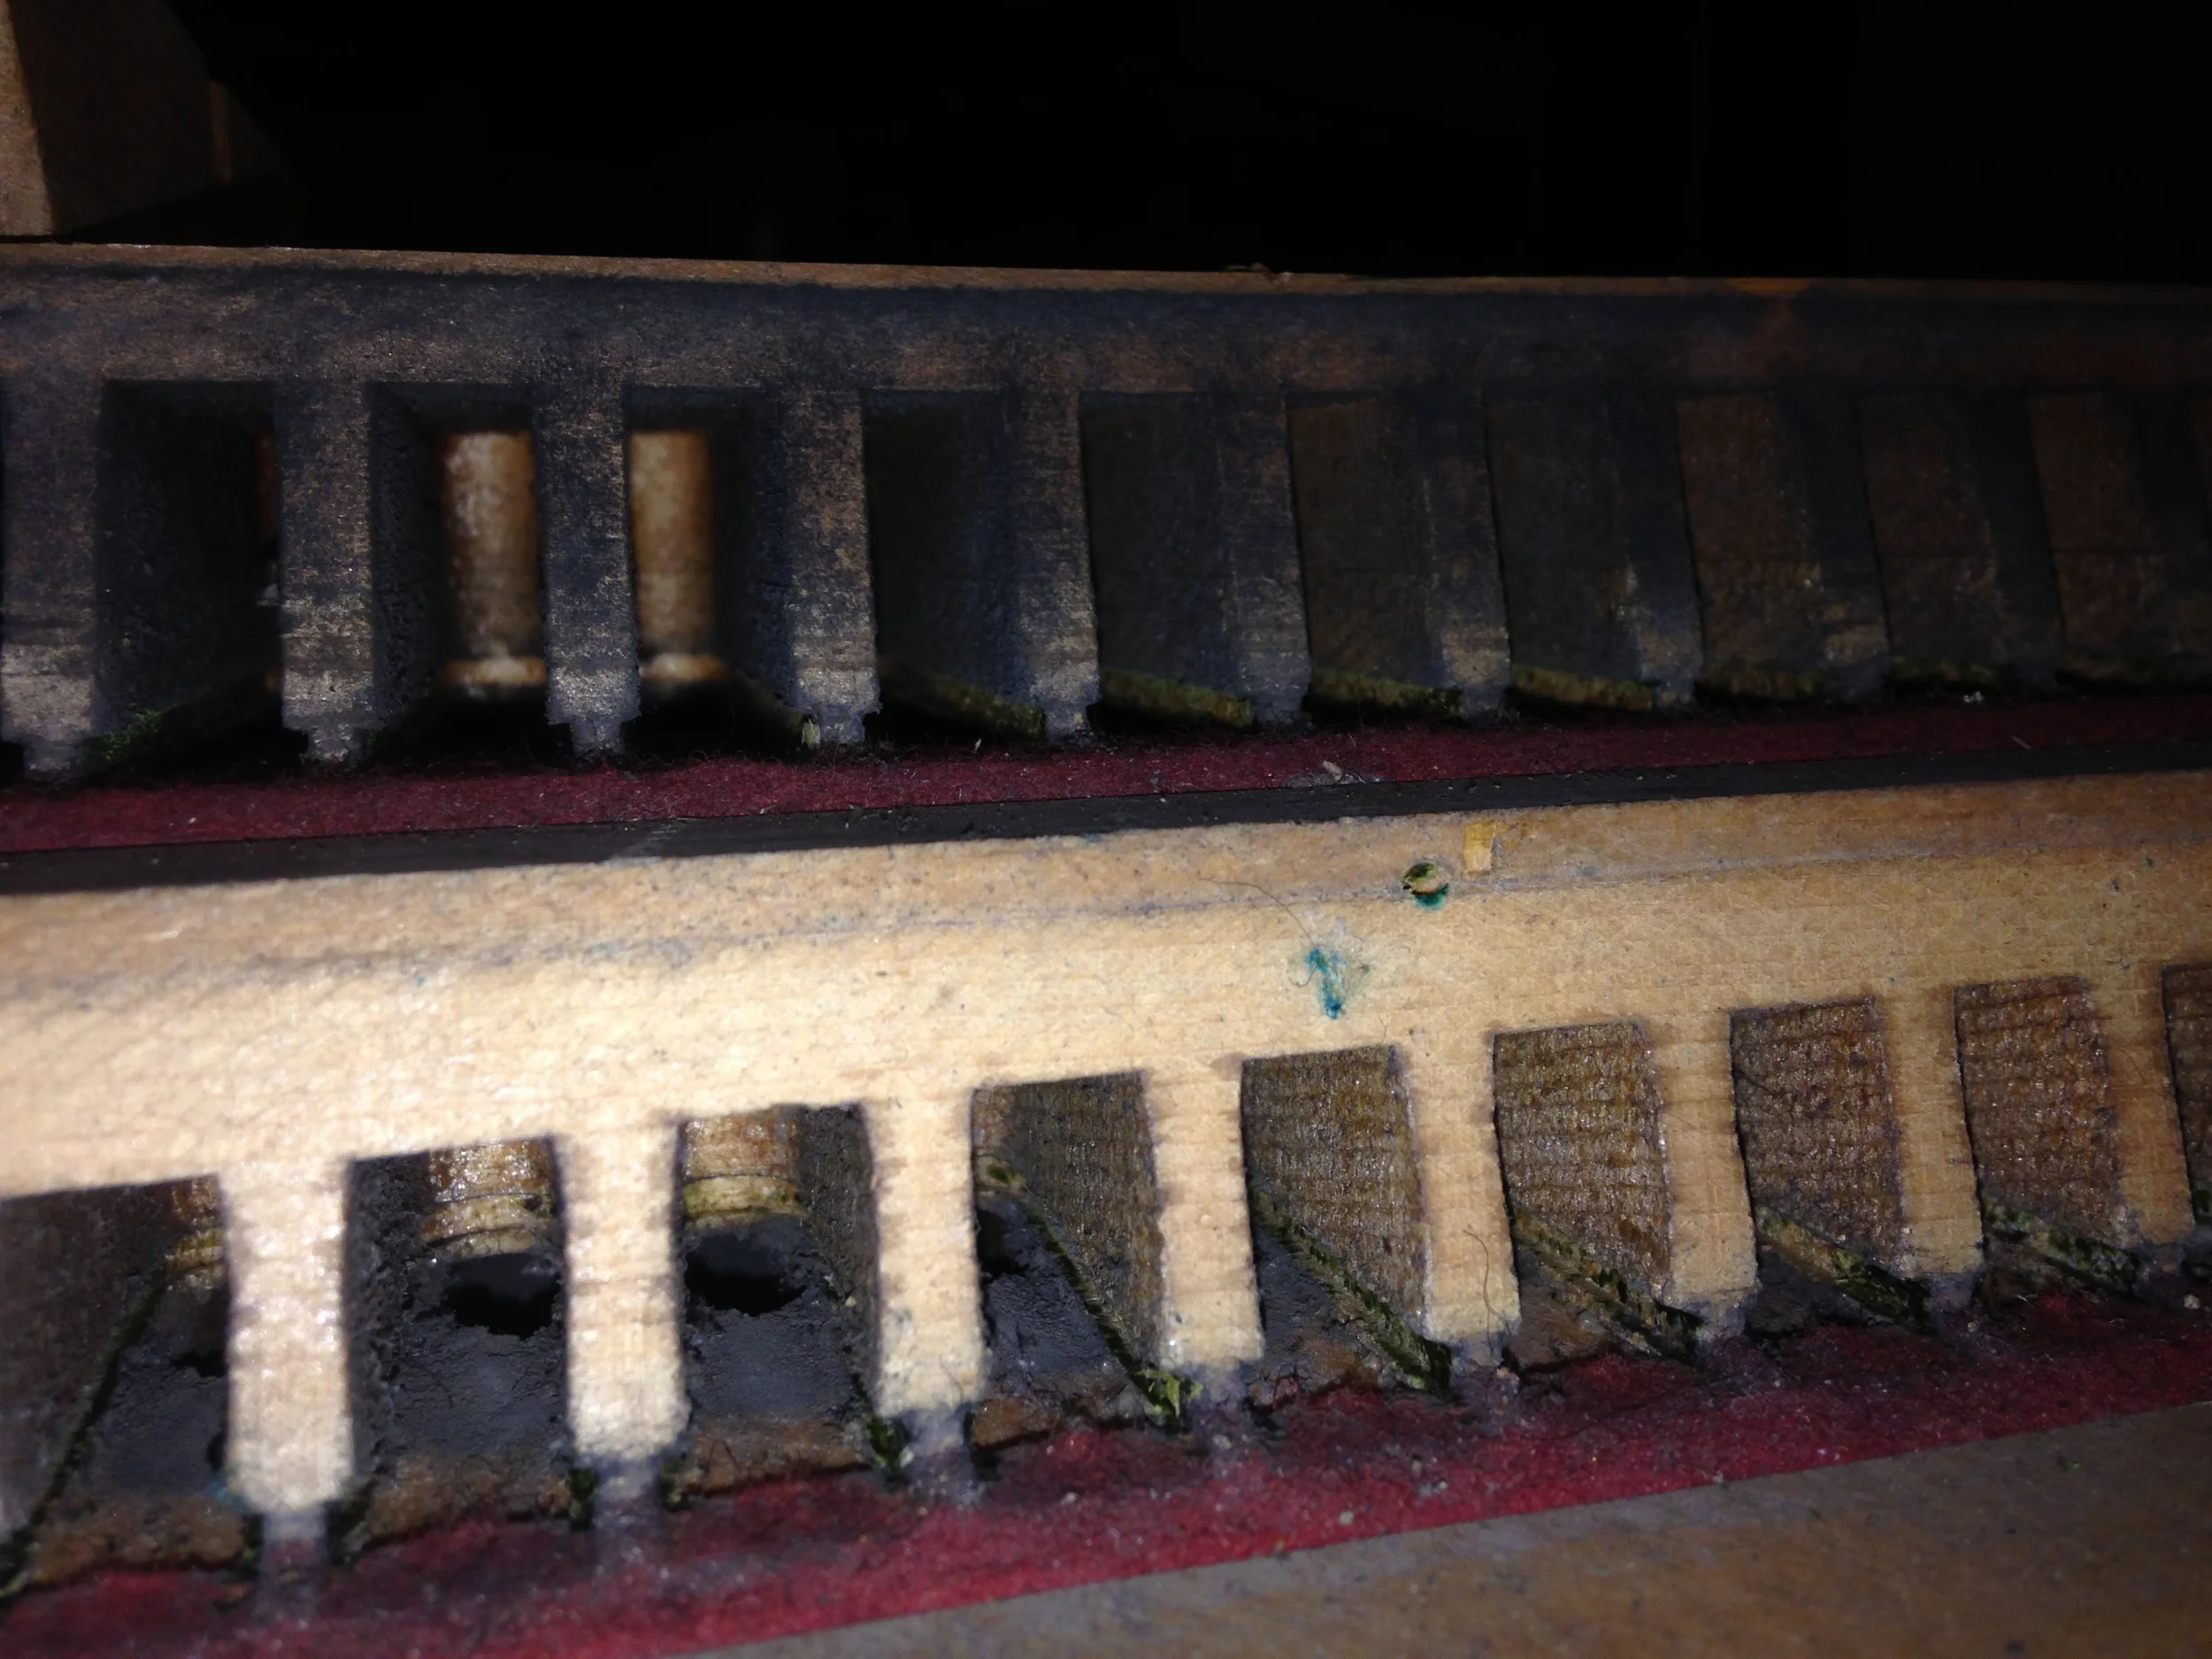
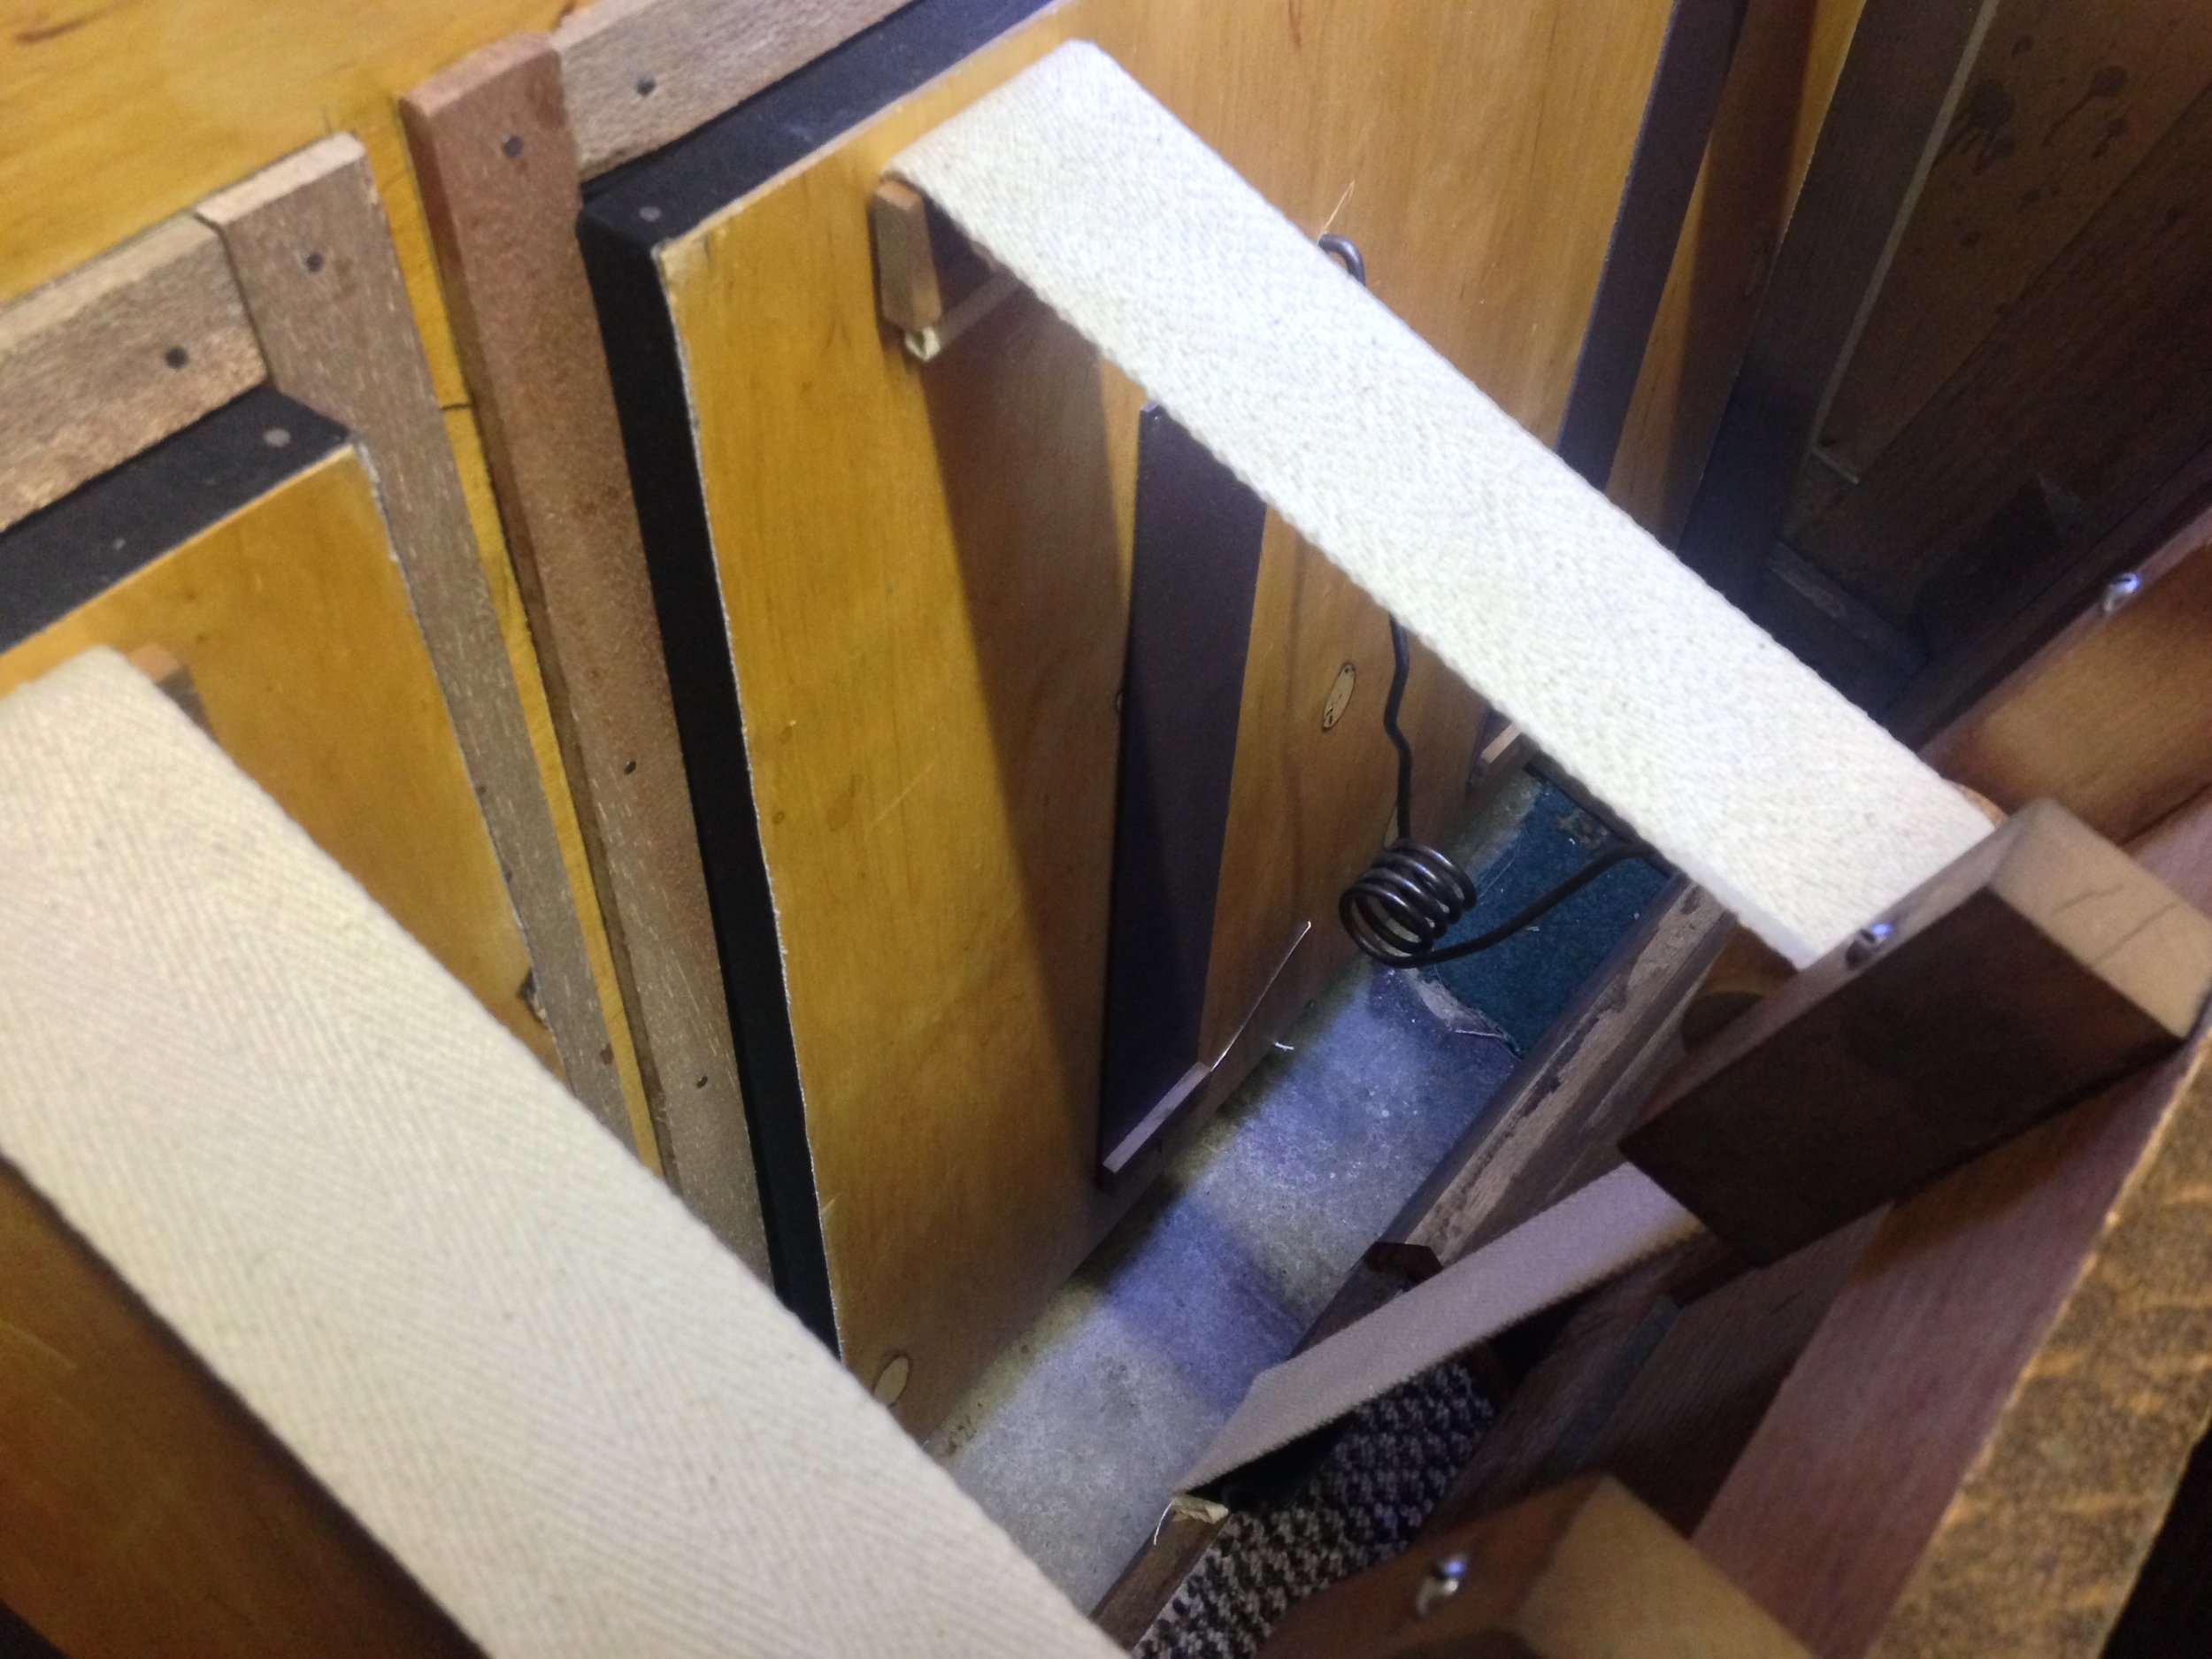
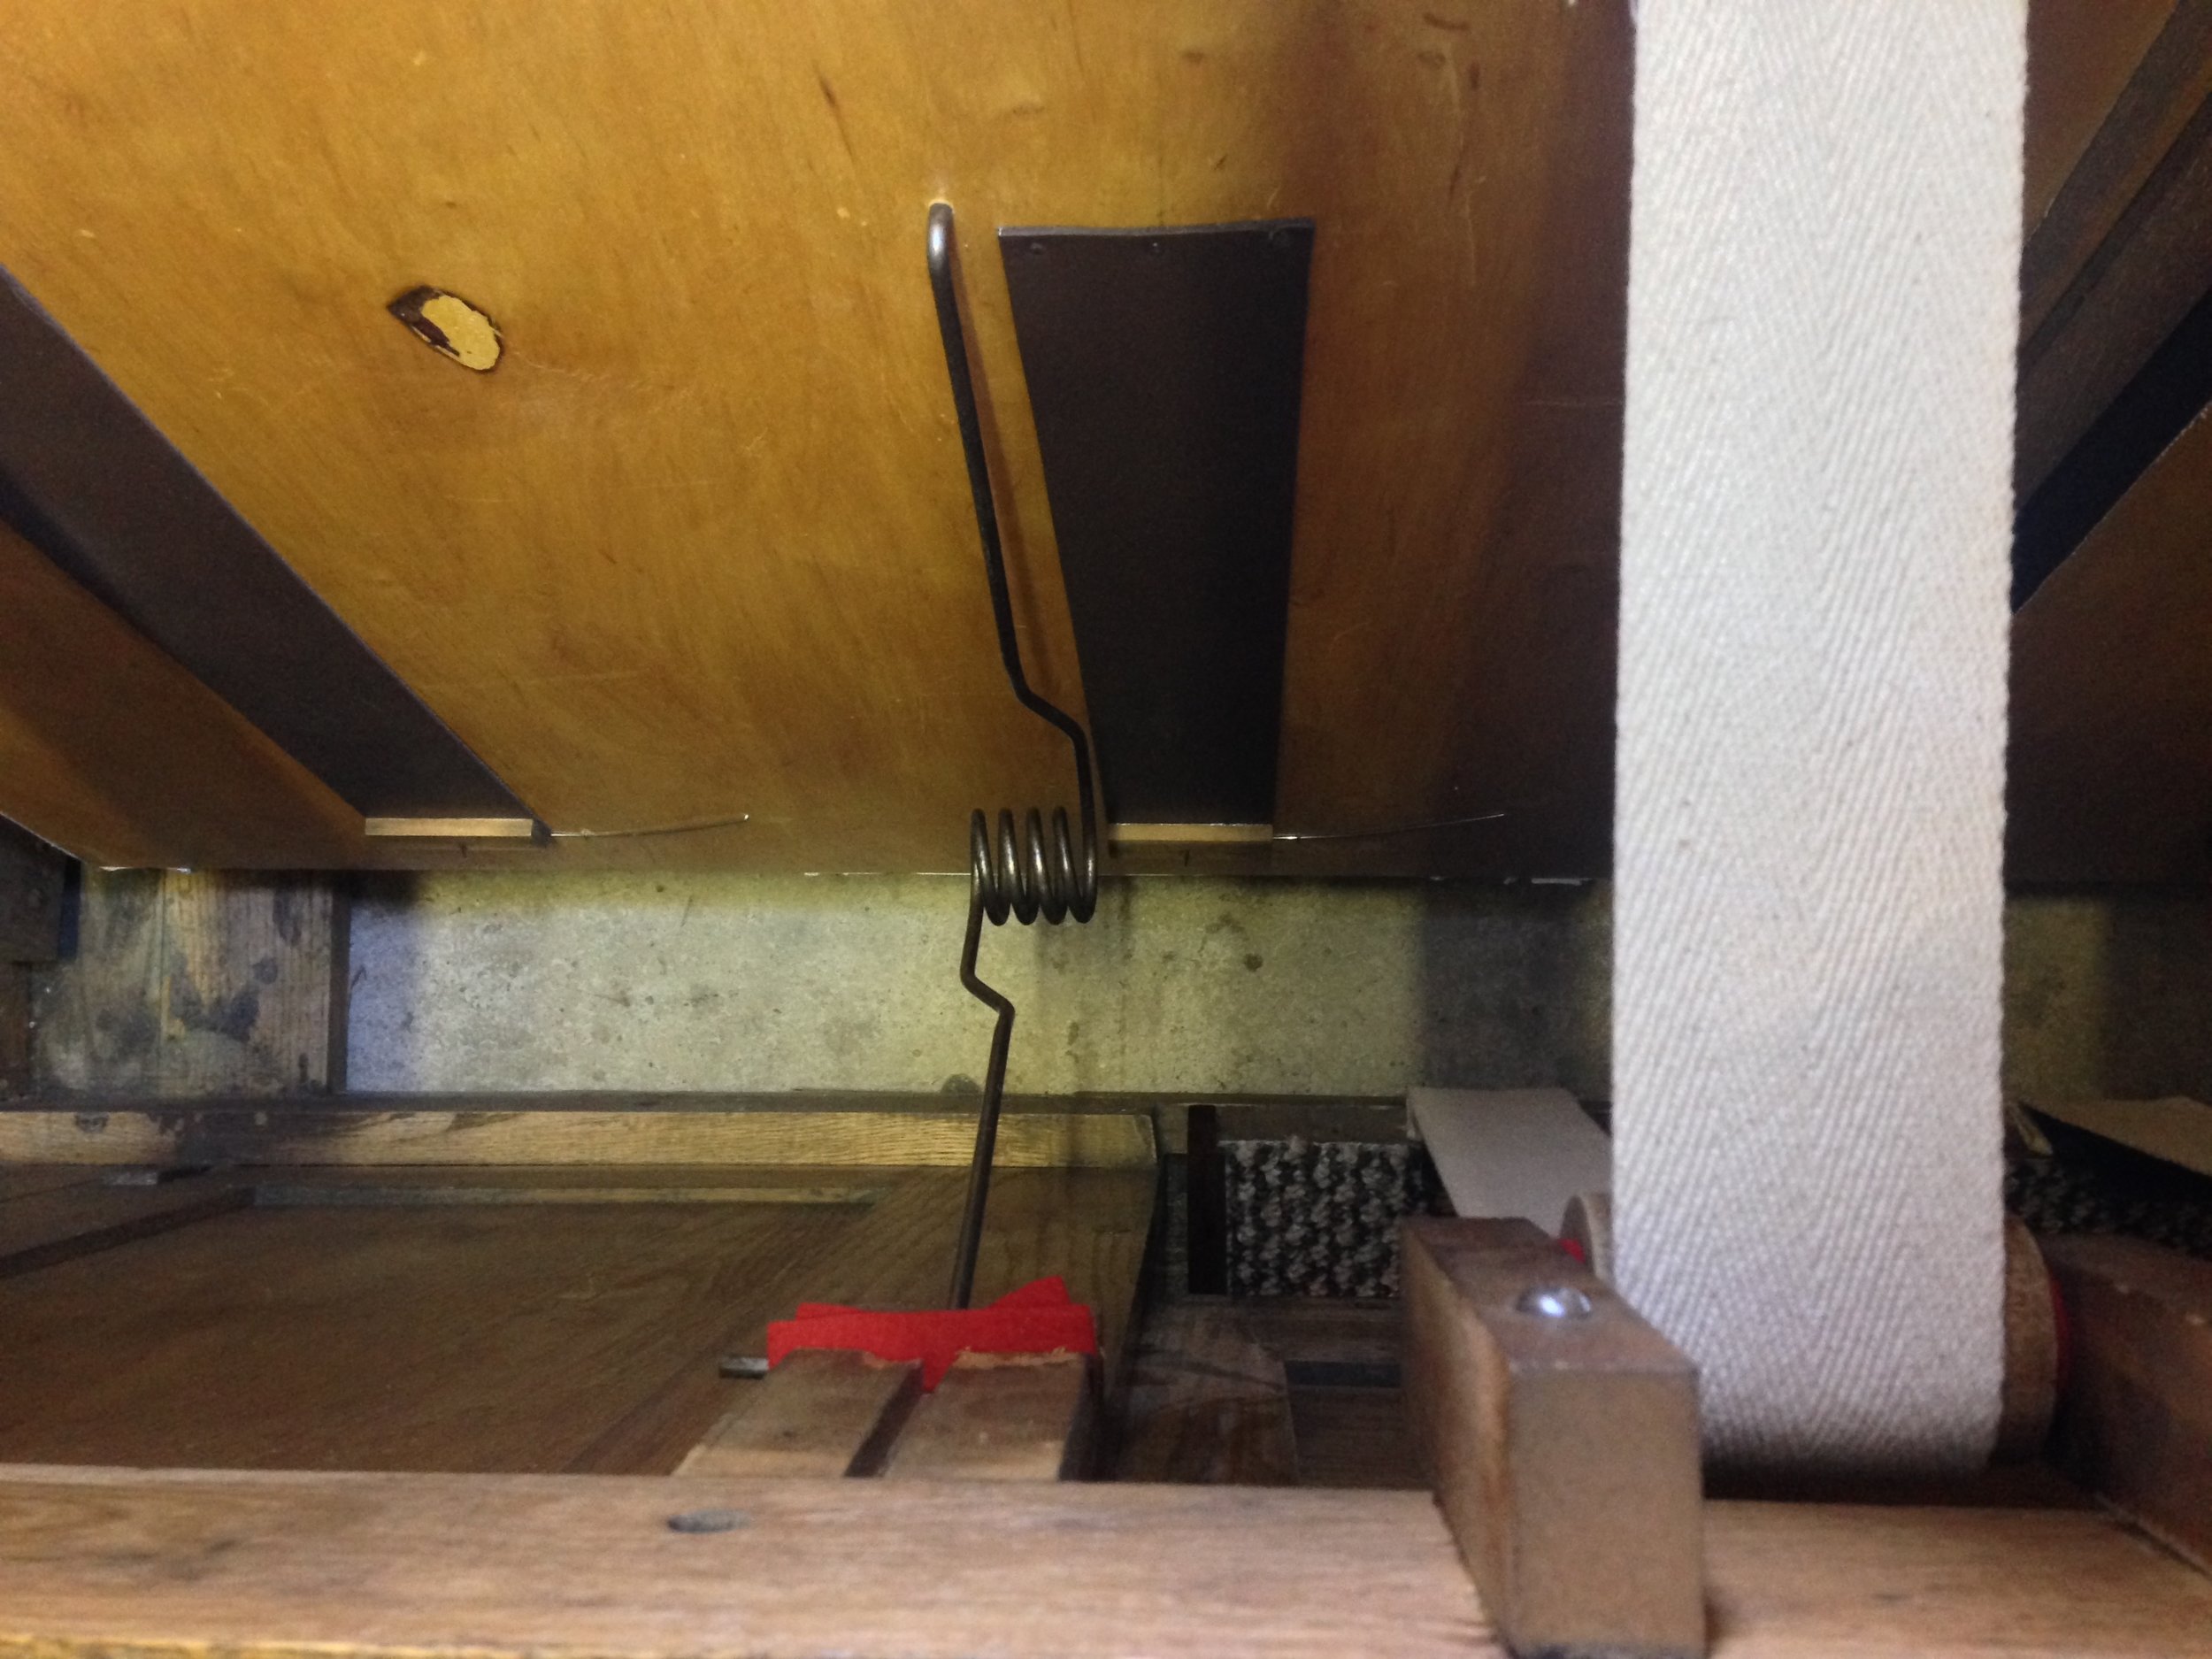
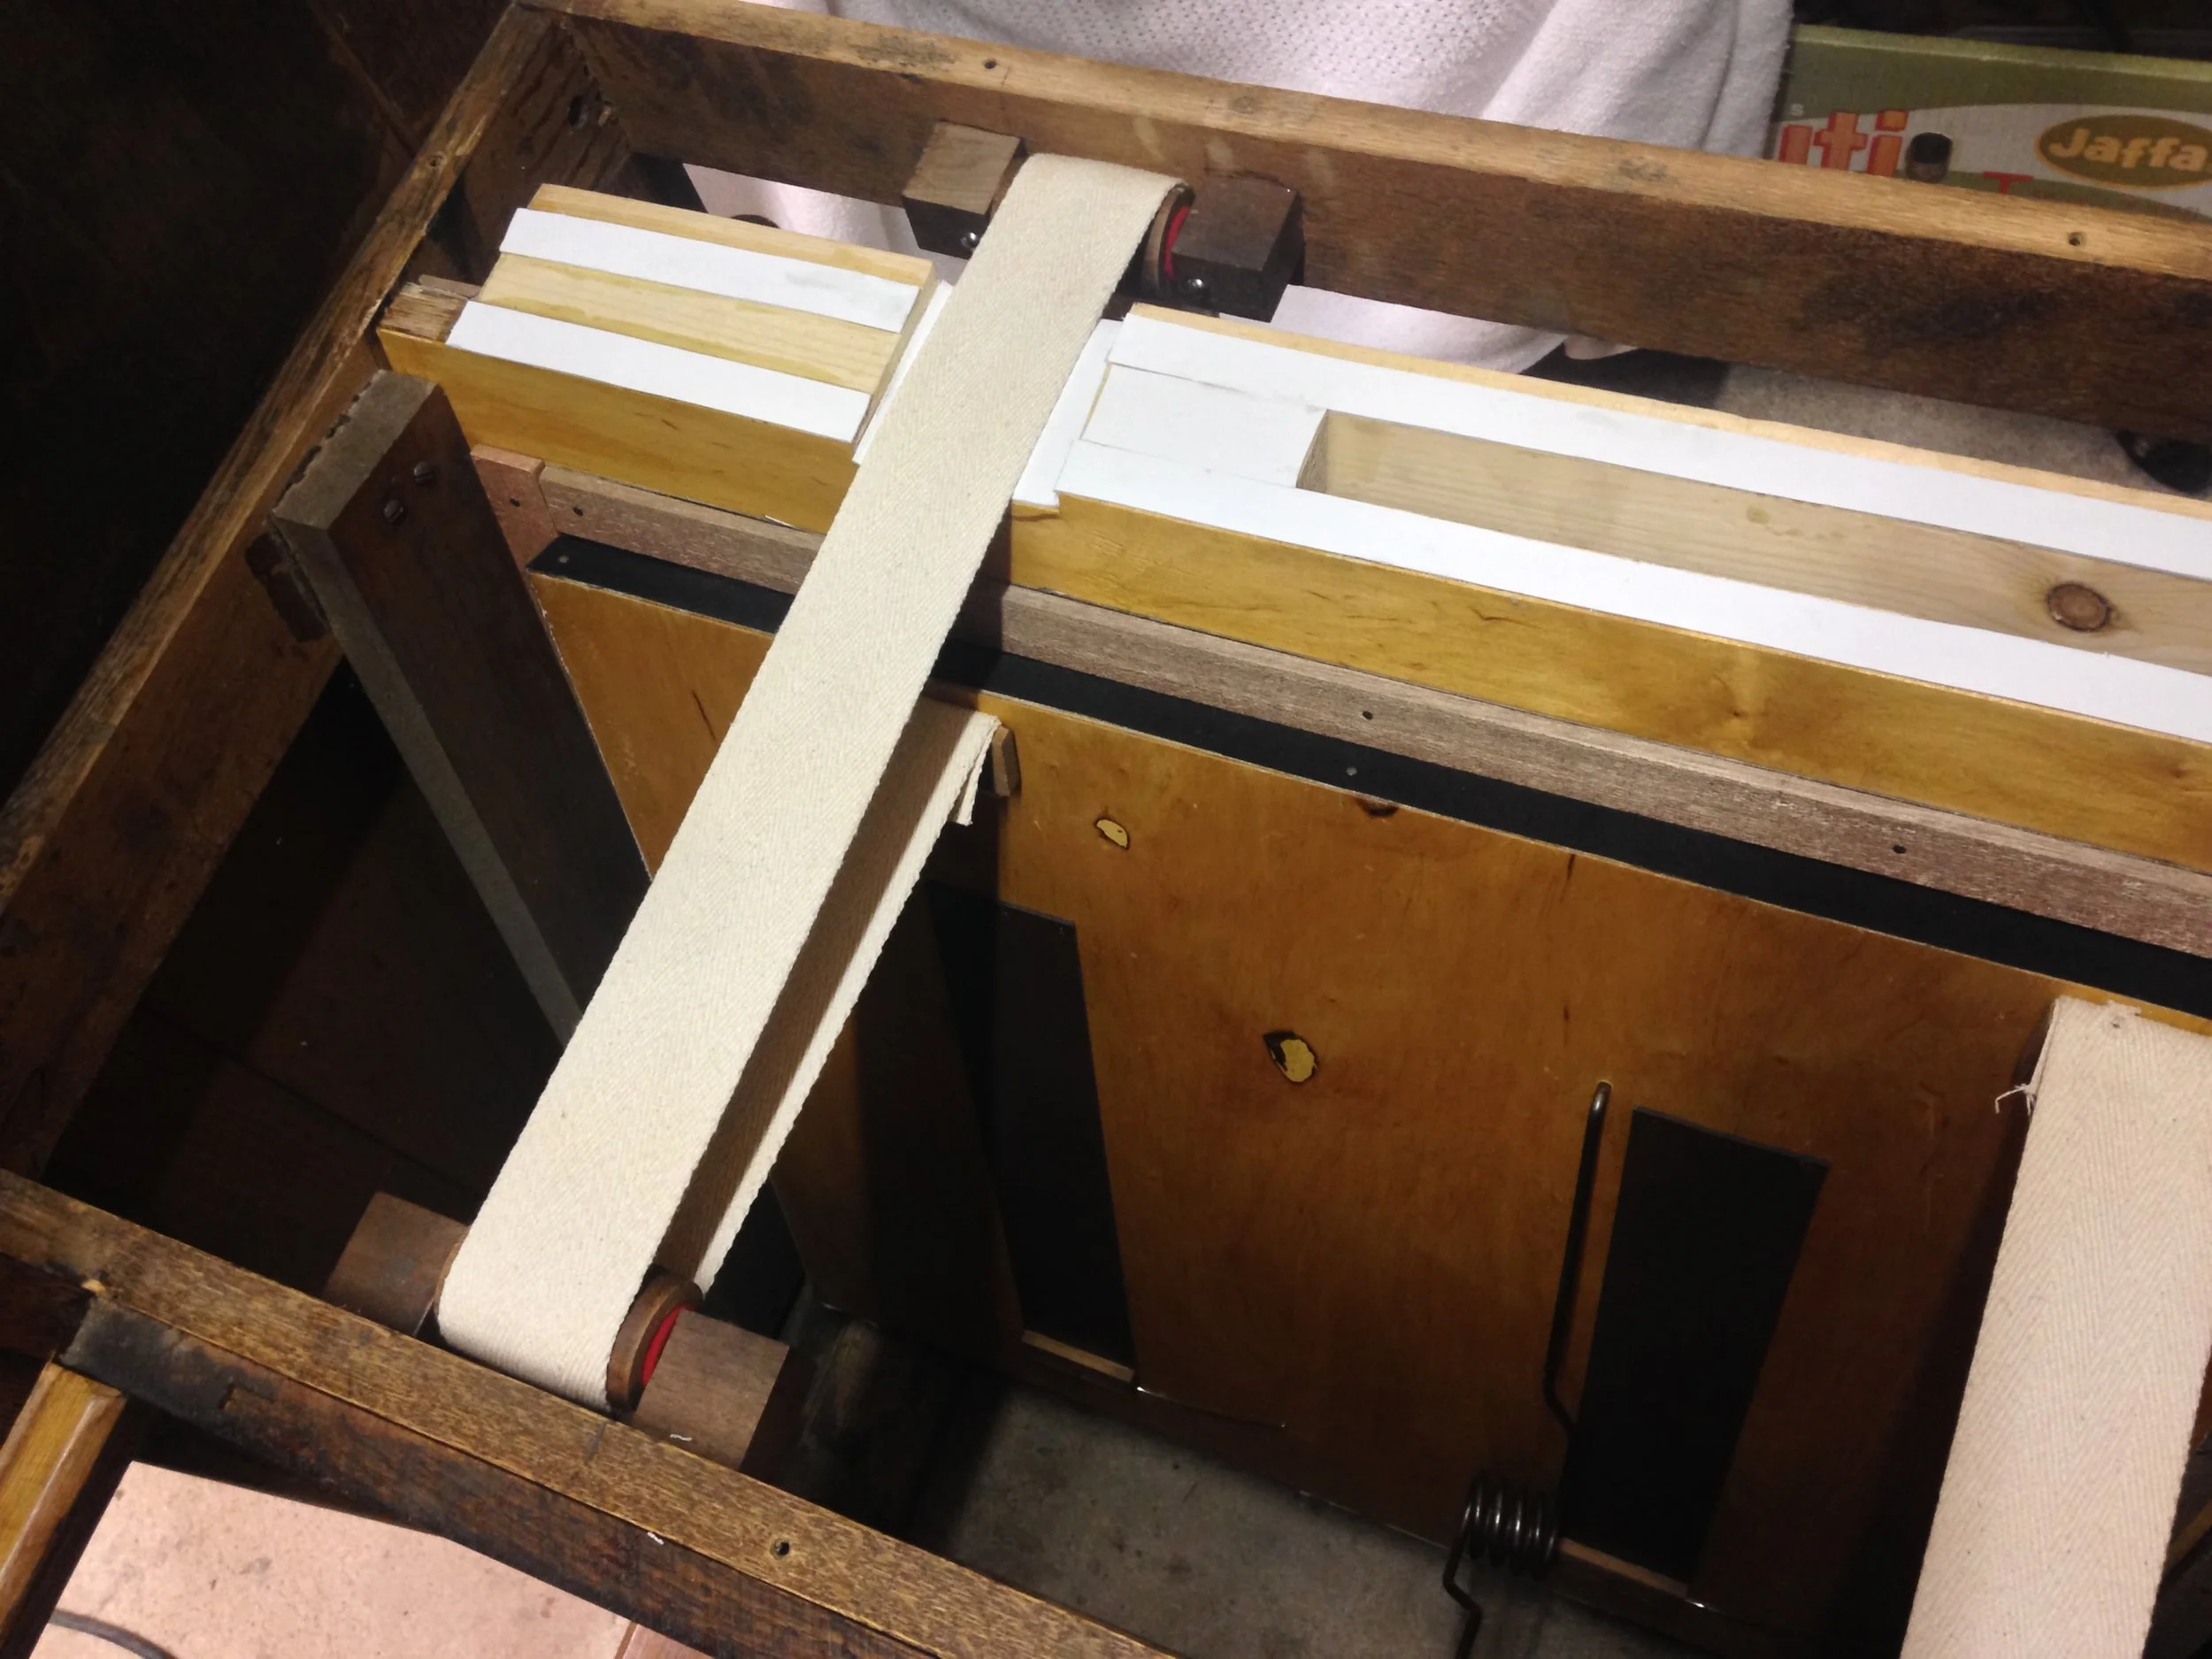
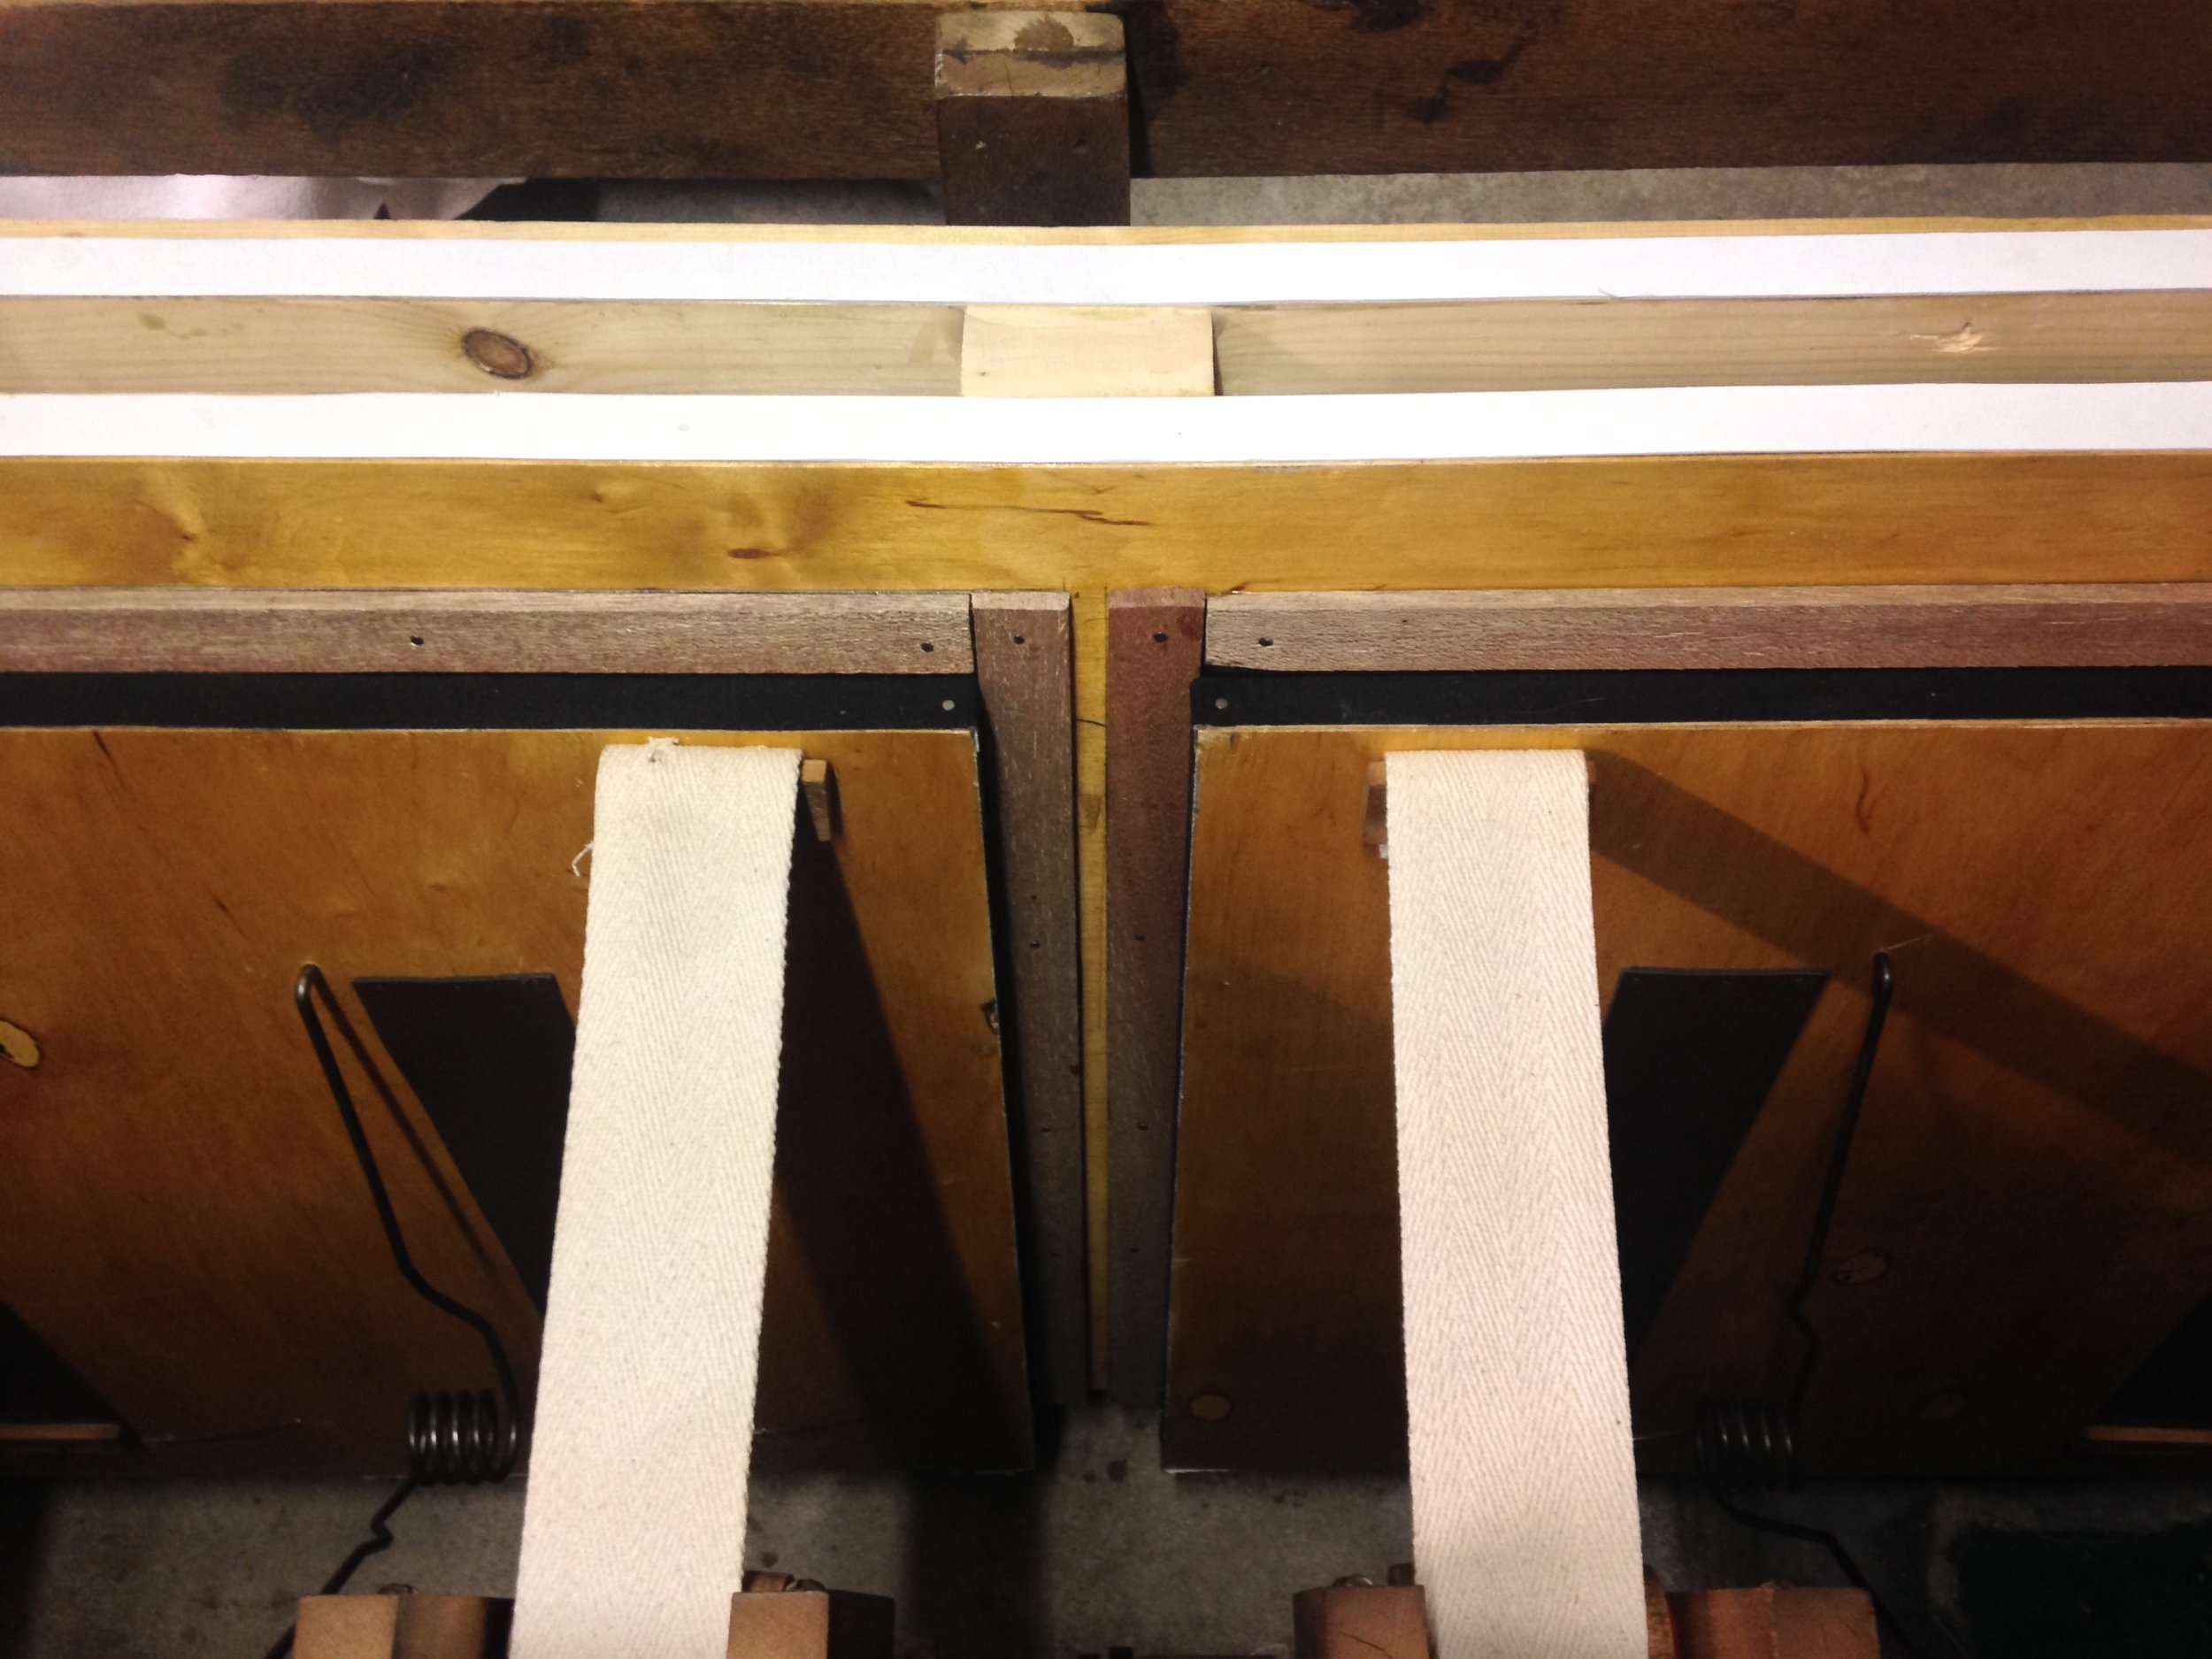
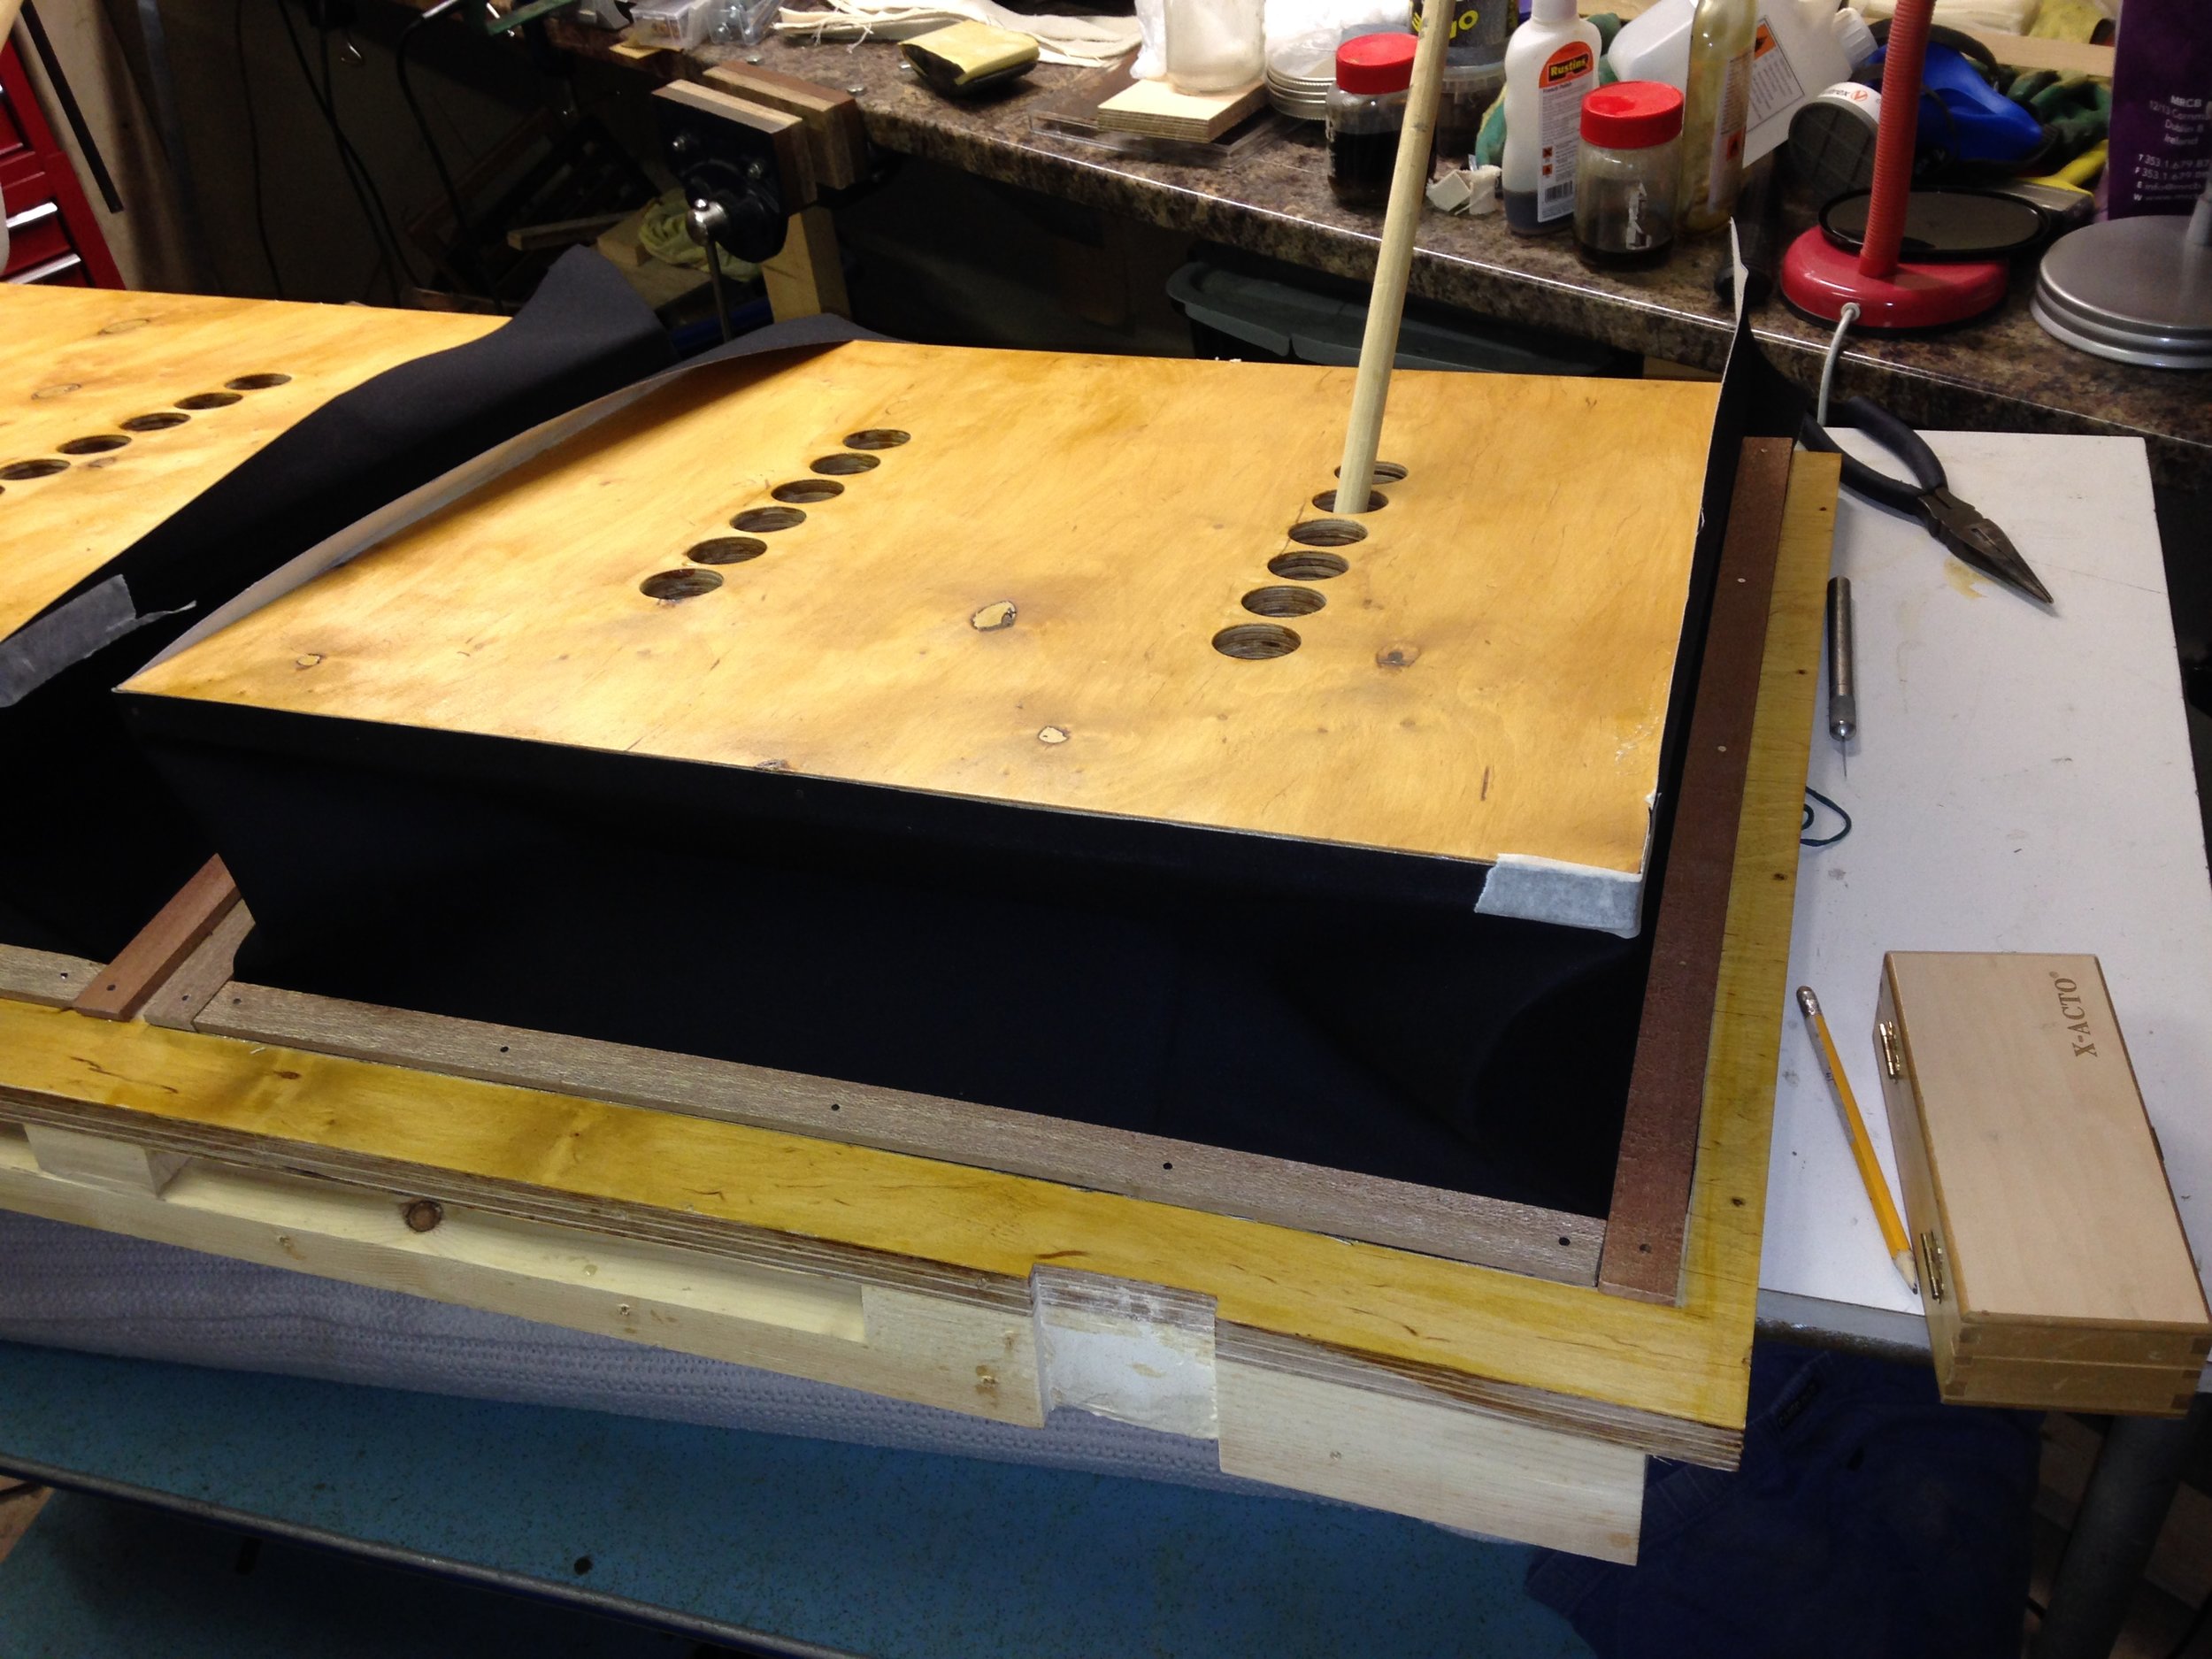
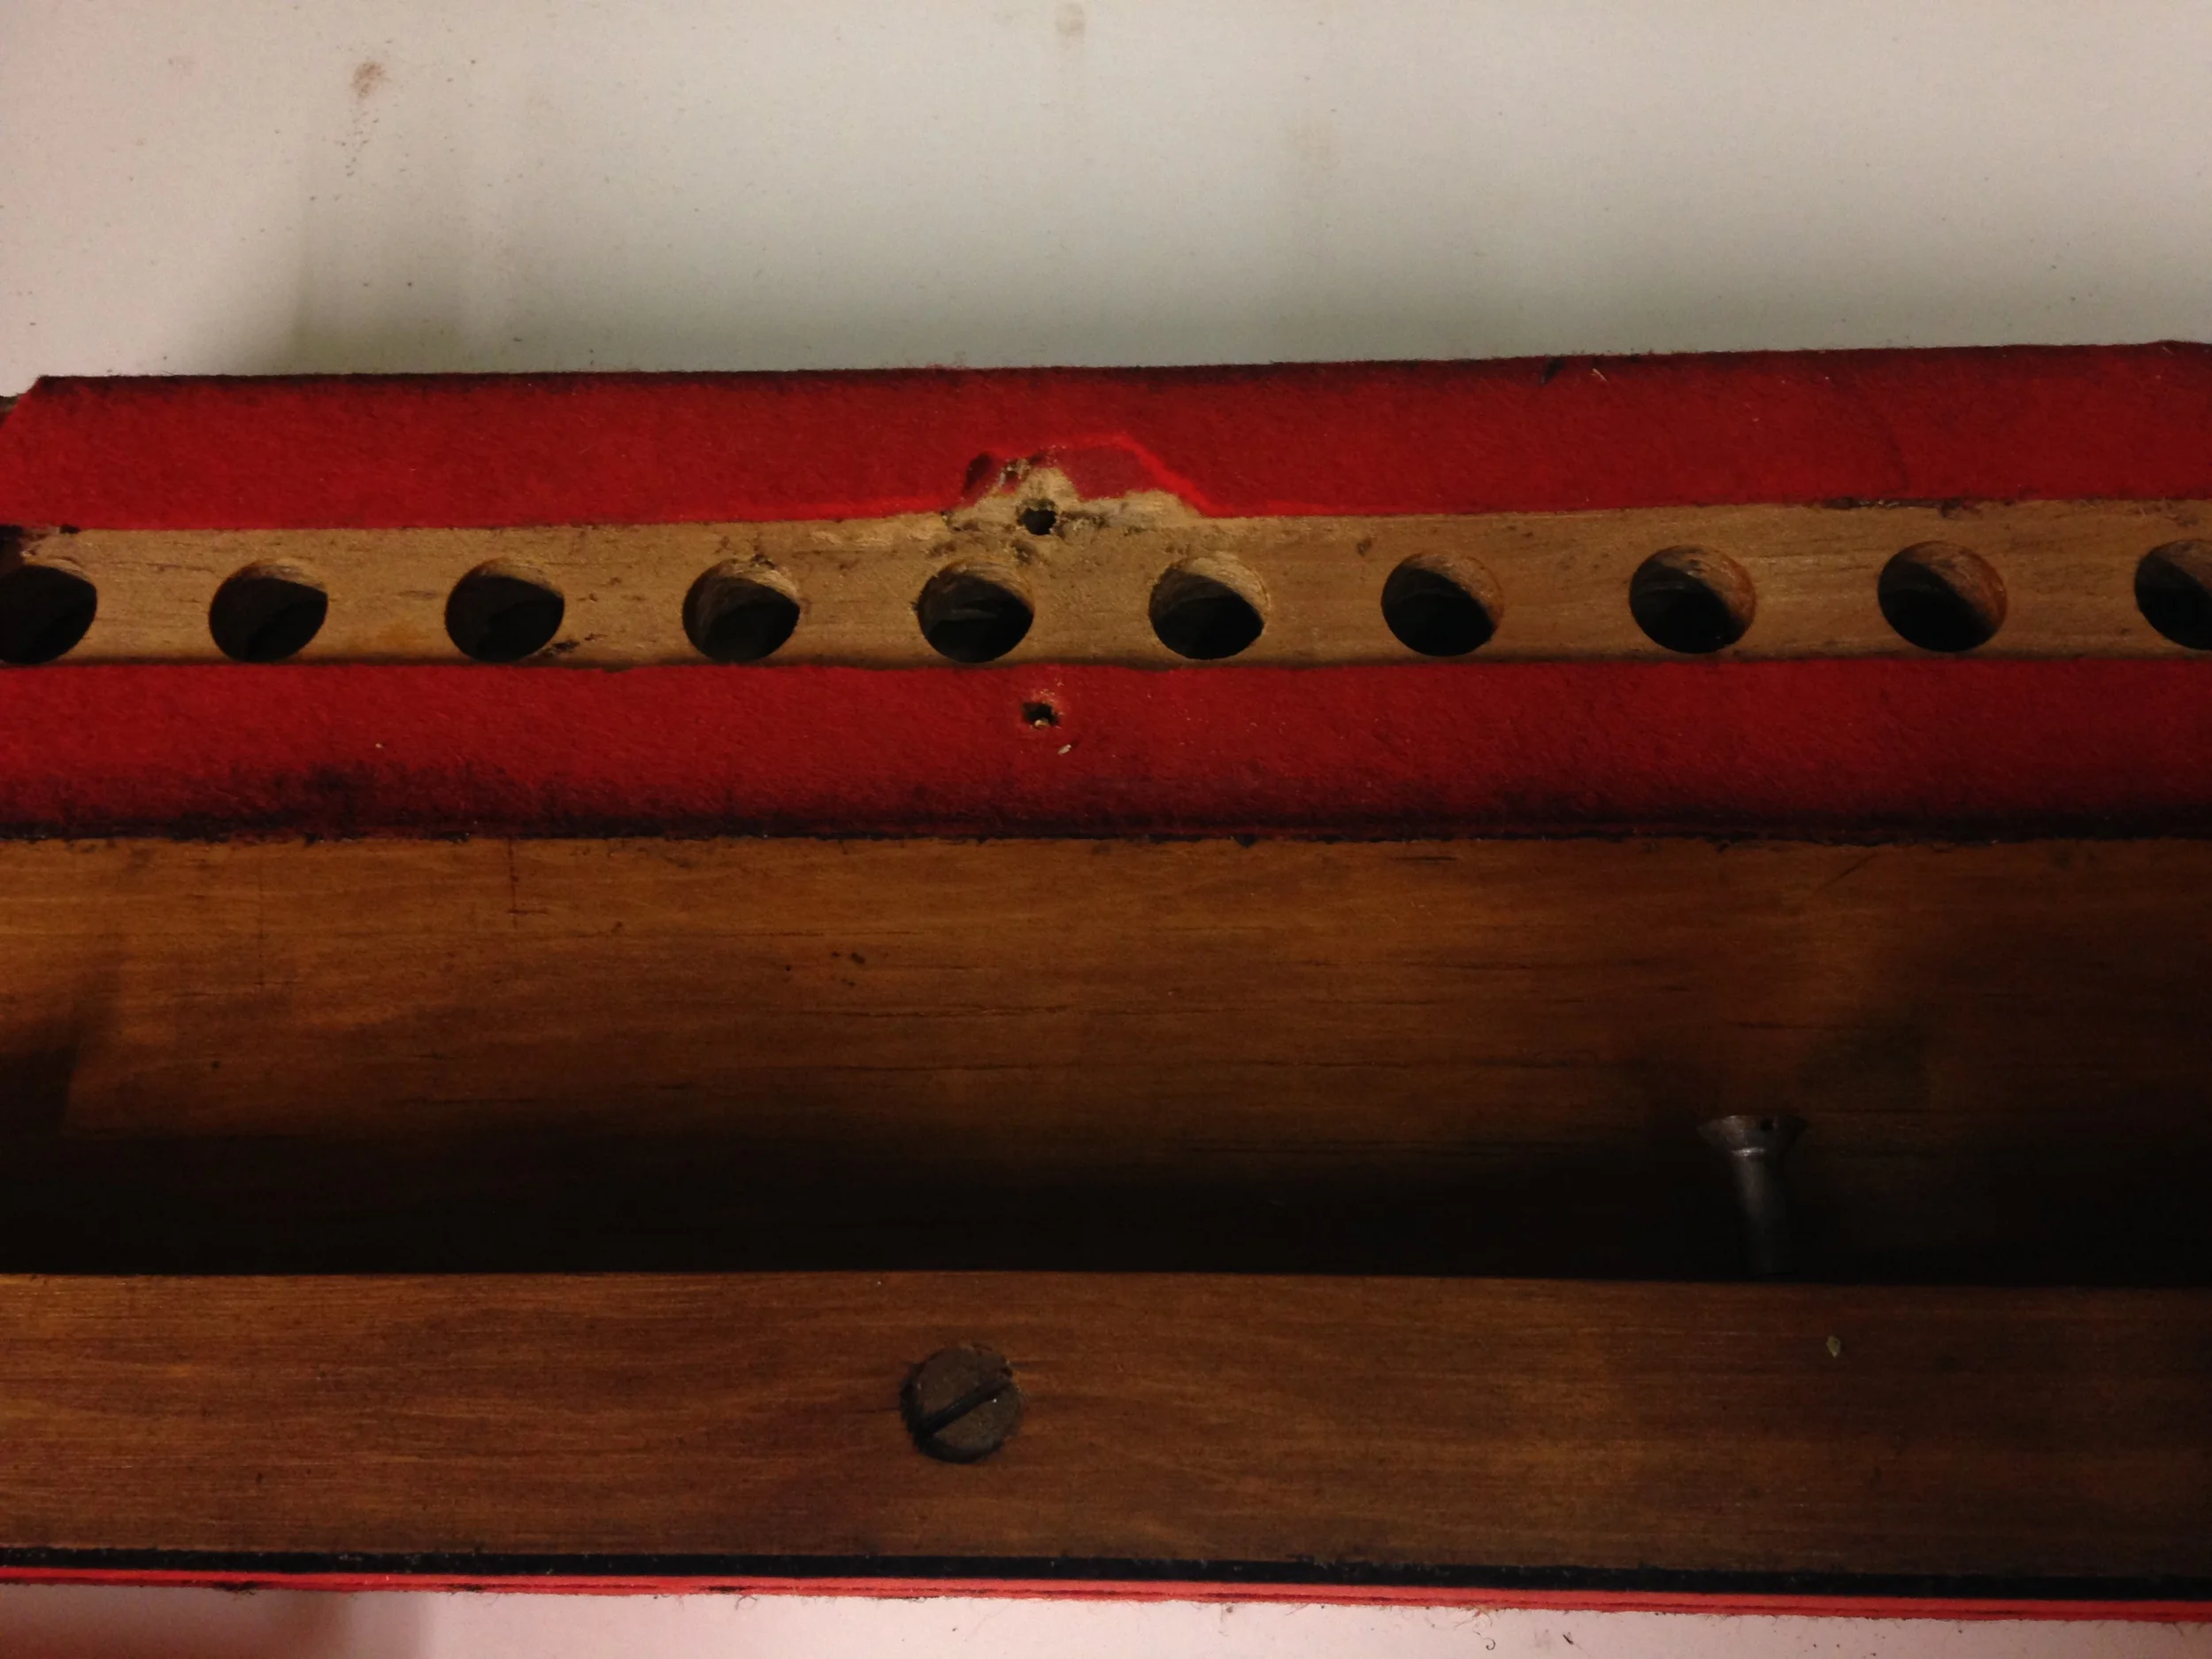
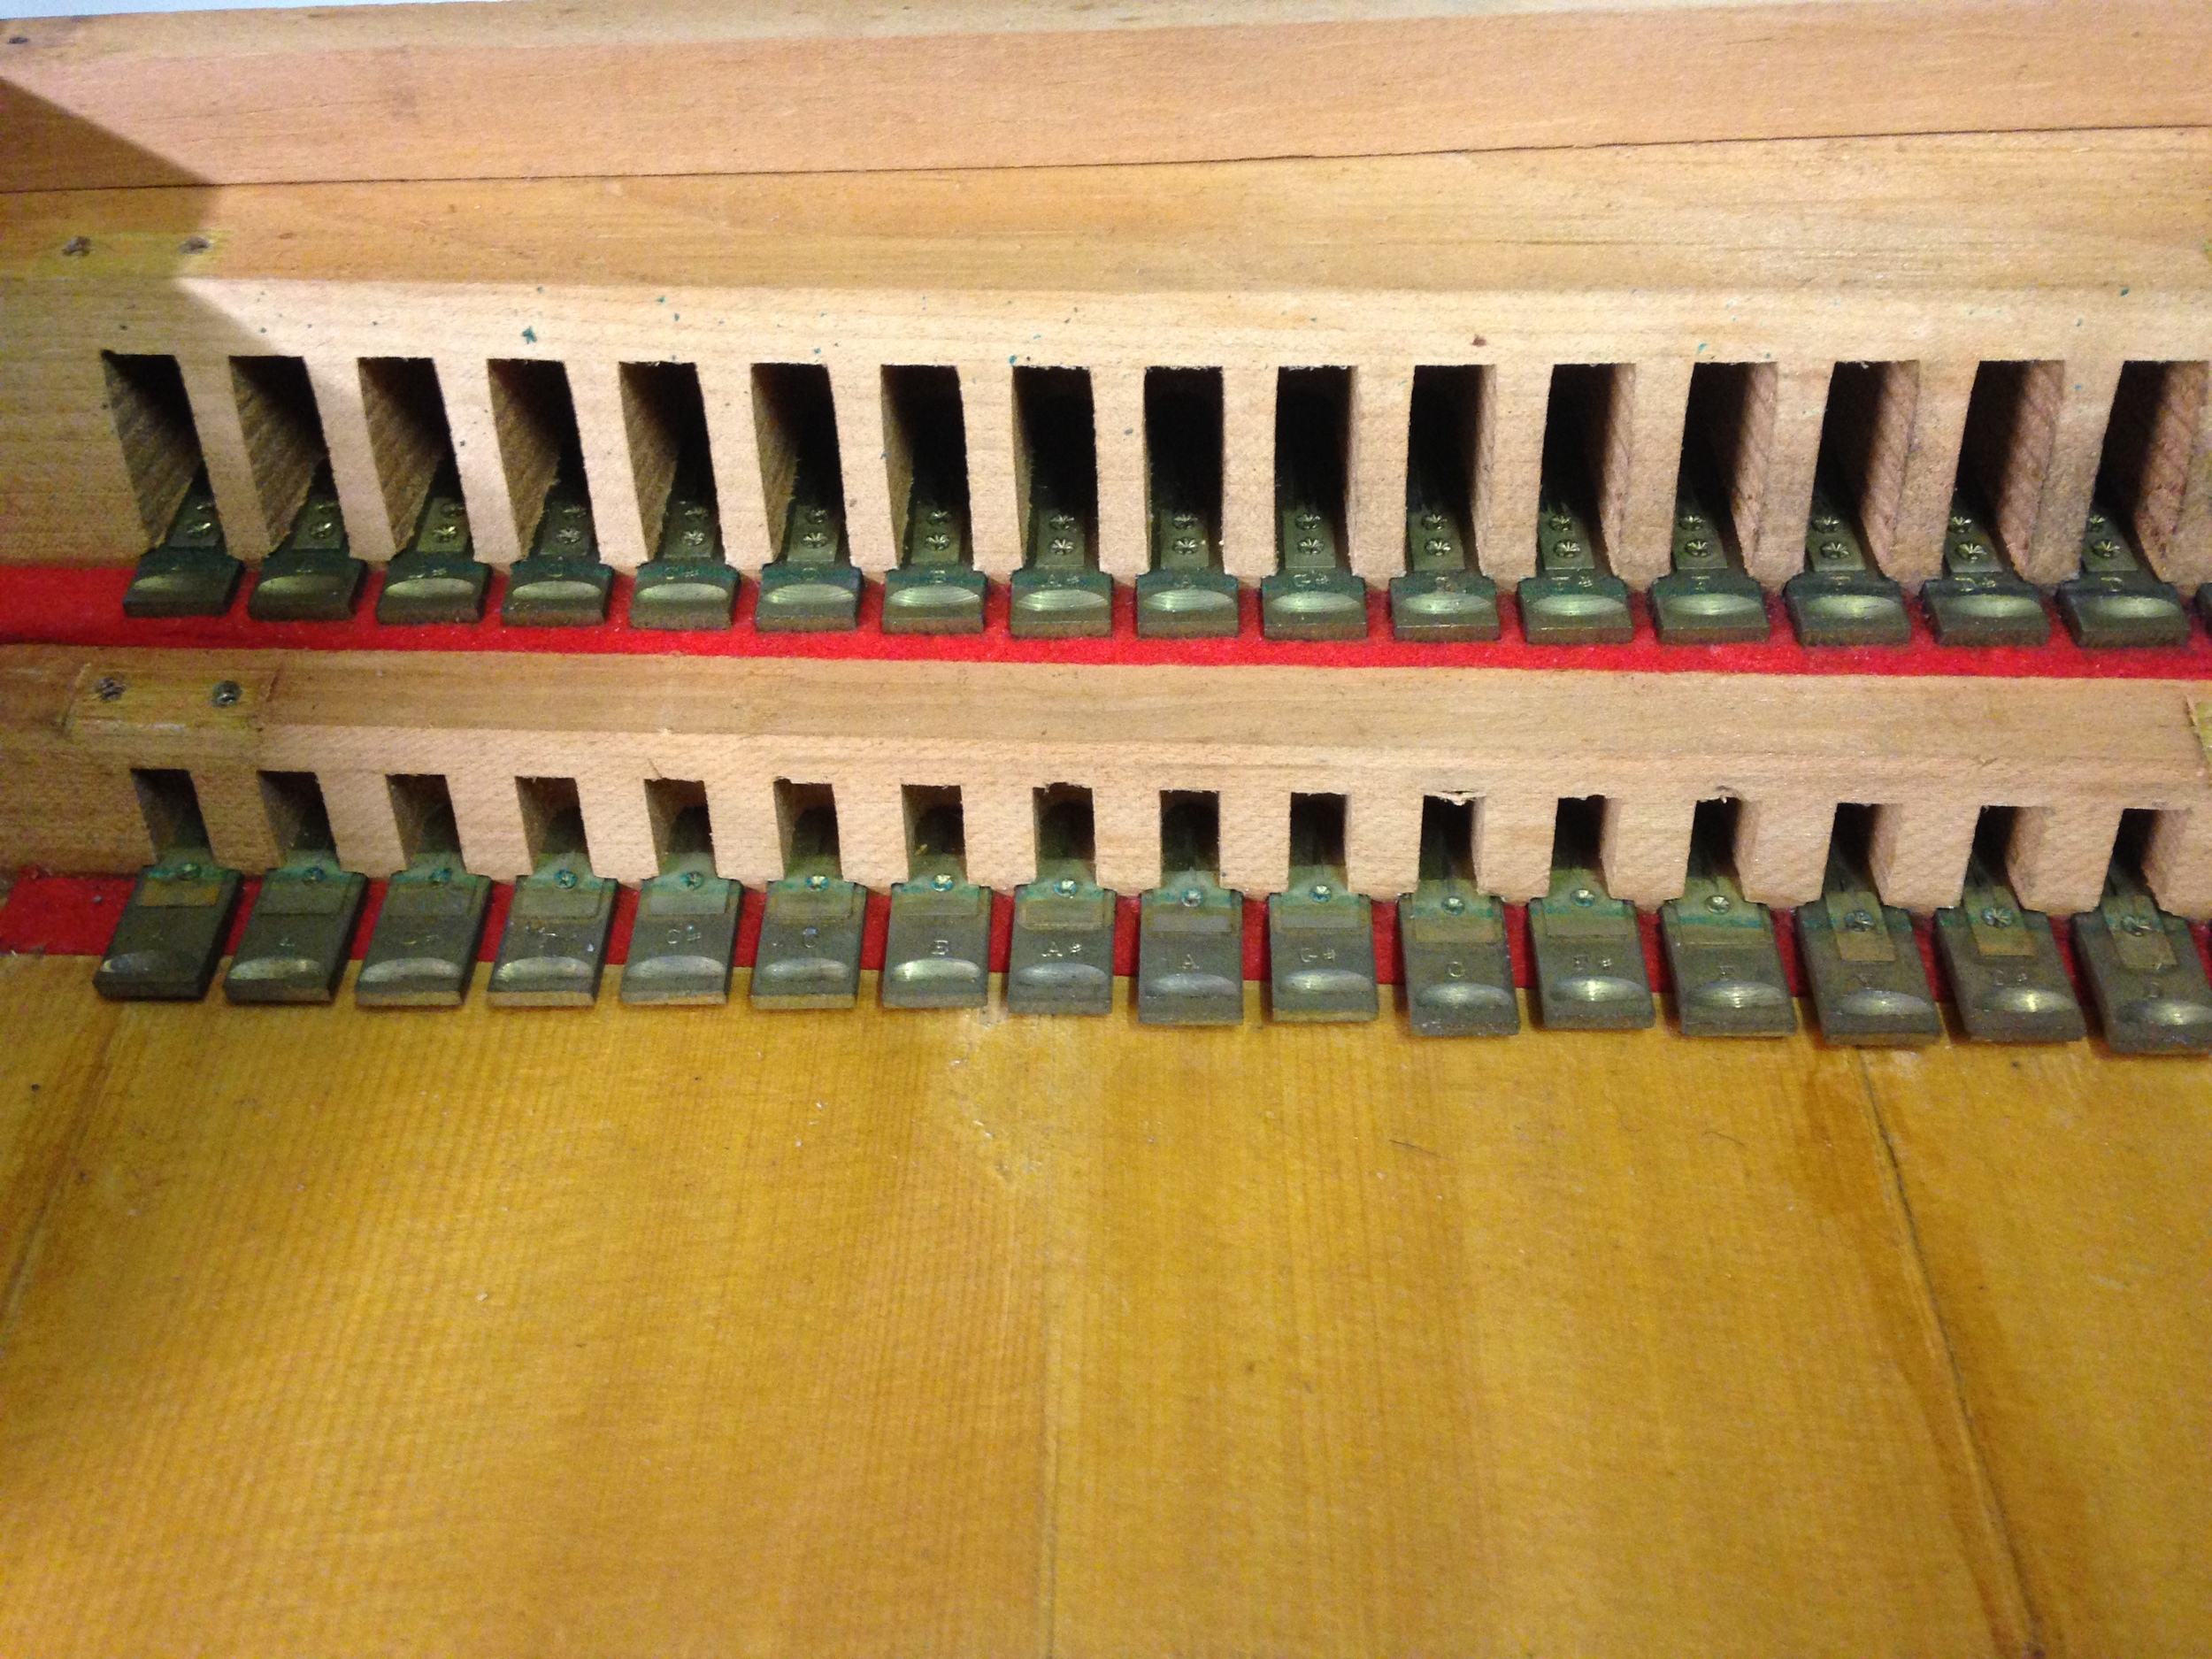
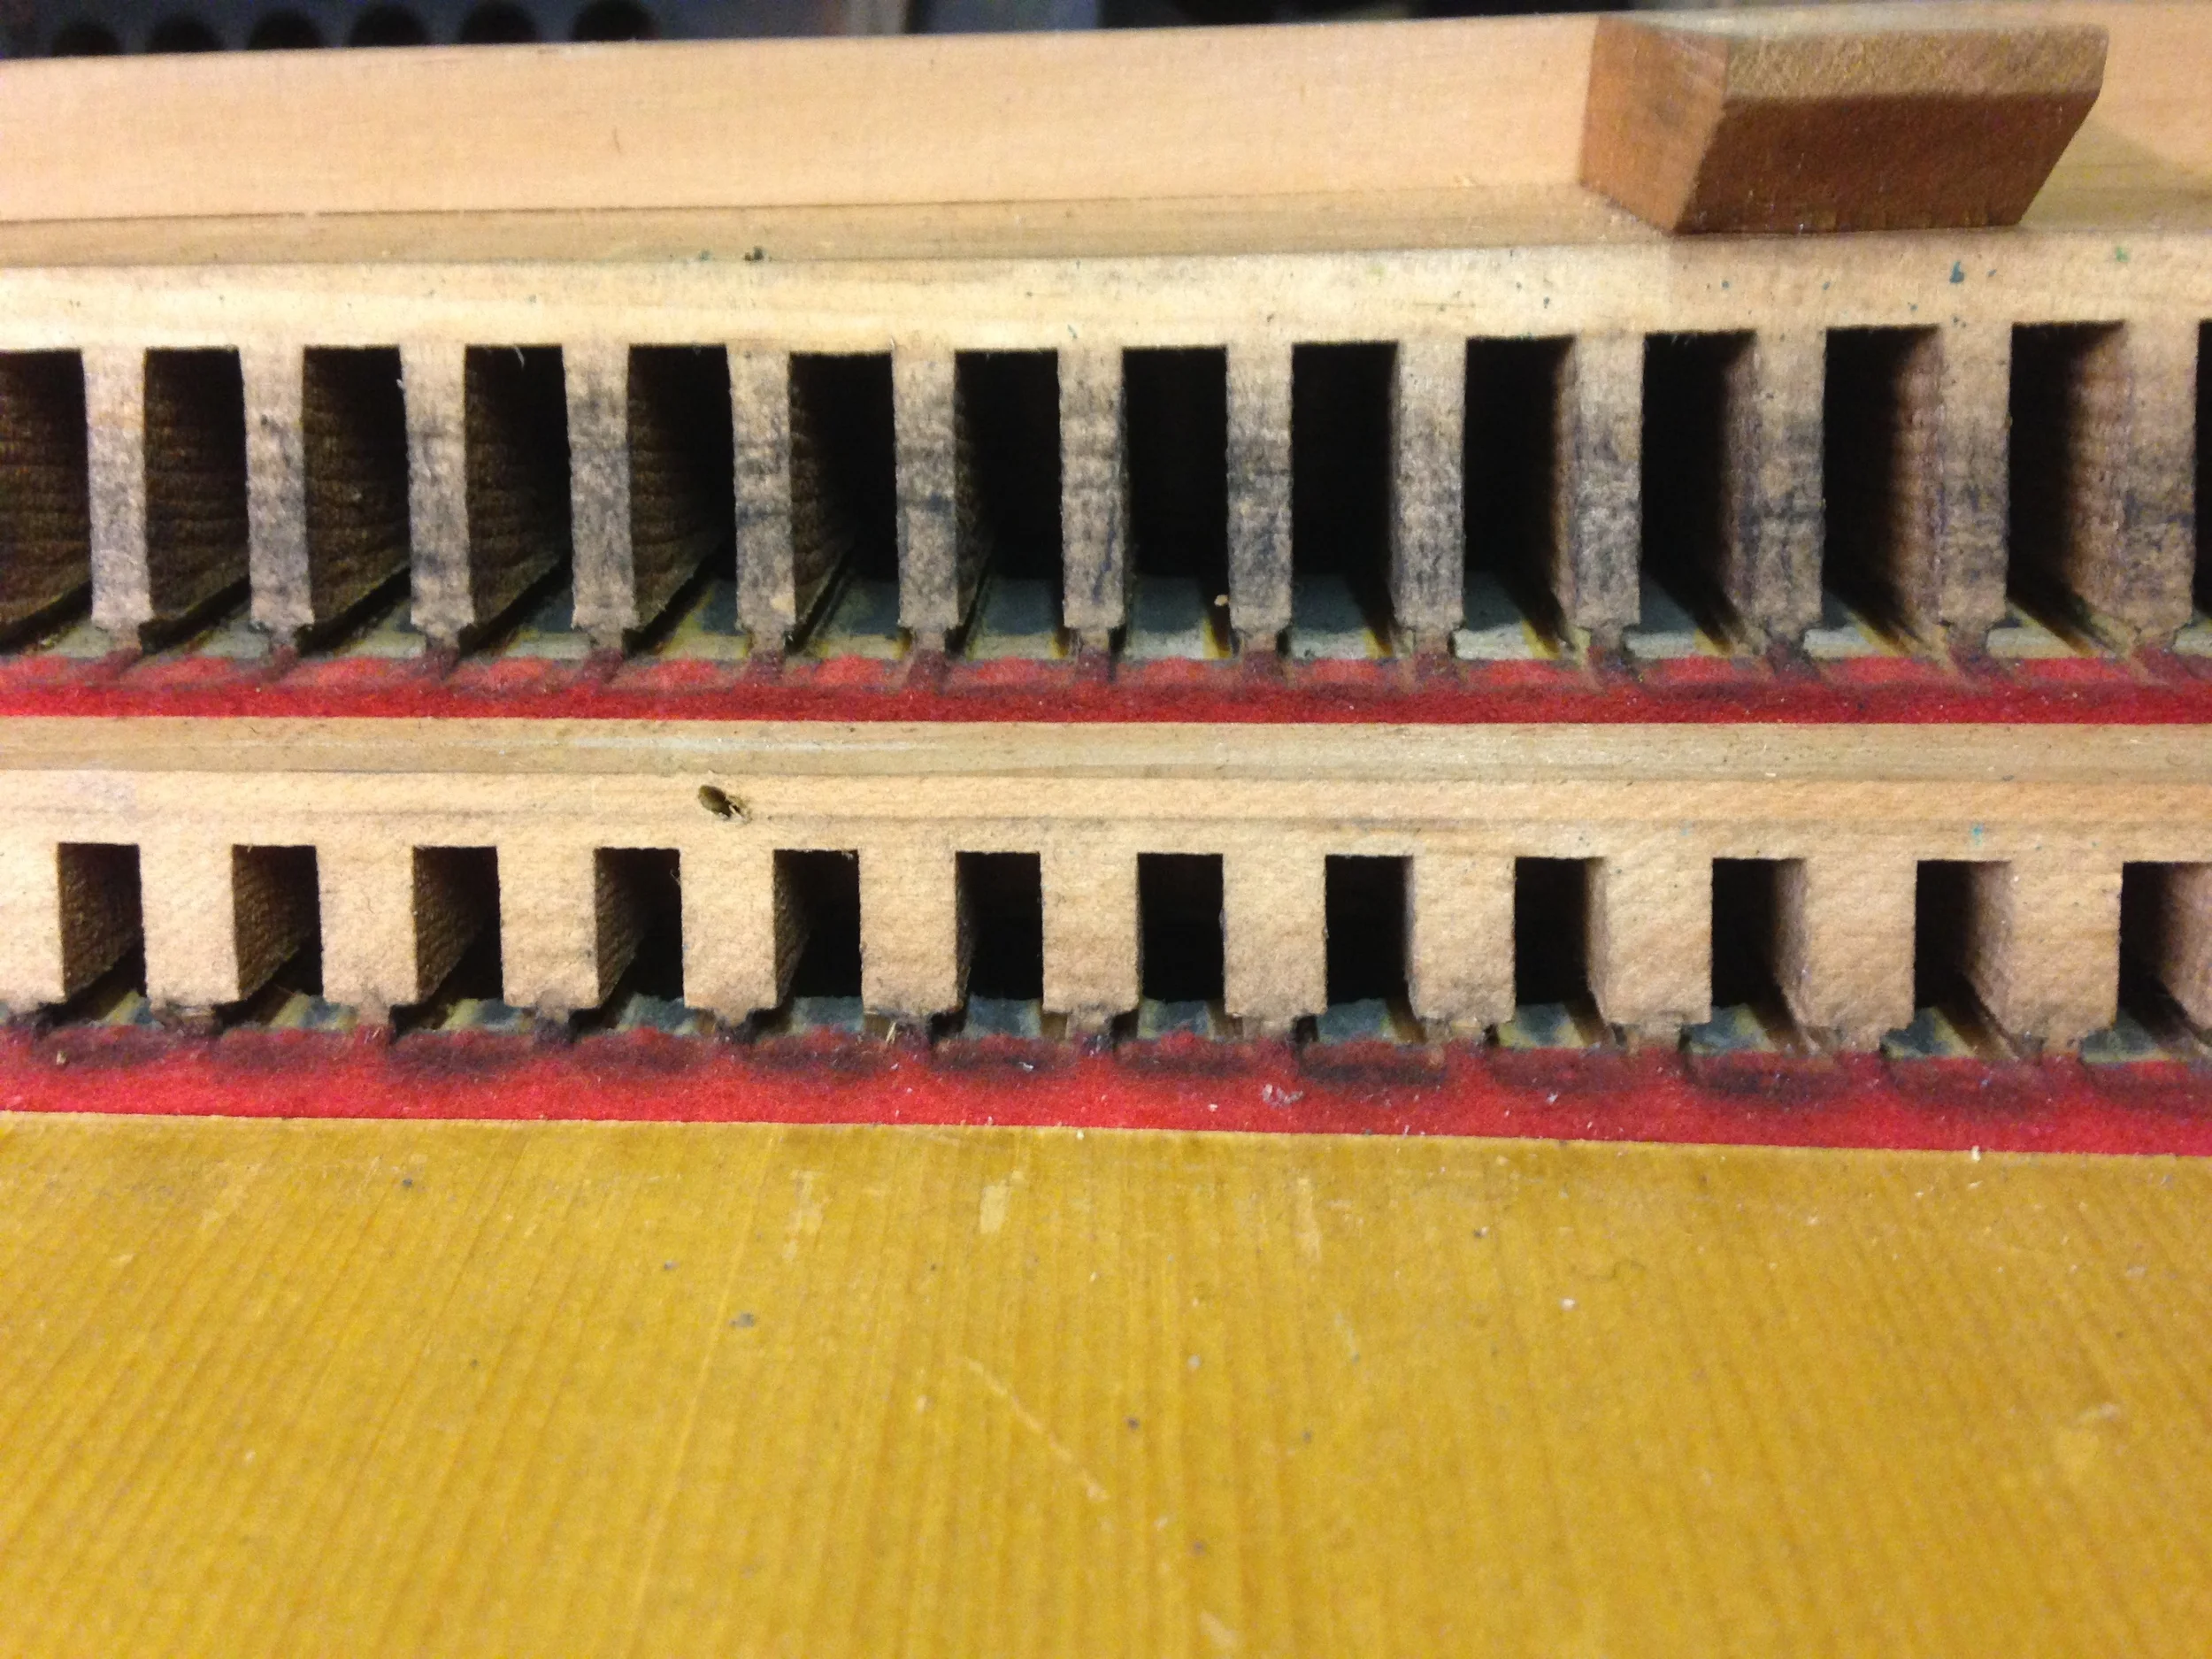
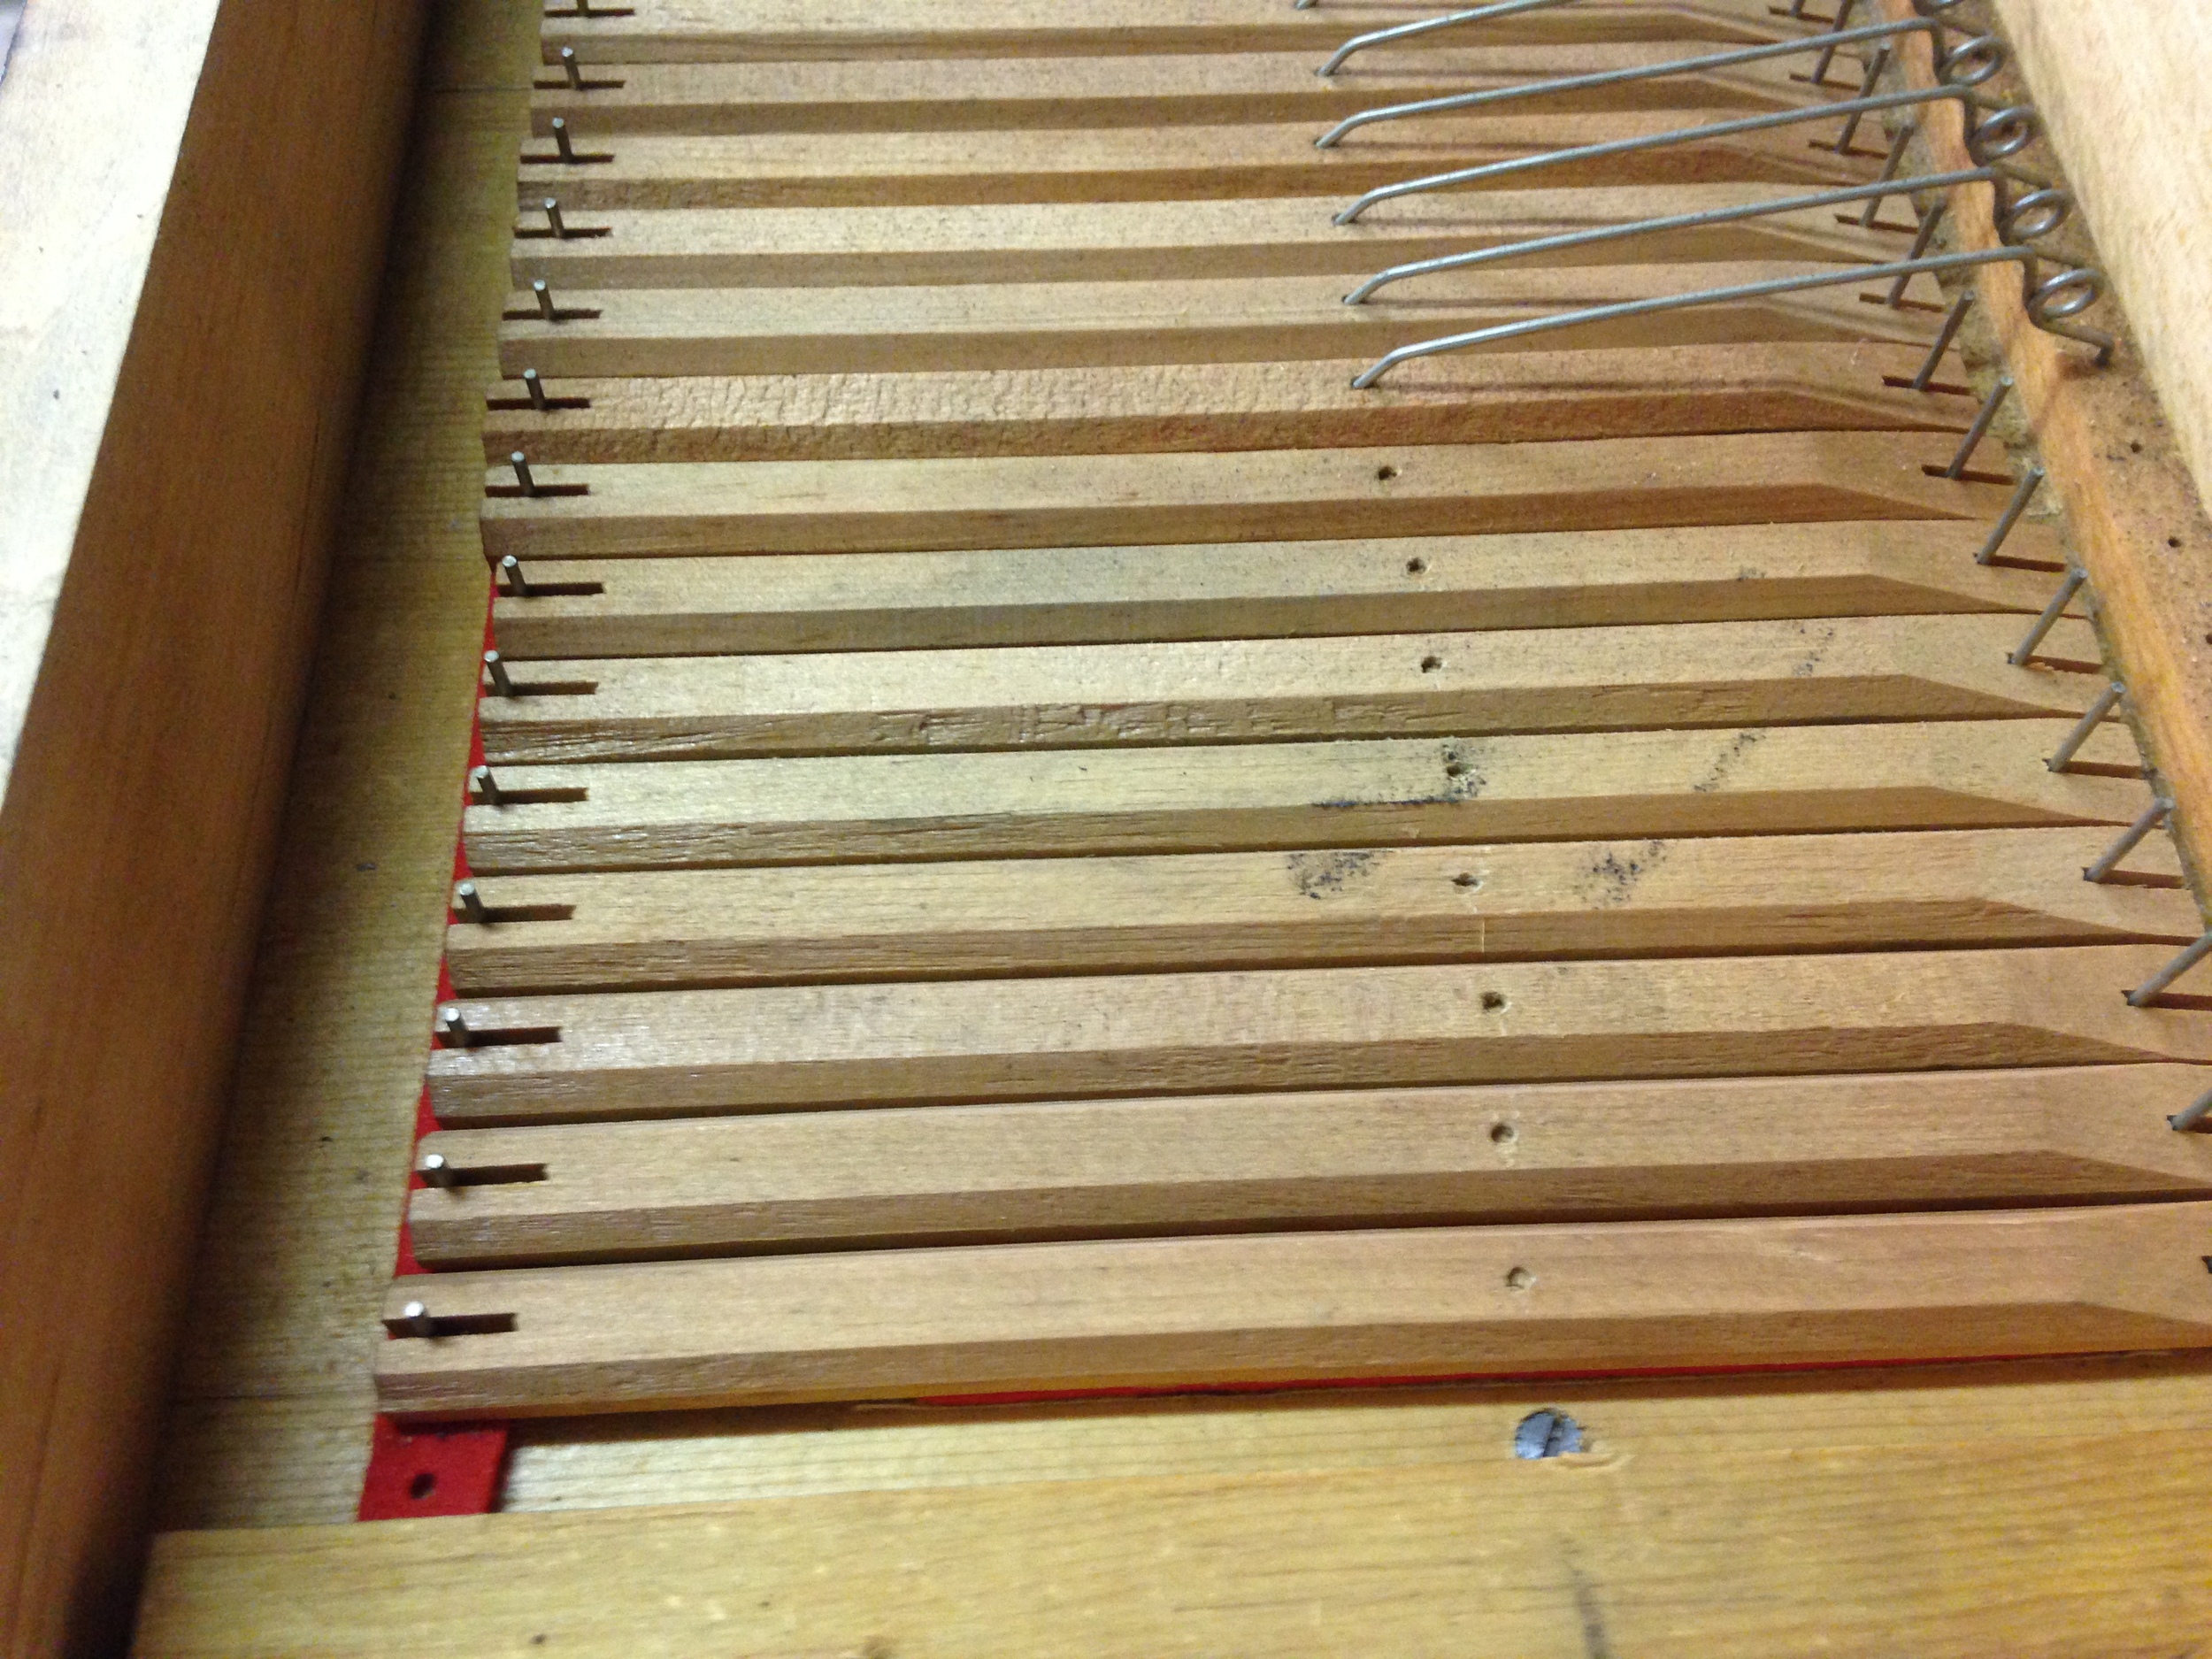
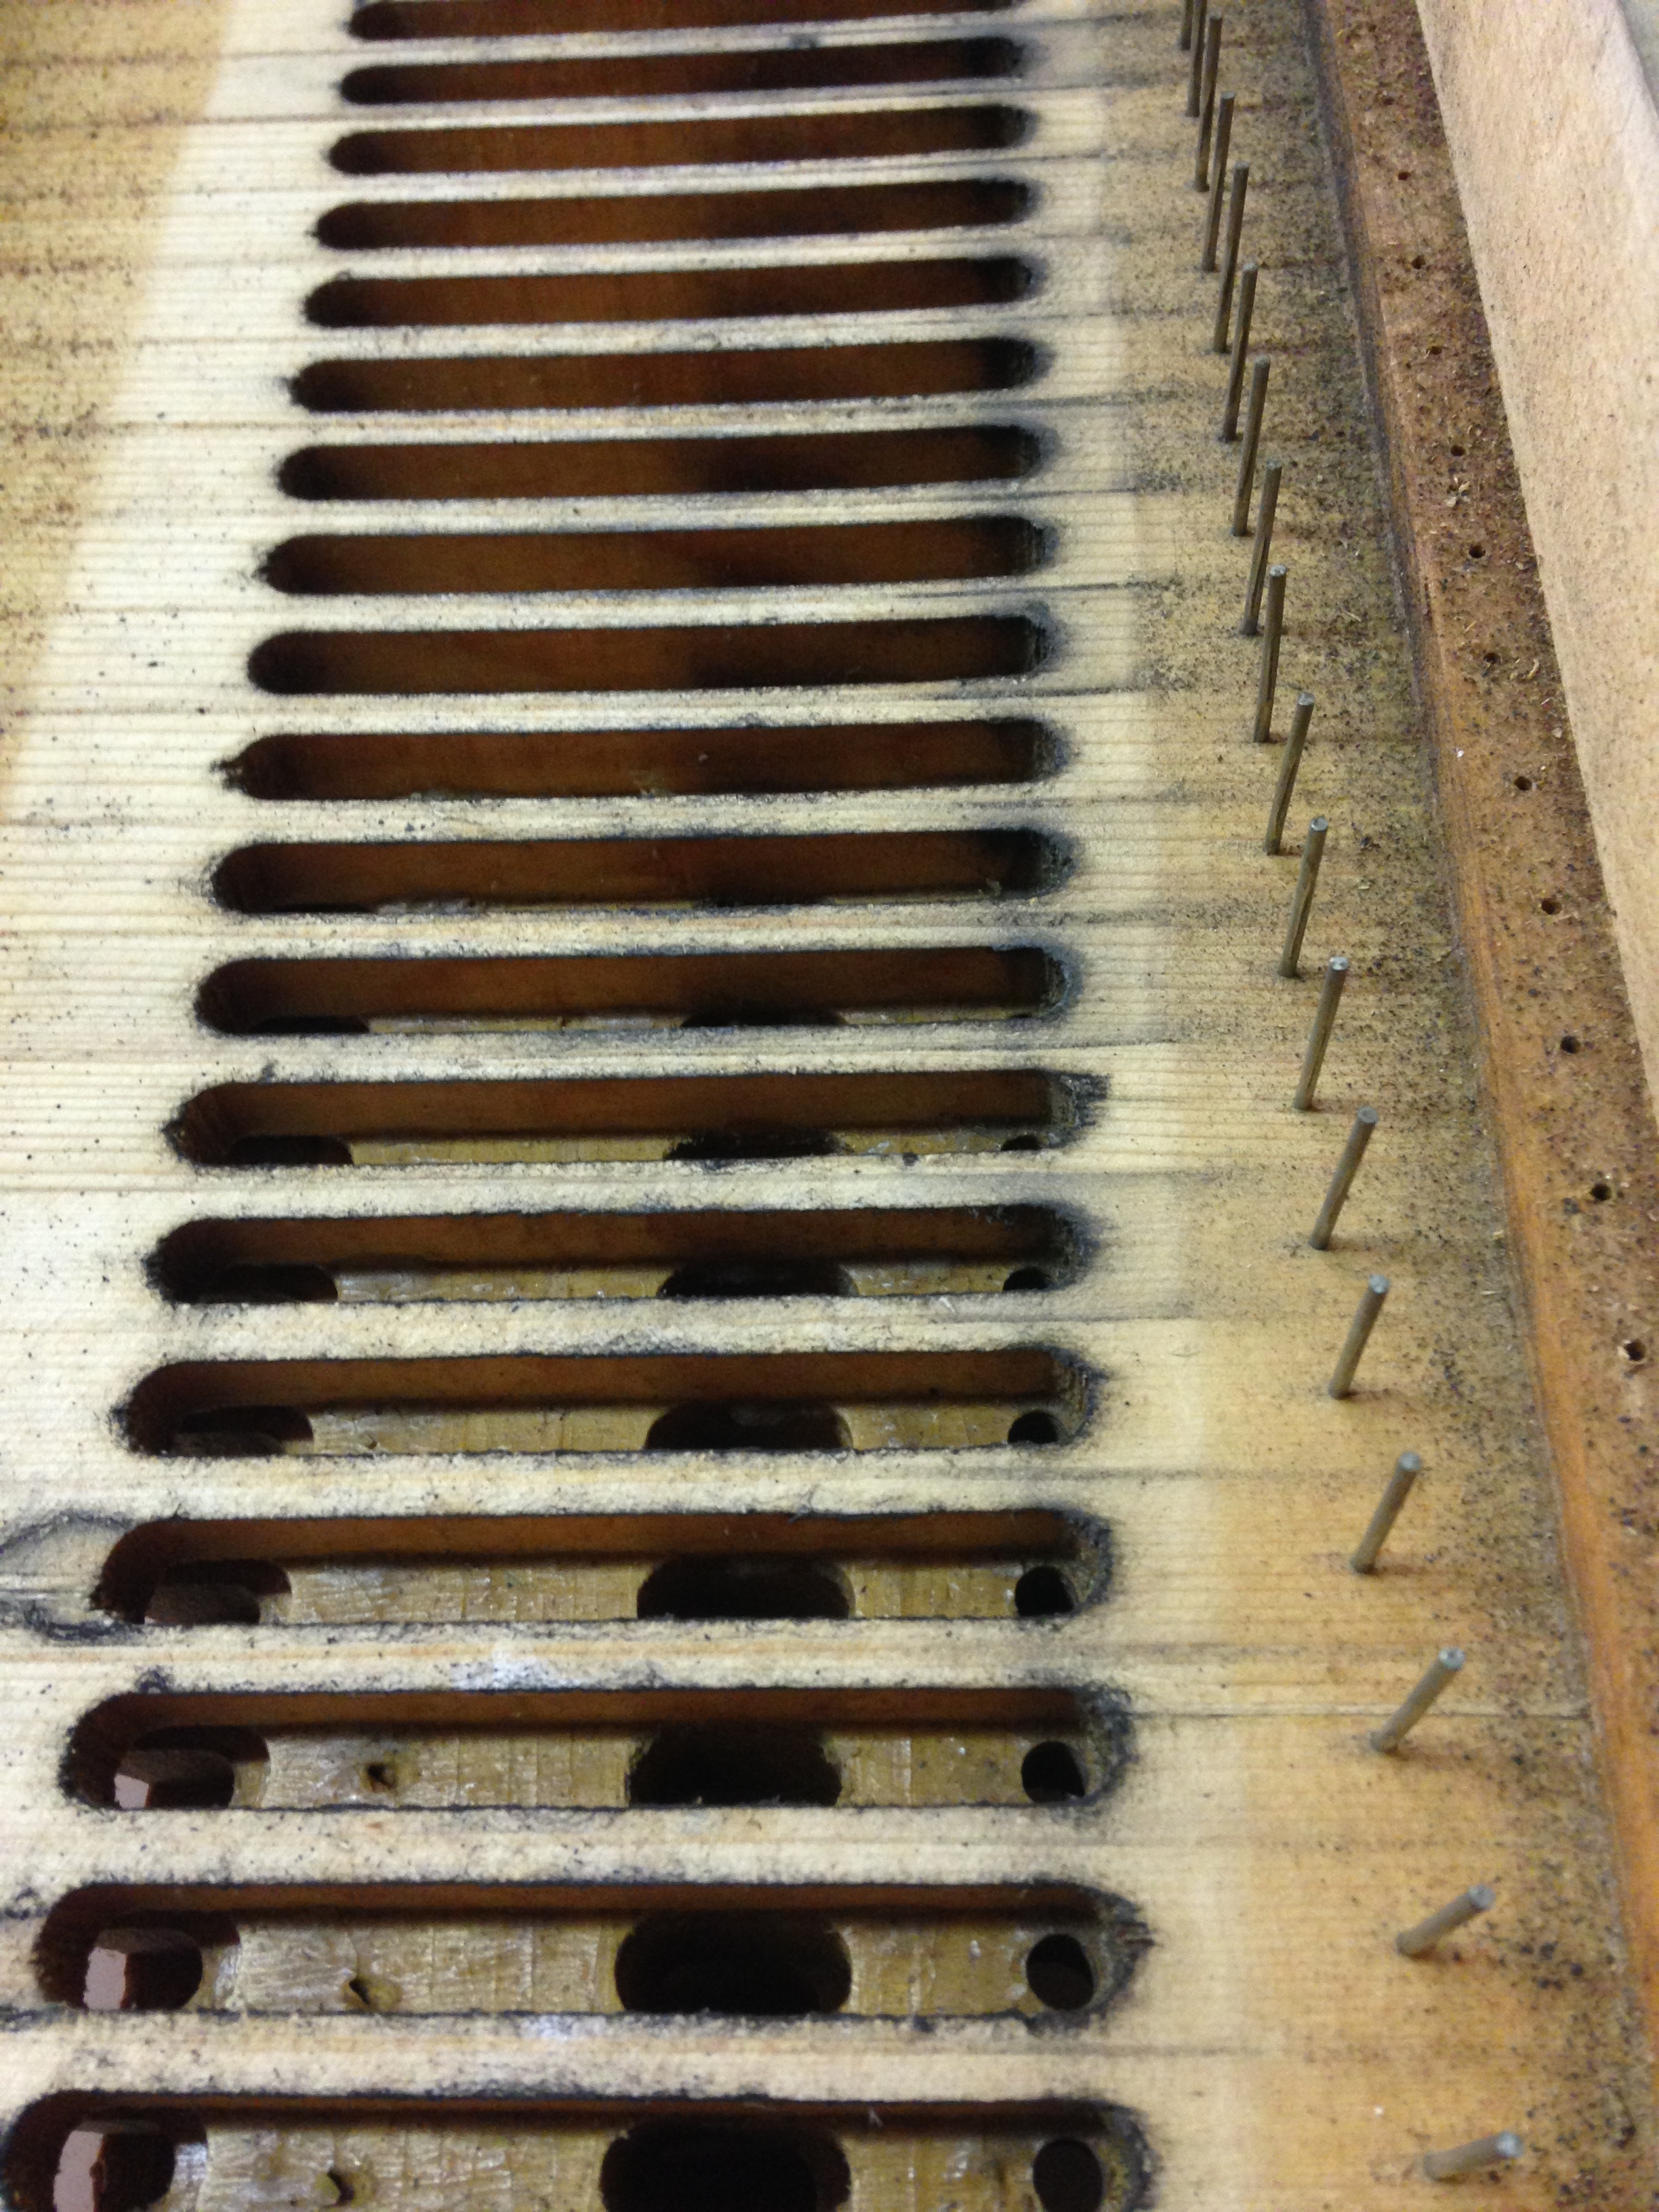
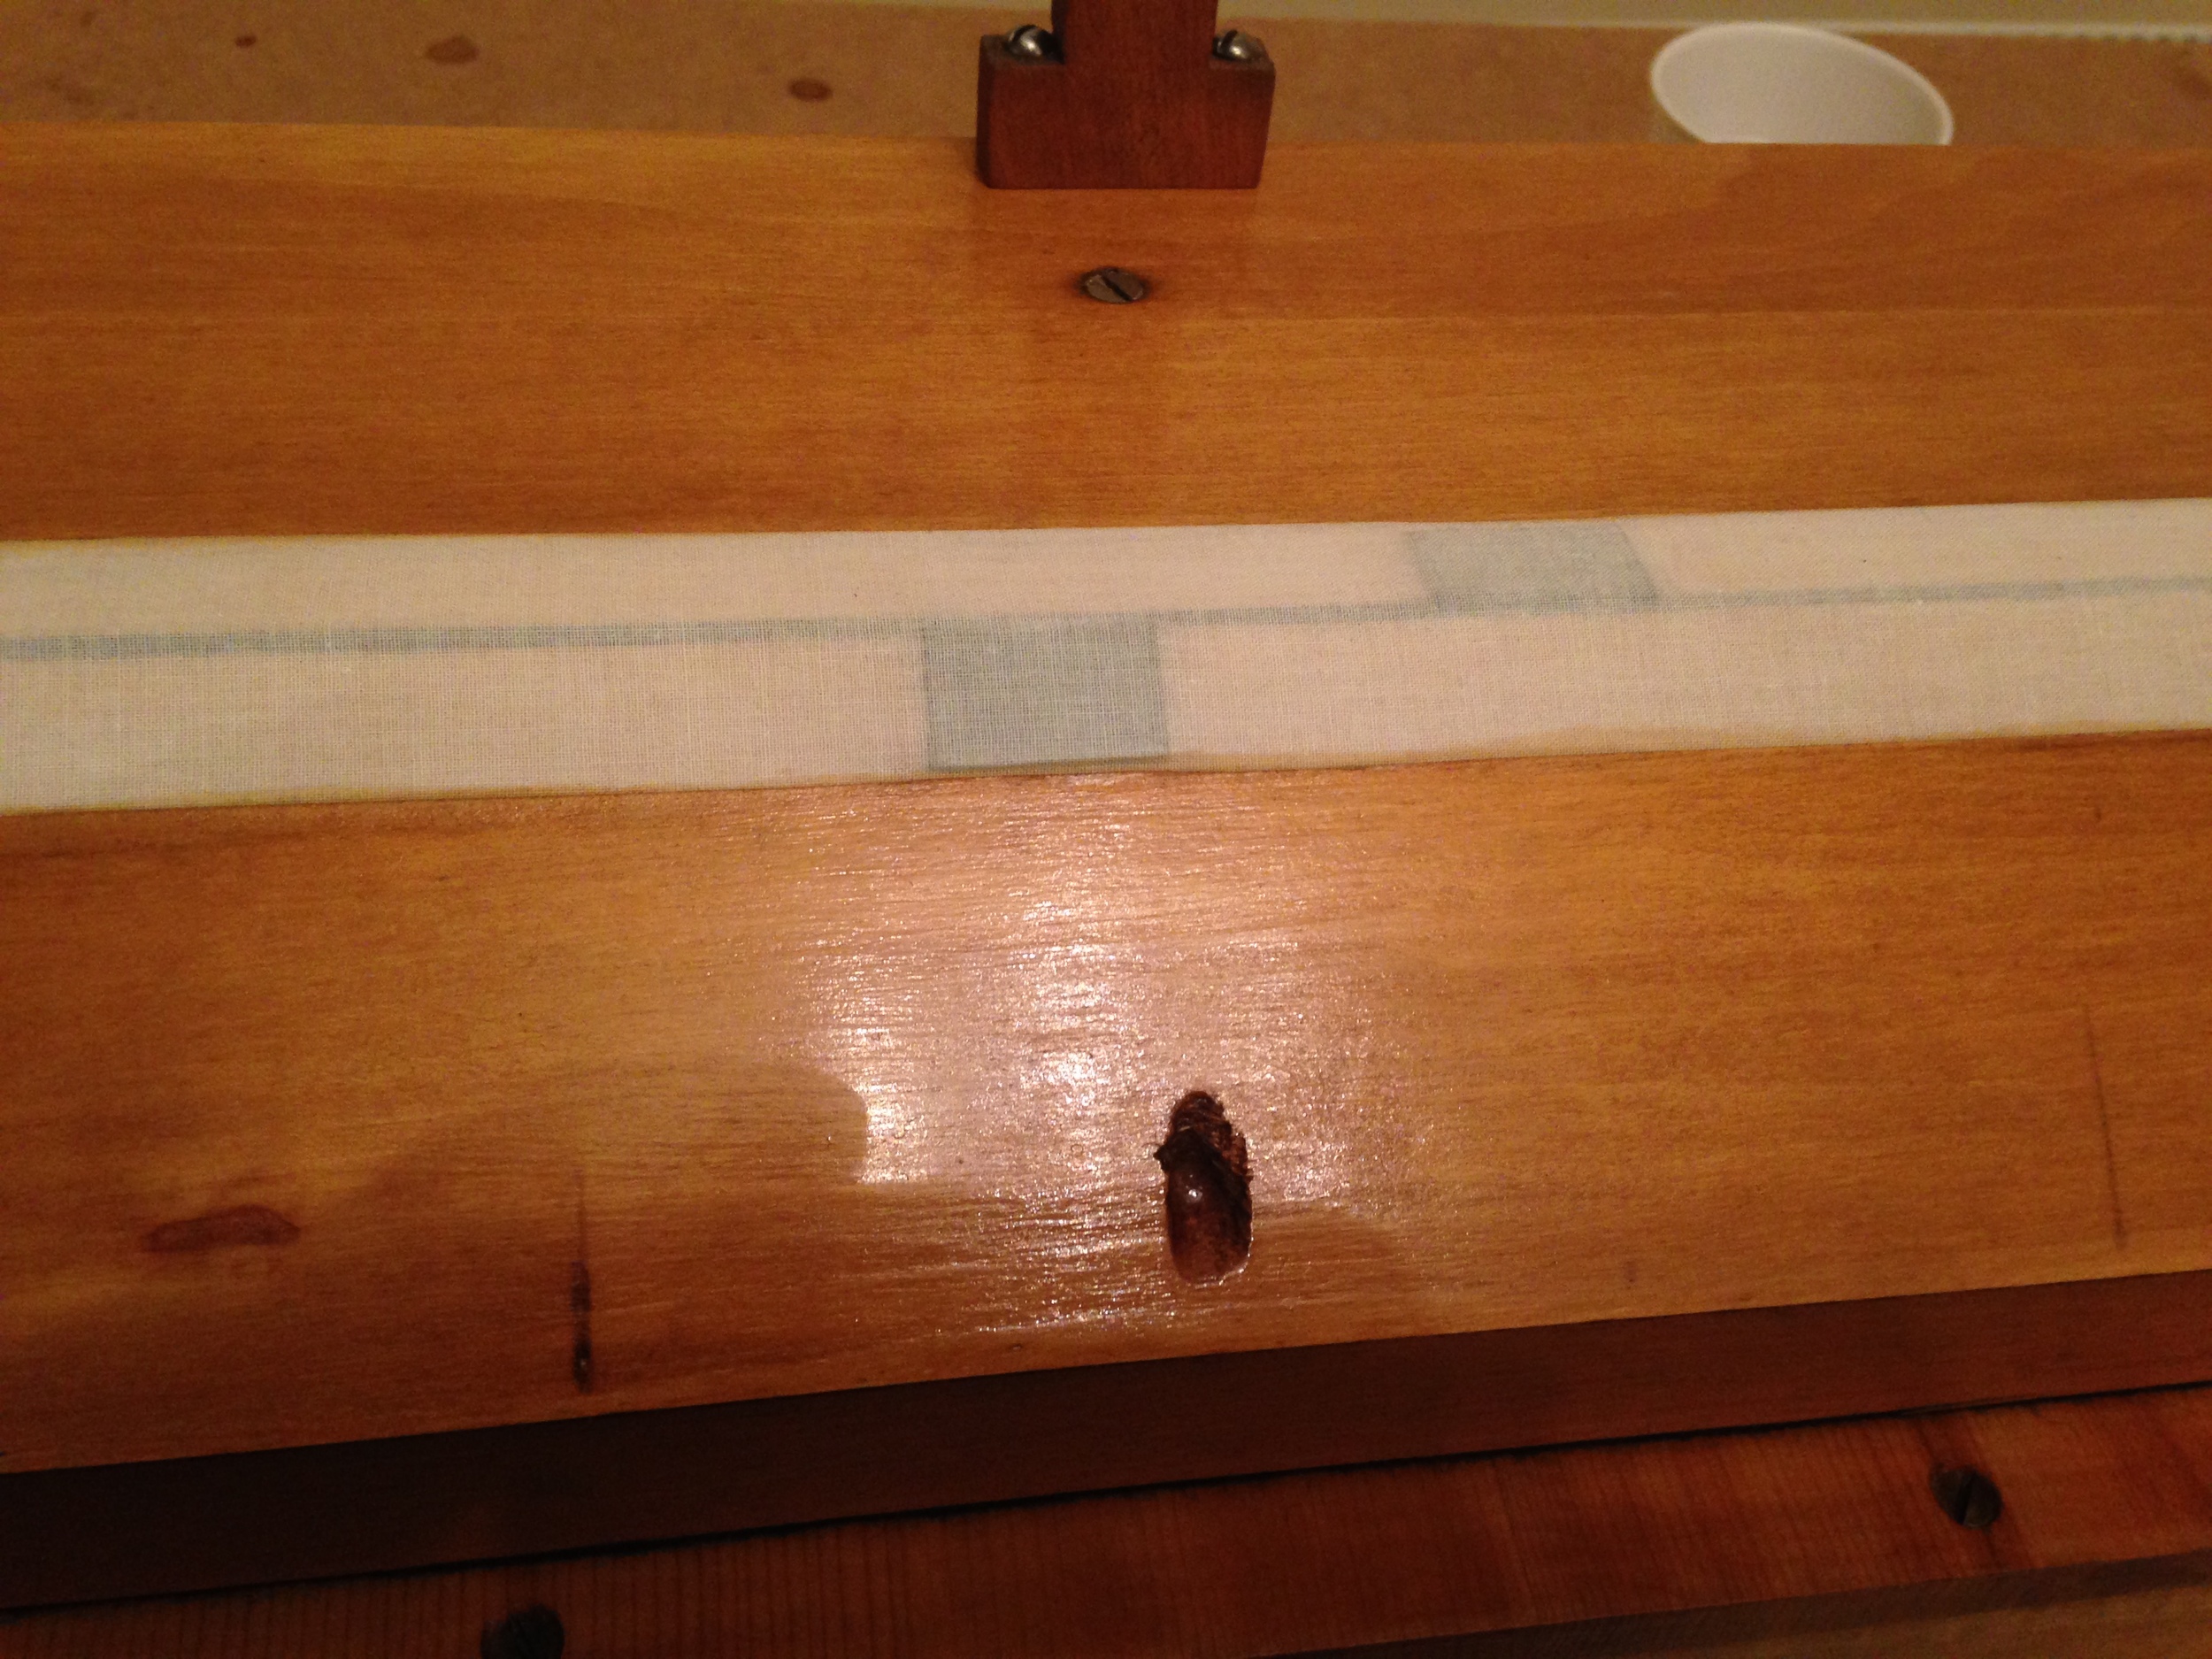
The reed pan was thoroughly cleaned, sanded and resealed and shellacked. All the pallet valves have been re-leathered and the springs cleaned everything re-installed on the underside of the reed pan.
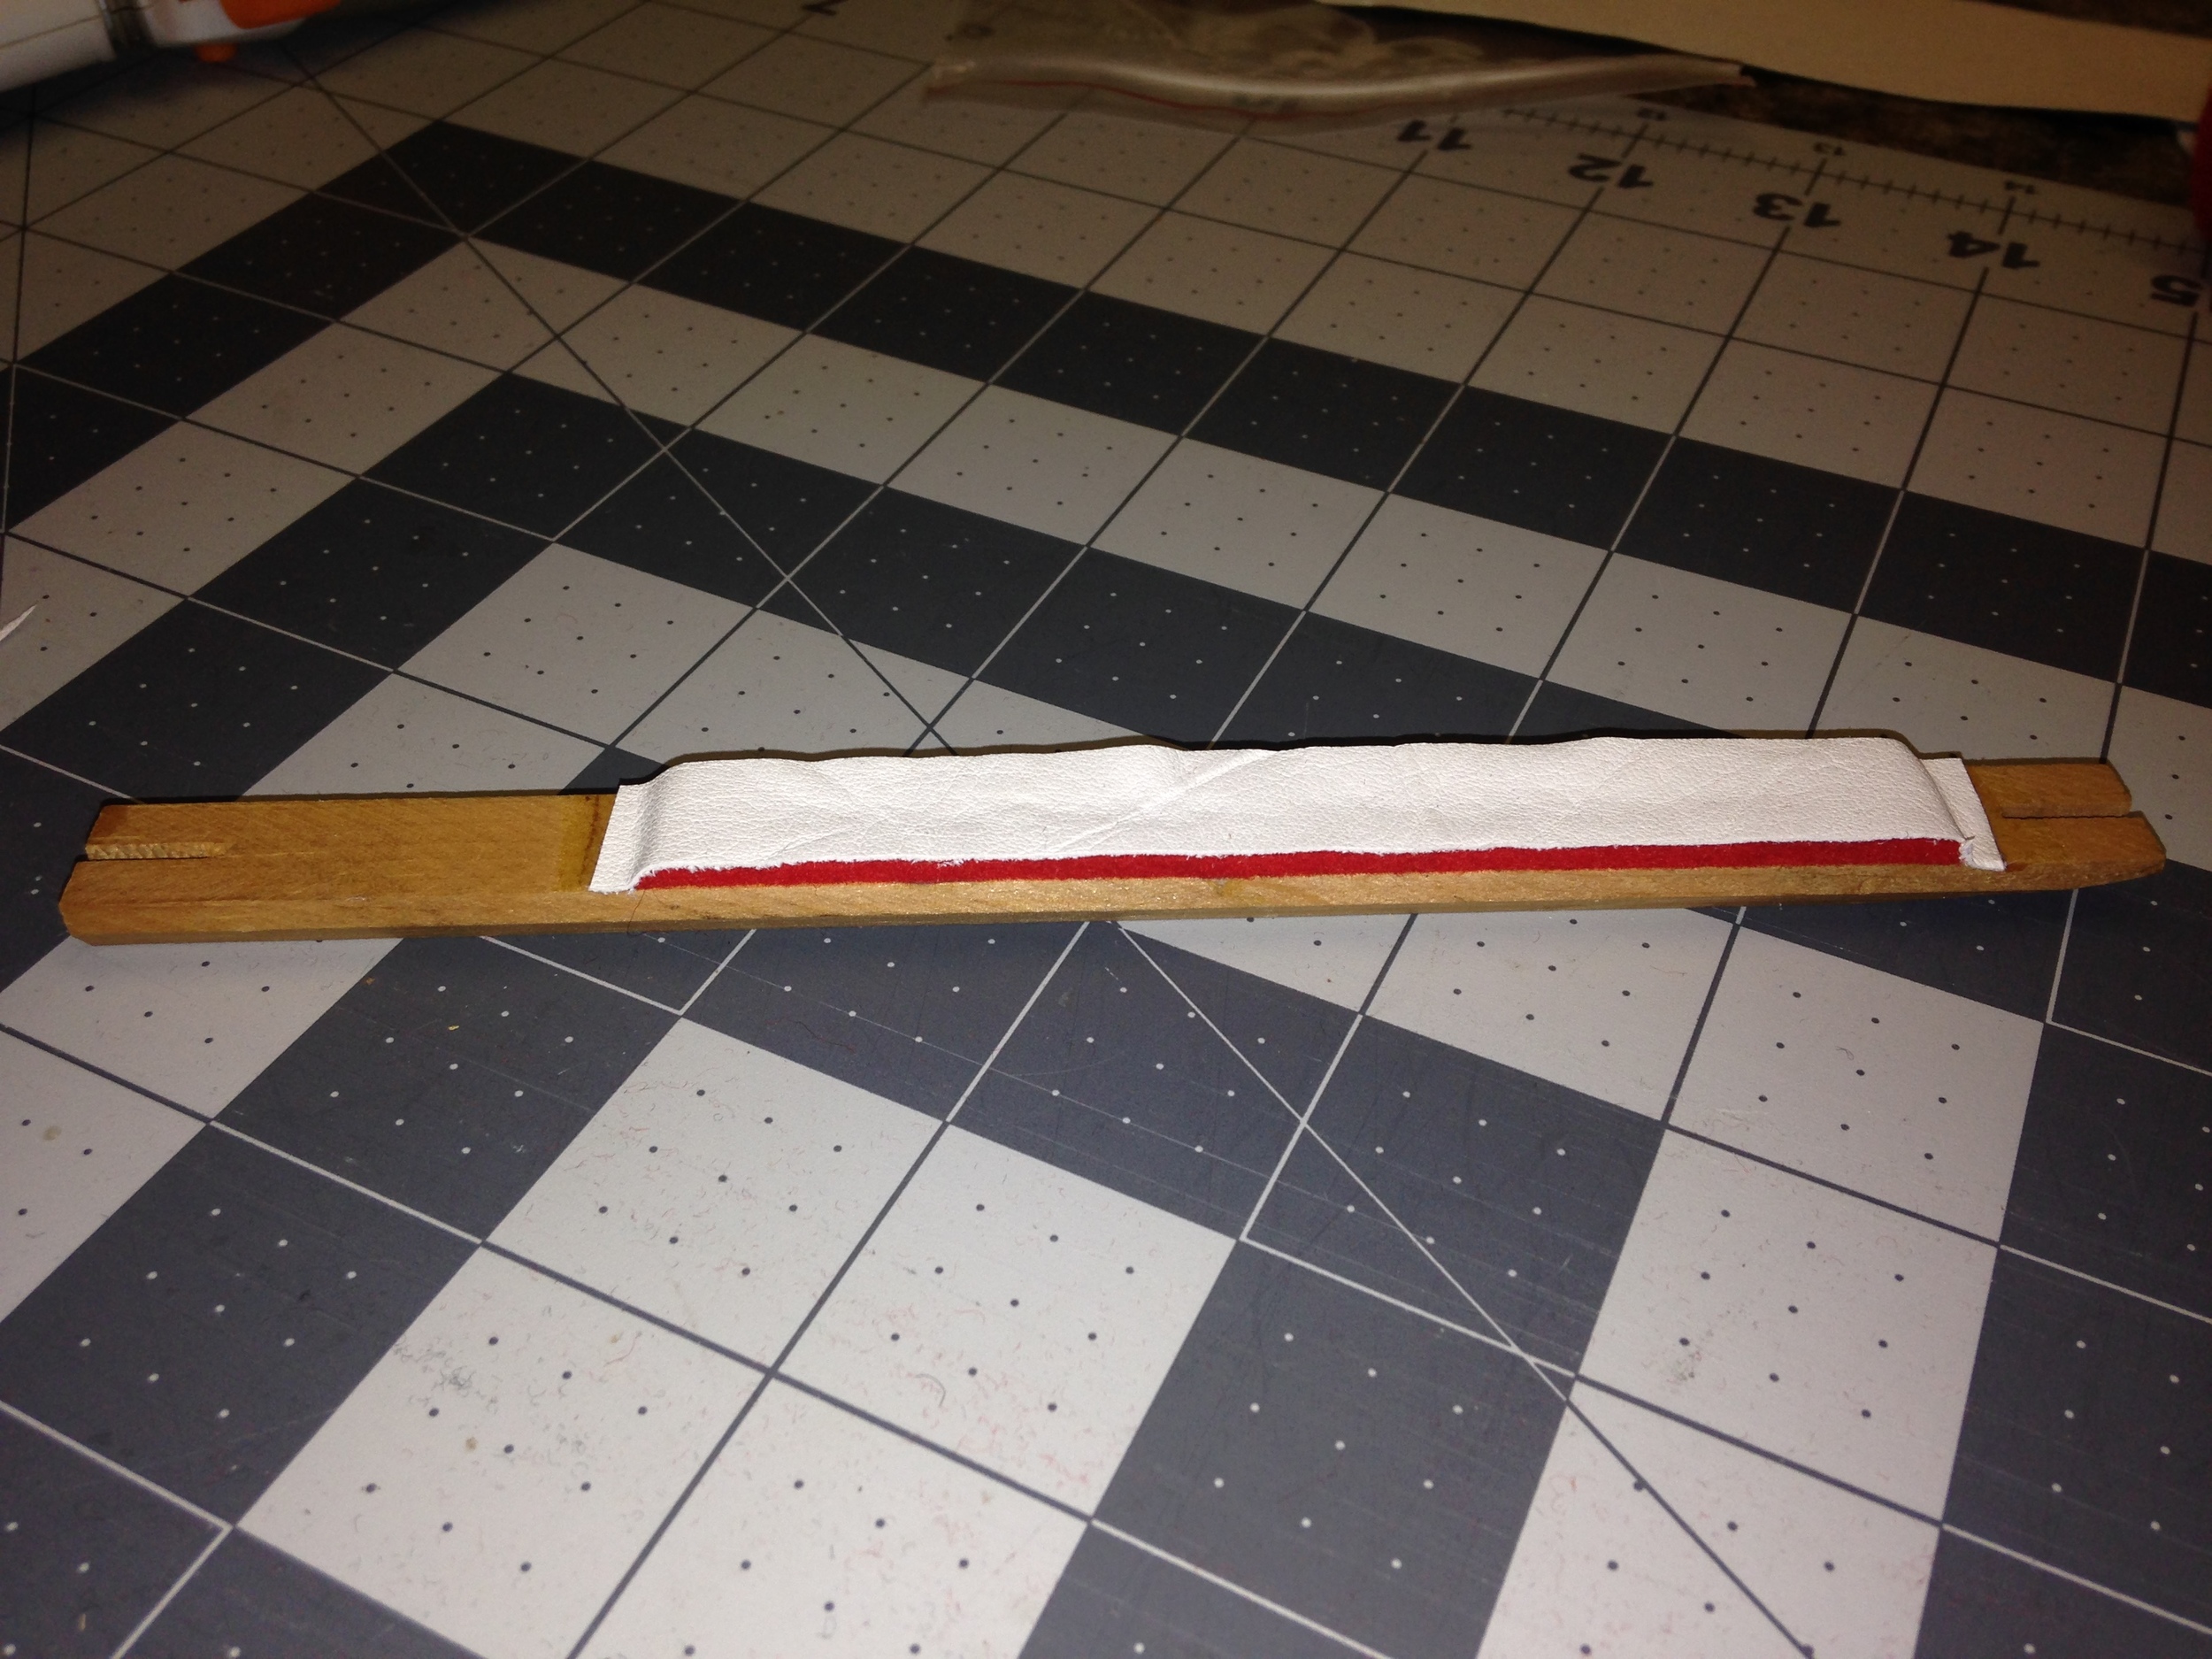
Mutes were stripped and re-leathered. Reeds were removed and cleaned.
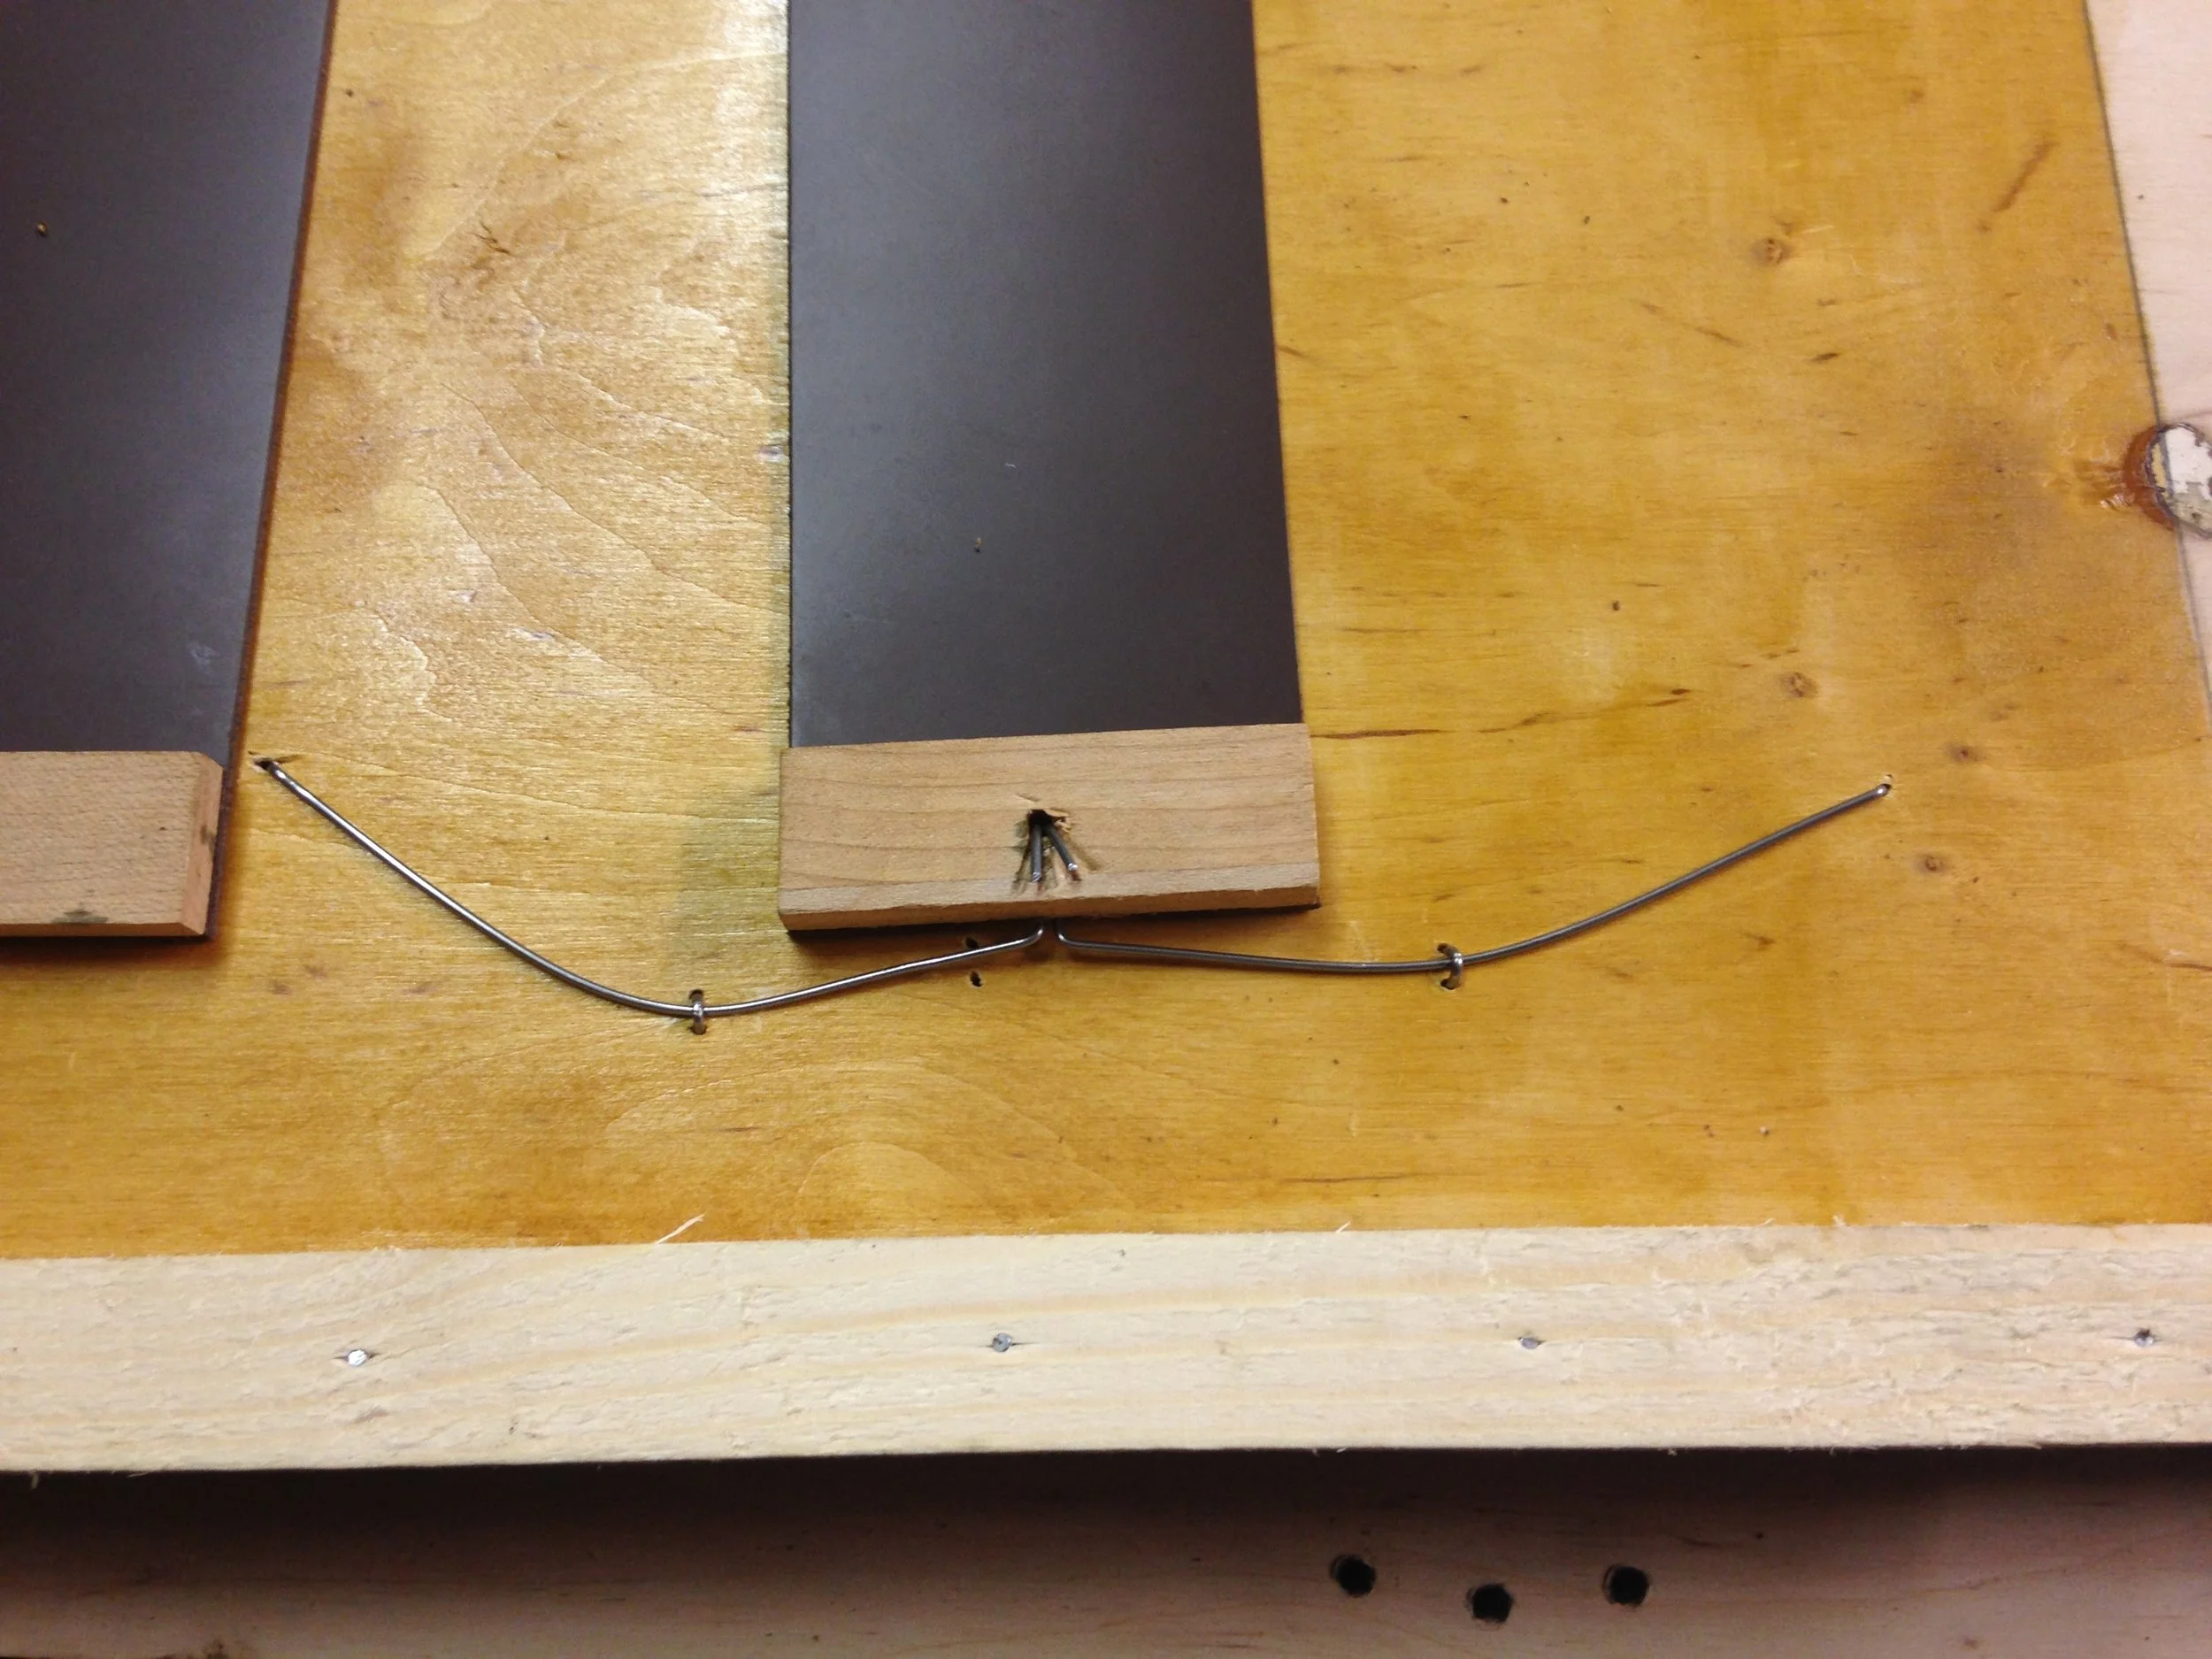
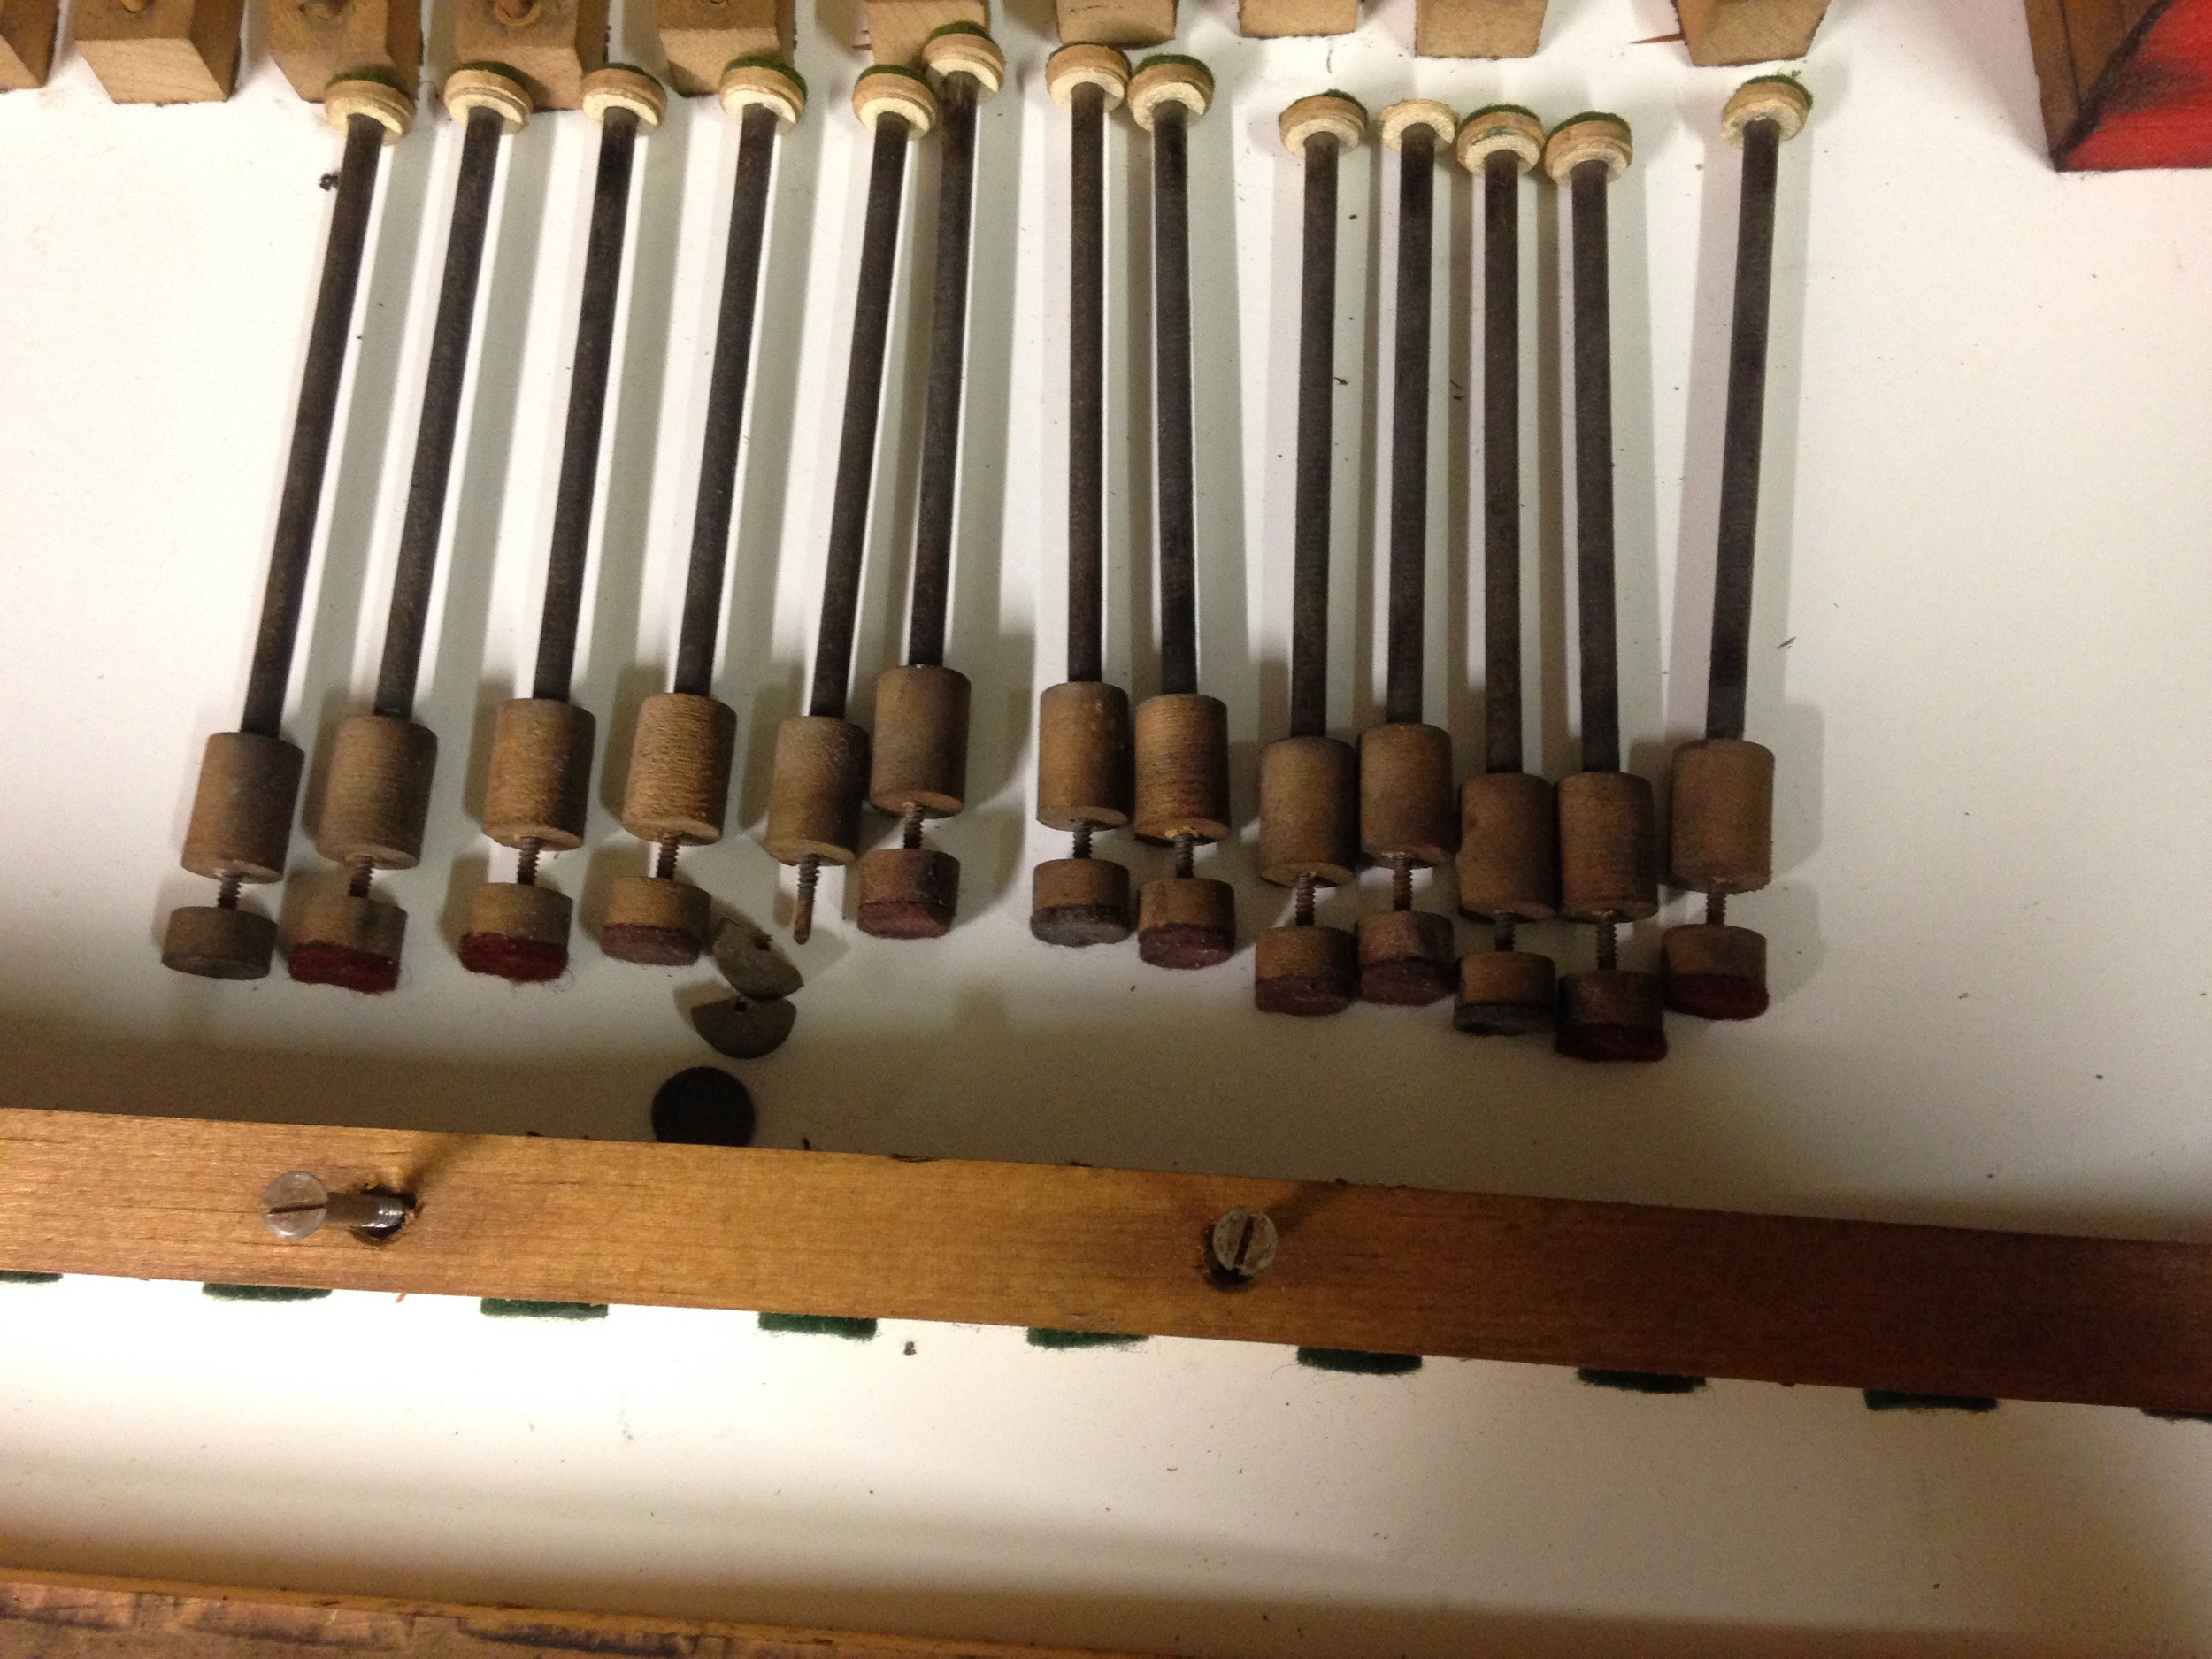
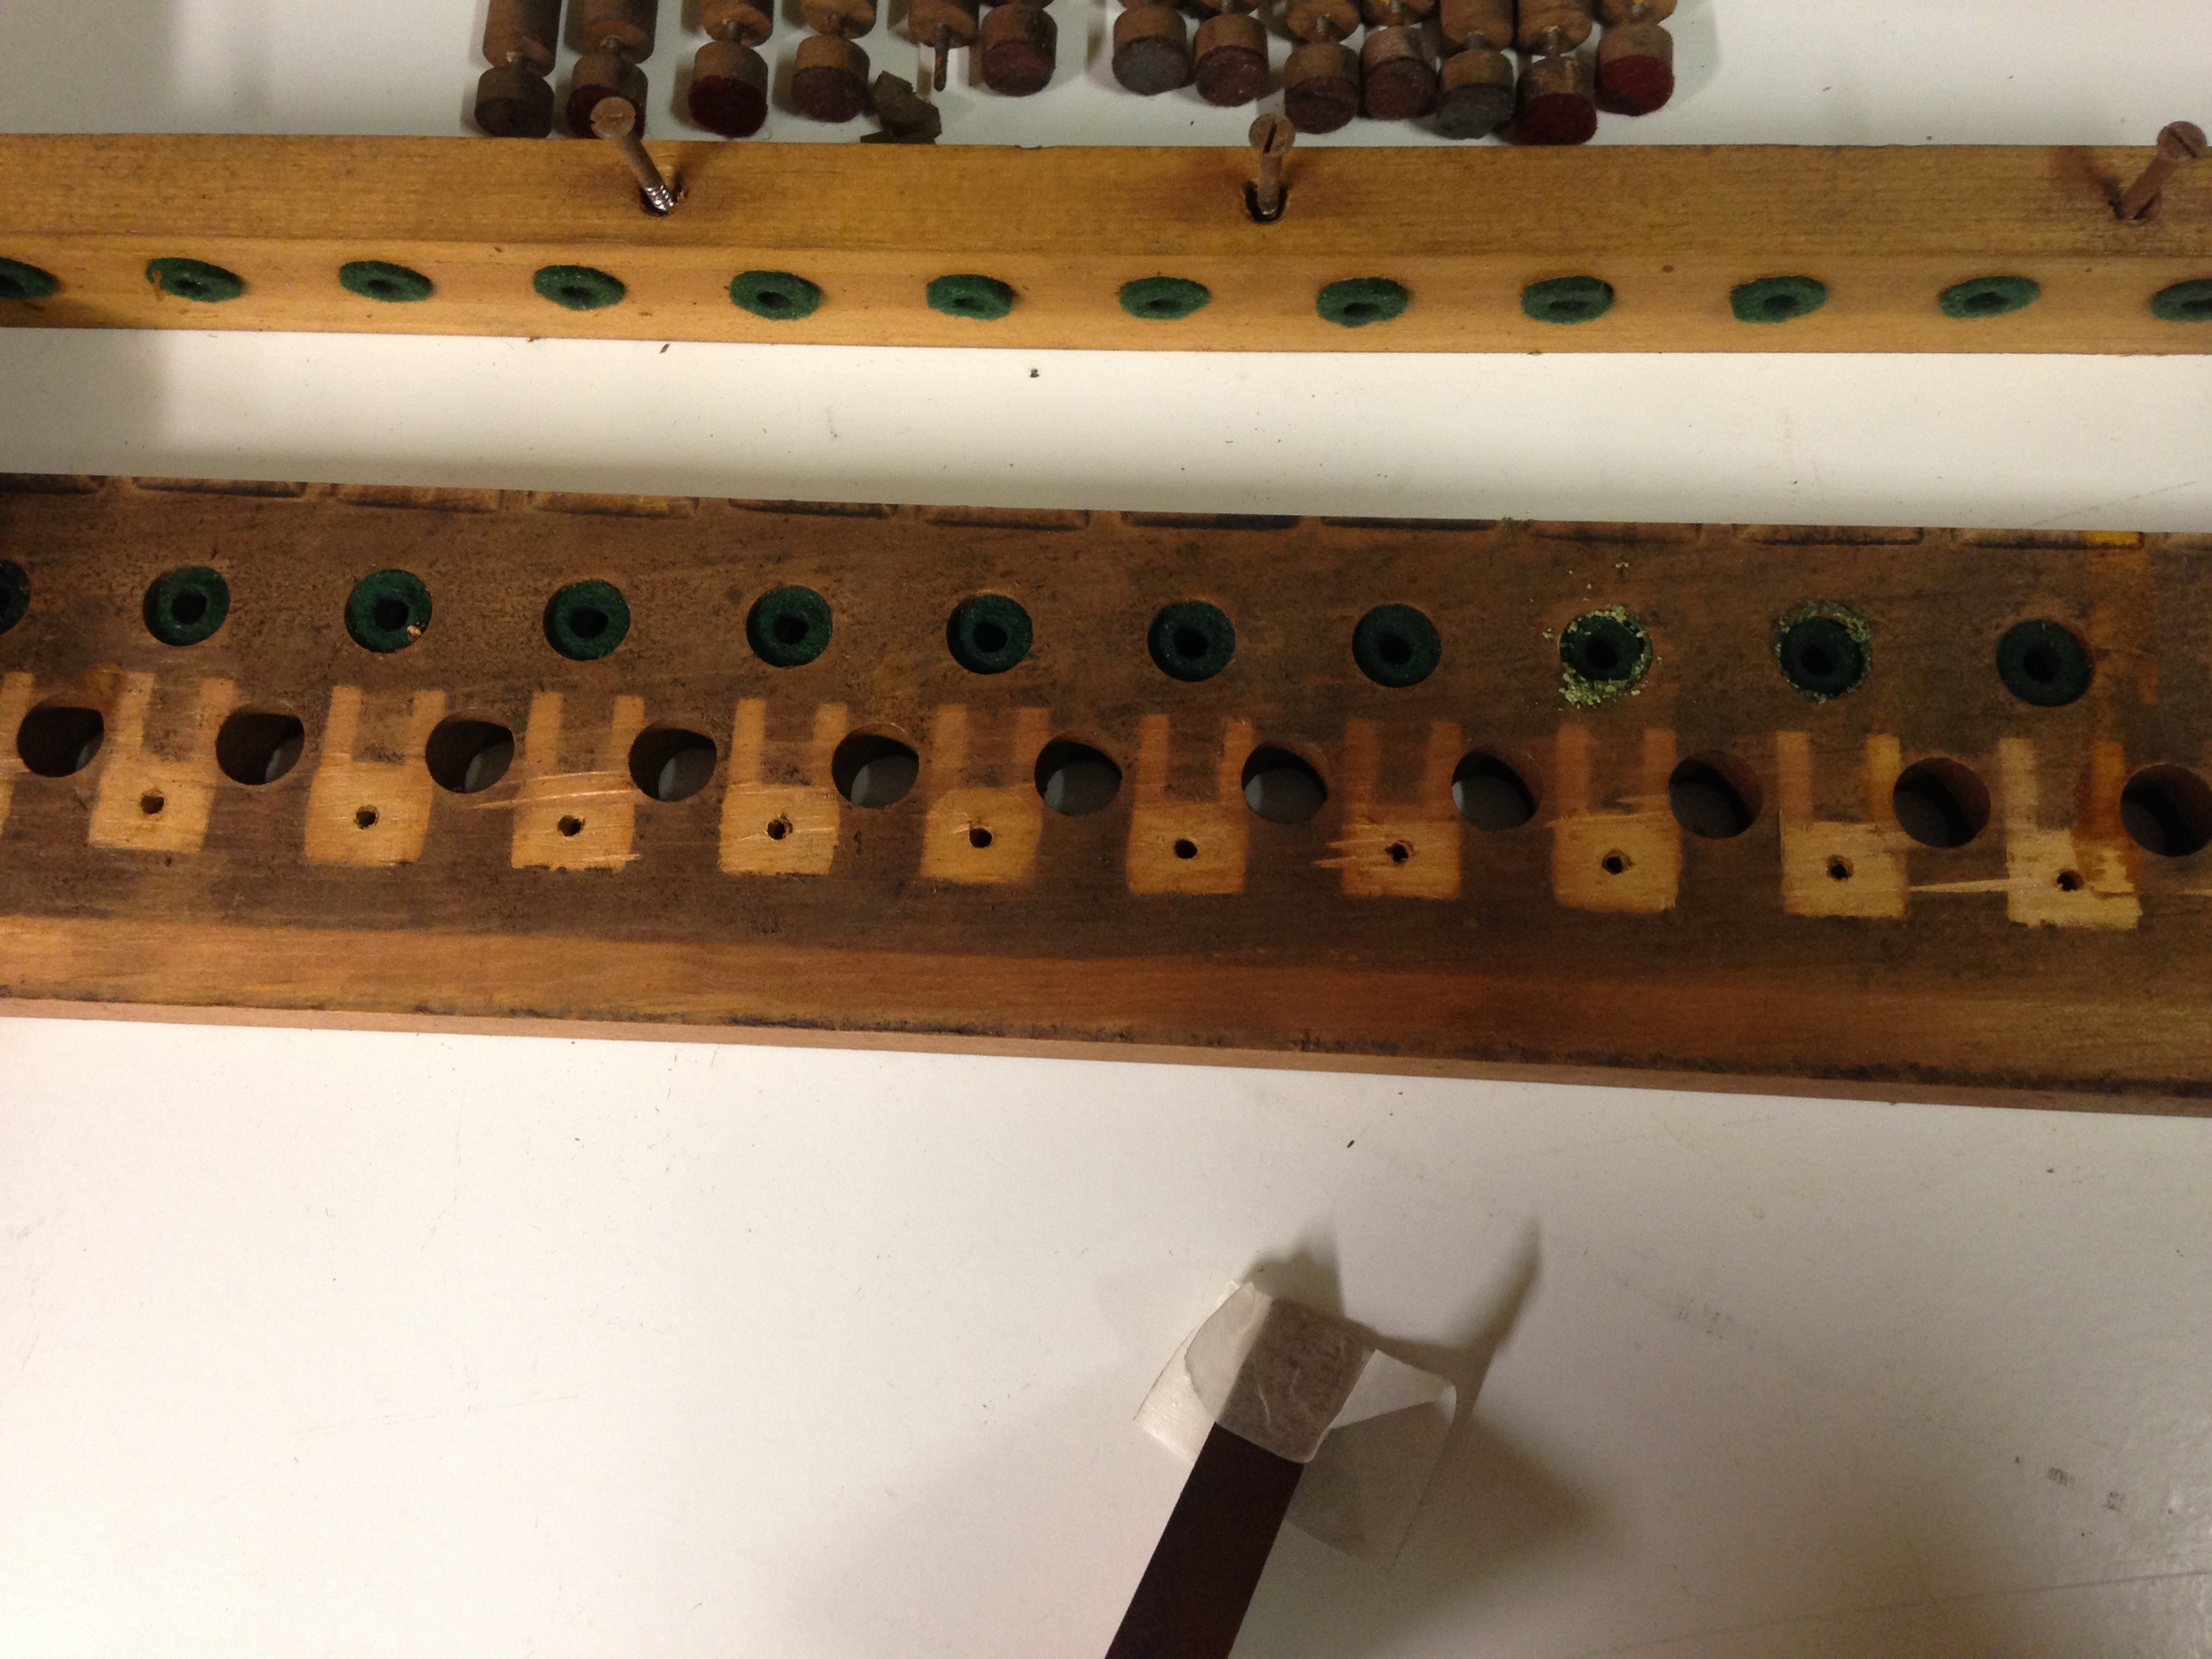
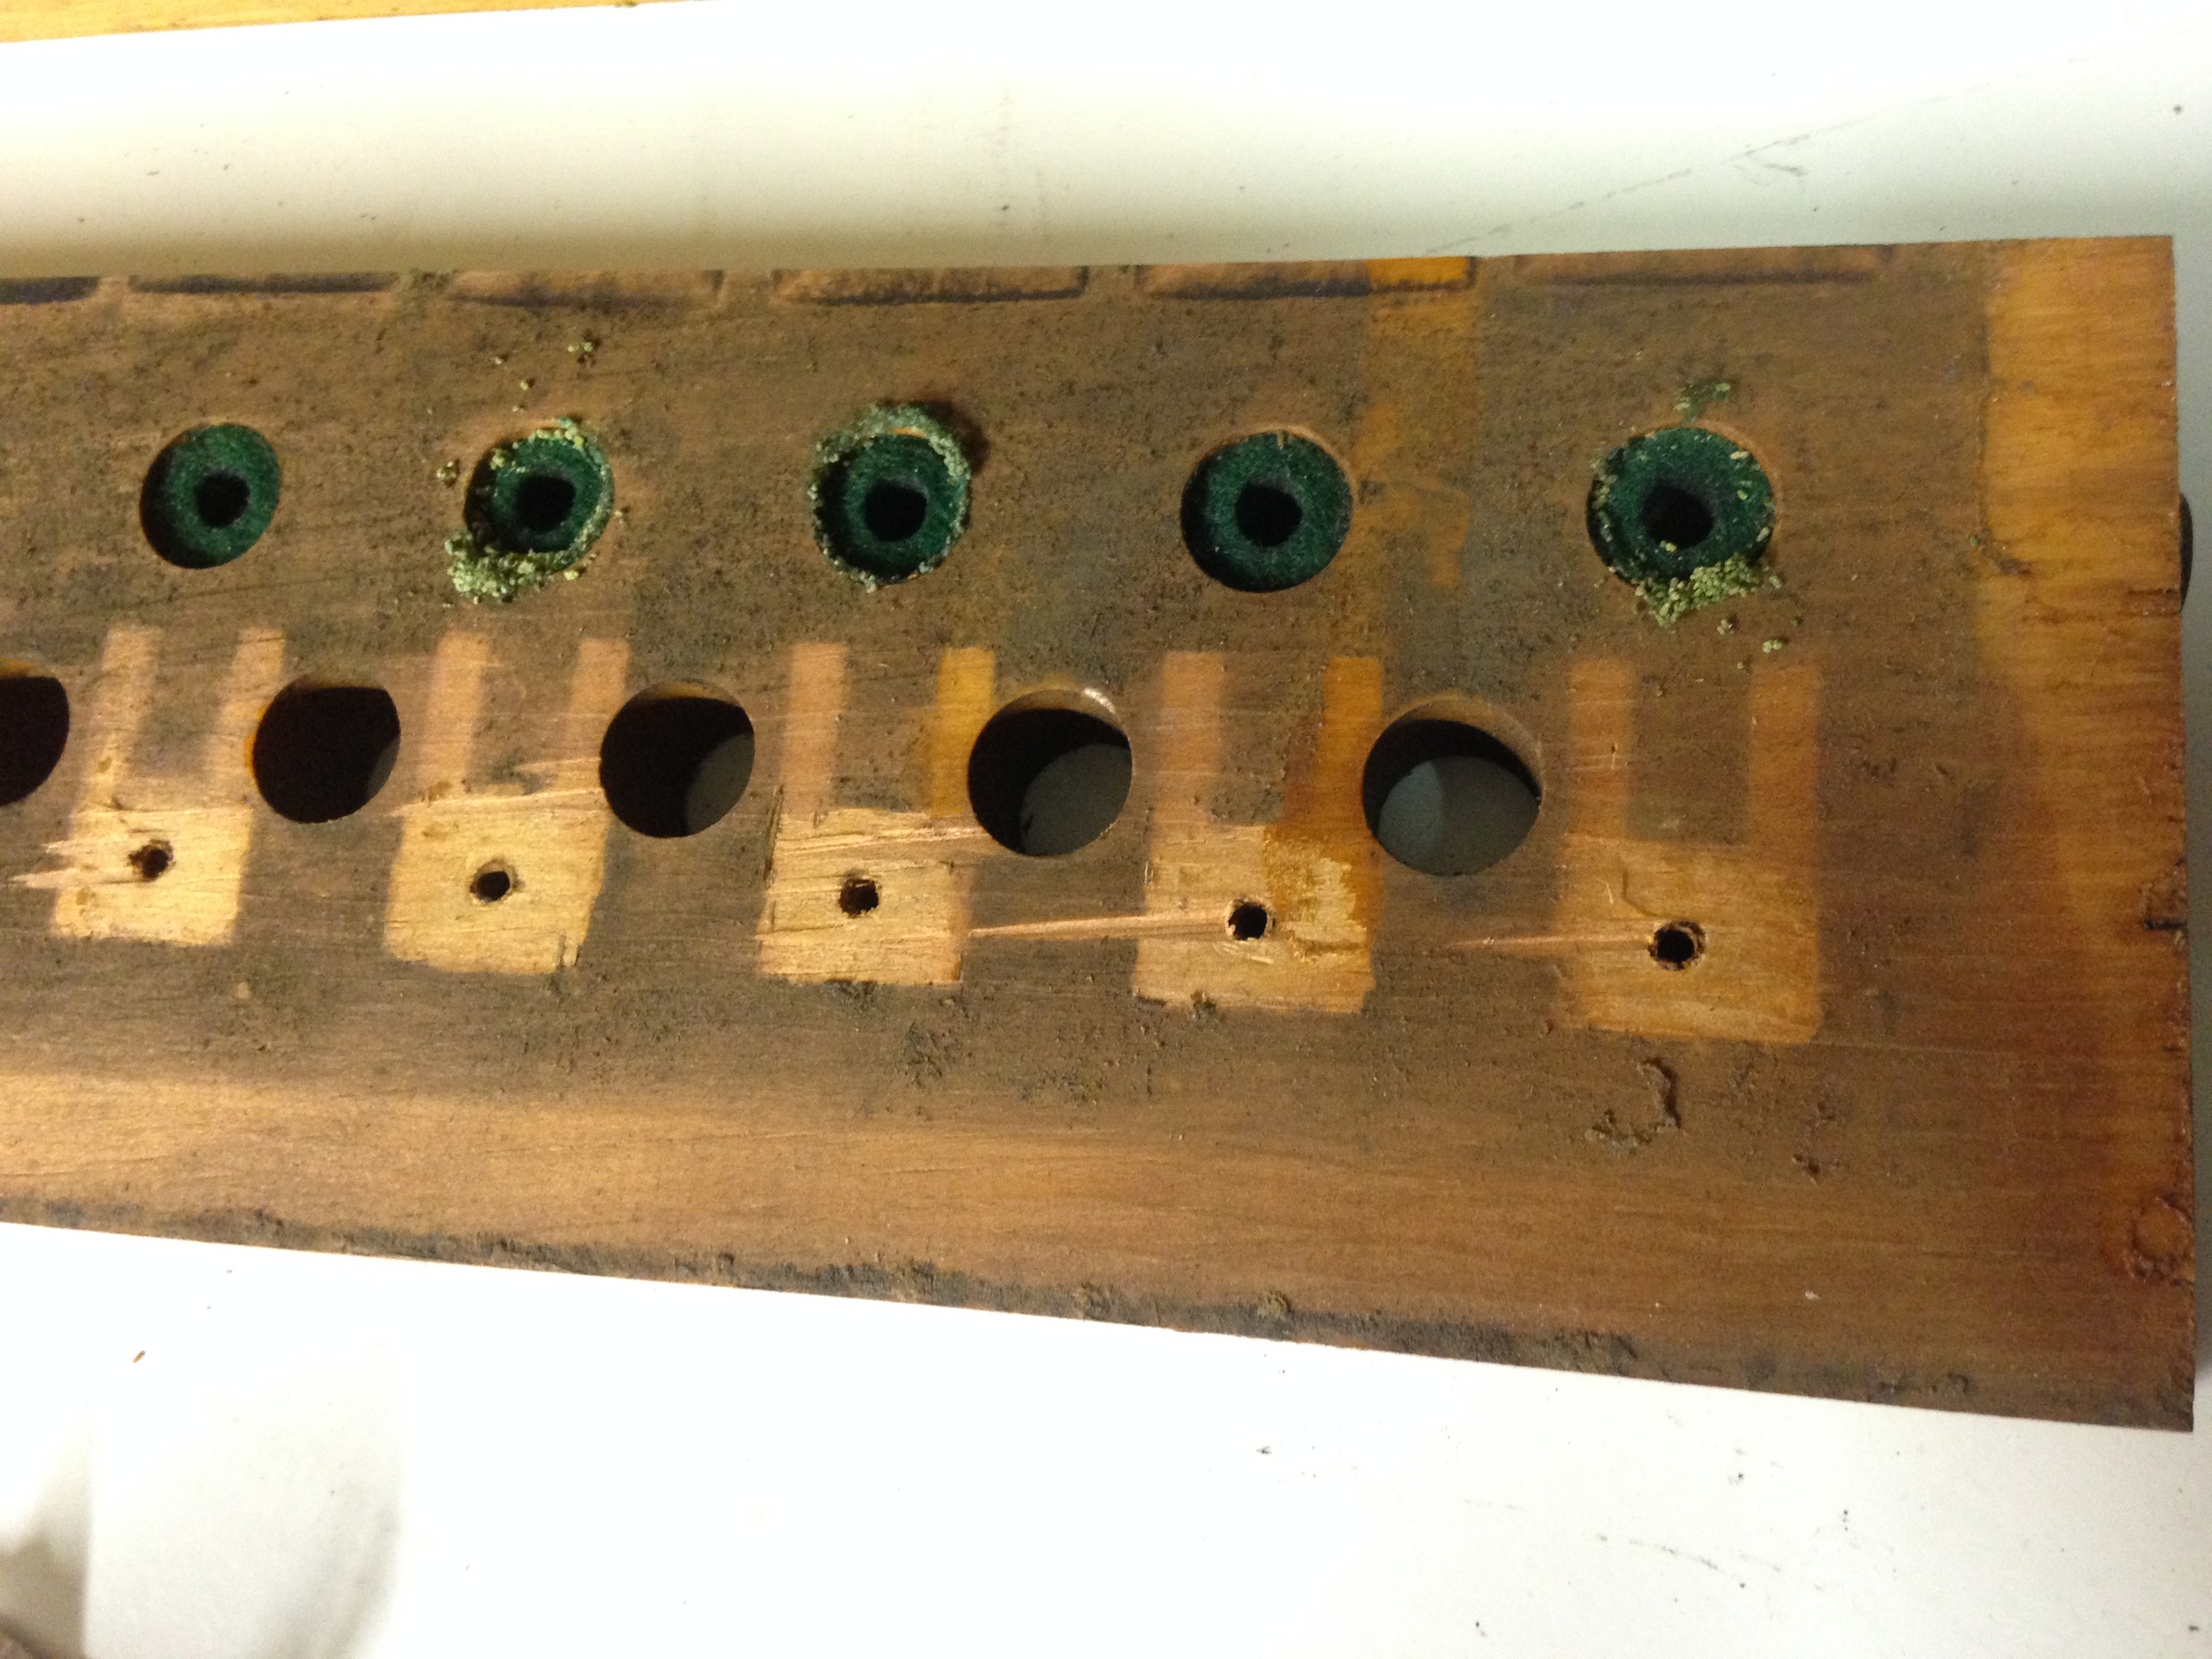
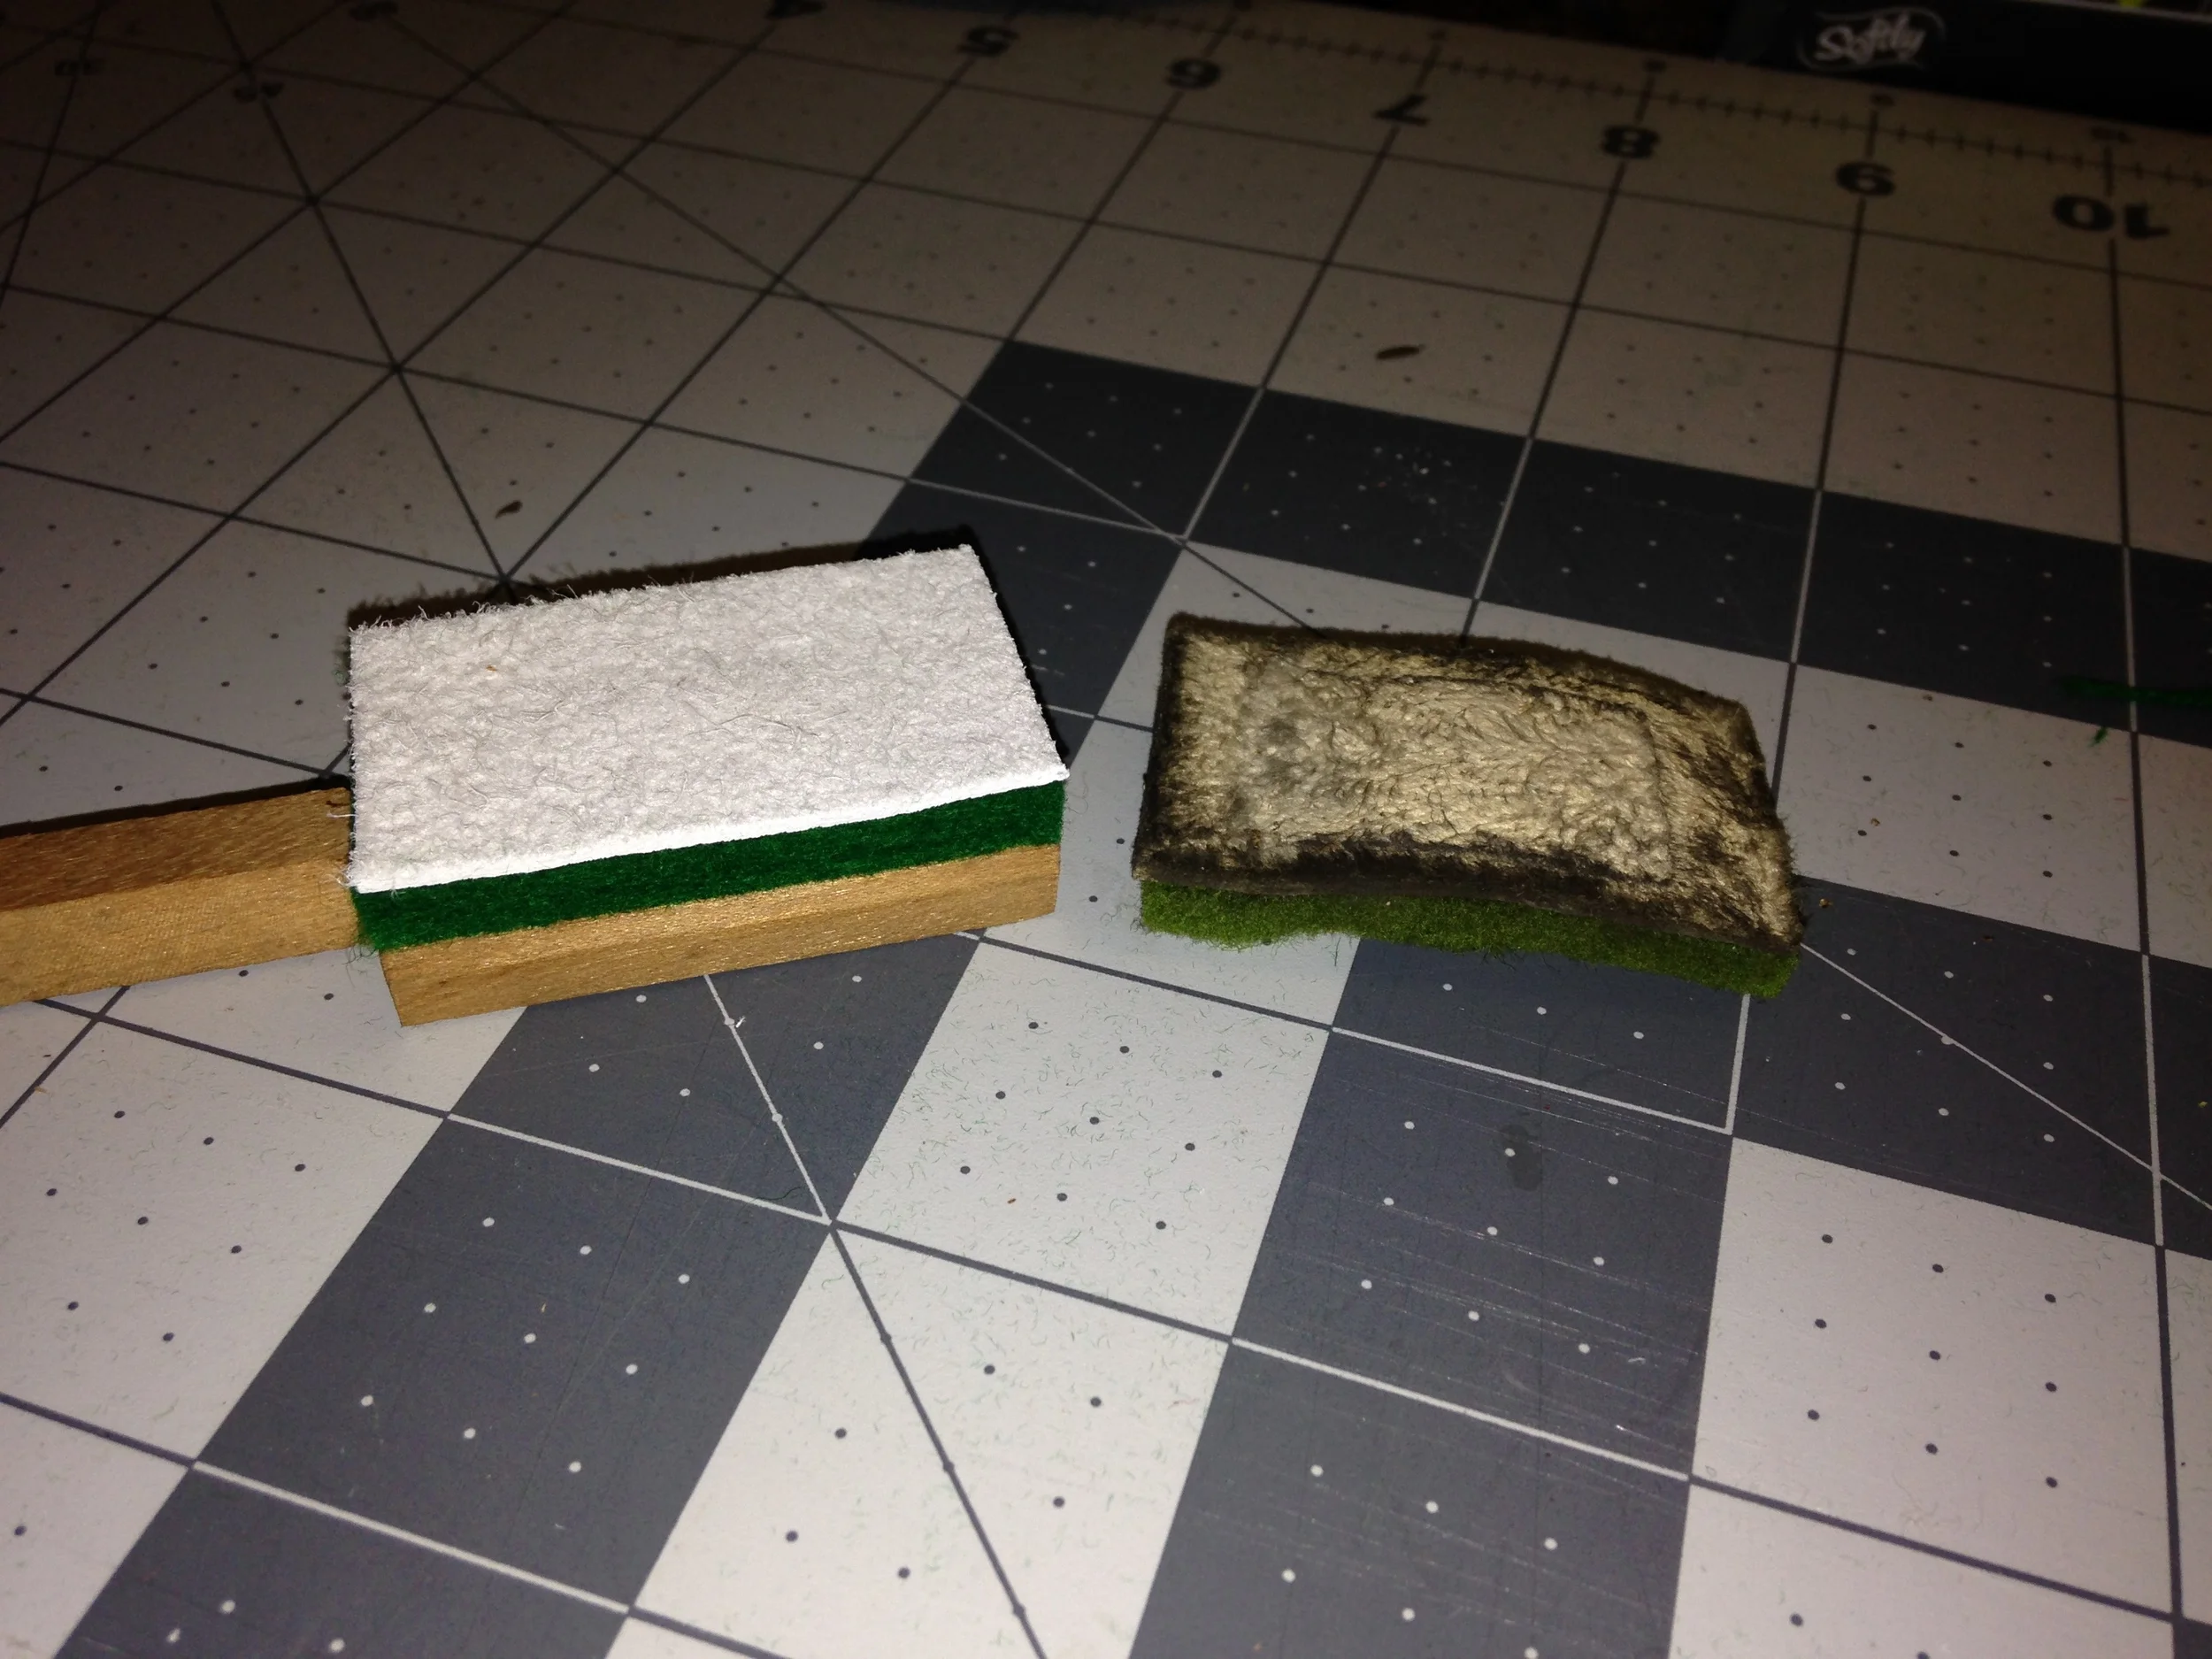
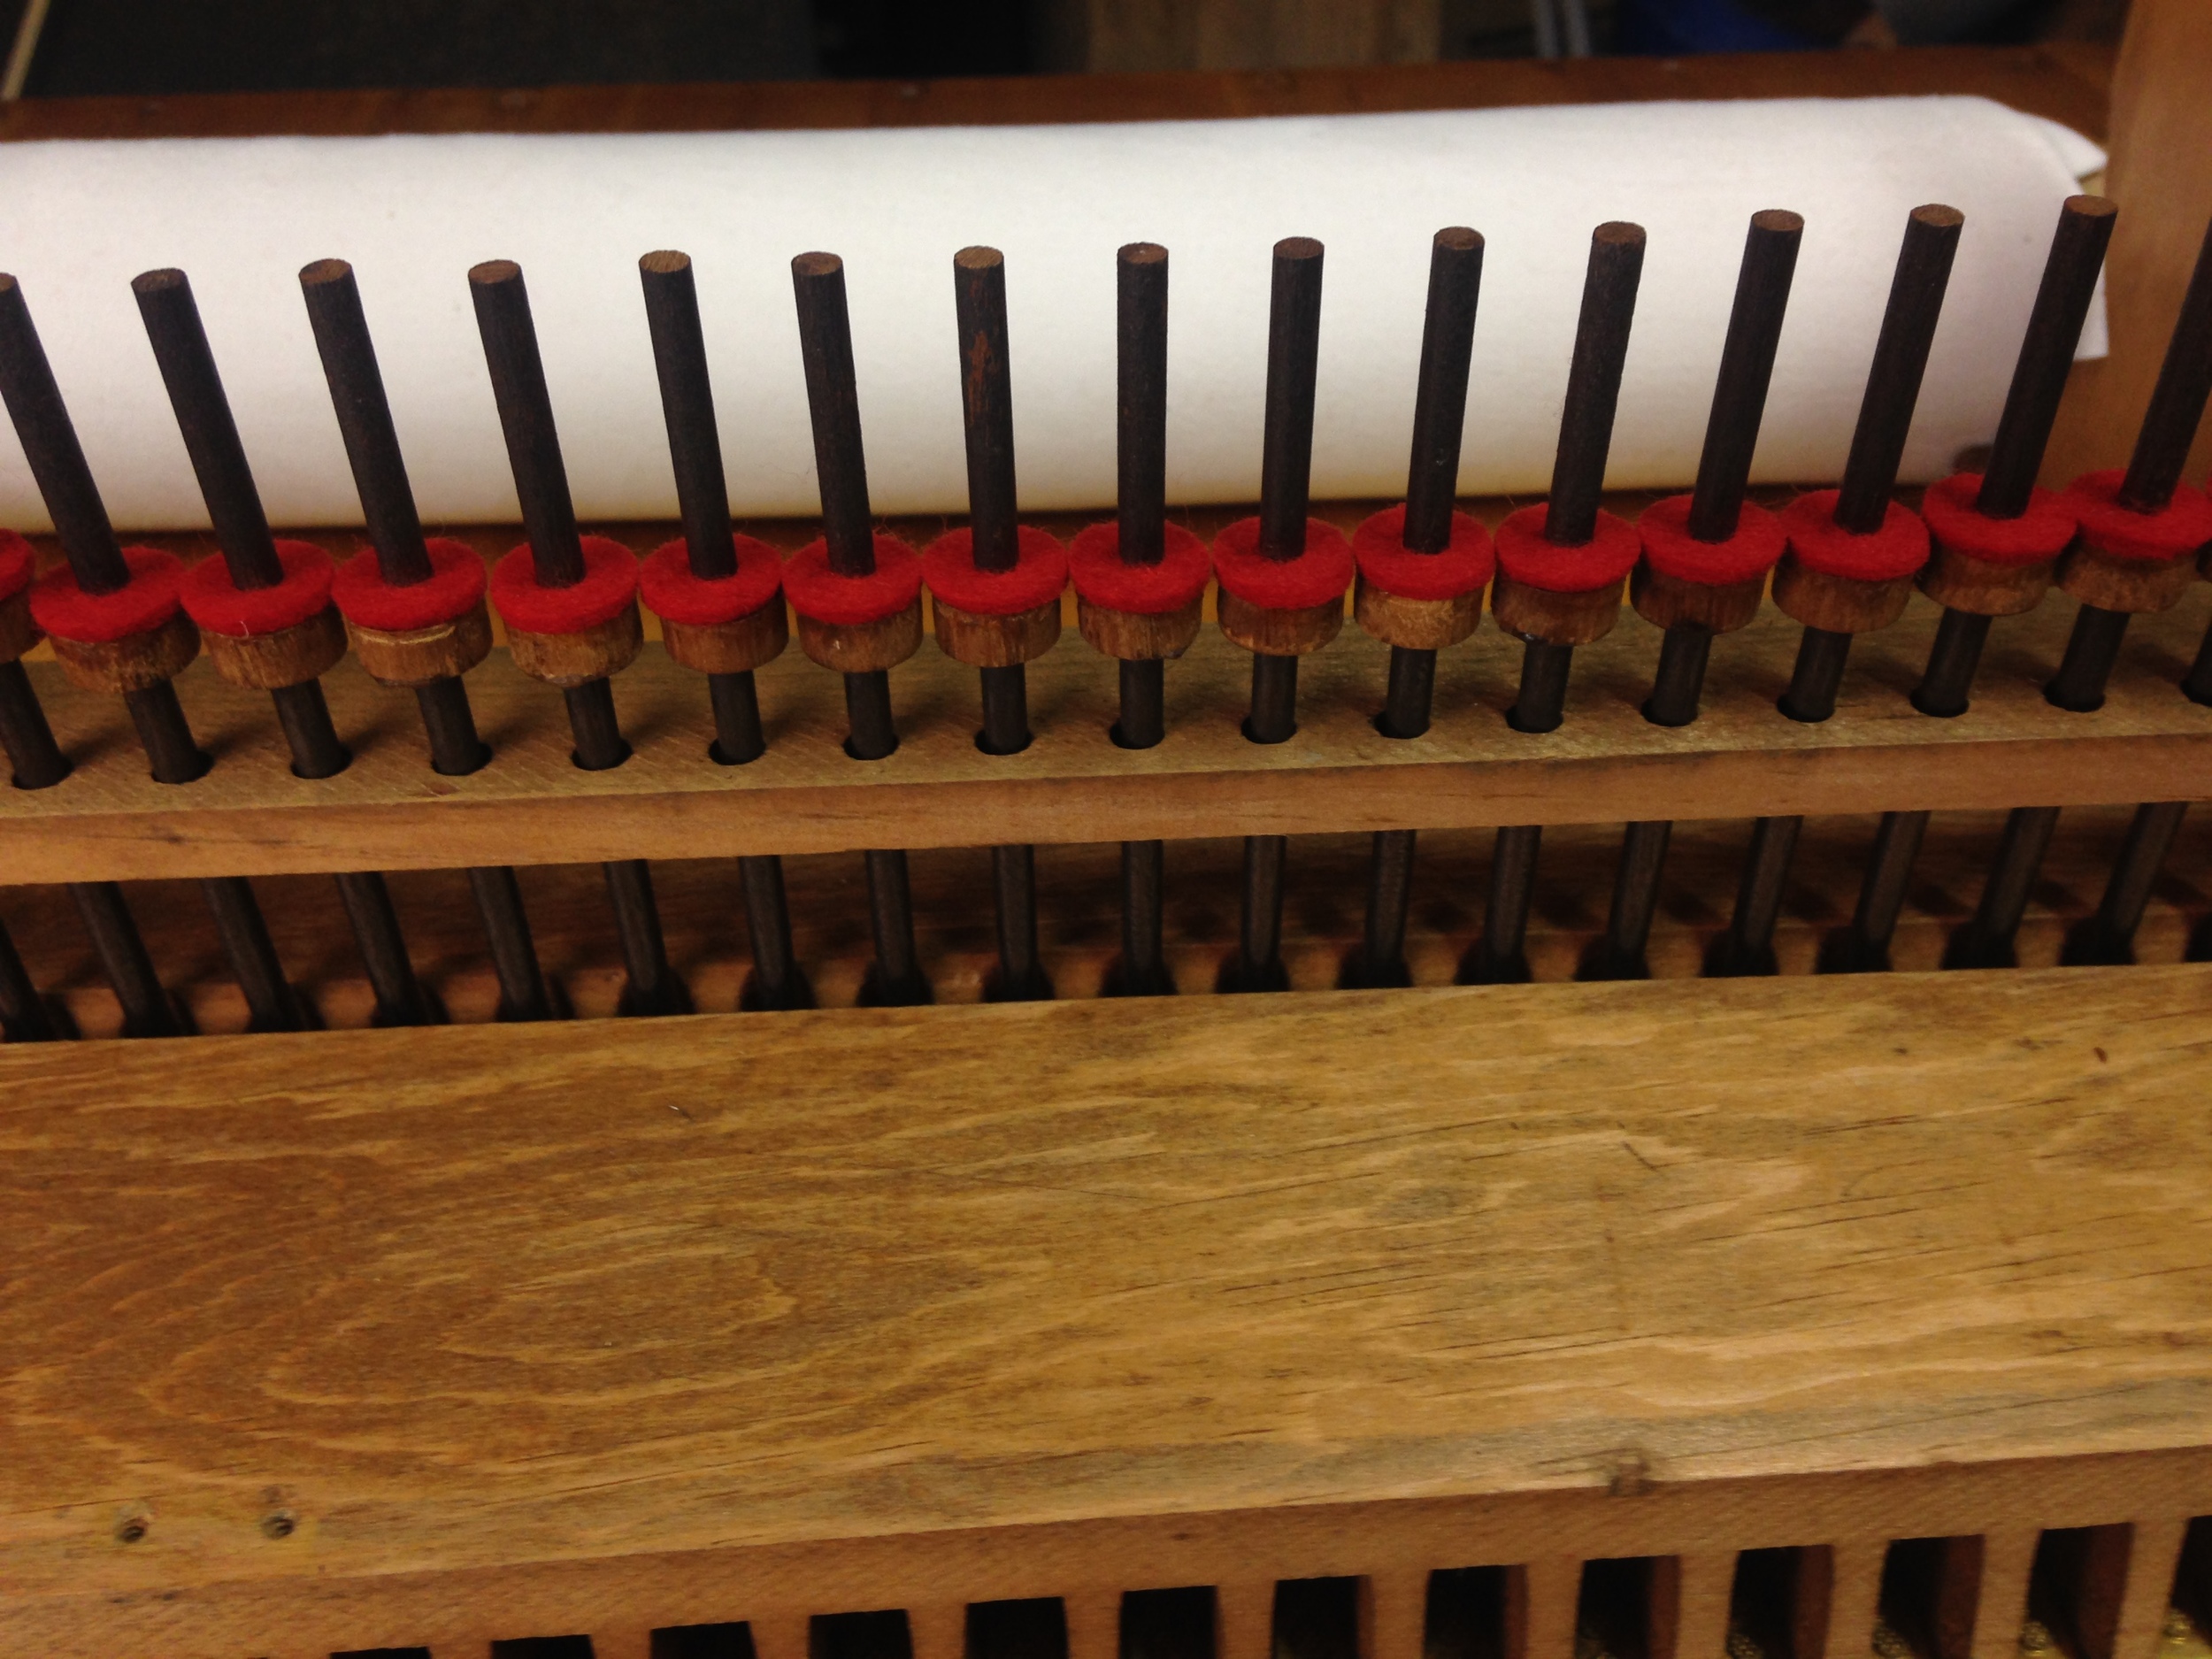
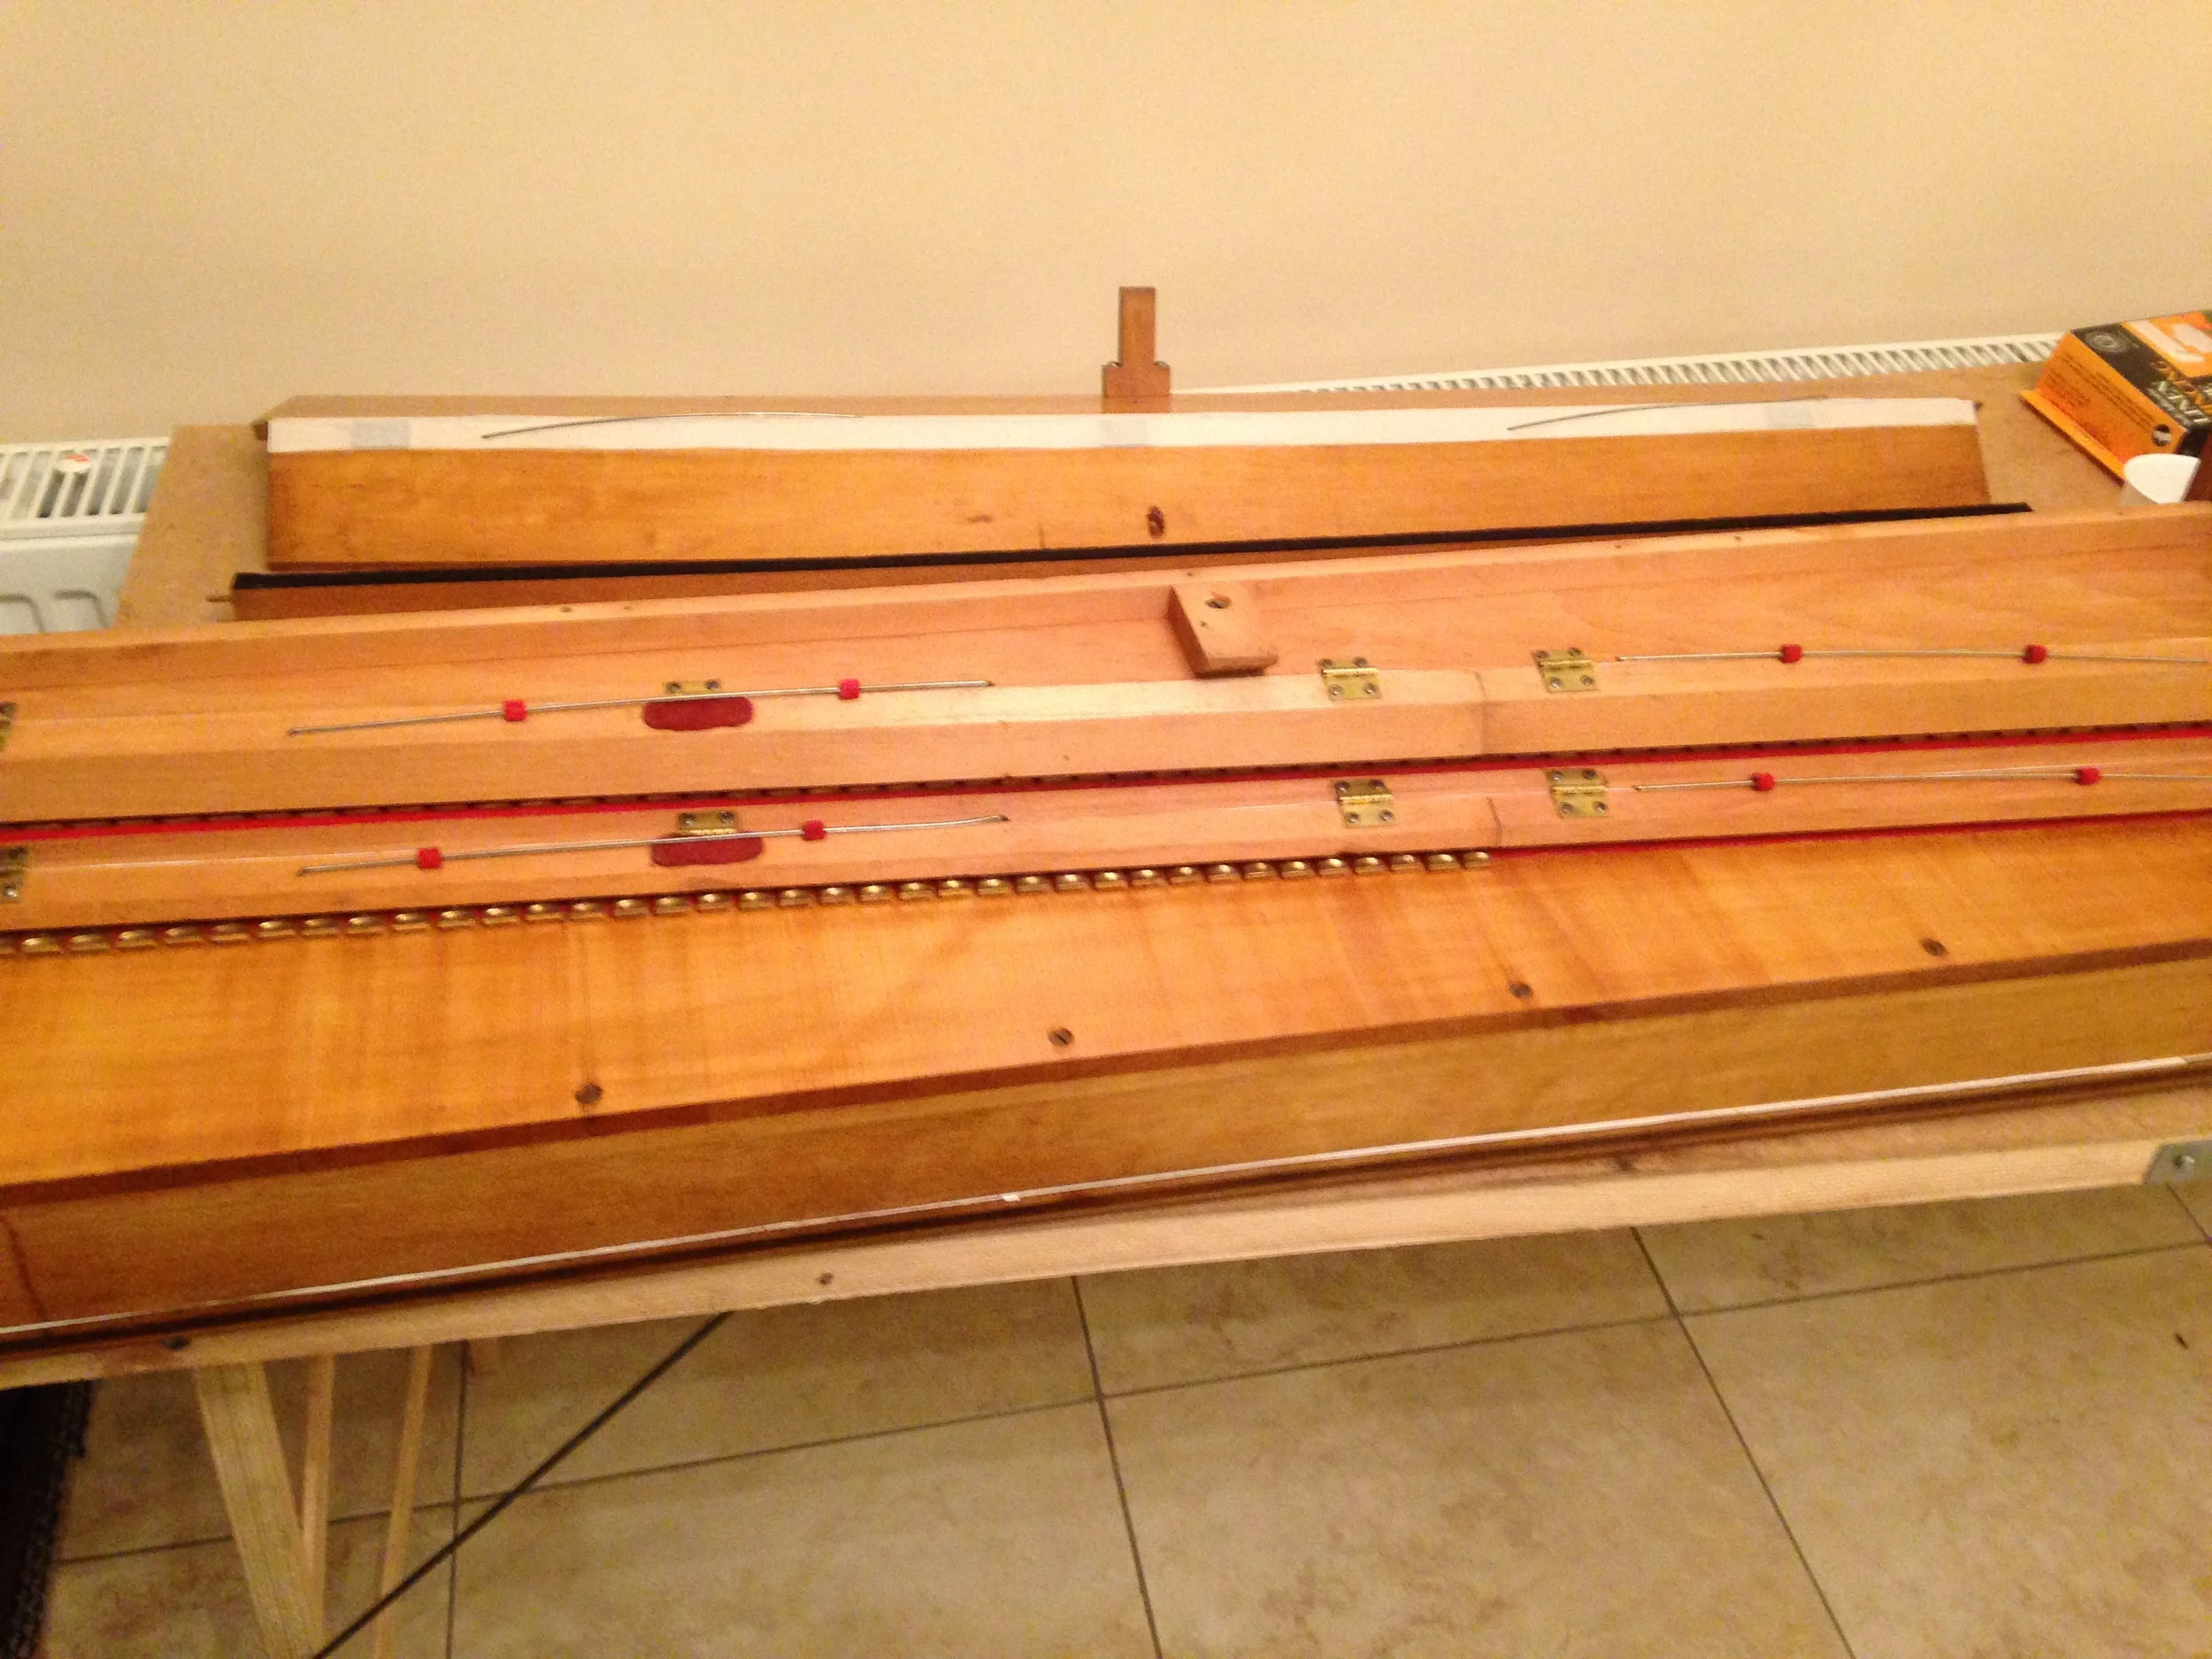
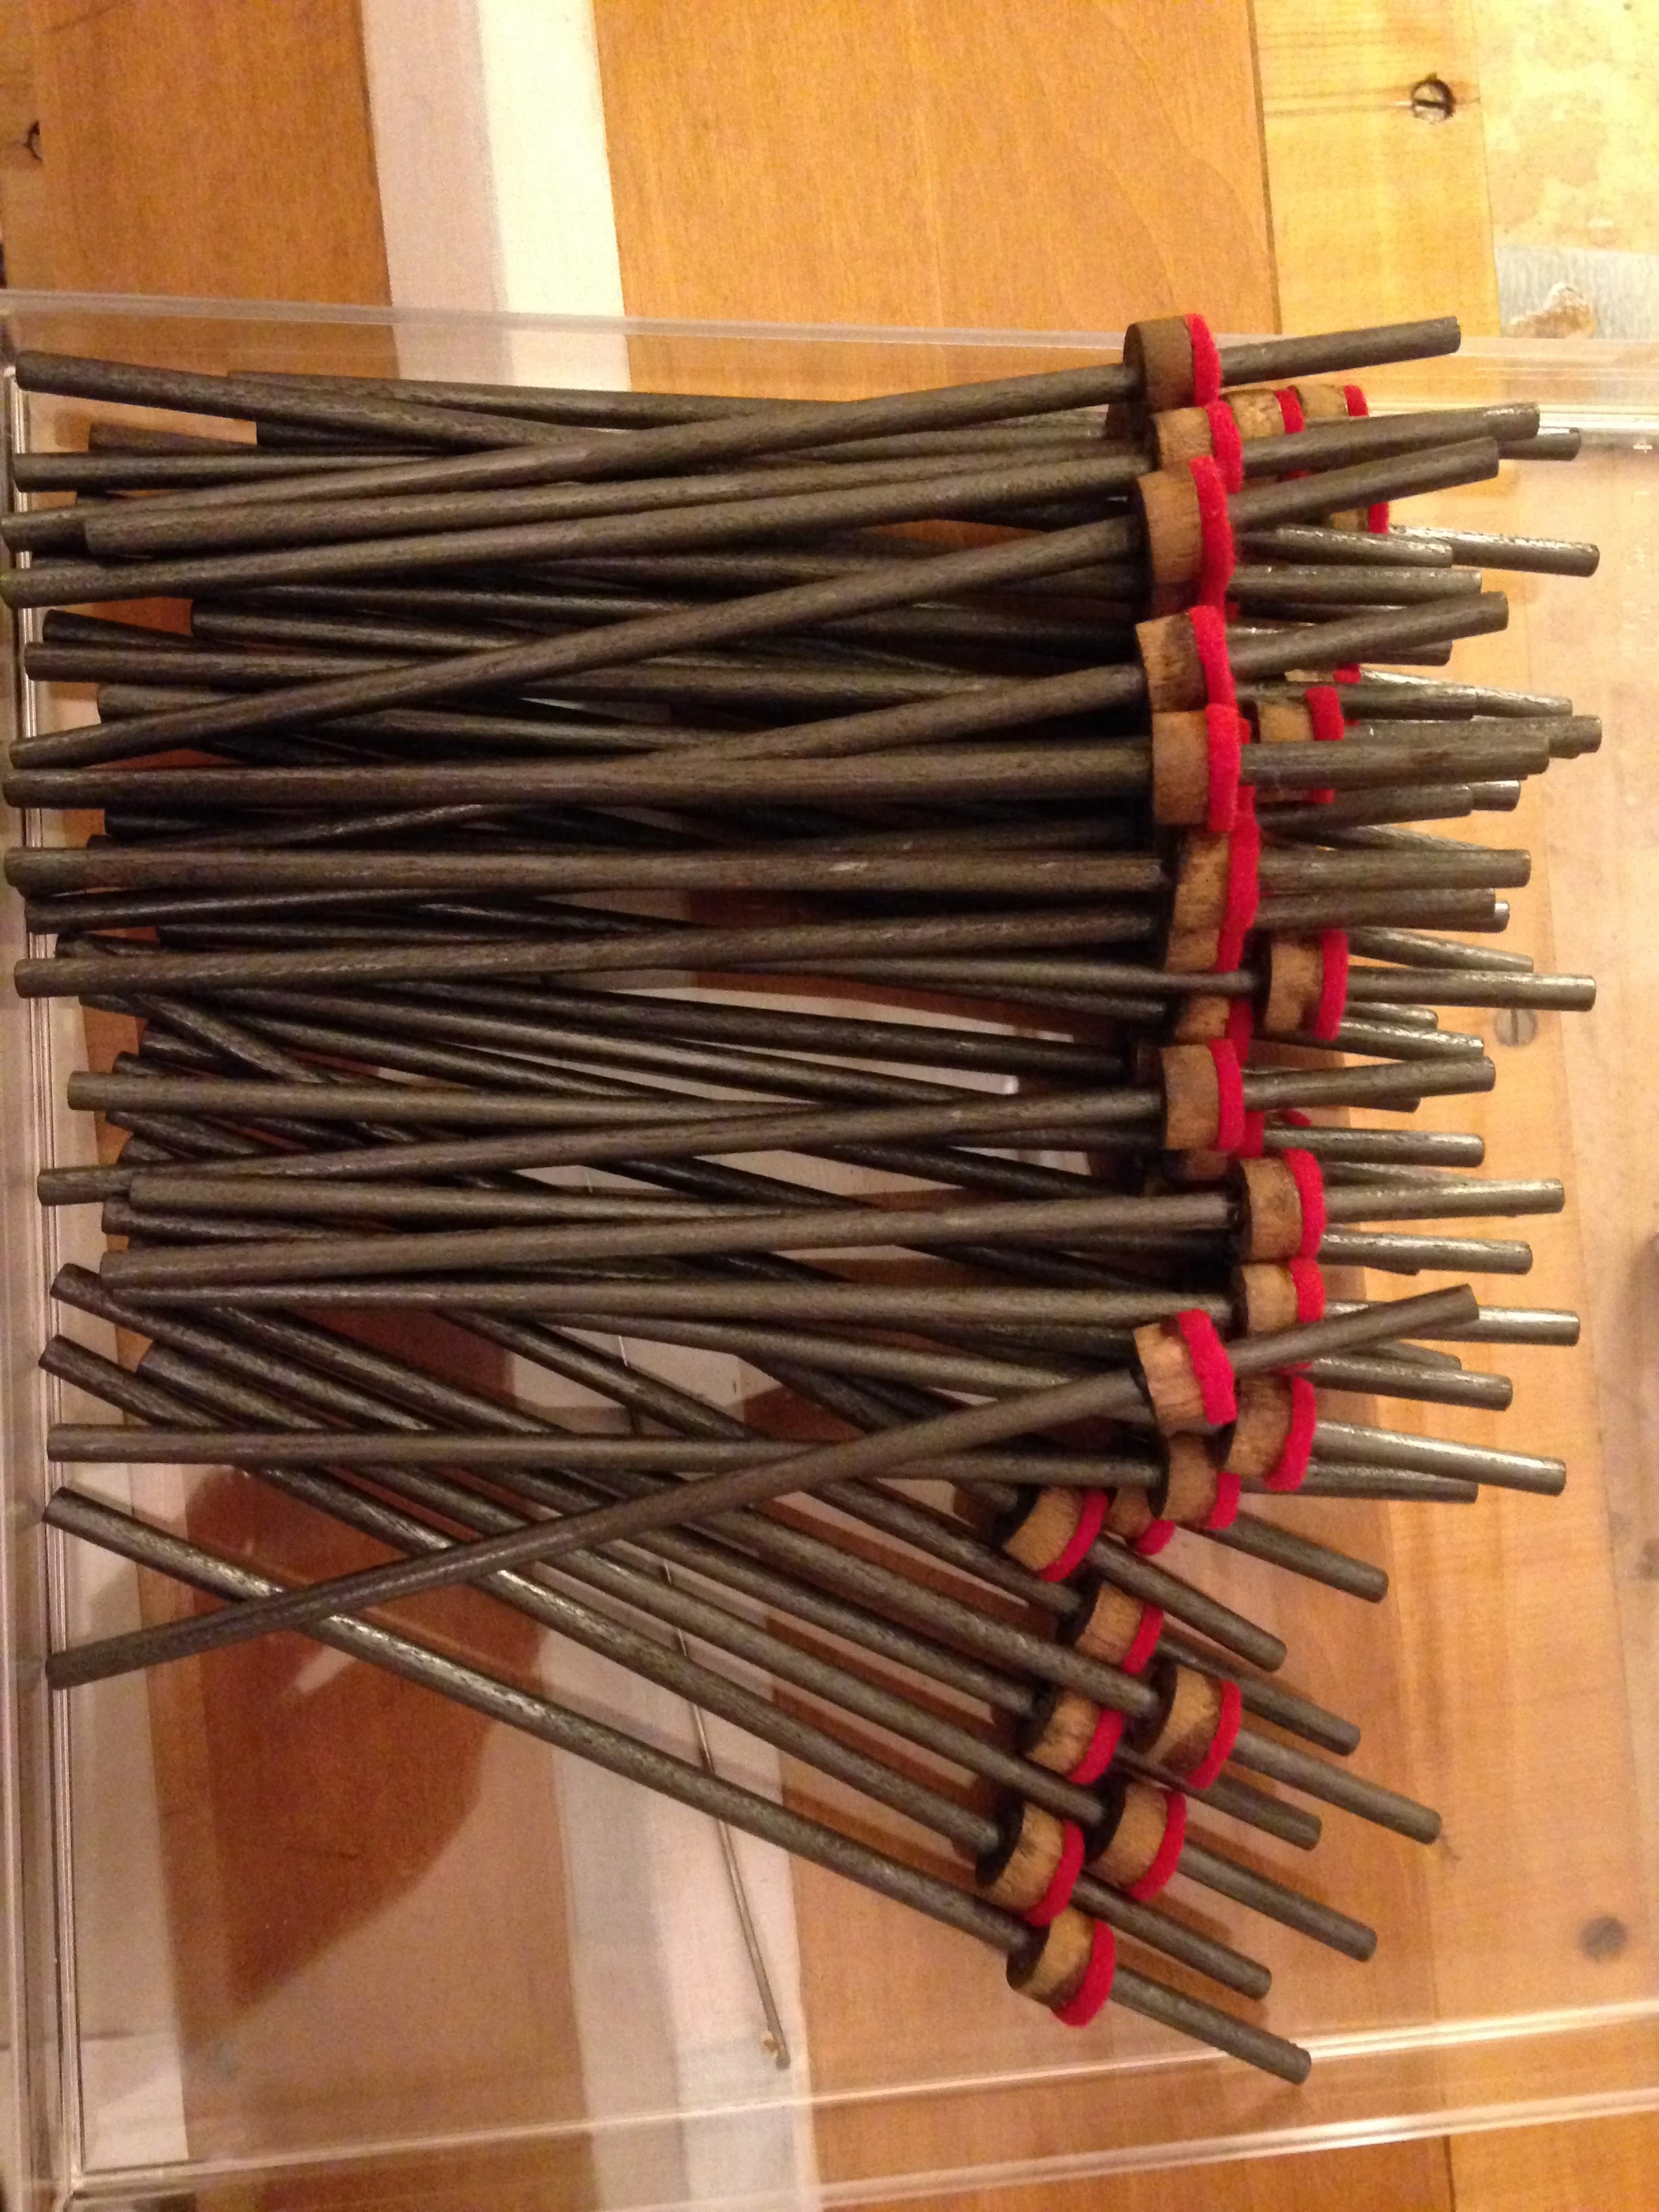
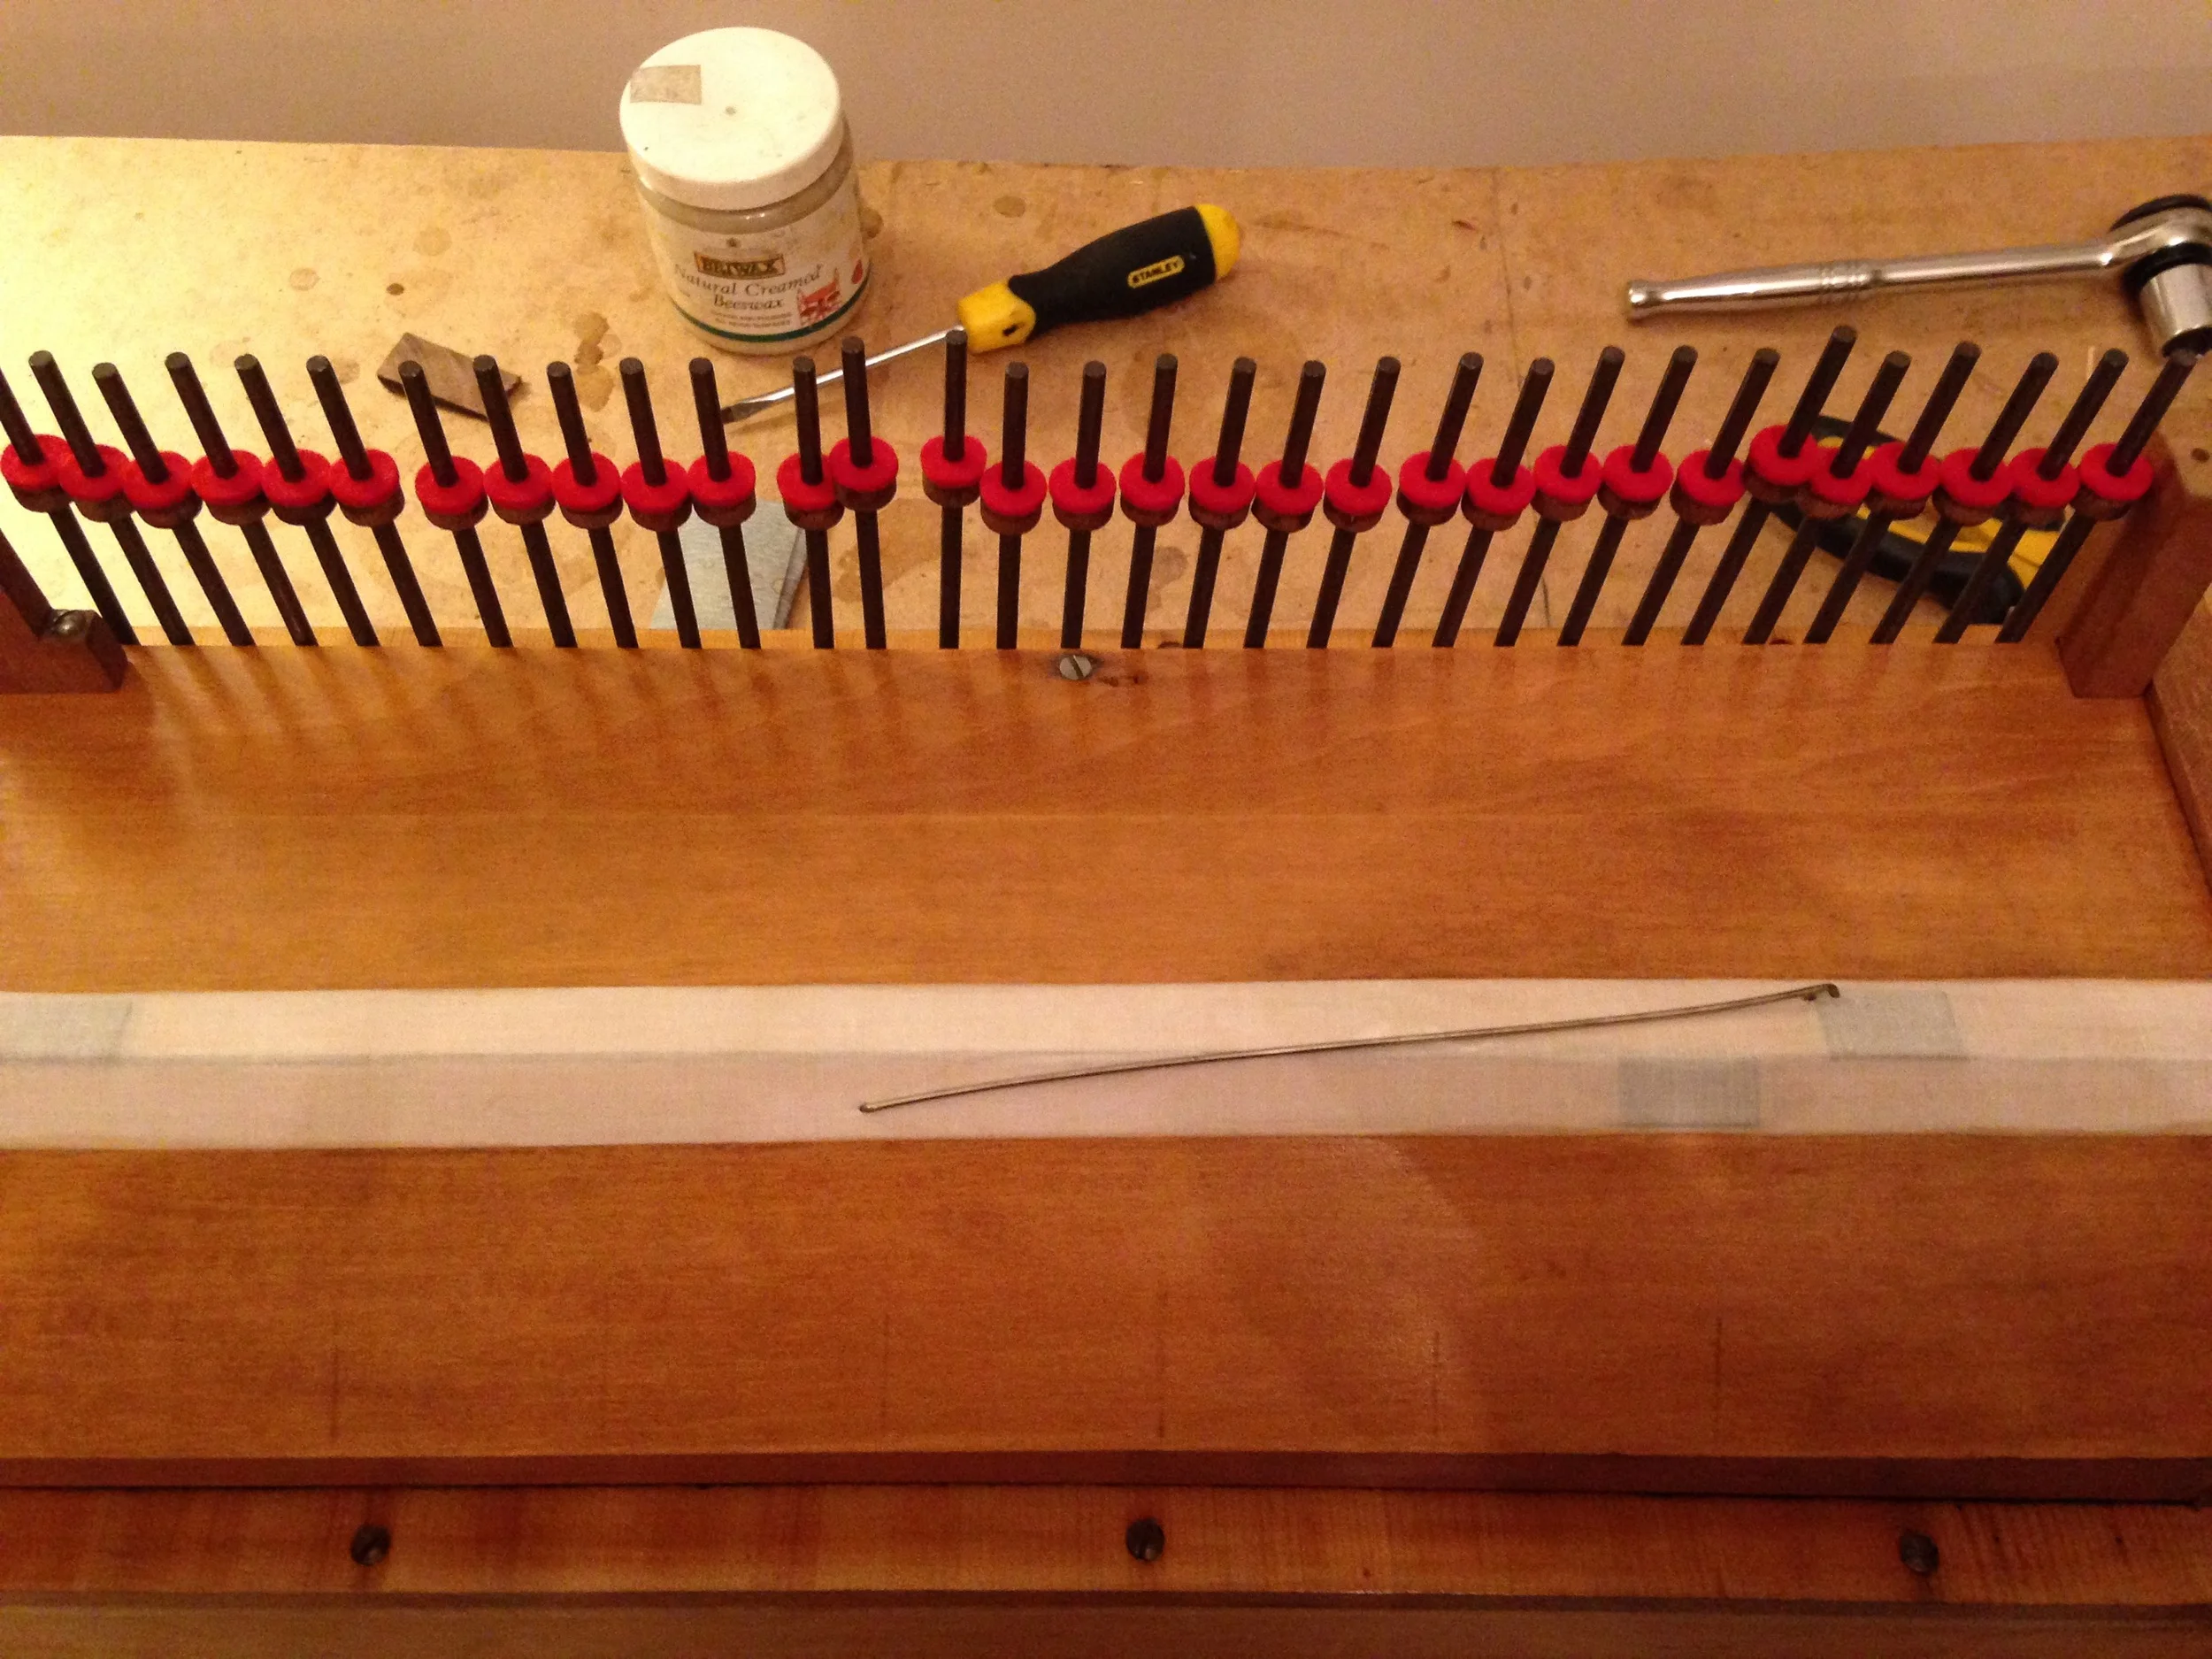
All the pitmans had all their felt collars replaced and new graphite applied. The swell shades had were re-sealed and shellack applied and reinstalled.
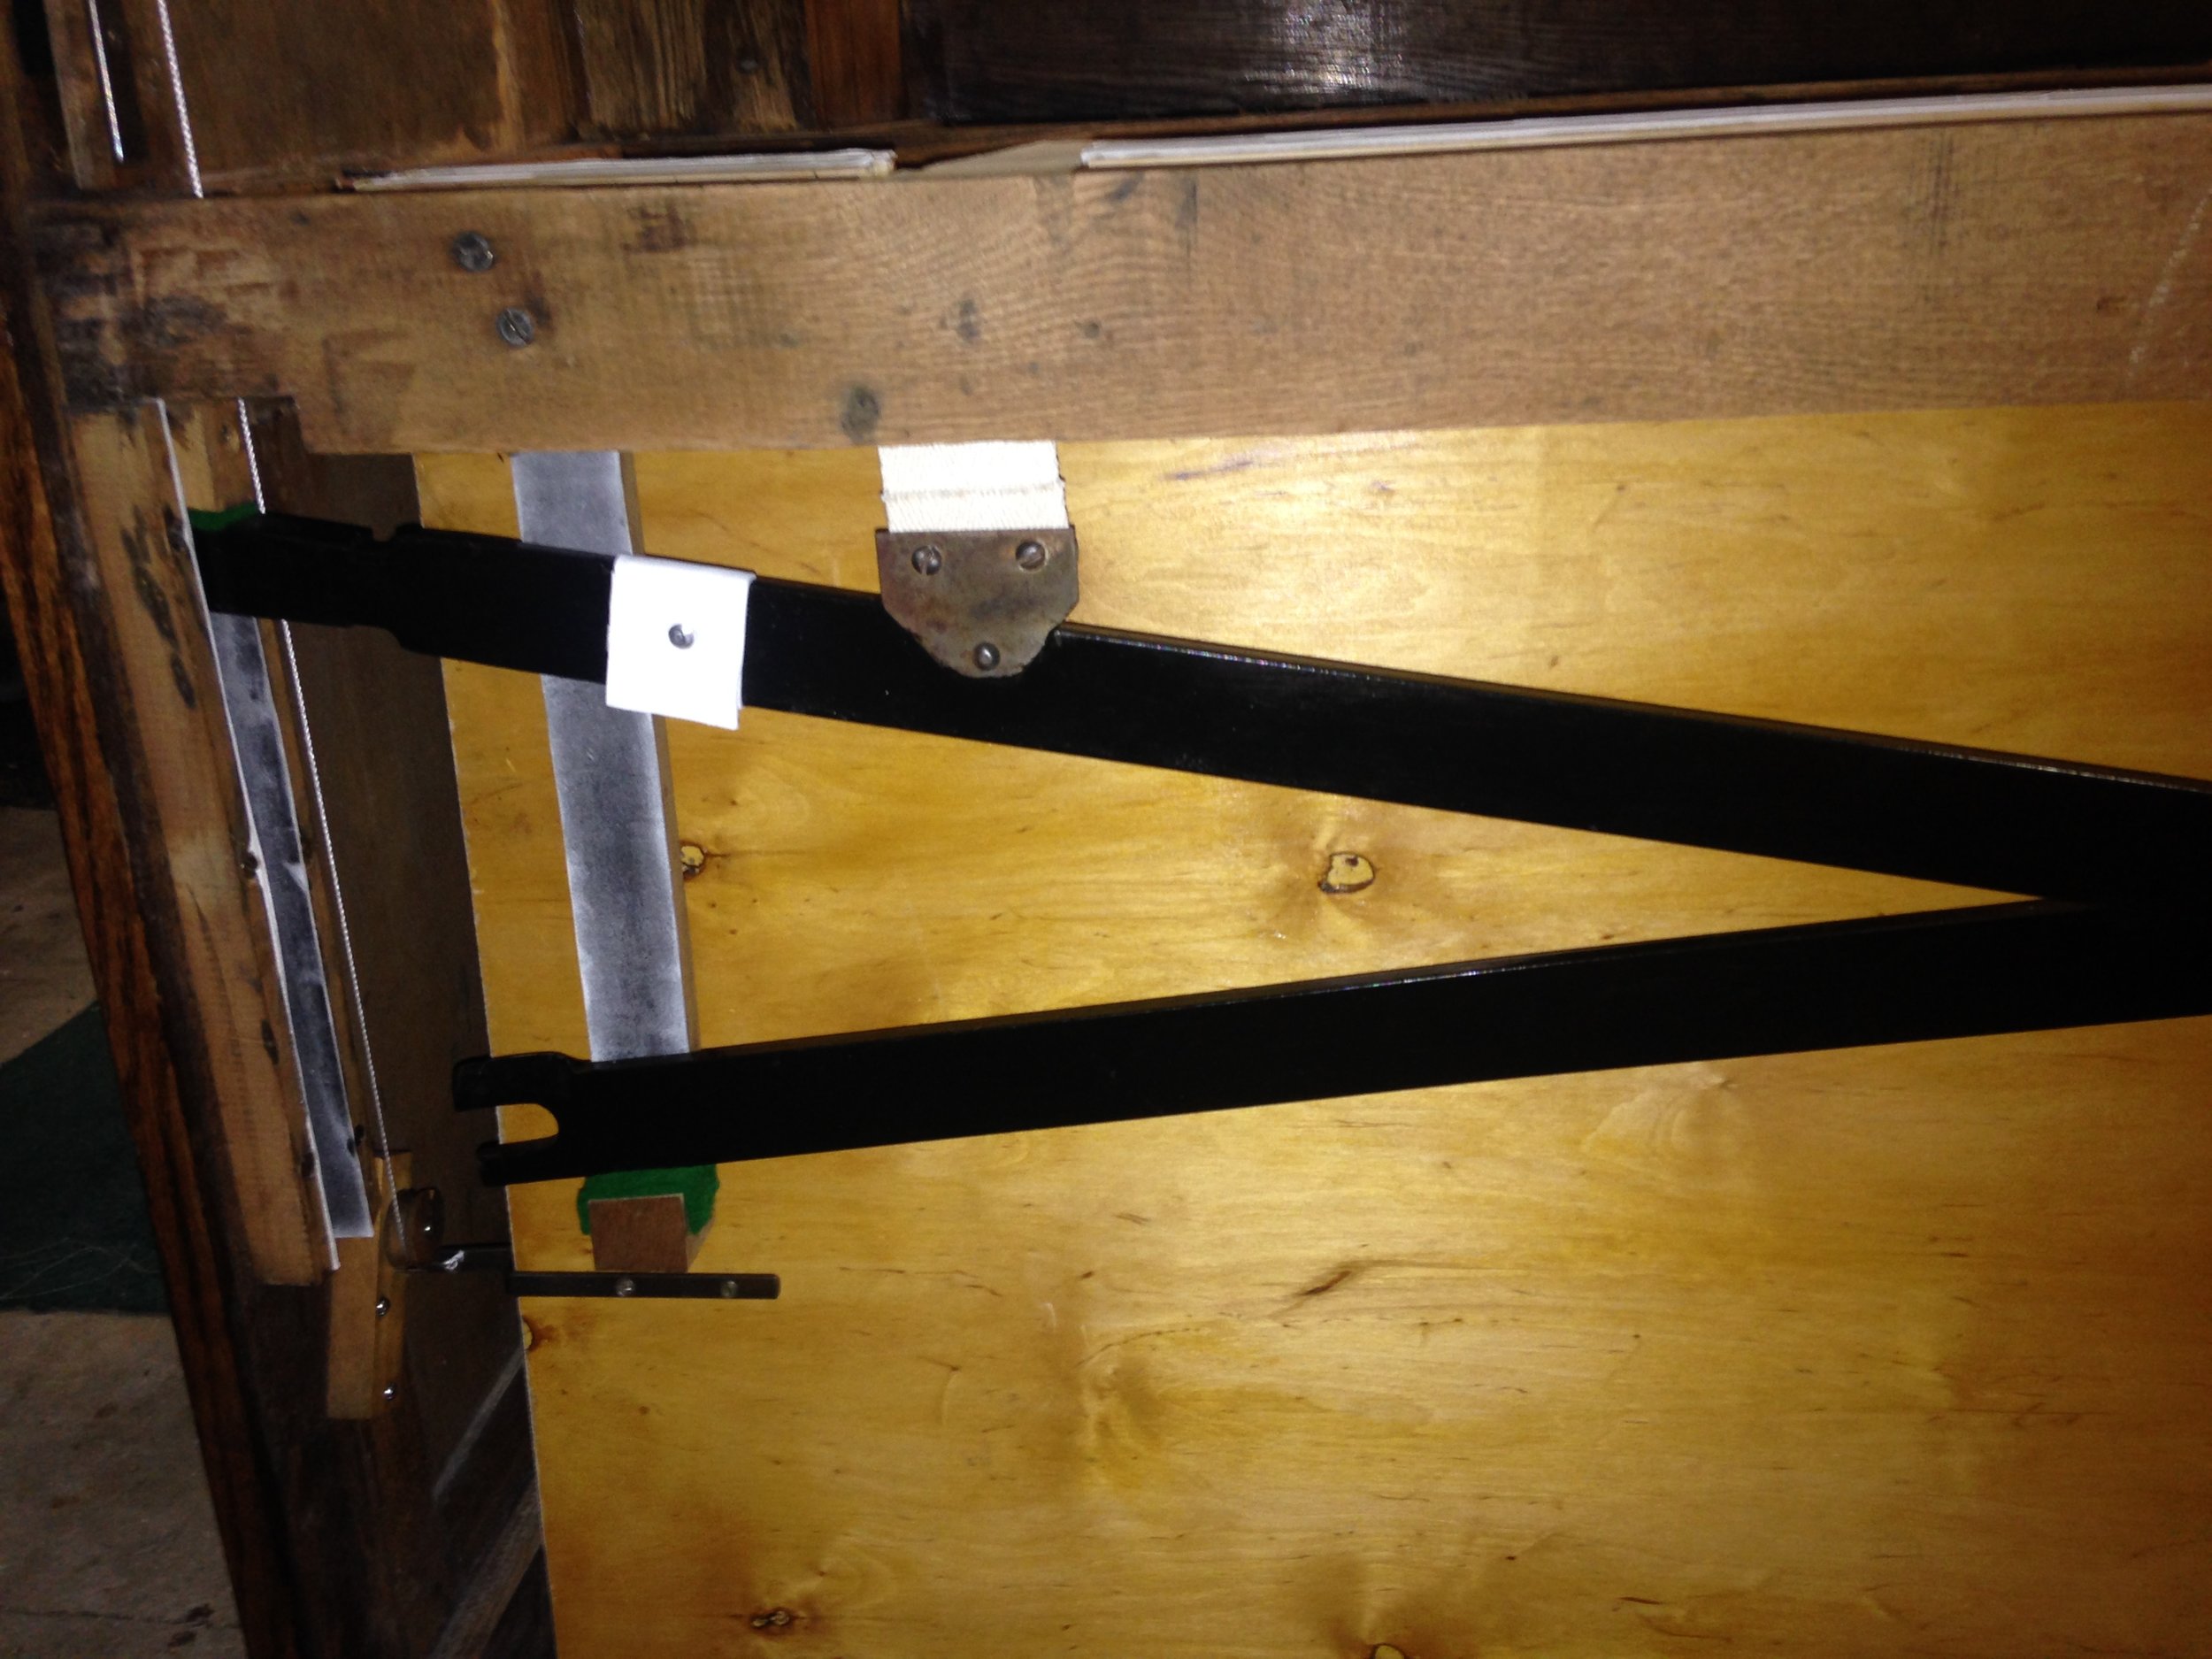
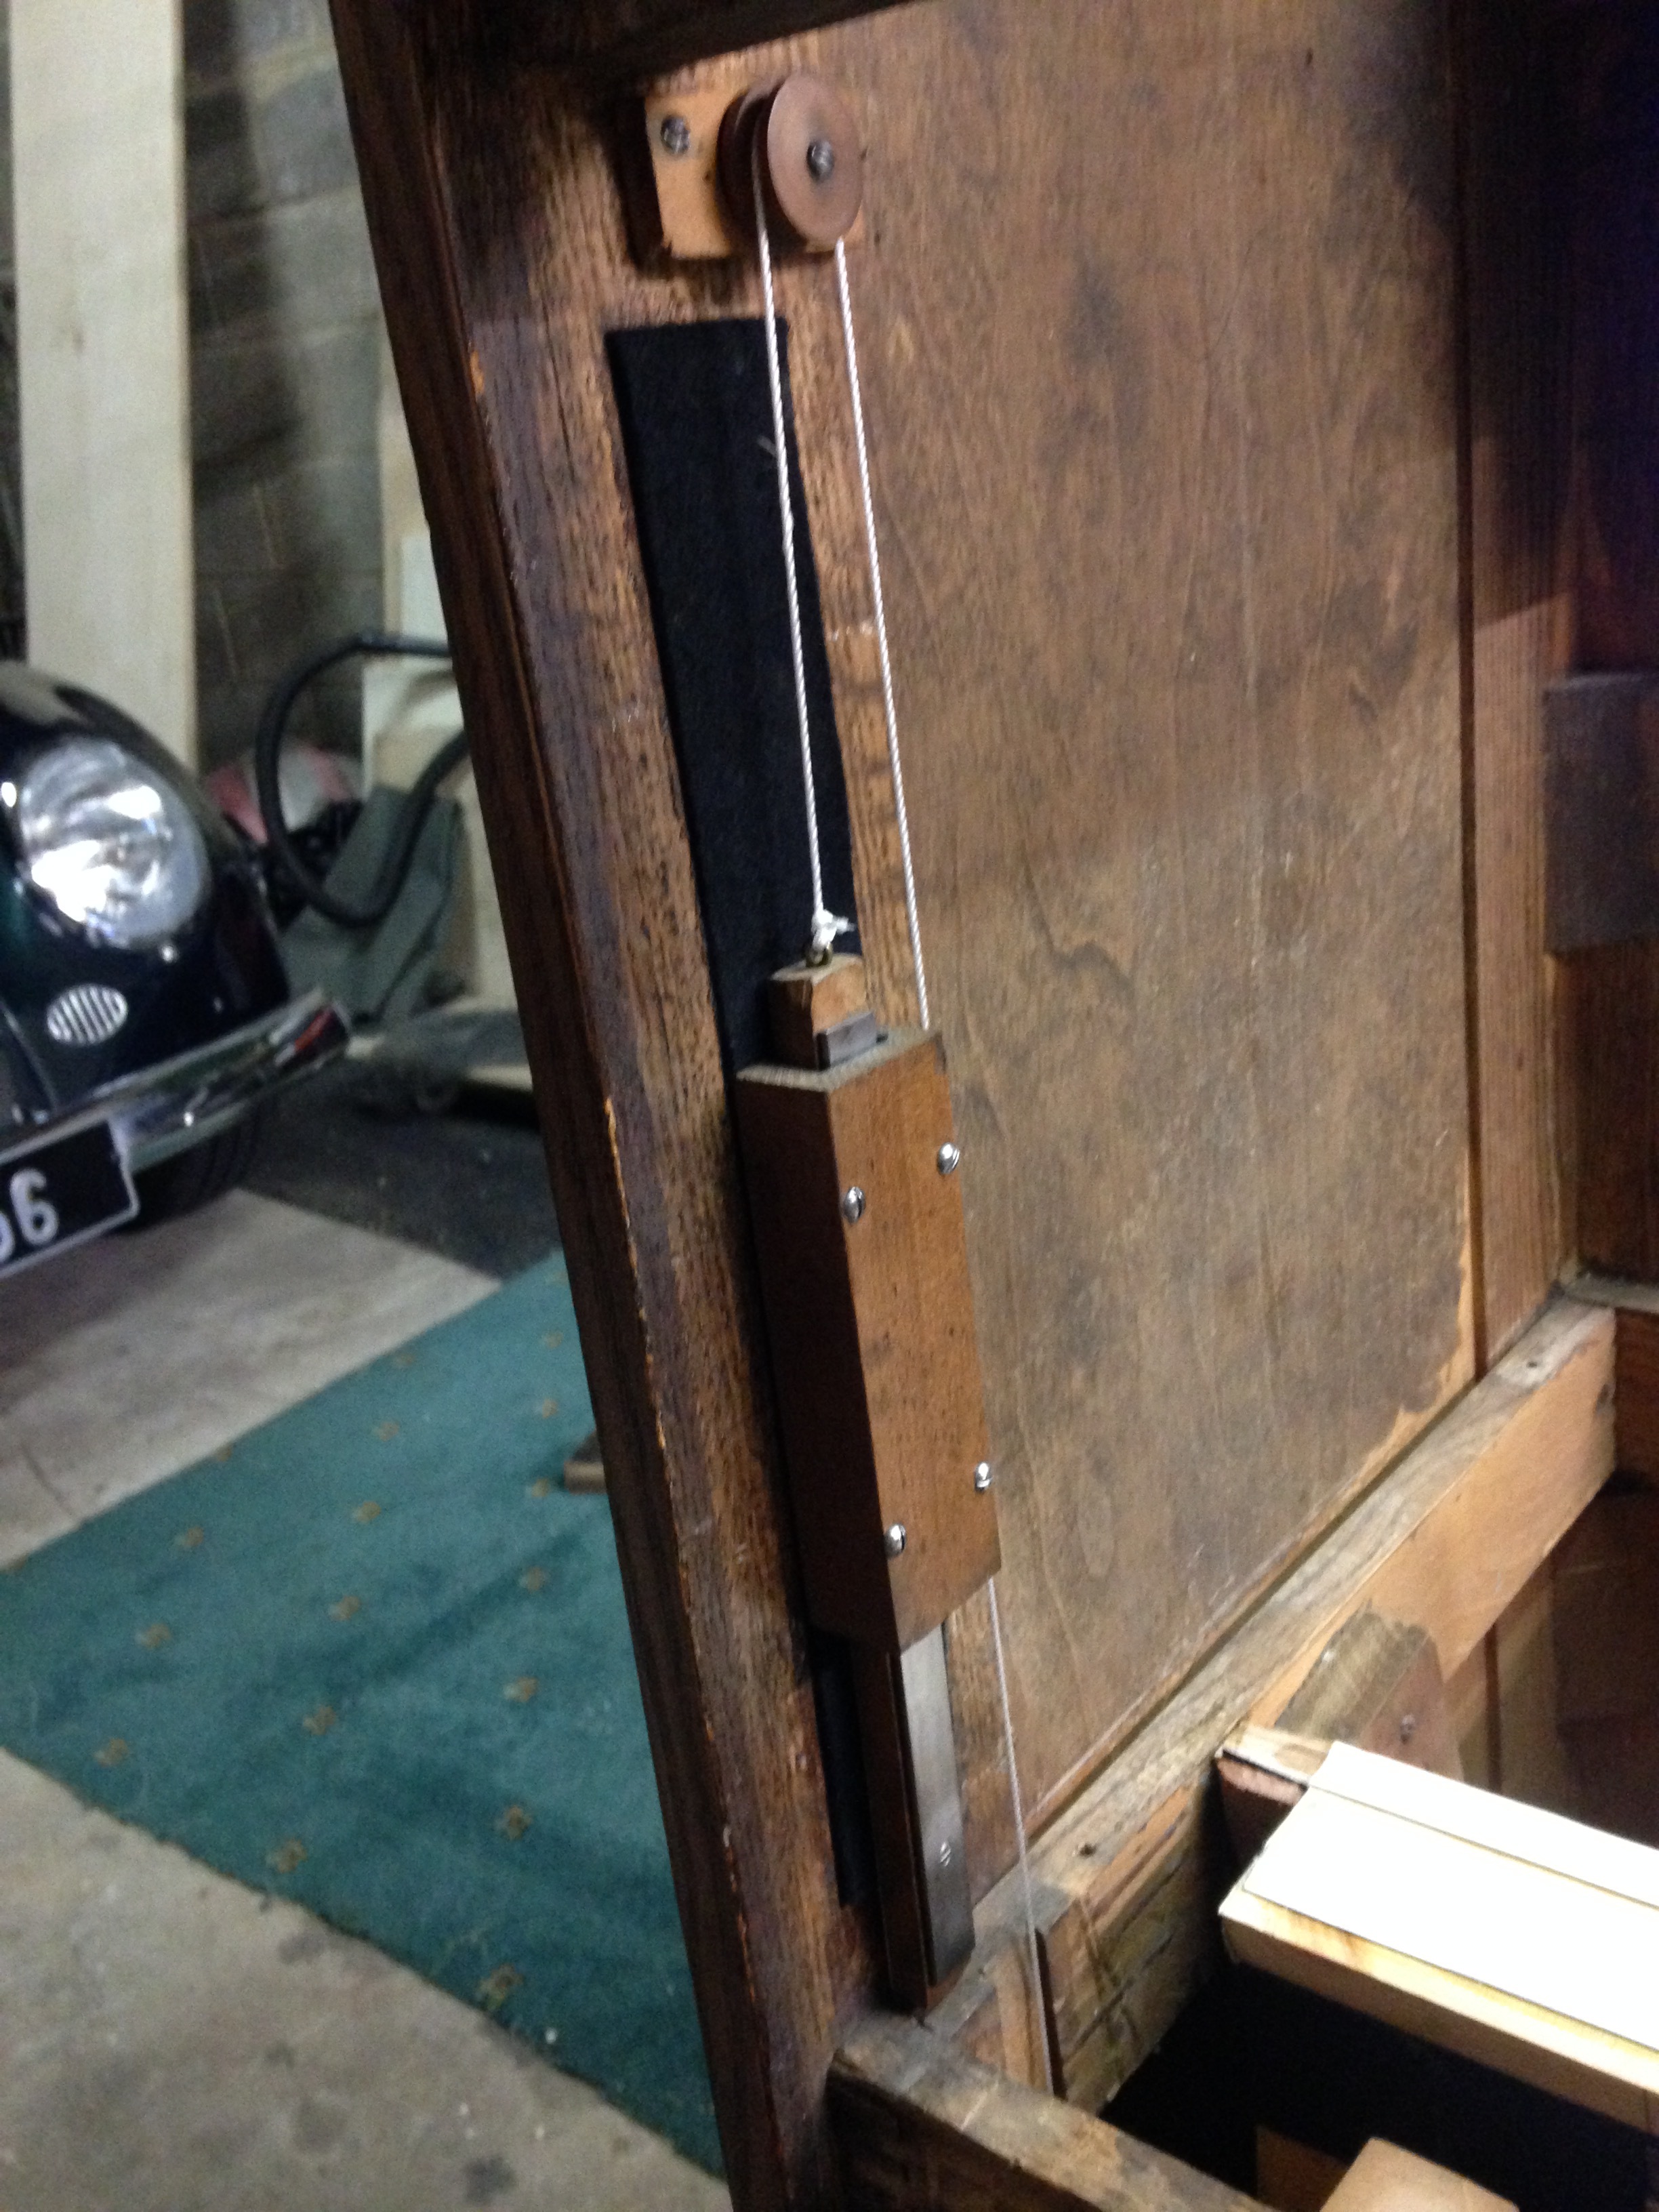
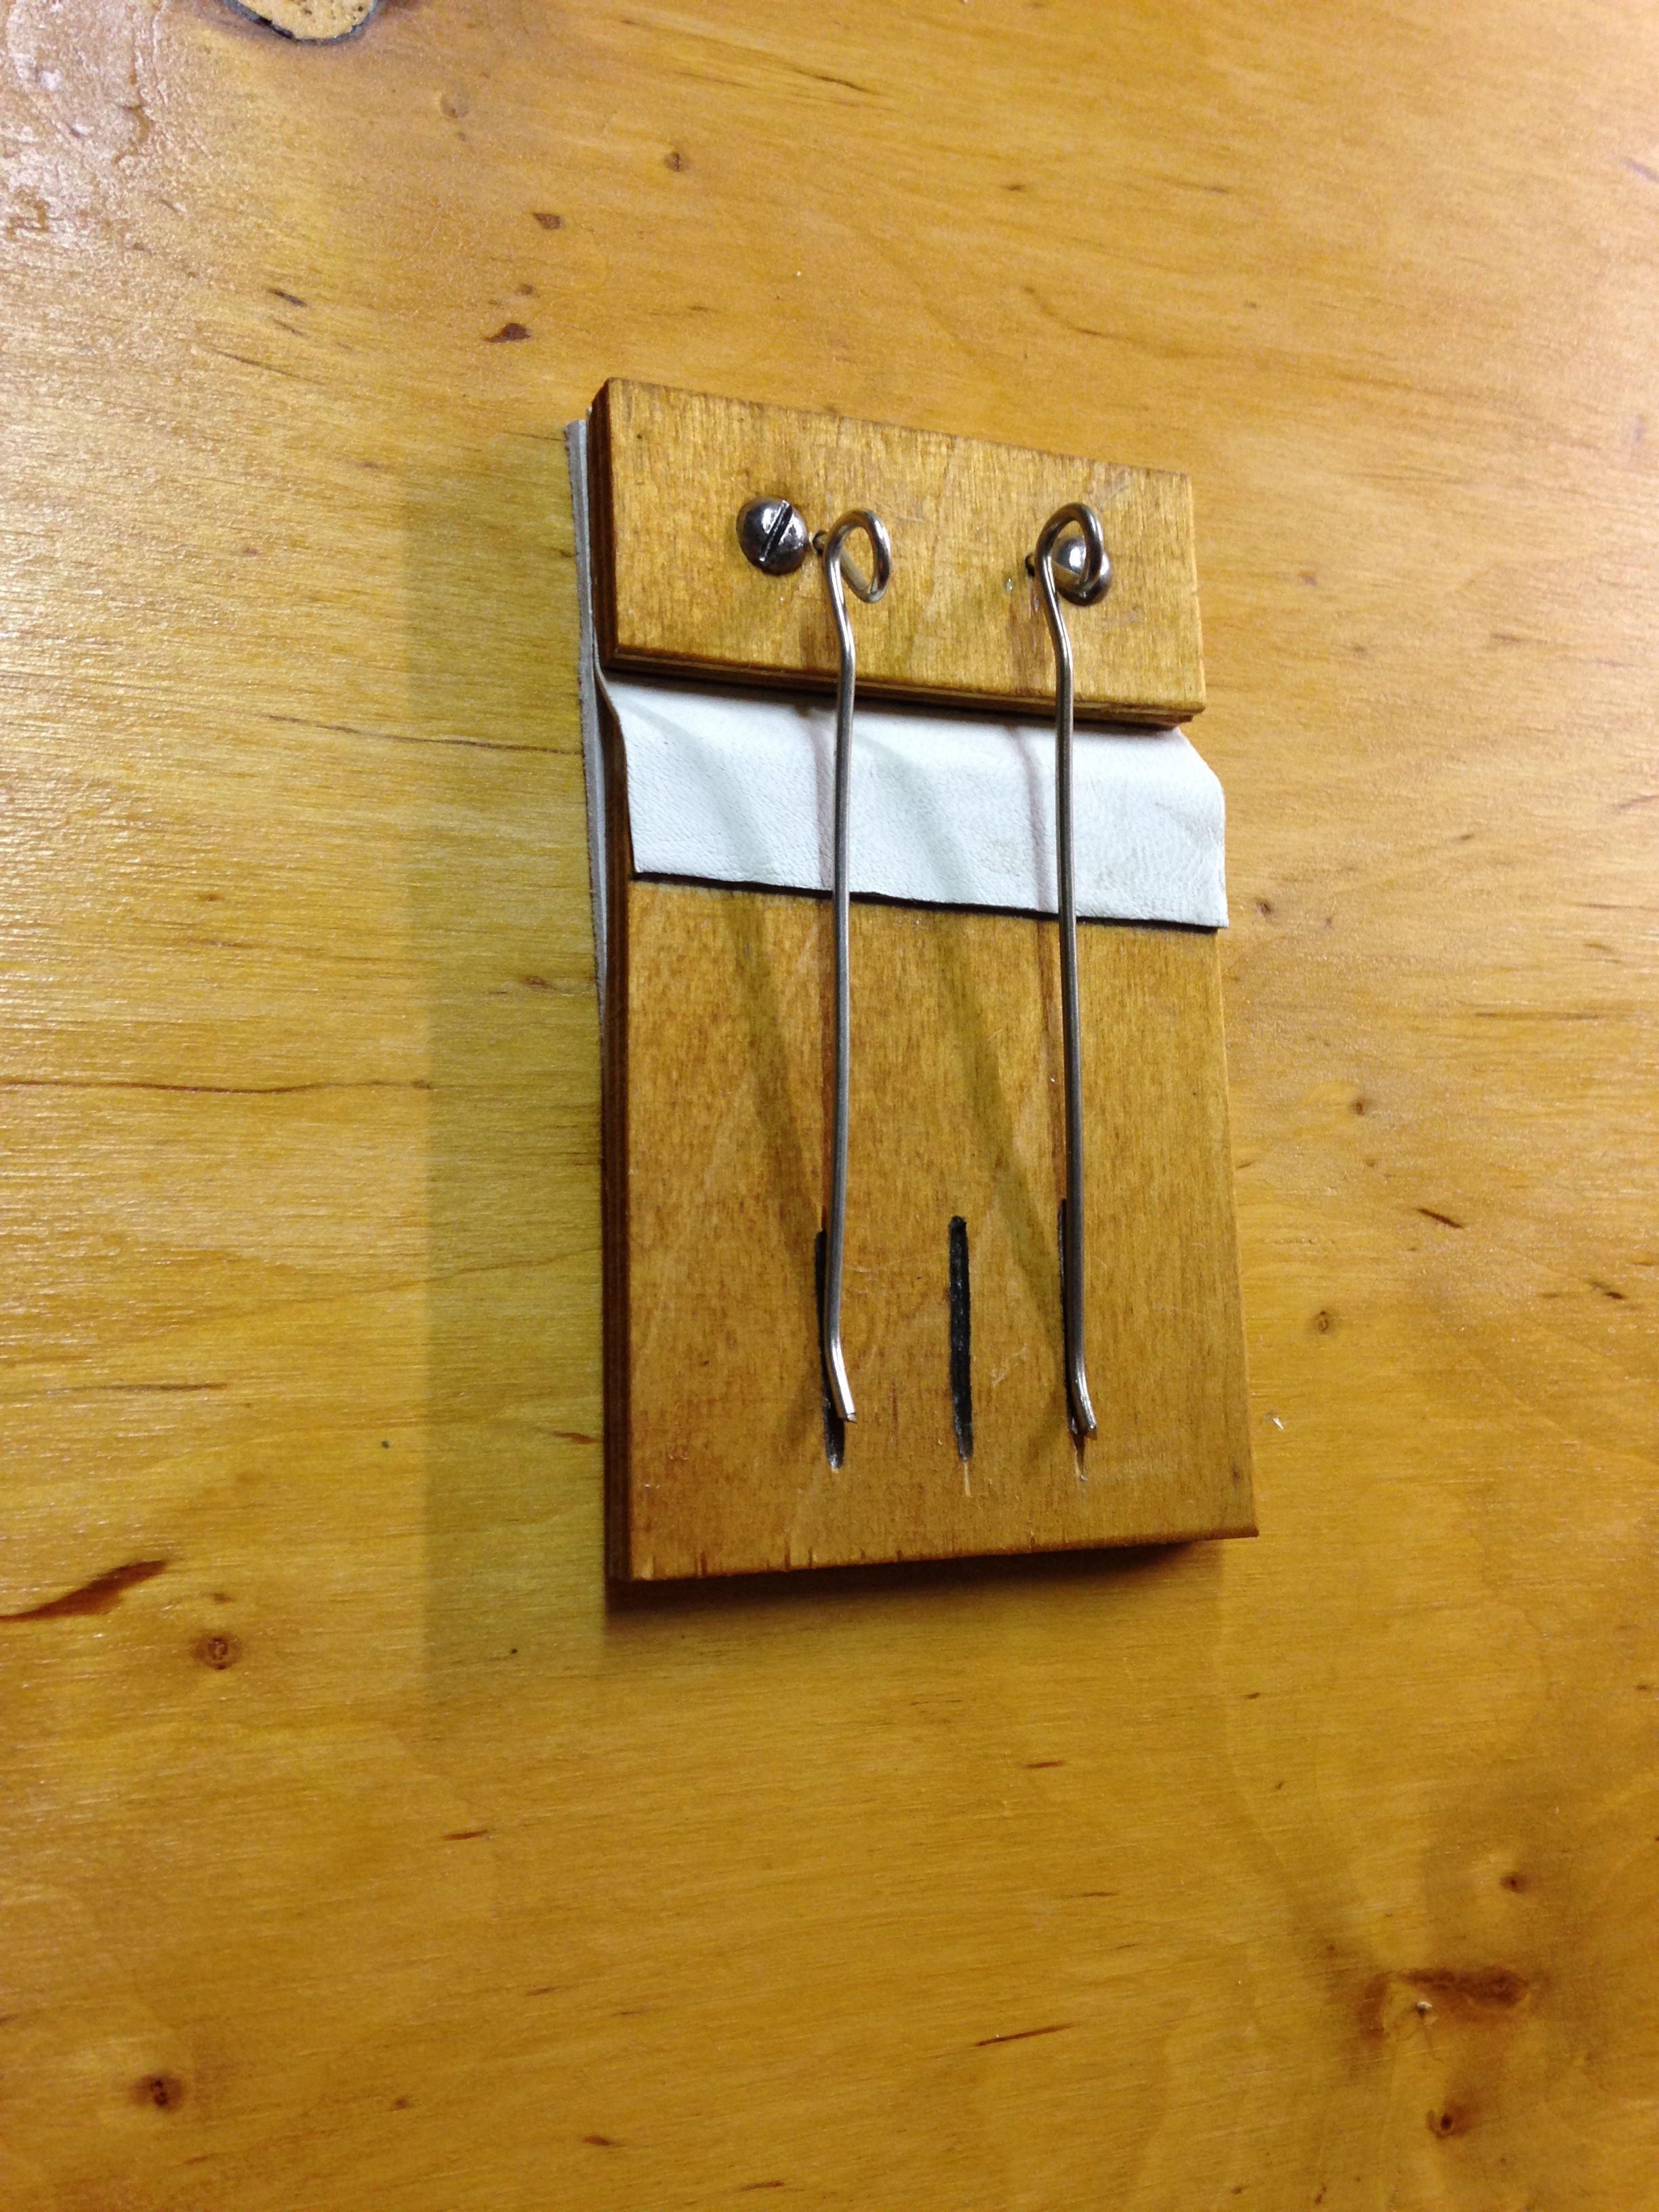
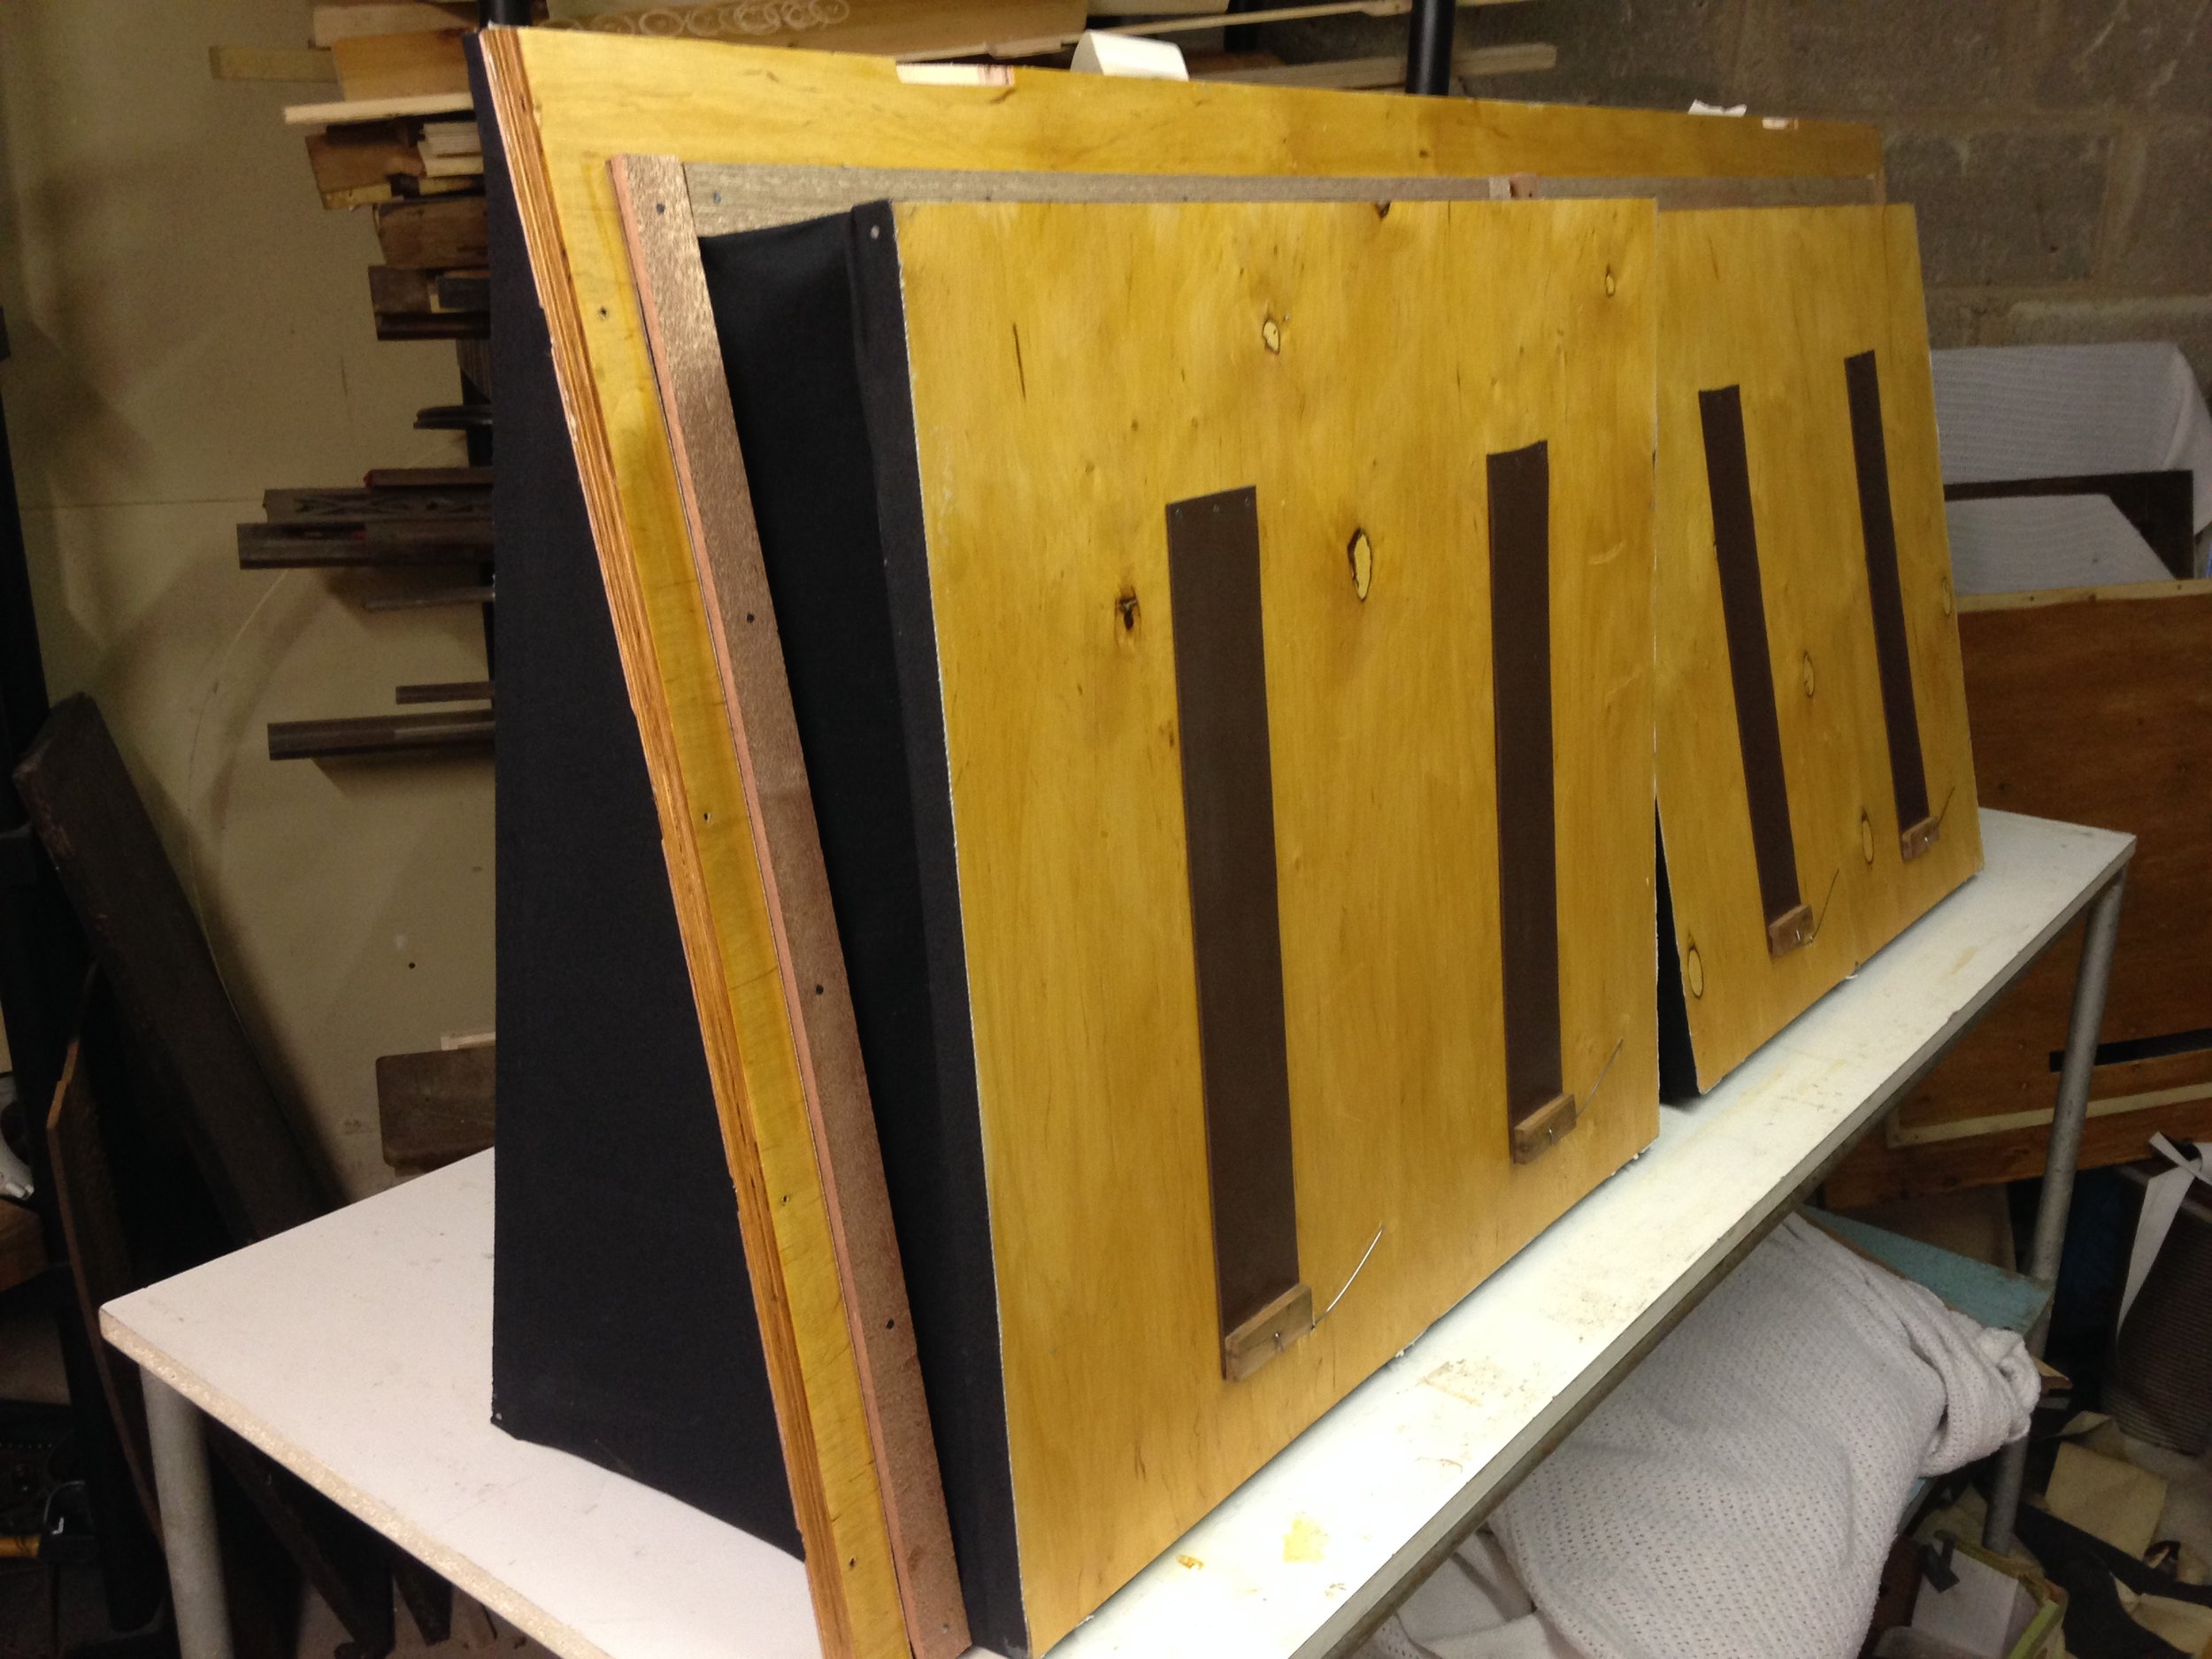
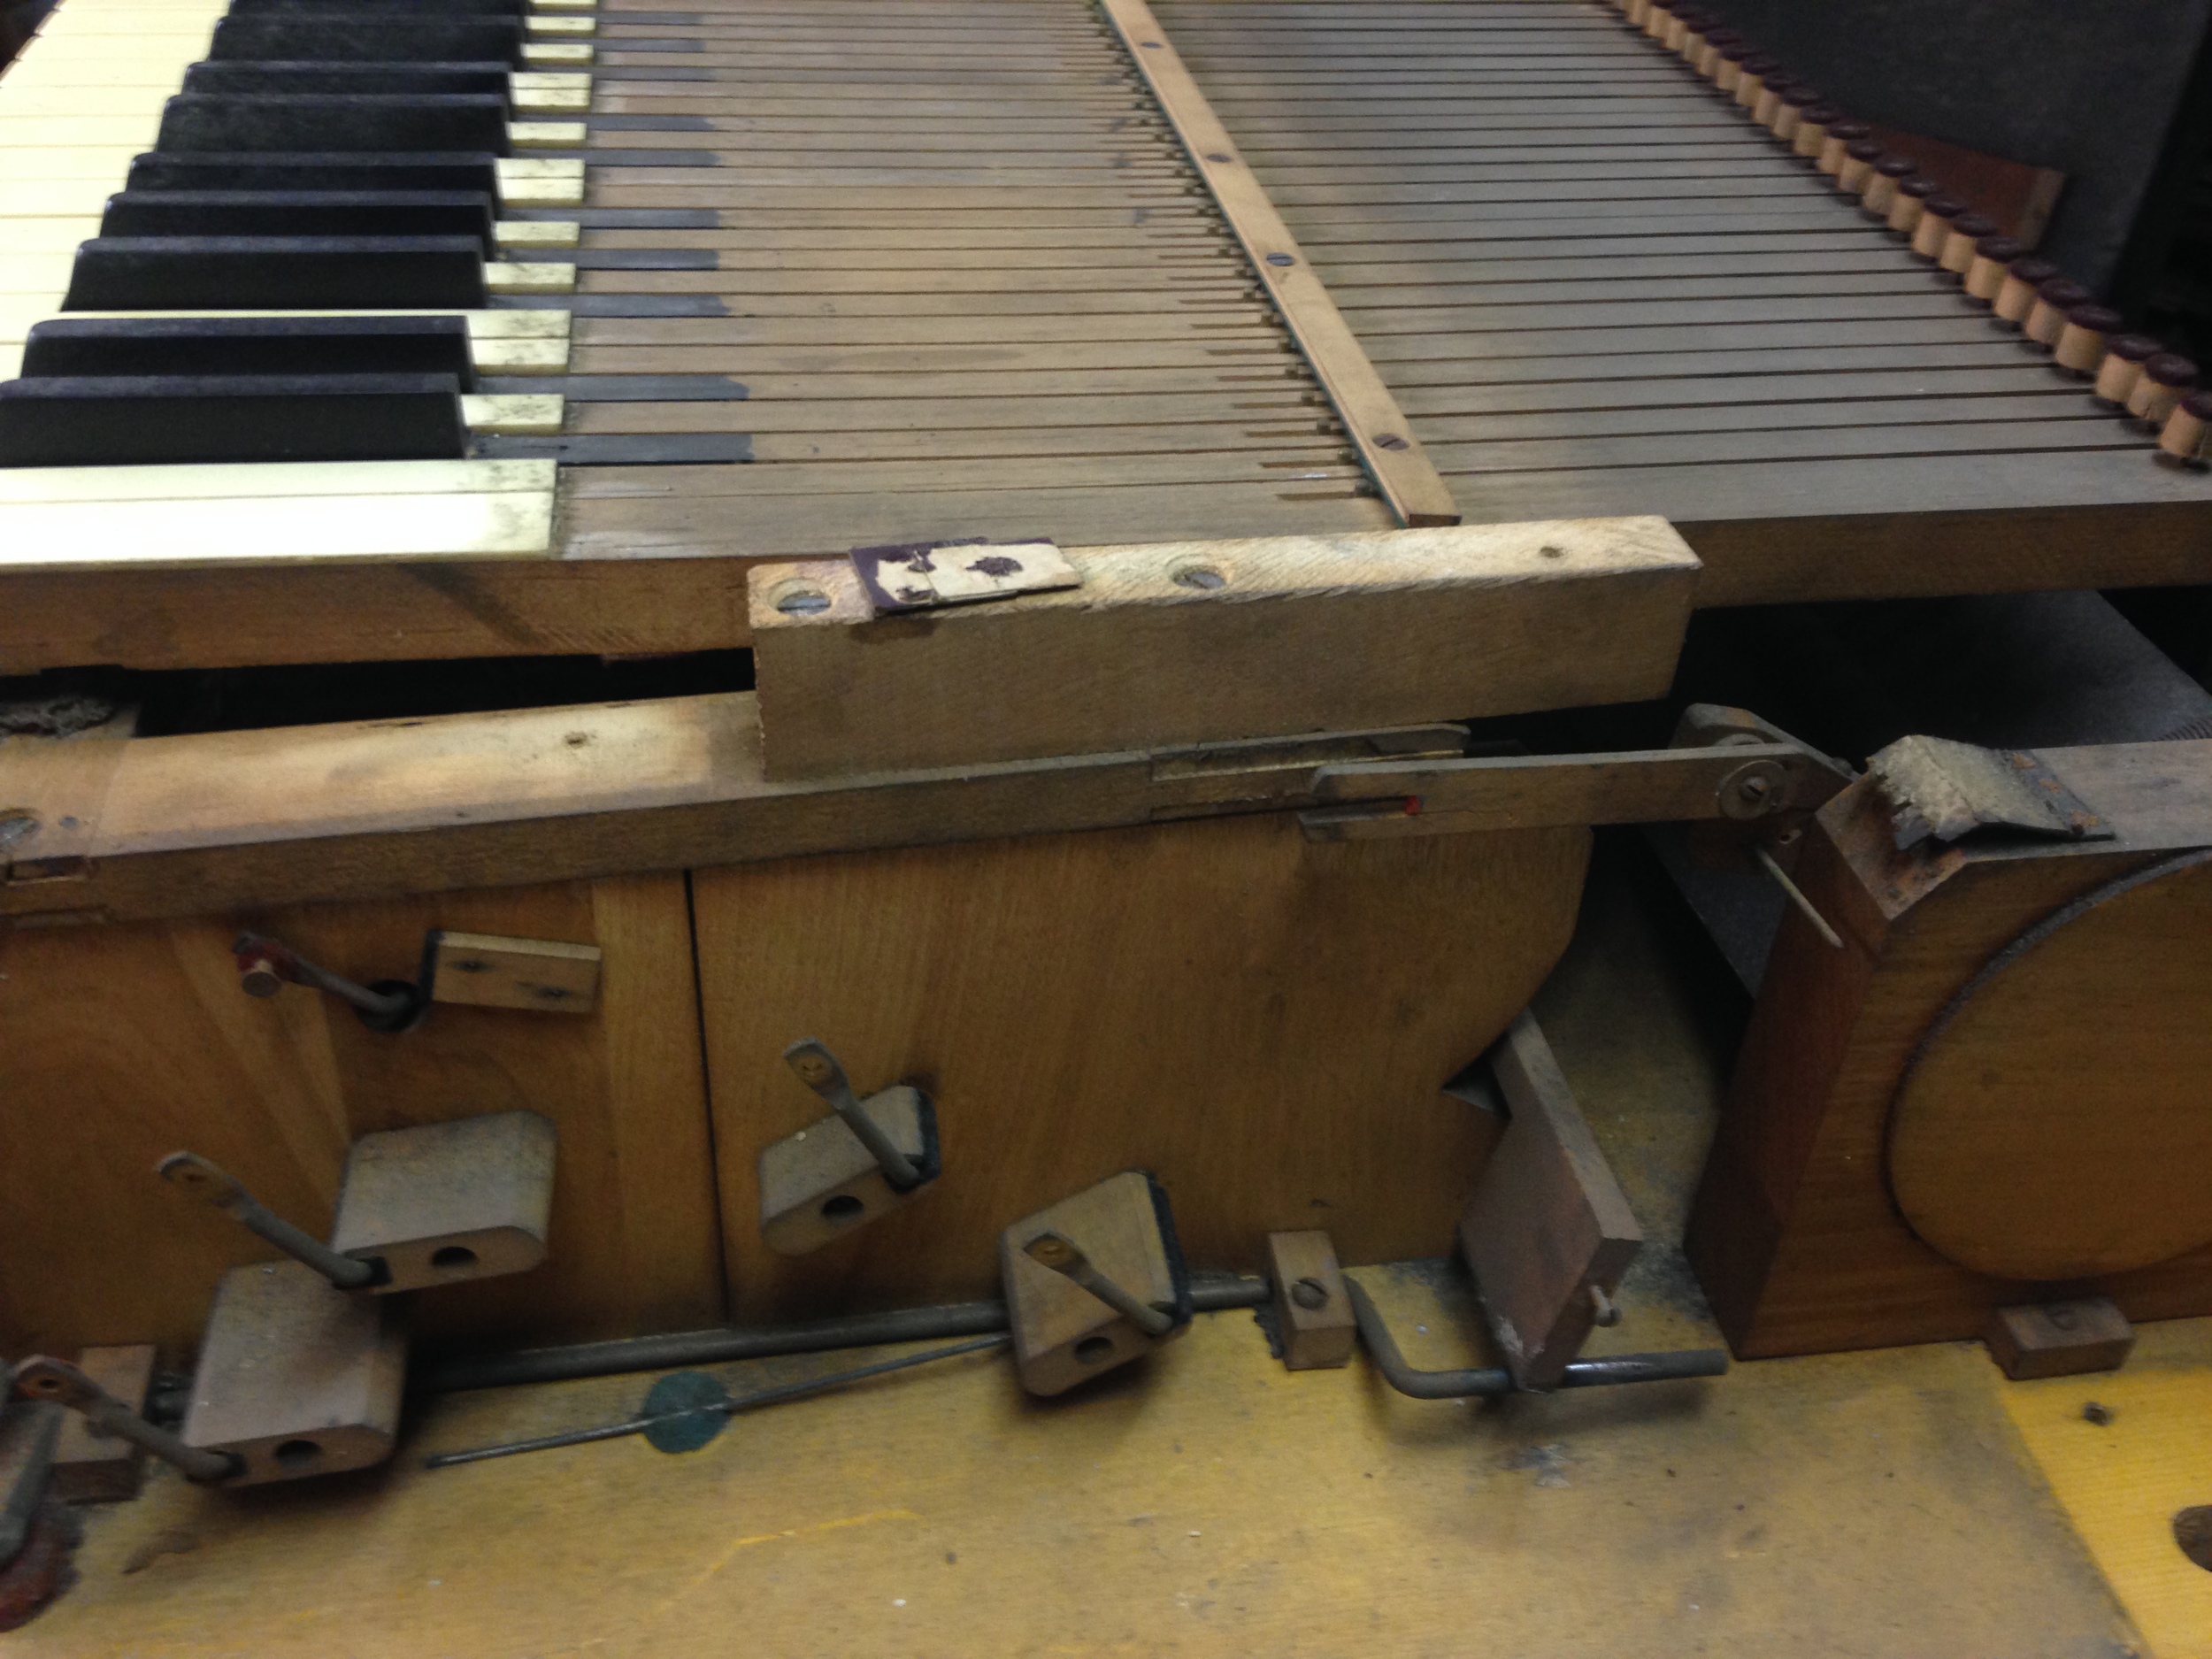
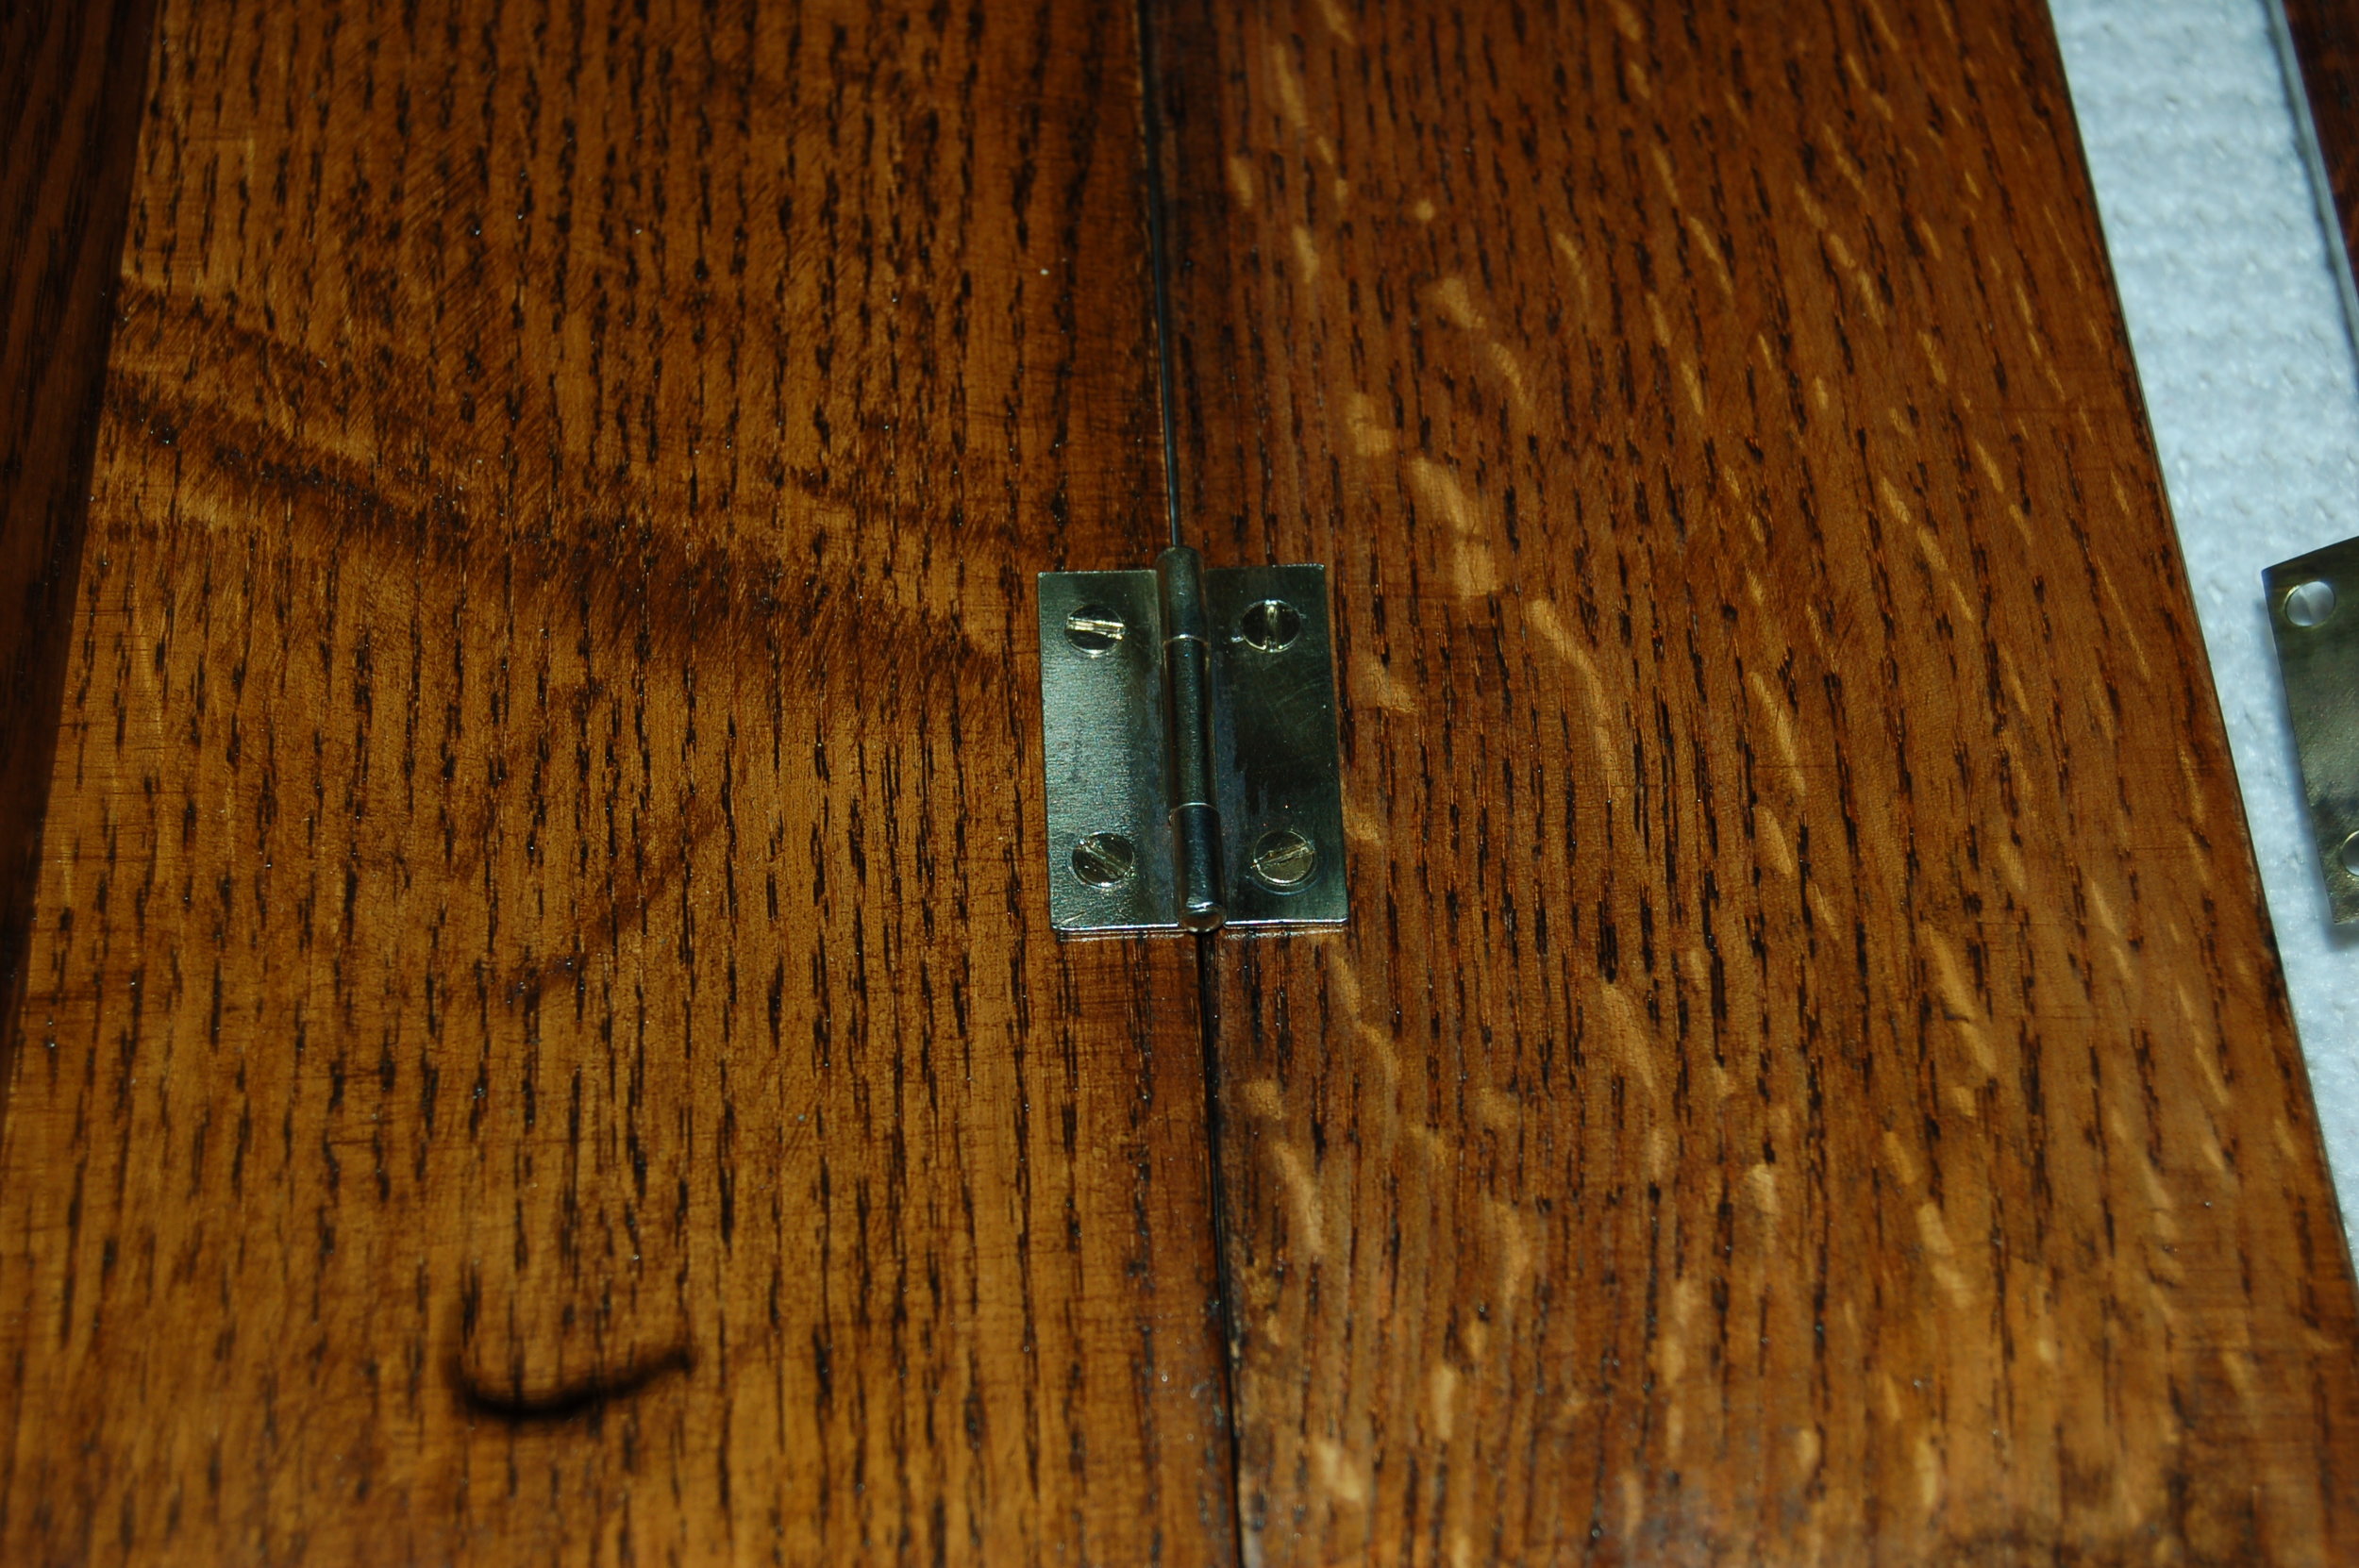
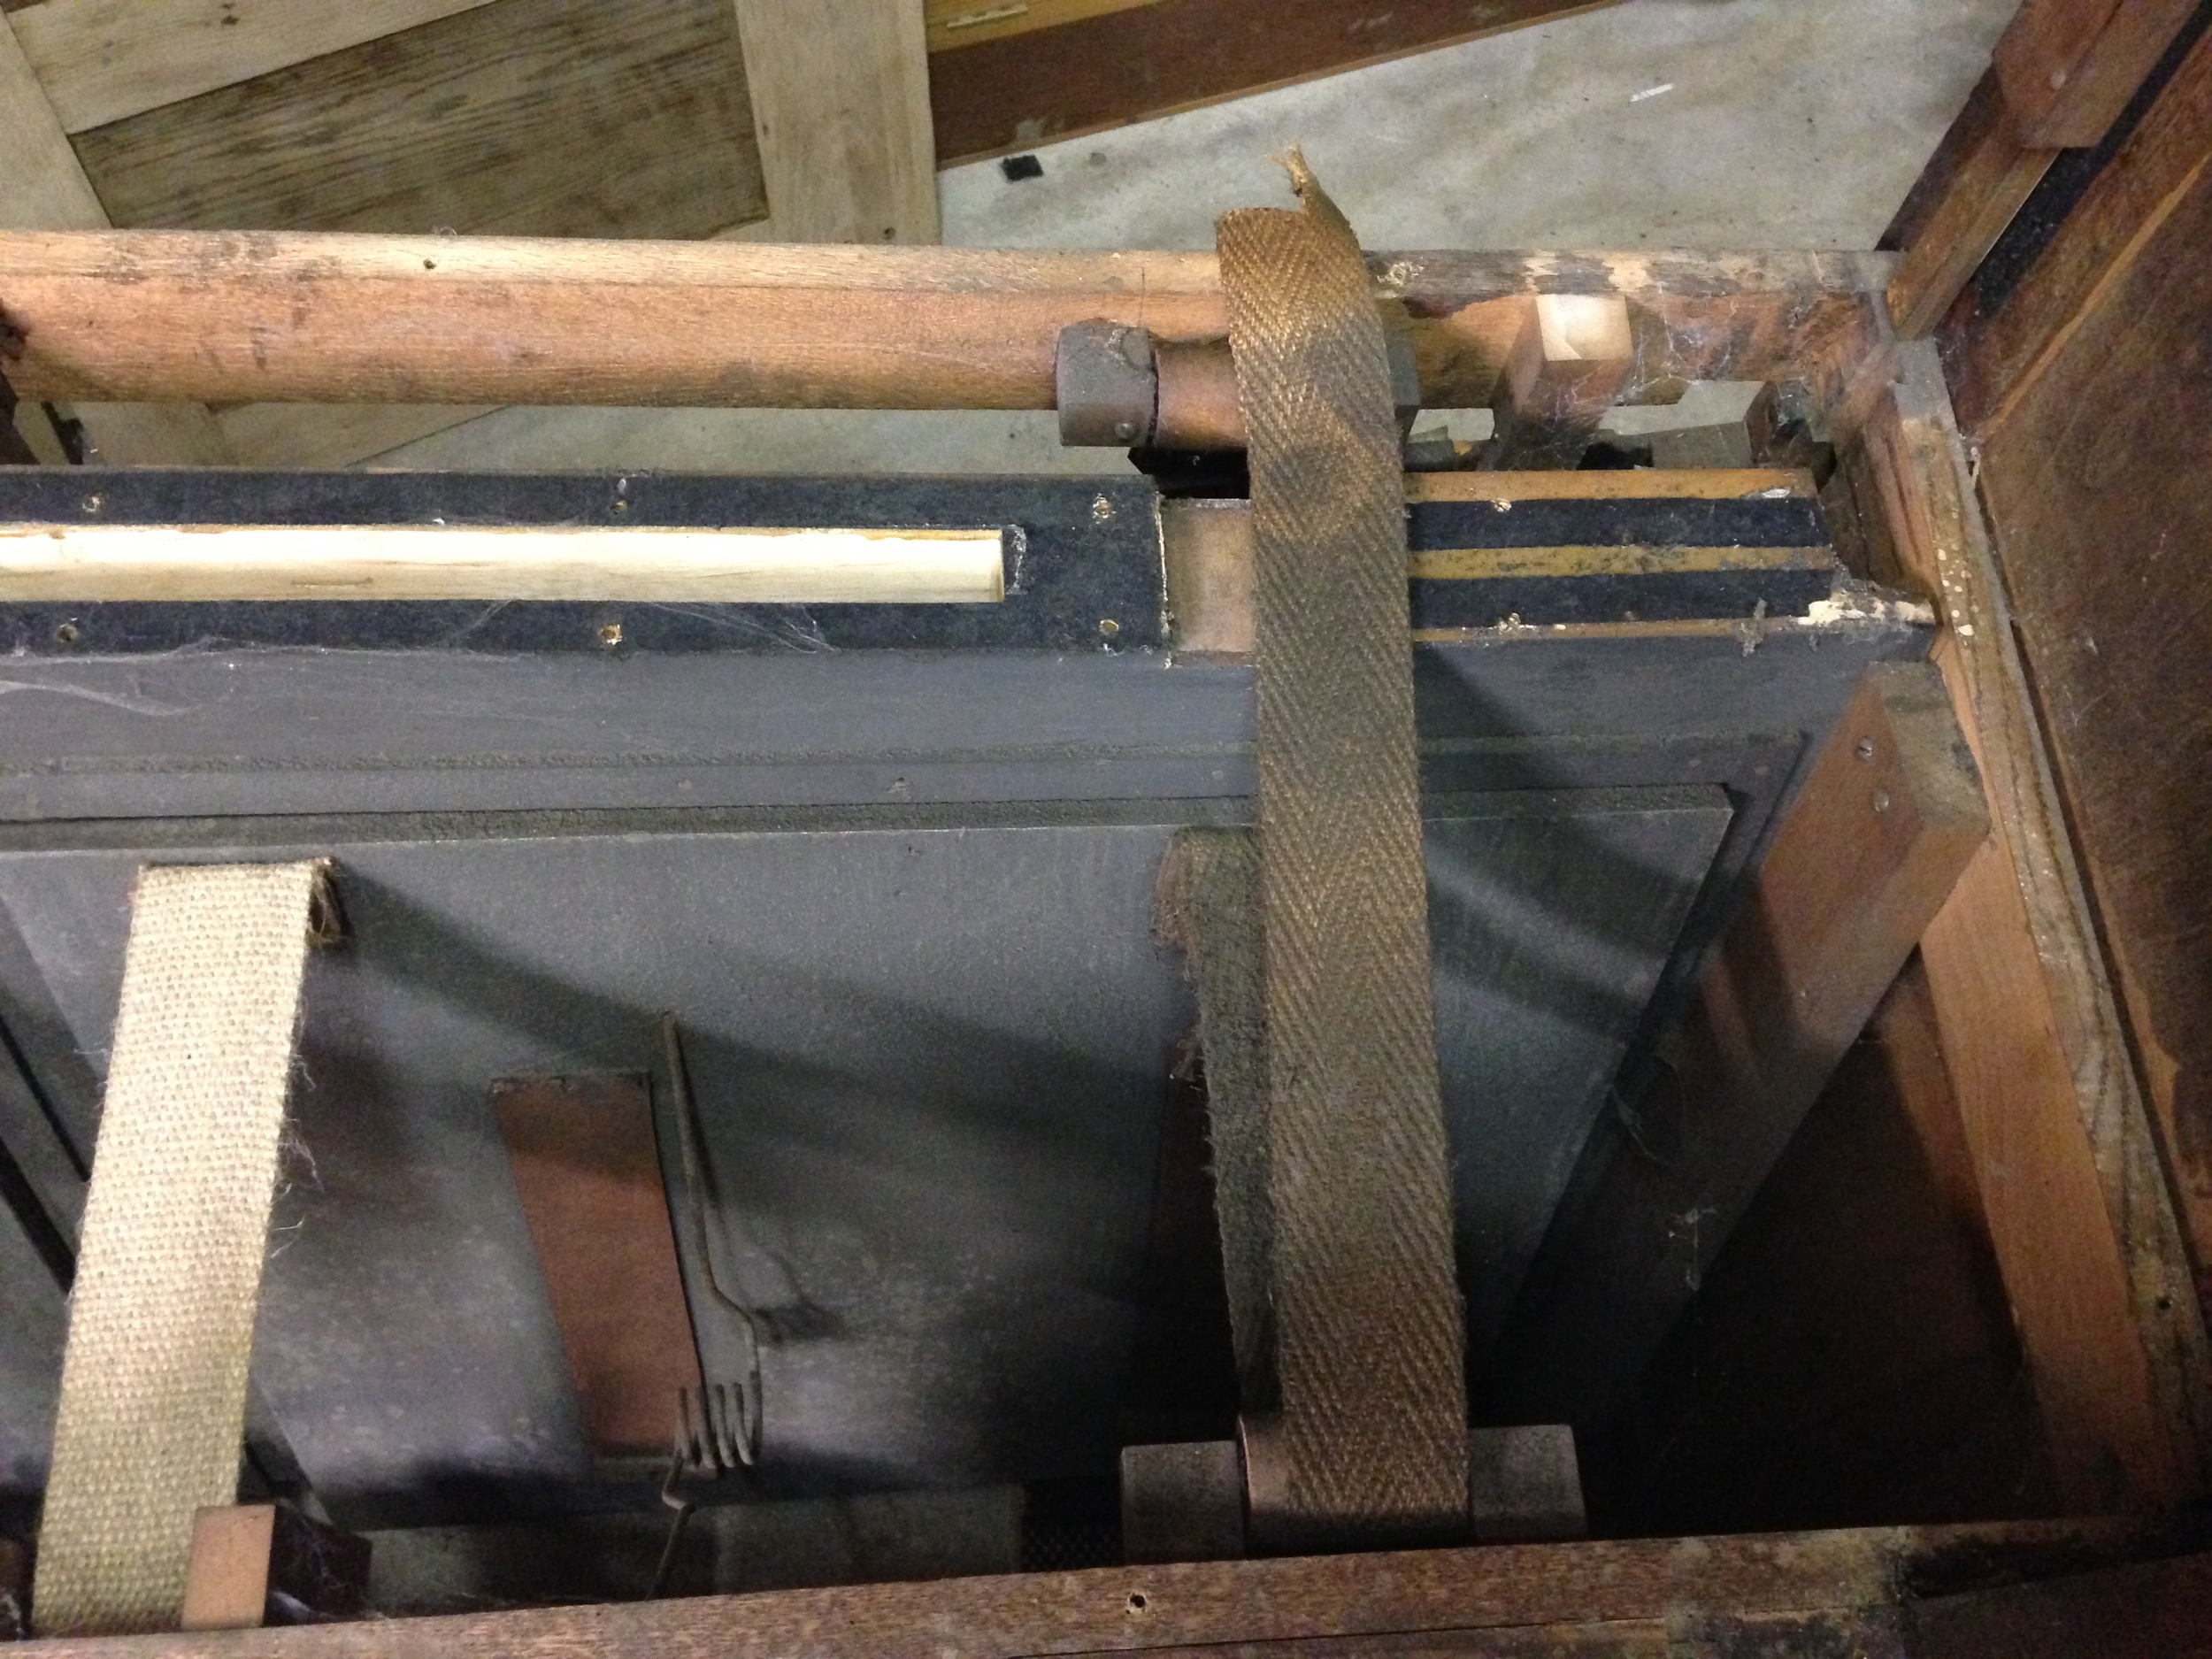
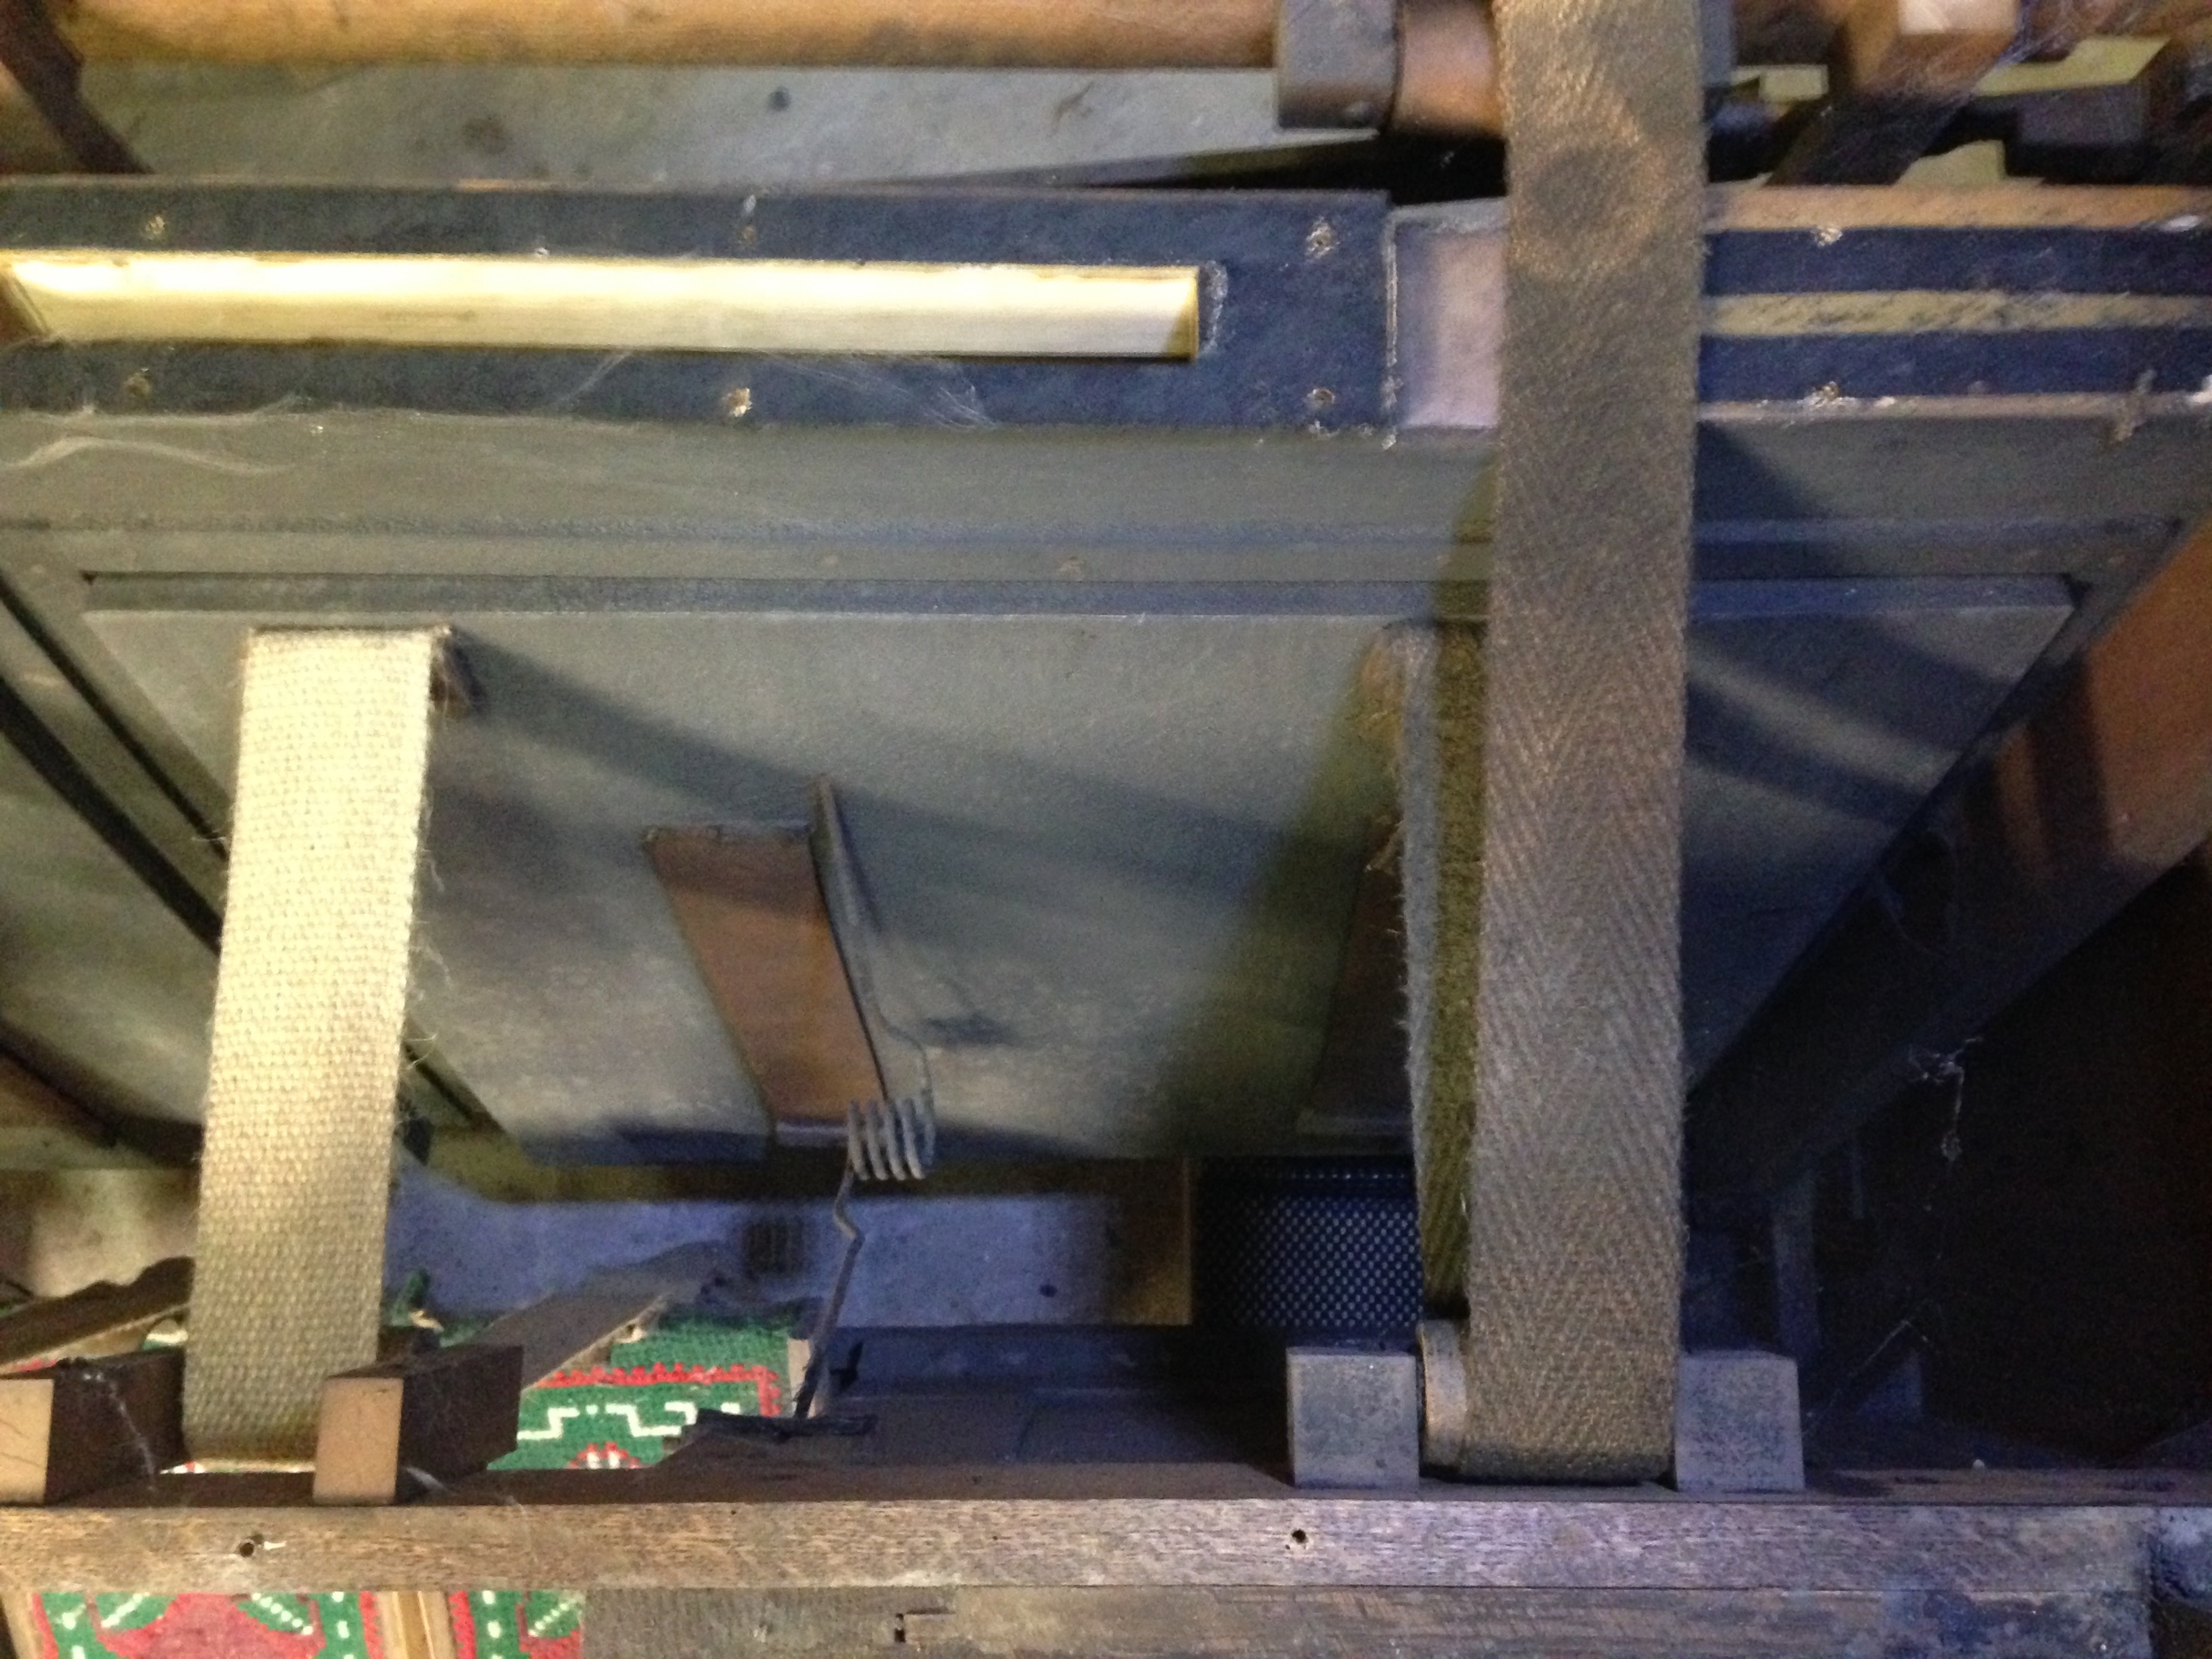
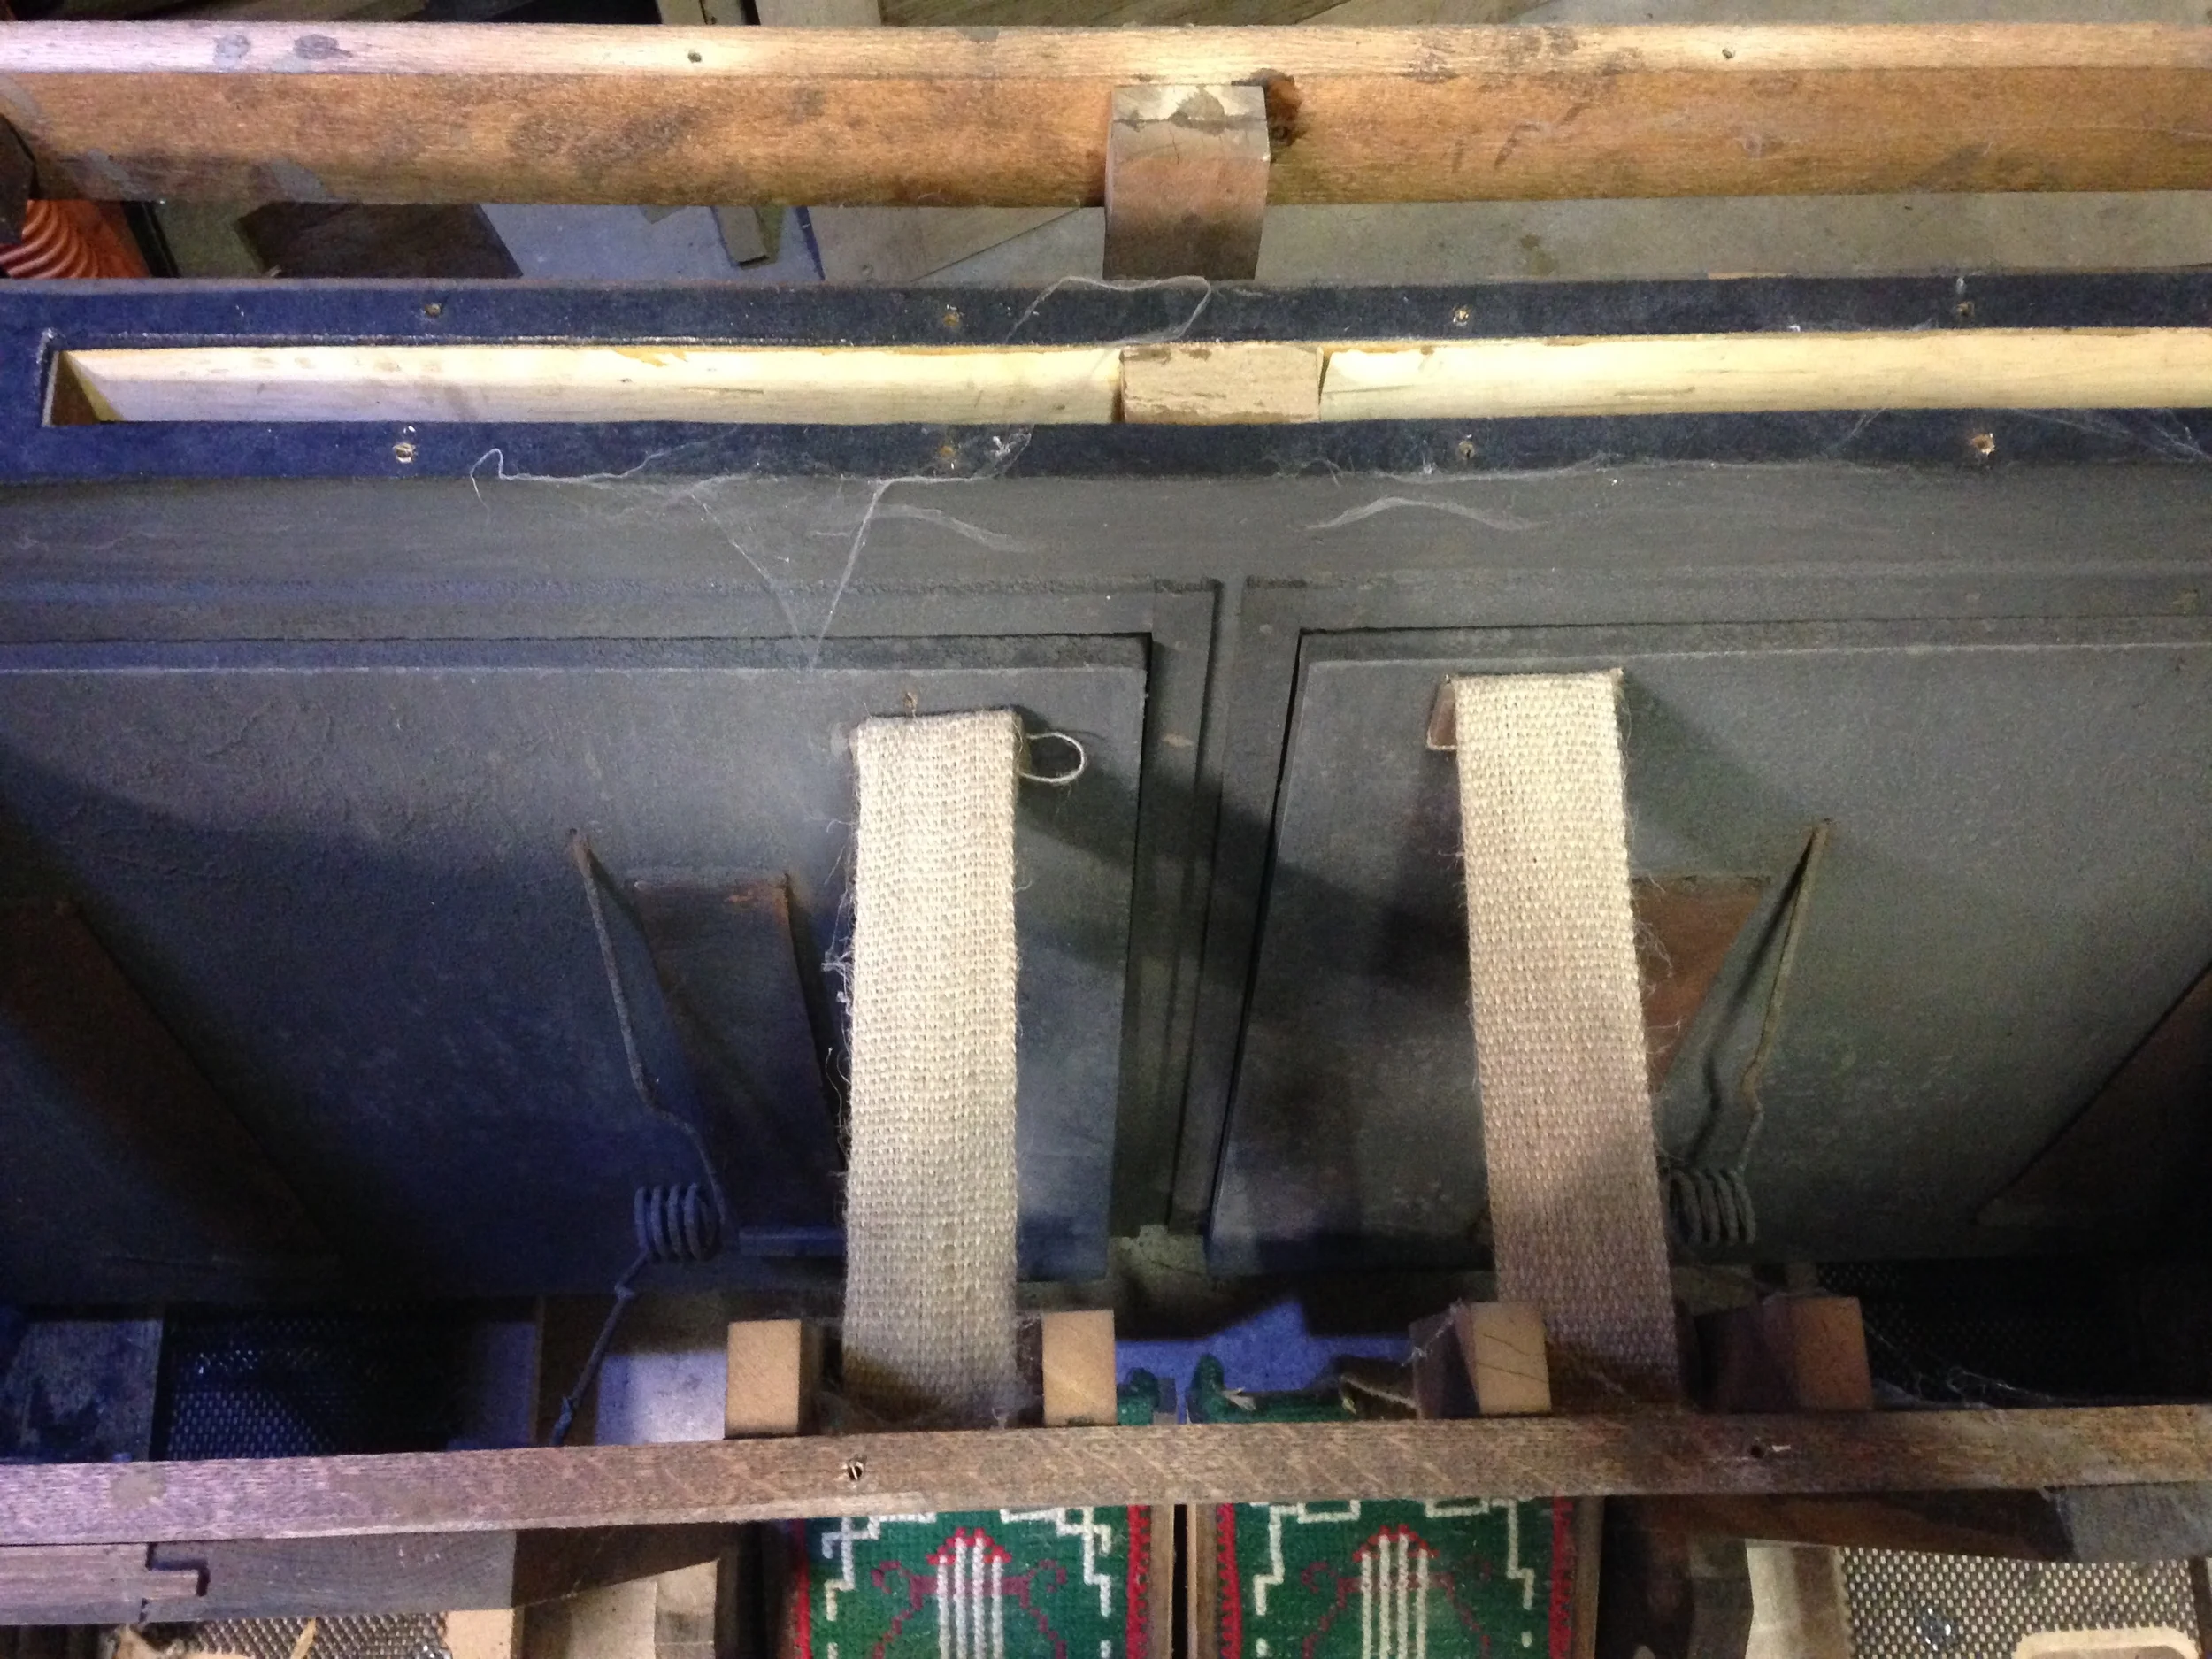
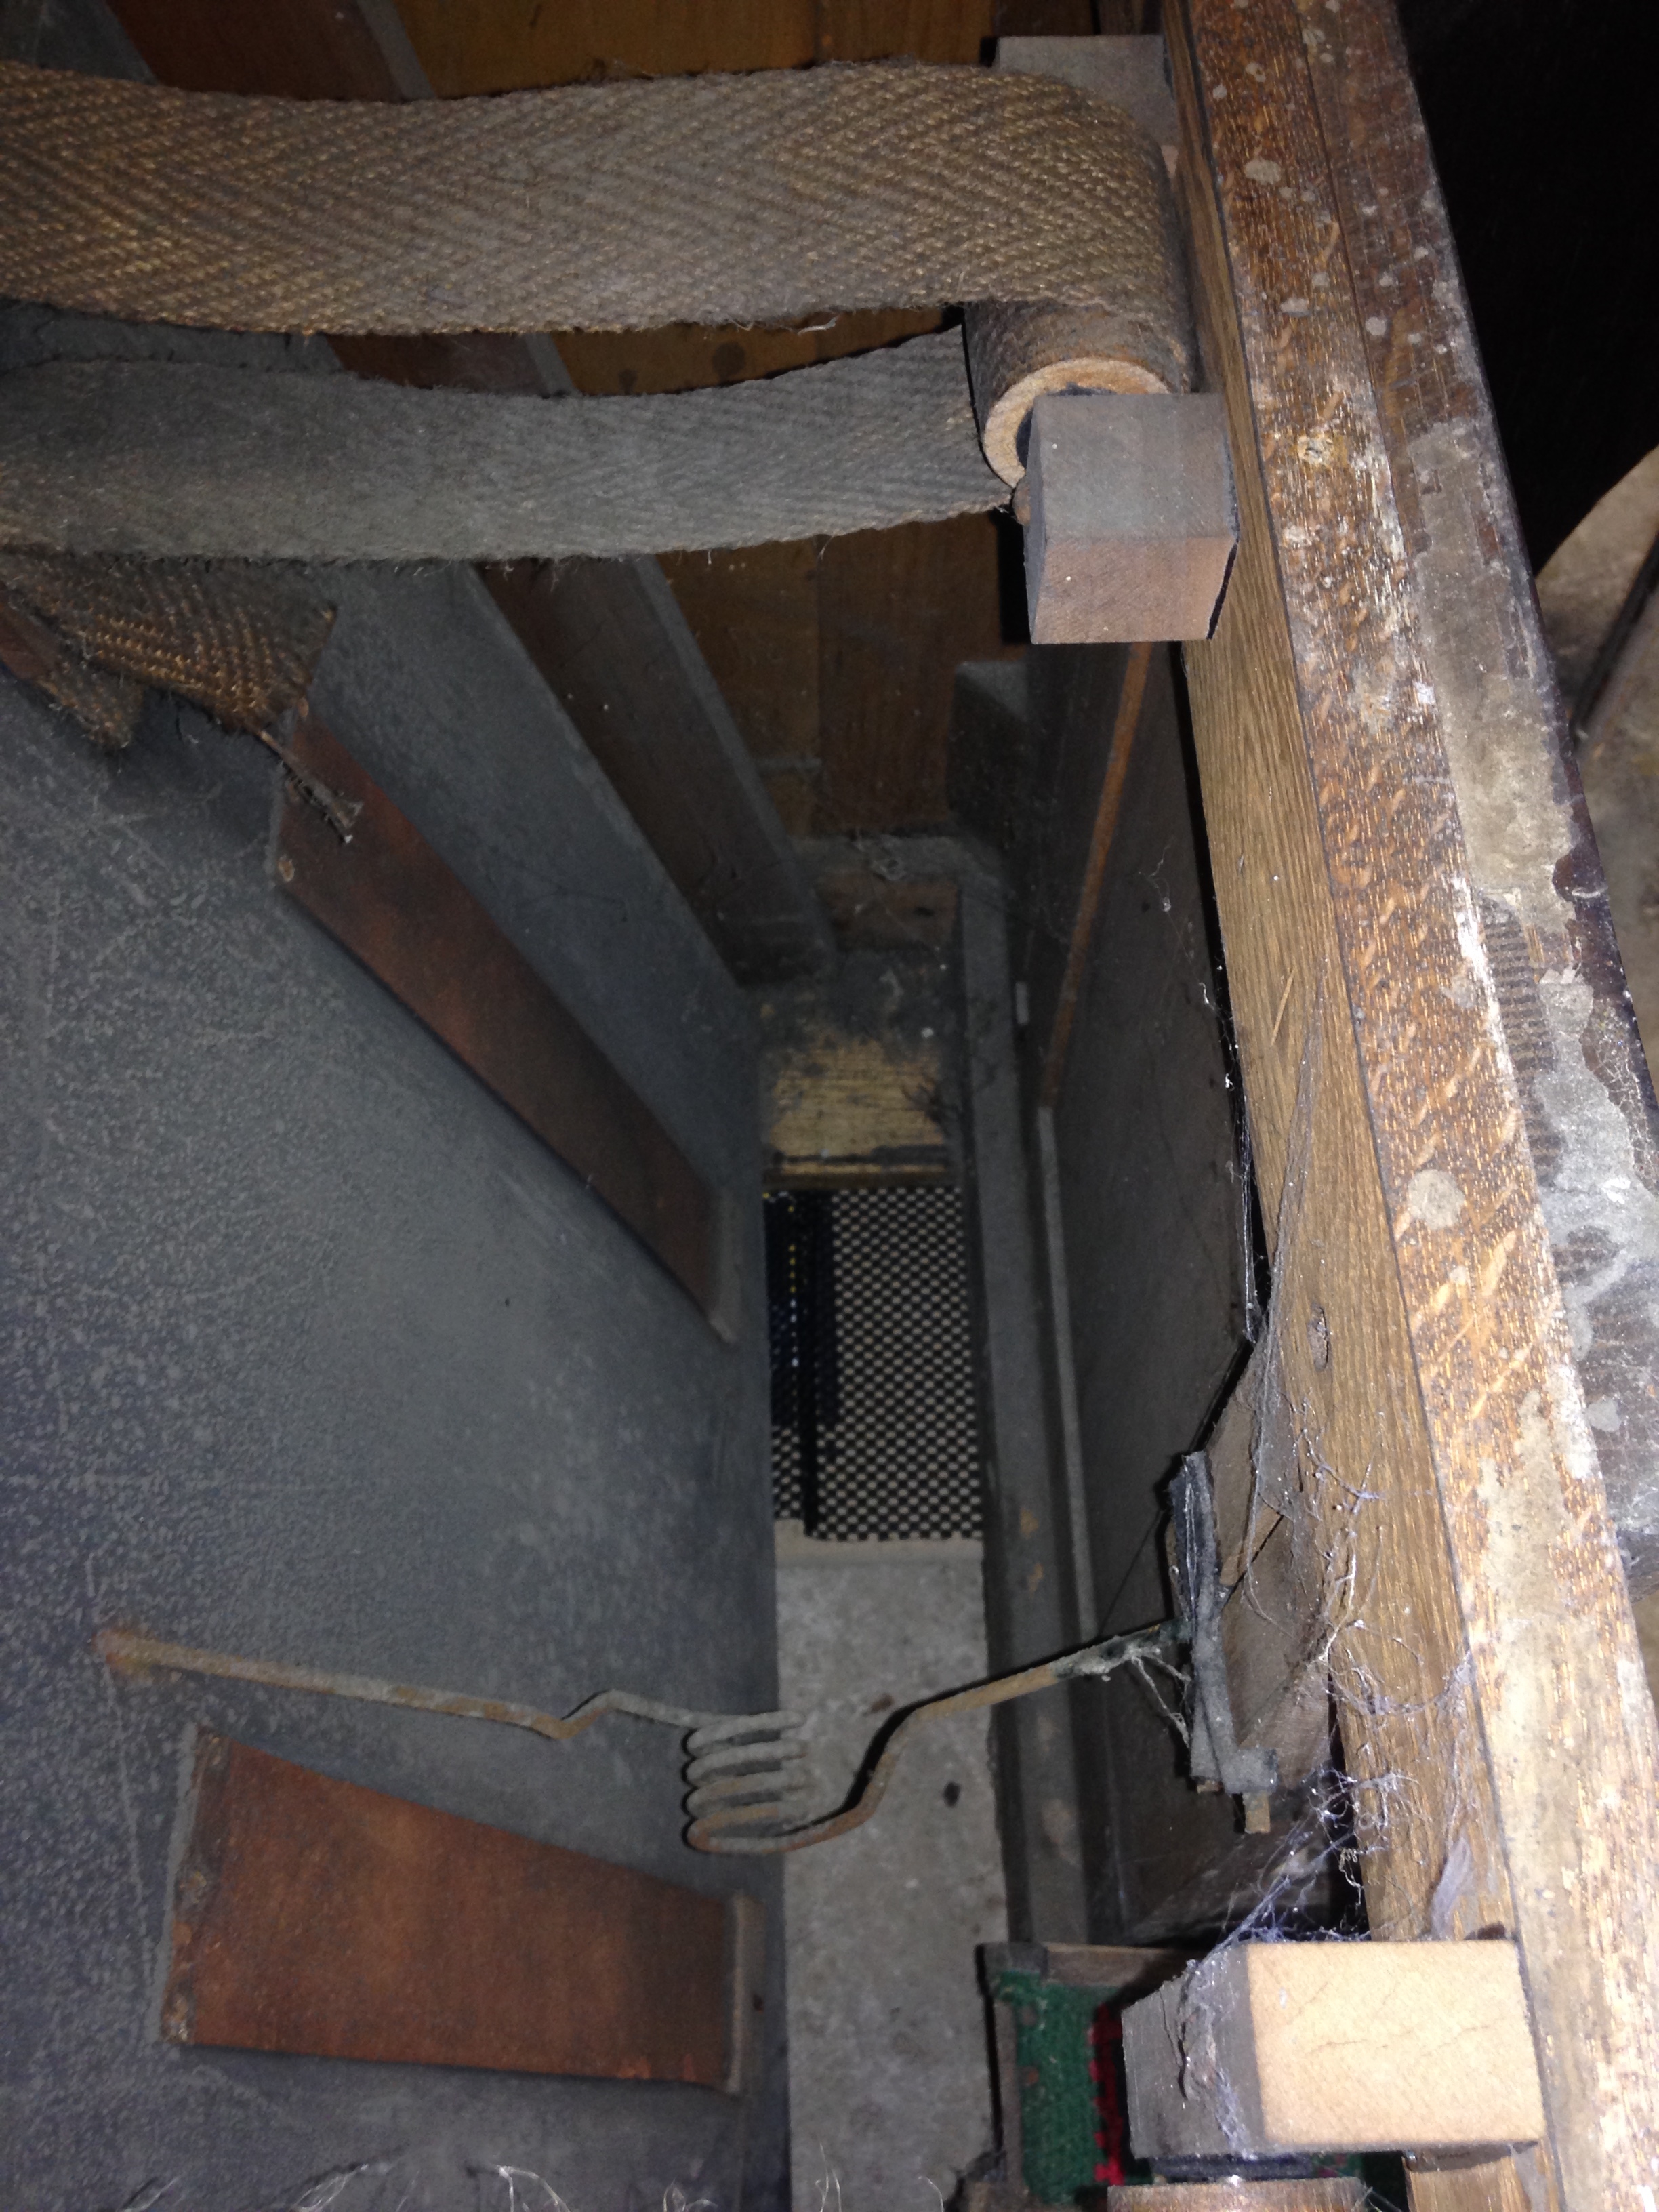
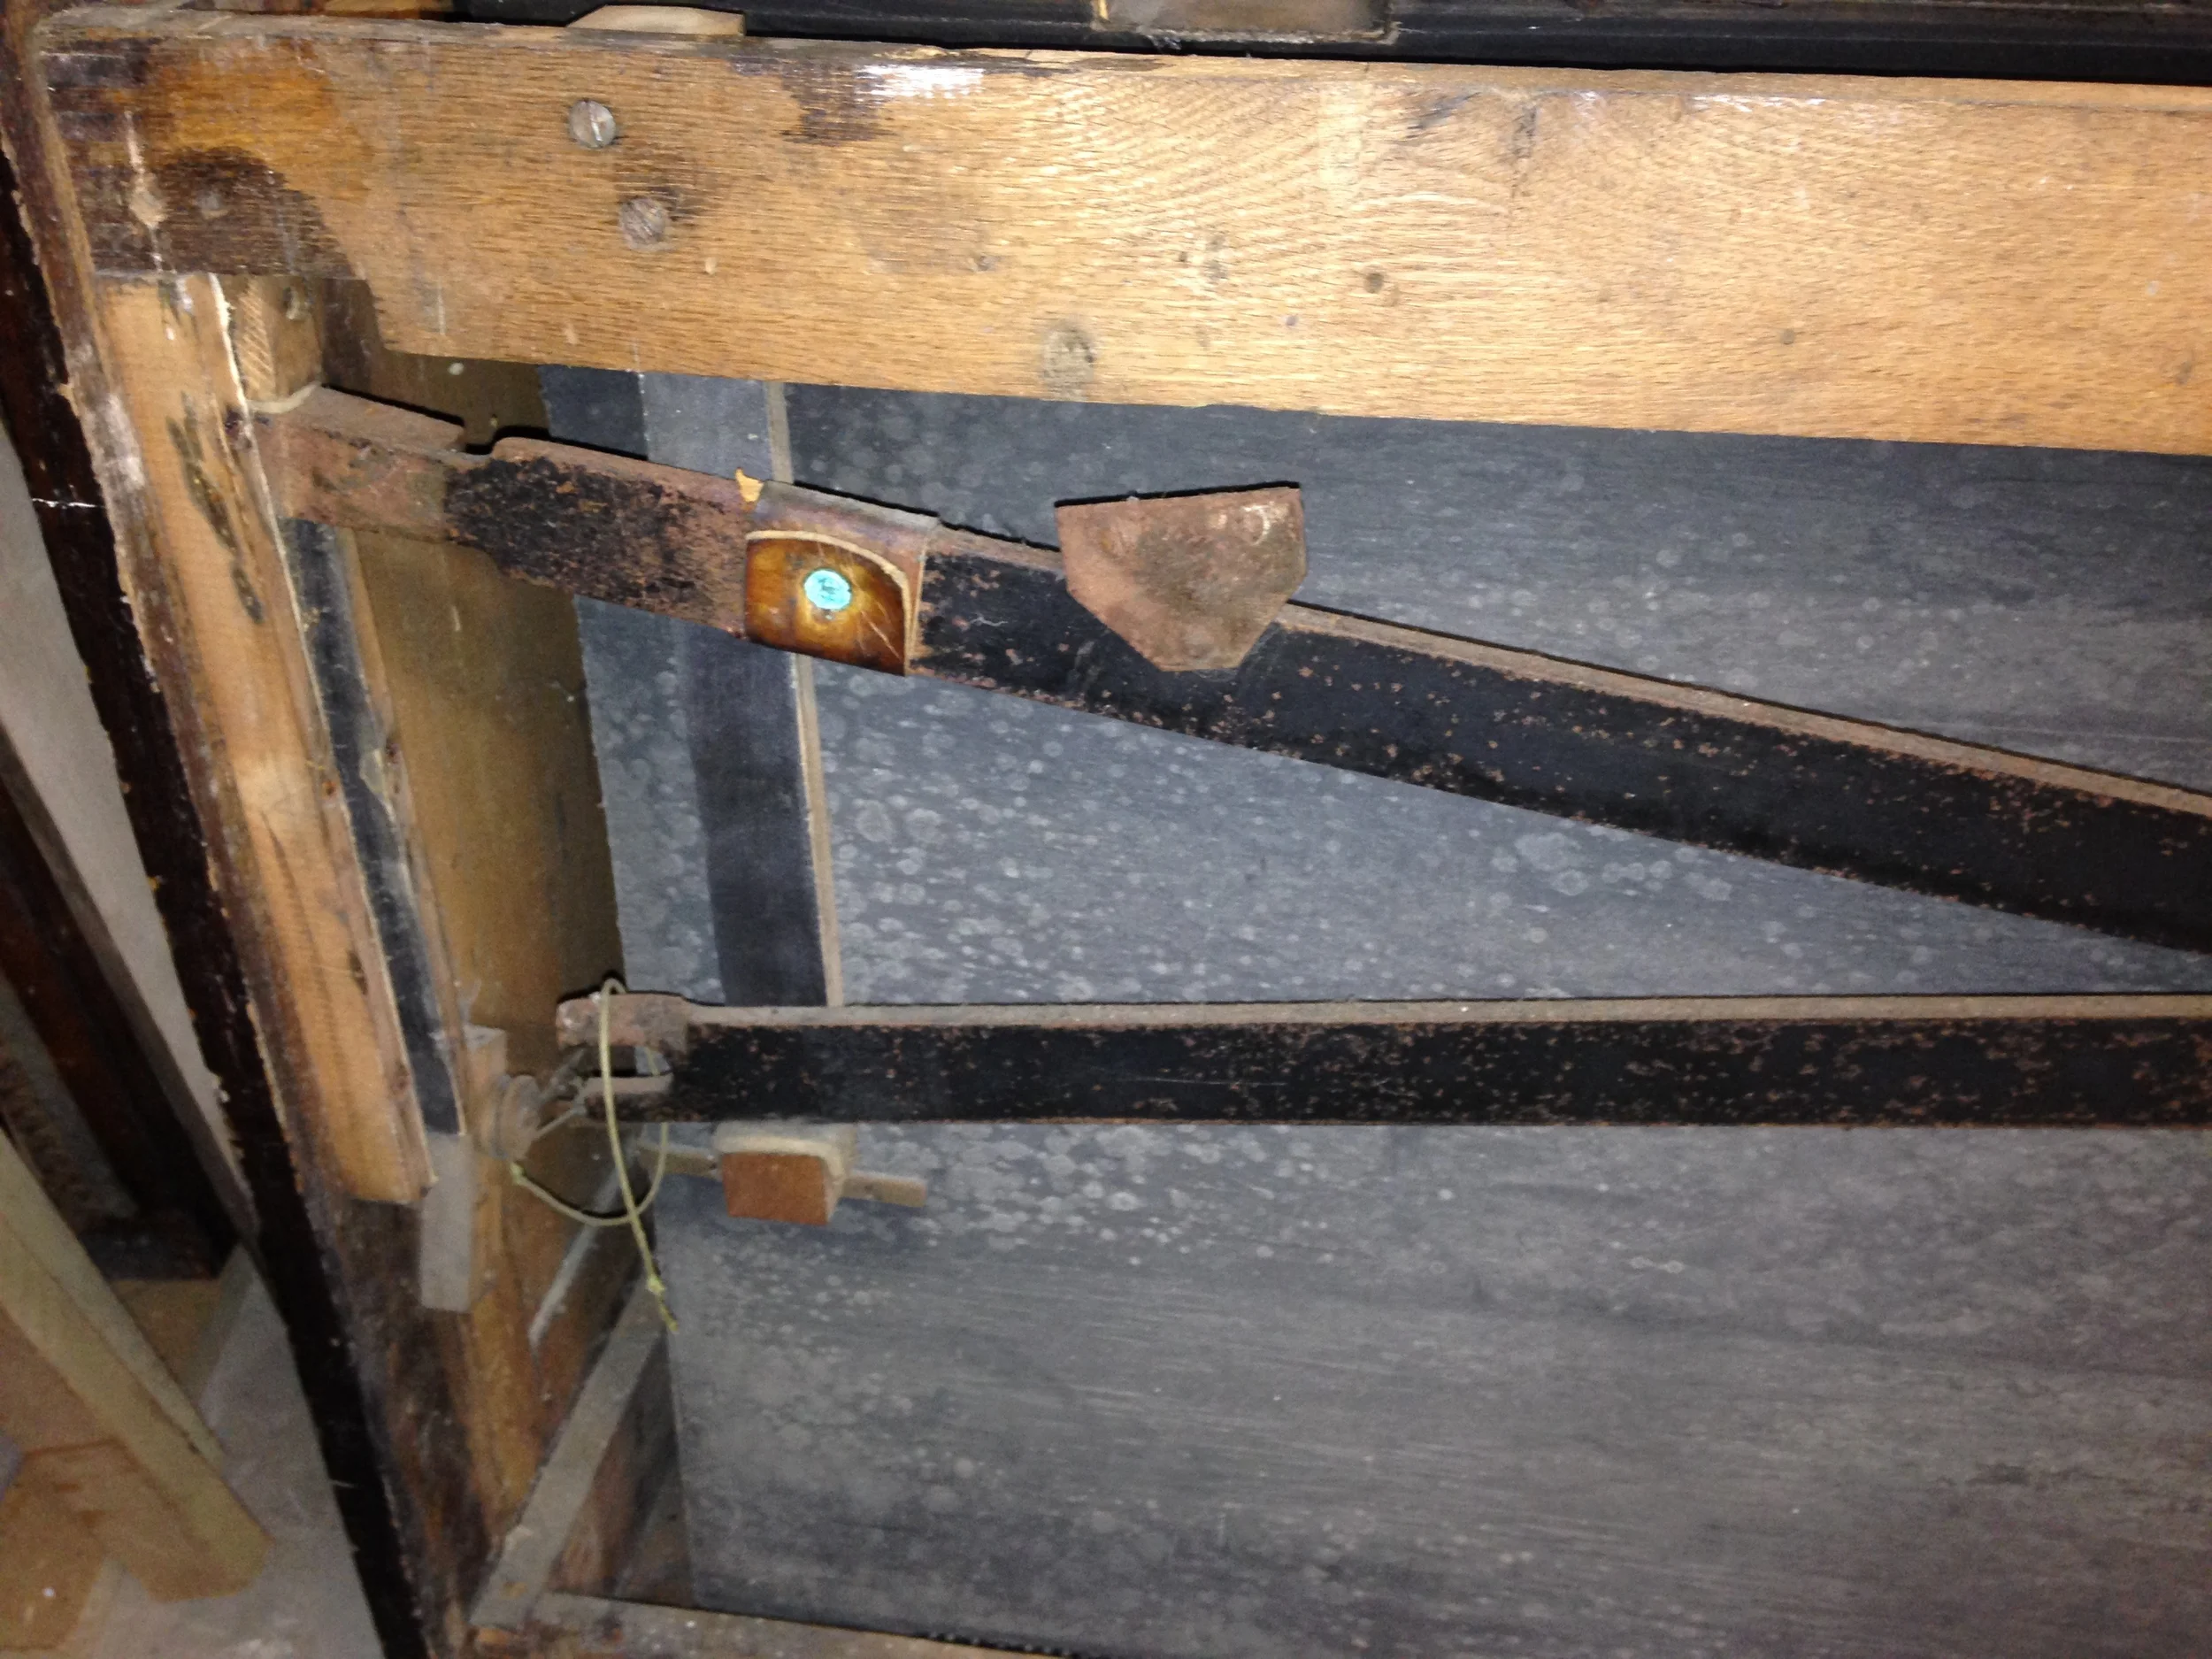
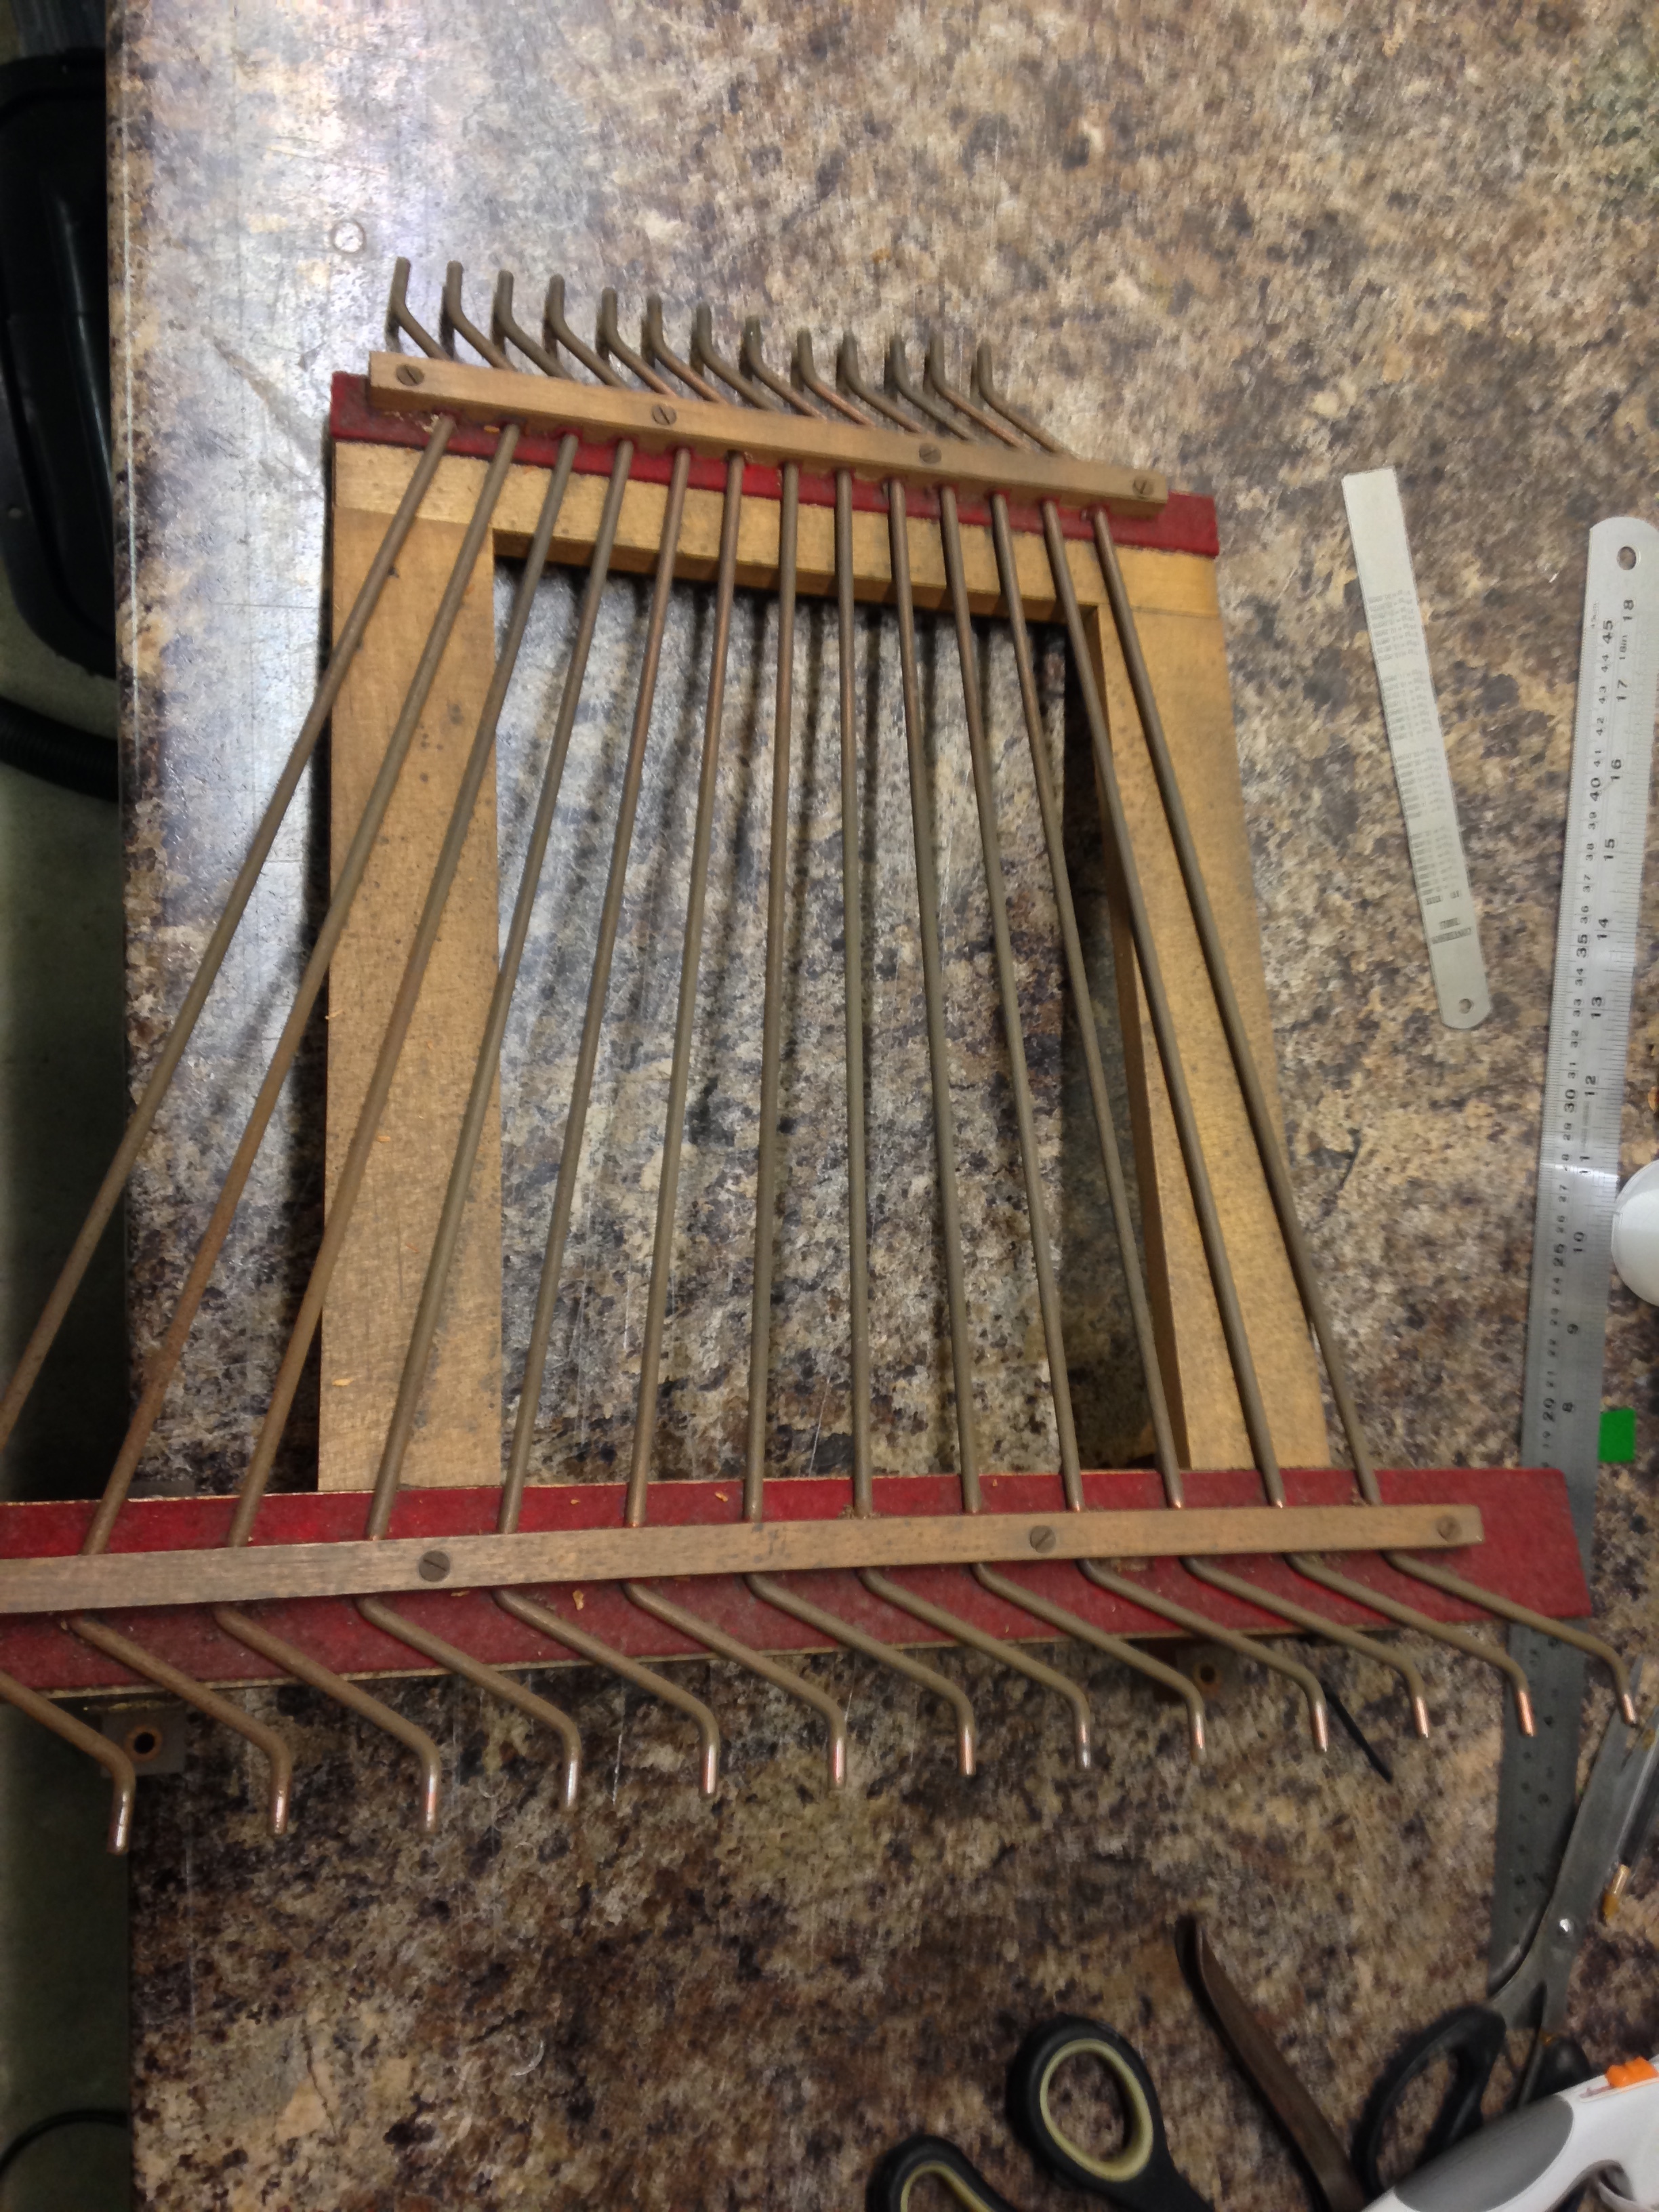
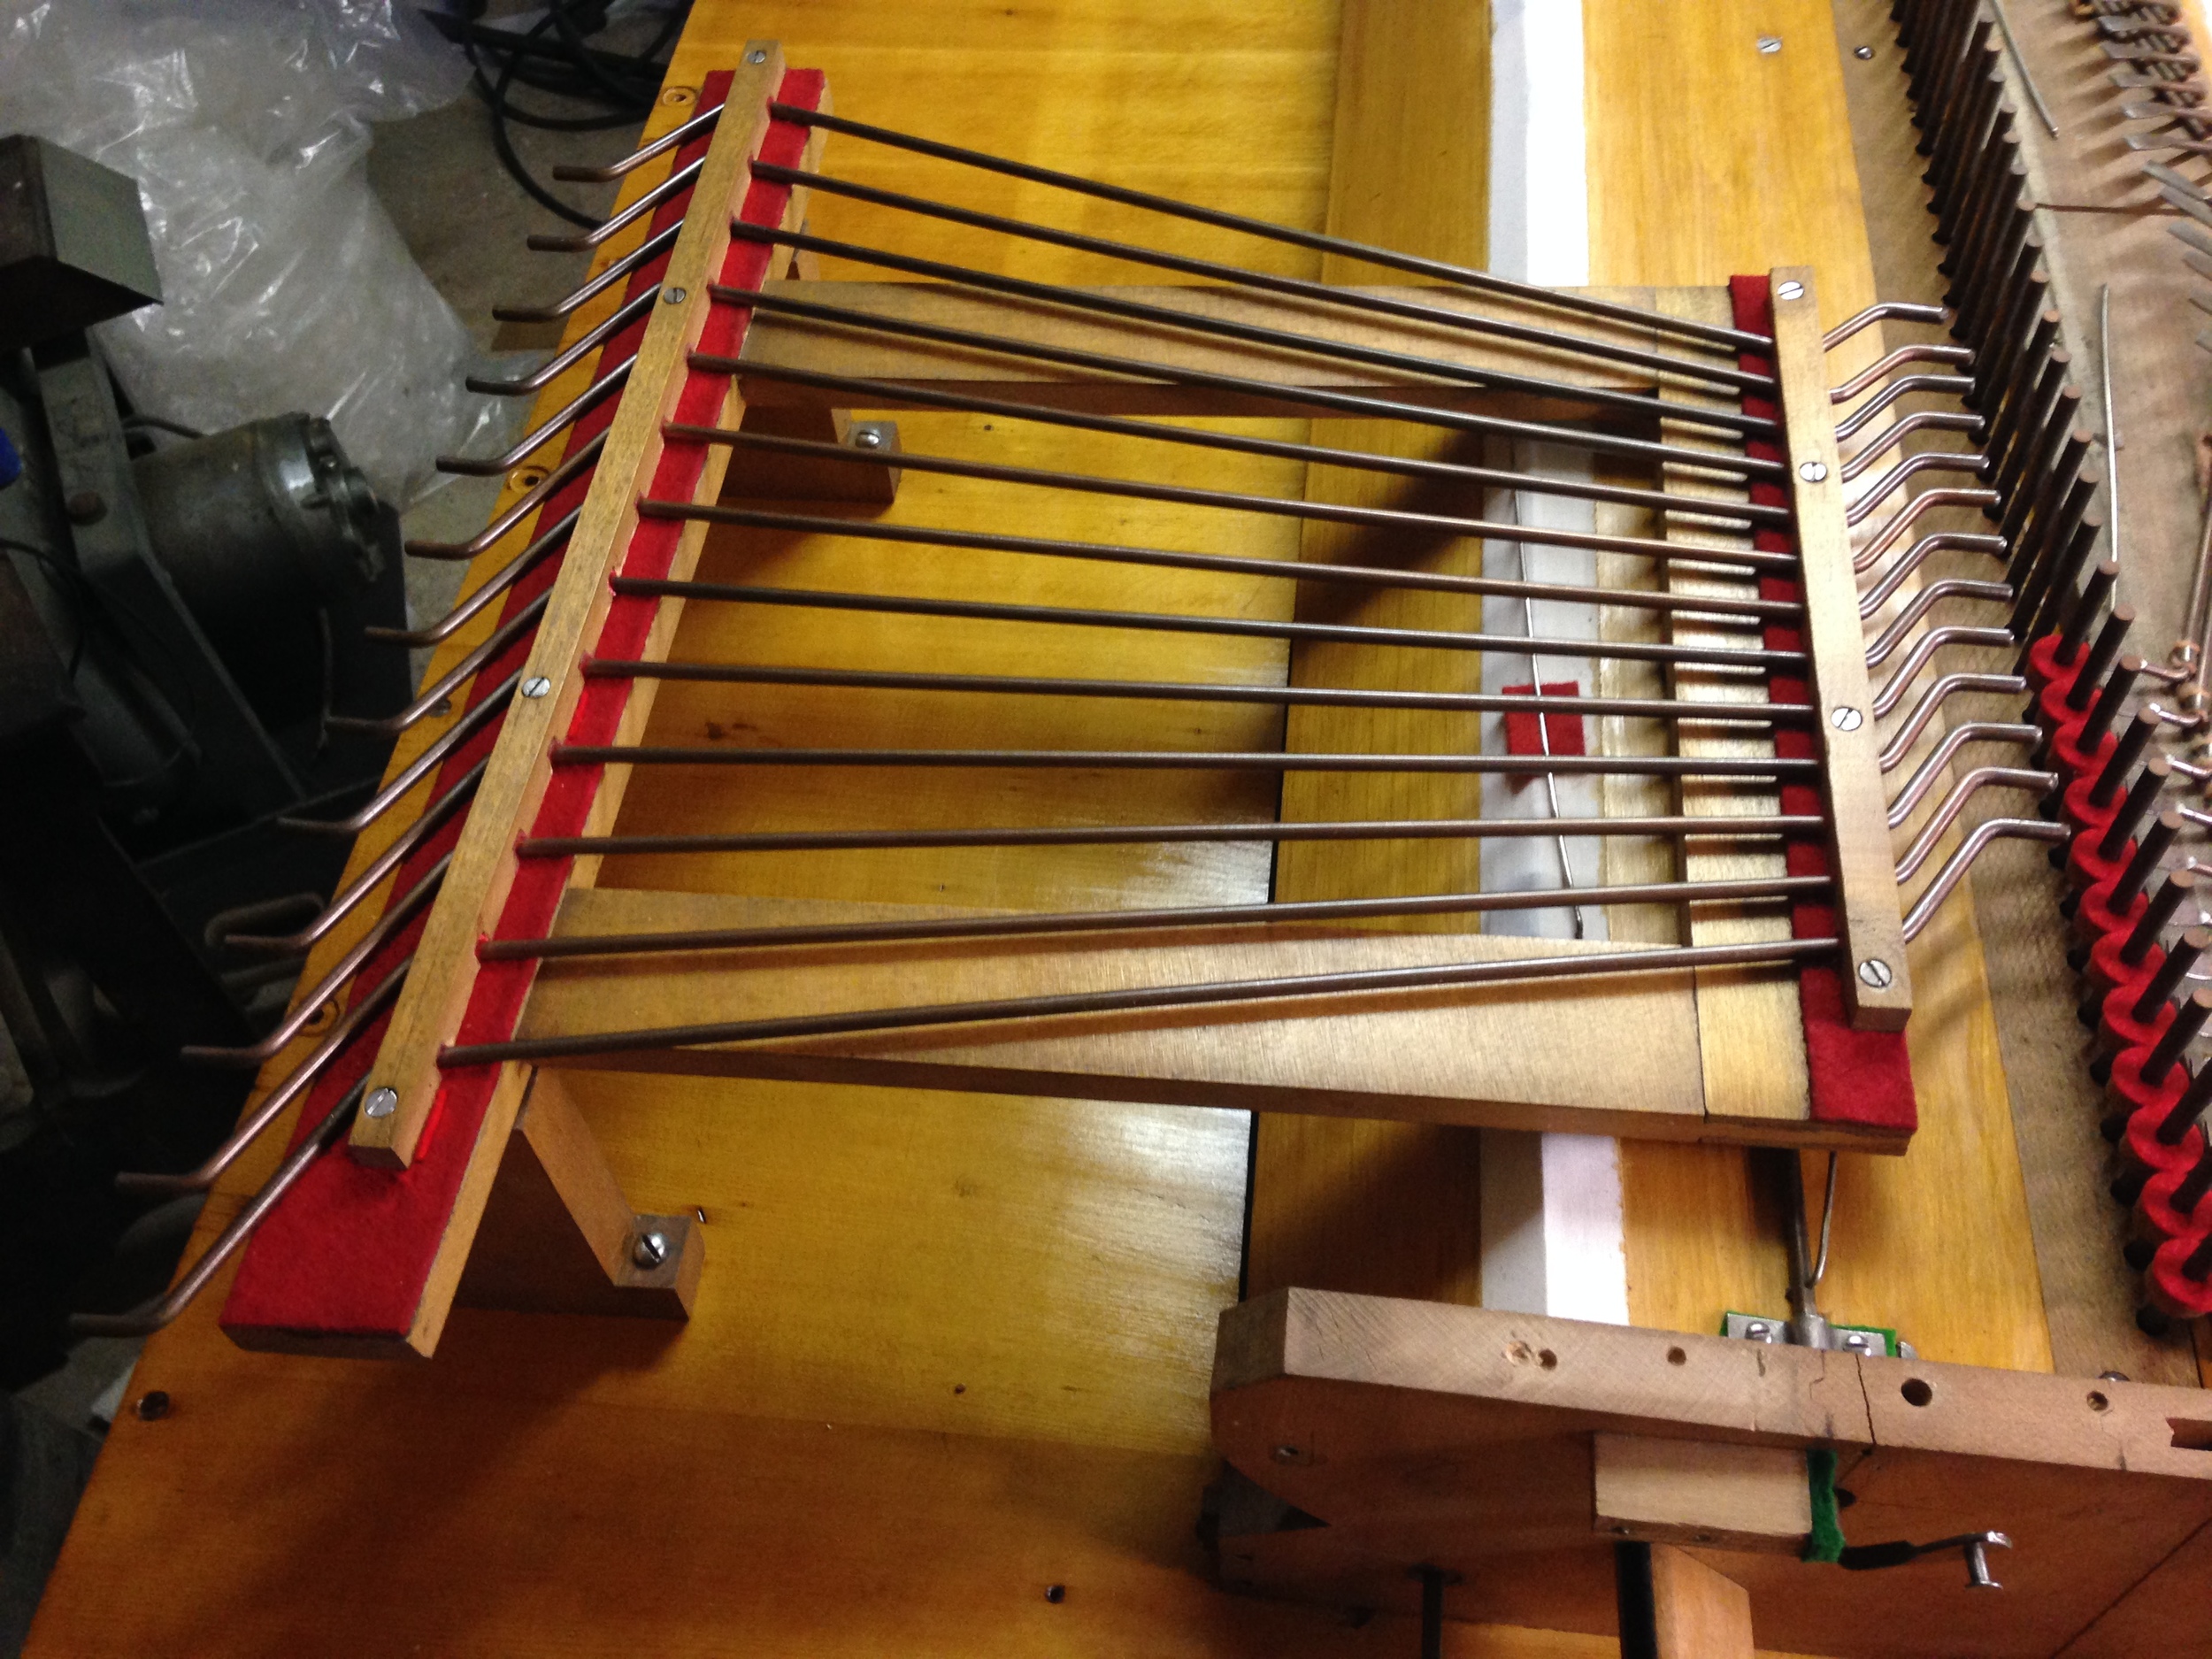
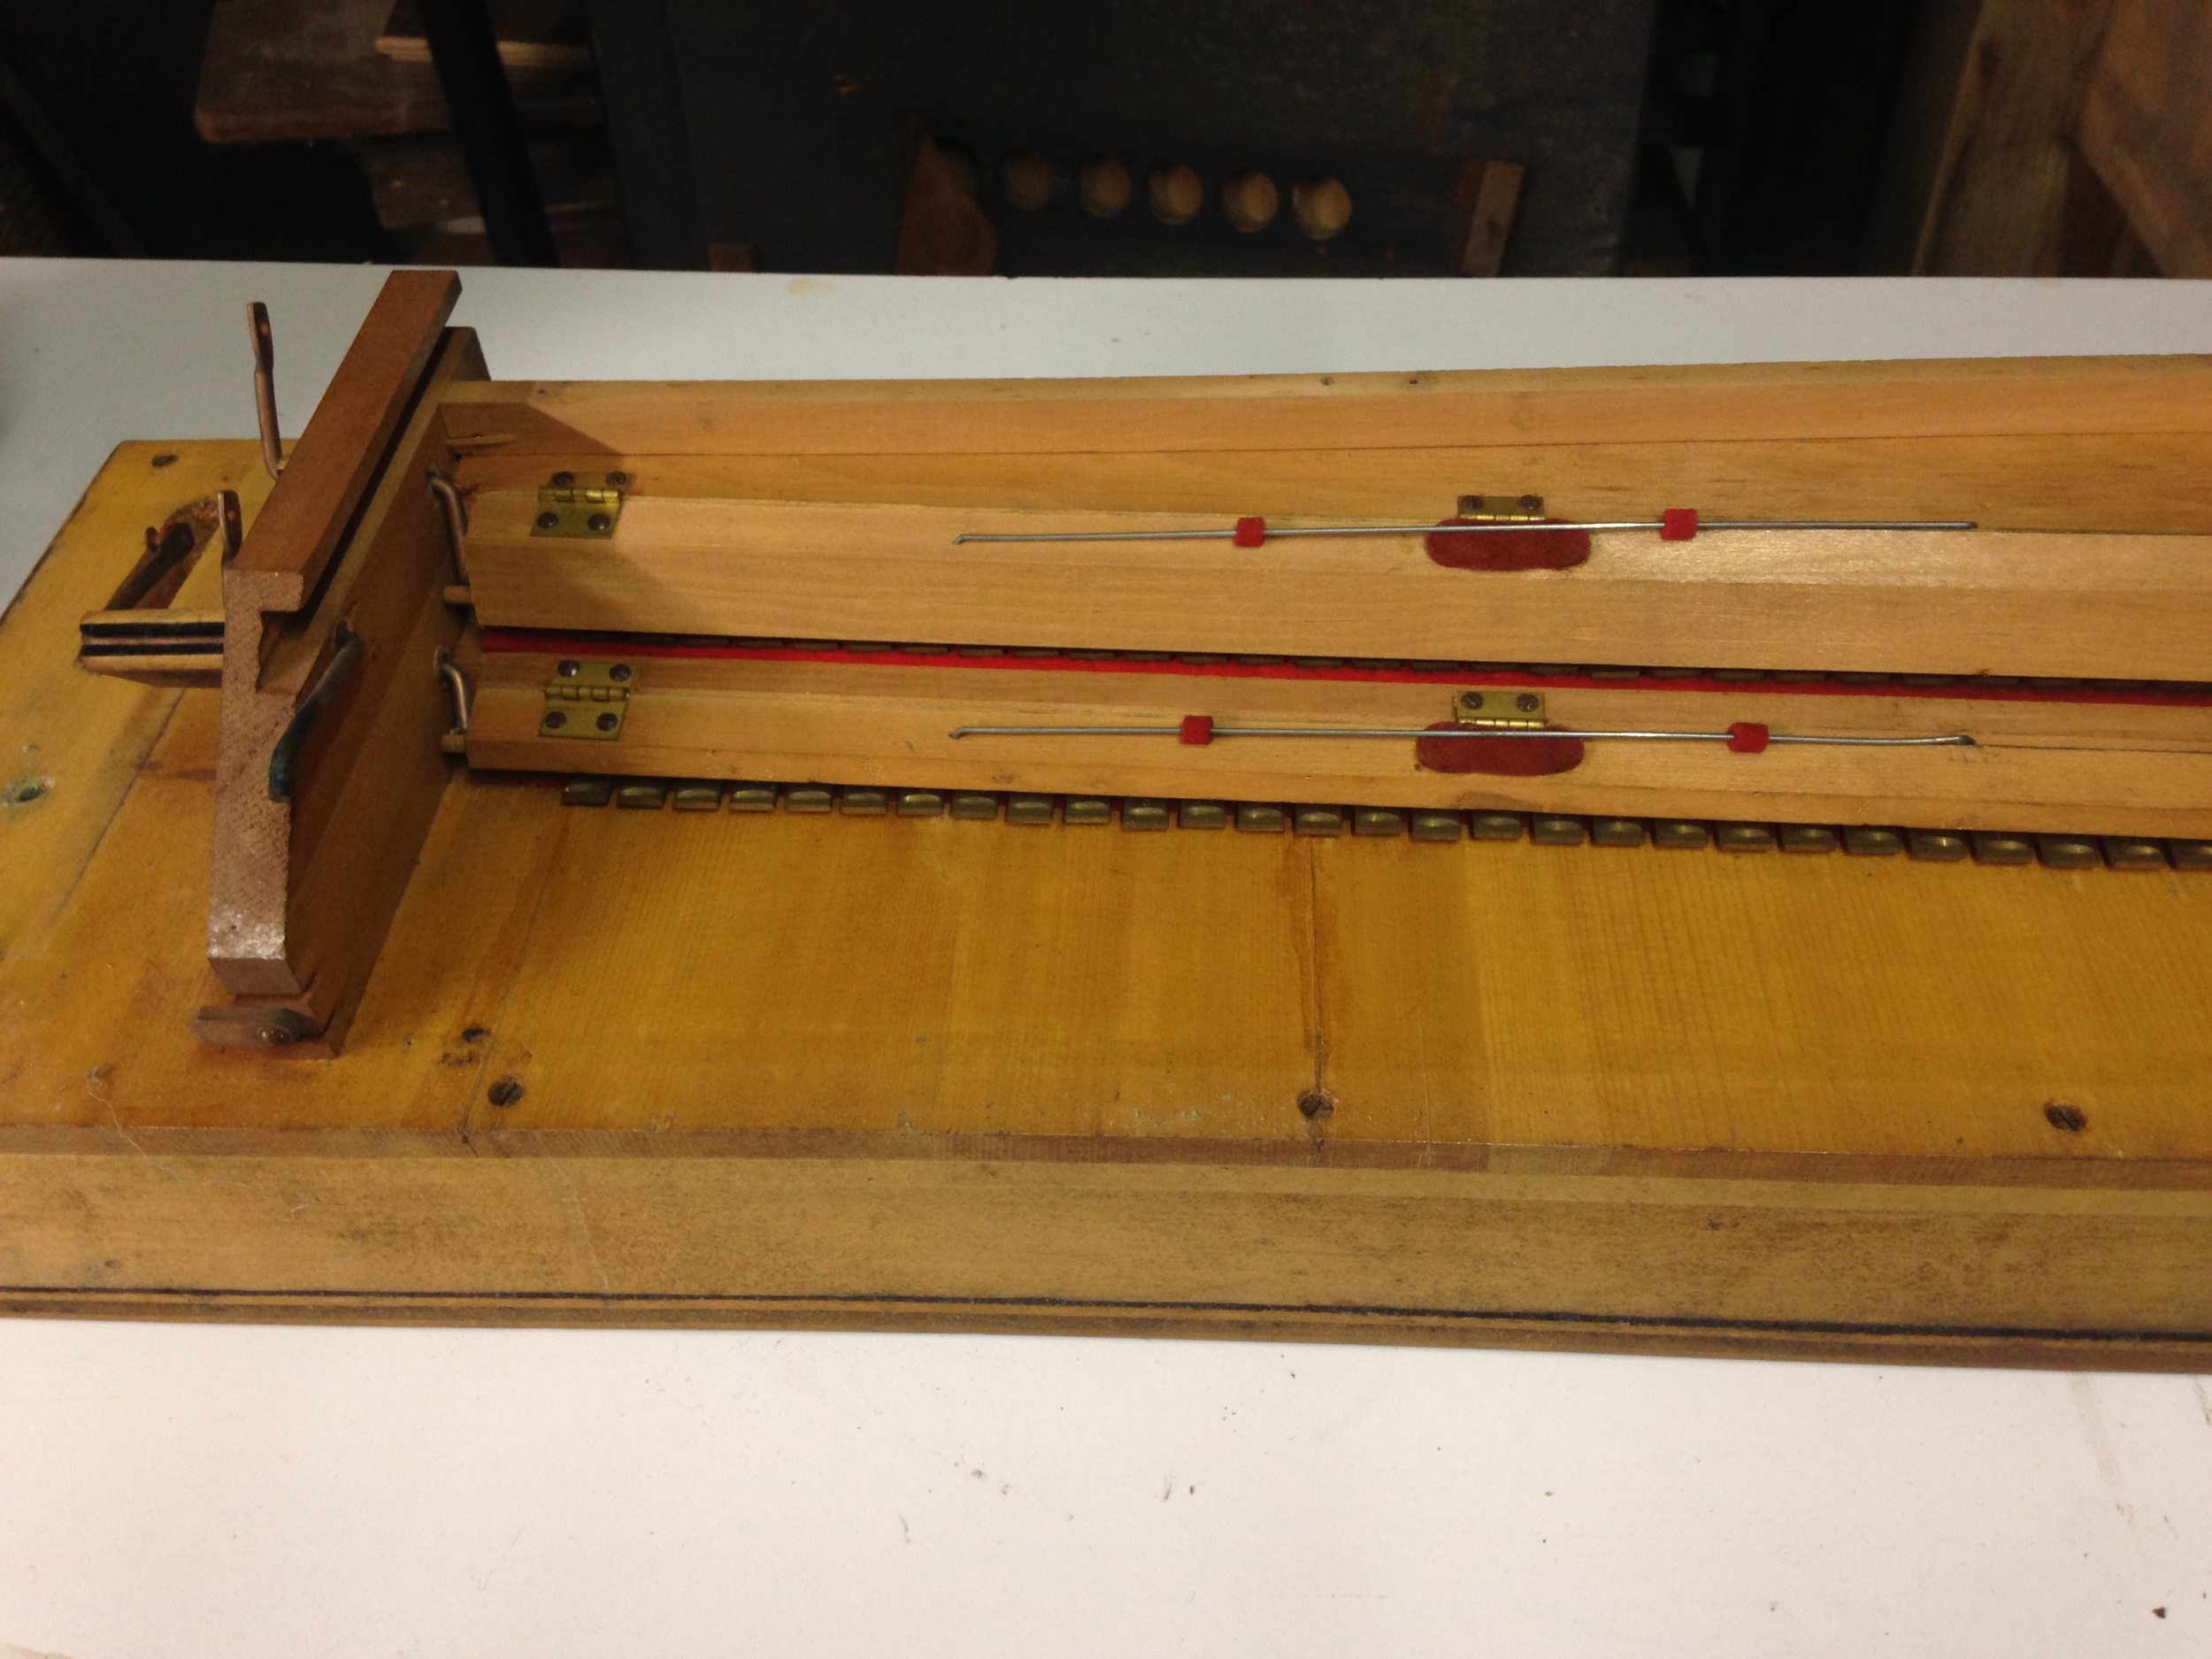
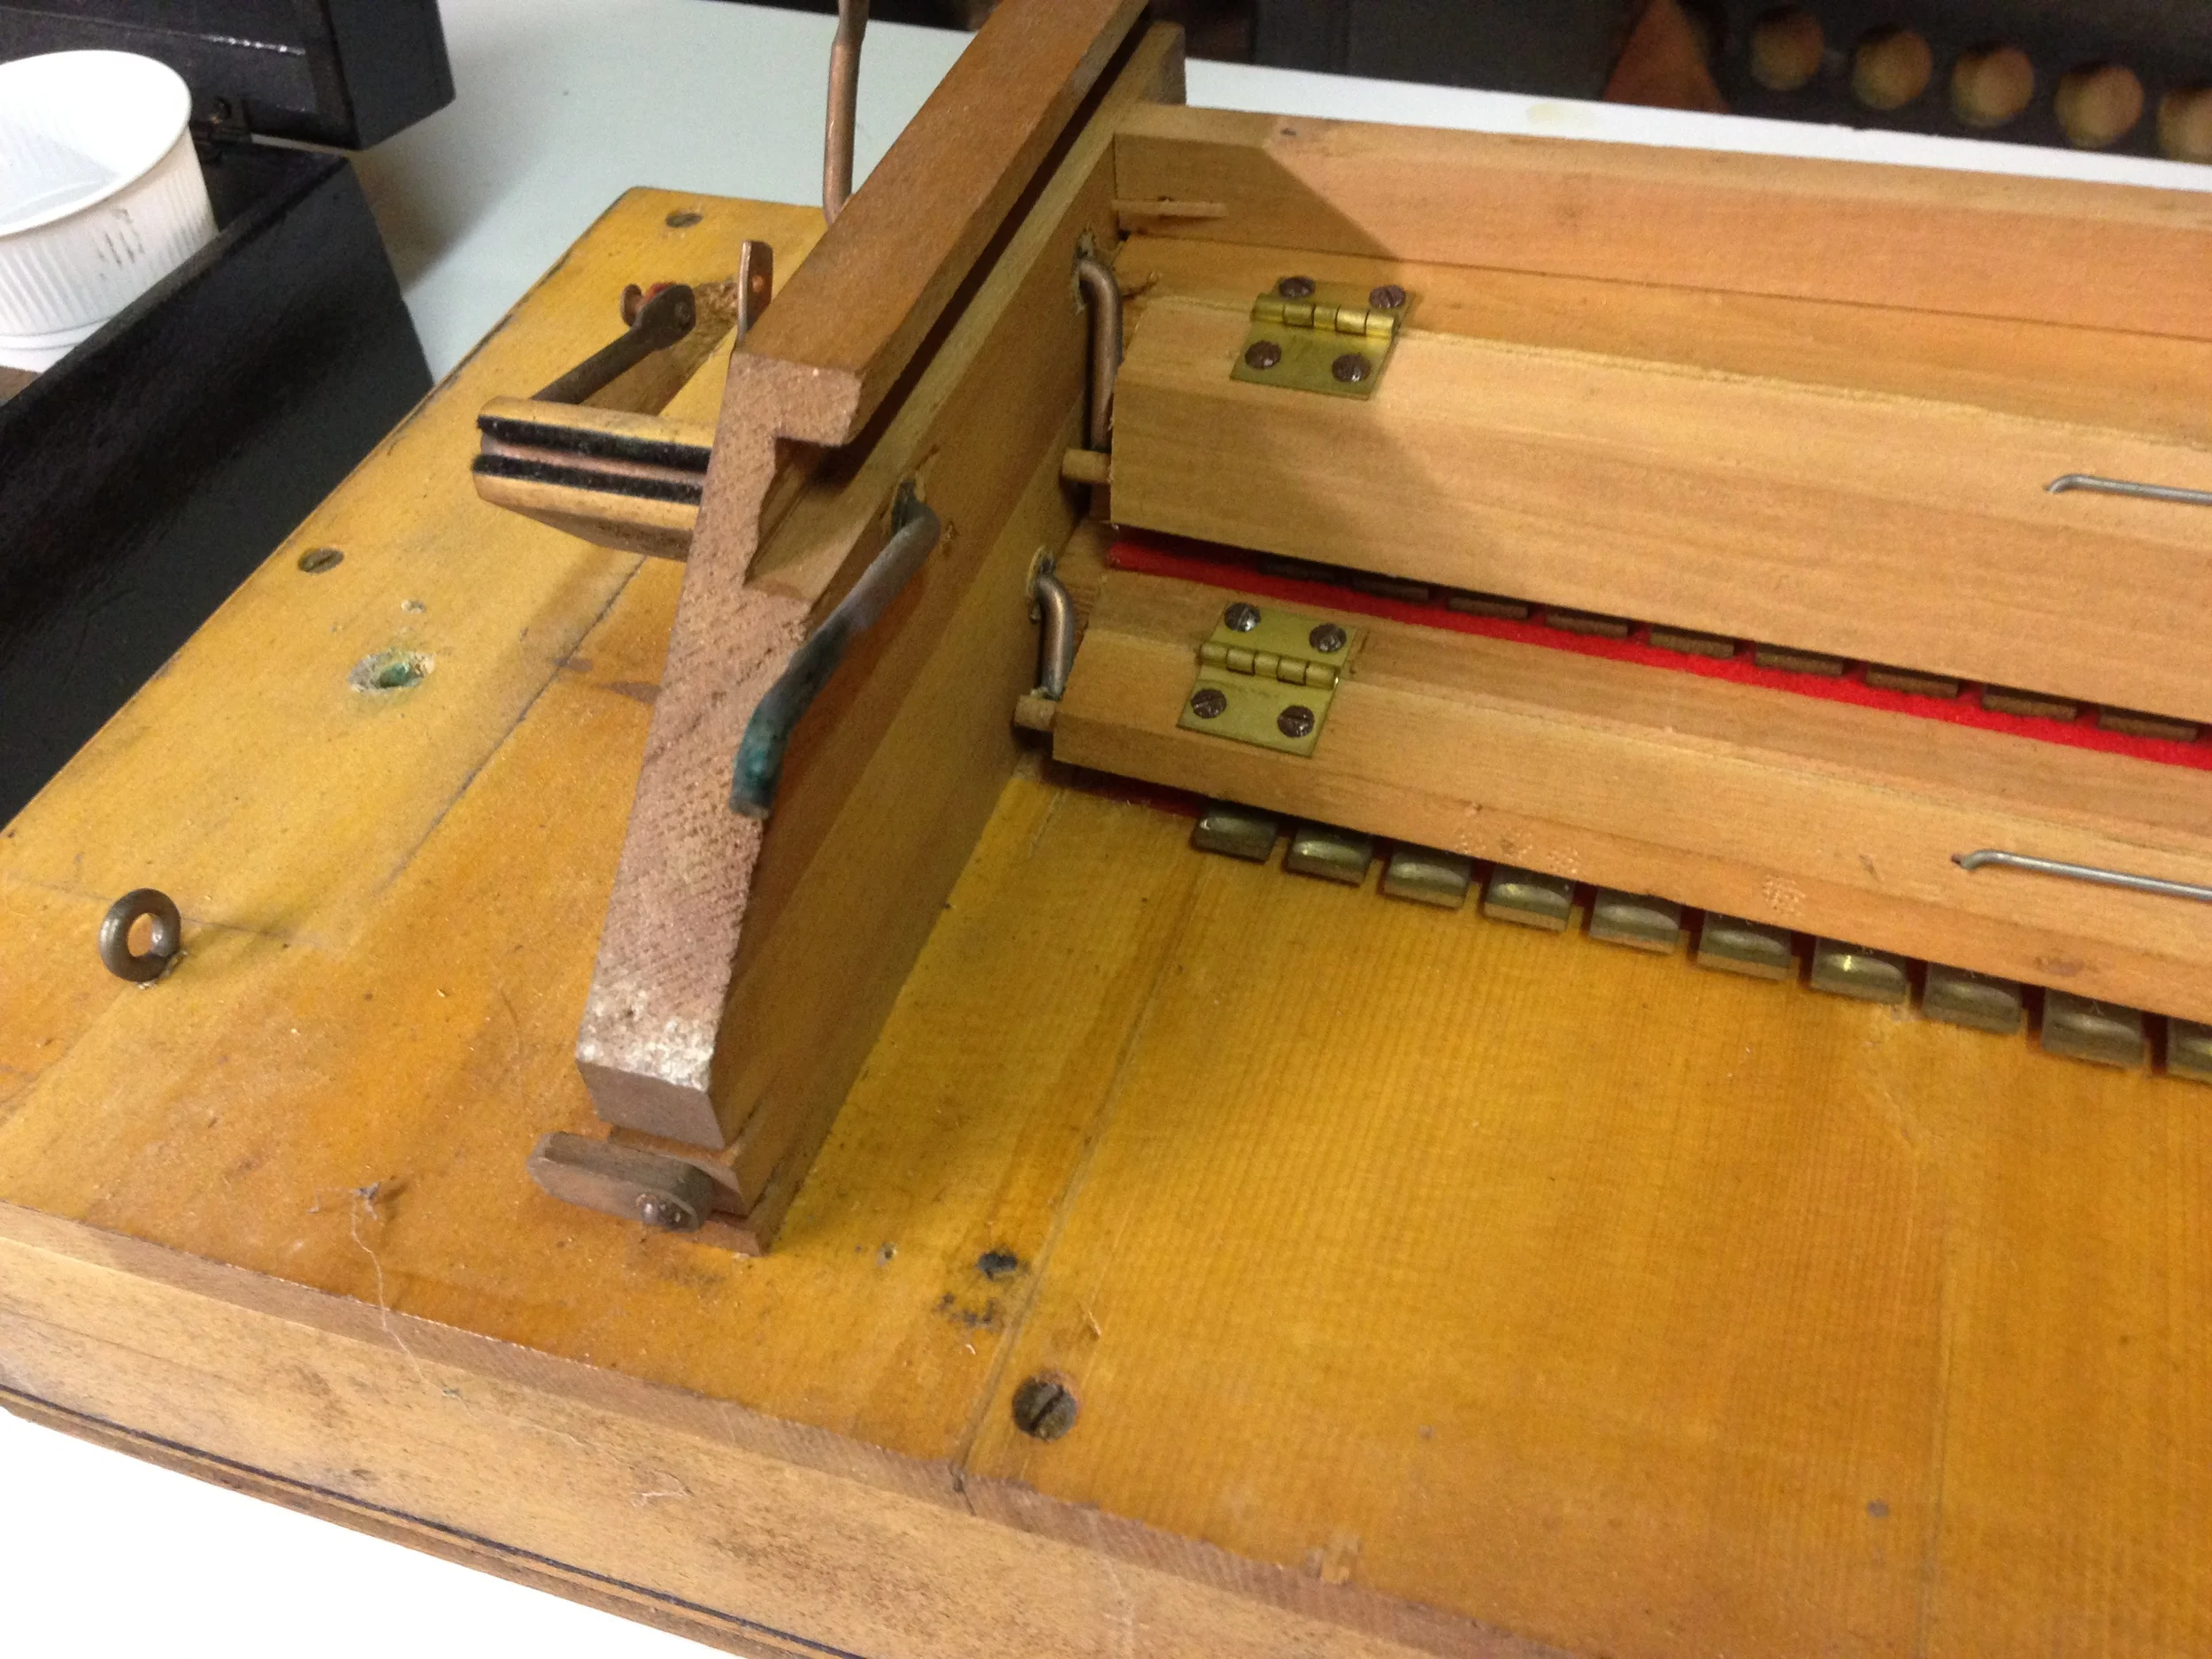
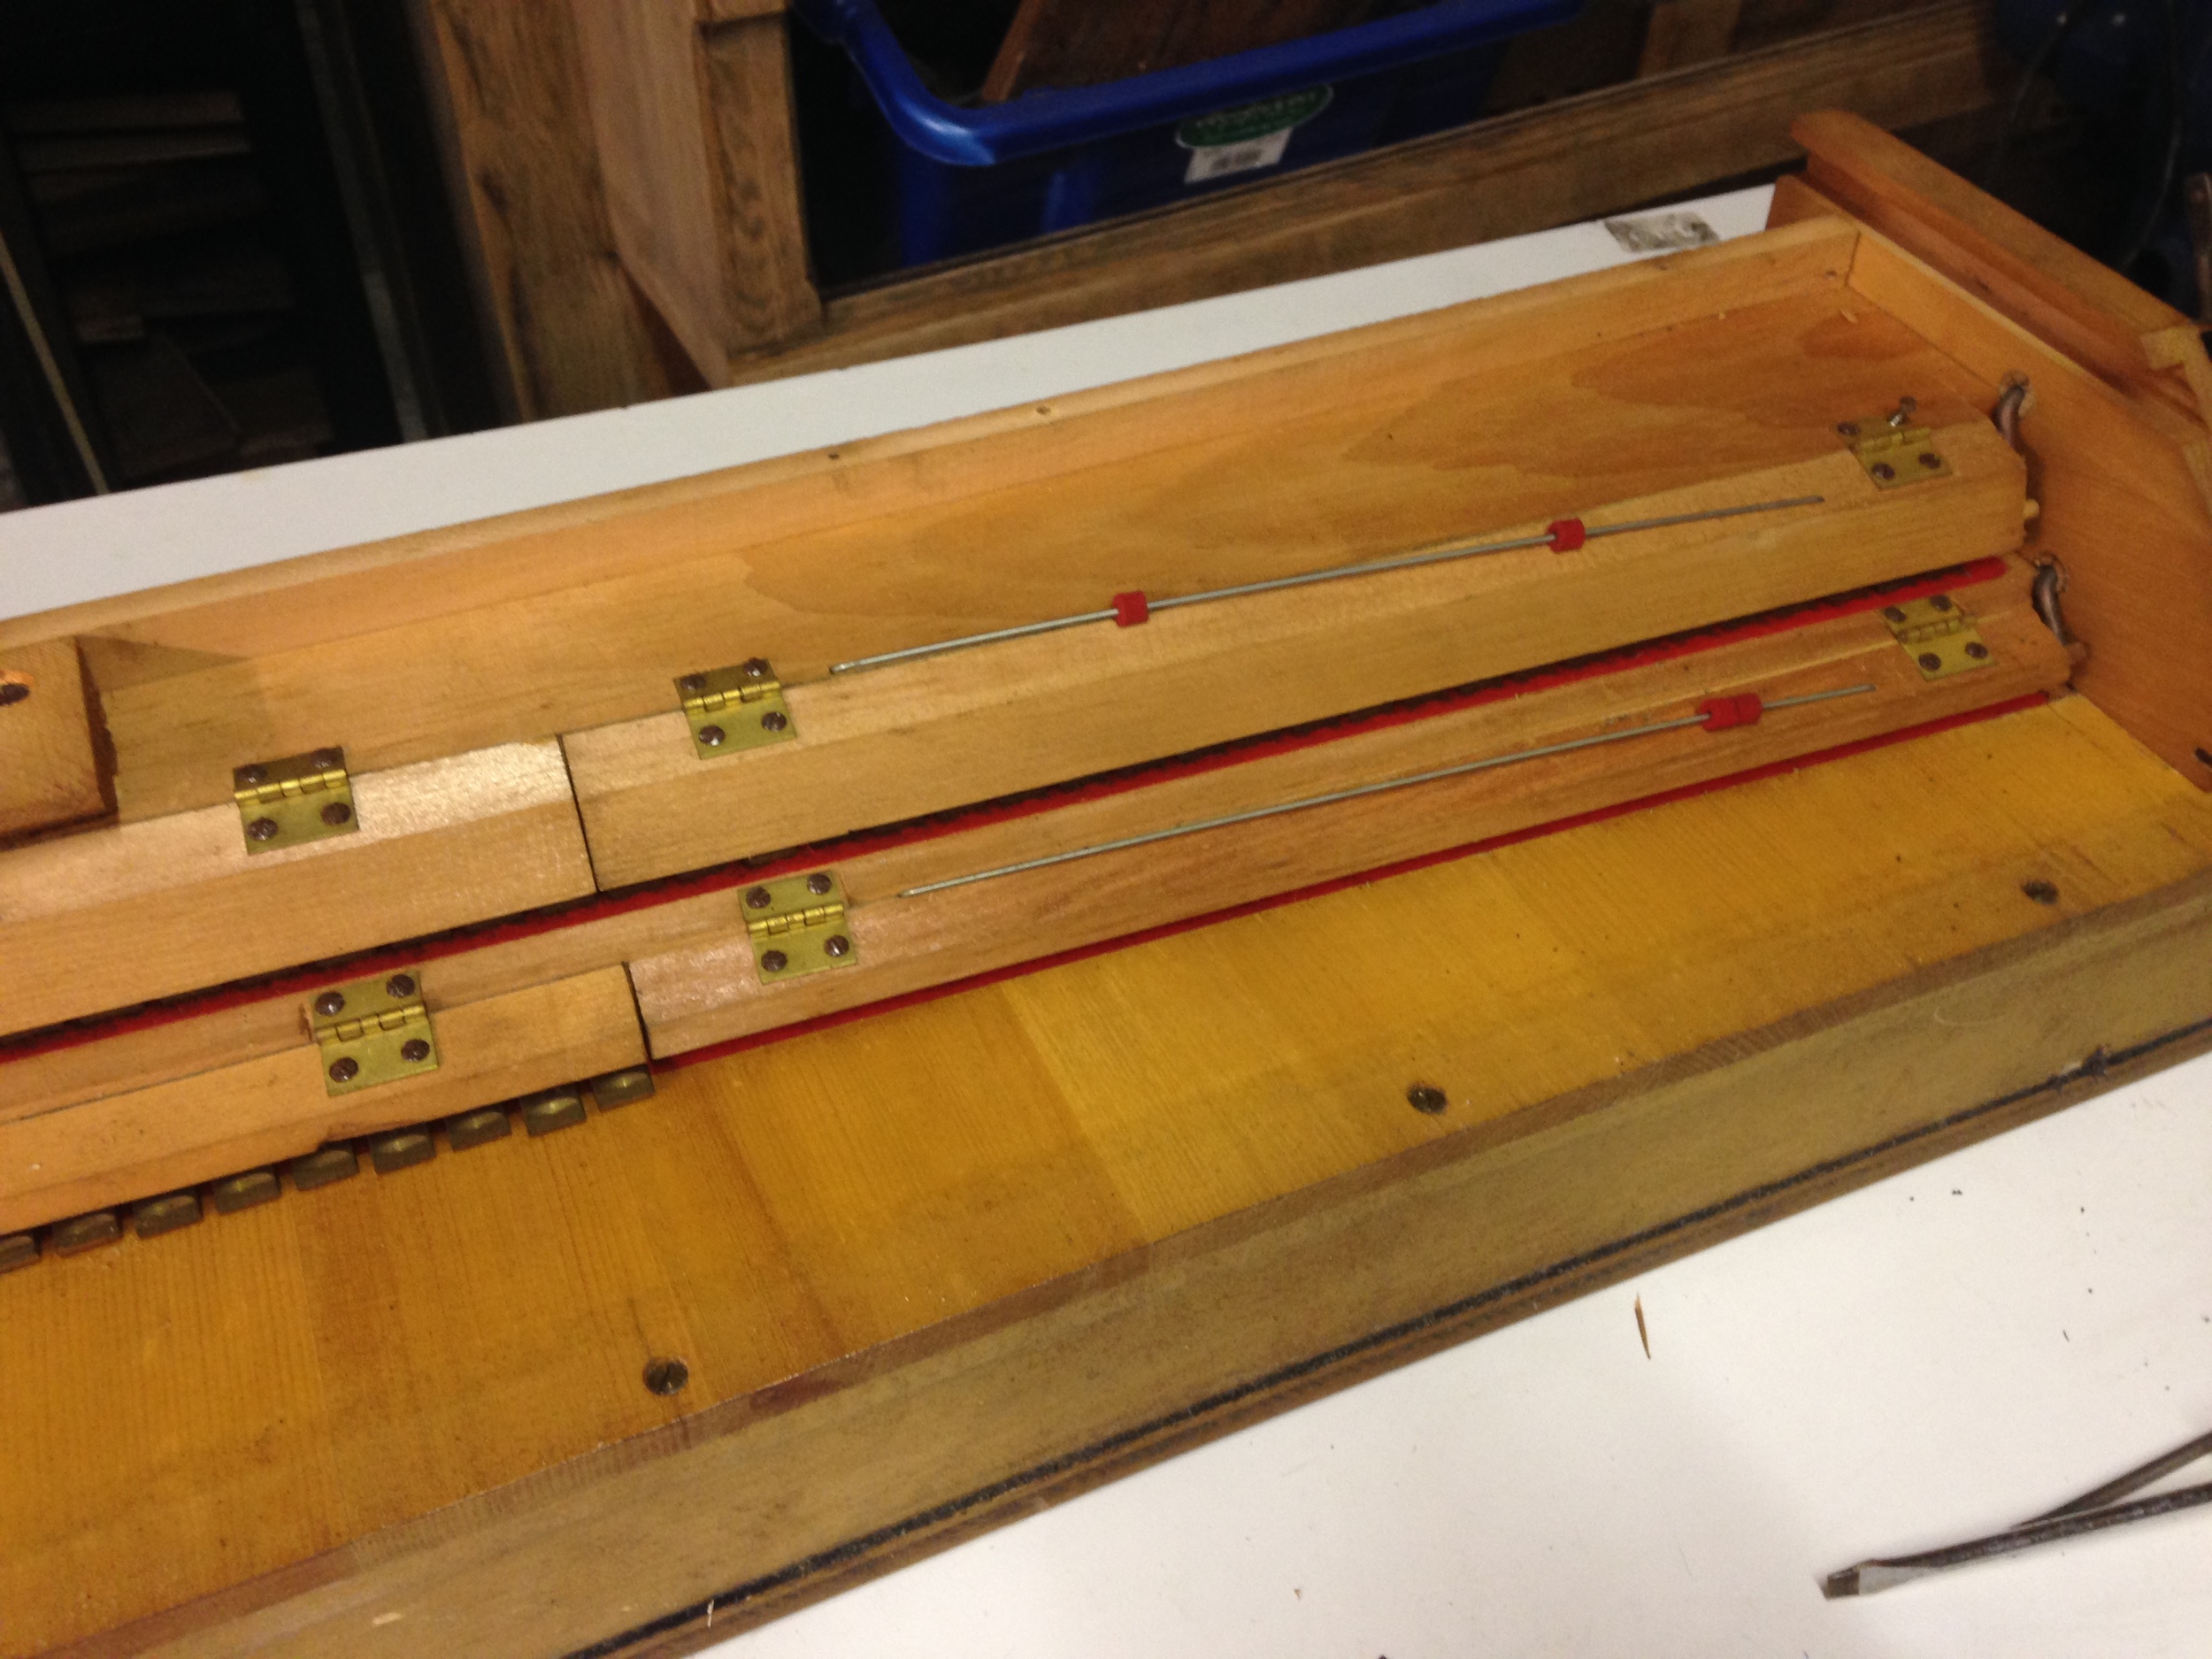
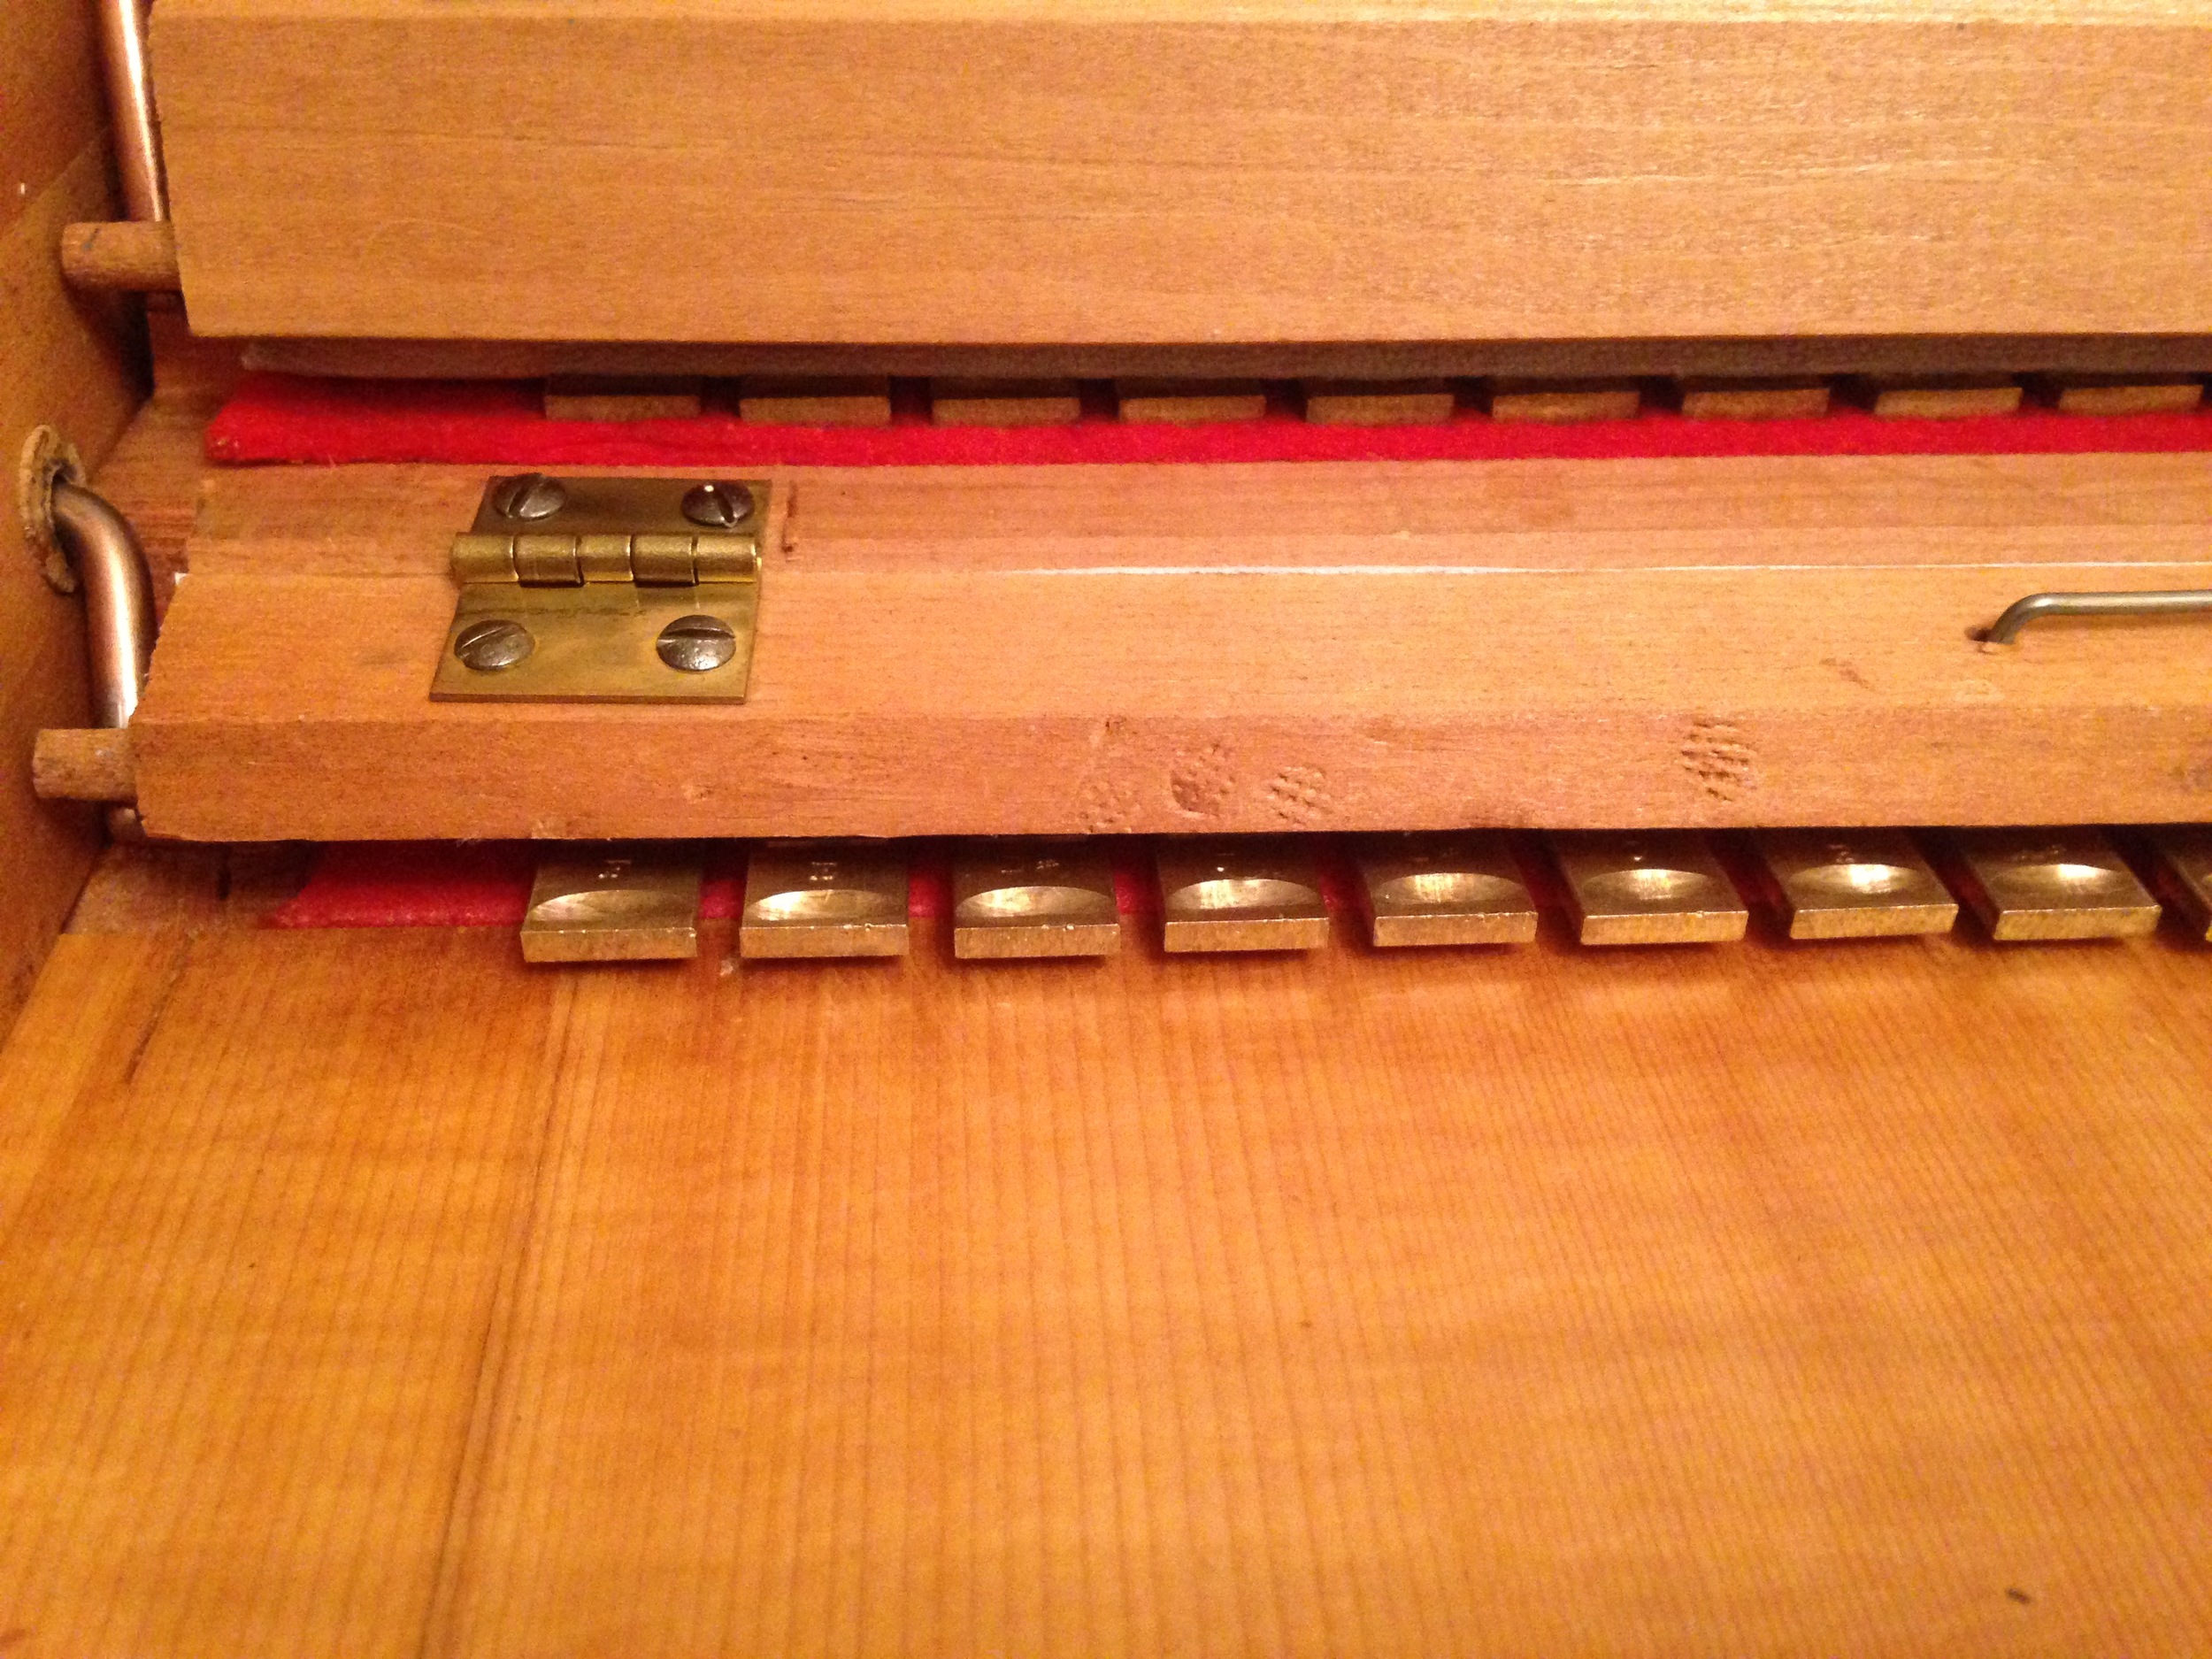
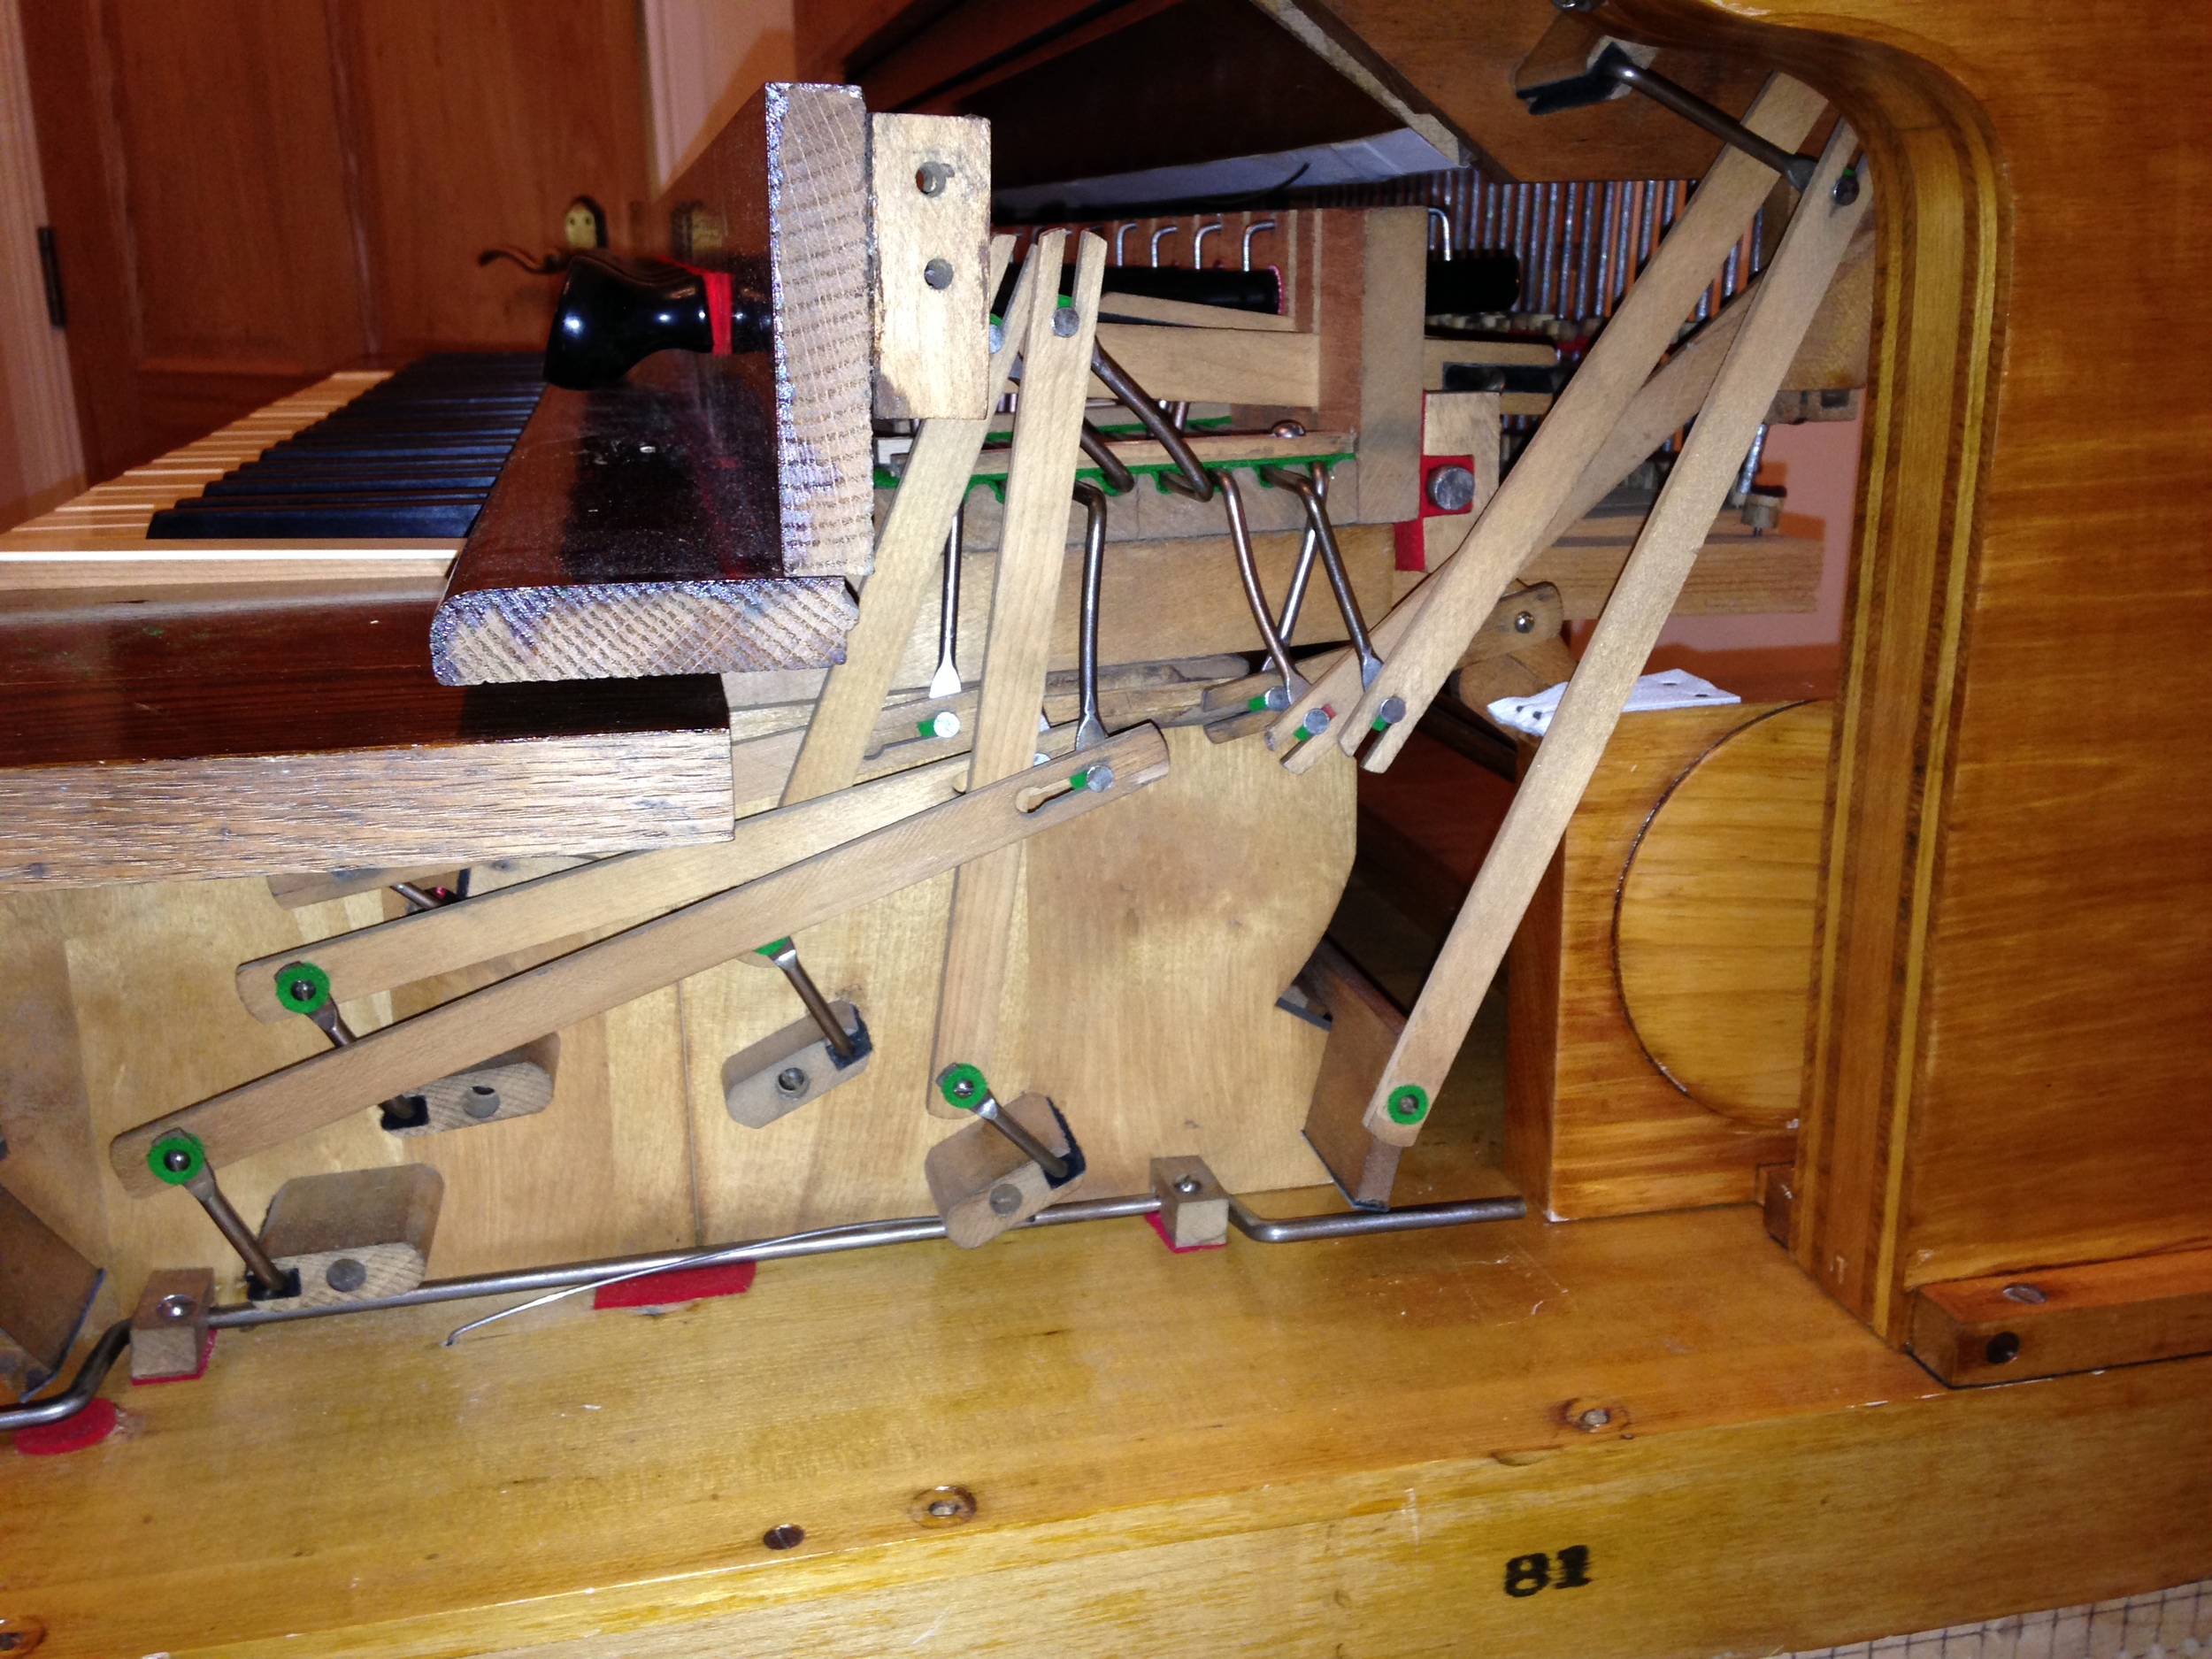
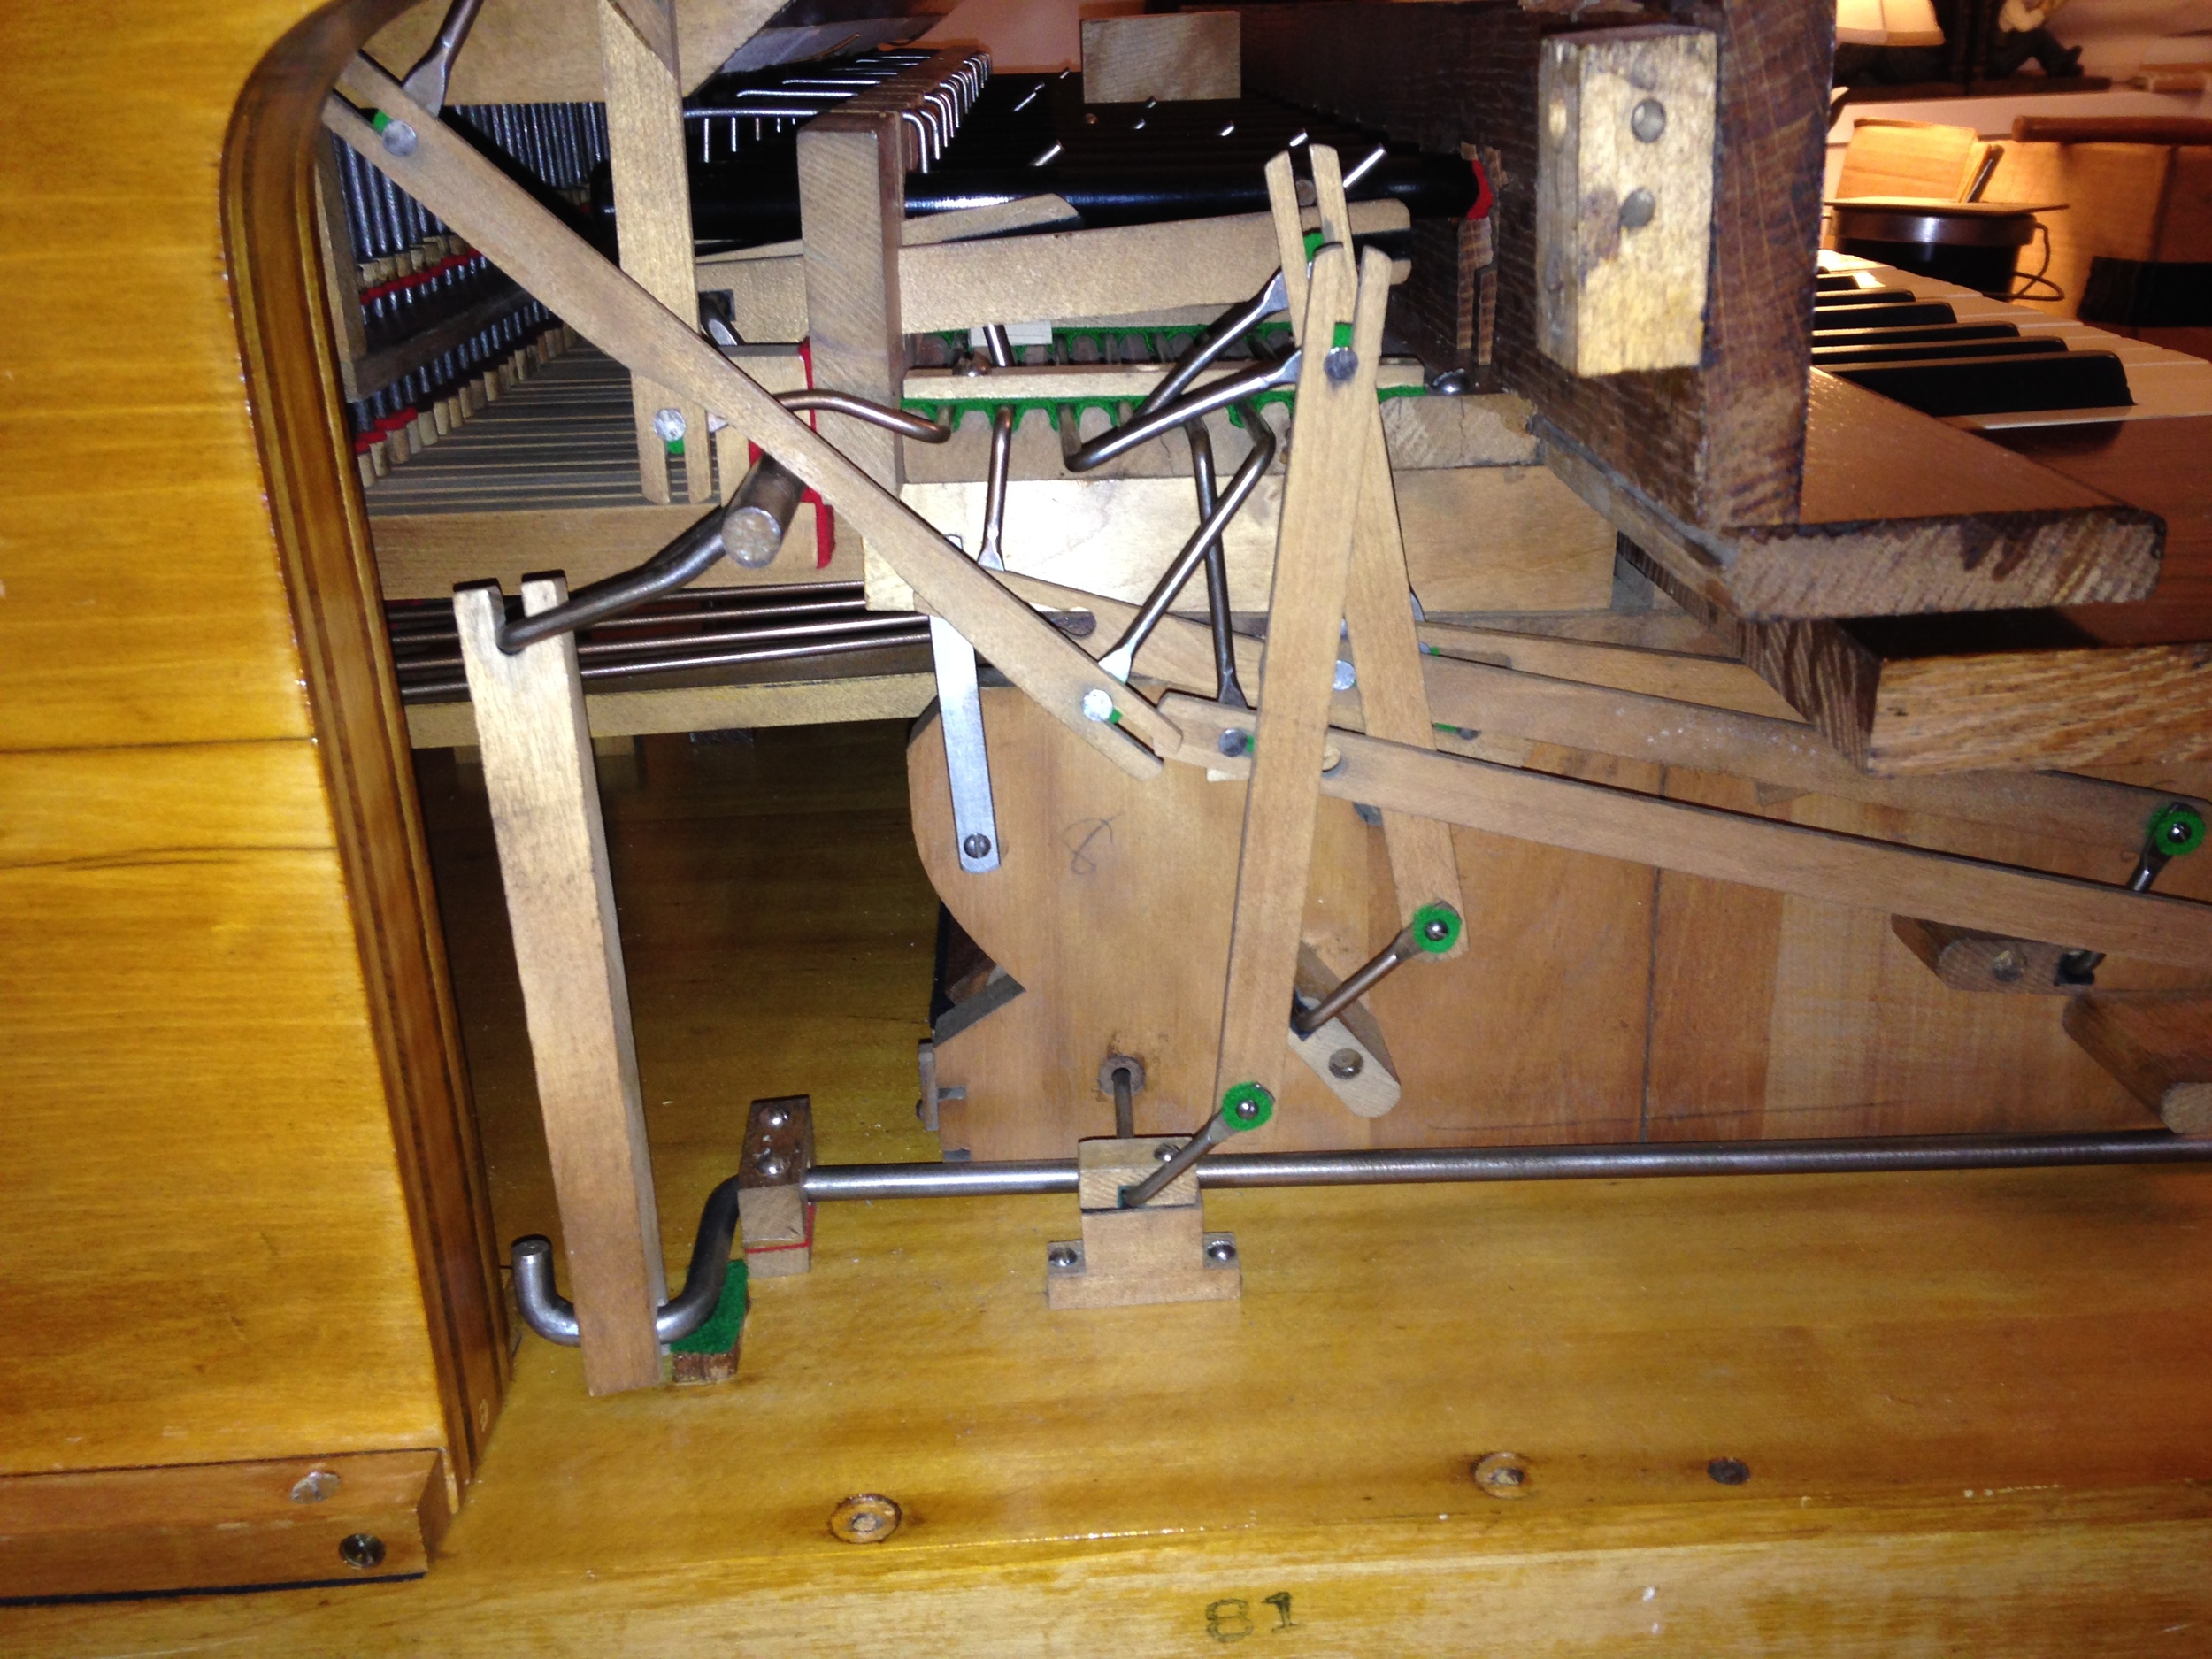
The coupler needed to be cleaned and has been reinstalled and part of the sub-bass mechanism has been cleaned and reinstalled. The photos show the story.
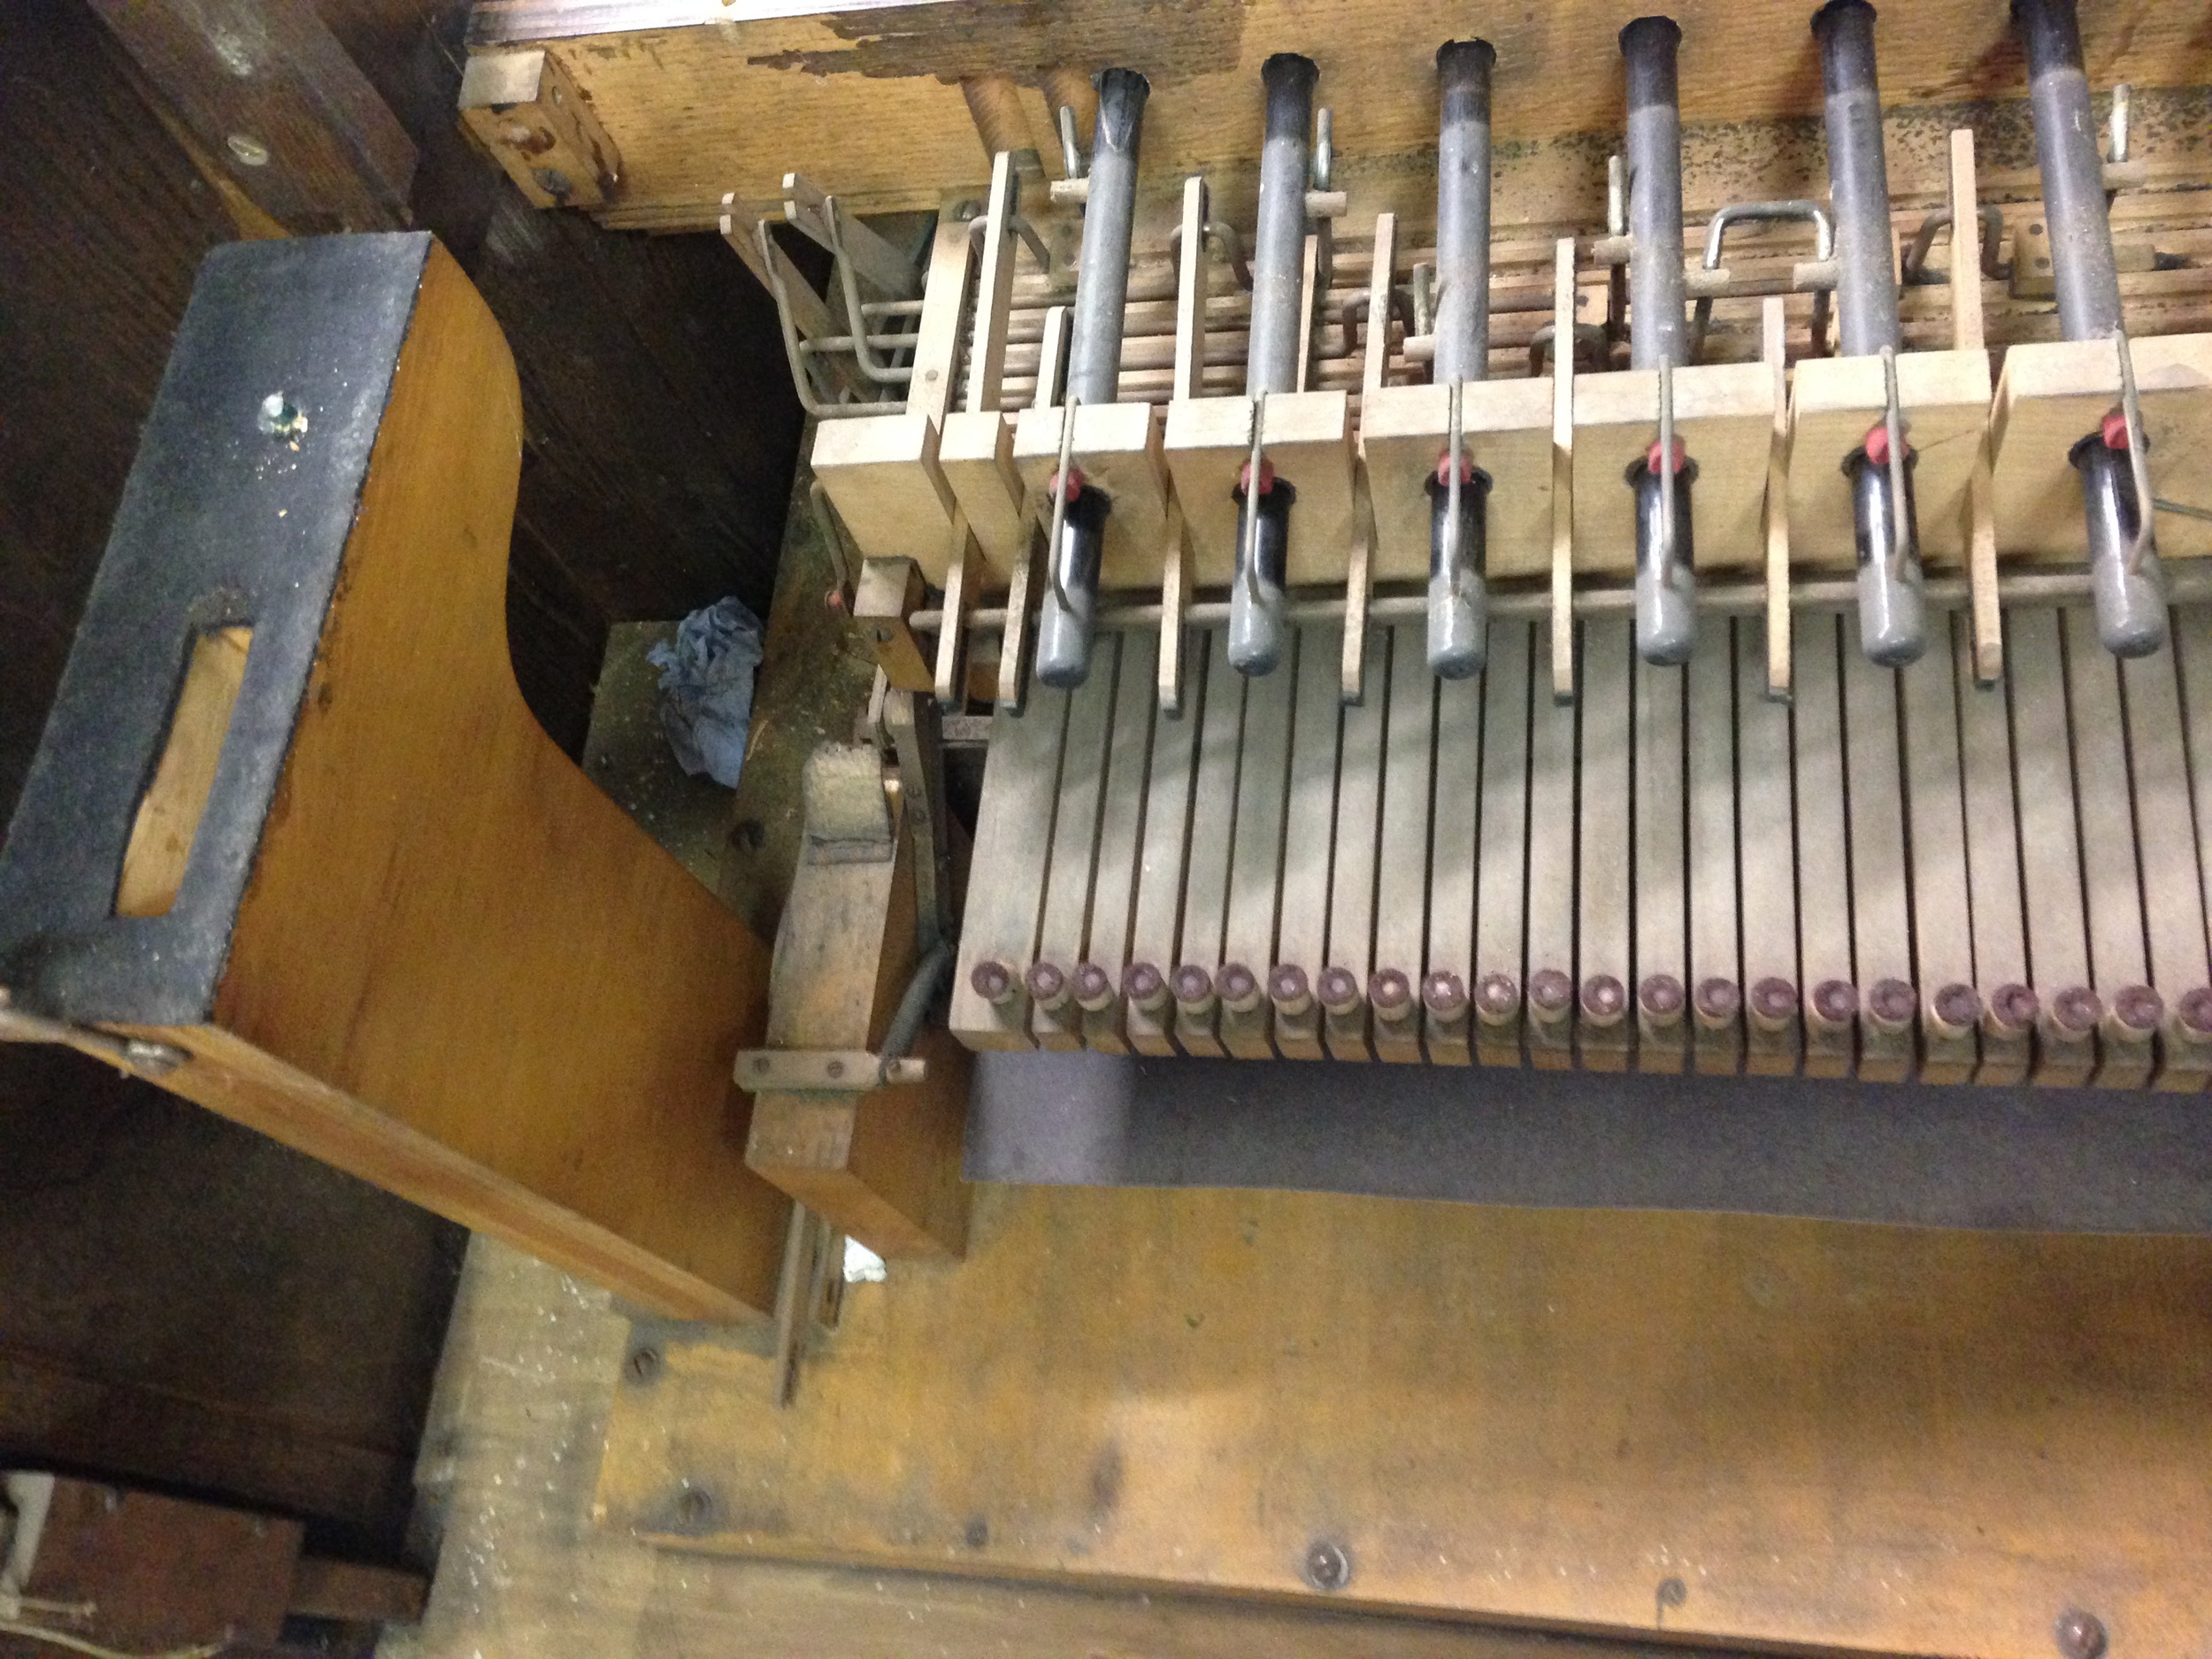
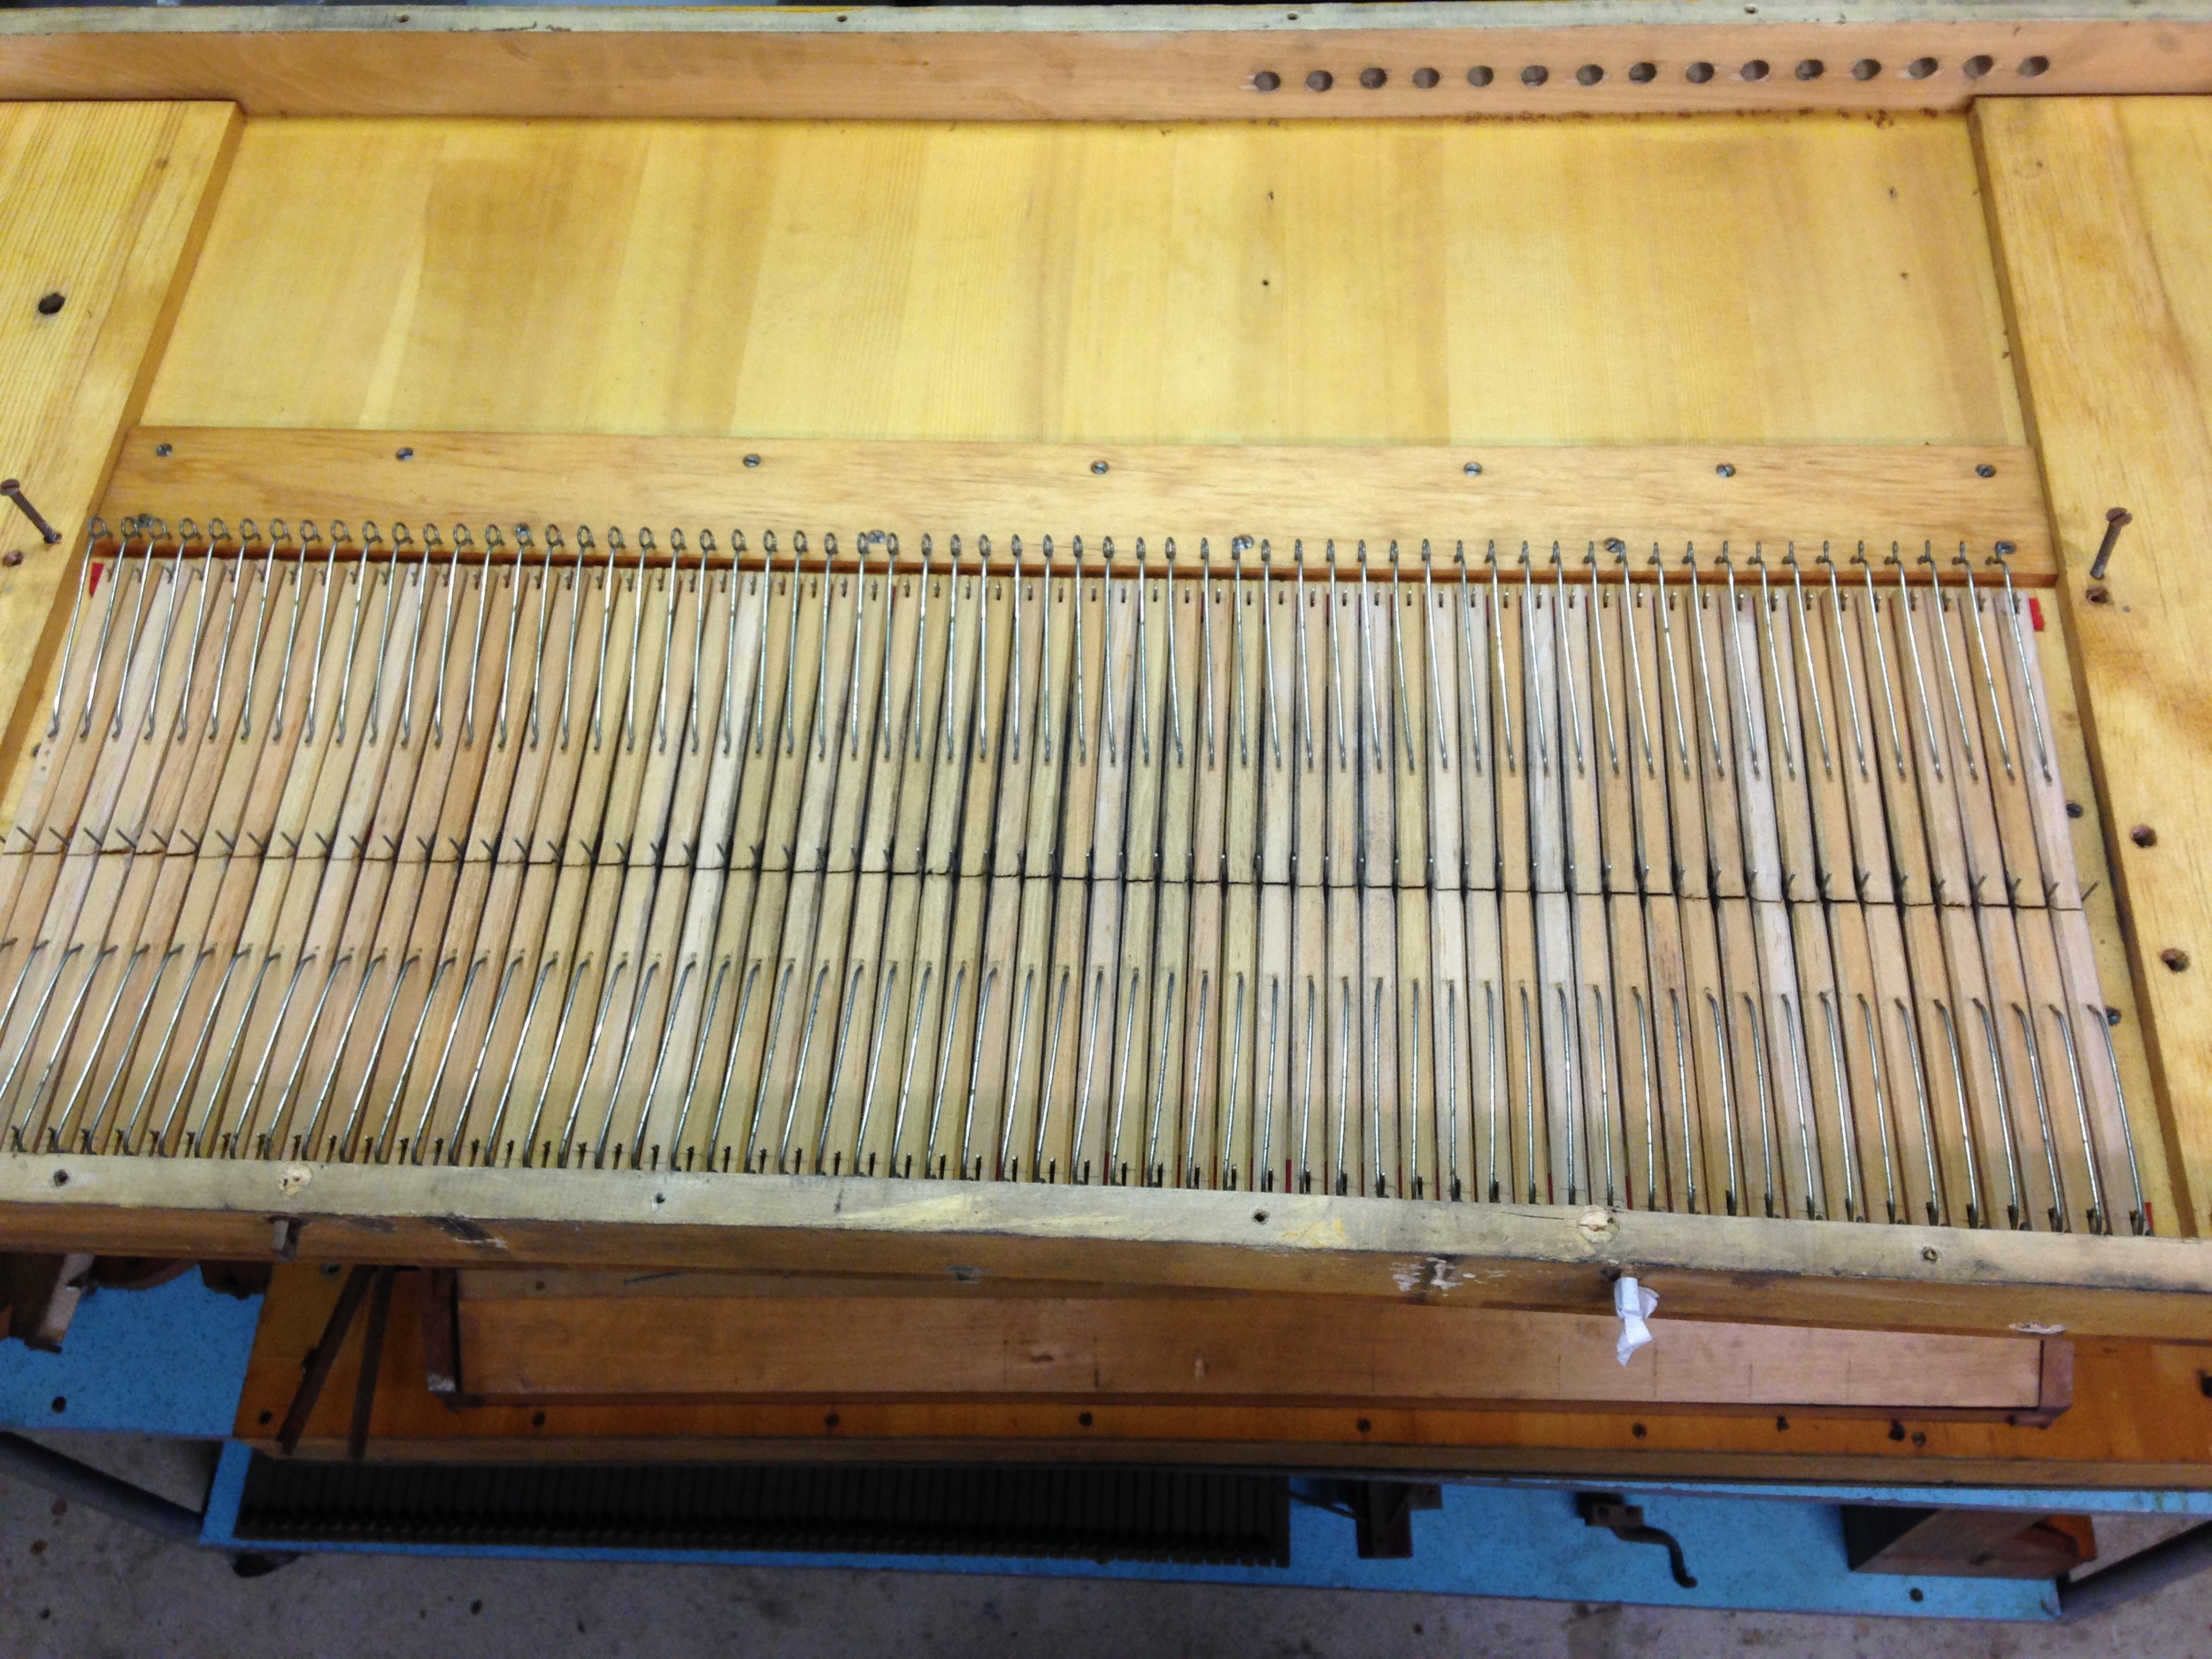
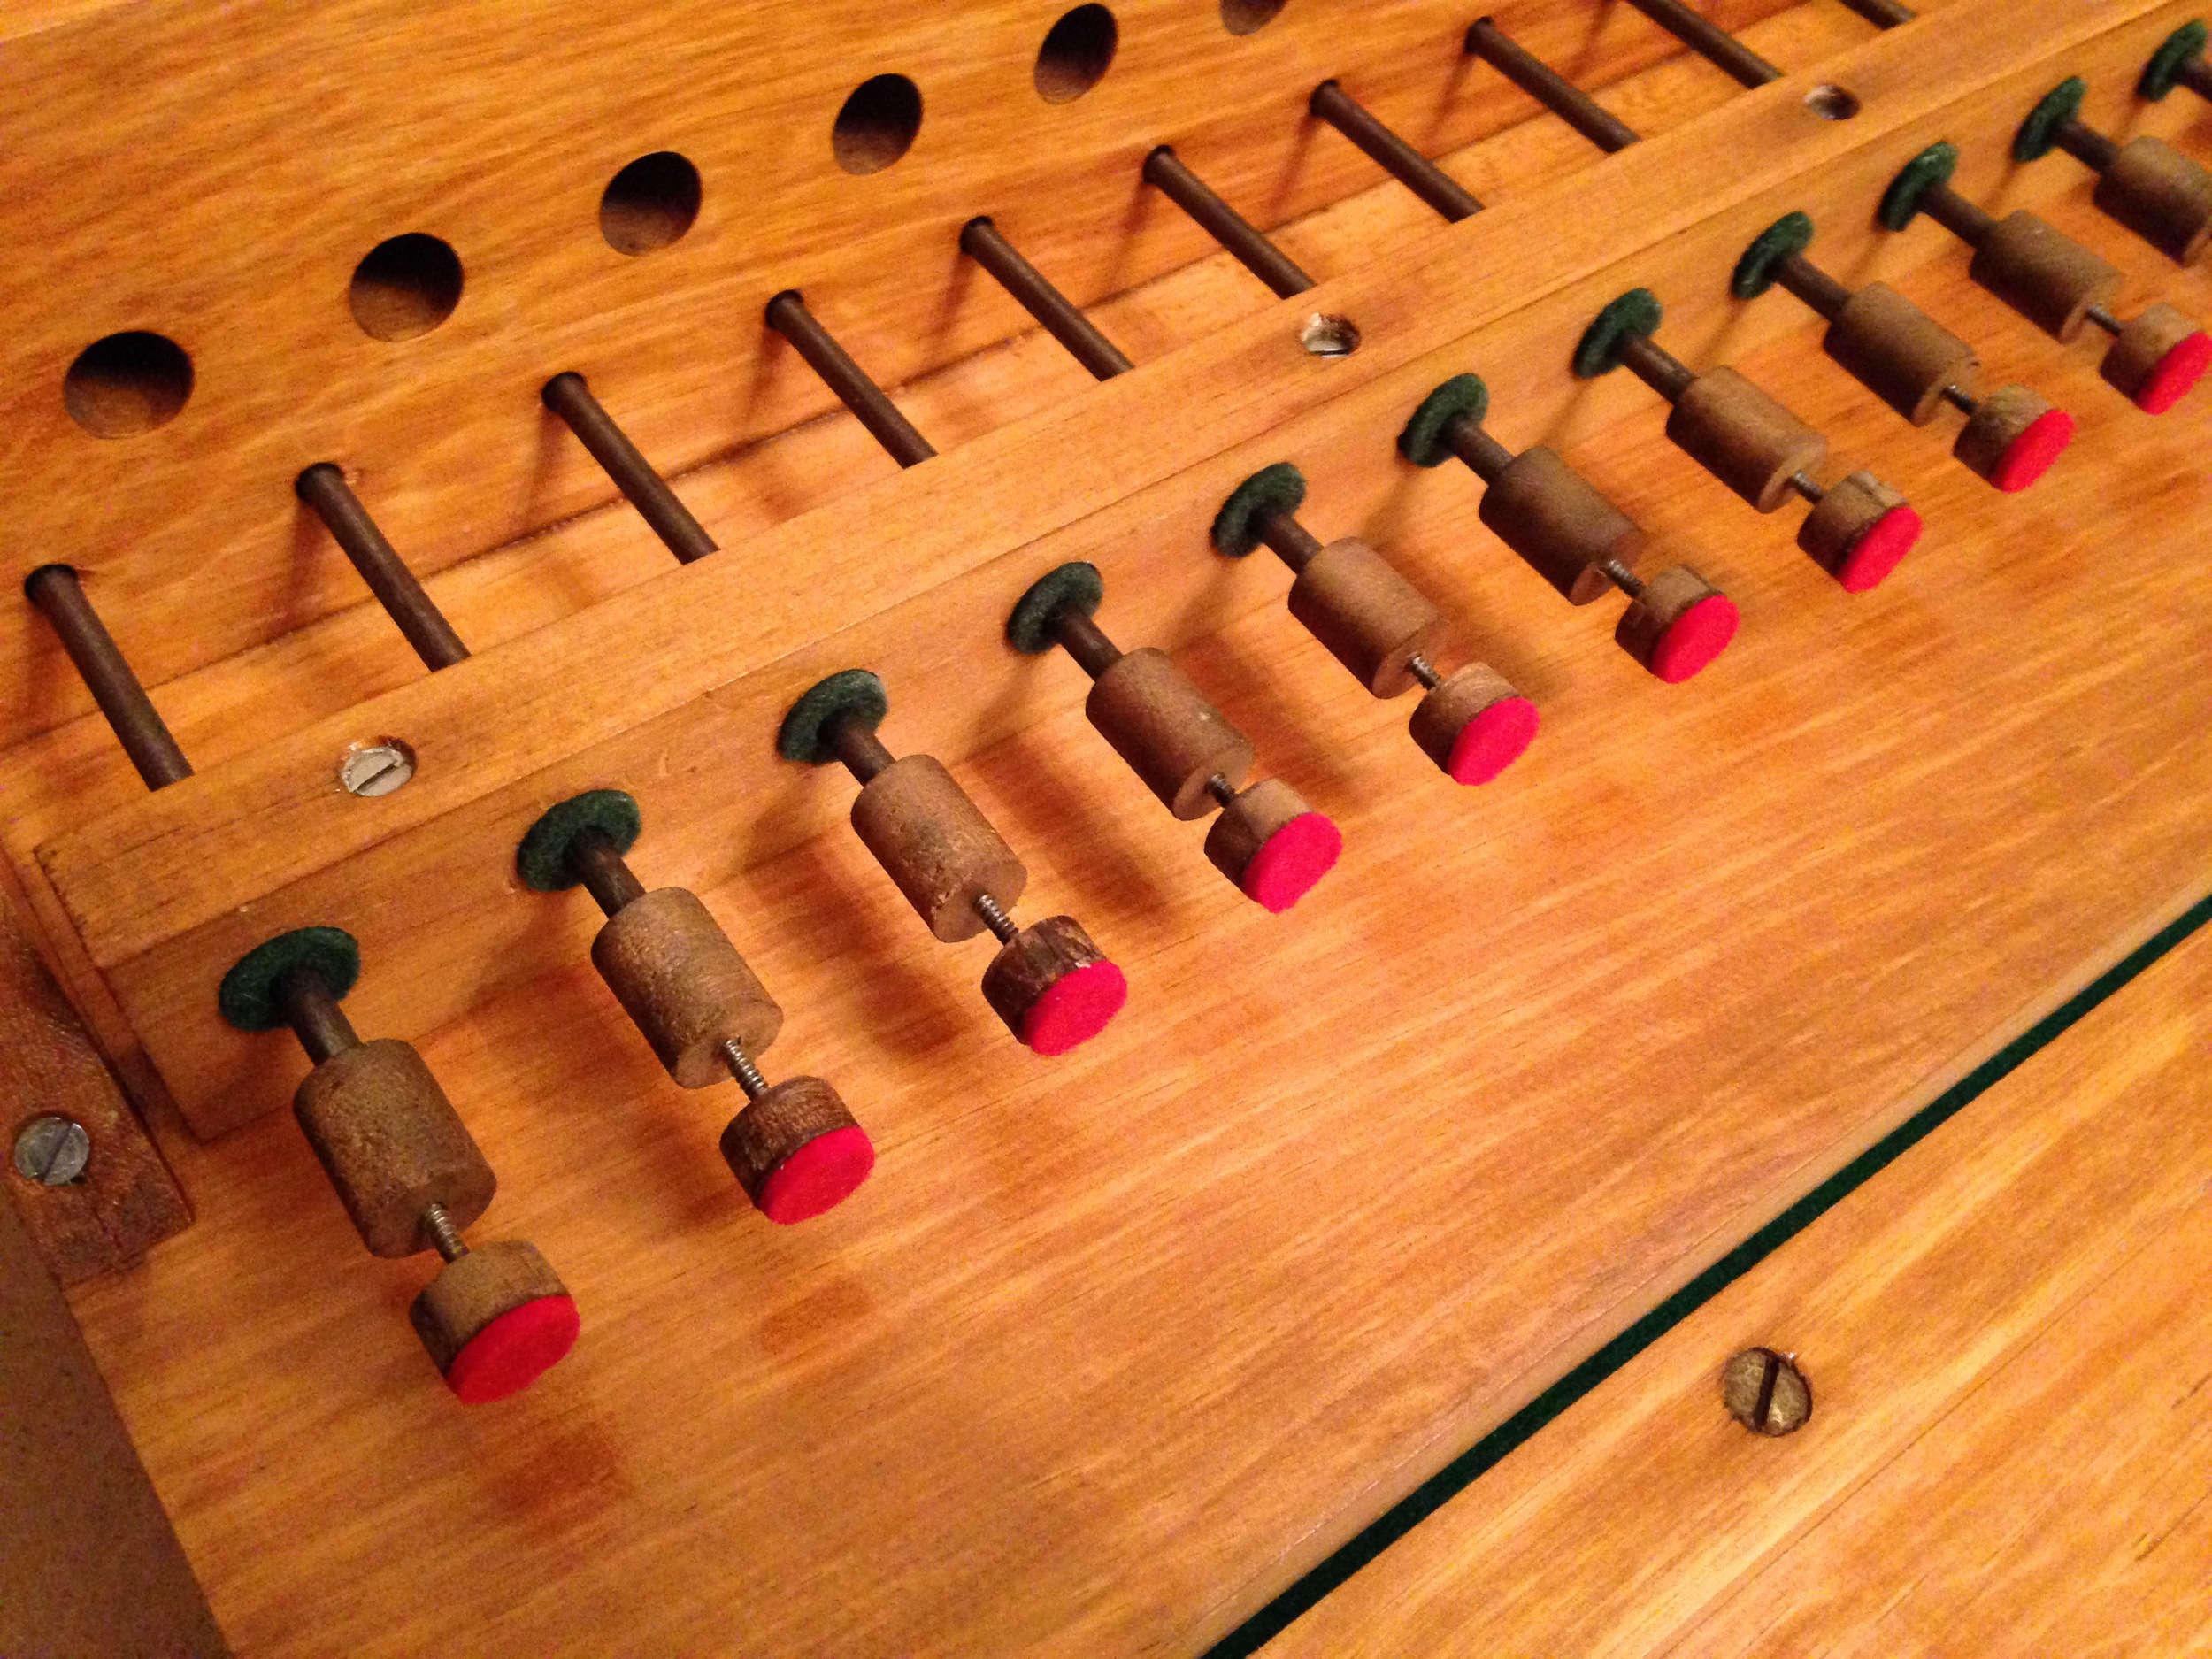
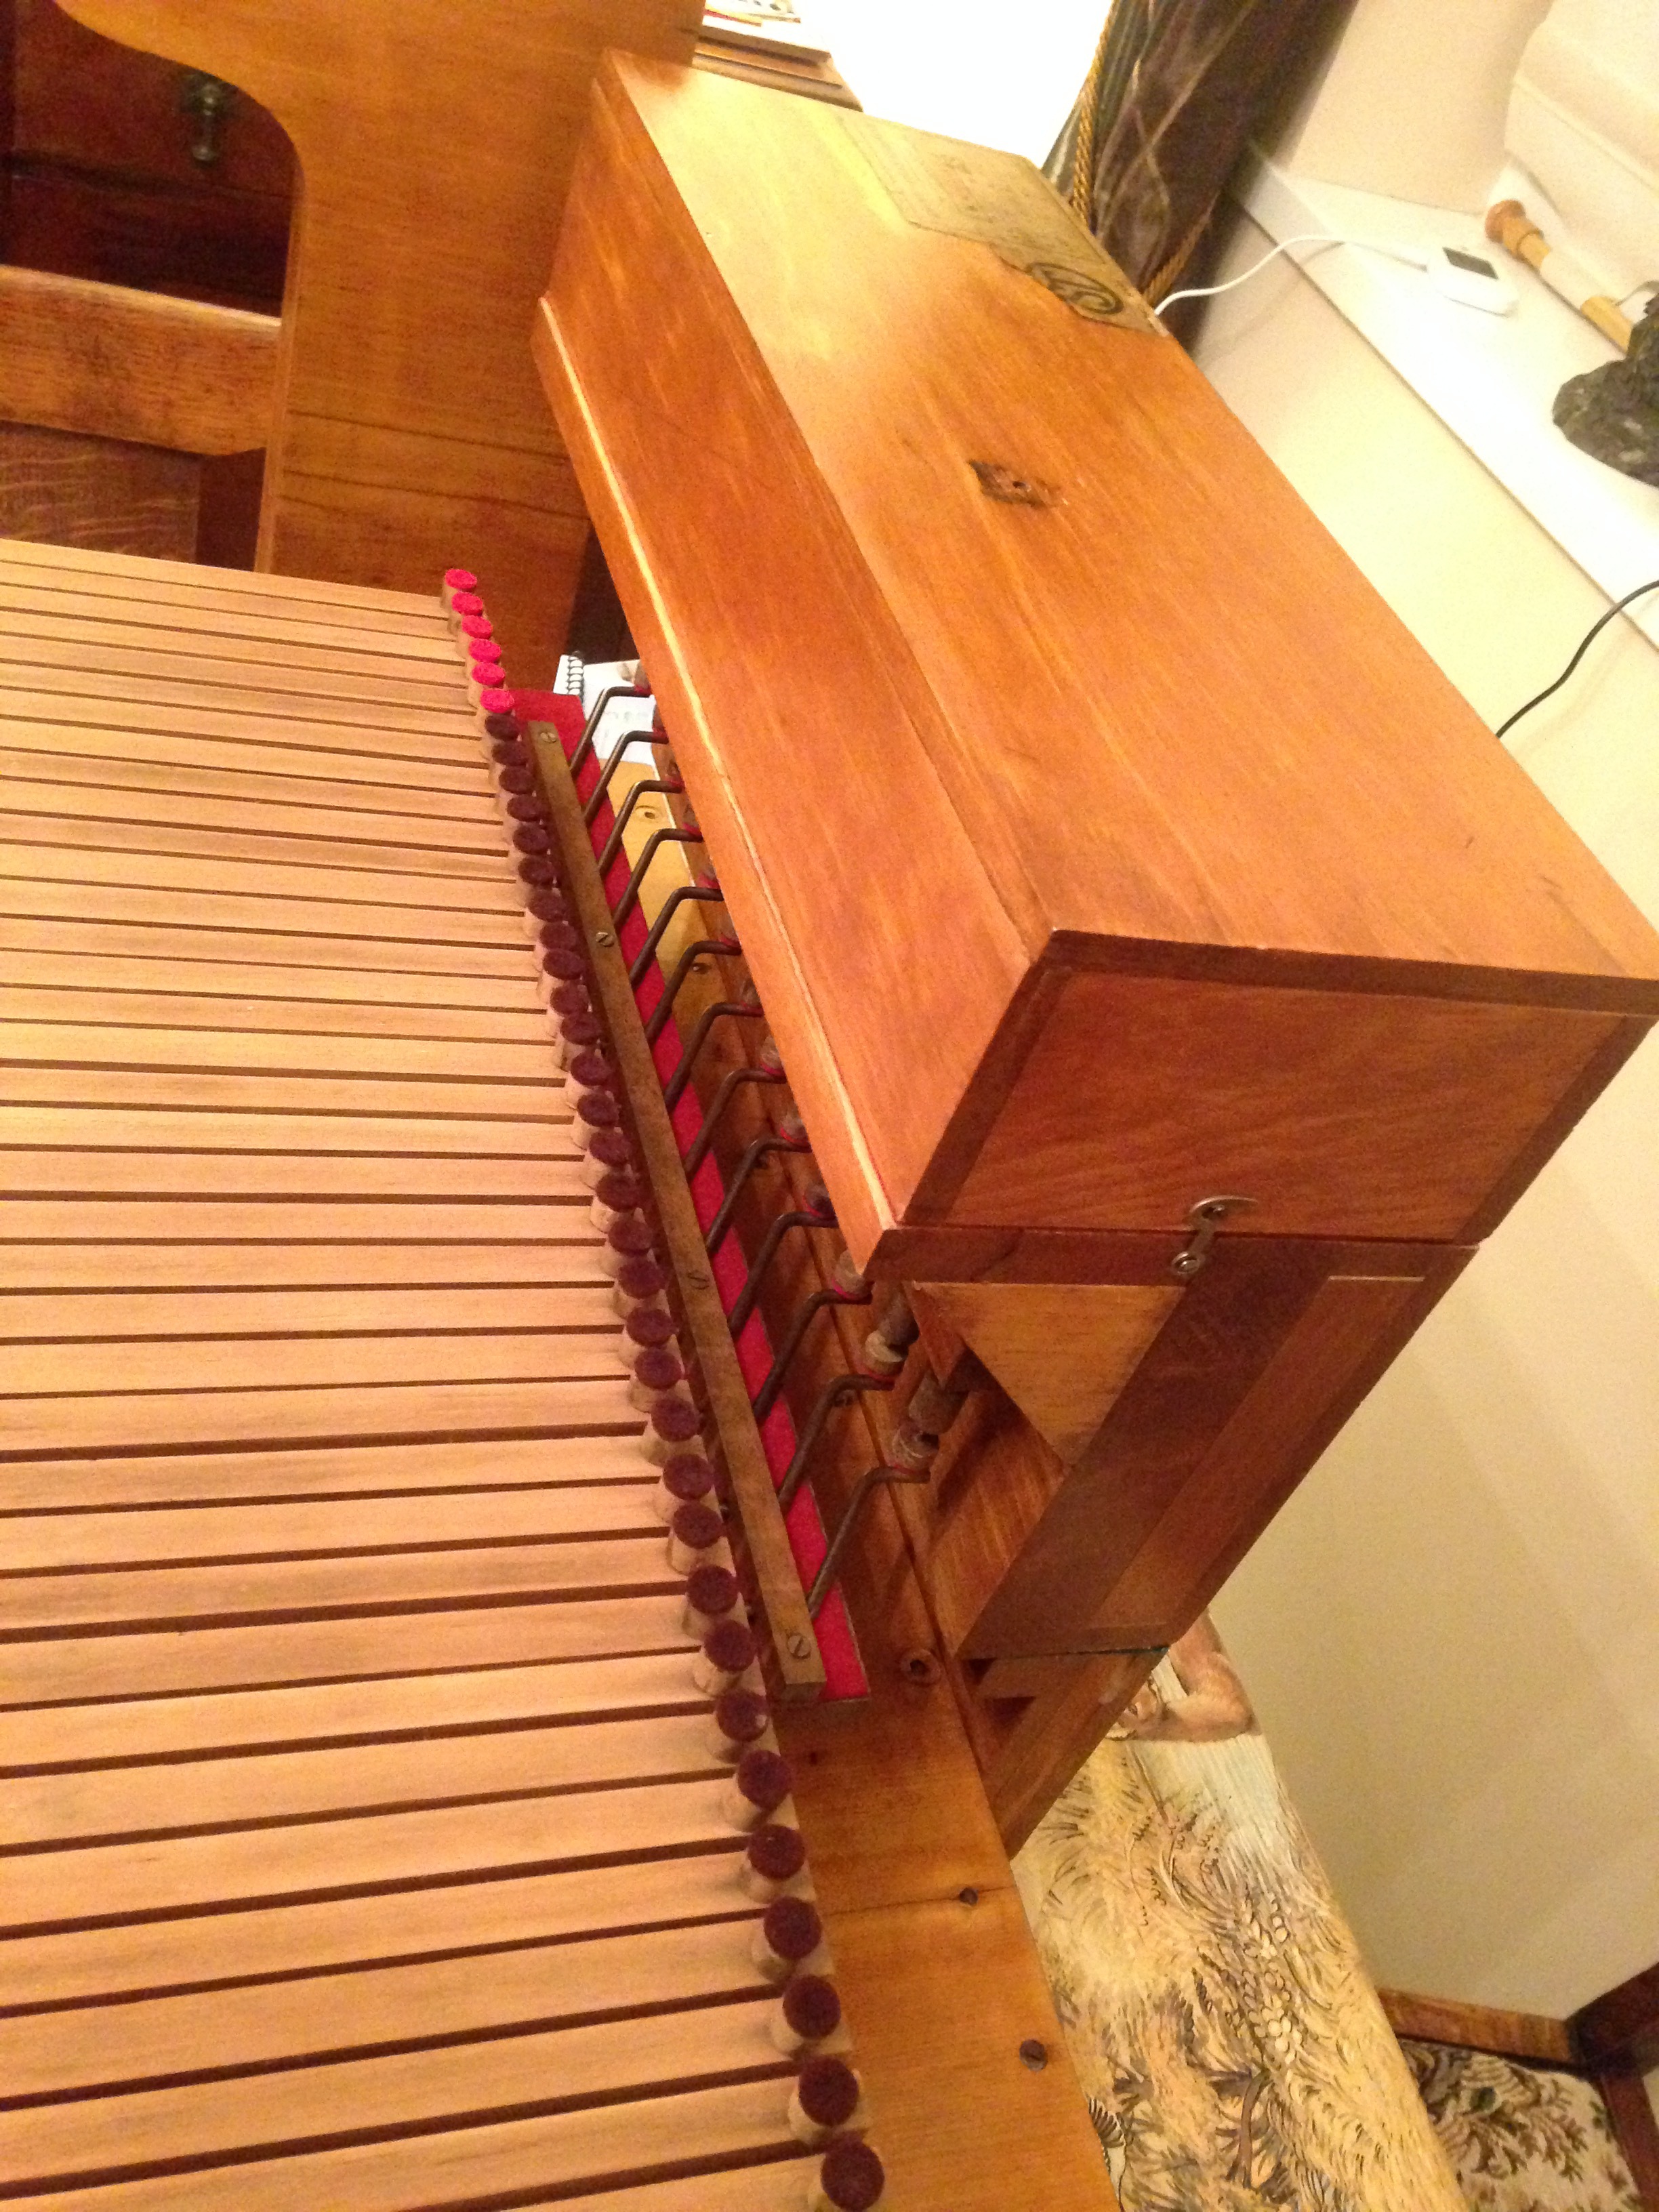
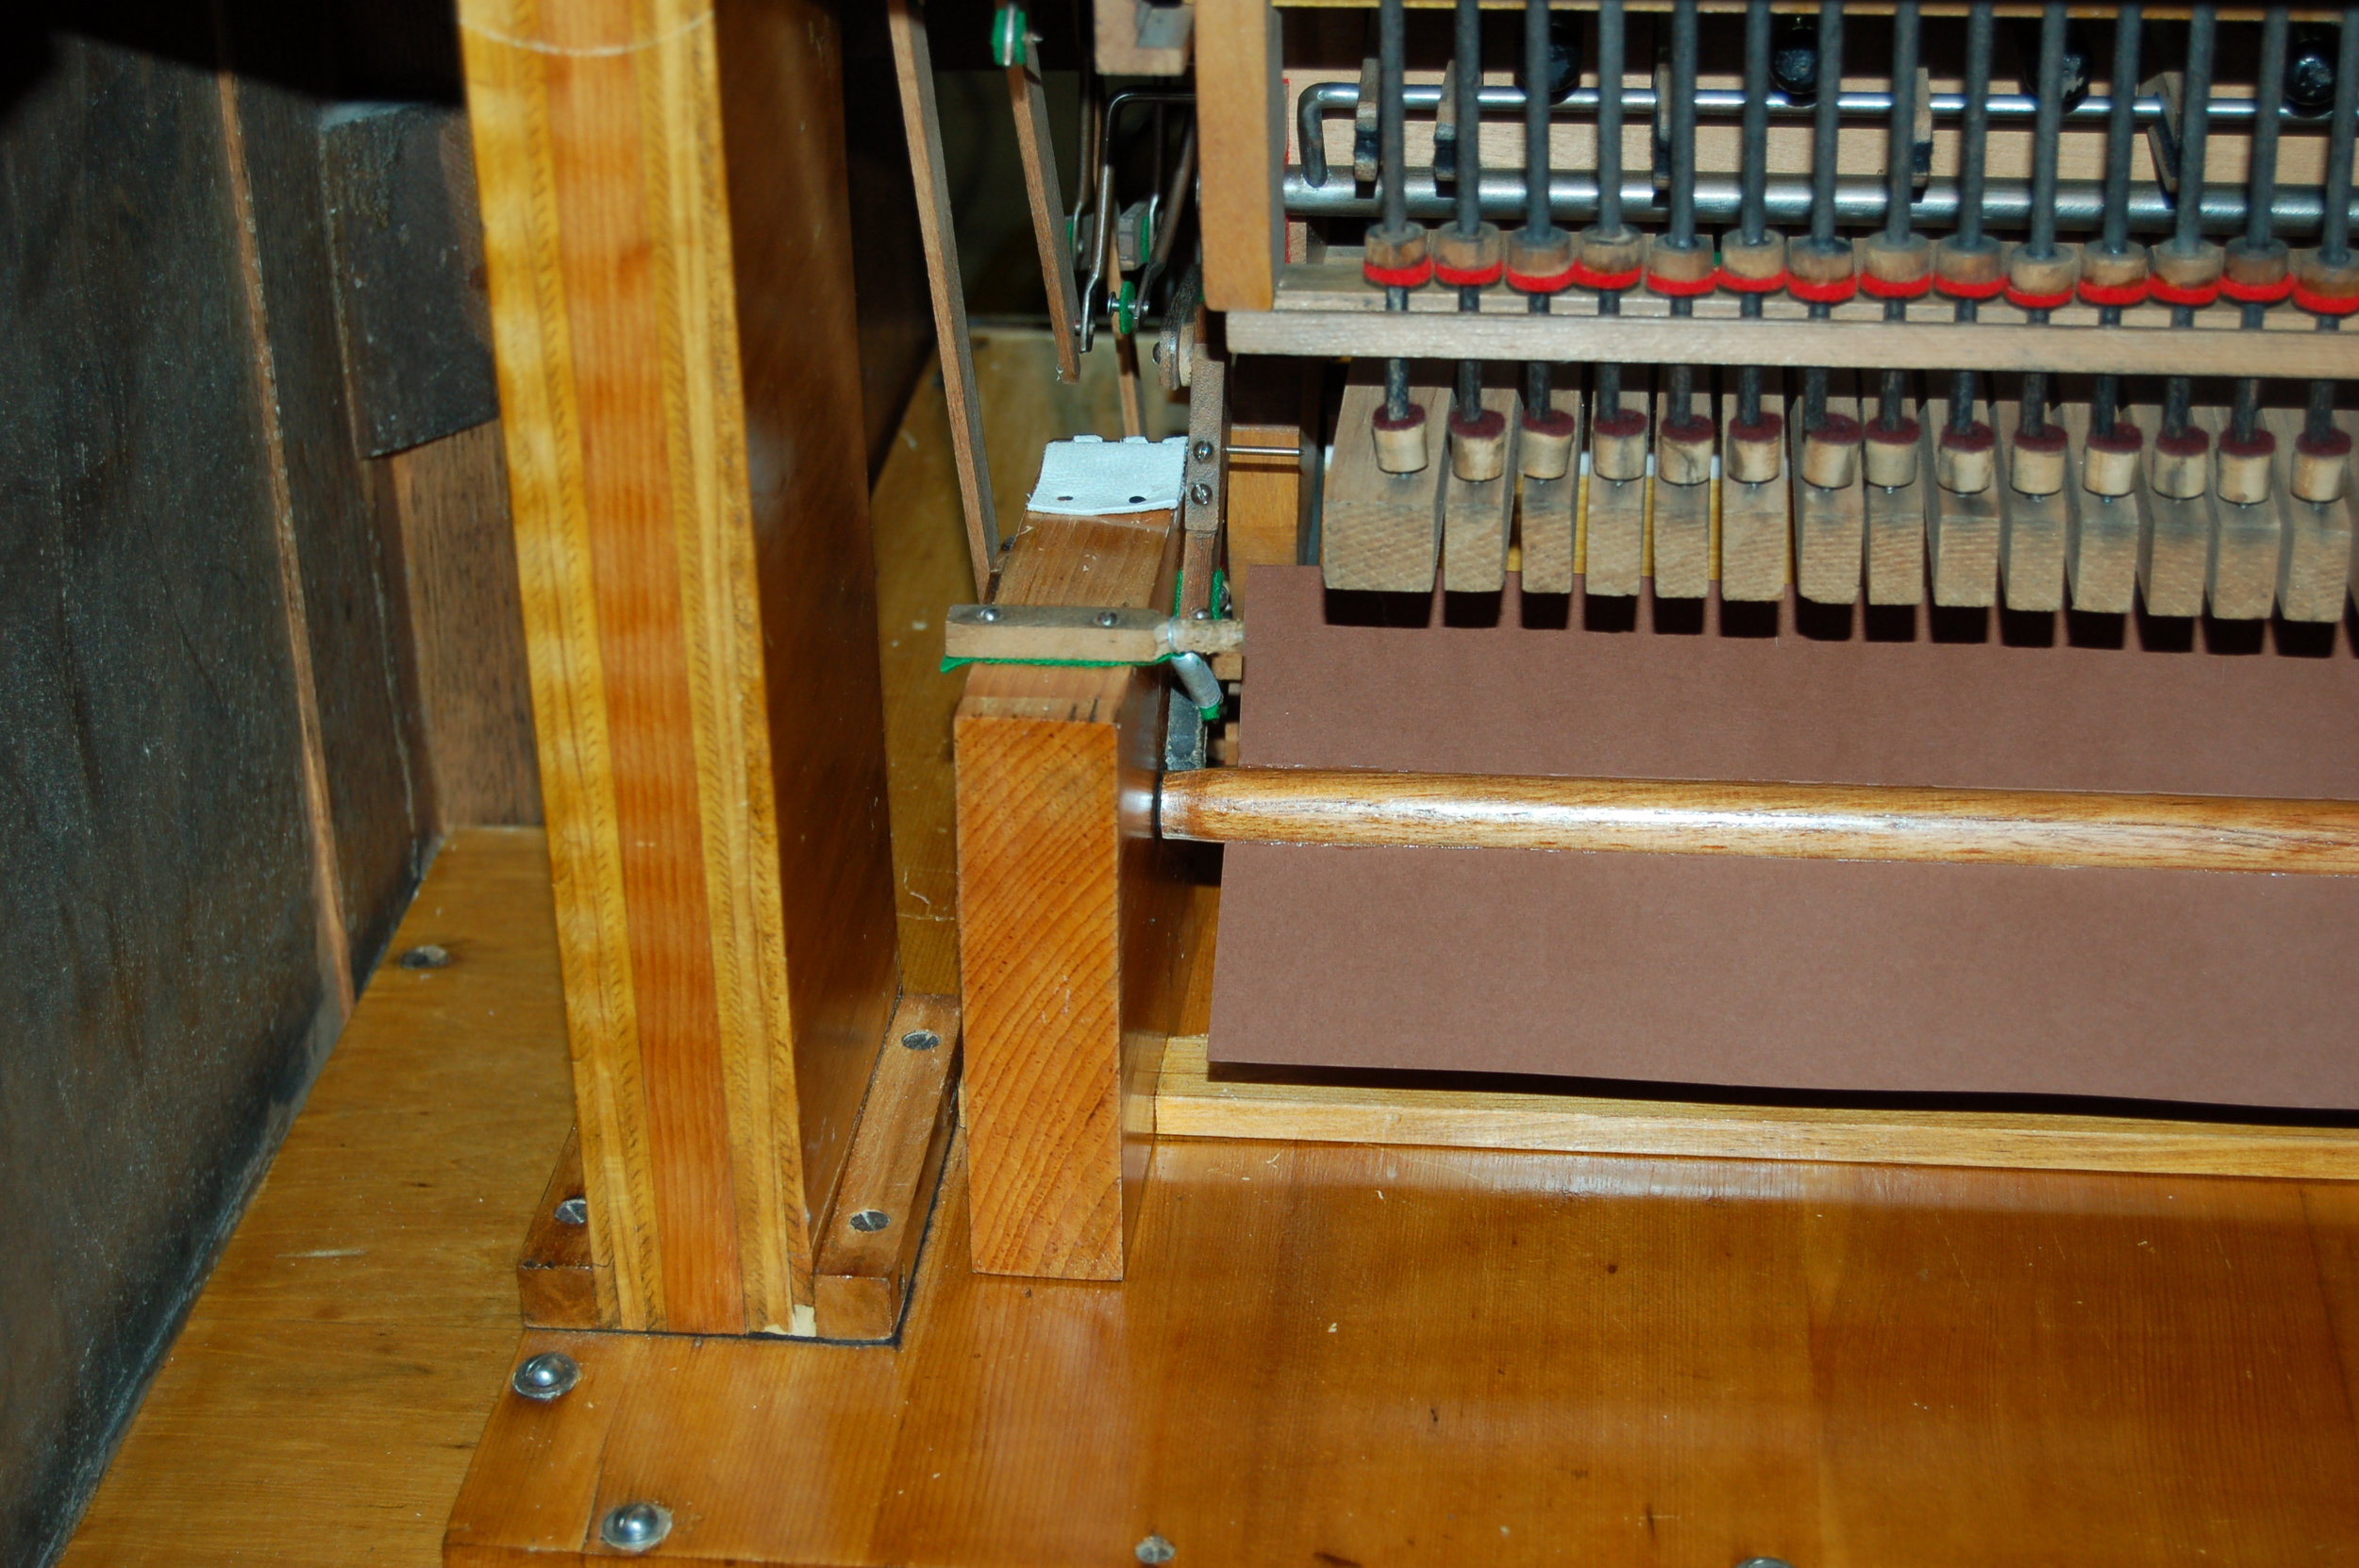
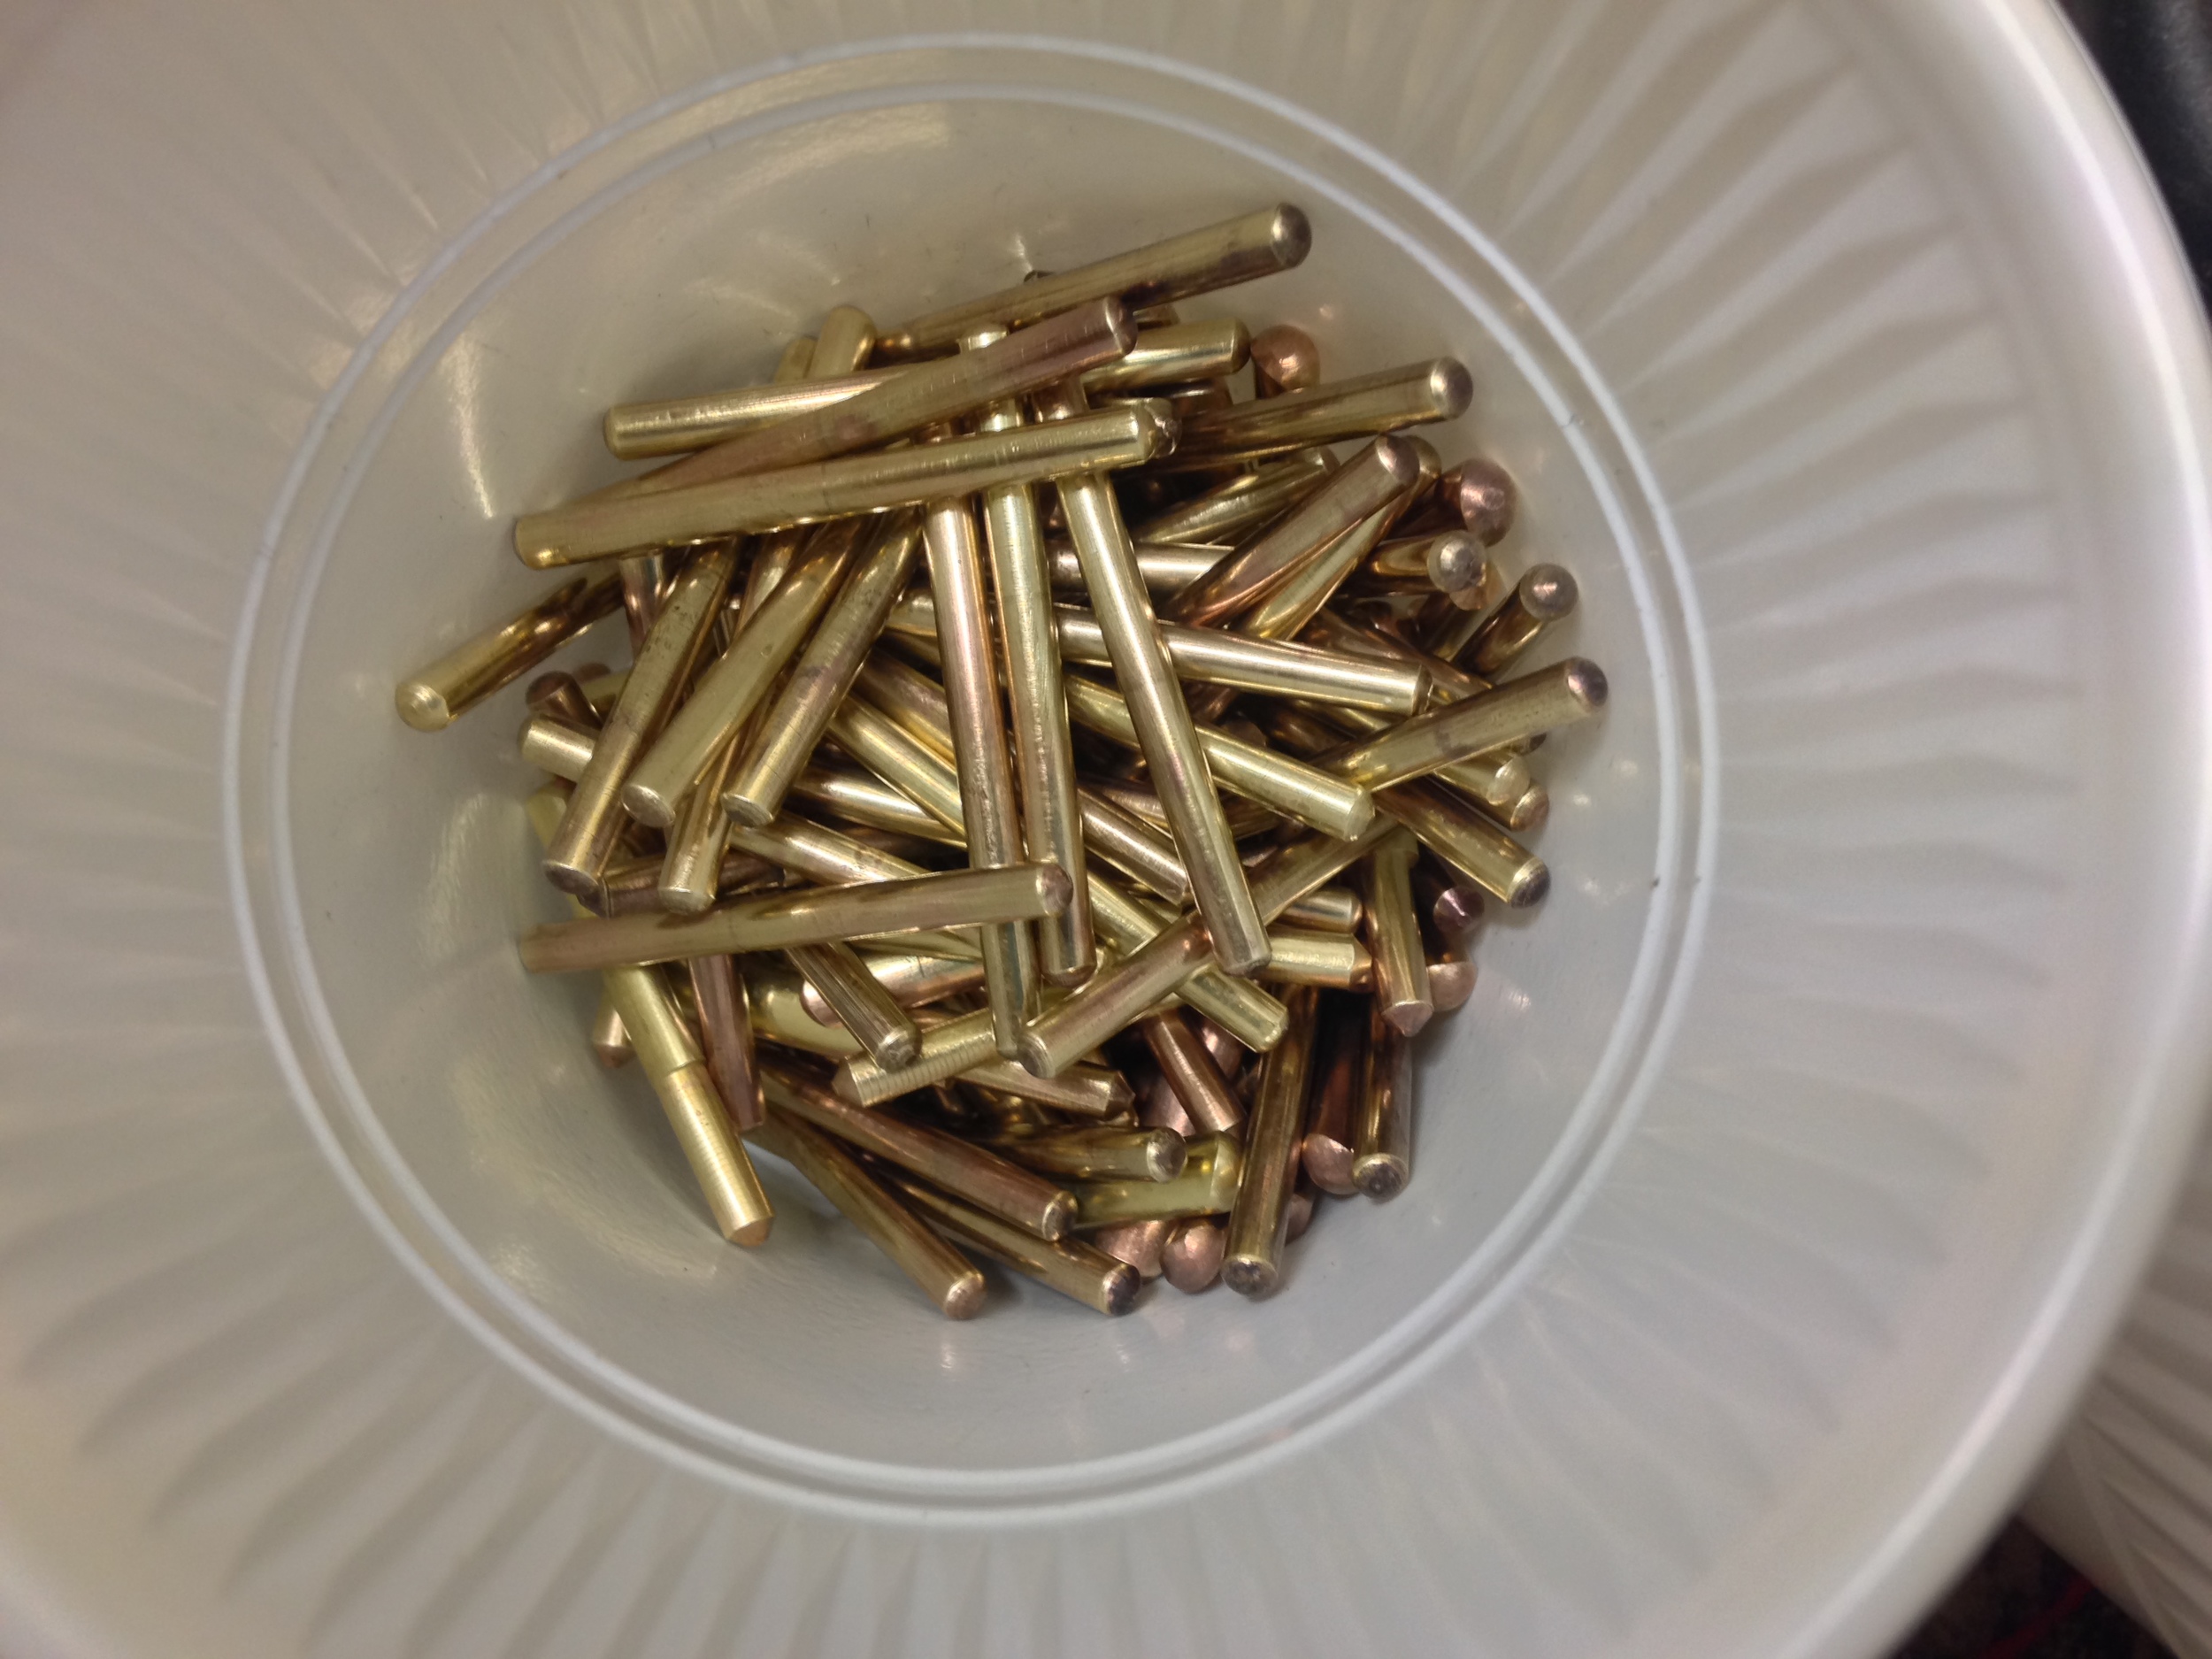
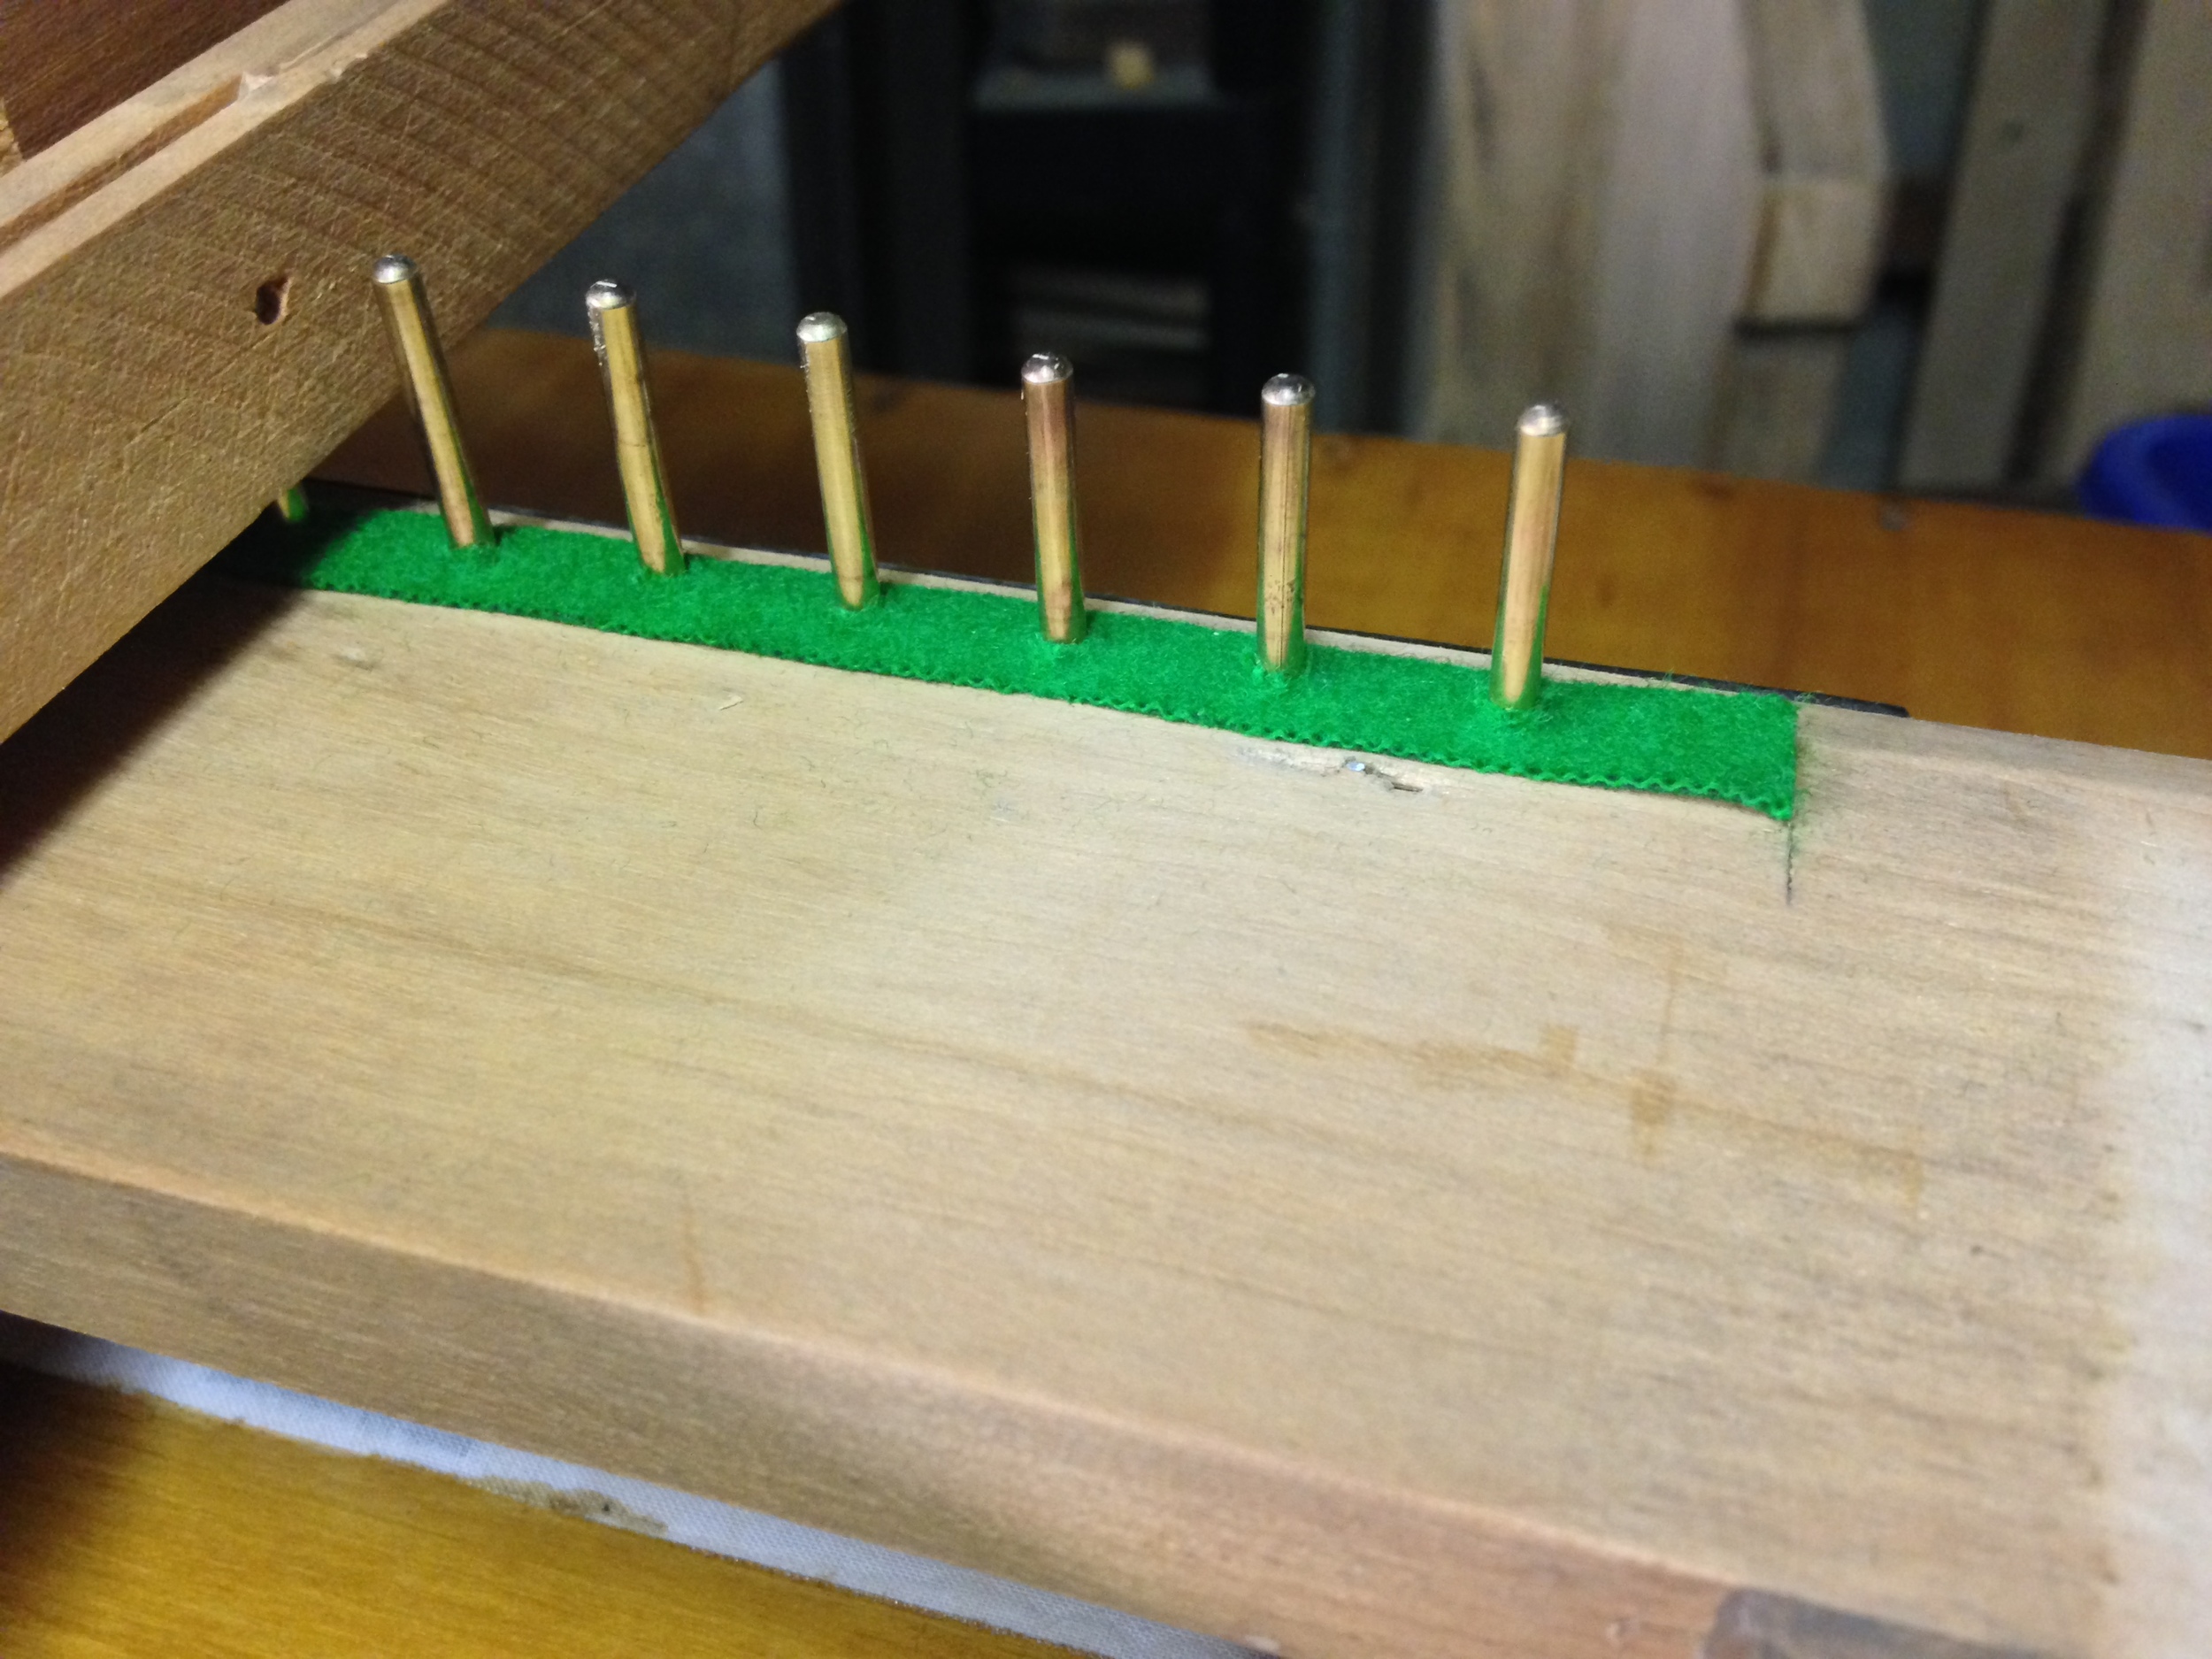
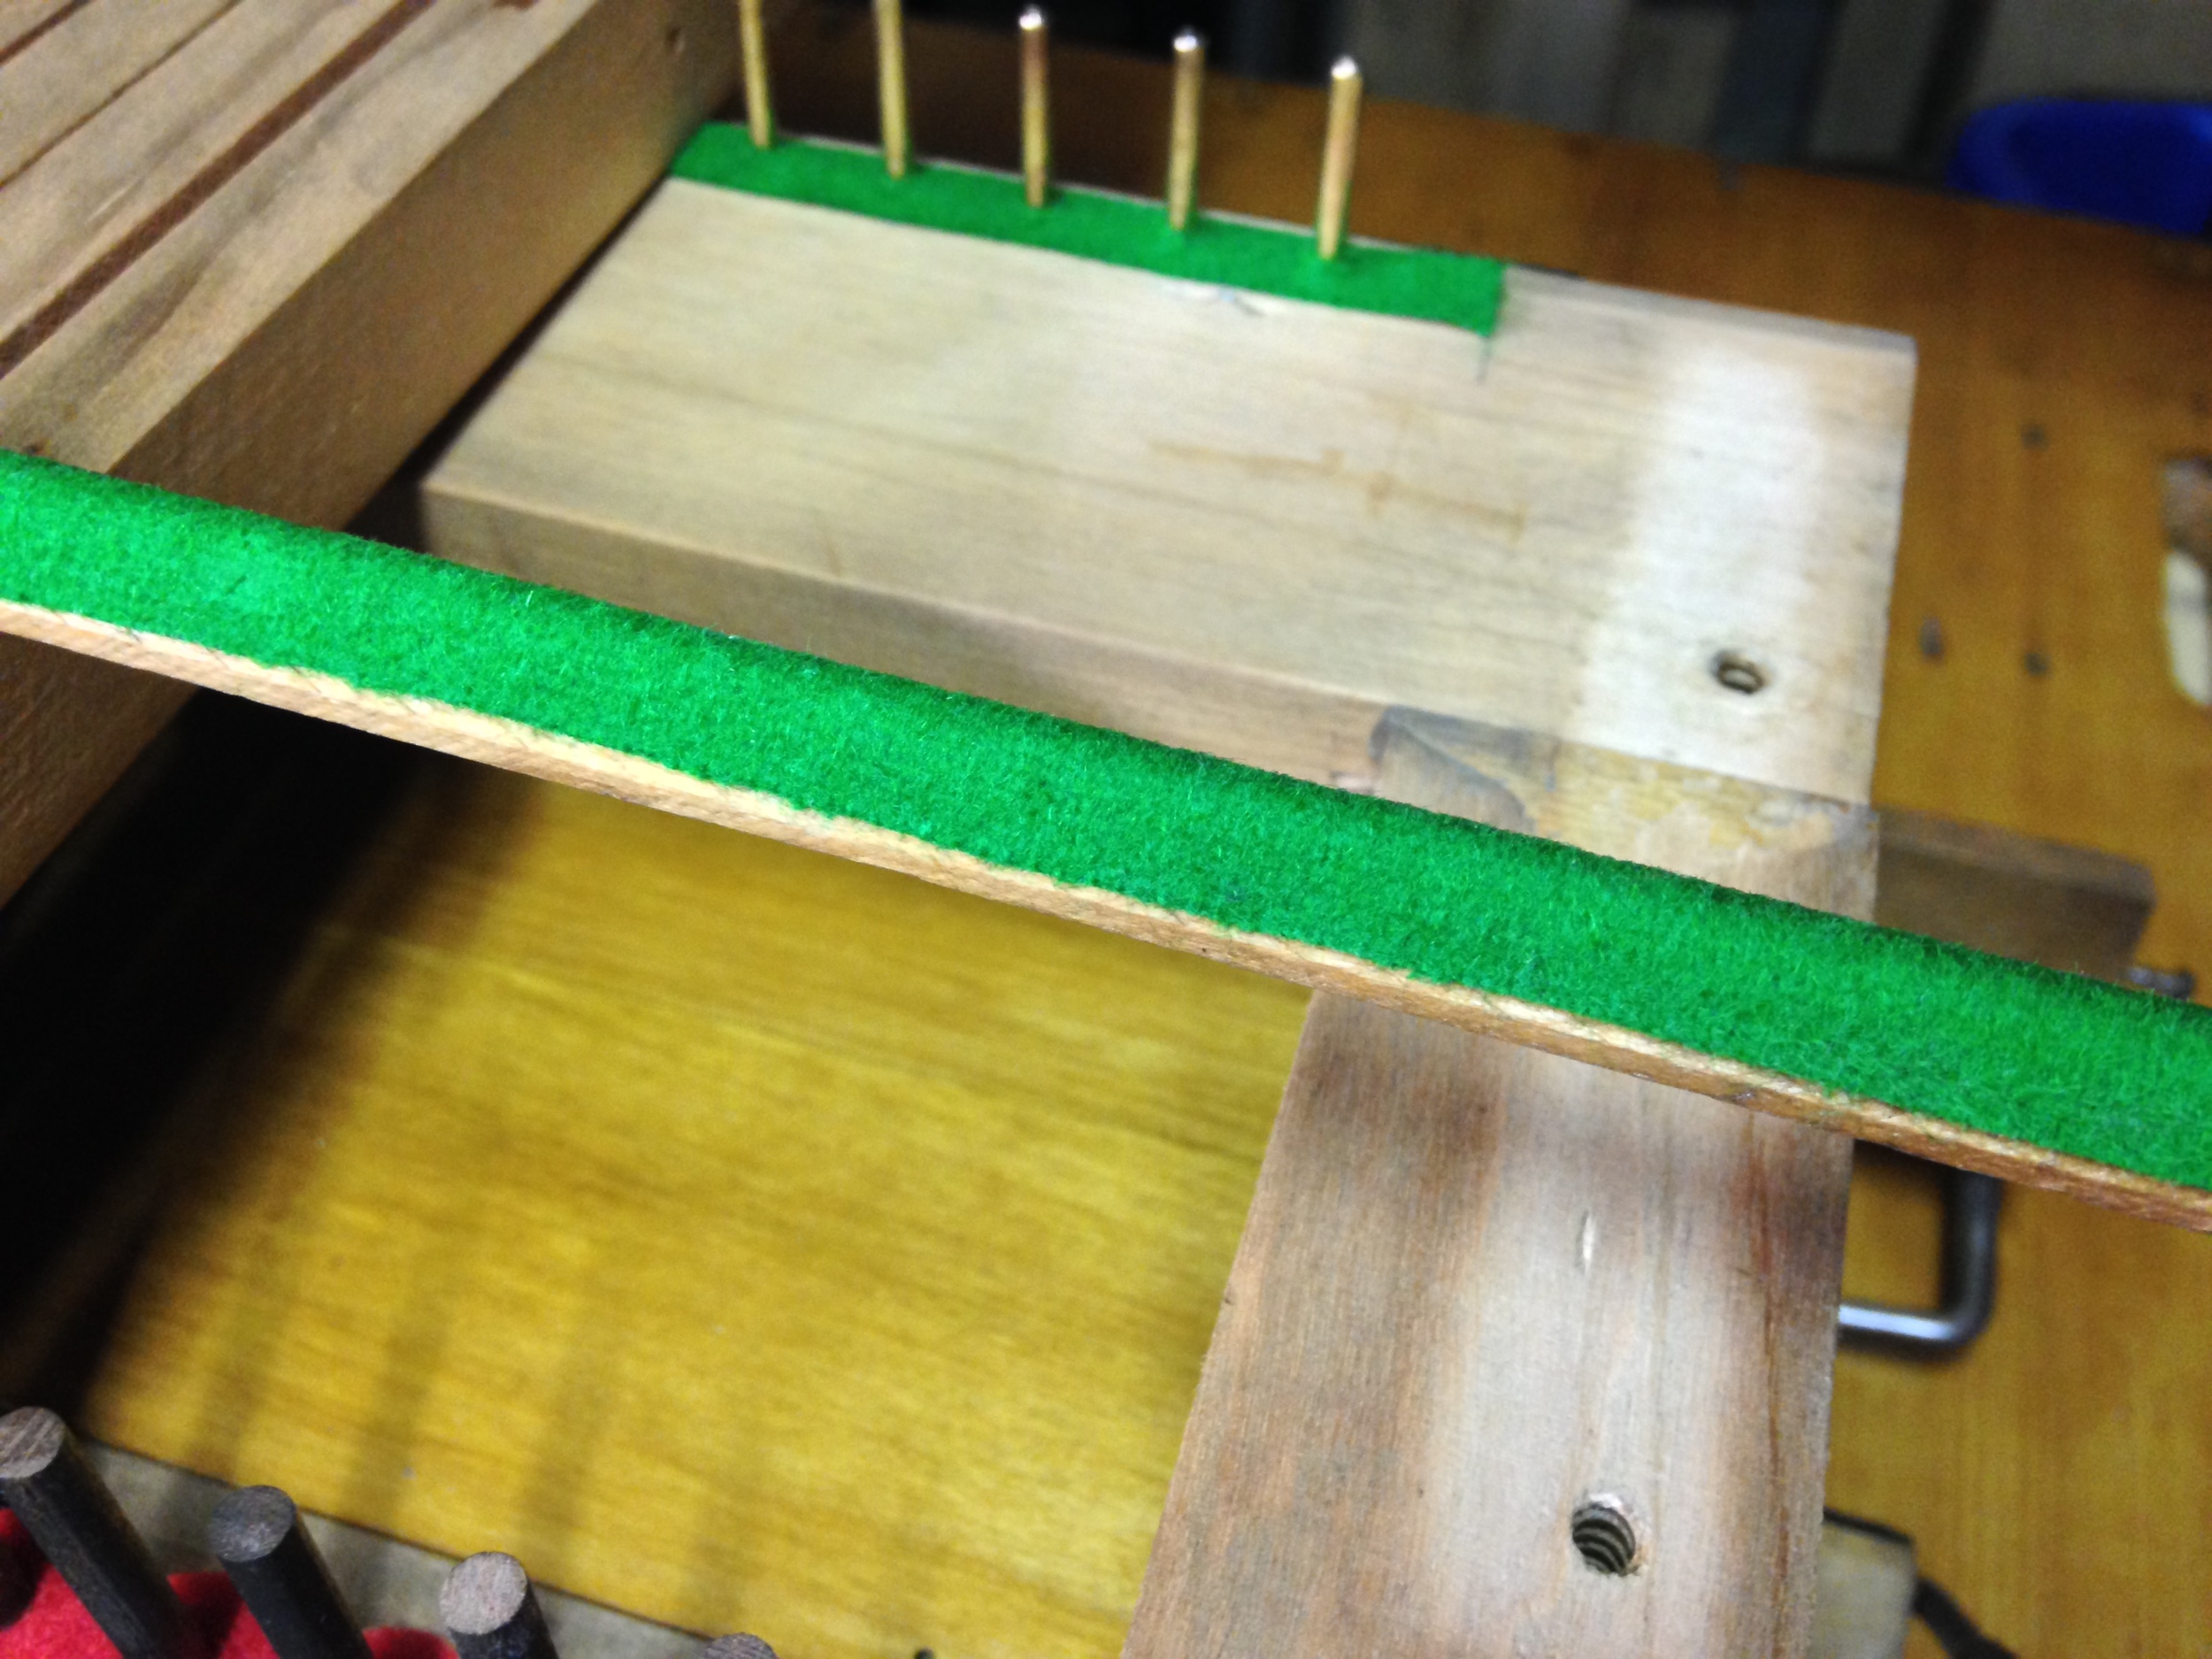
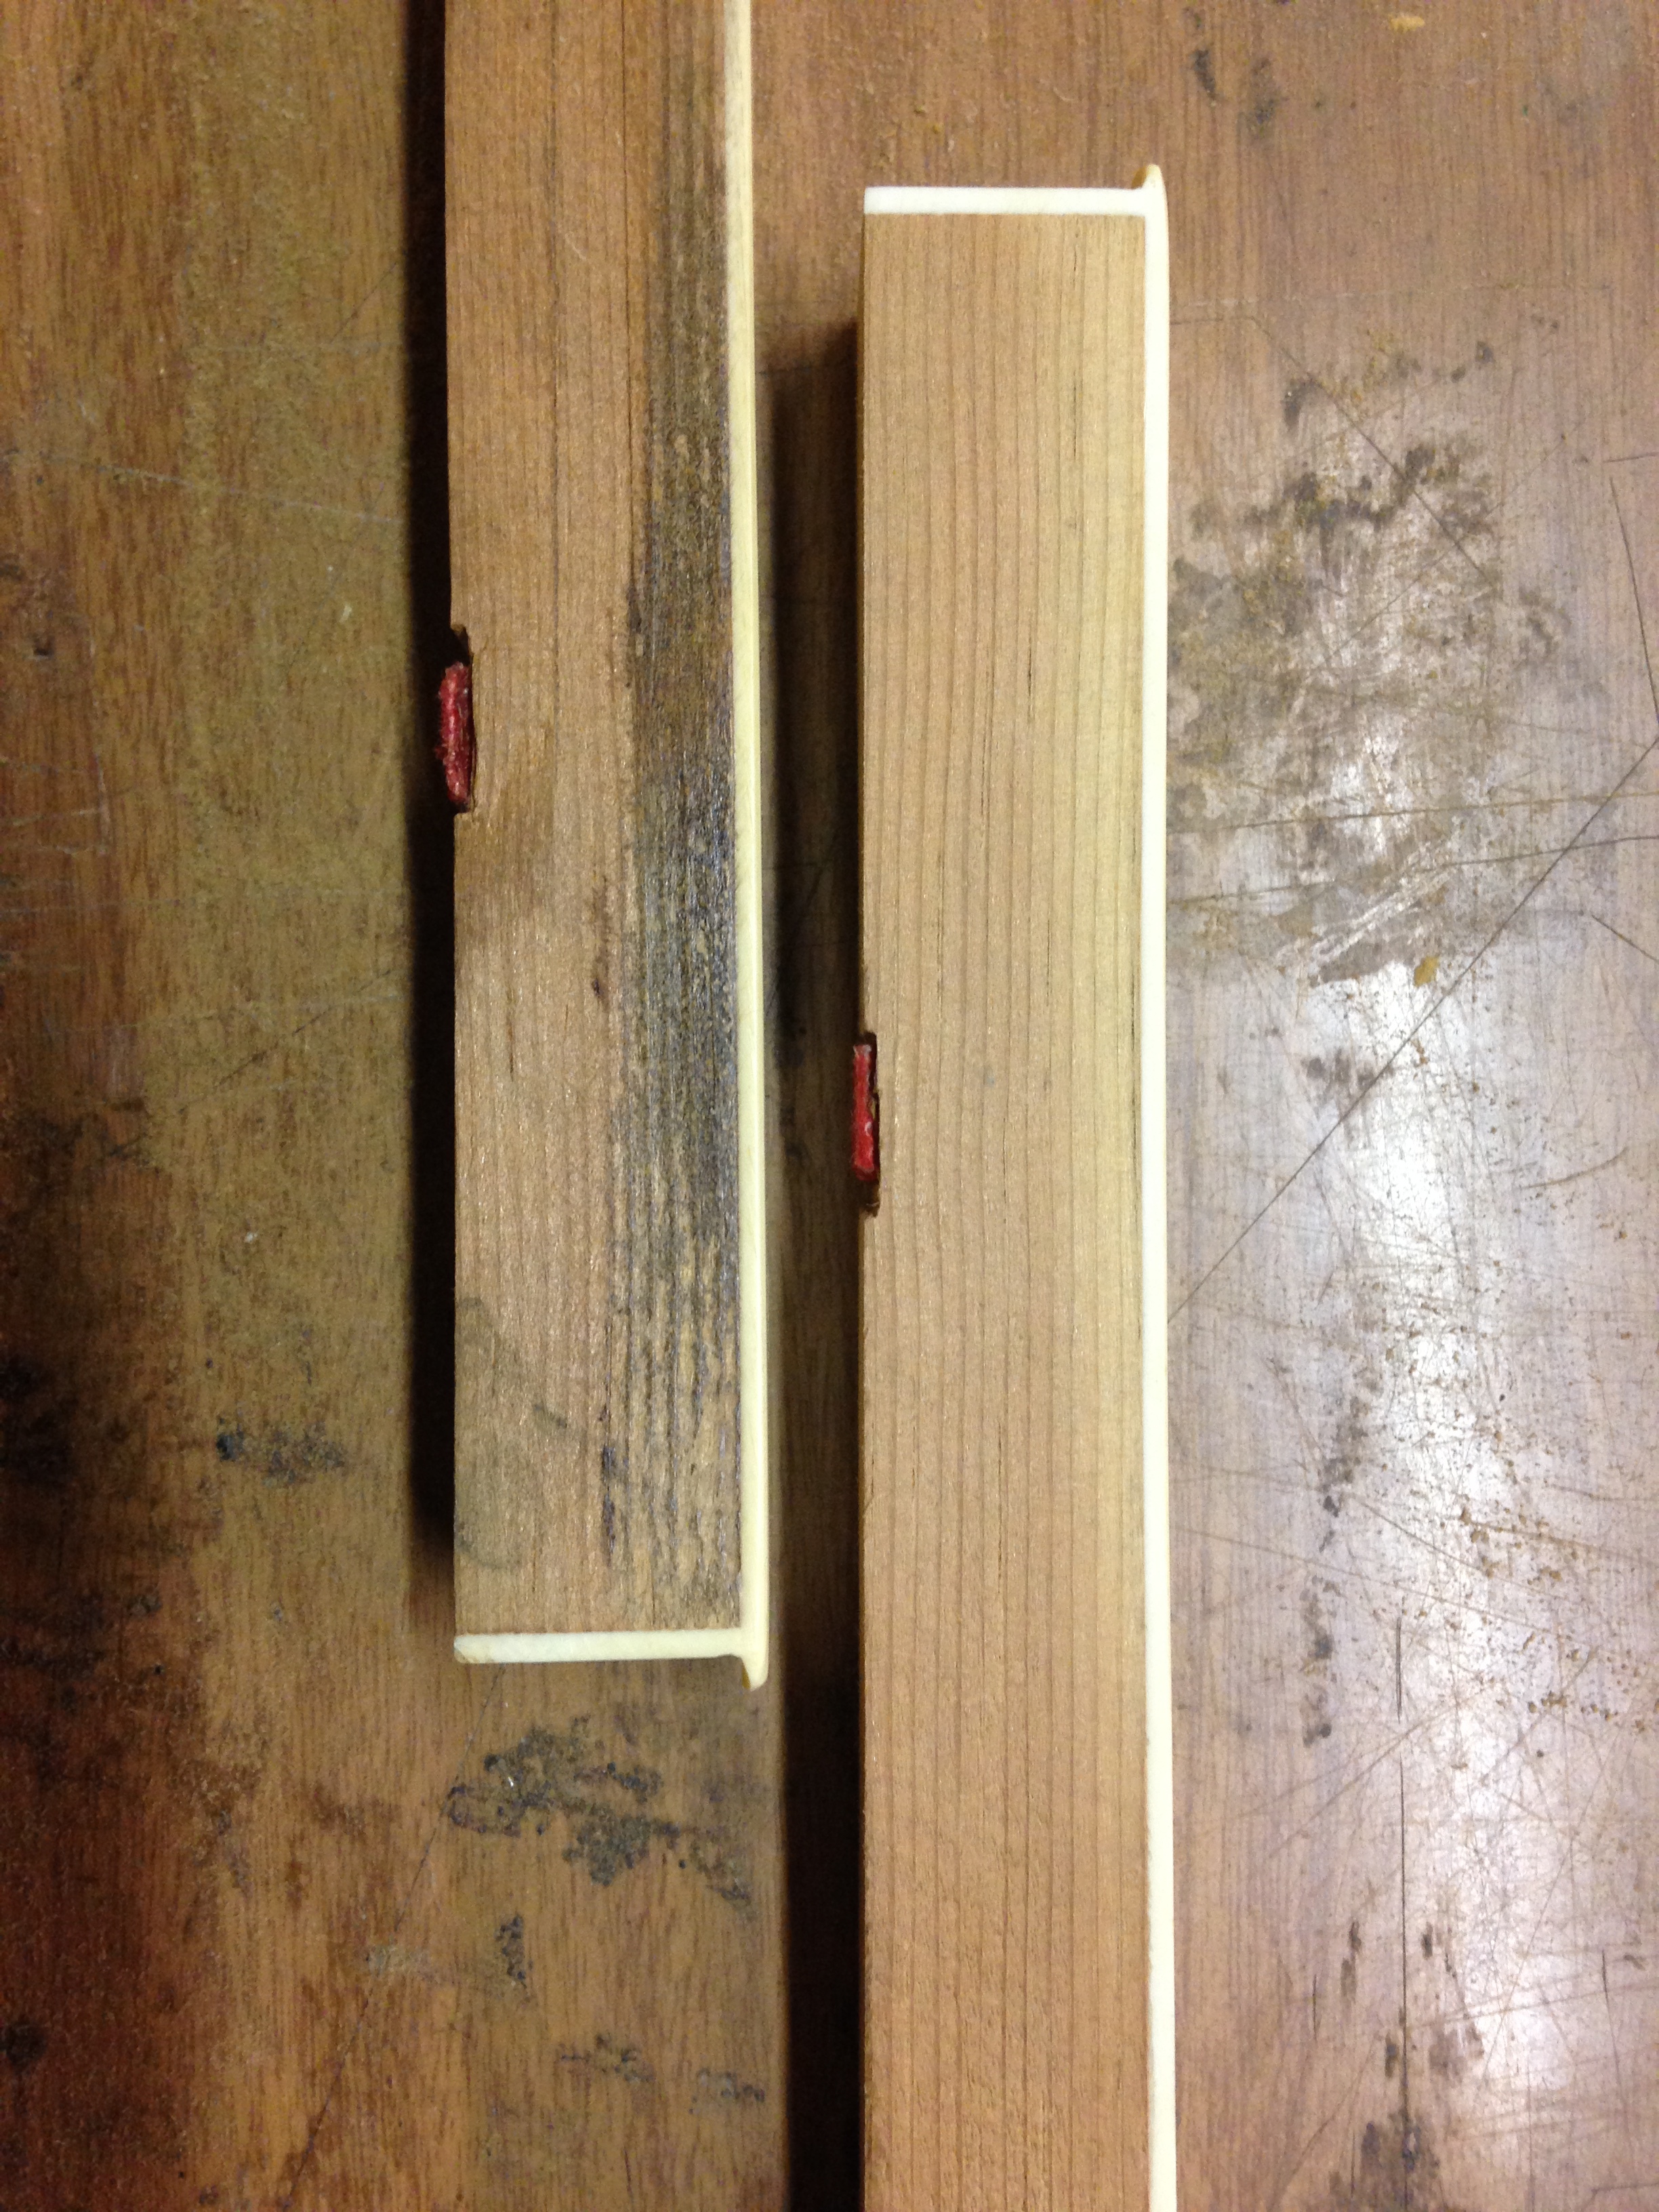
The keys on this organ have had all their bushings replaced. Unusually I found that I needed to use the thickest rebushing felt sold by Schaff supply house. I usually use pool table cloth for that job. Each key has an adjustable button on the top of the long style key which activates the pitmans for the upper reed reed chest. A lot of these had split and had to be glued back together and the pin glued back in place. The felt on most of these was in very good condition so I just replaced six of them. The colour doesn't match but so be it. A lot of the the coupler buttons had also split and they felt here was very worn so I replaced that too. The subbass is also activated by as set of adjustable buttons on the bottom of the key. So a lot of buttons to be glued and pins cleaned.
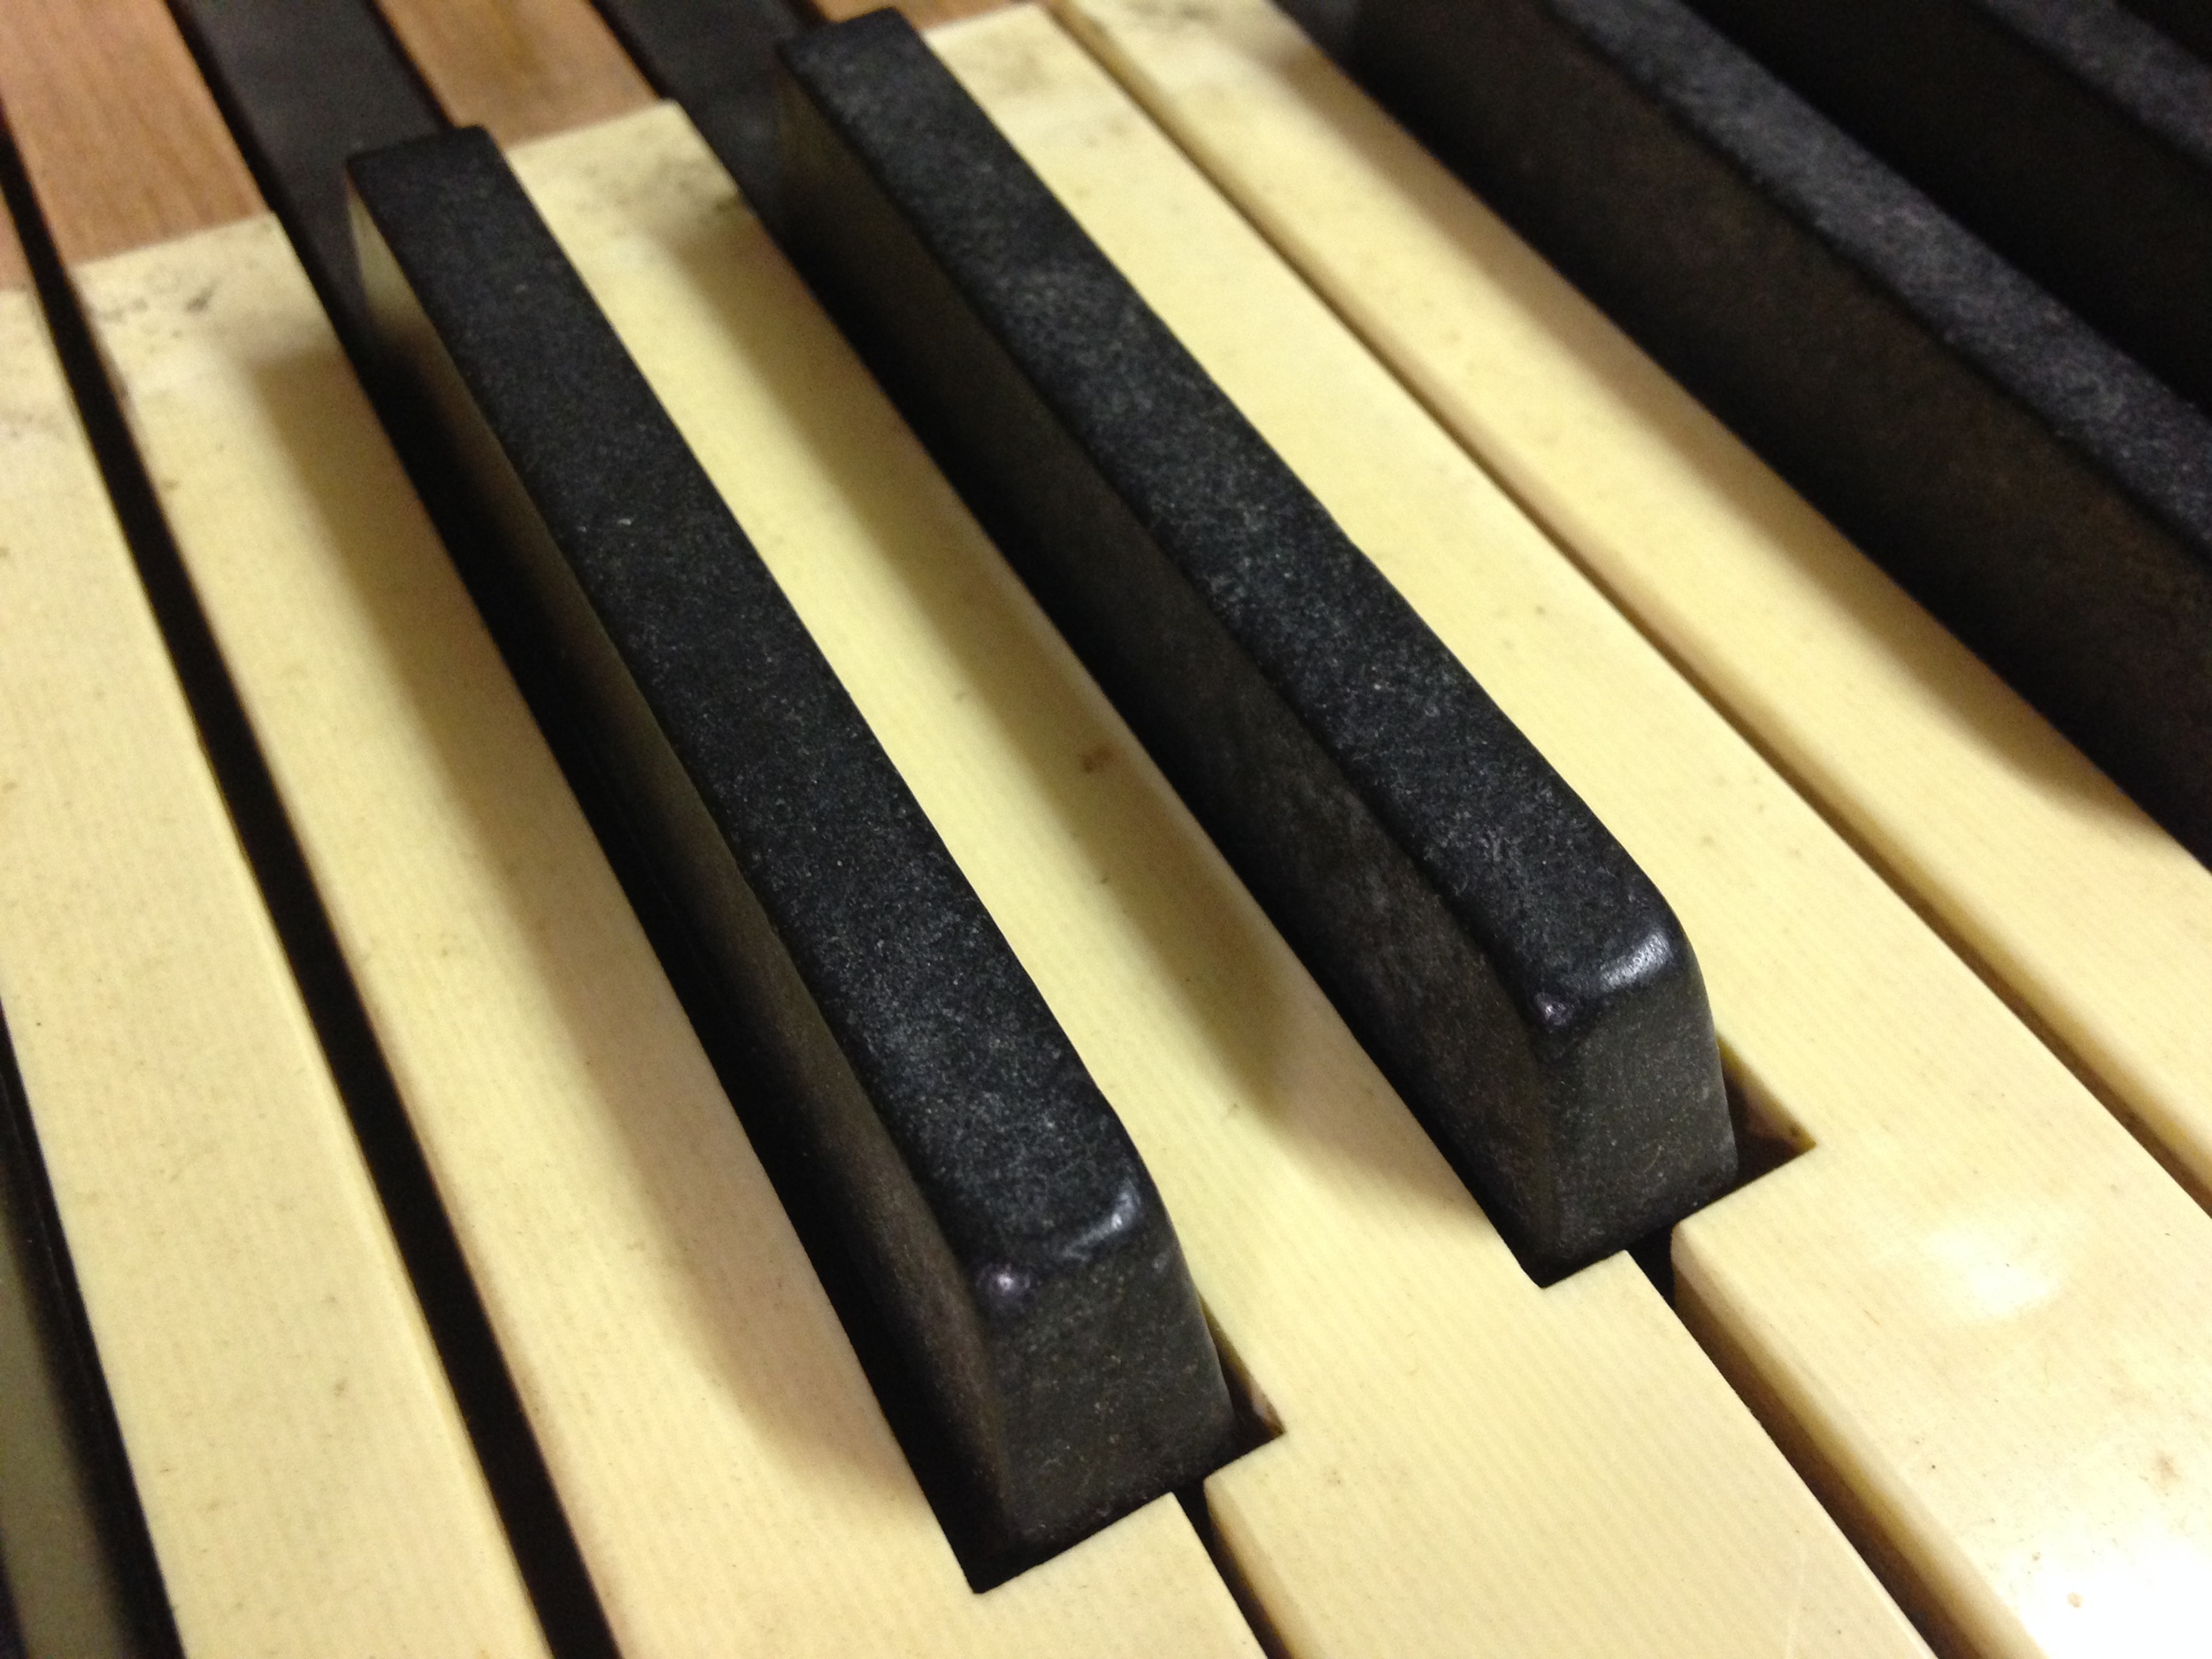
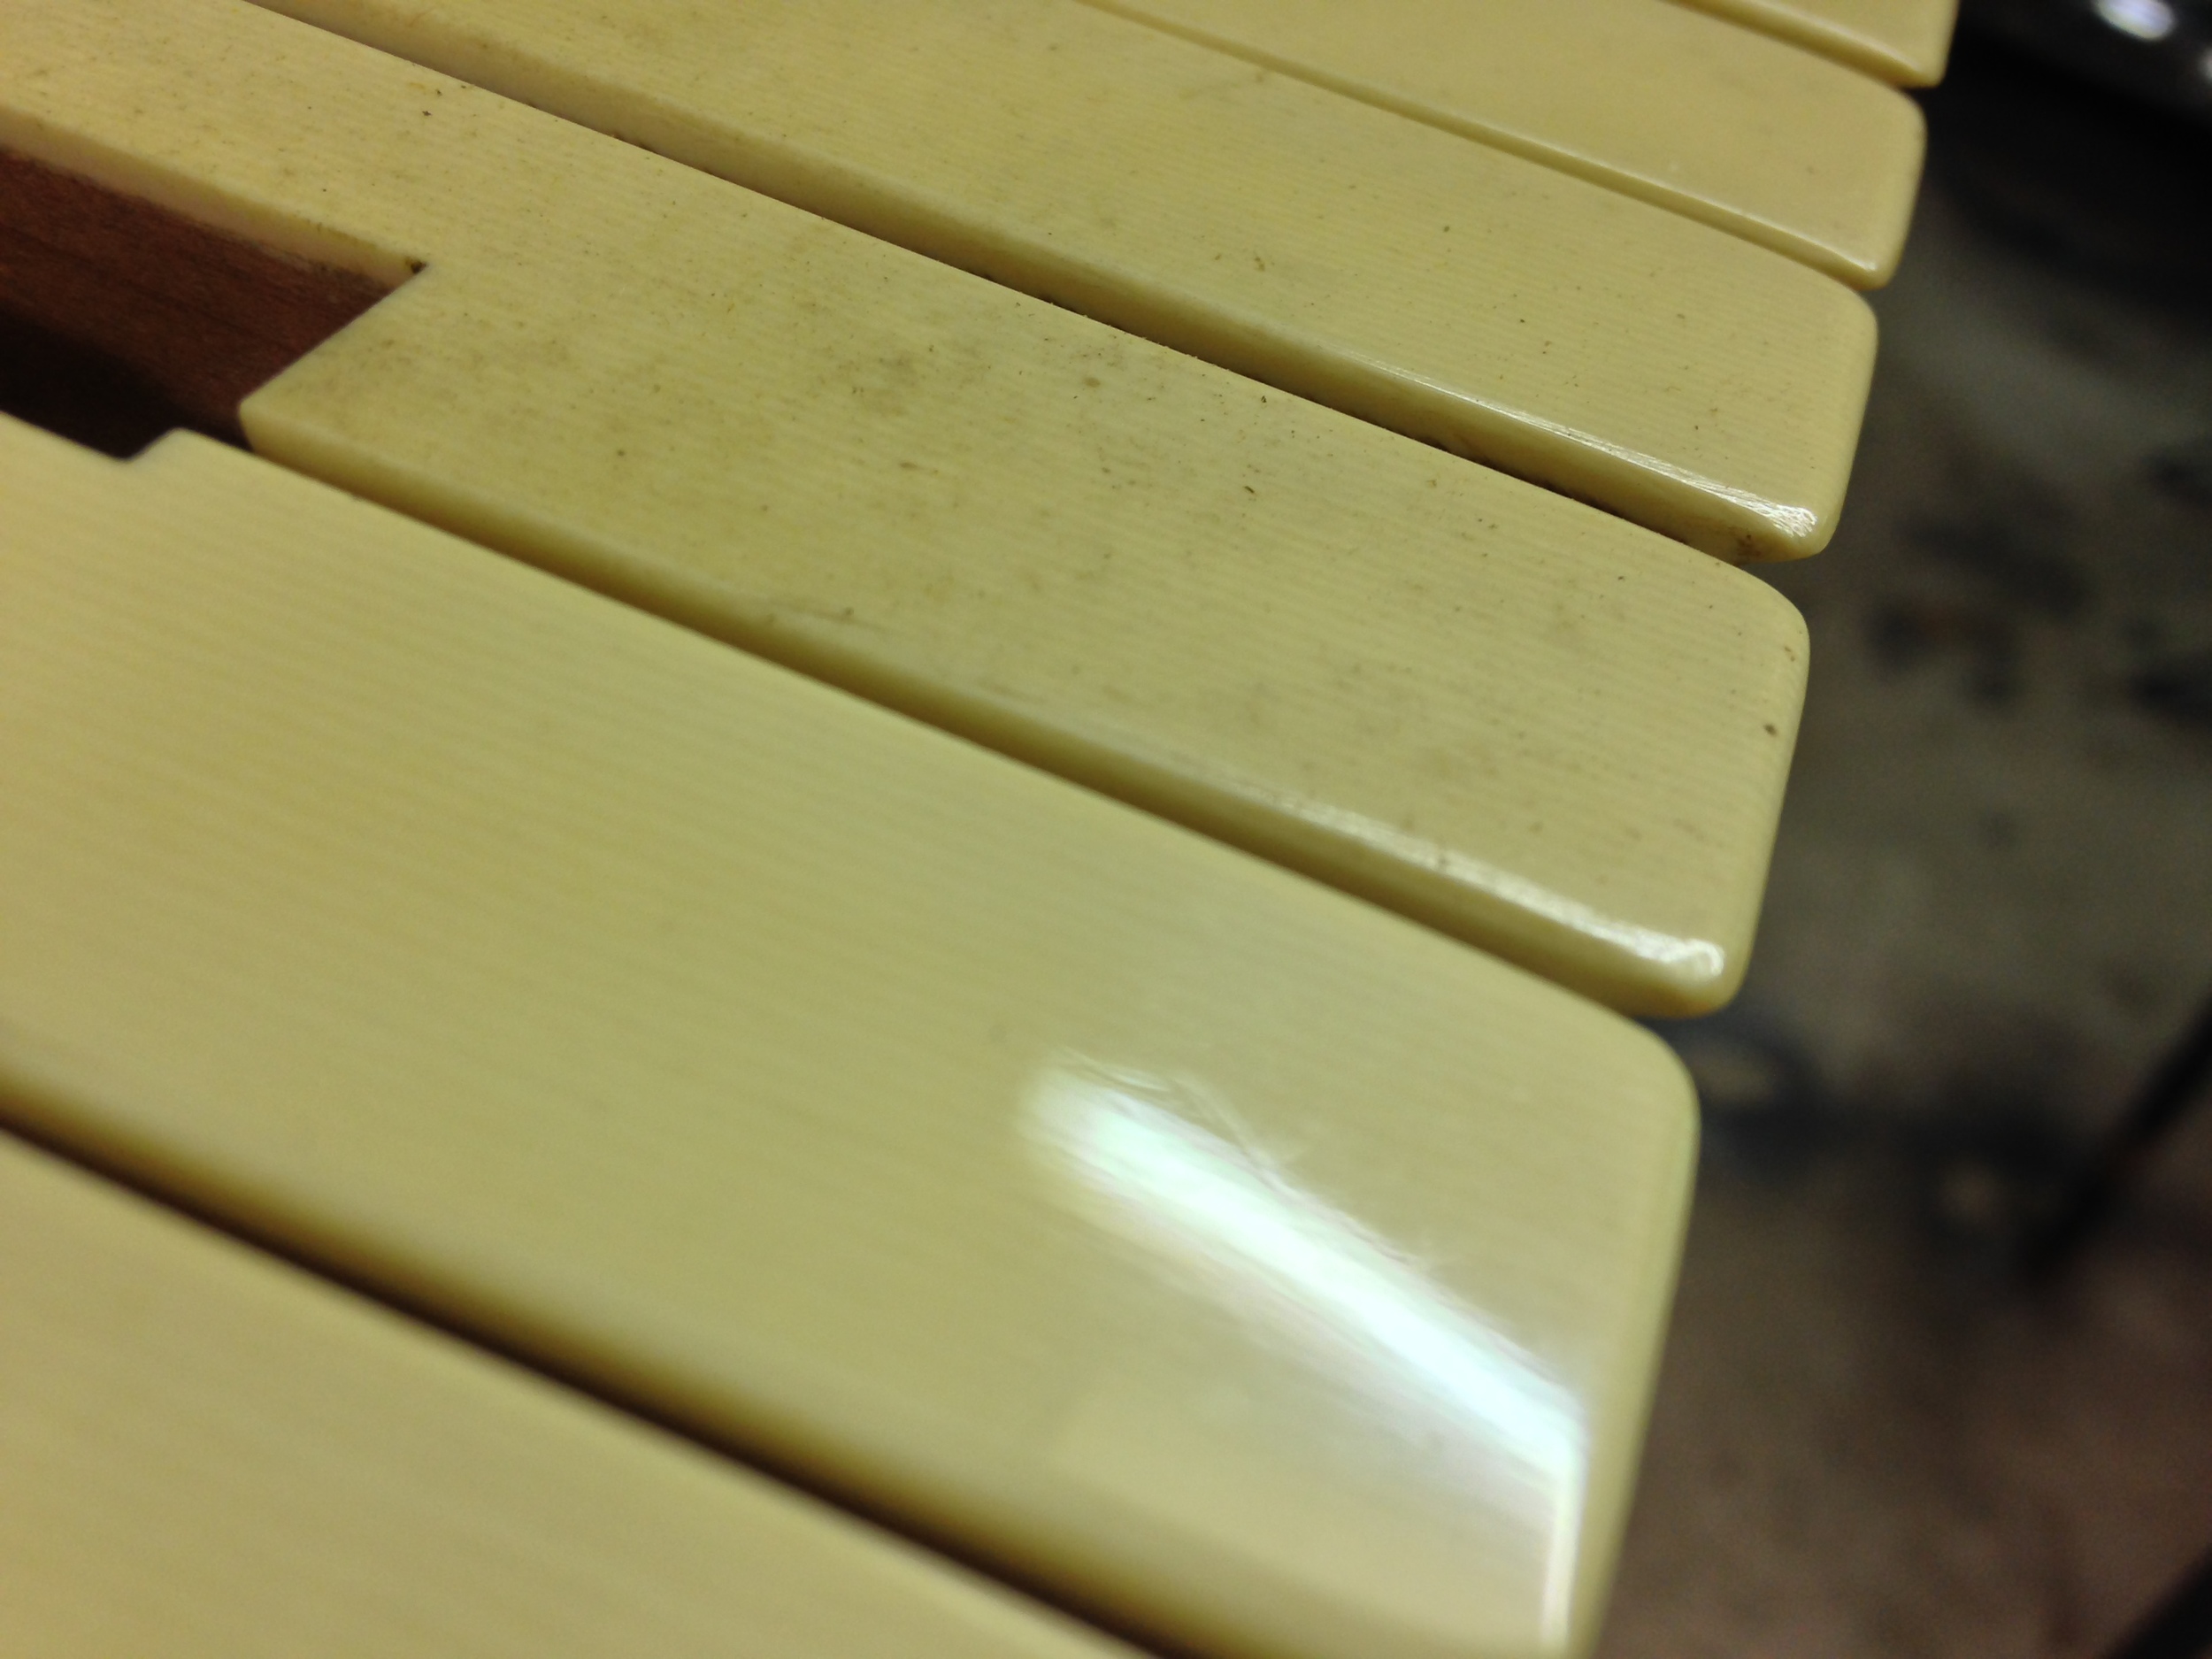
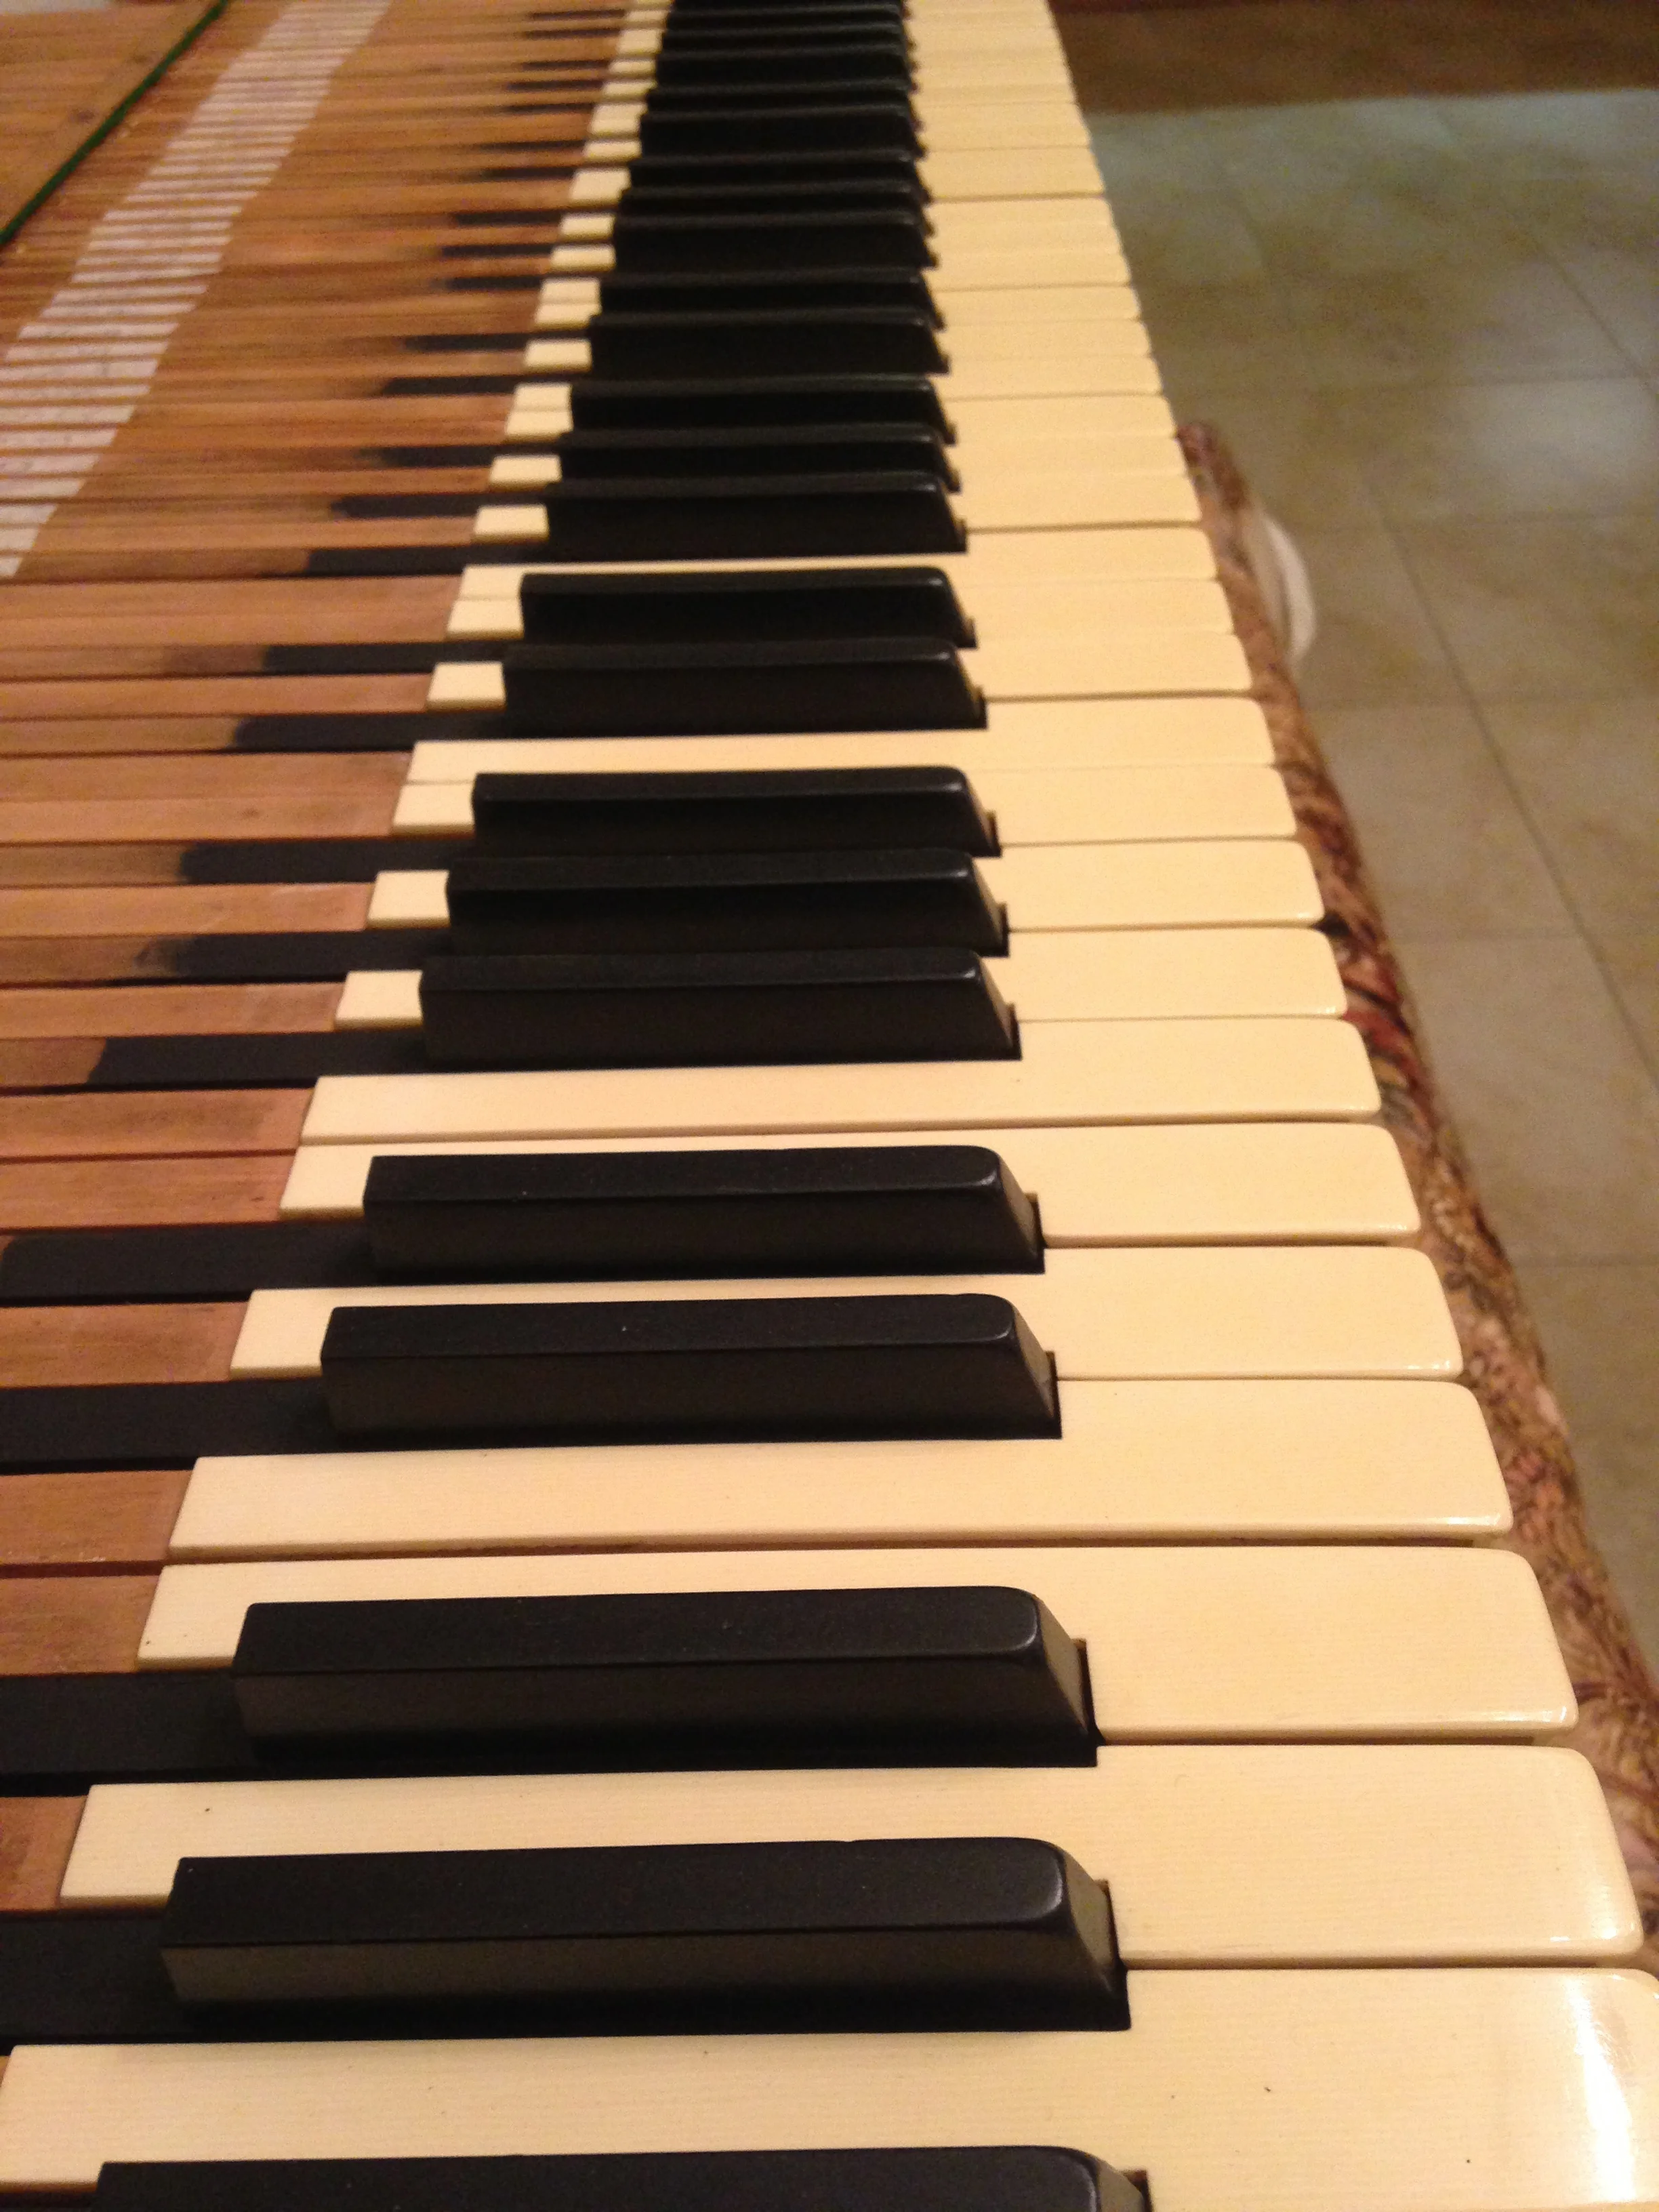
I have sanded the sides of all the keys and polished the key tops to a nice shiny finish. The sharps were quite pitted and worn but have cleaned up nicely. I lightly sanded them and polished them with bees wax. The sides of the wooden shafts of the sharps were also painted in their original matt black.
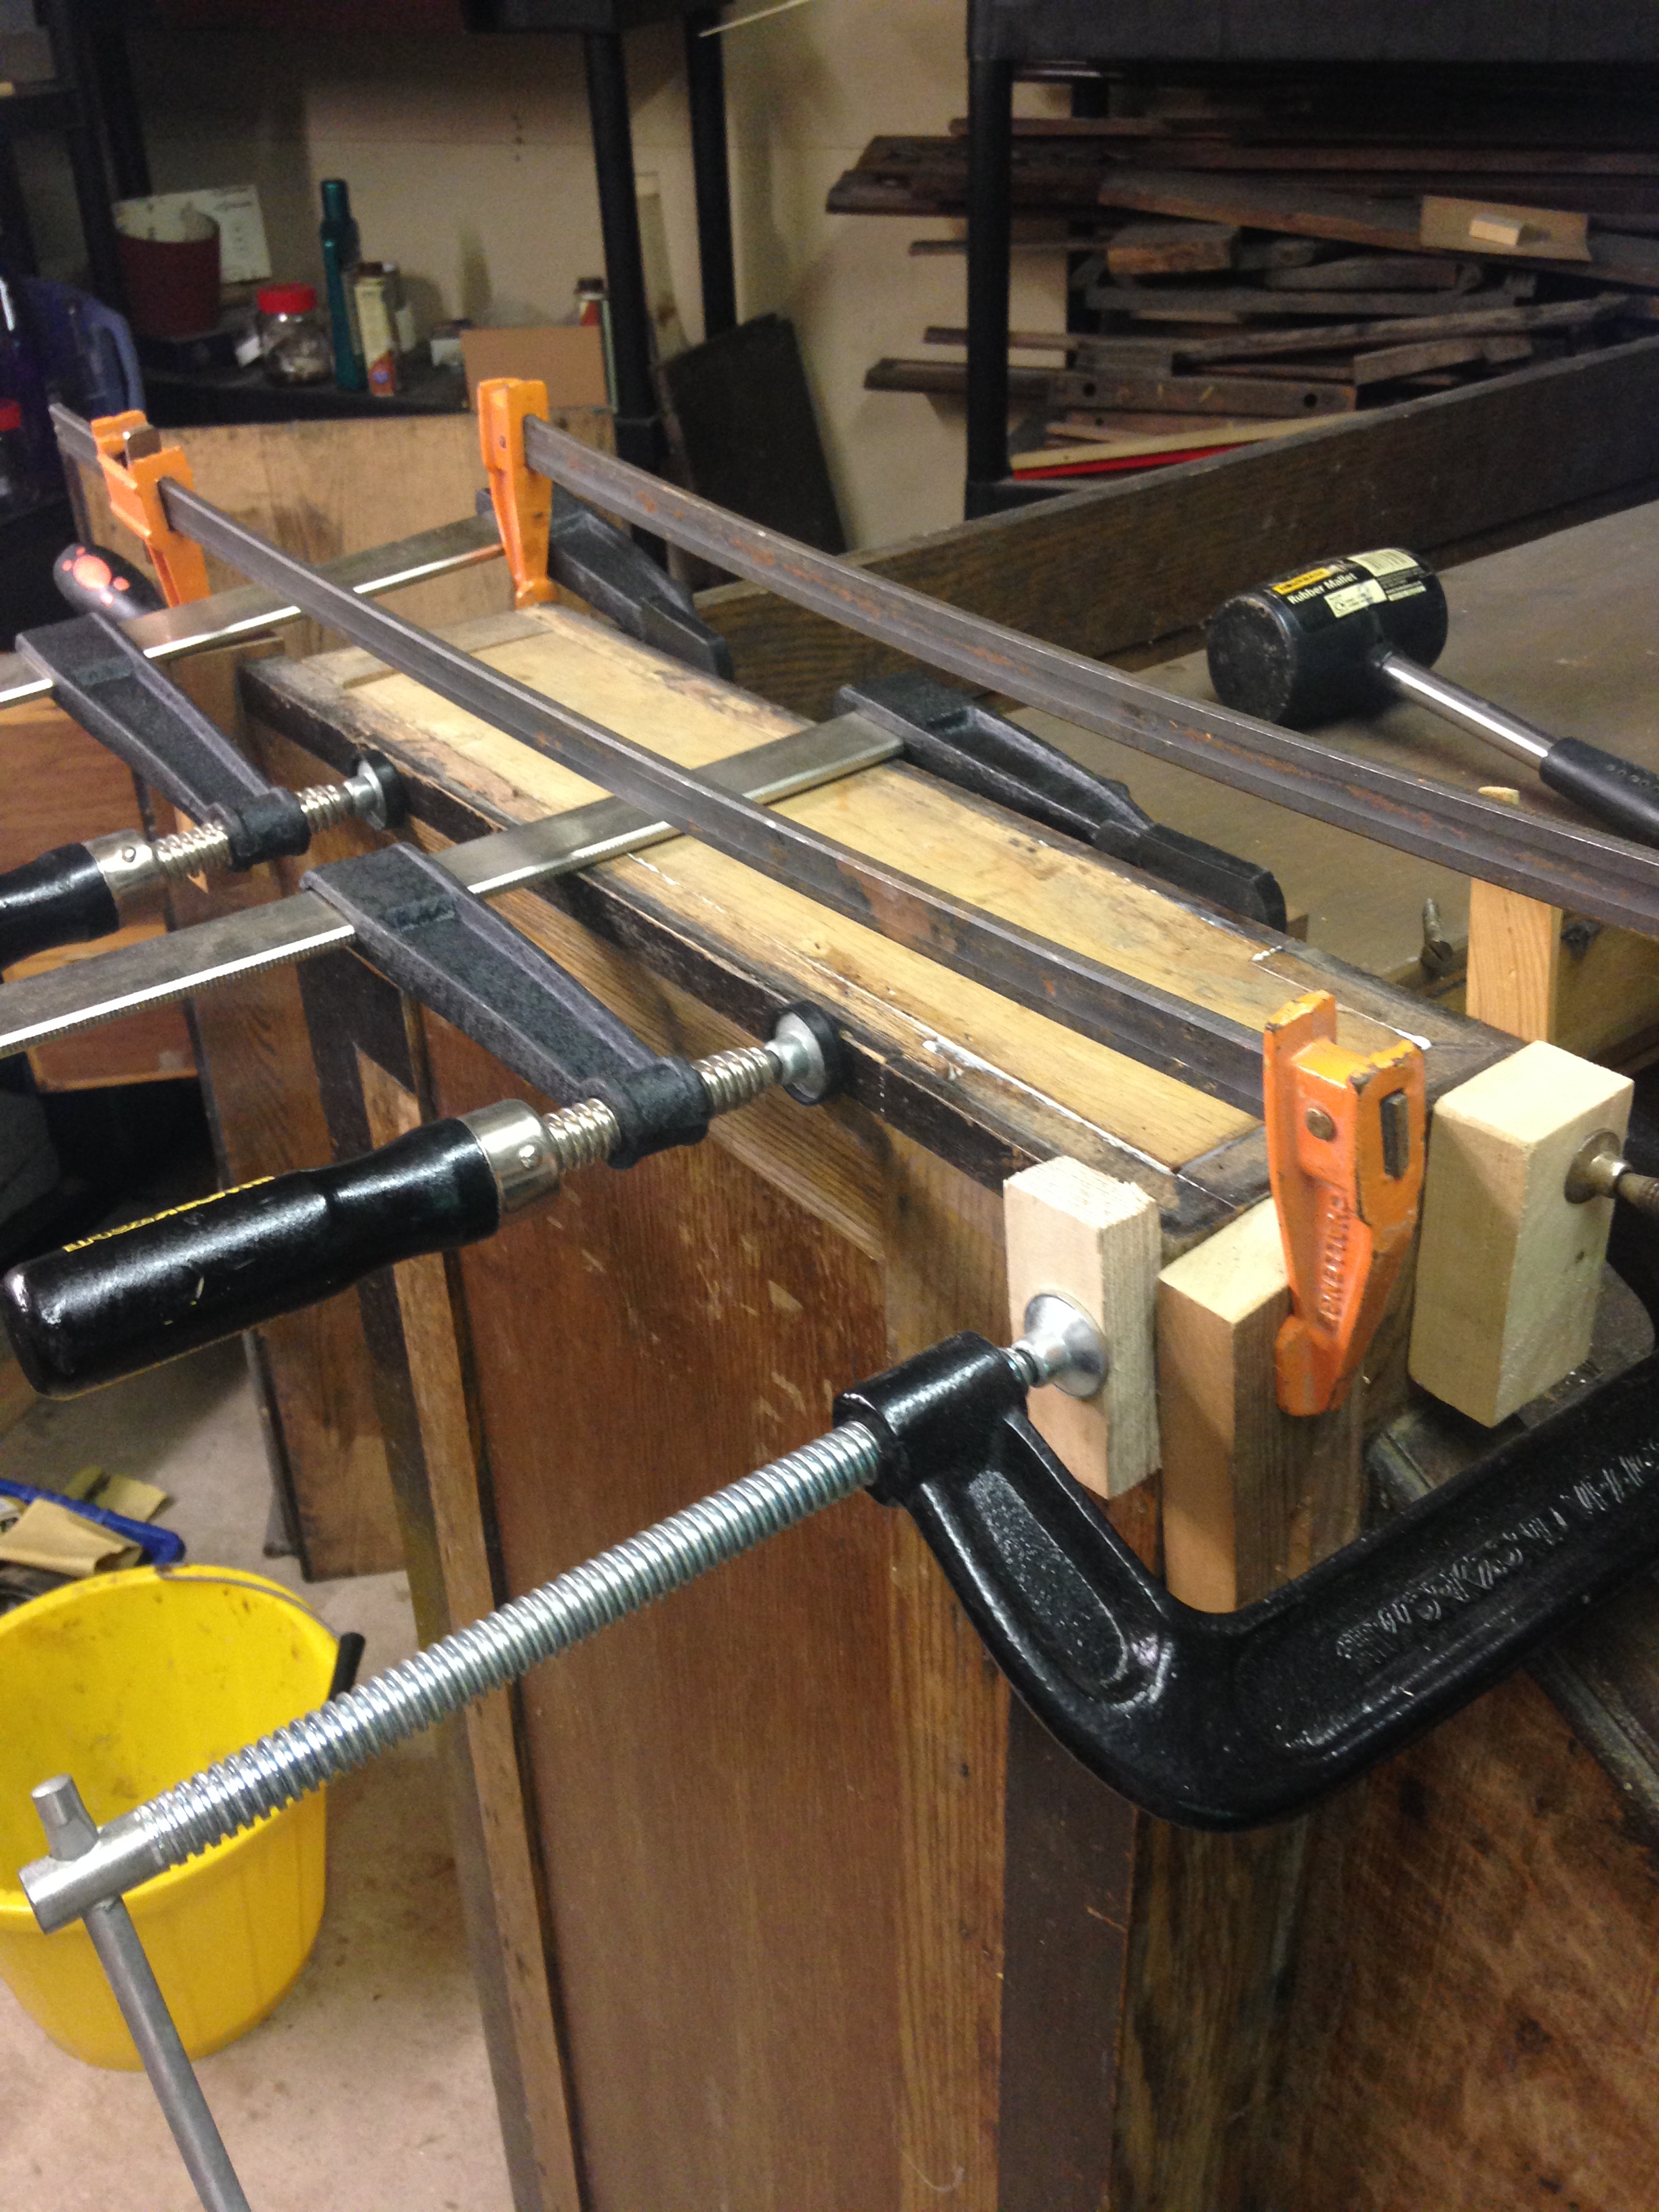
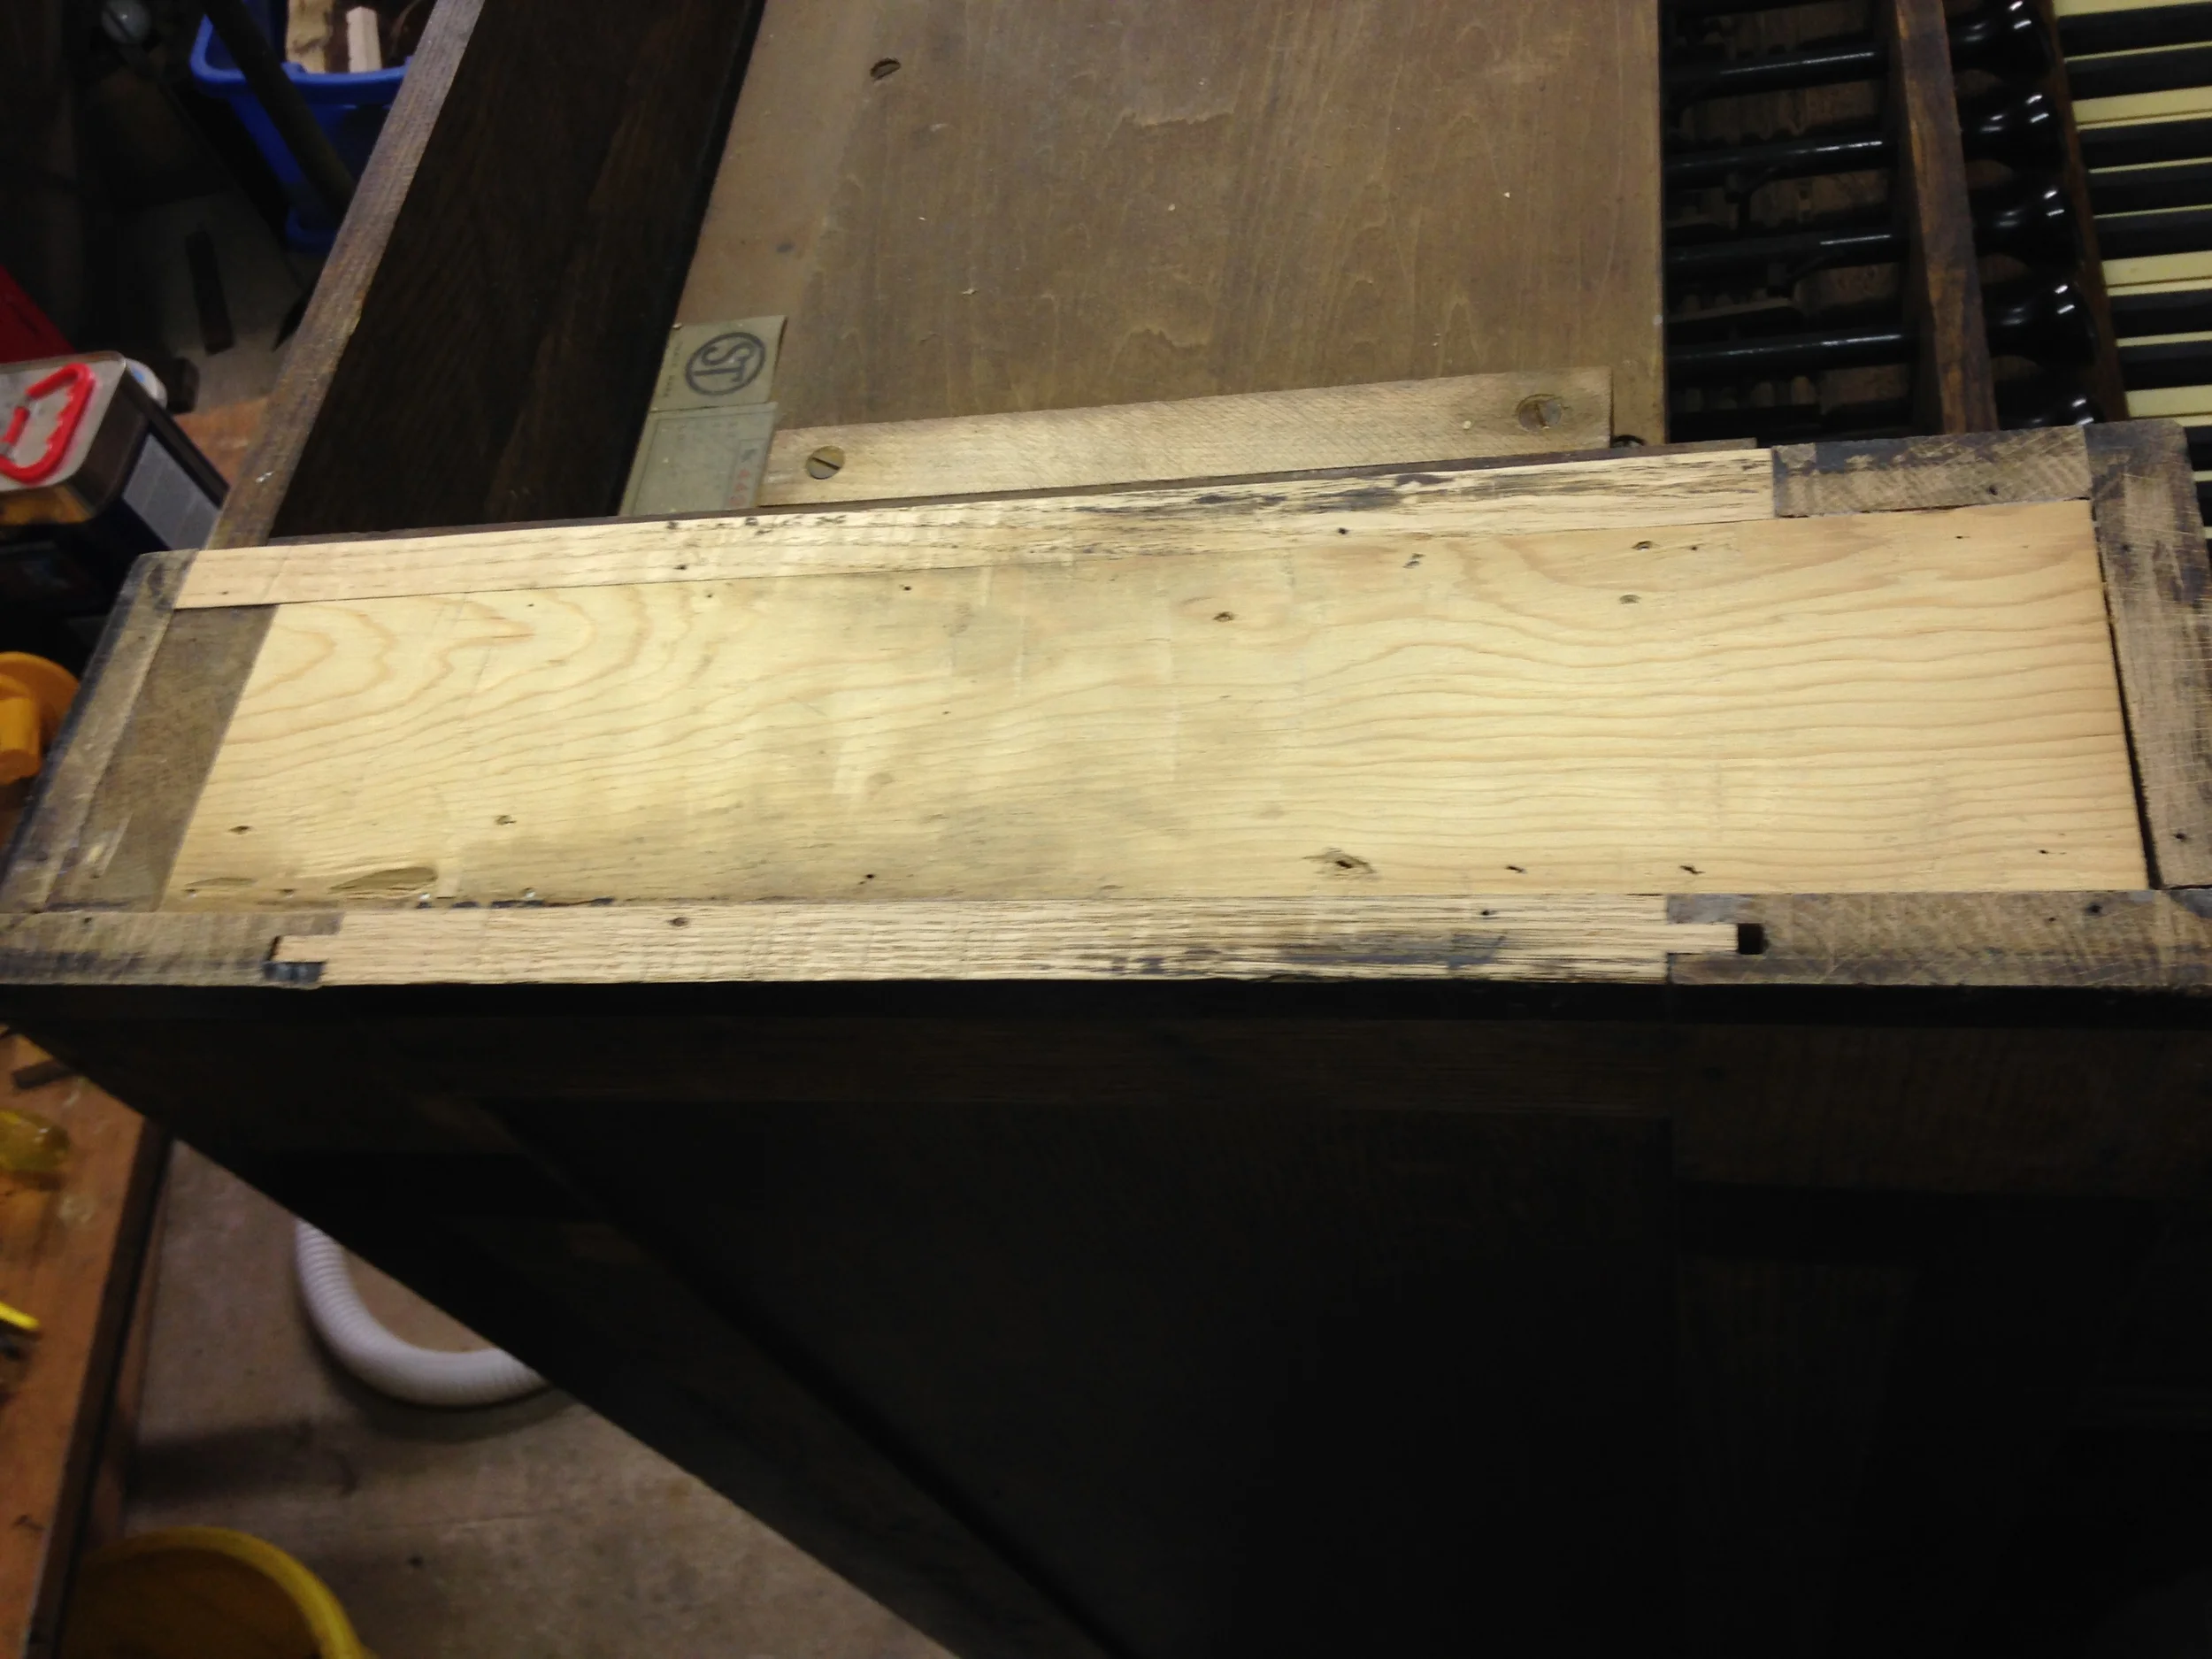
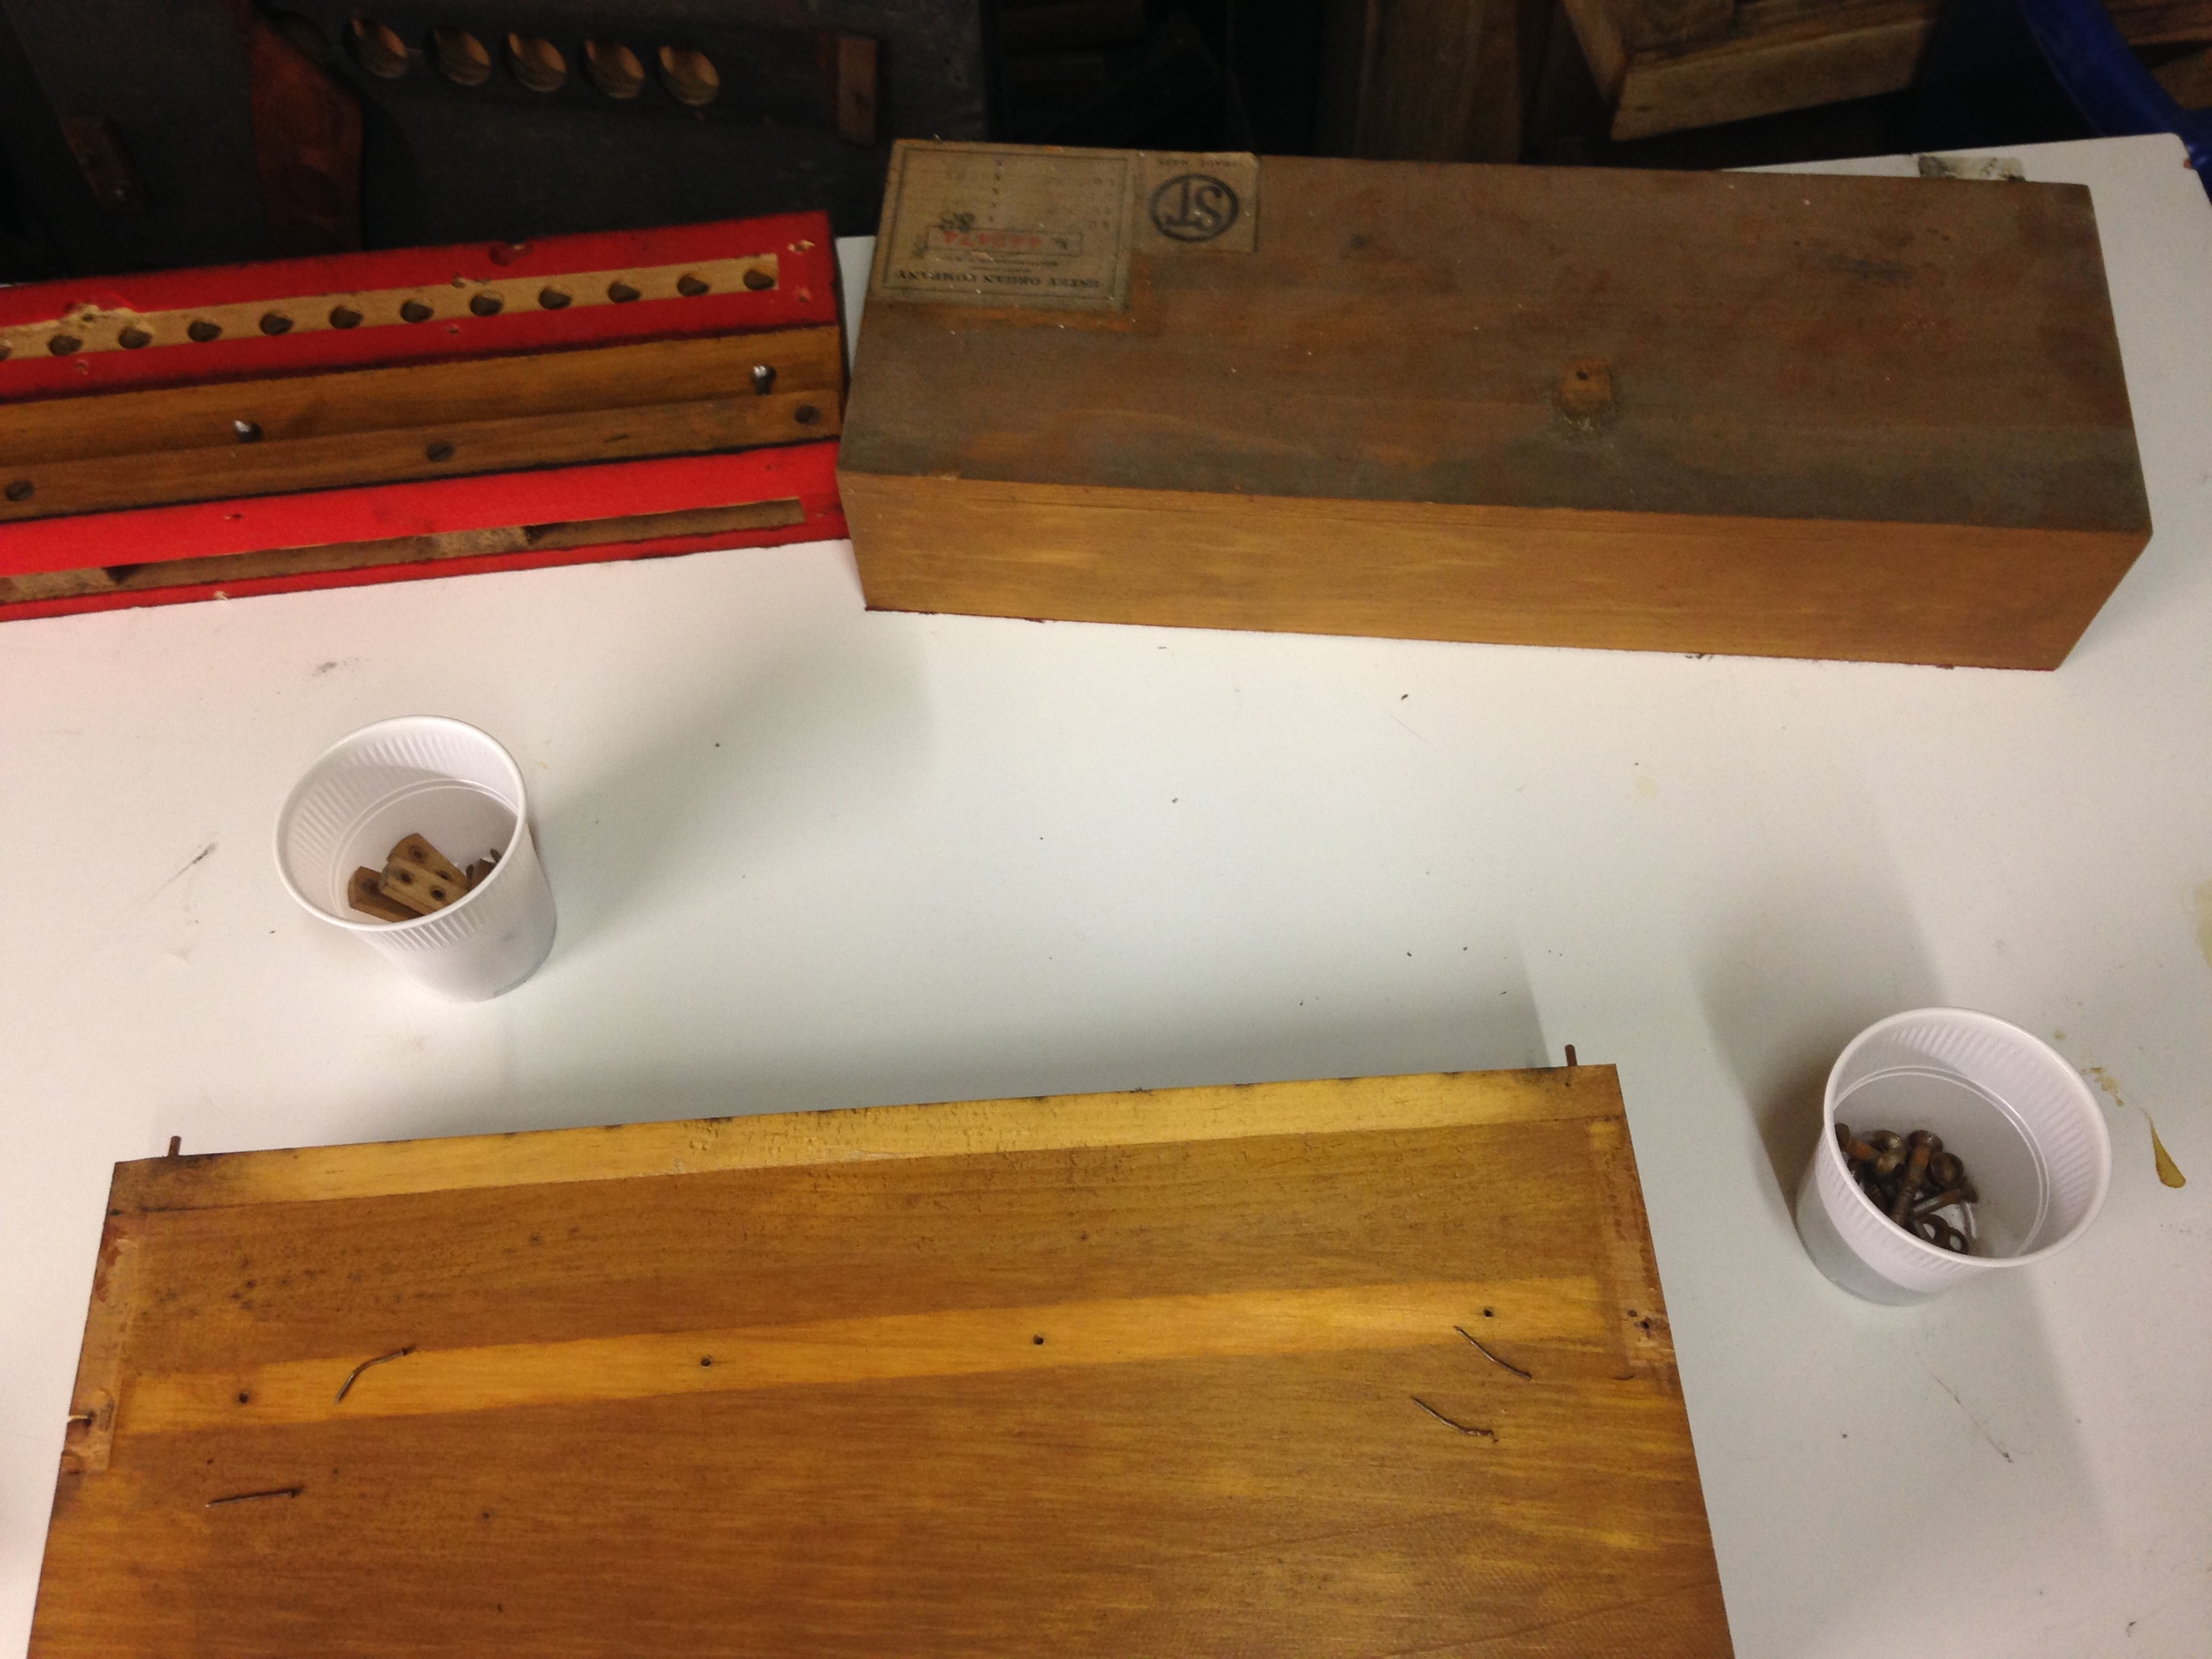
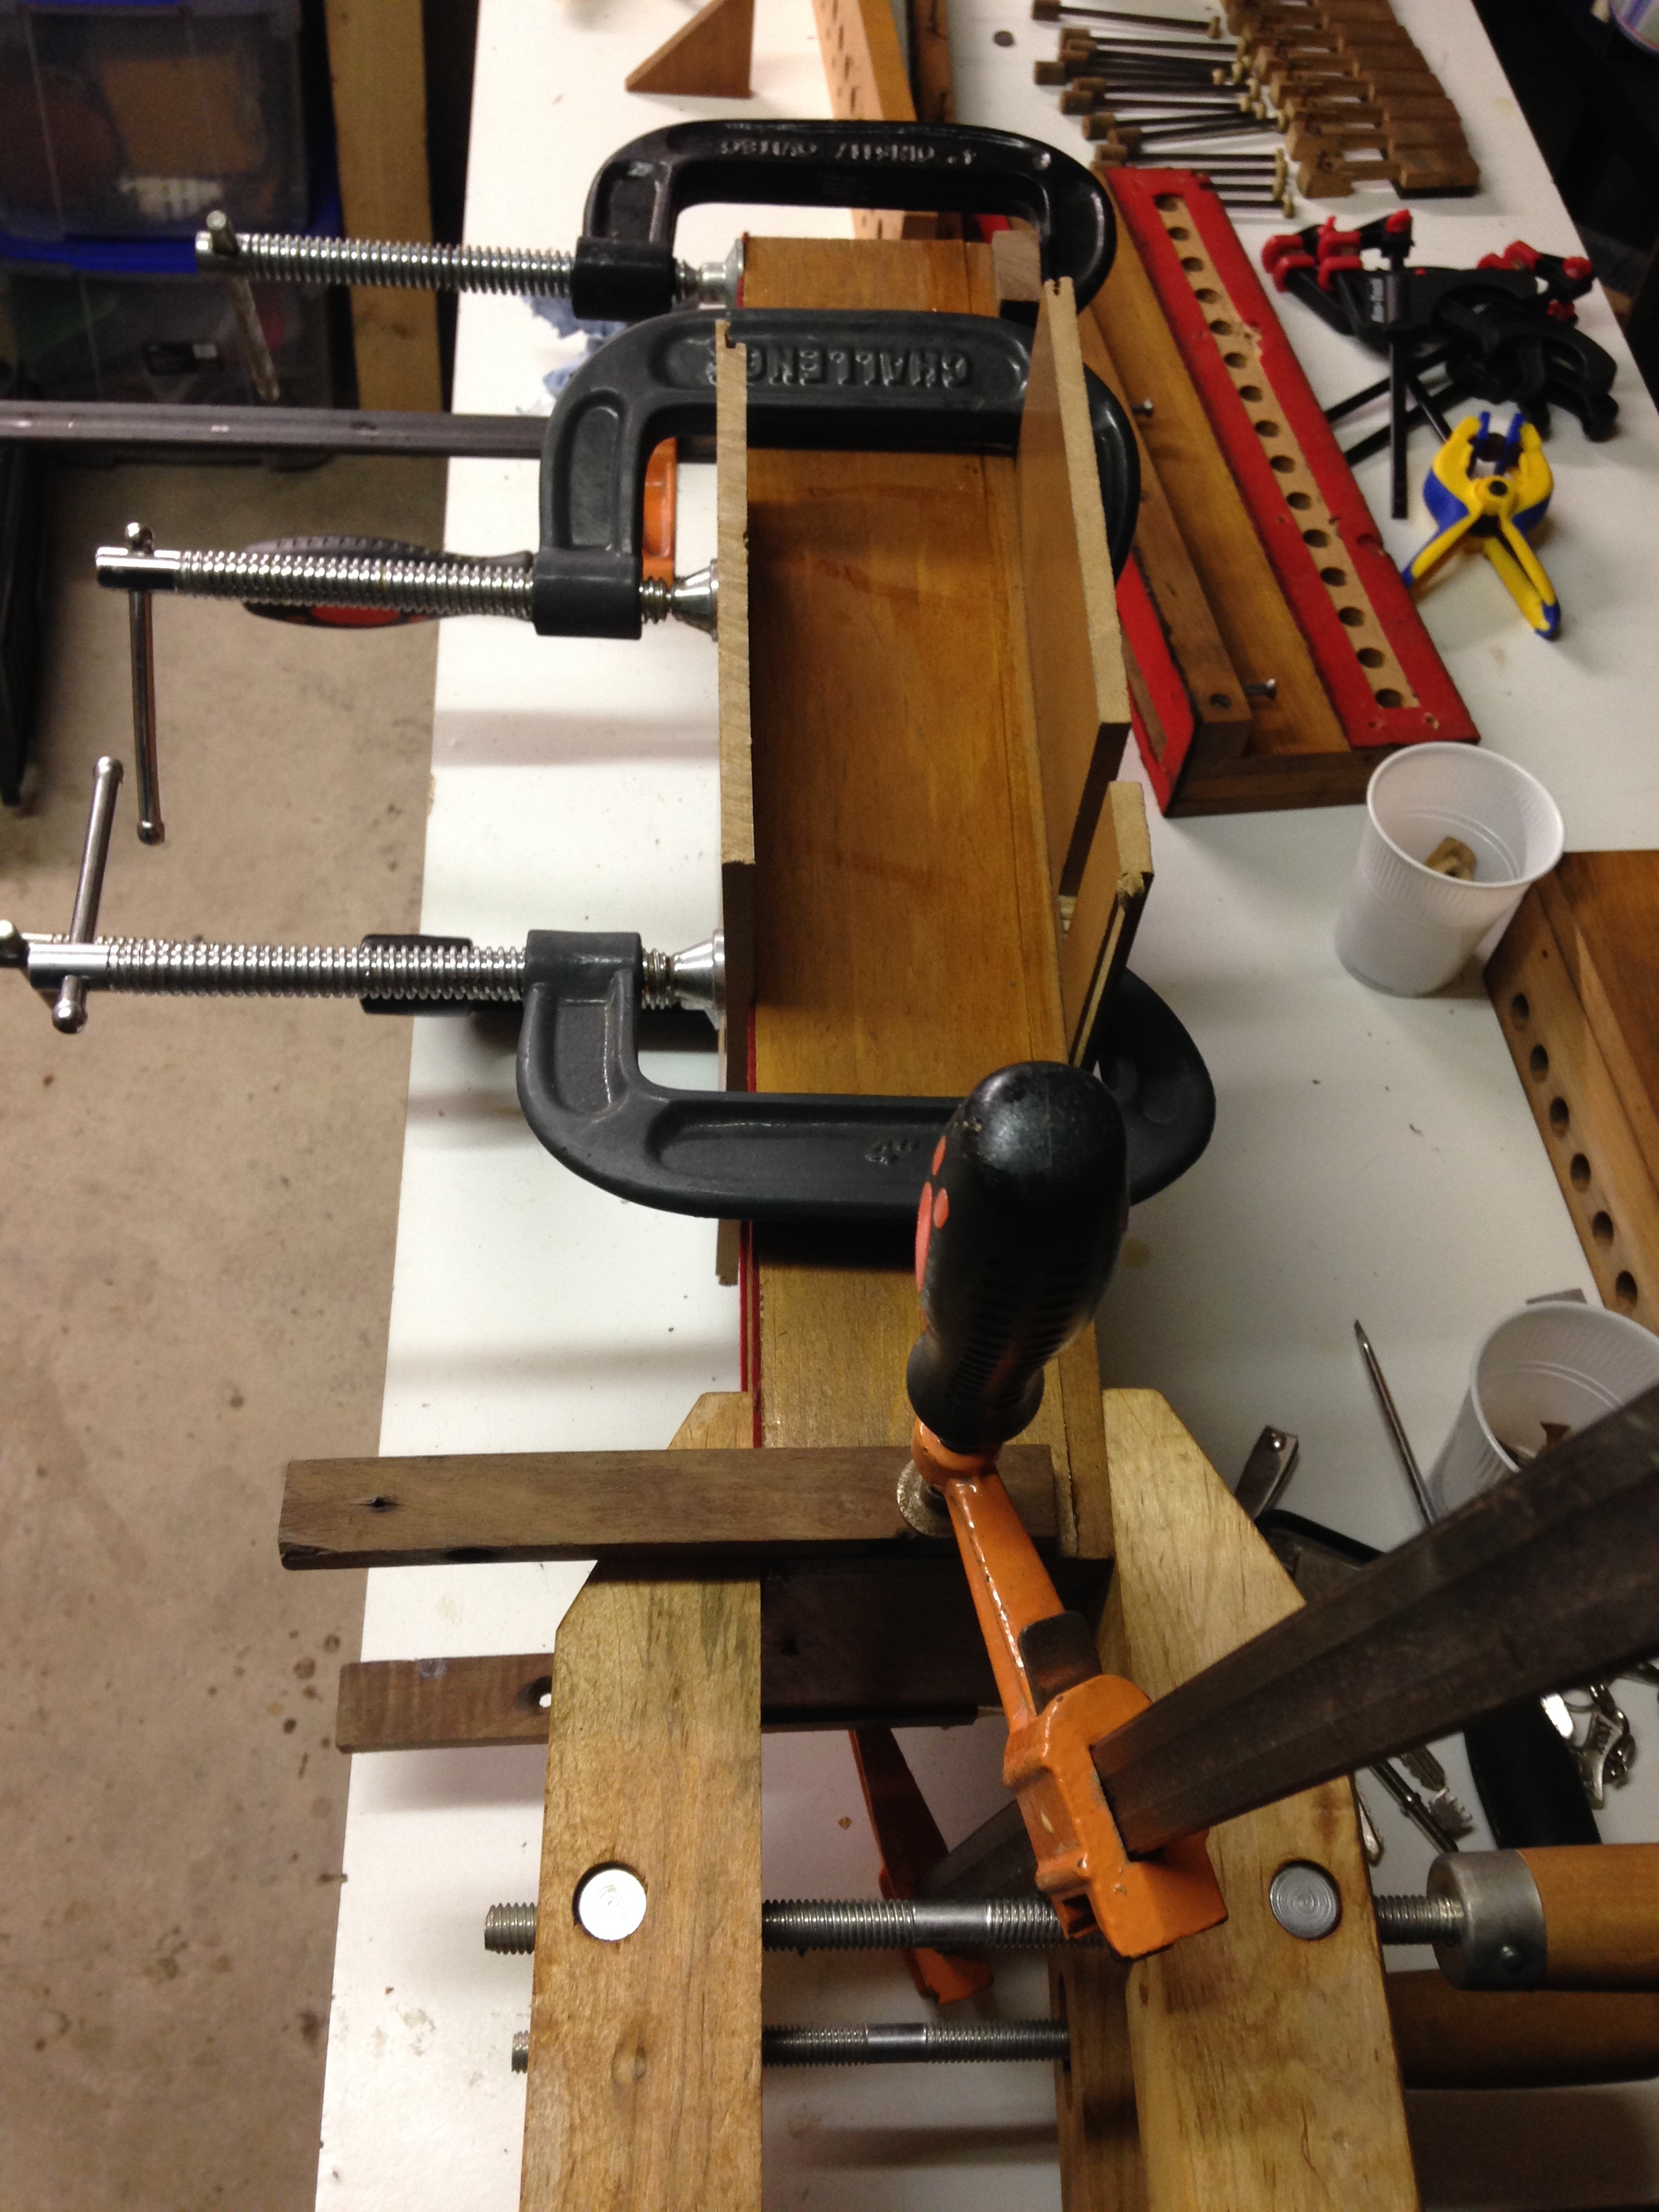
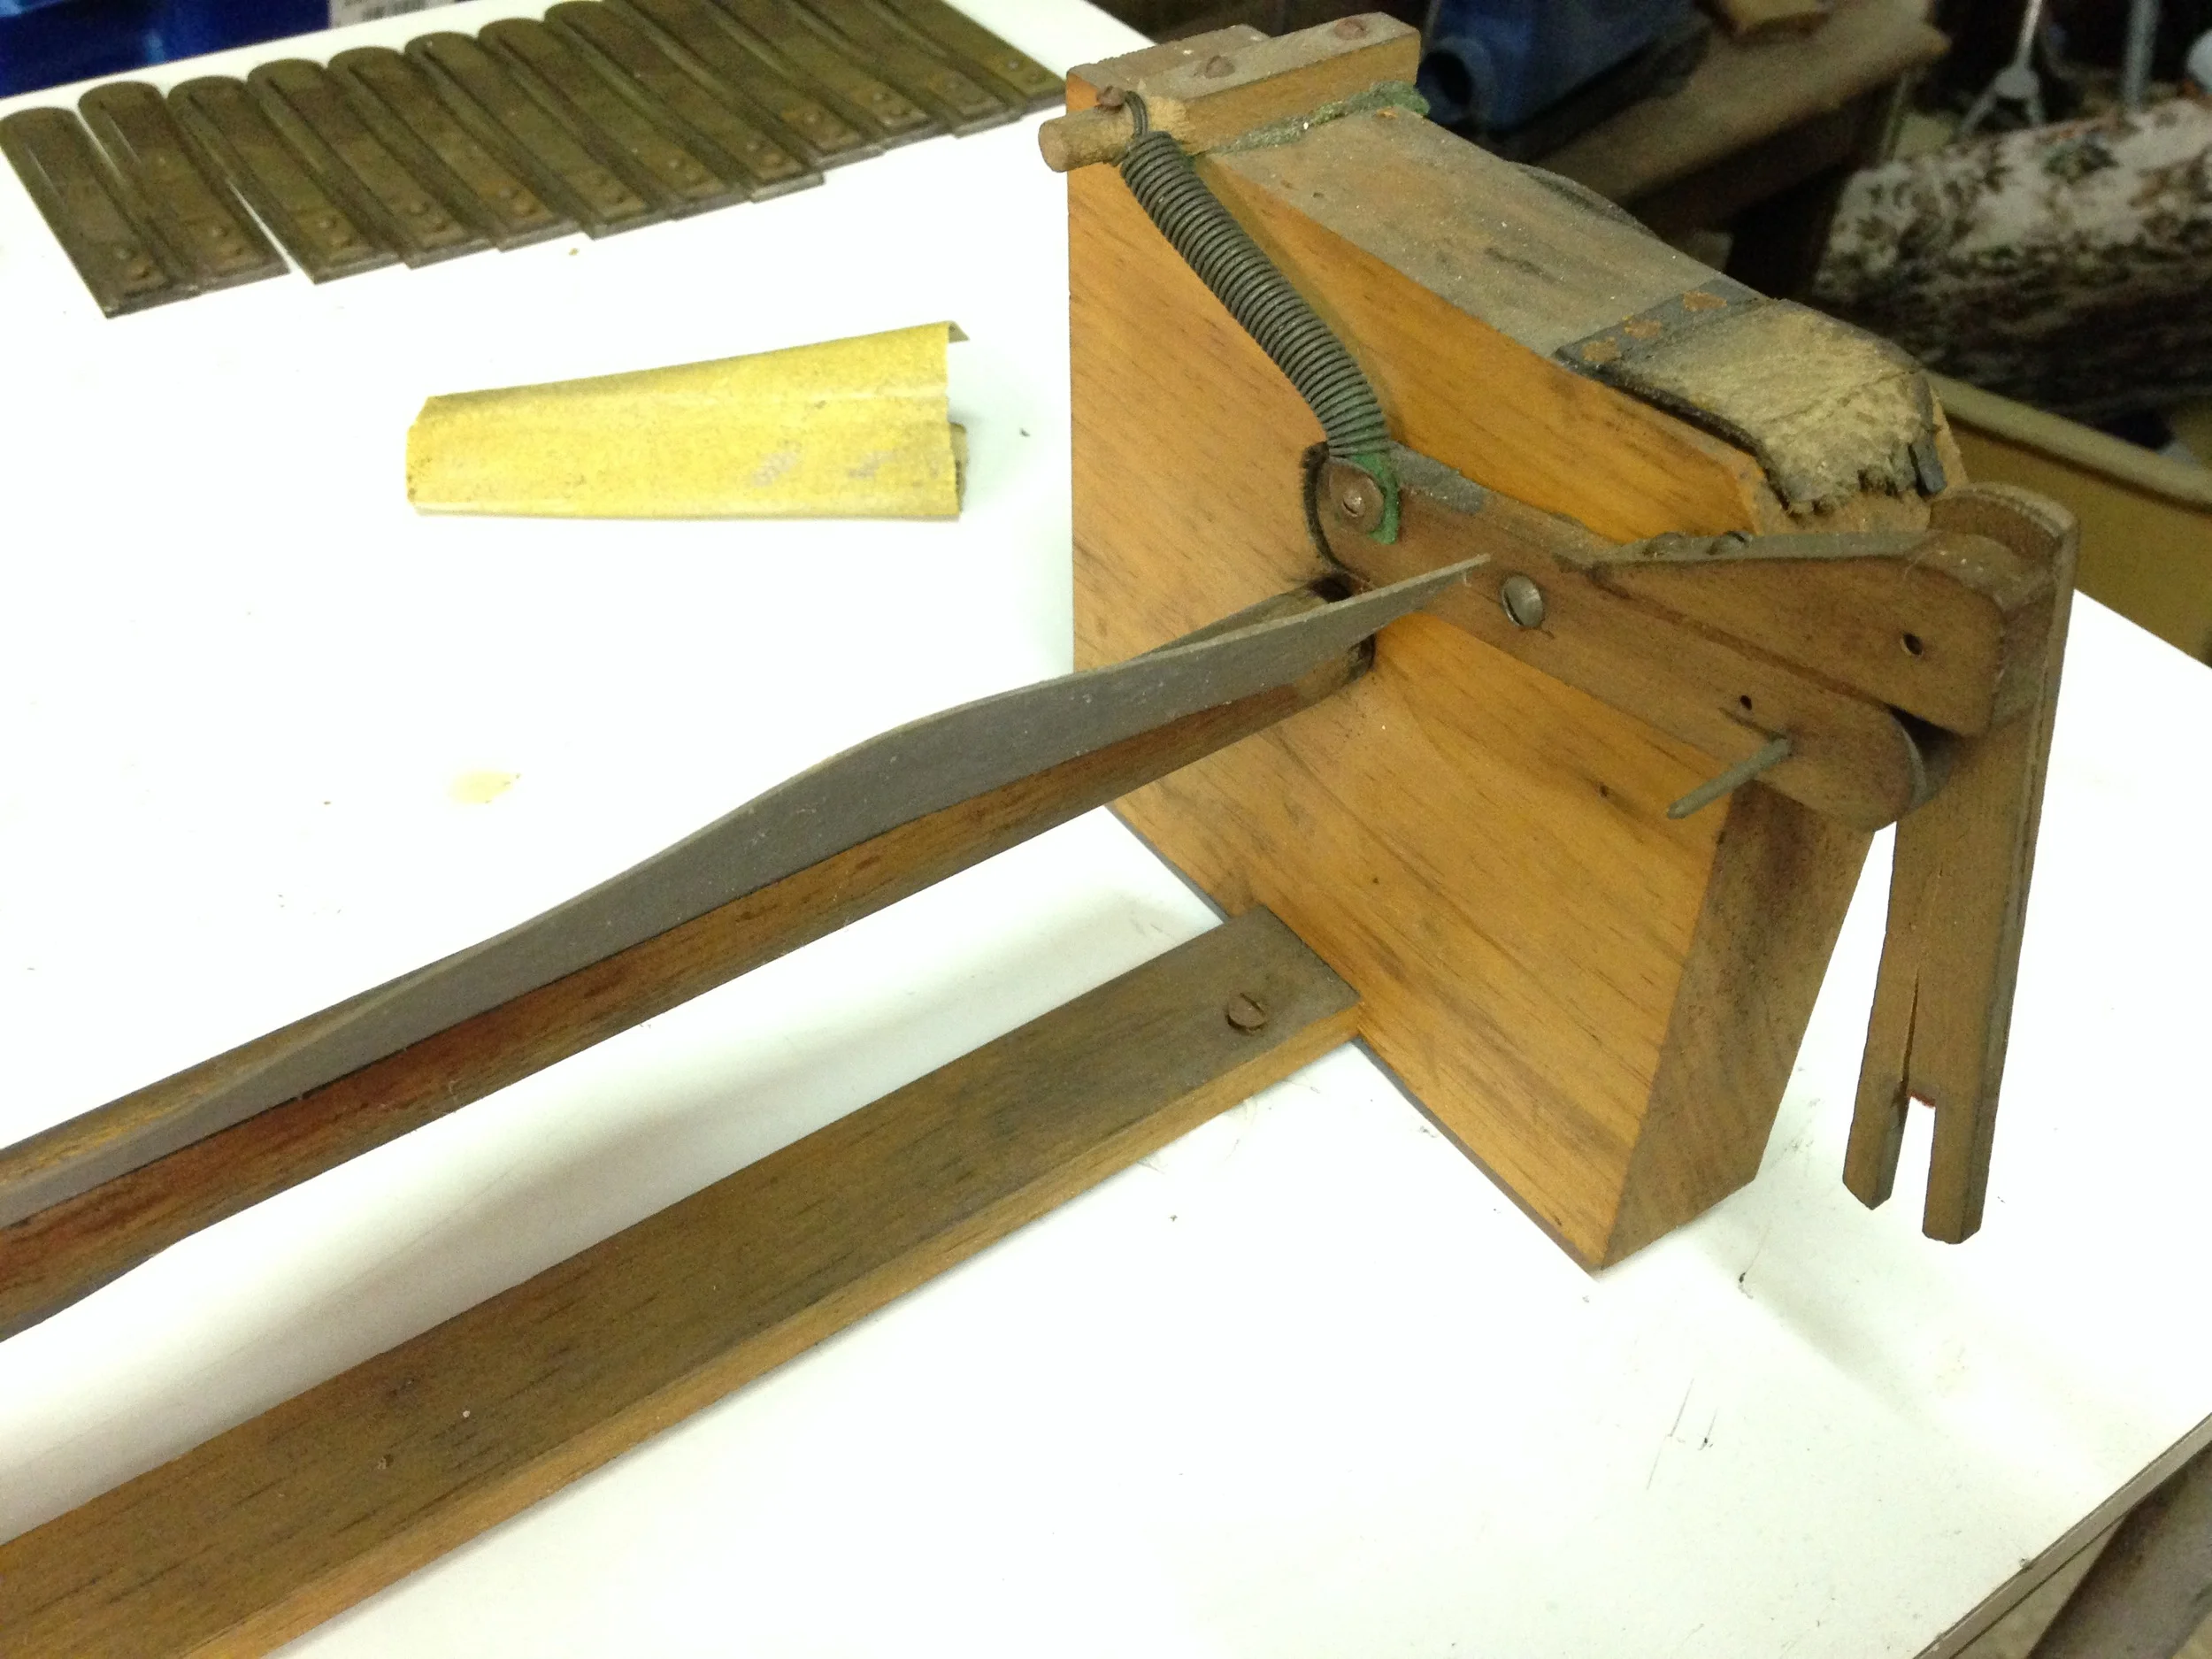
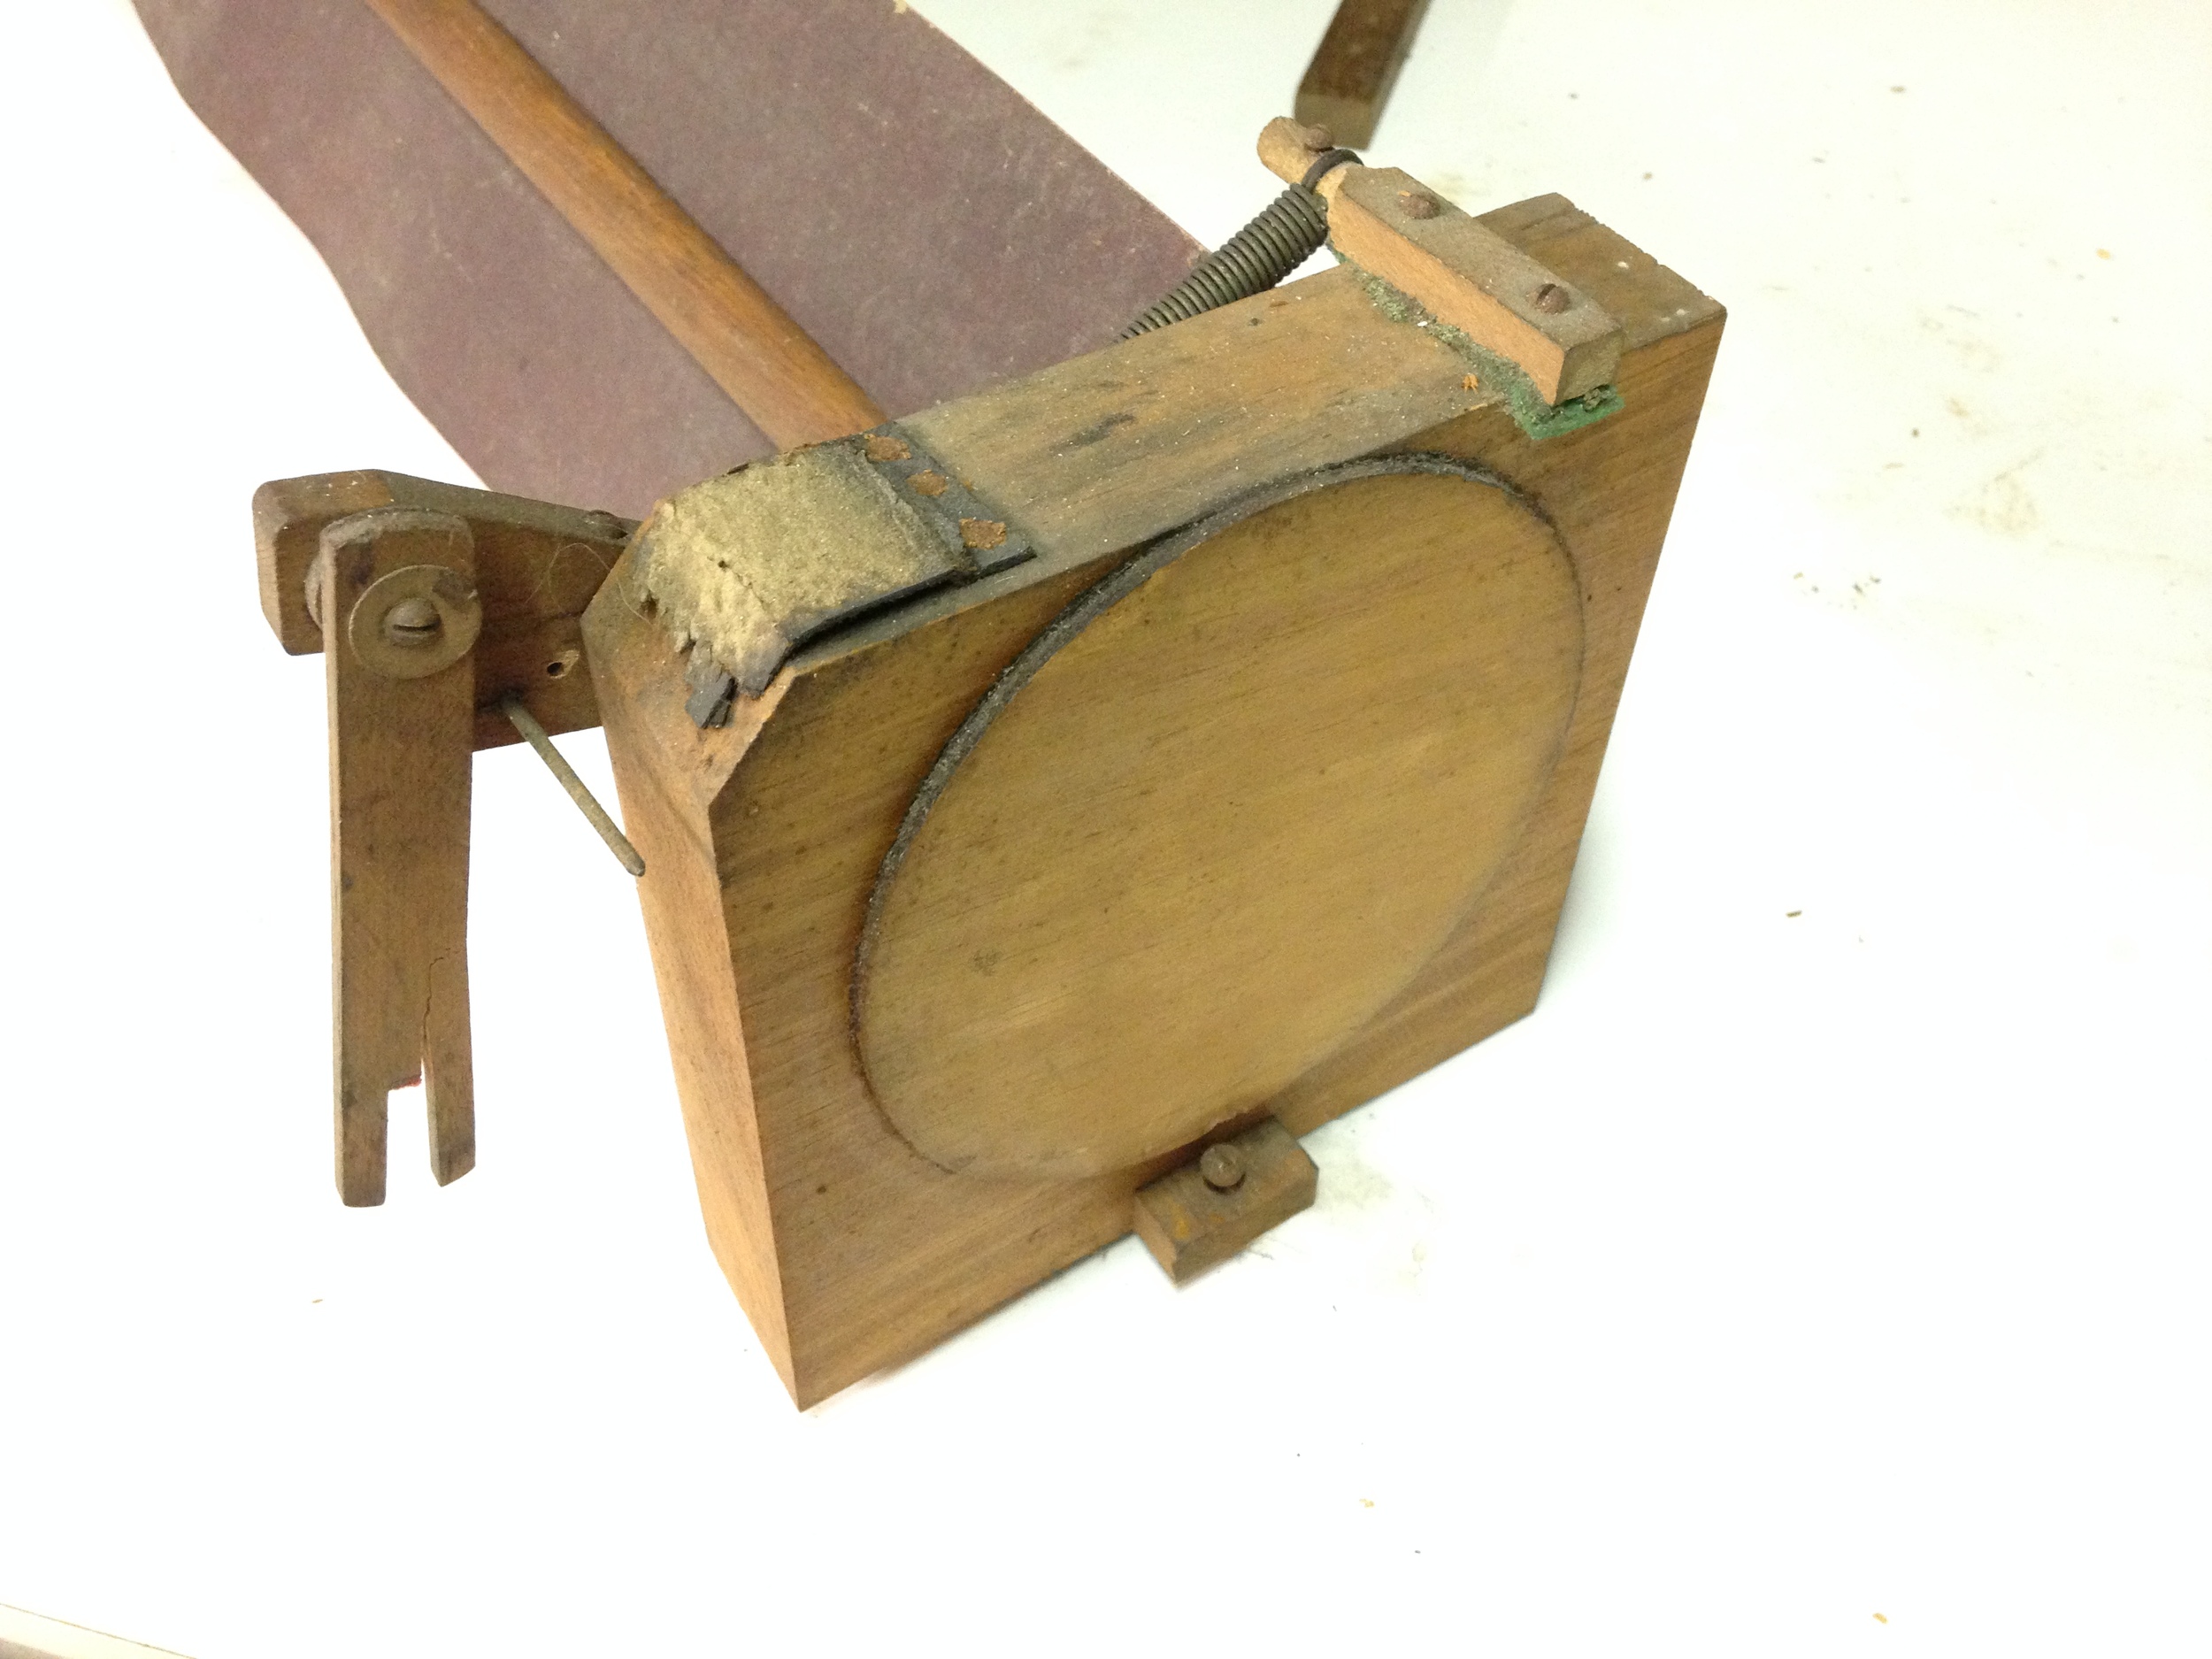
The sub-bass needed a complete rebuild. It was a fairly straightforward rebuild. Some gluing and clamping and of course reed cleaning. A new coat of french polish was applied where appropriate, pitmans had graphite reapplied and everything put back together. The pictures tell the story.
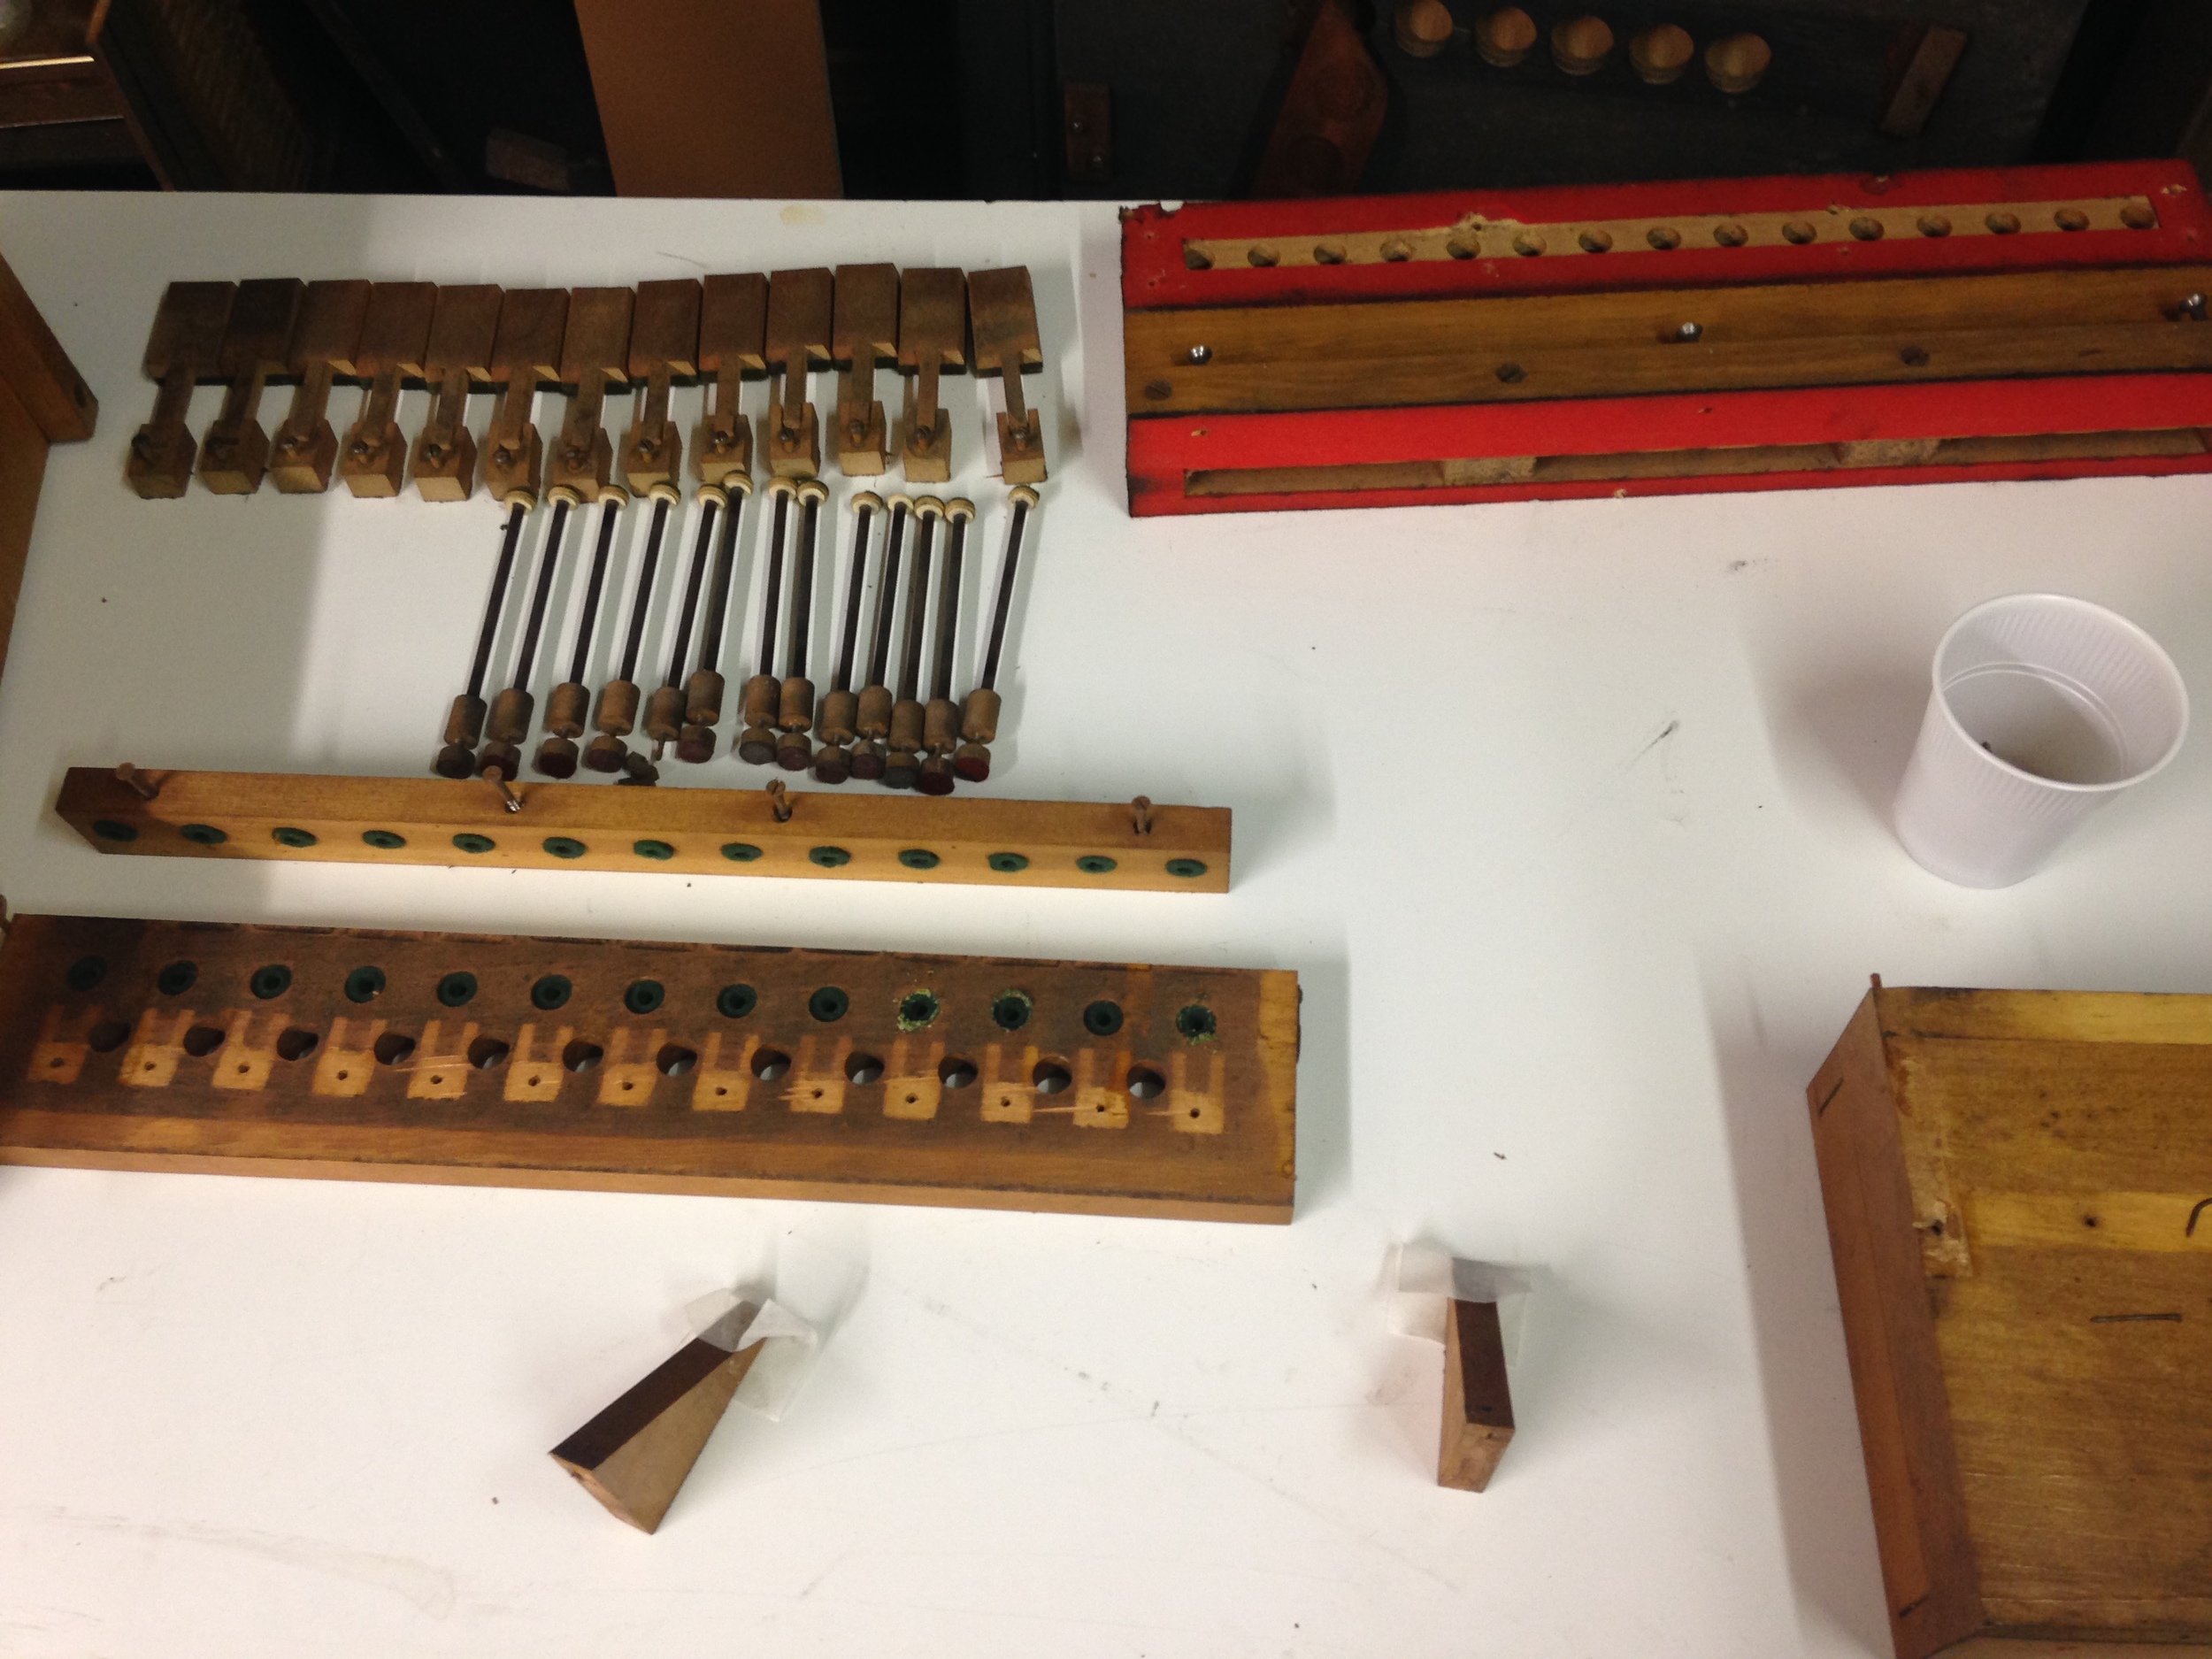
The Vox Humana was generally in good condition but needed sanding, new felt washers and vanes.
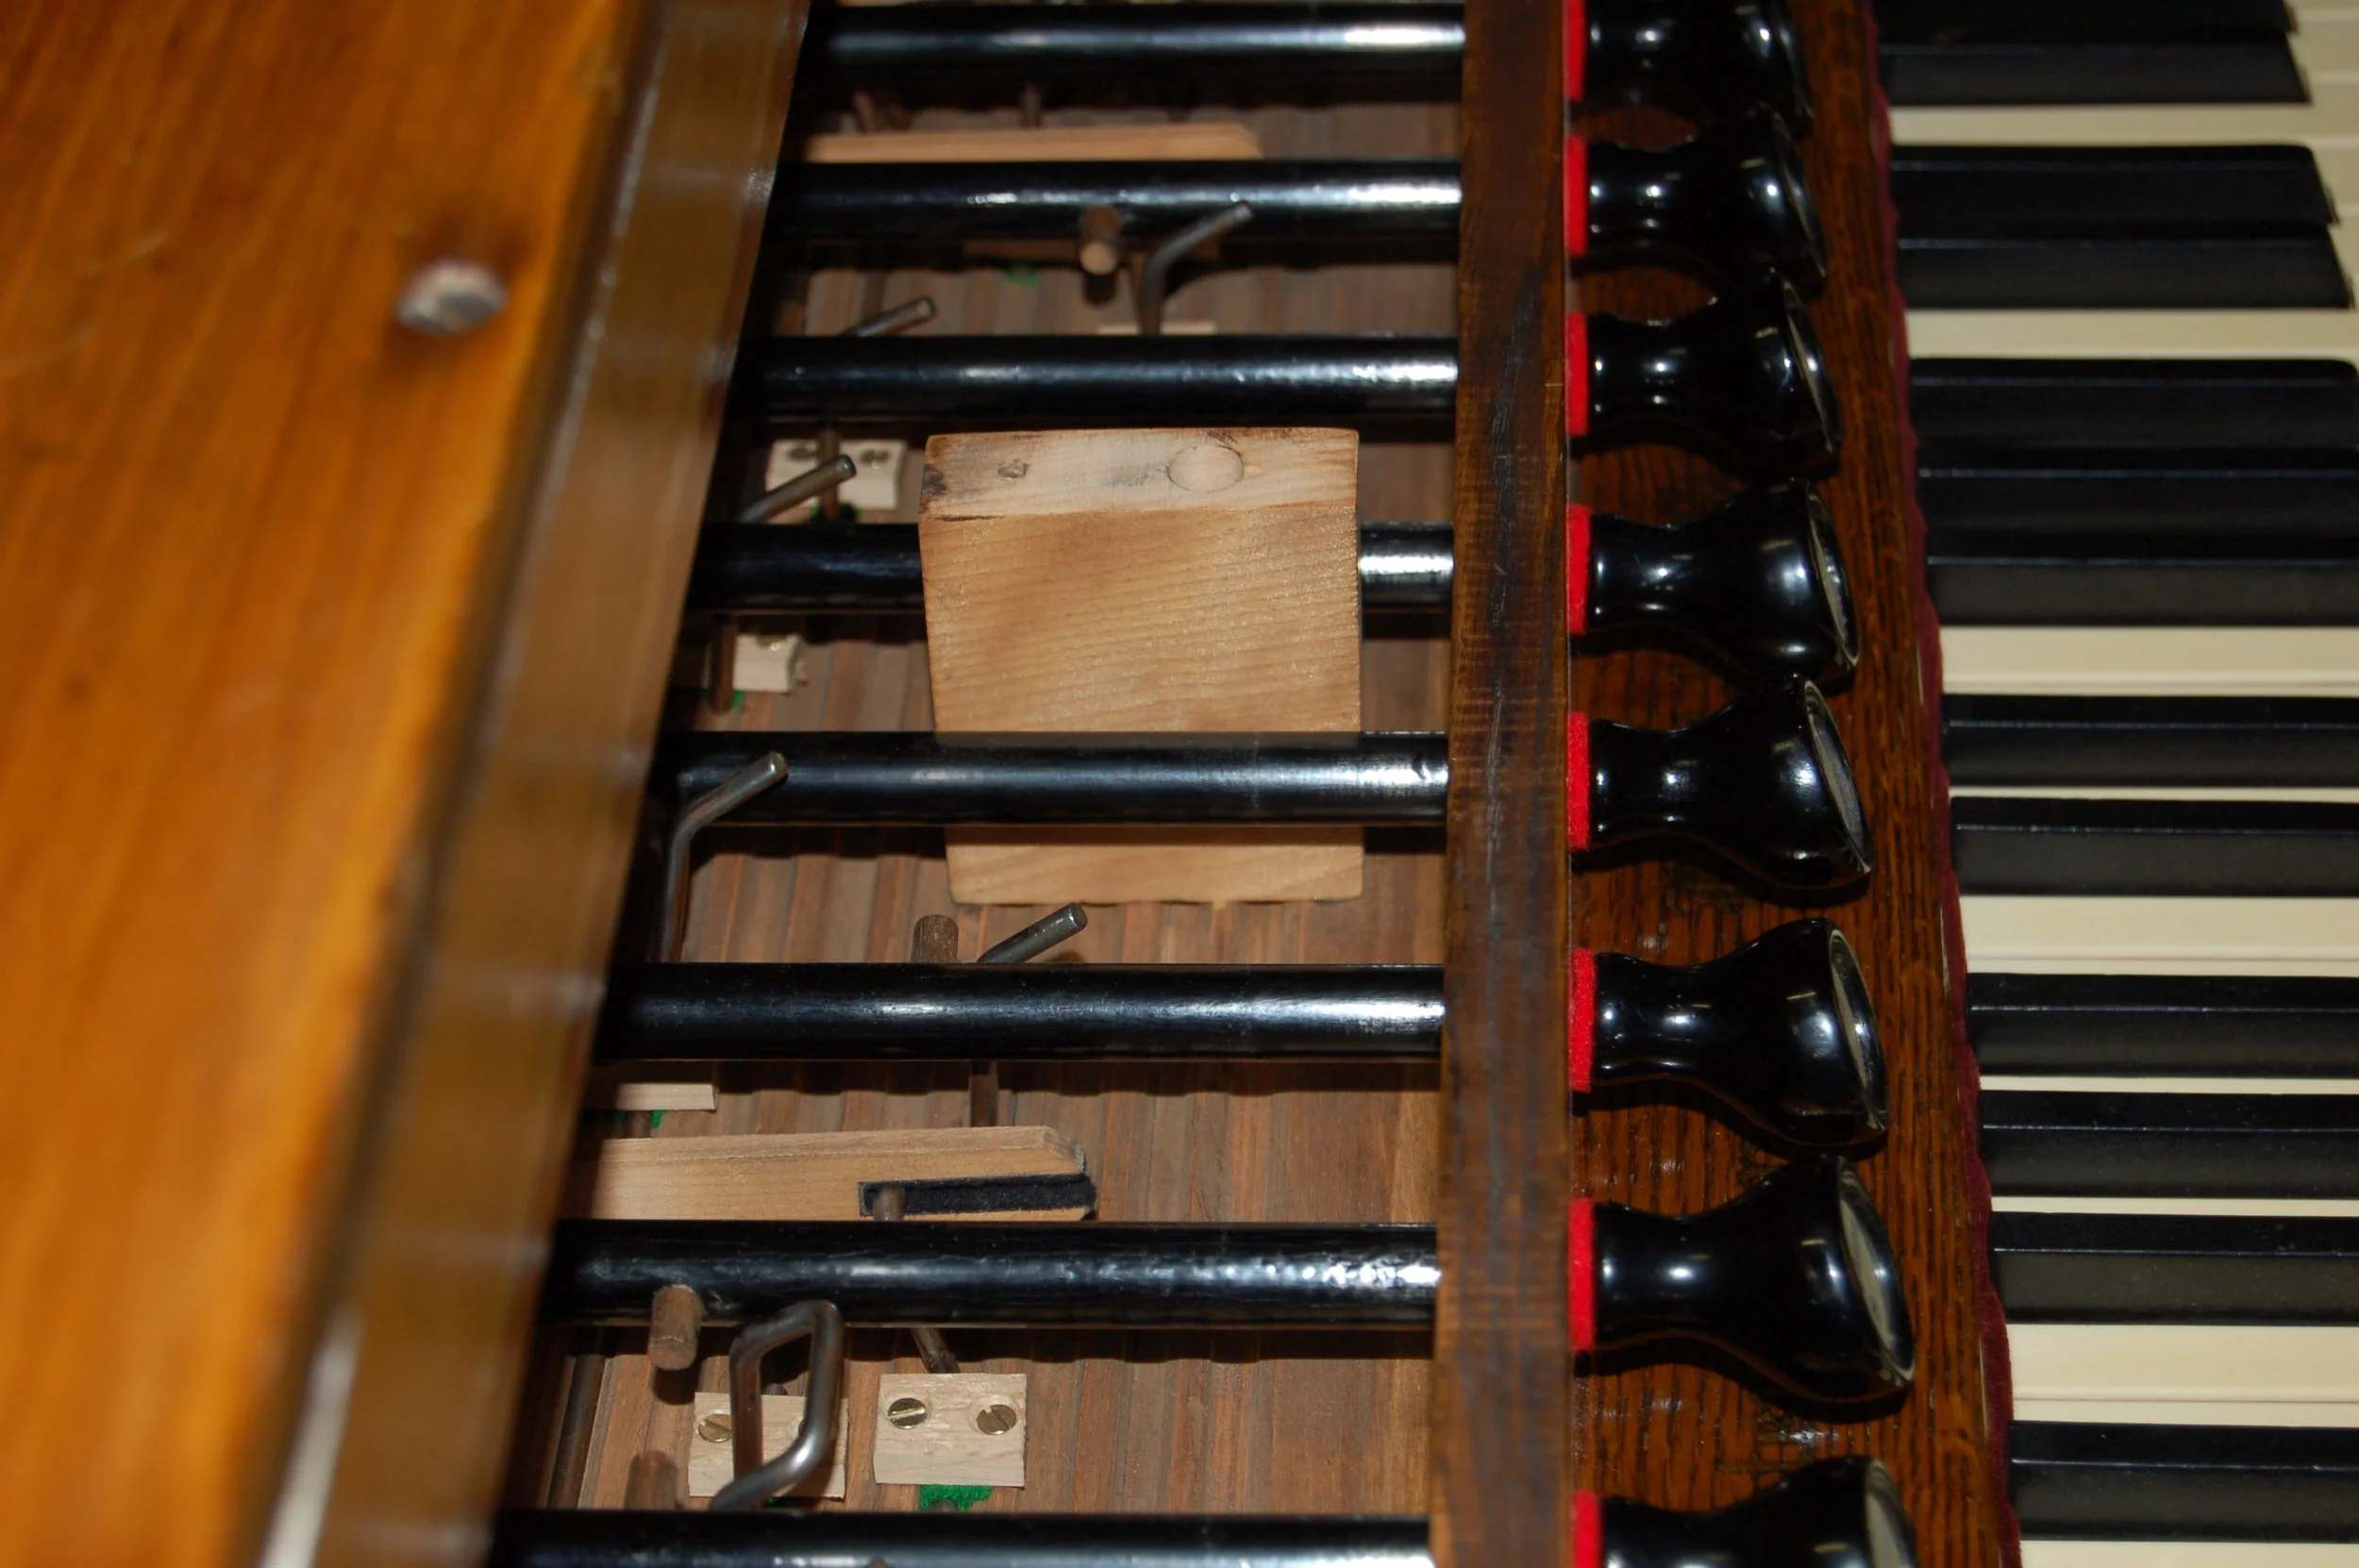
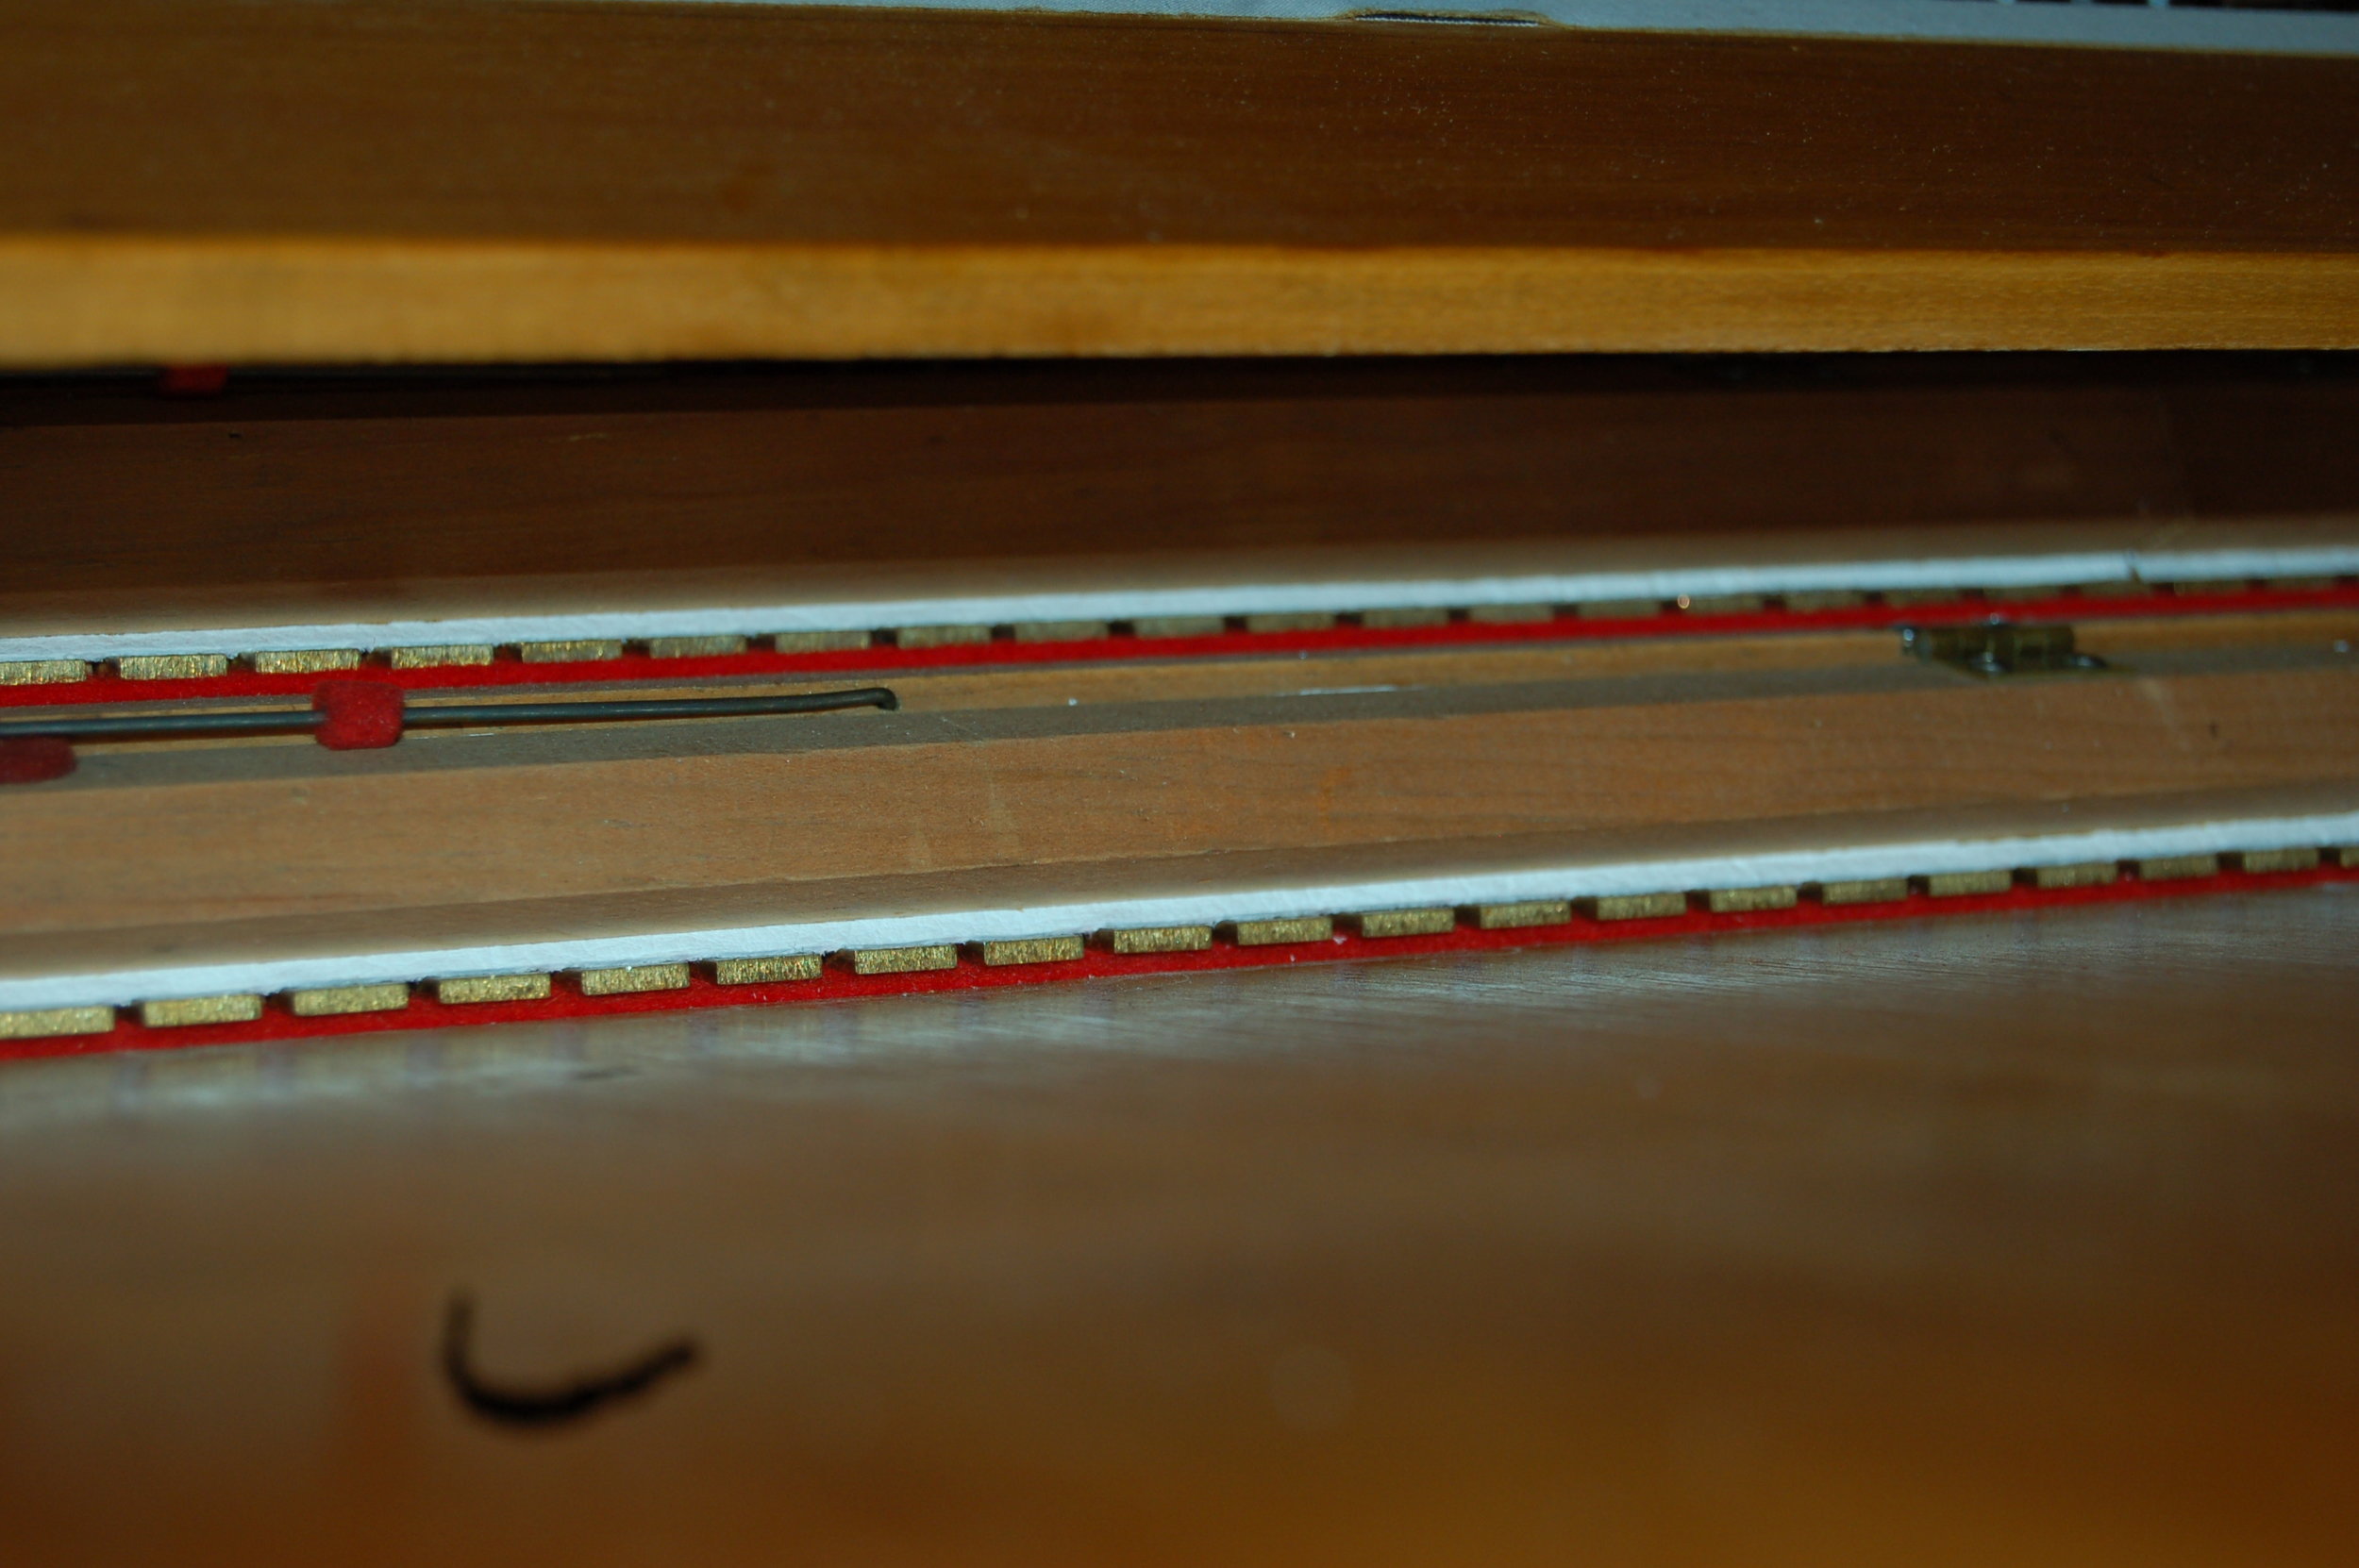
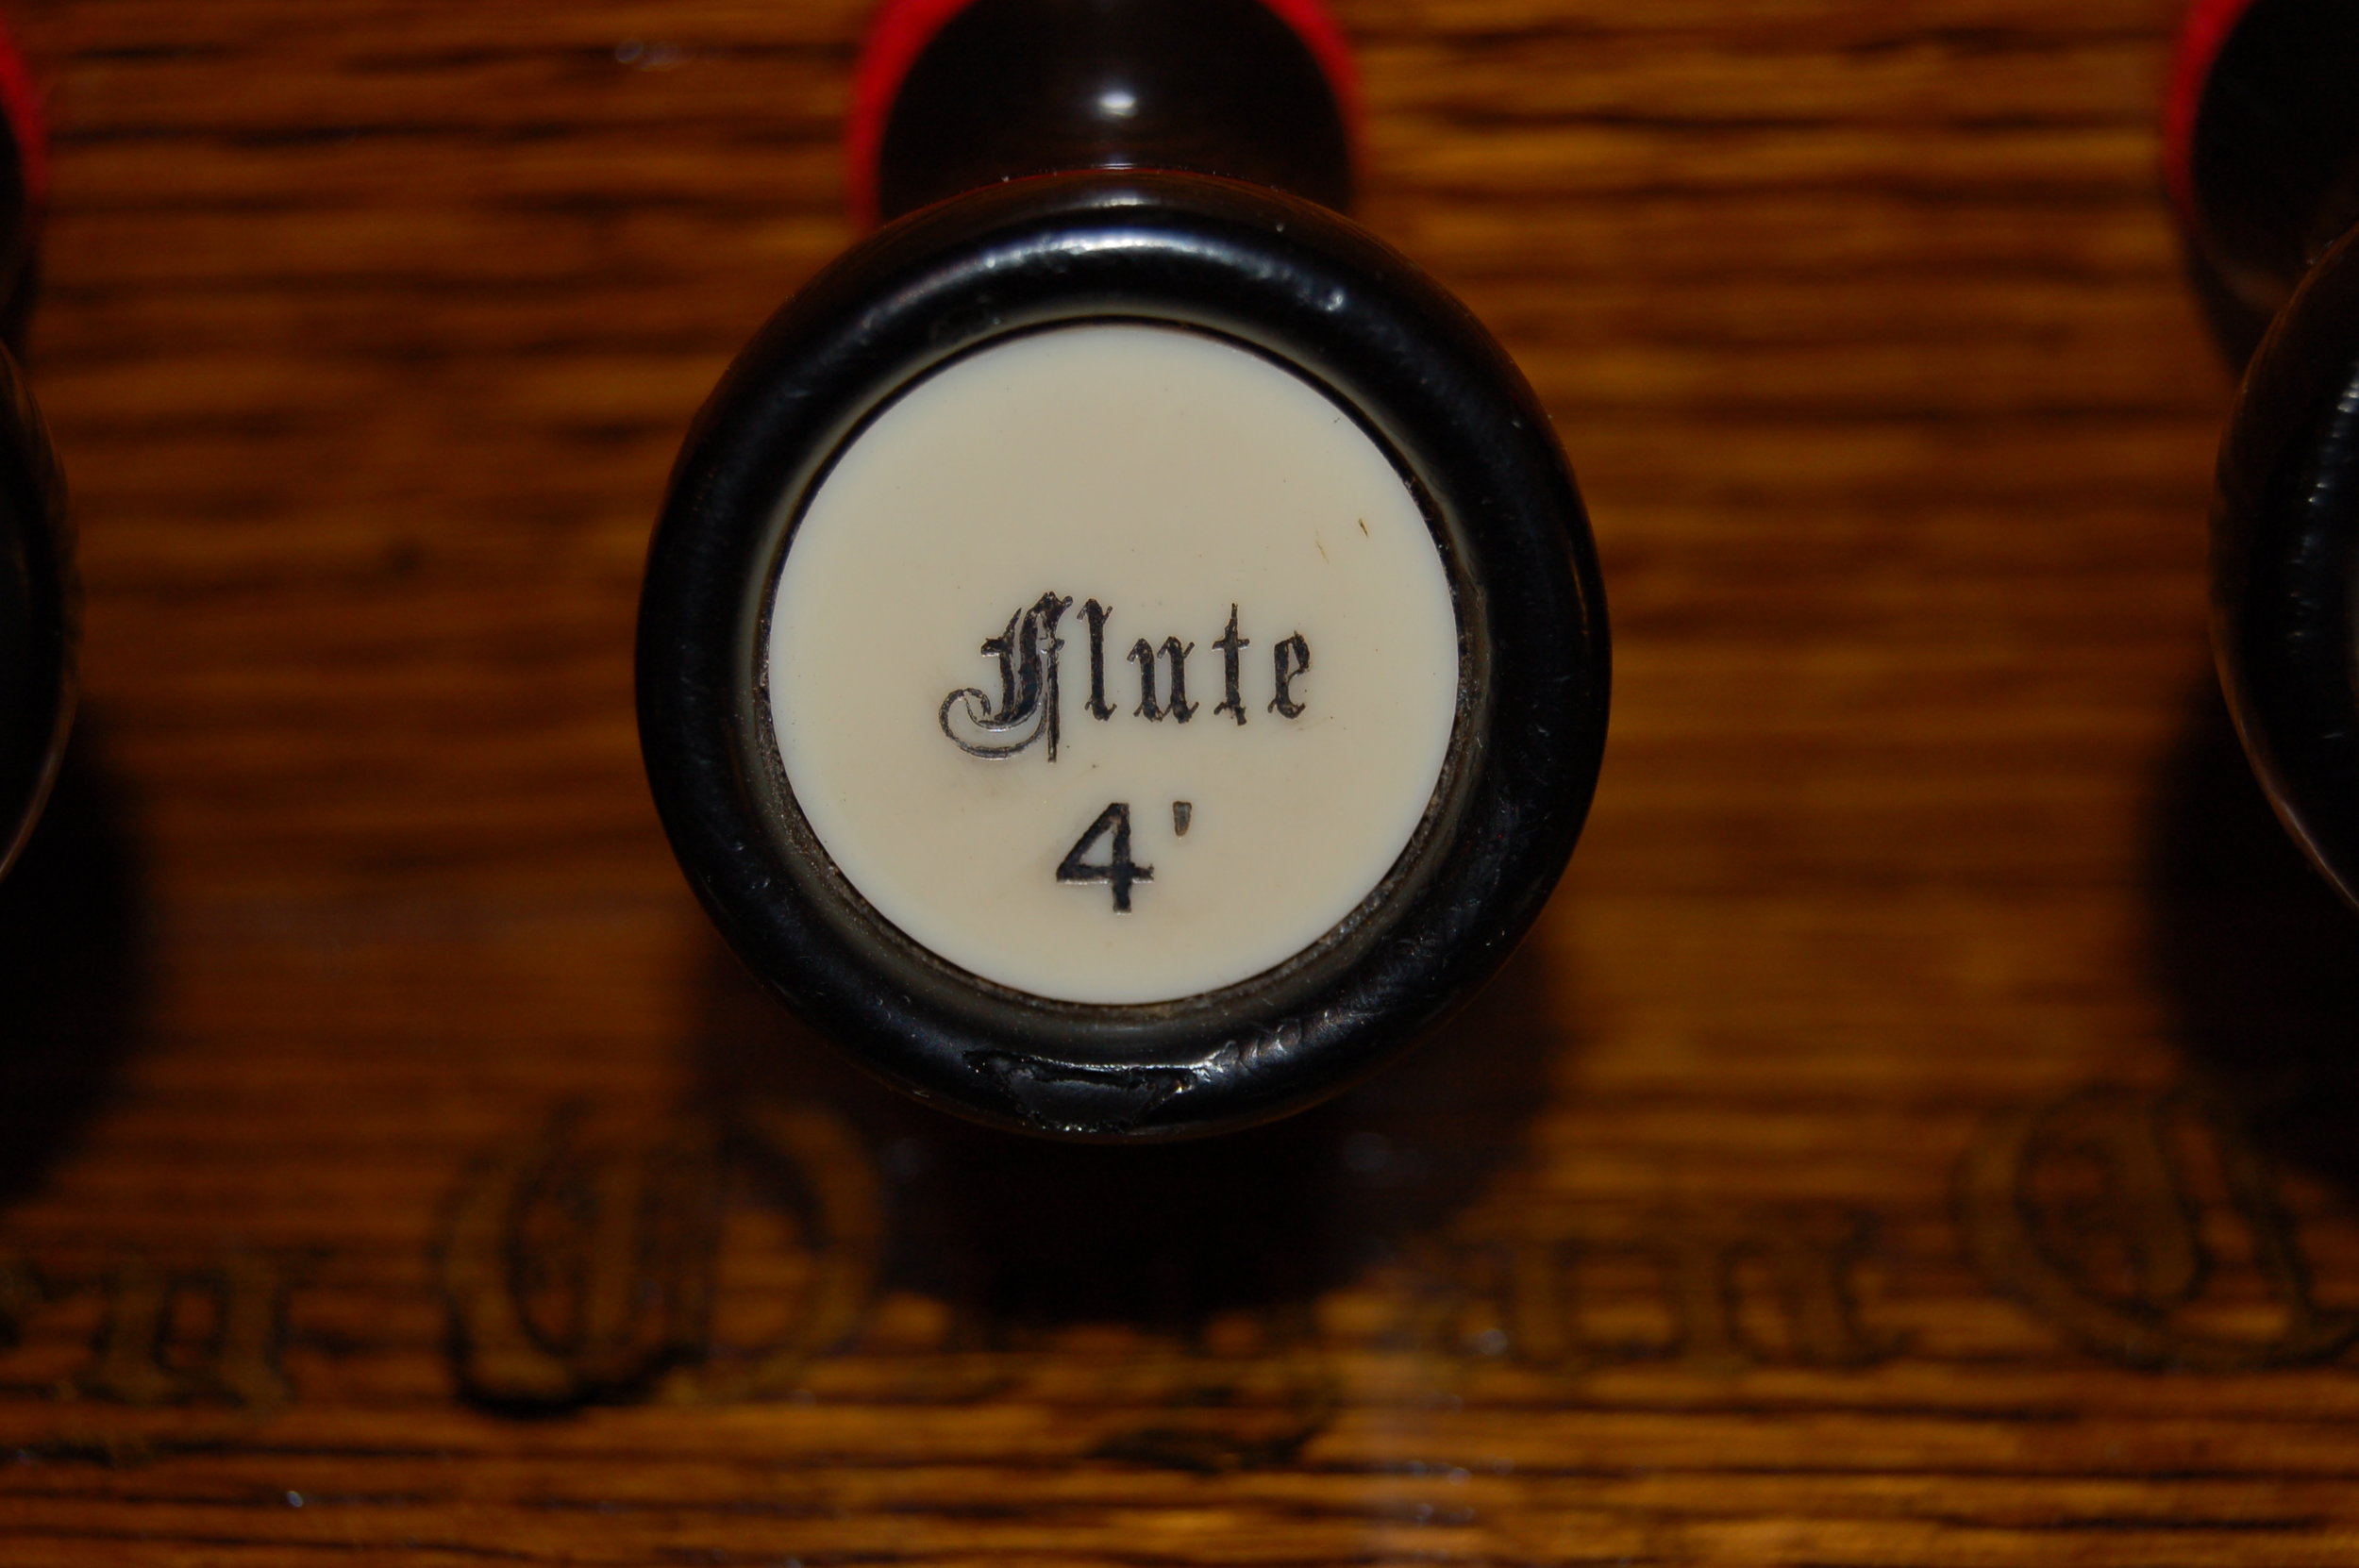
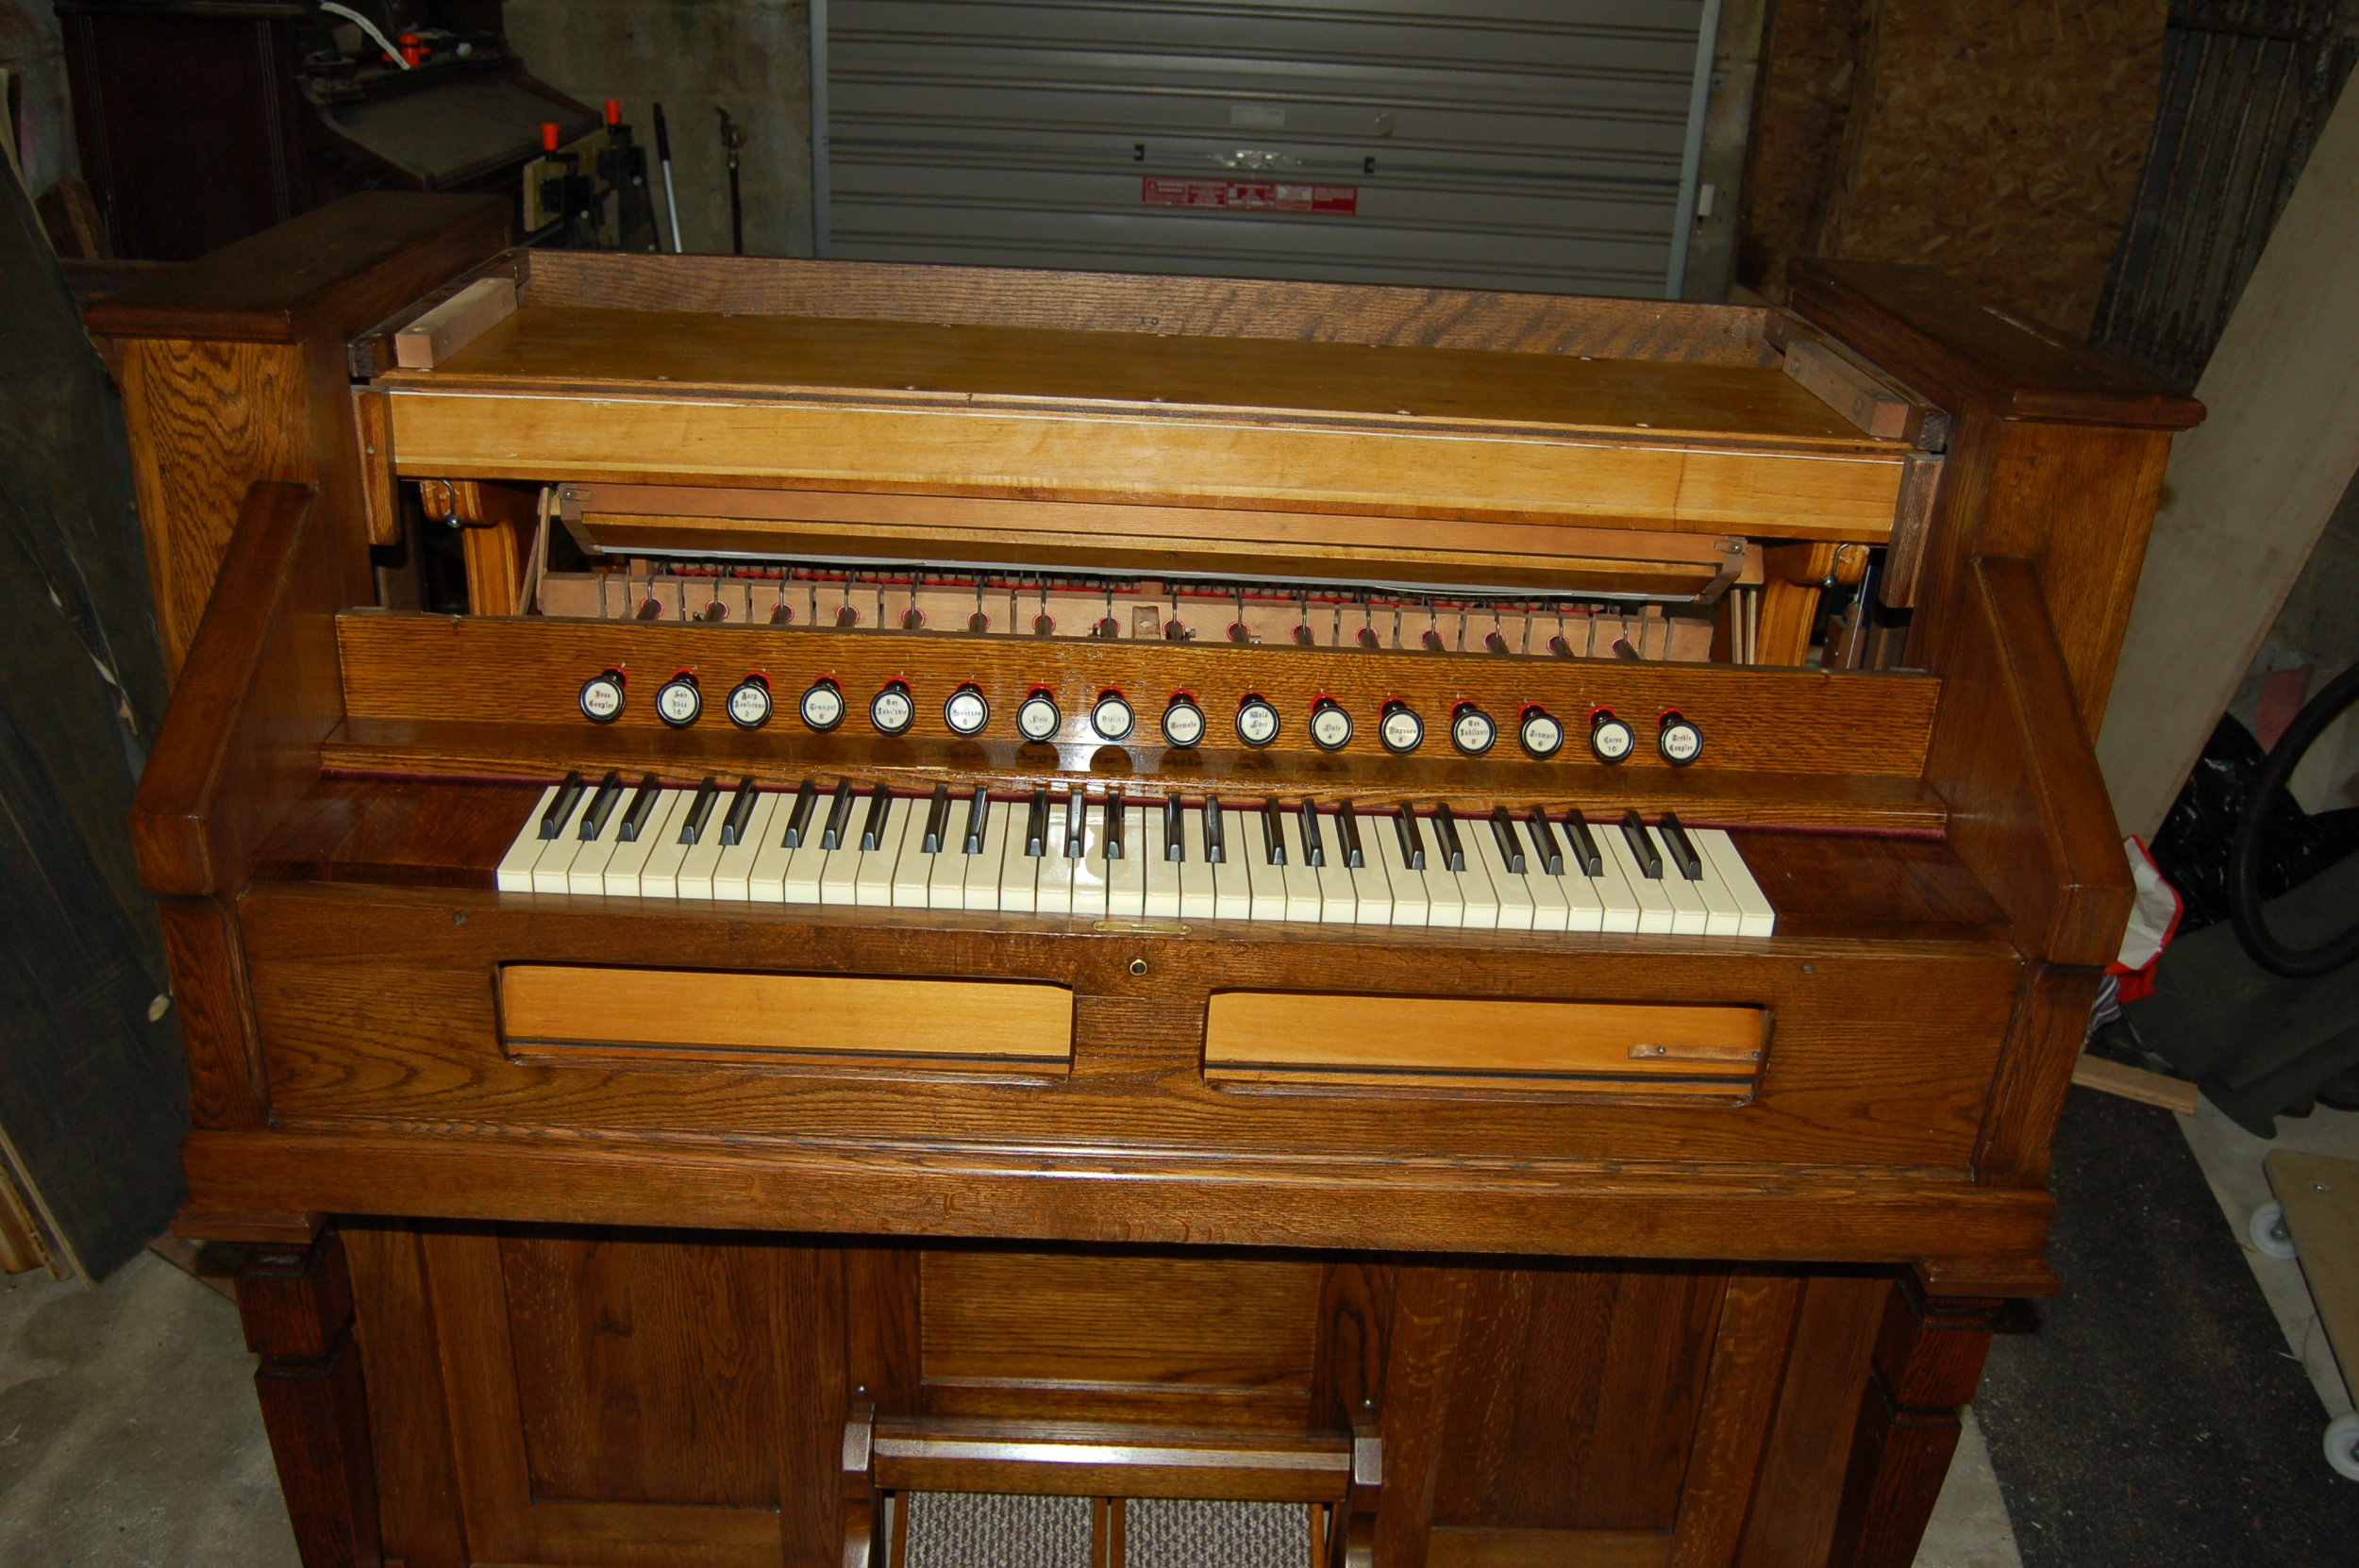
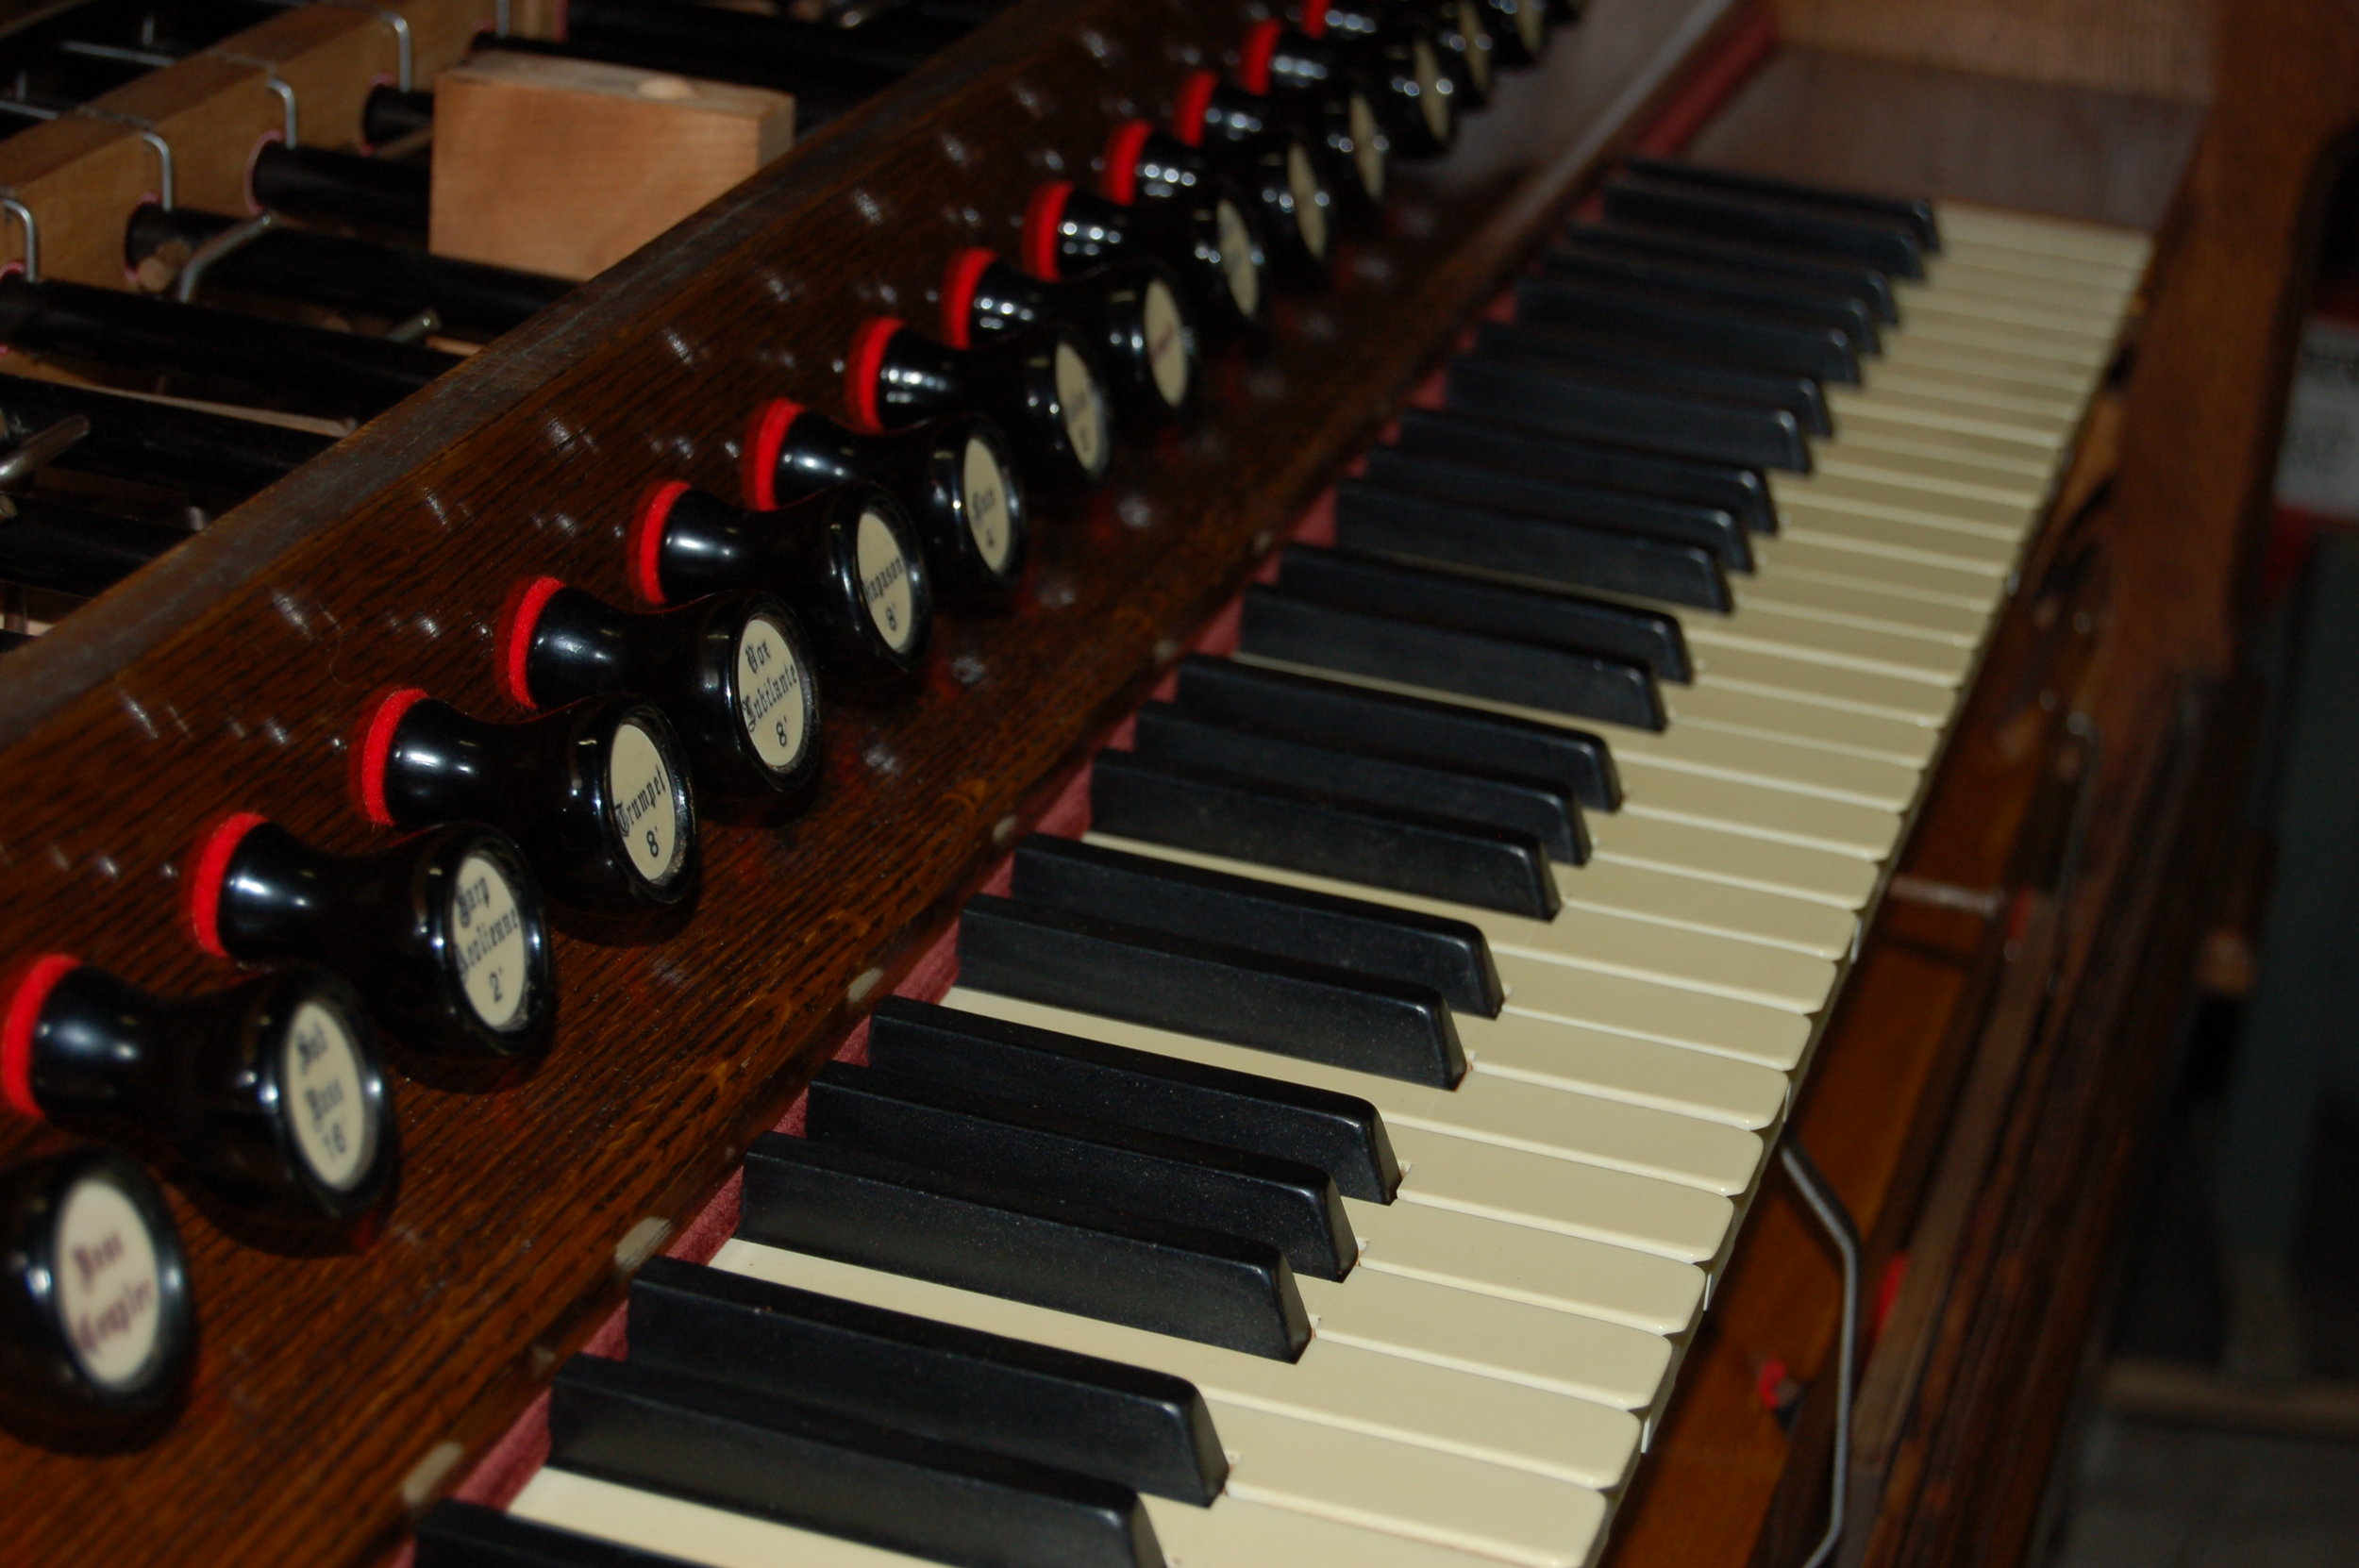
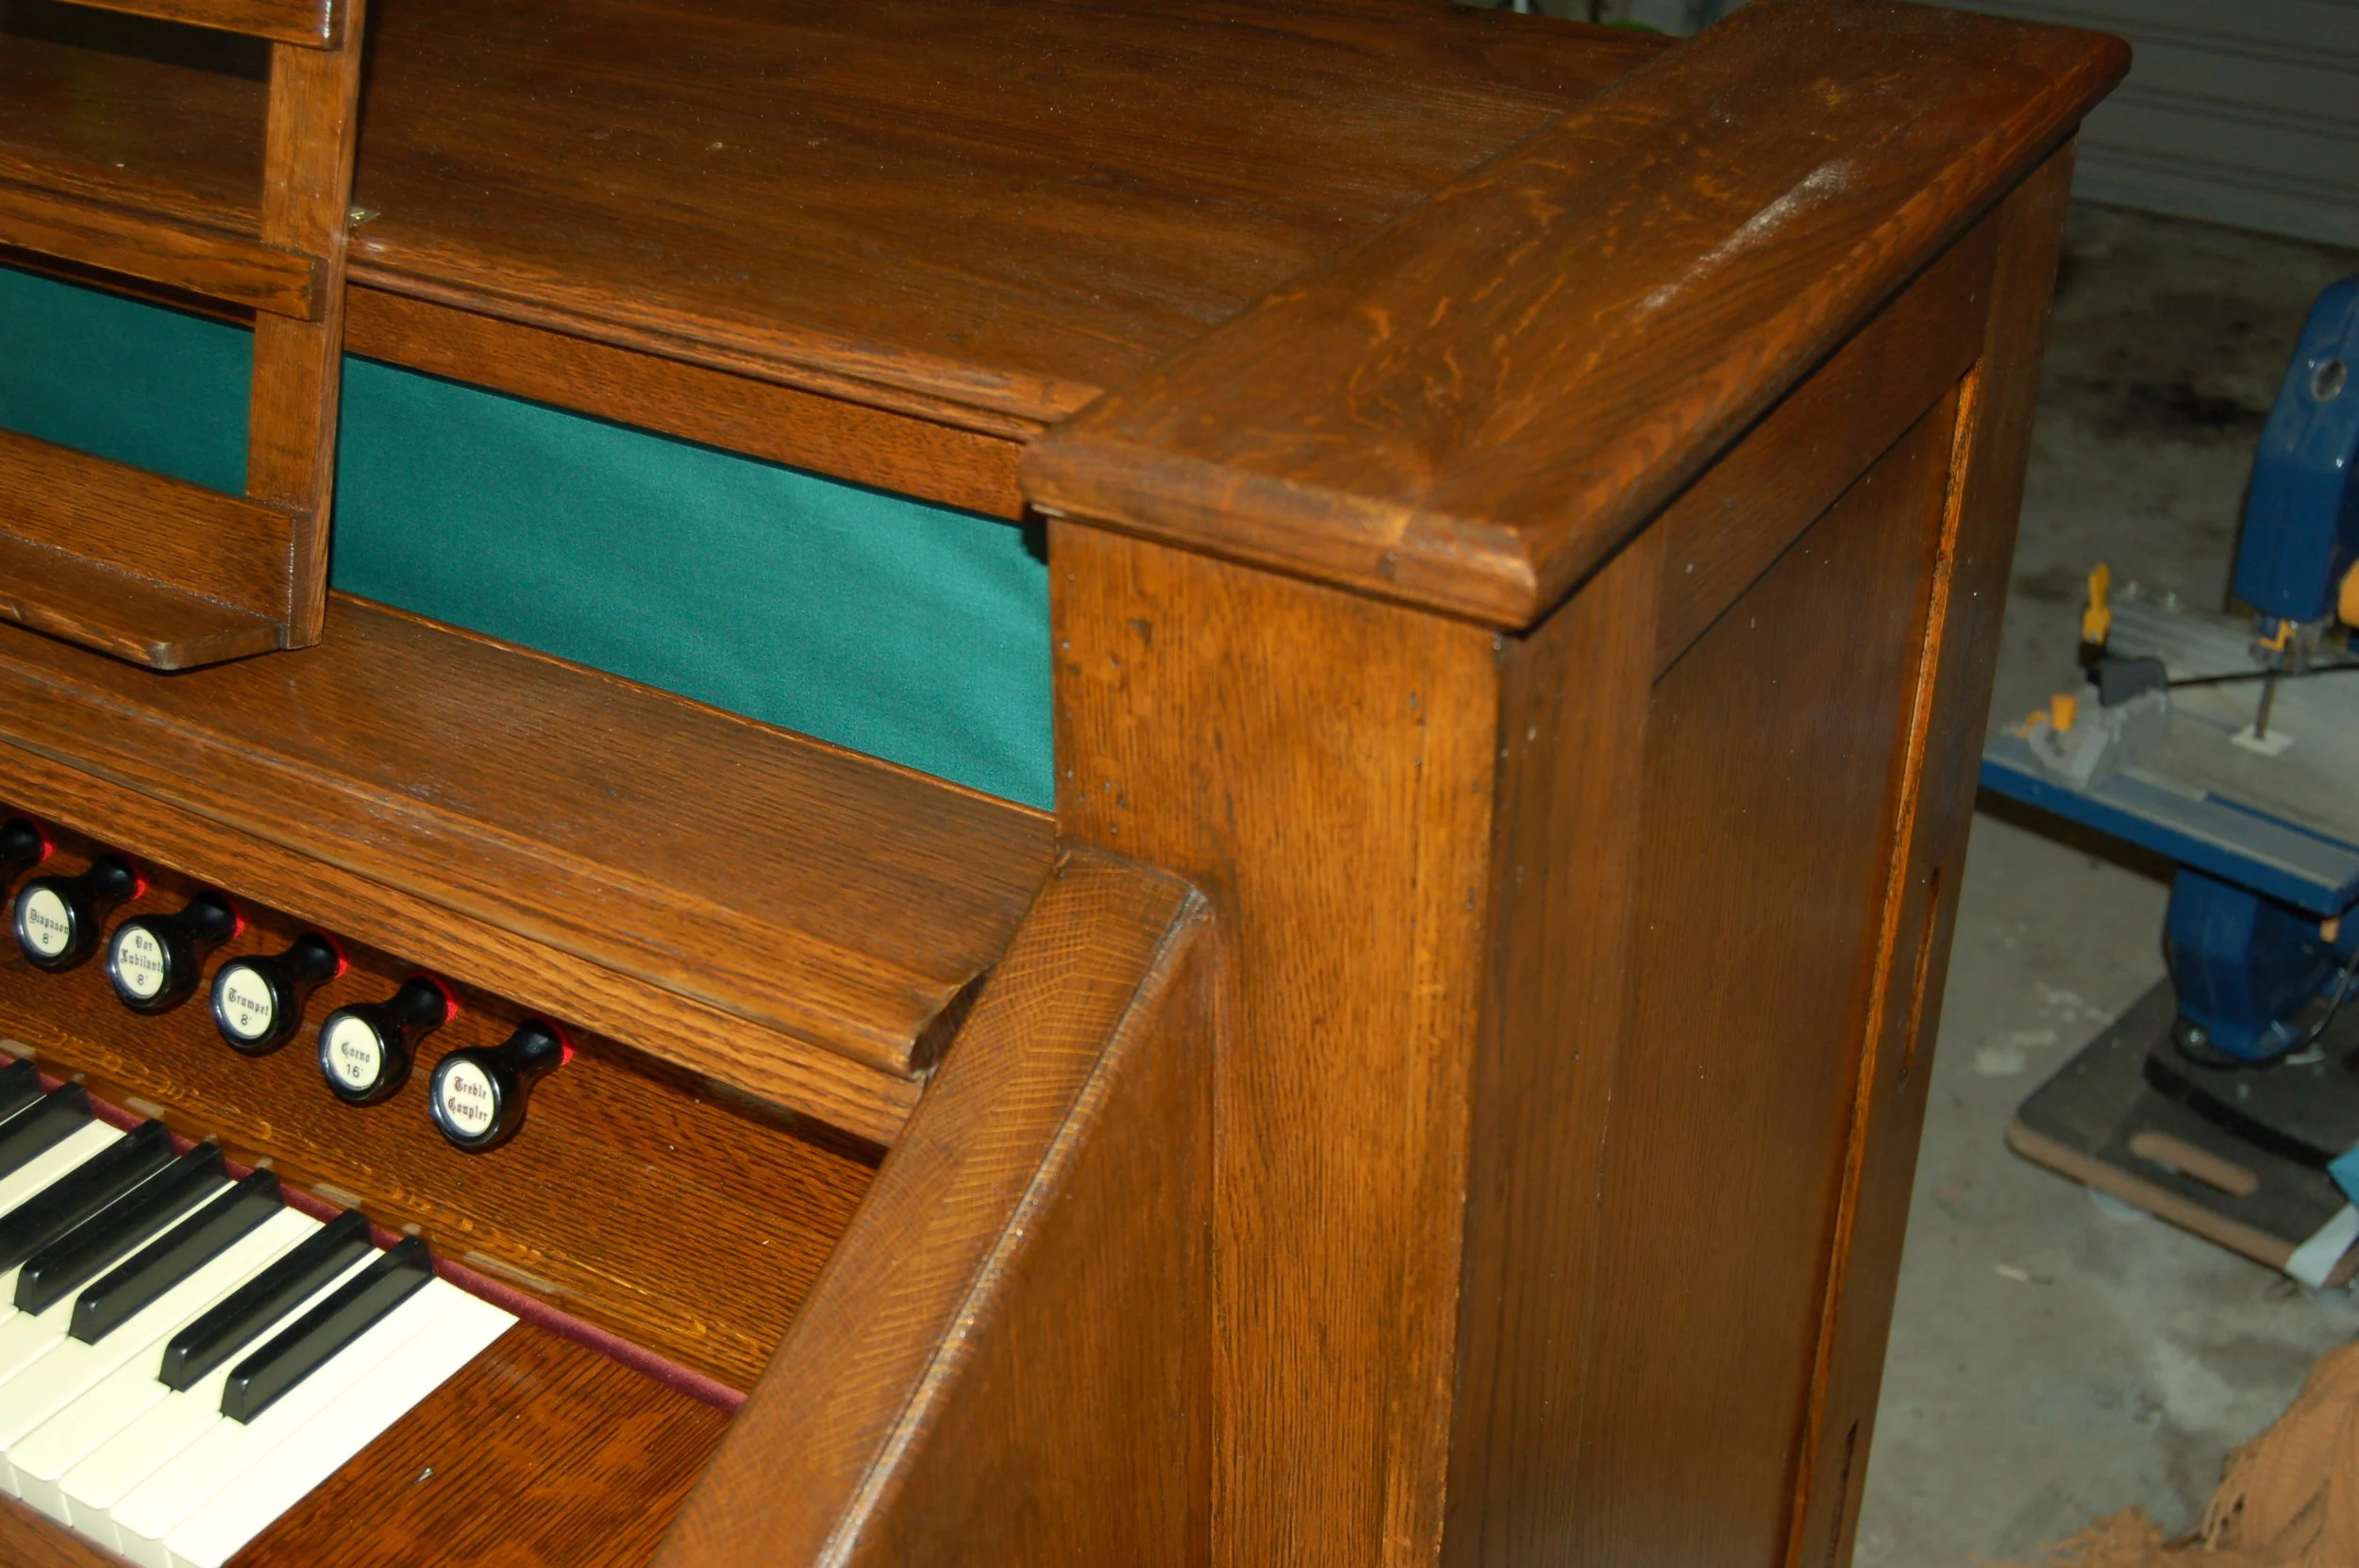
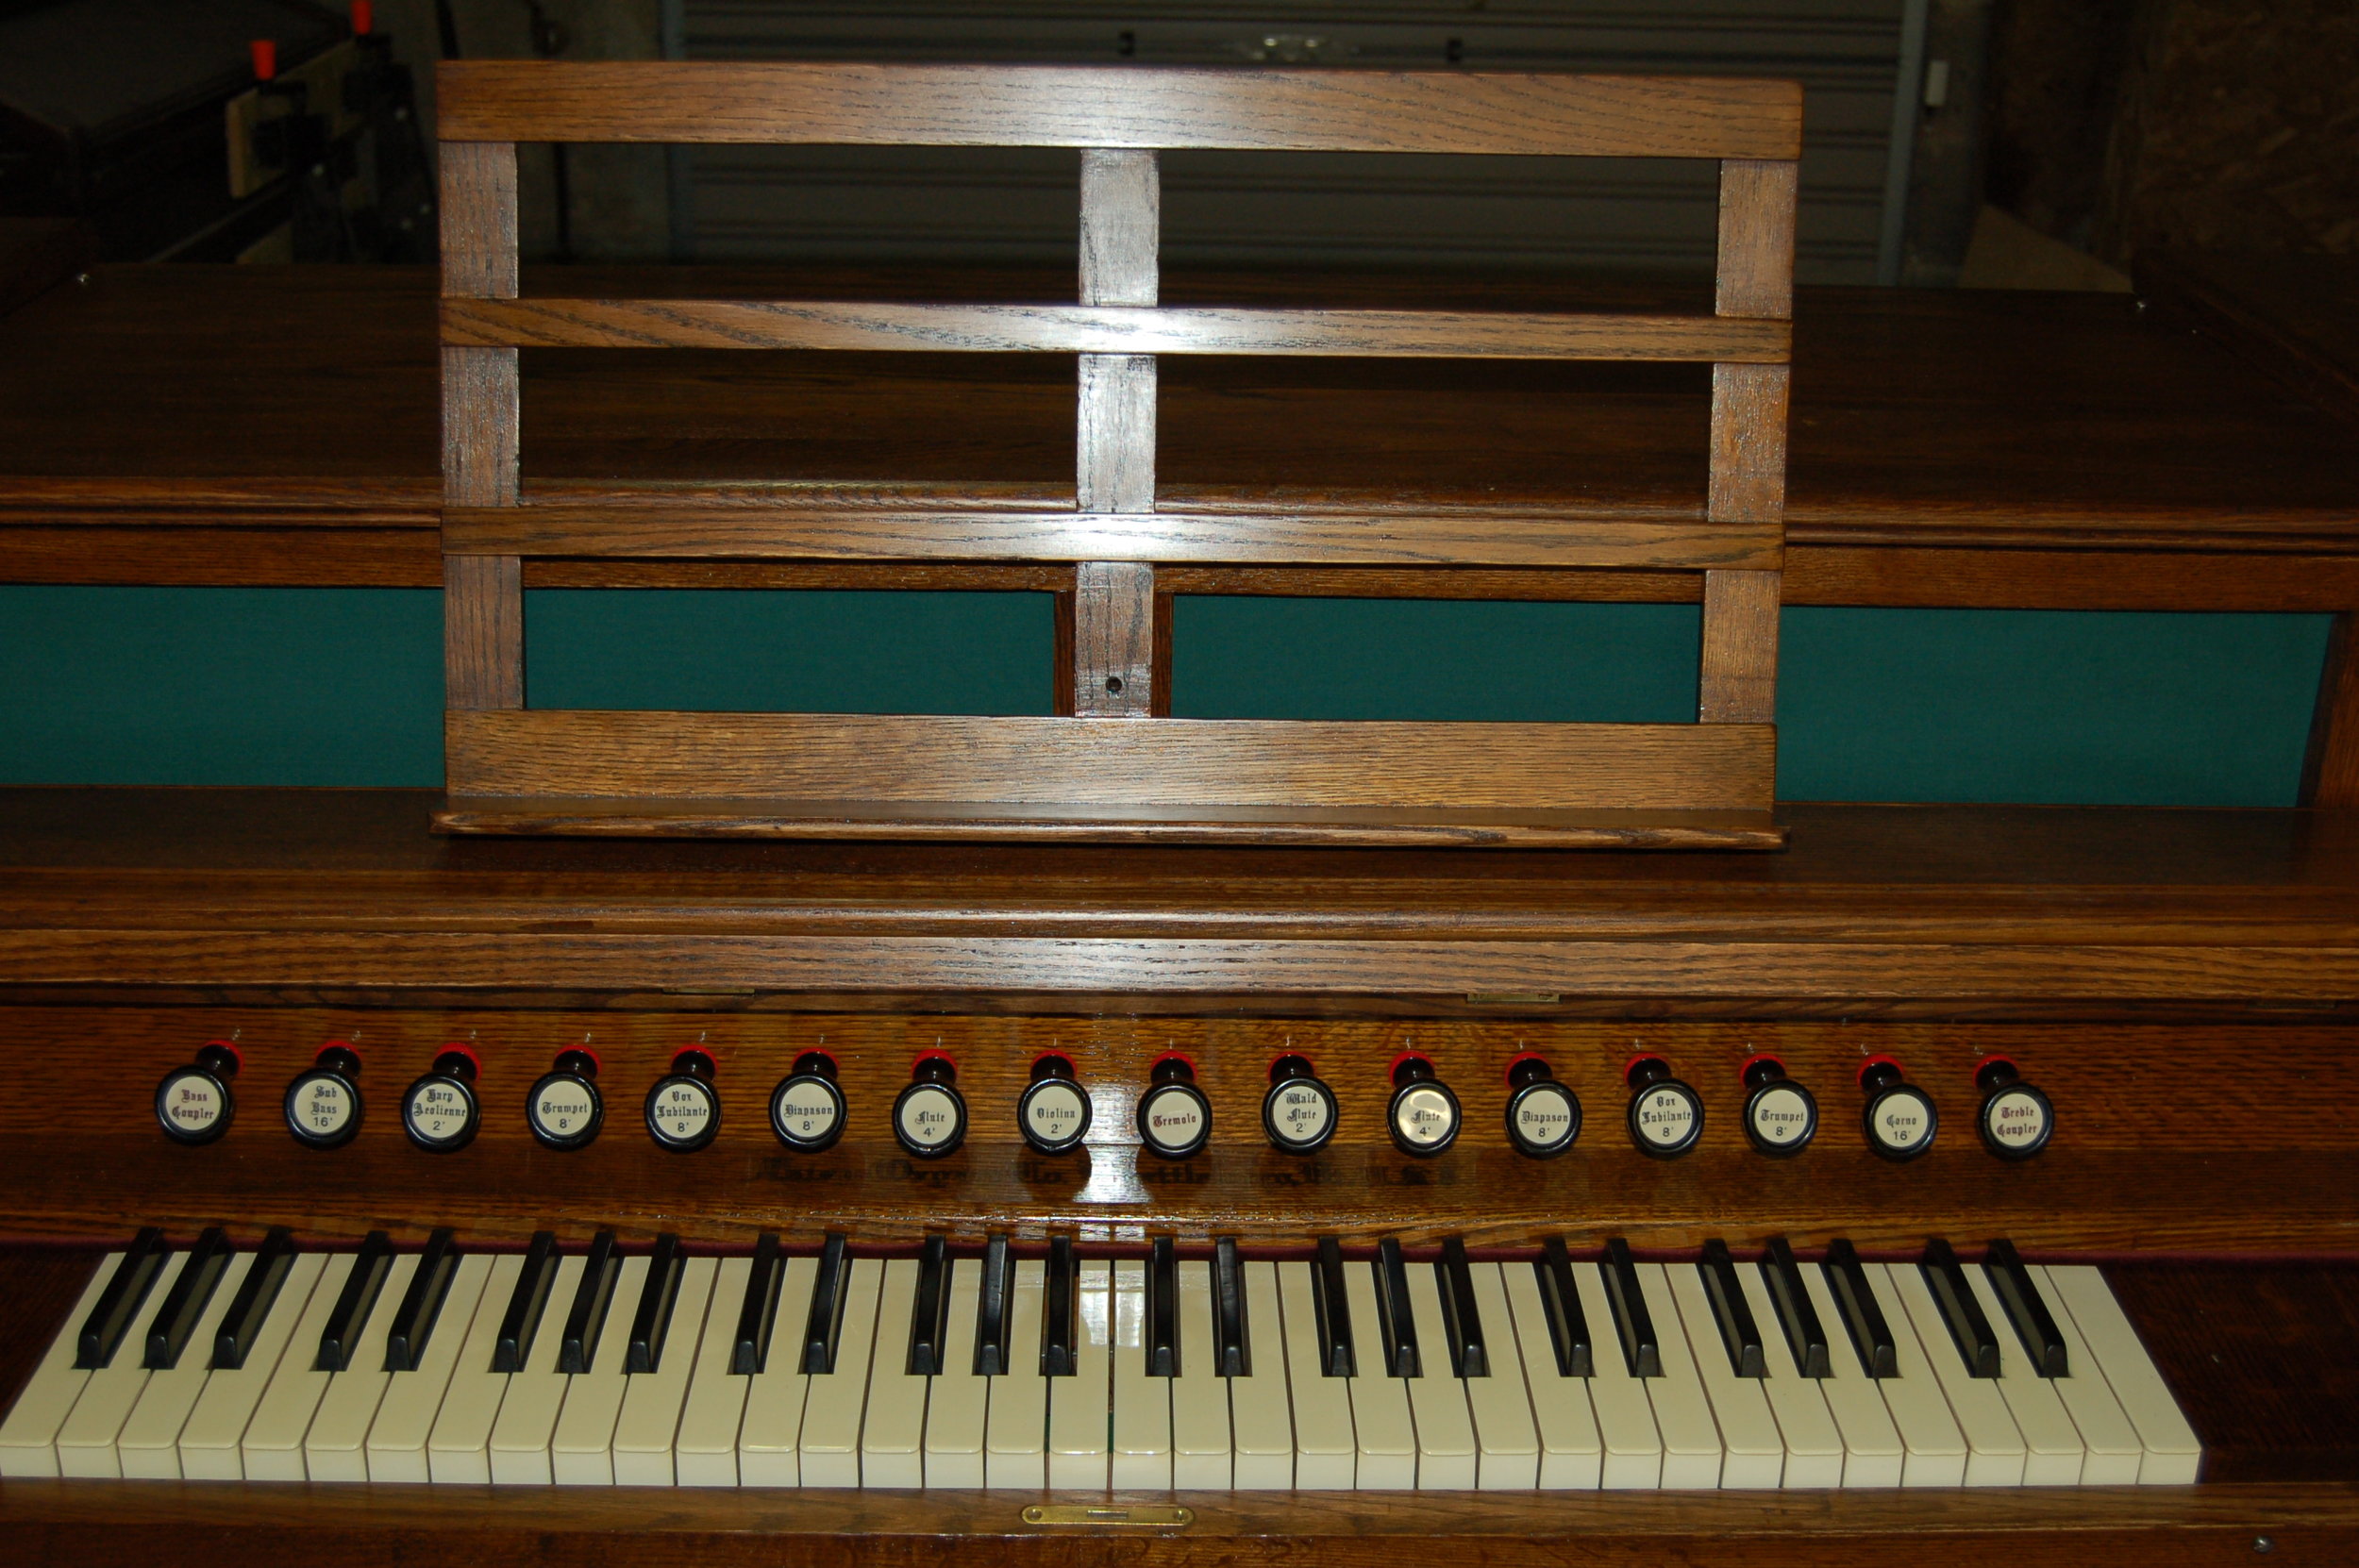
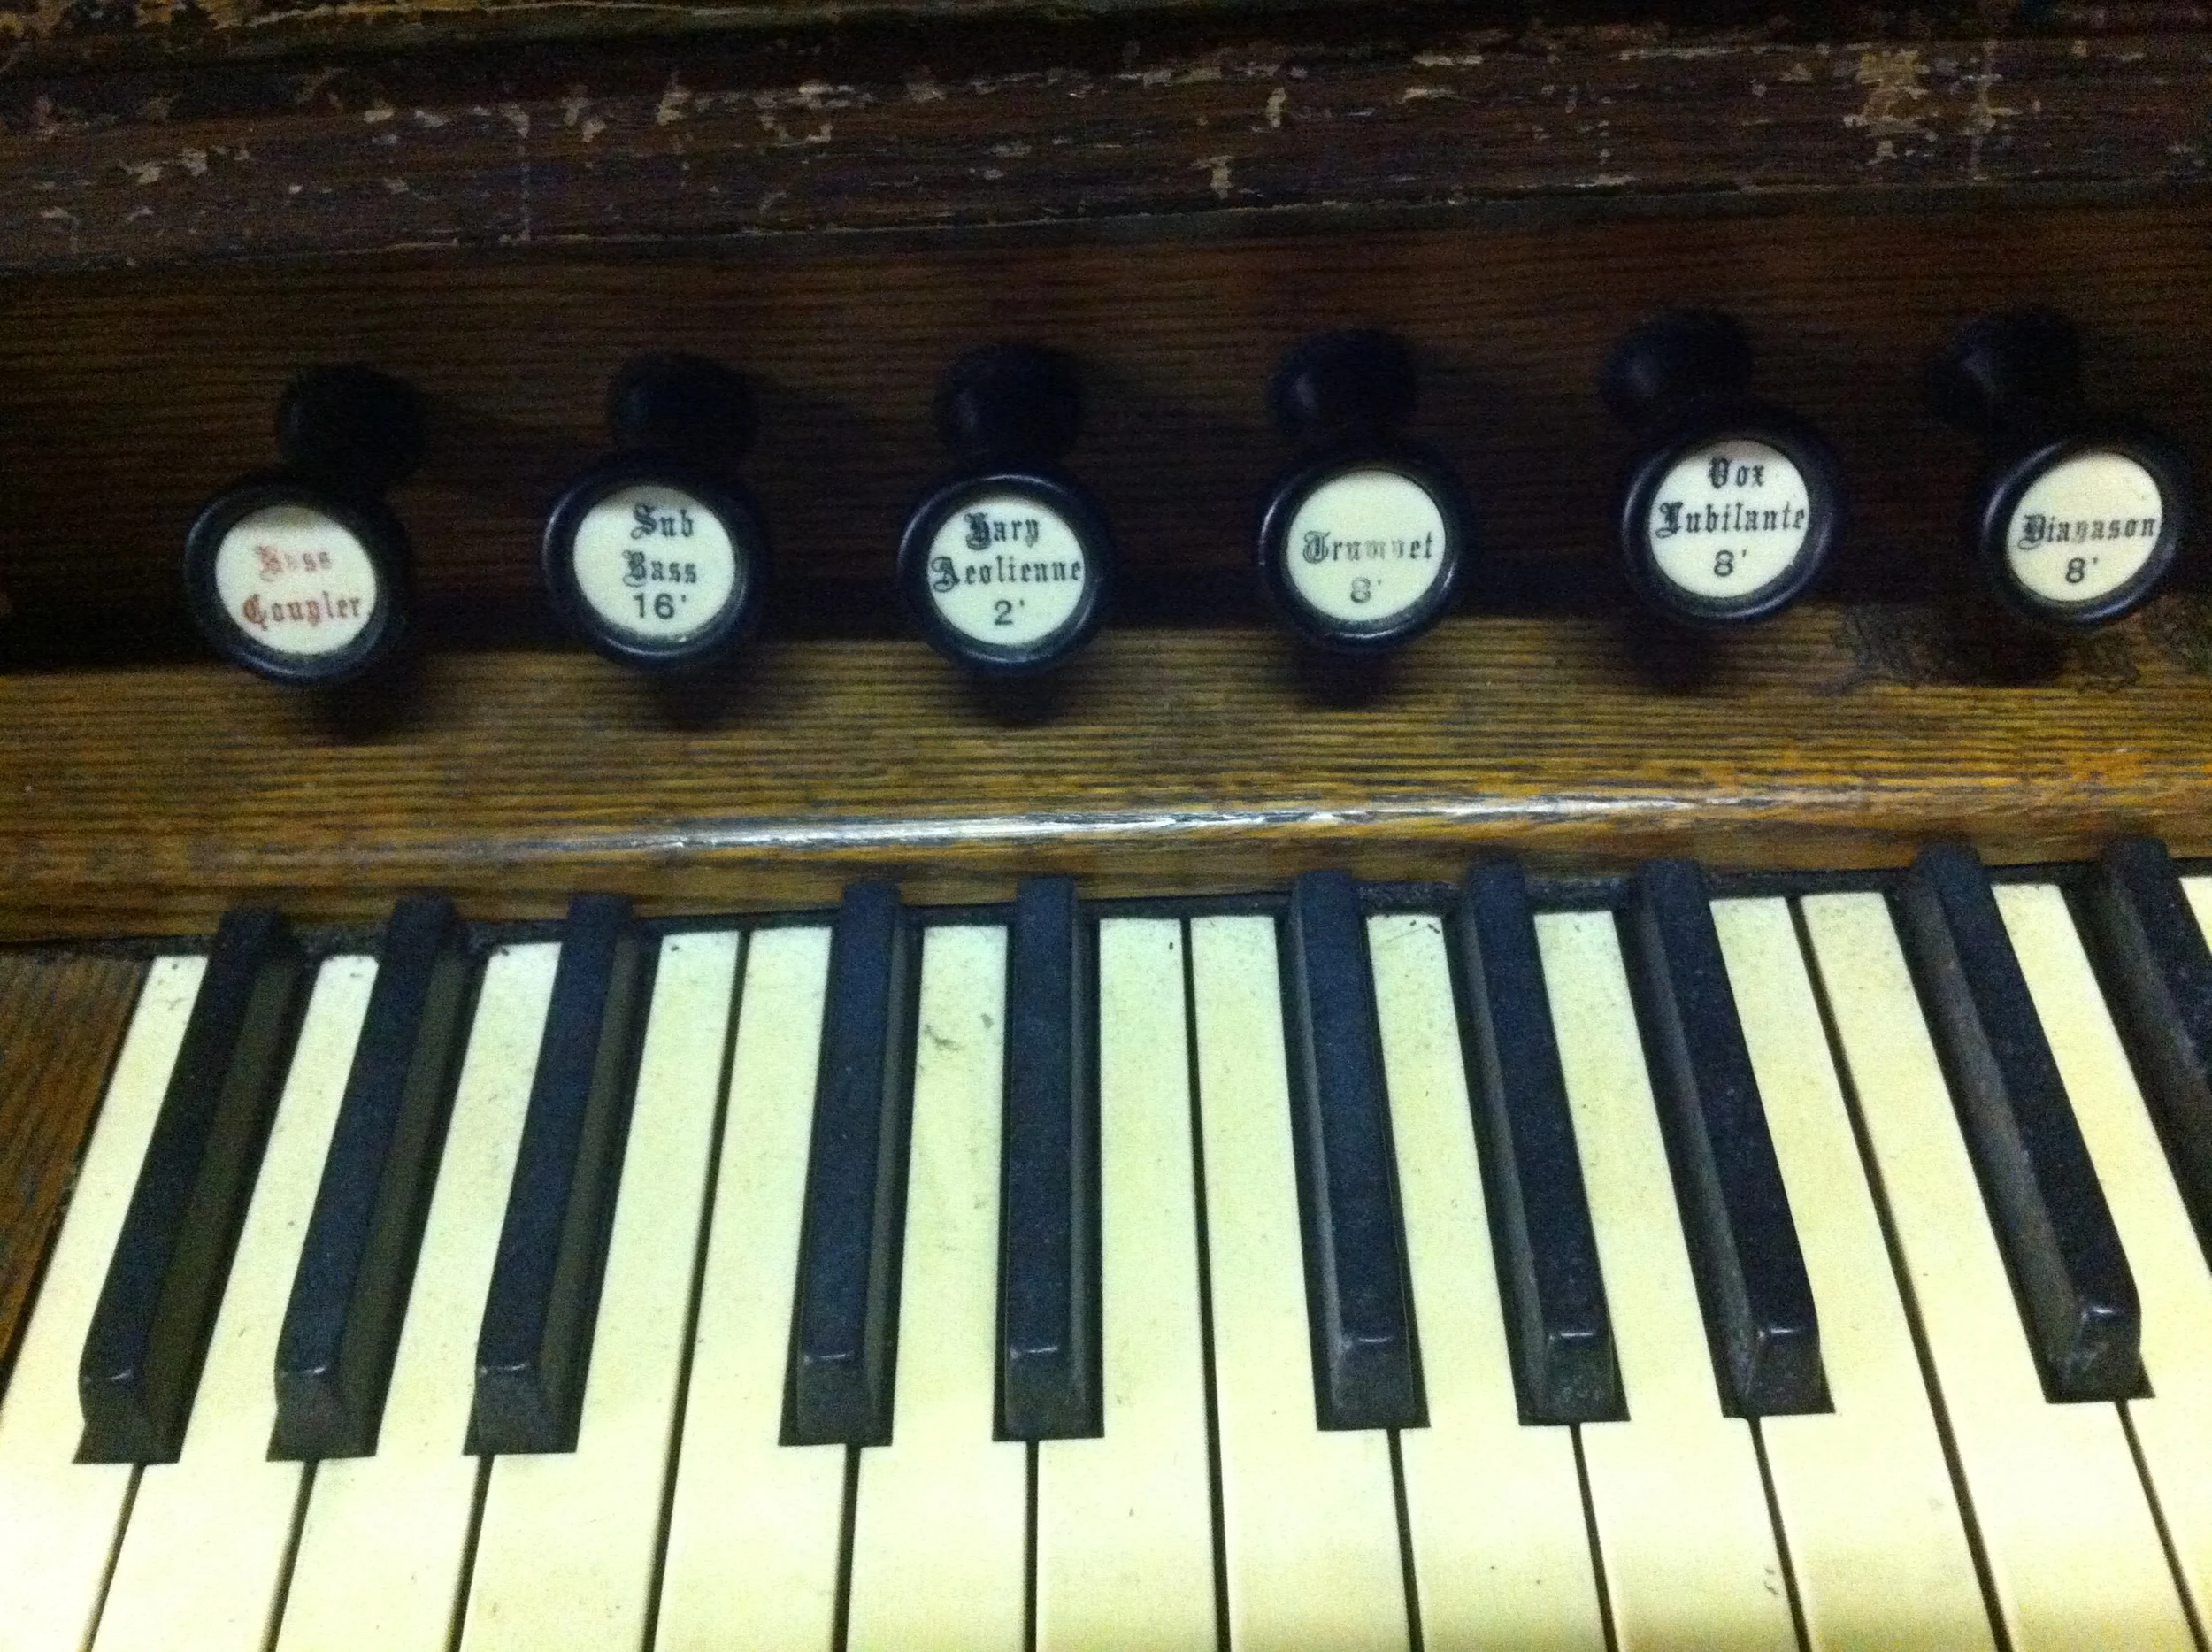
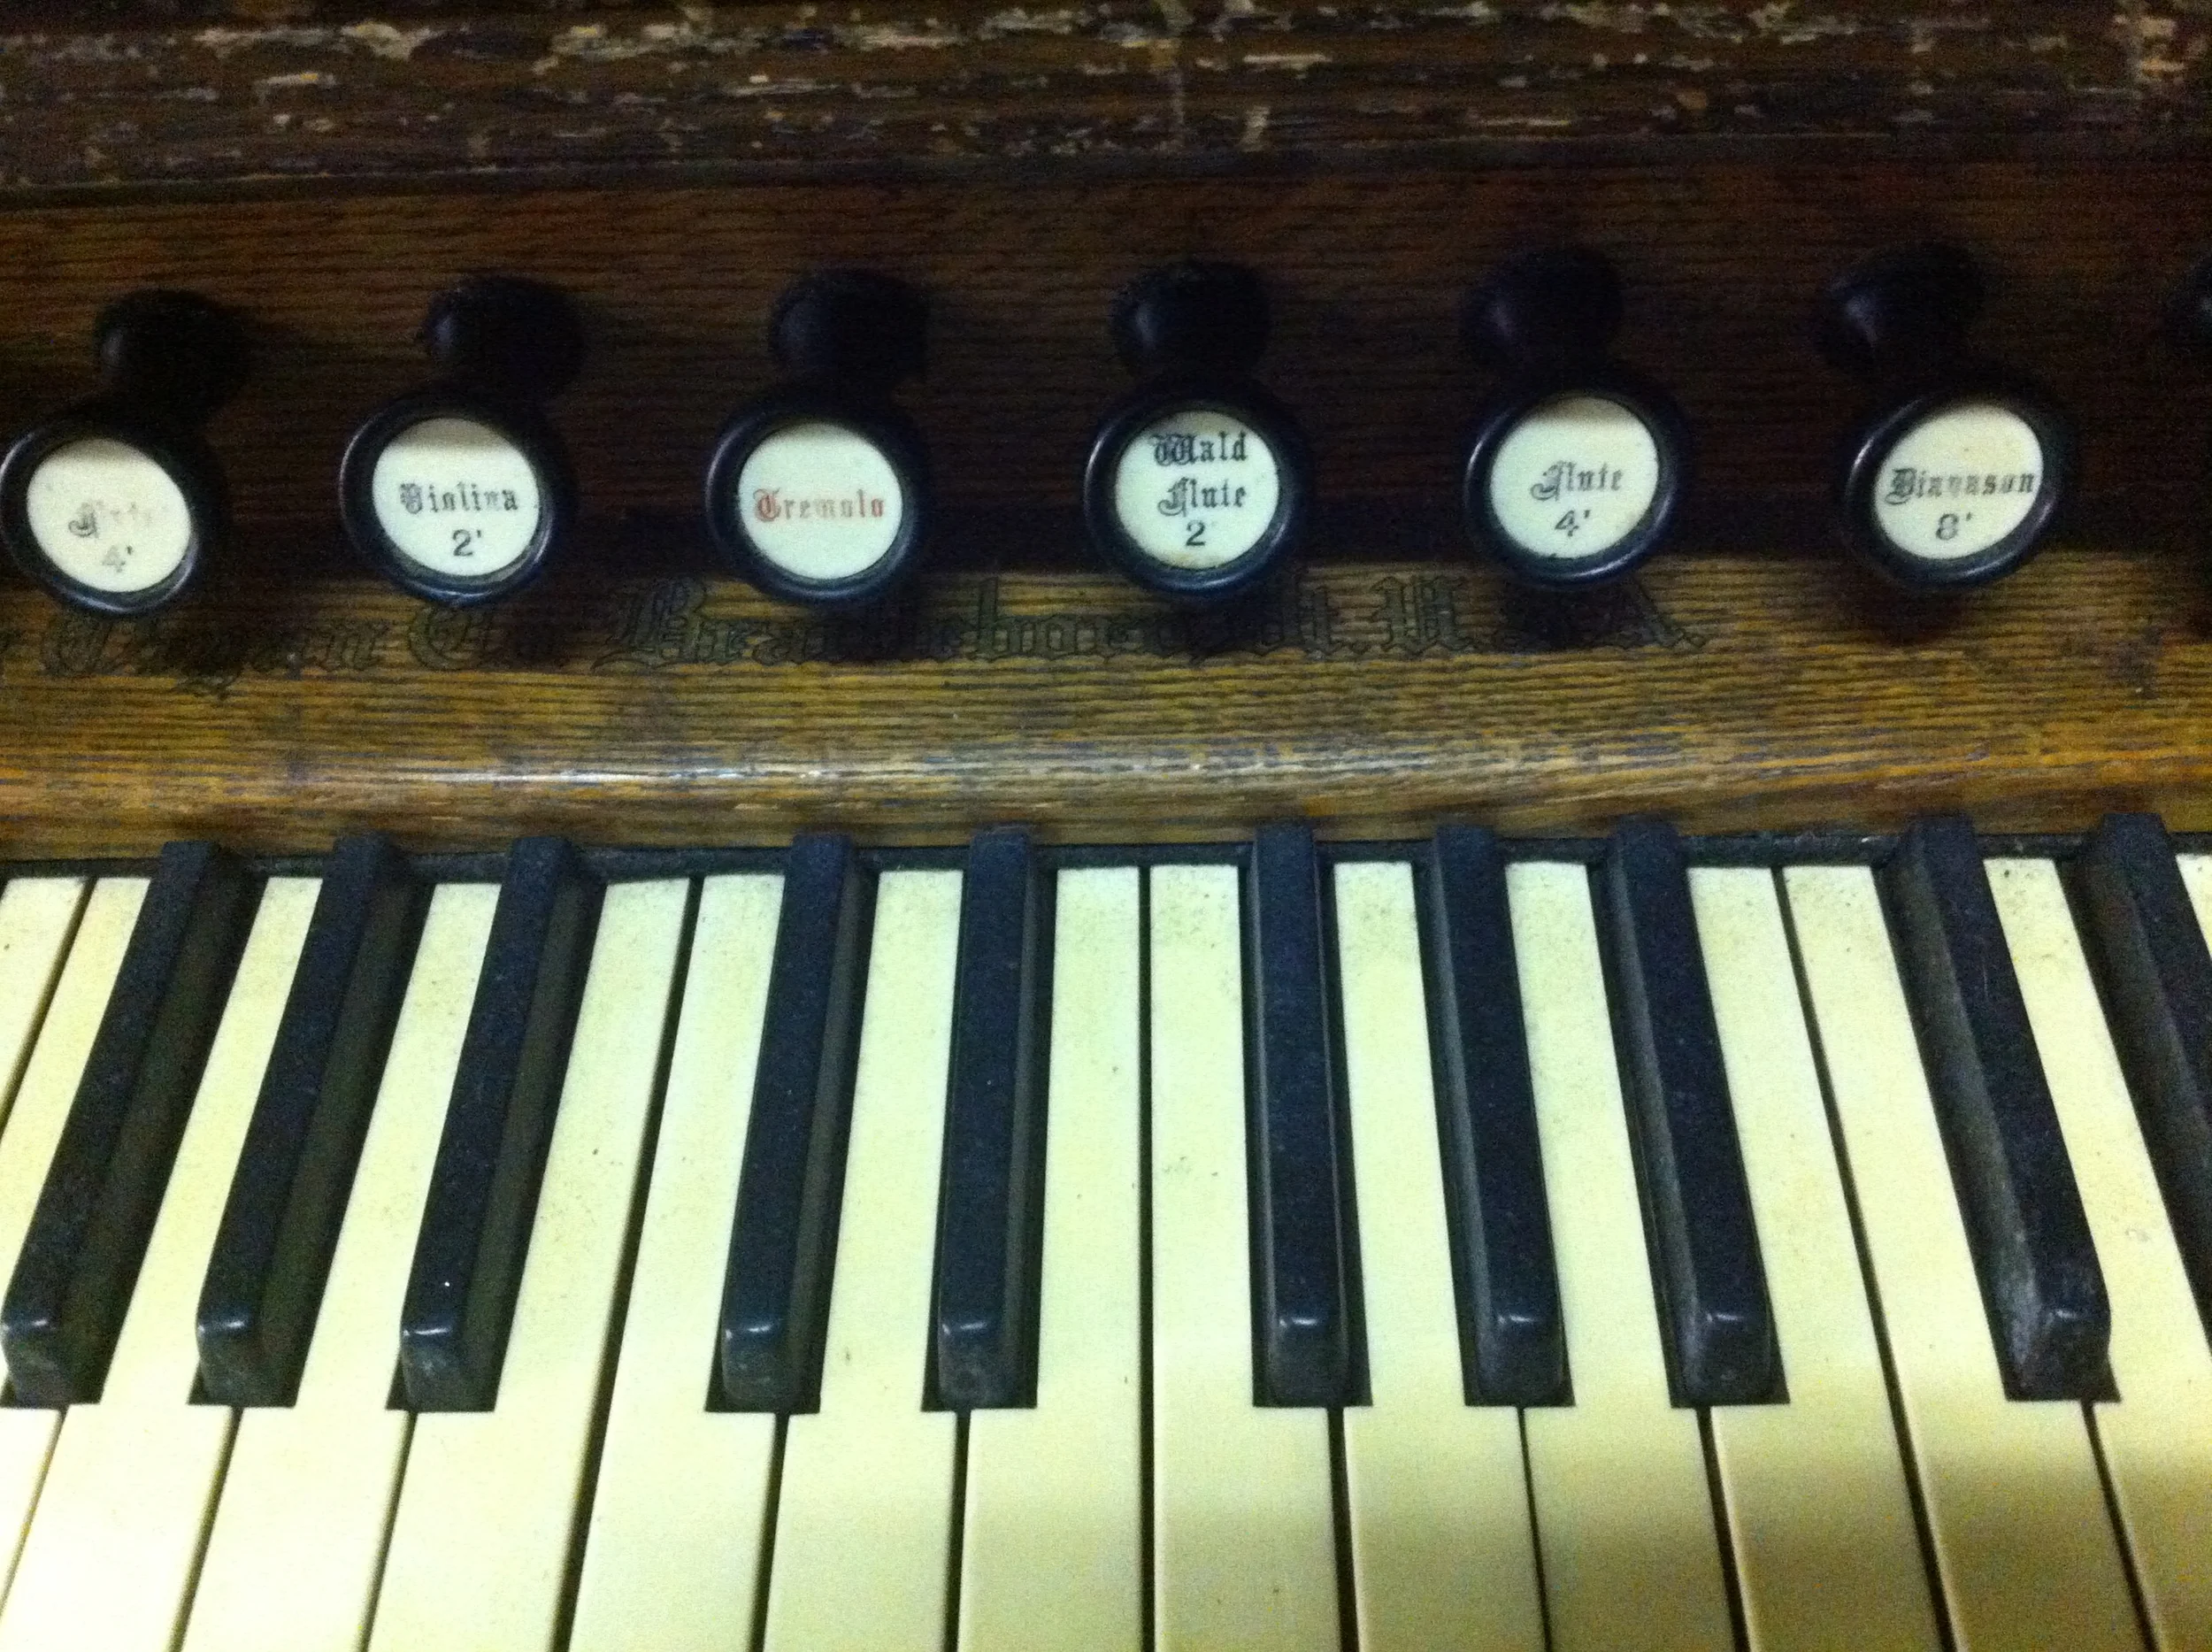
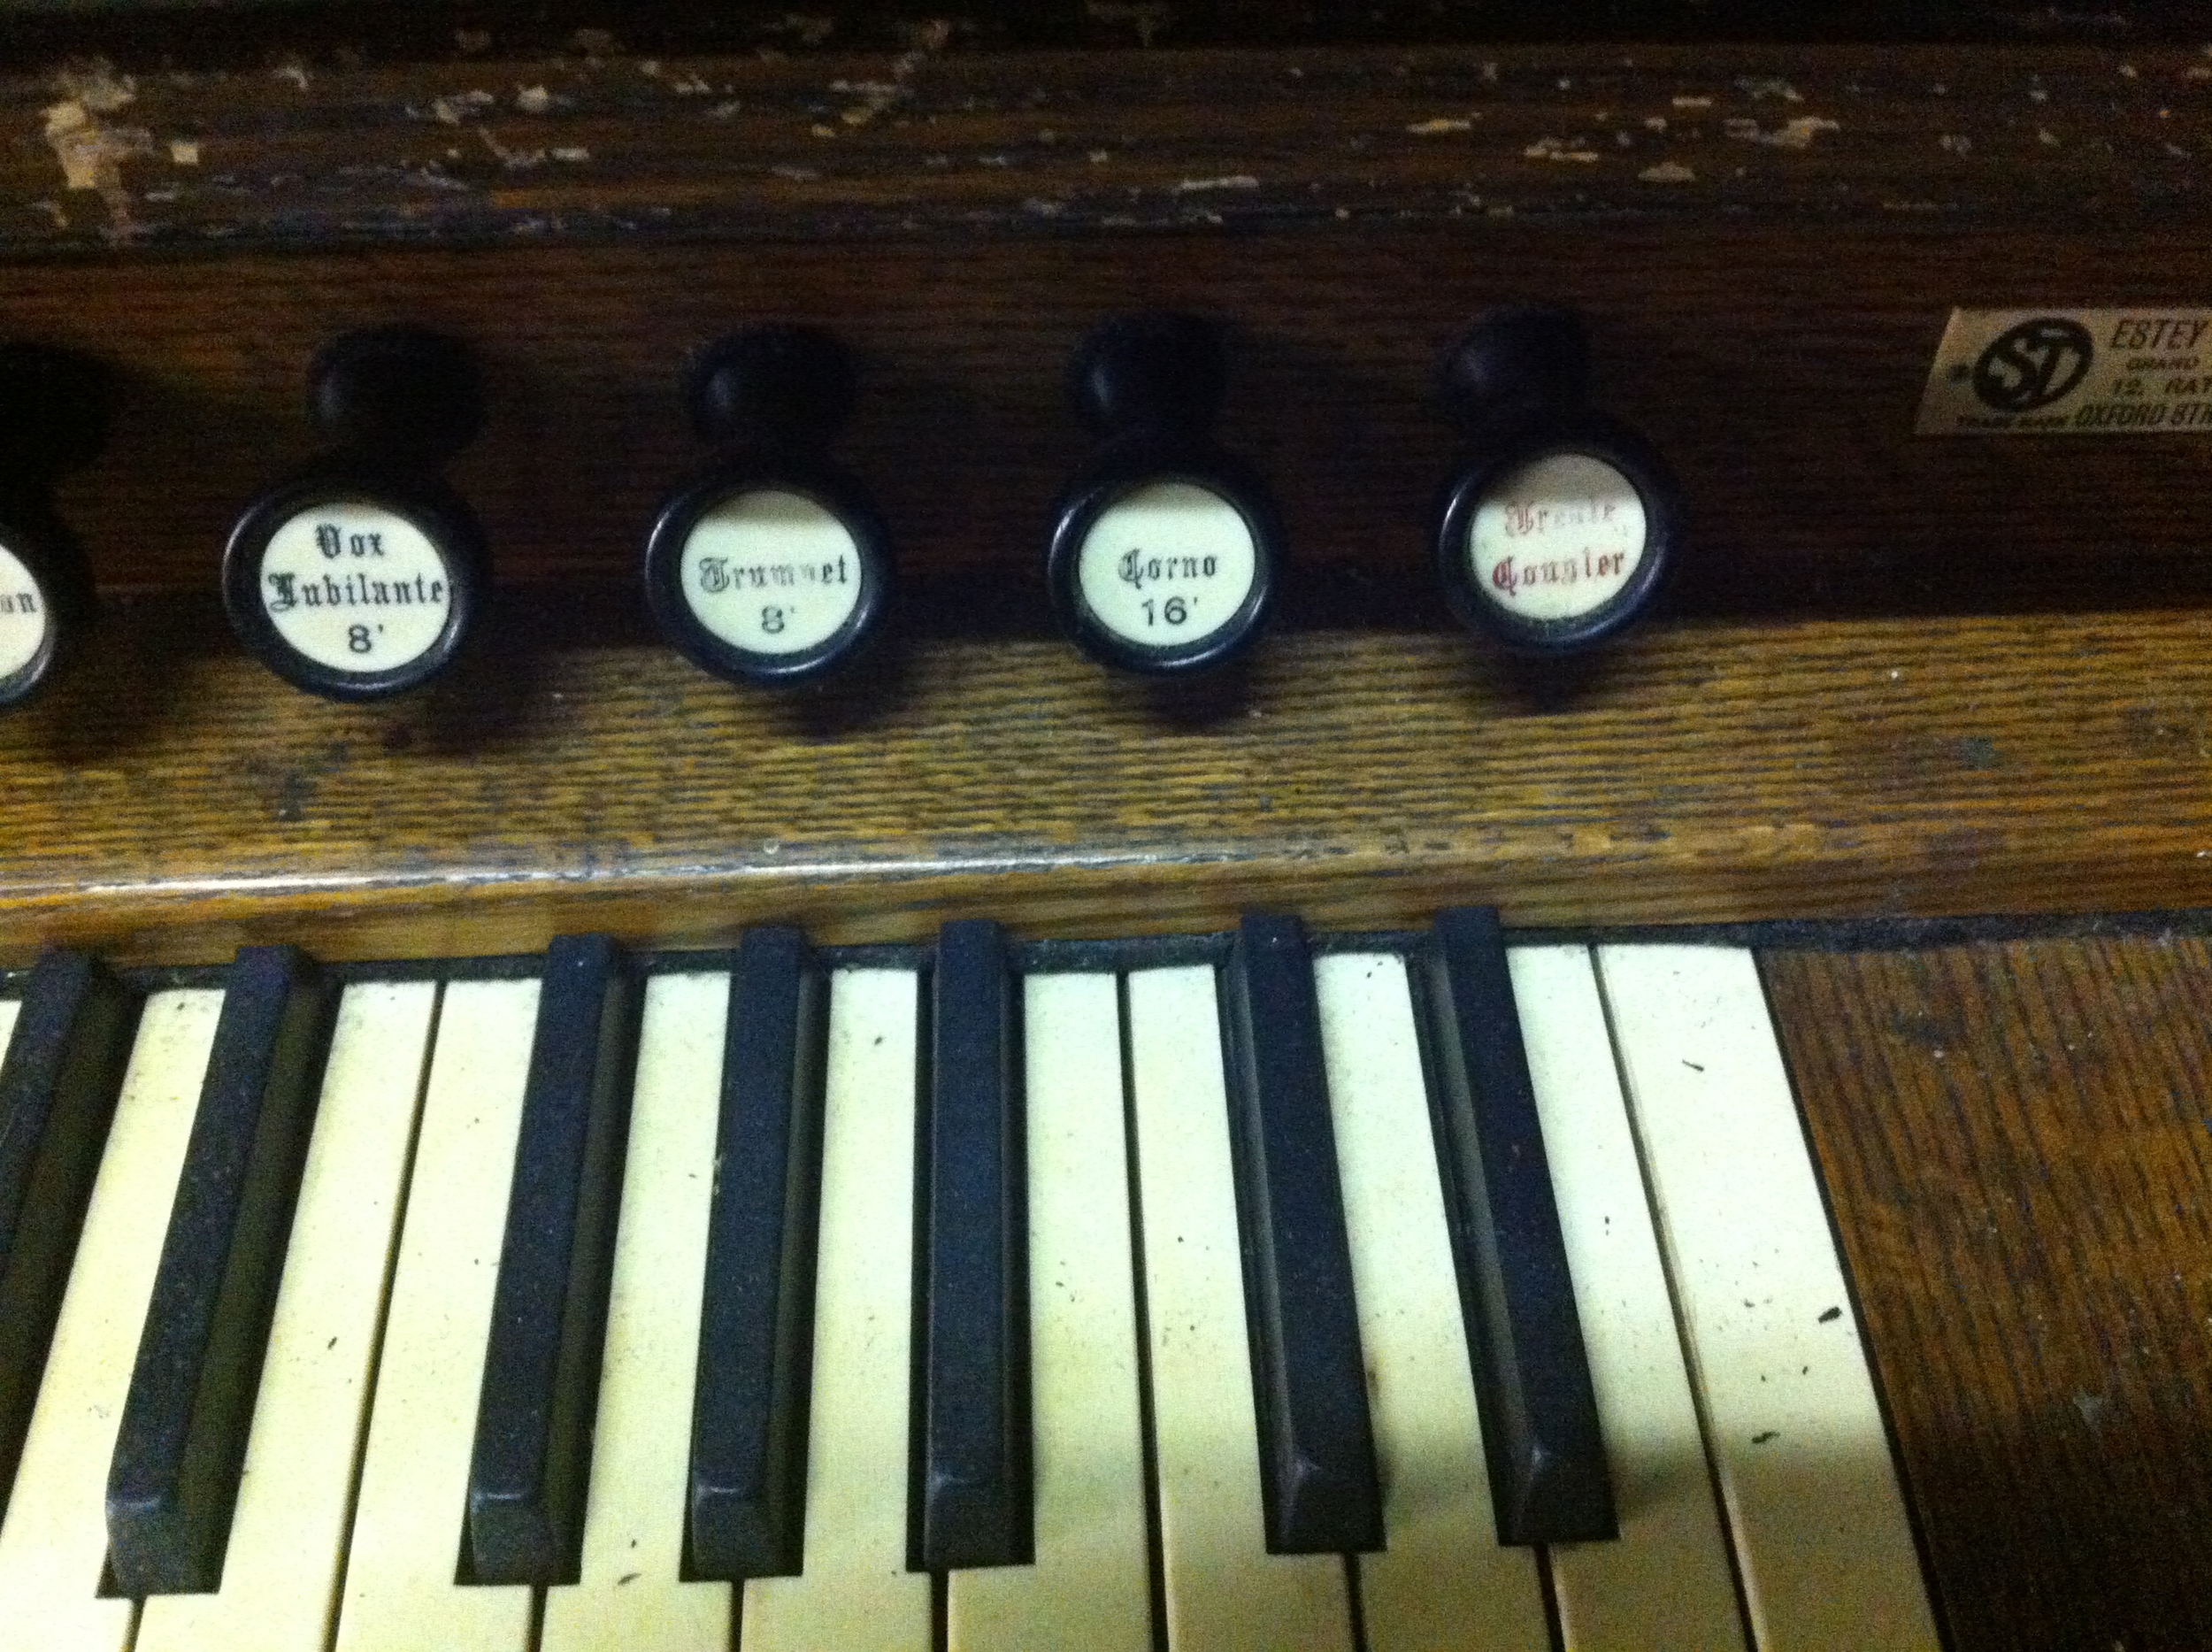
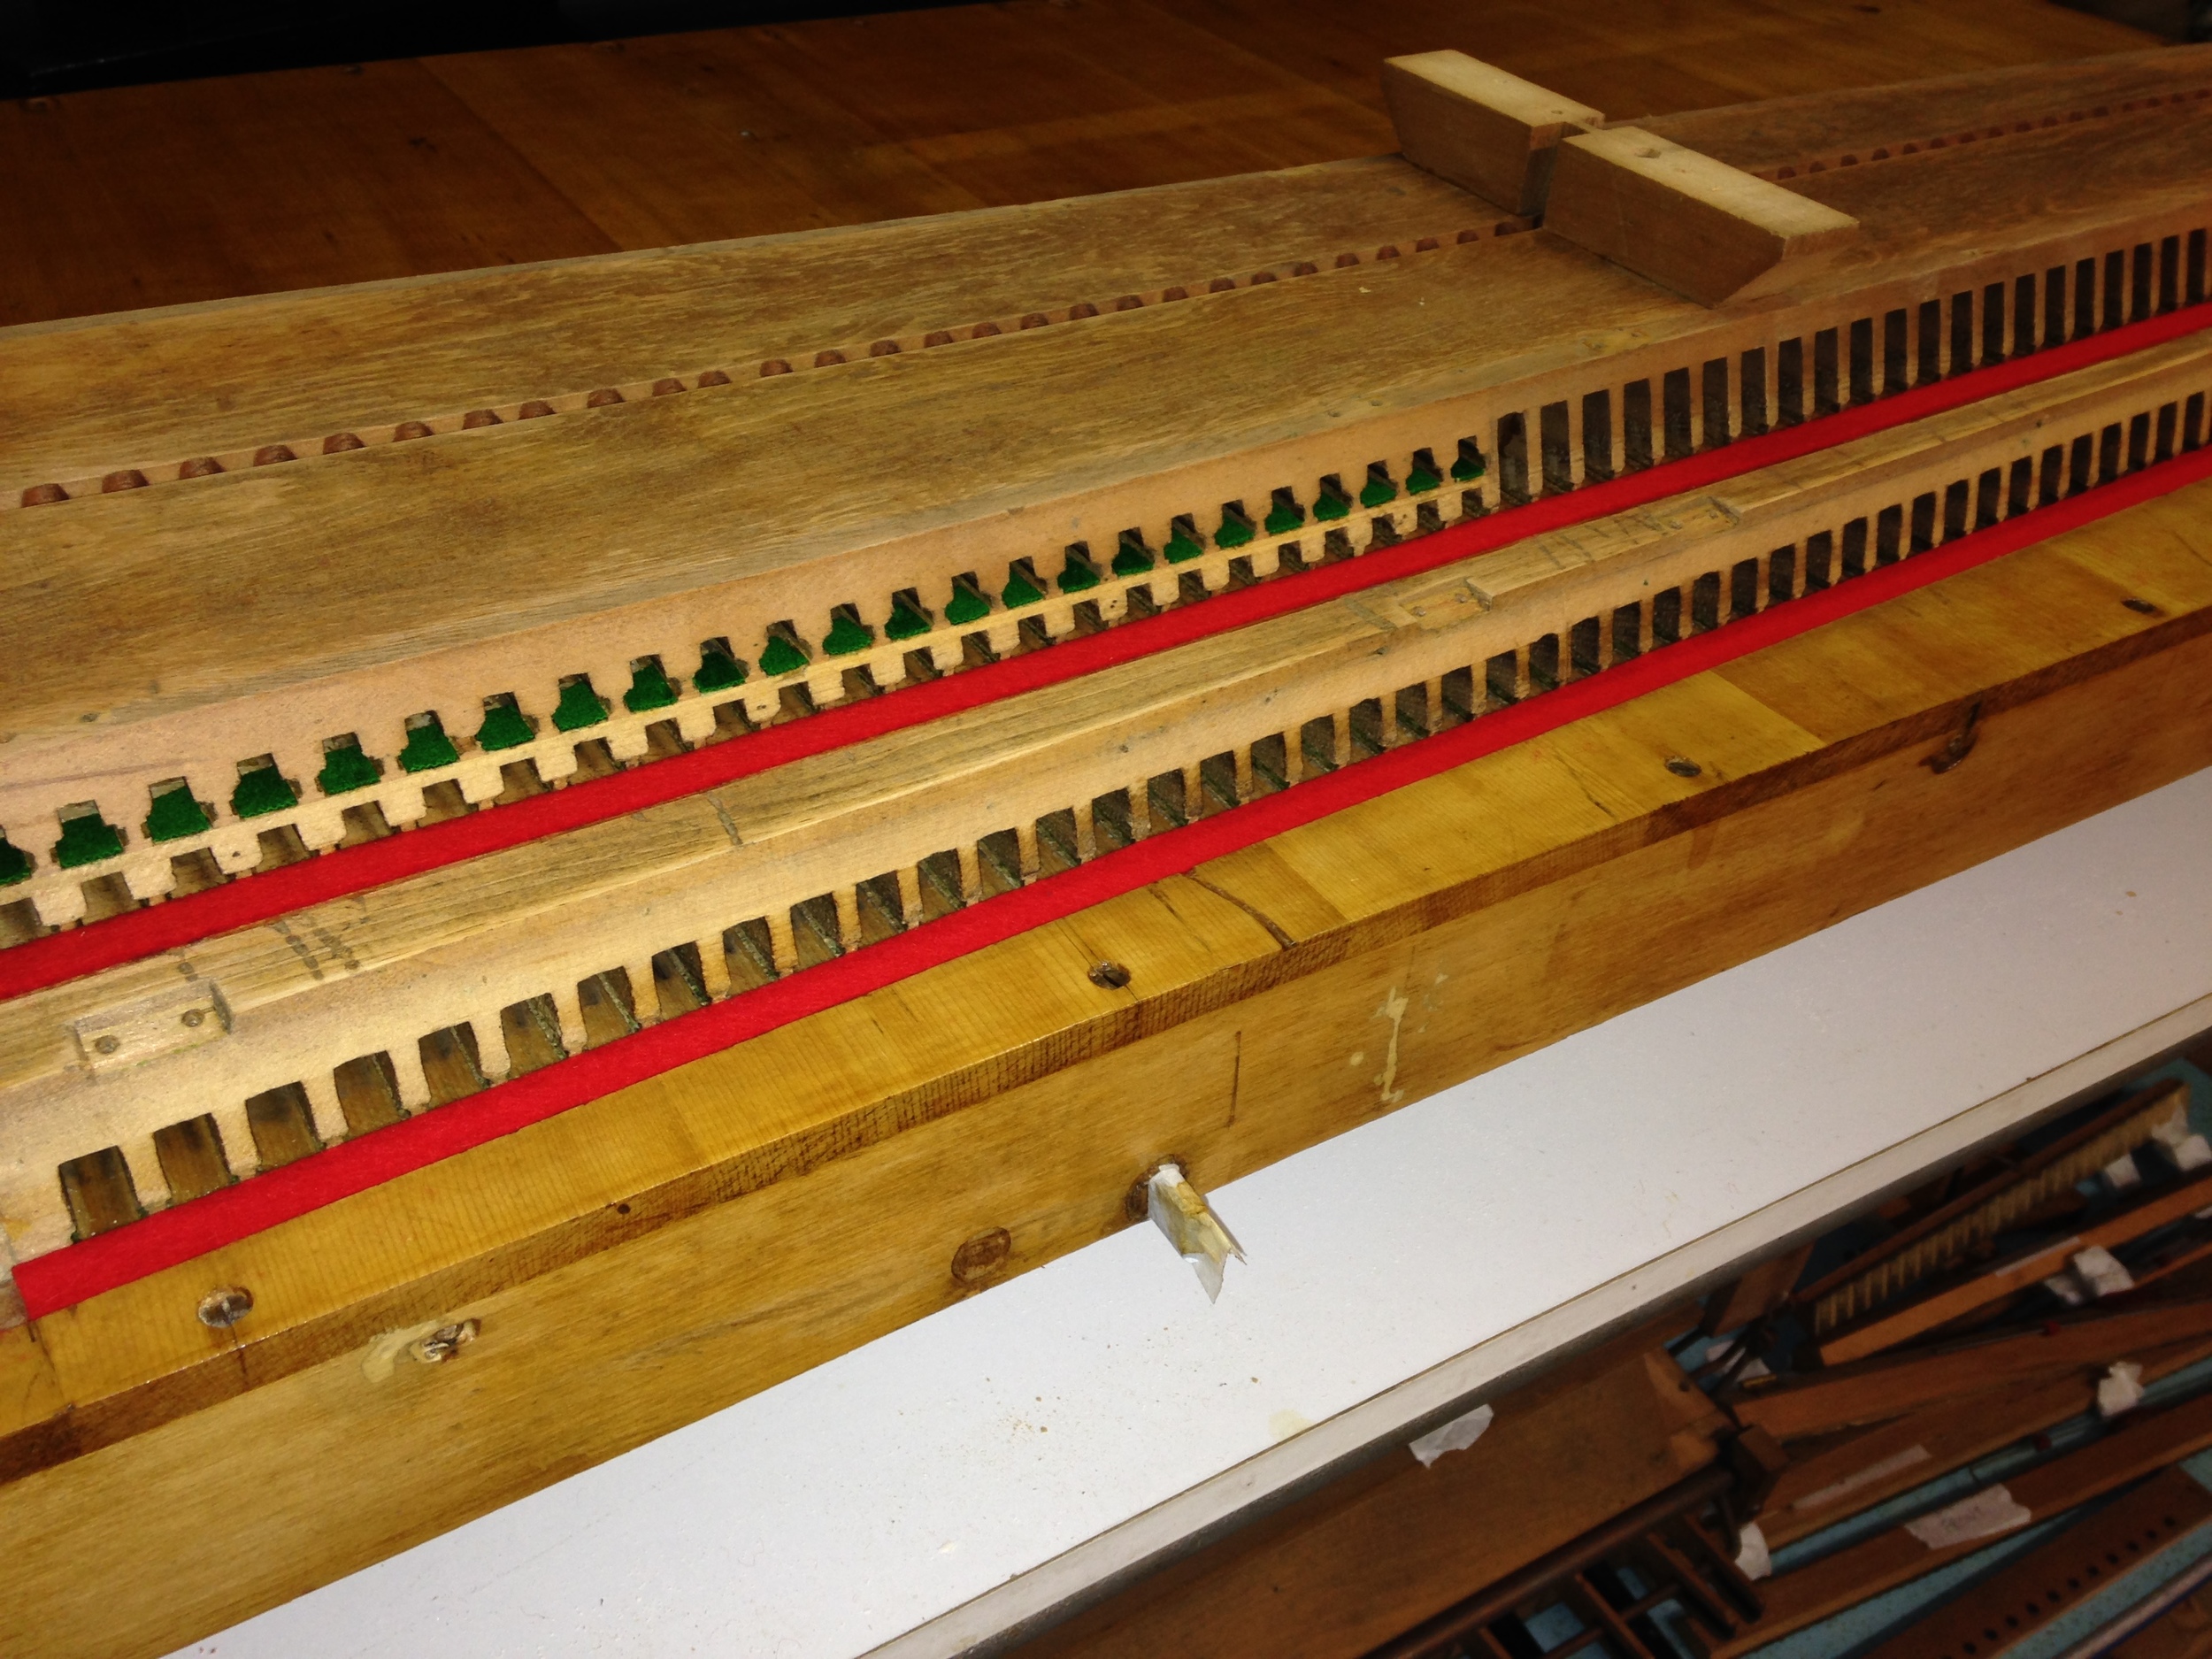
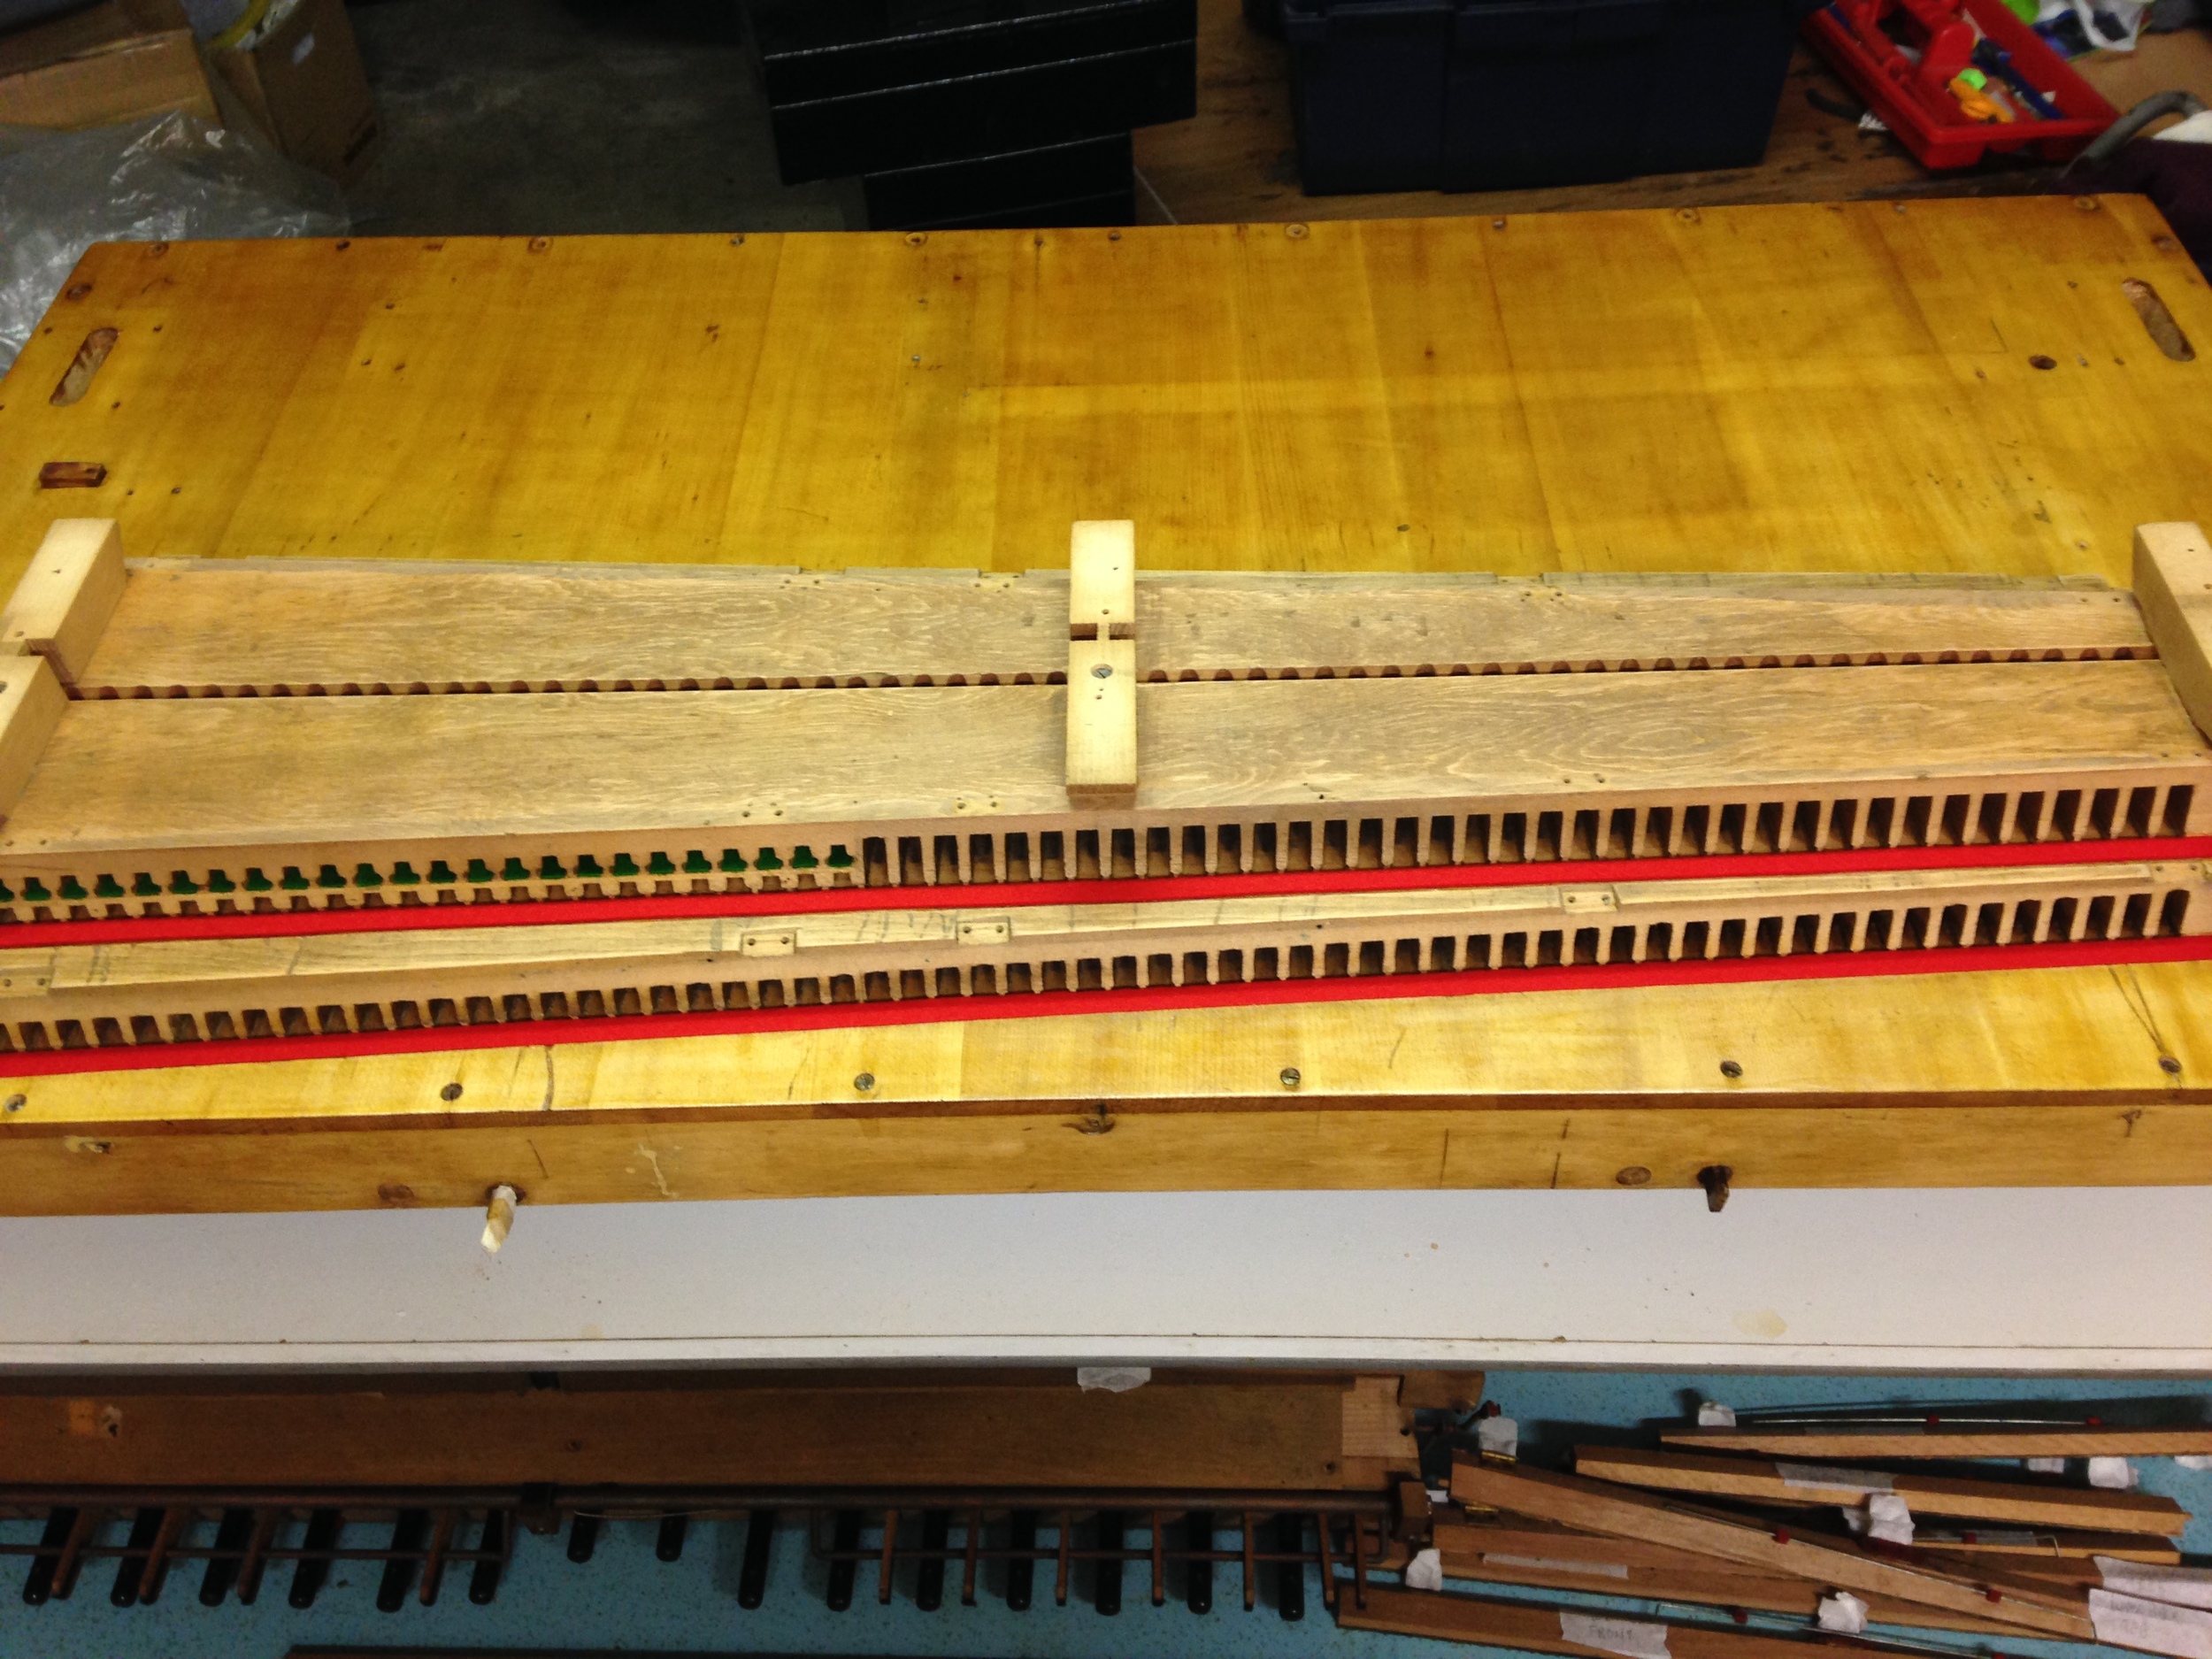
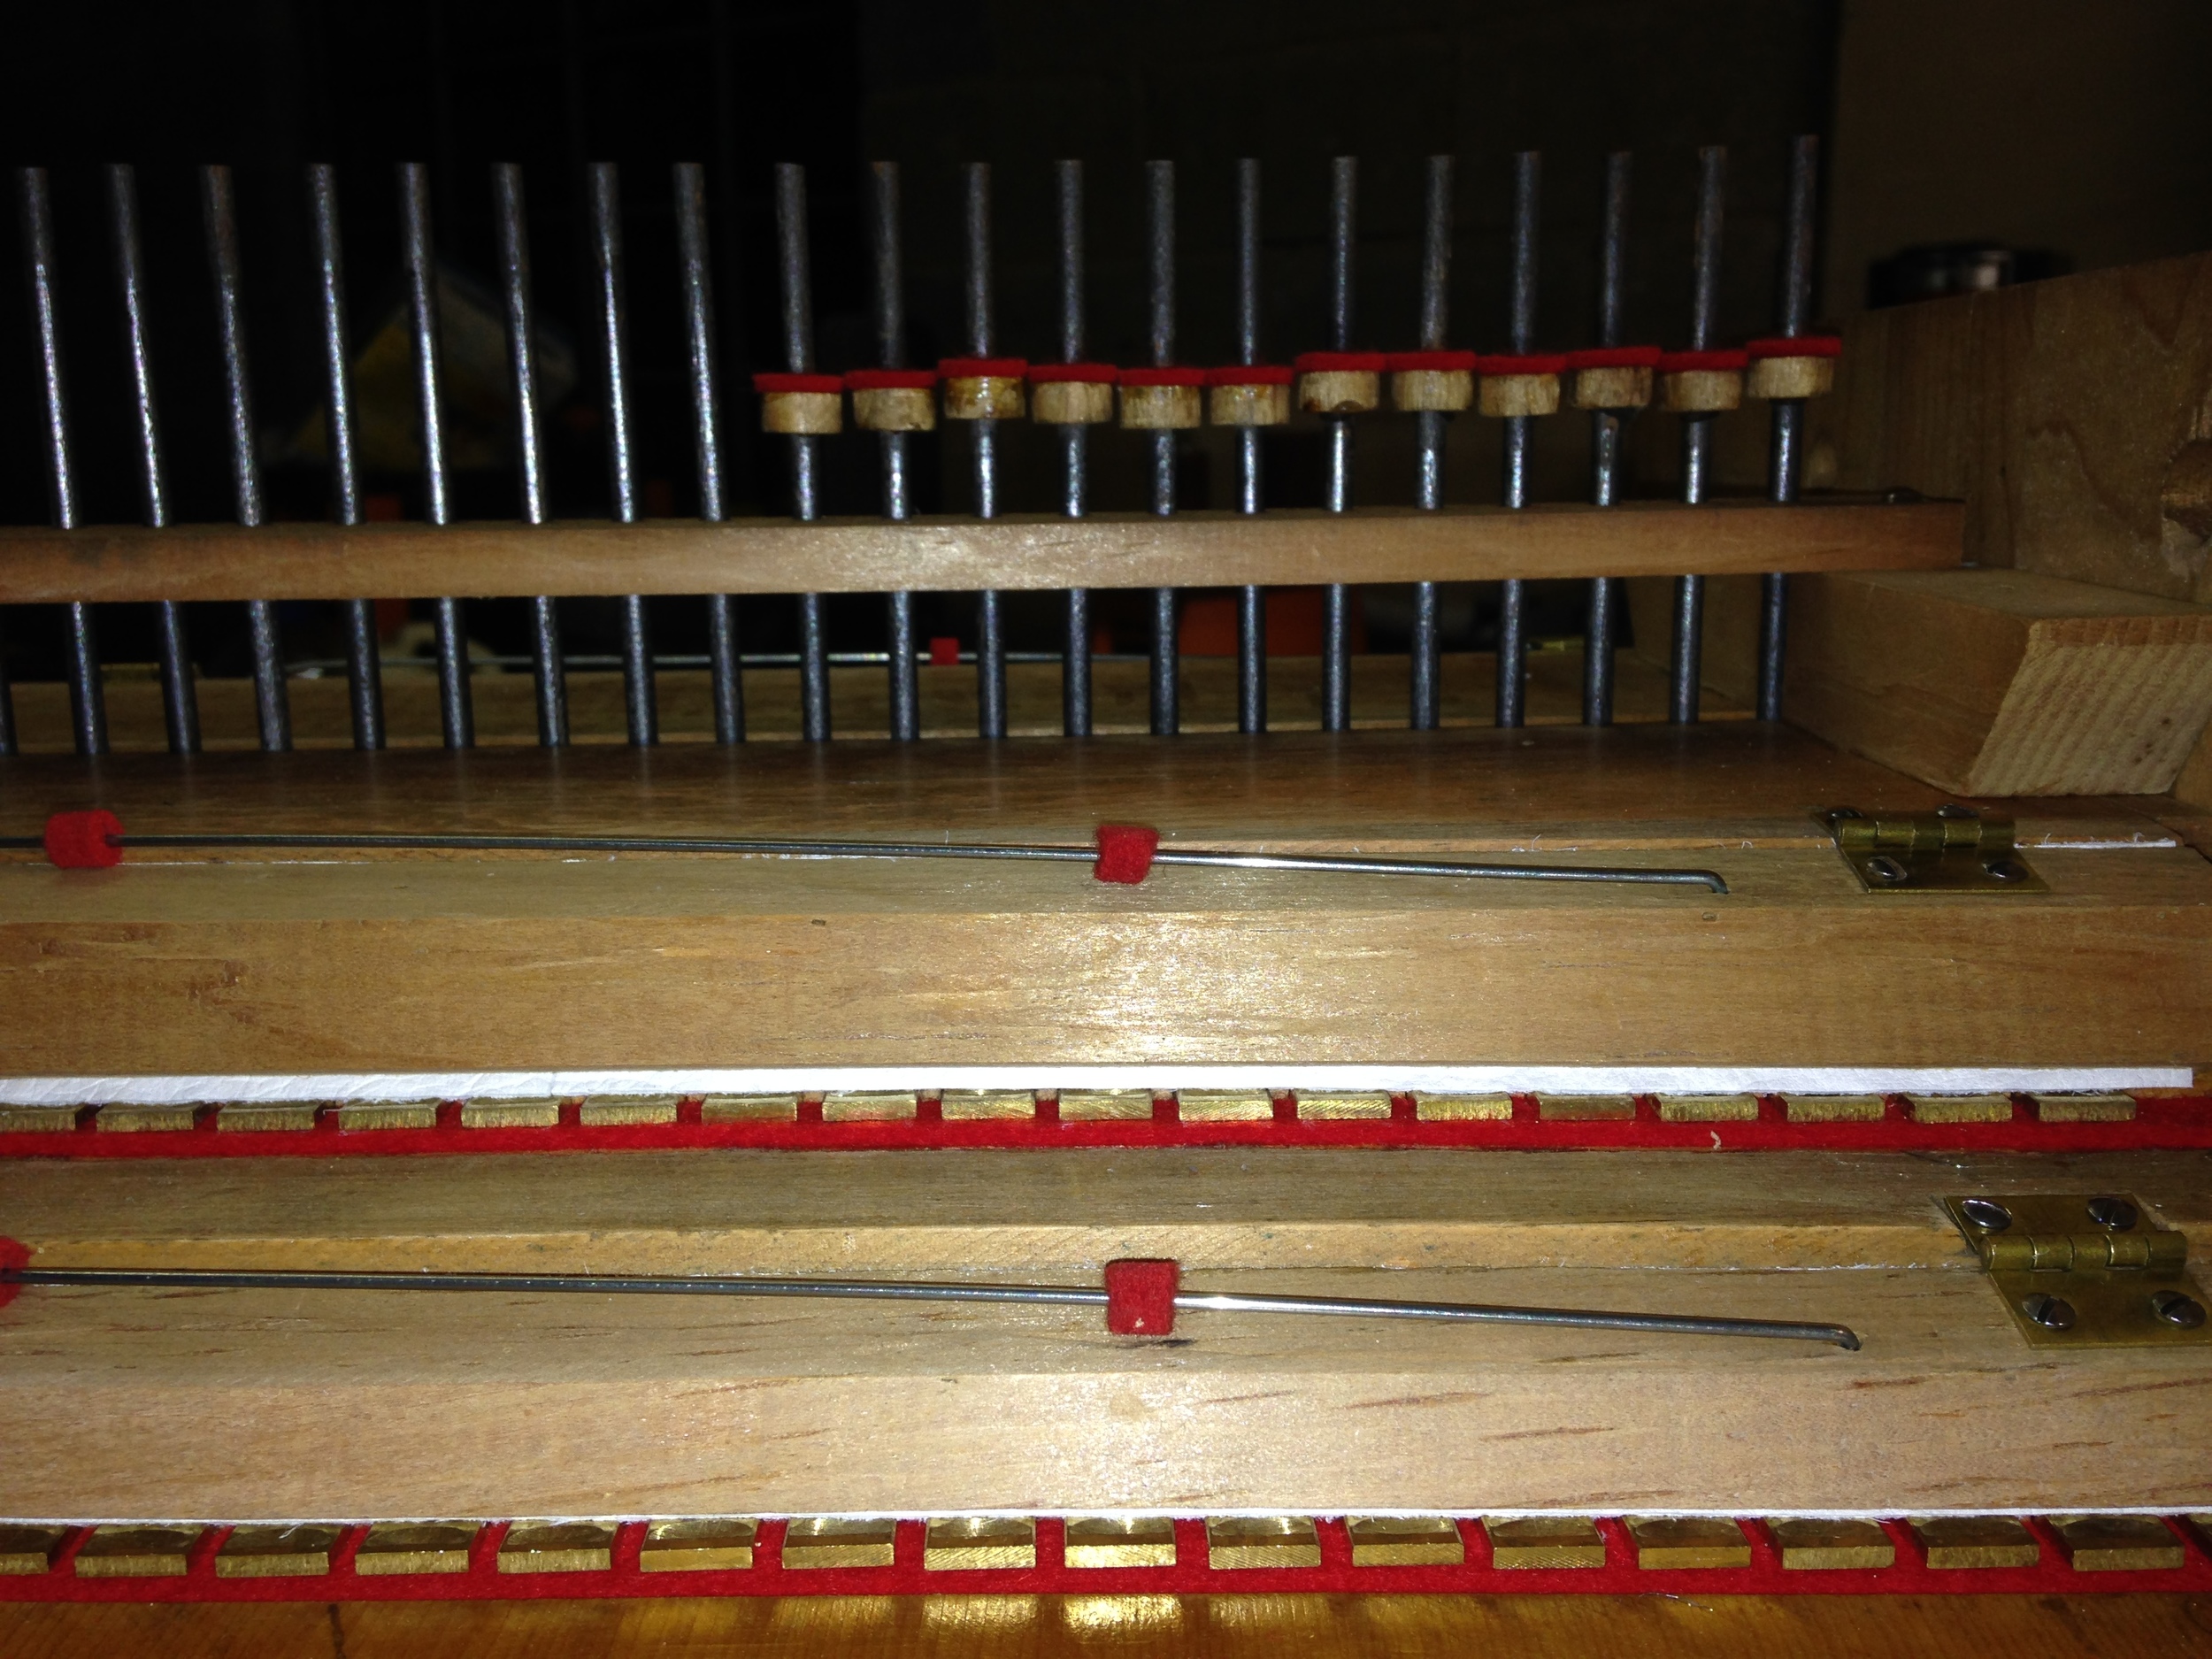
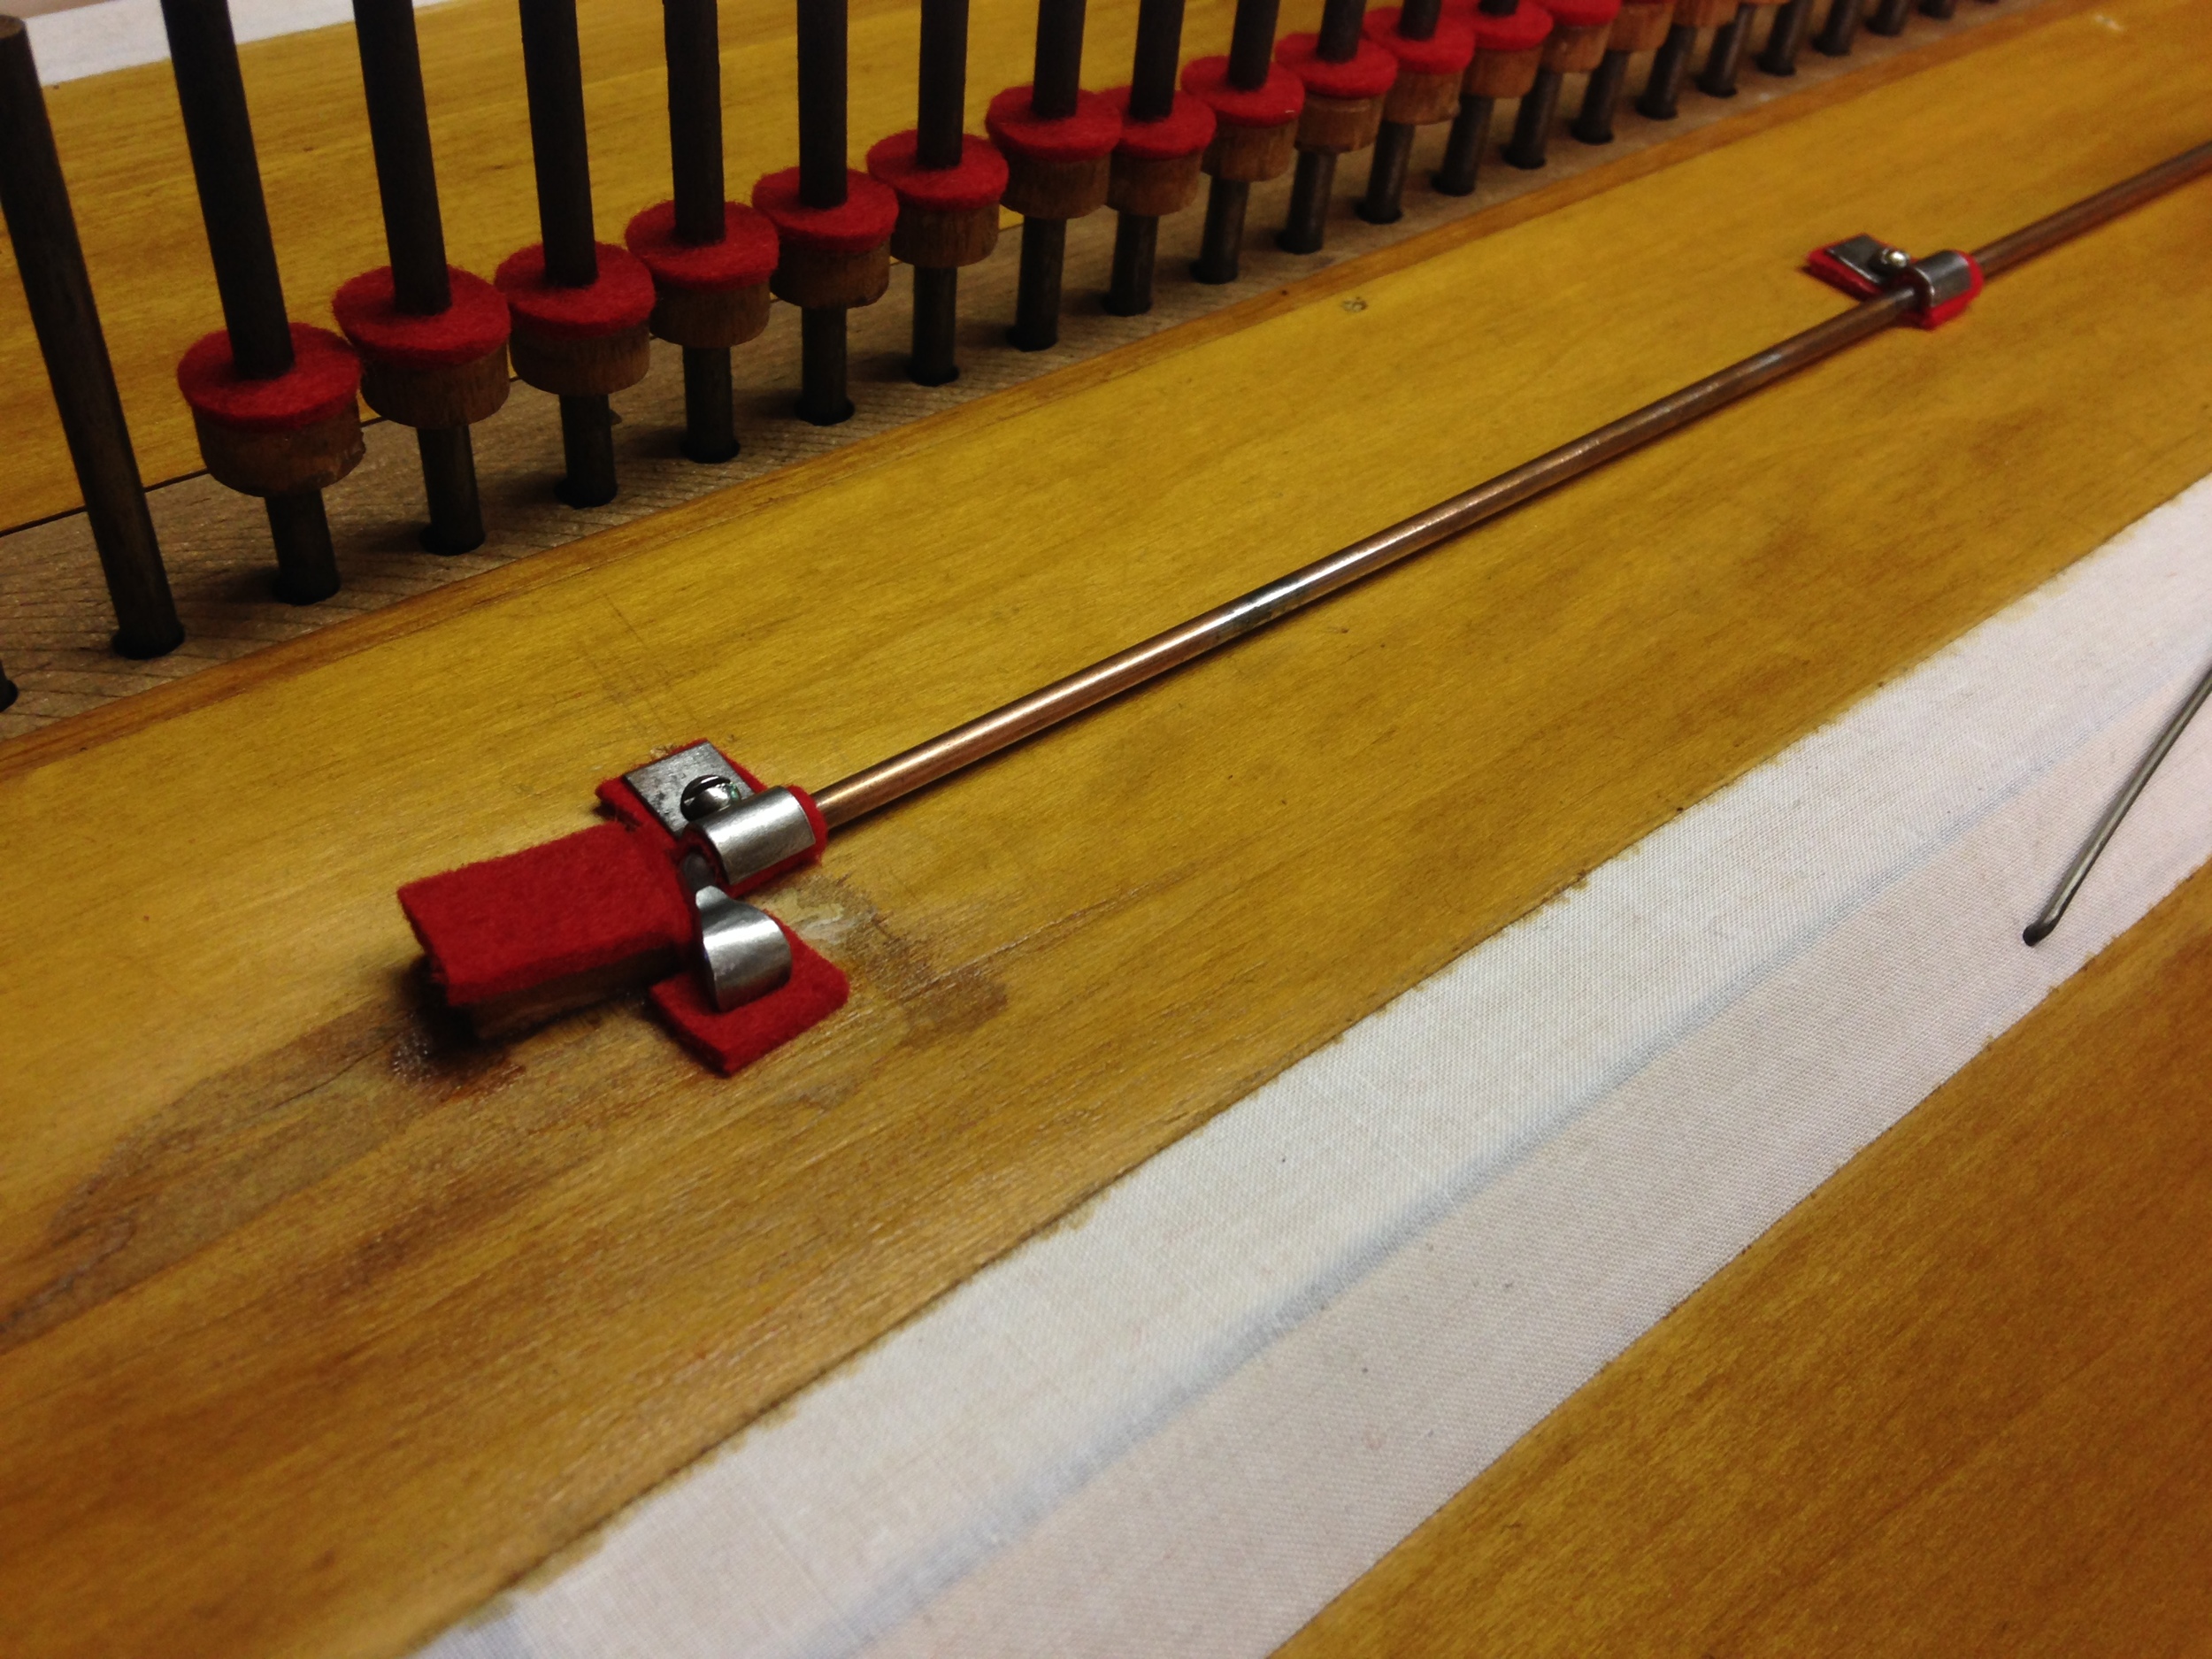
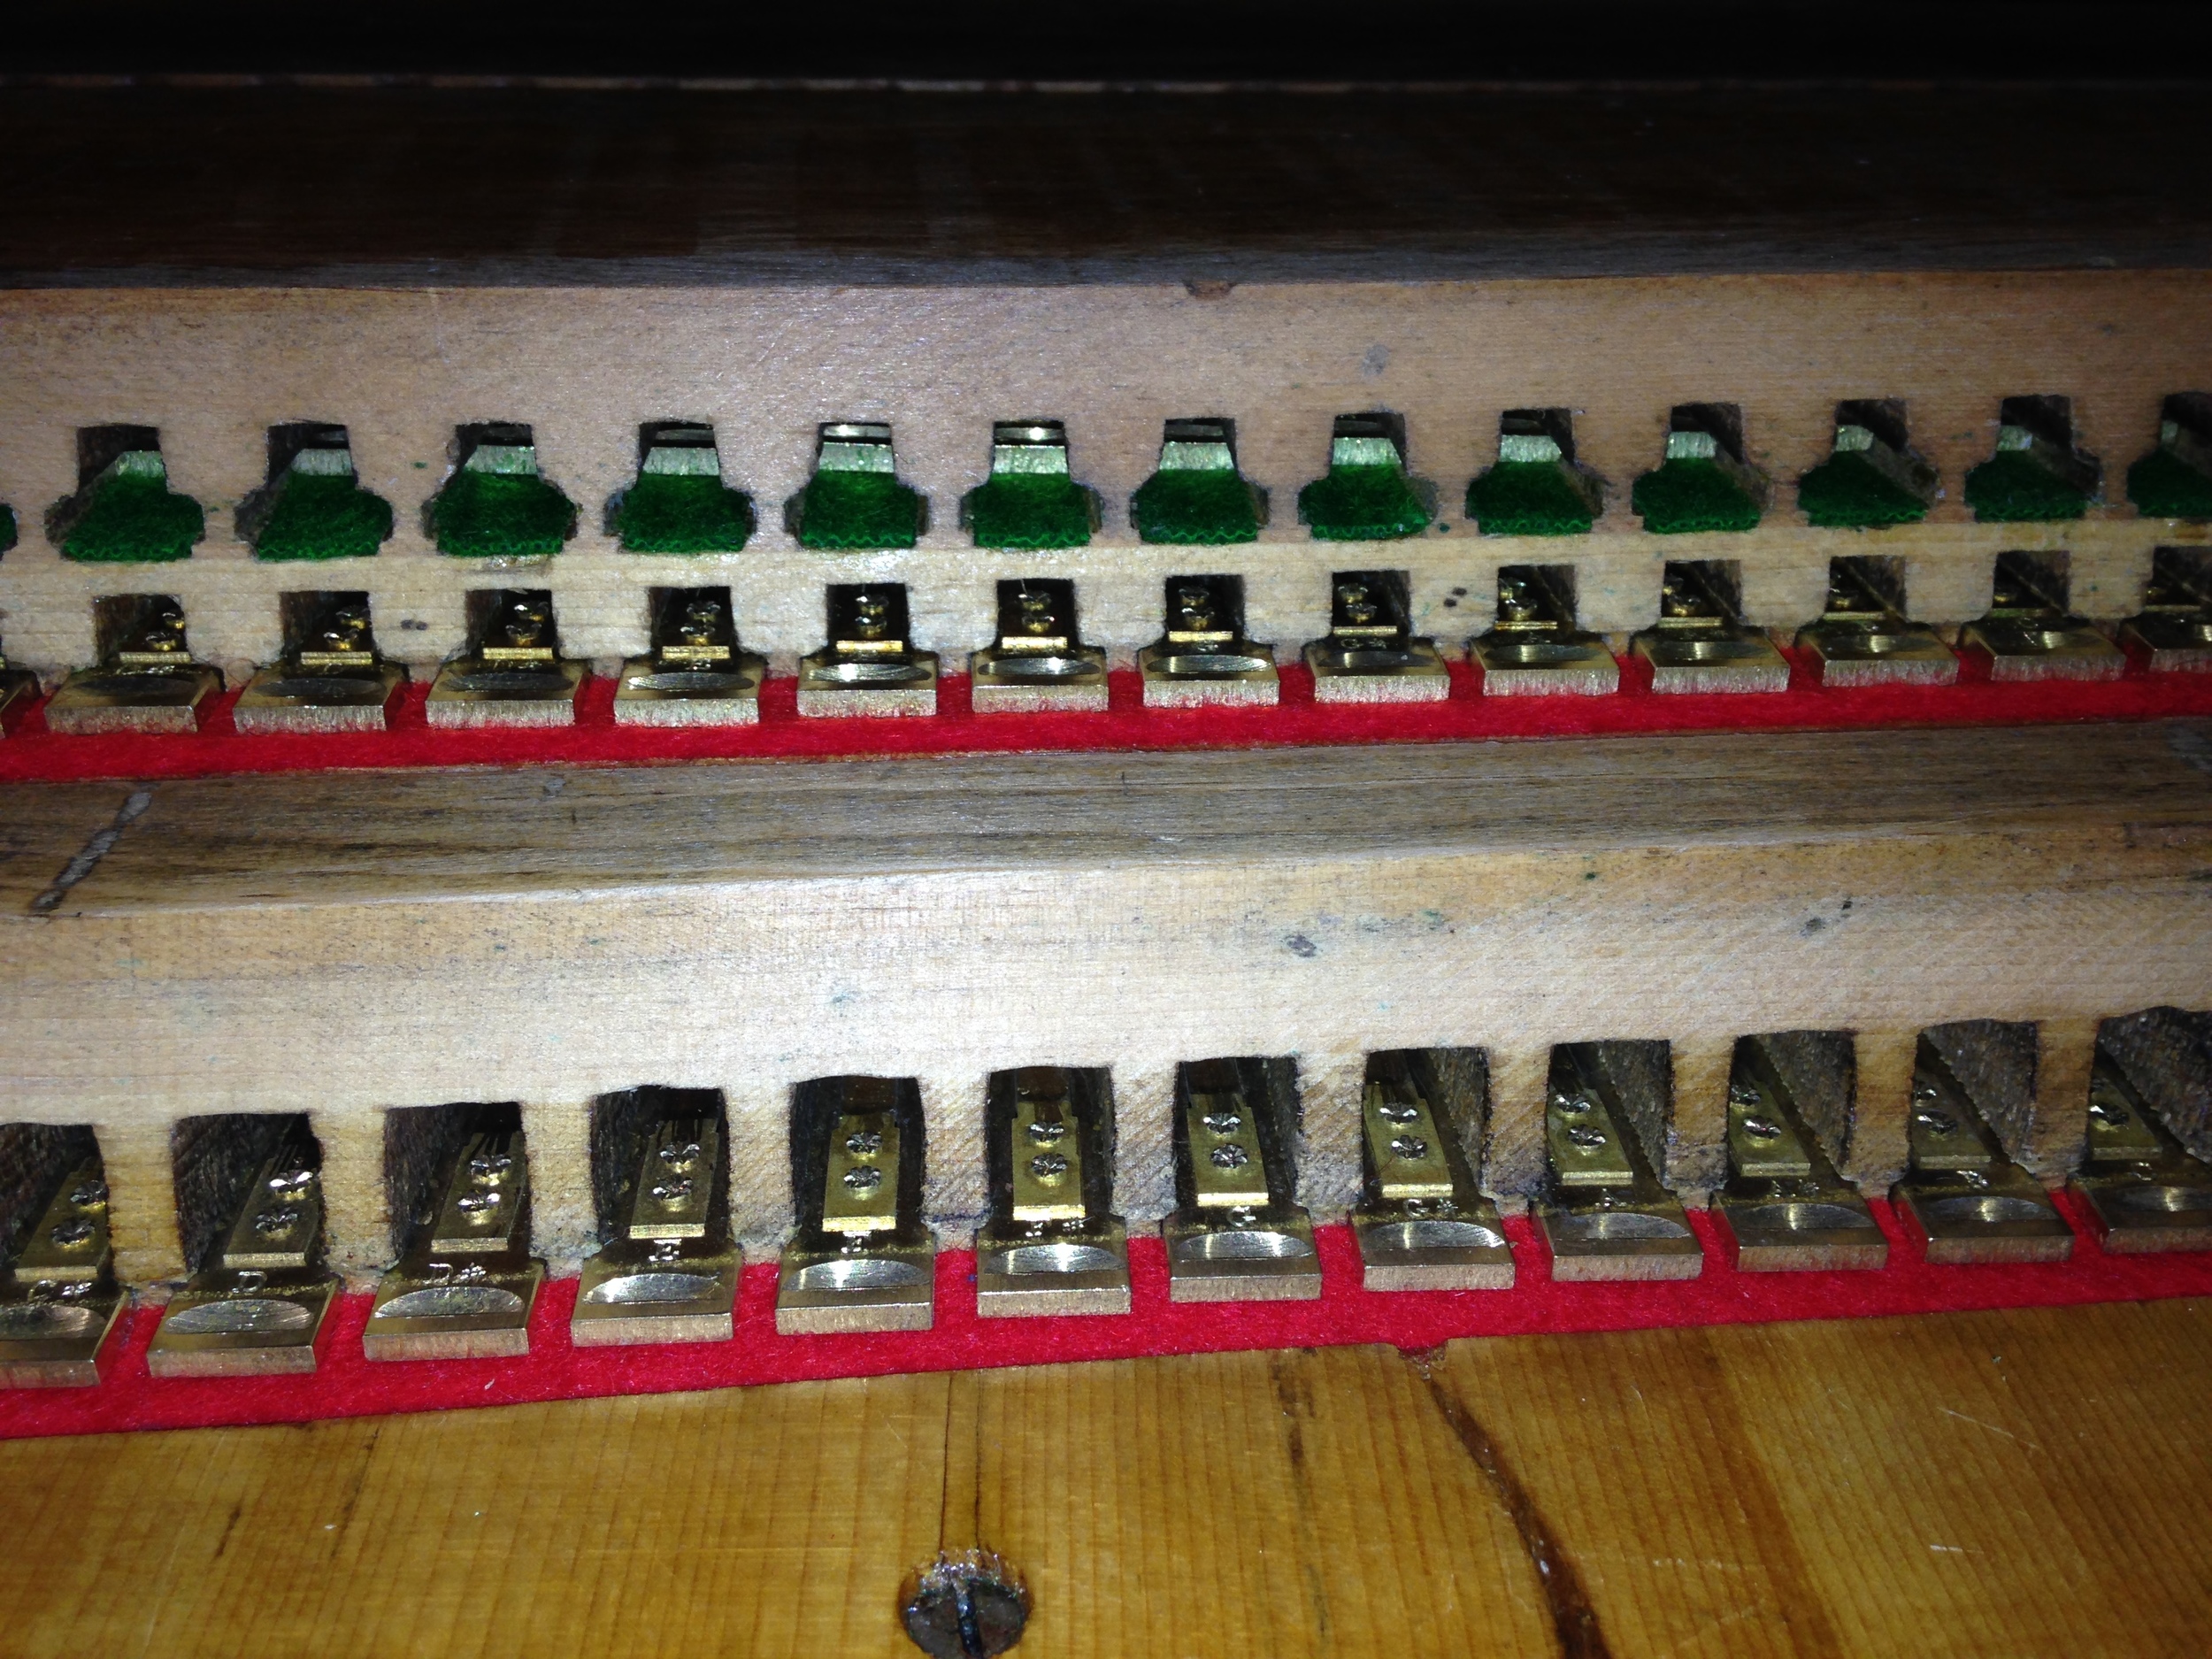
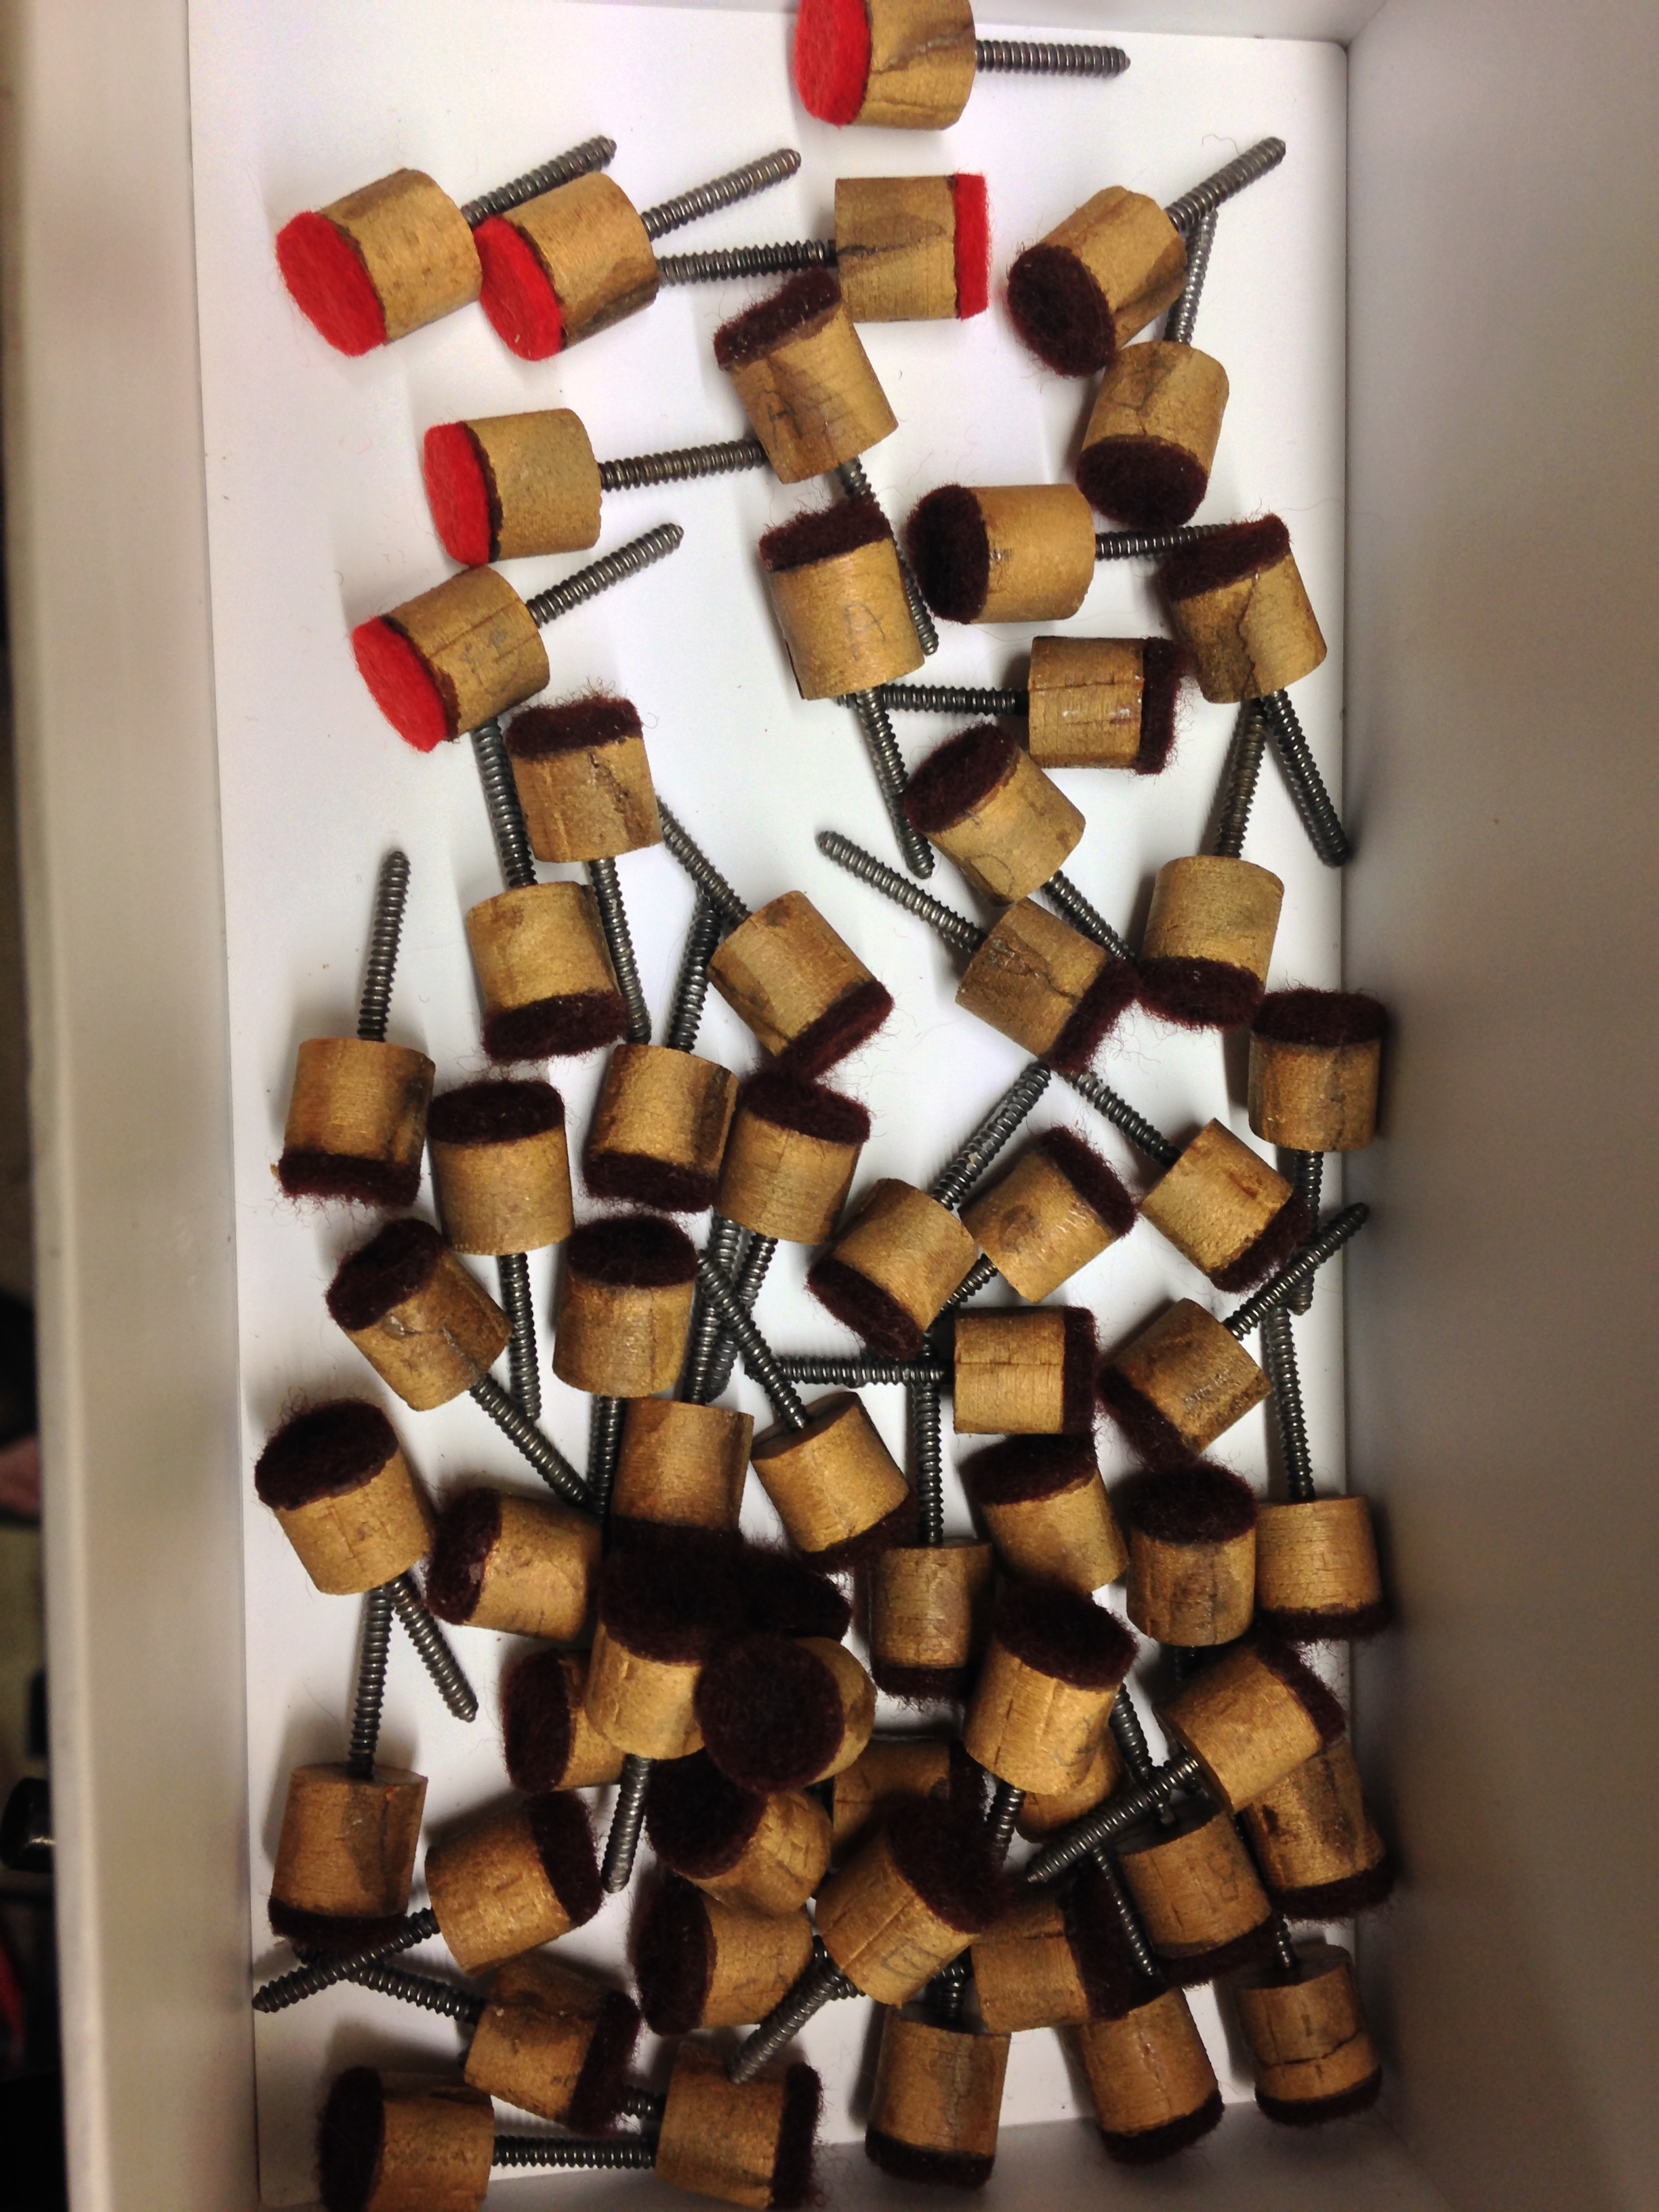
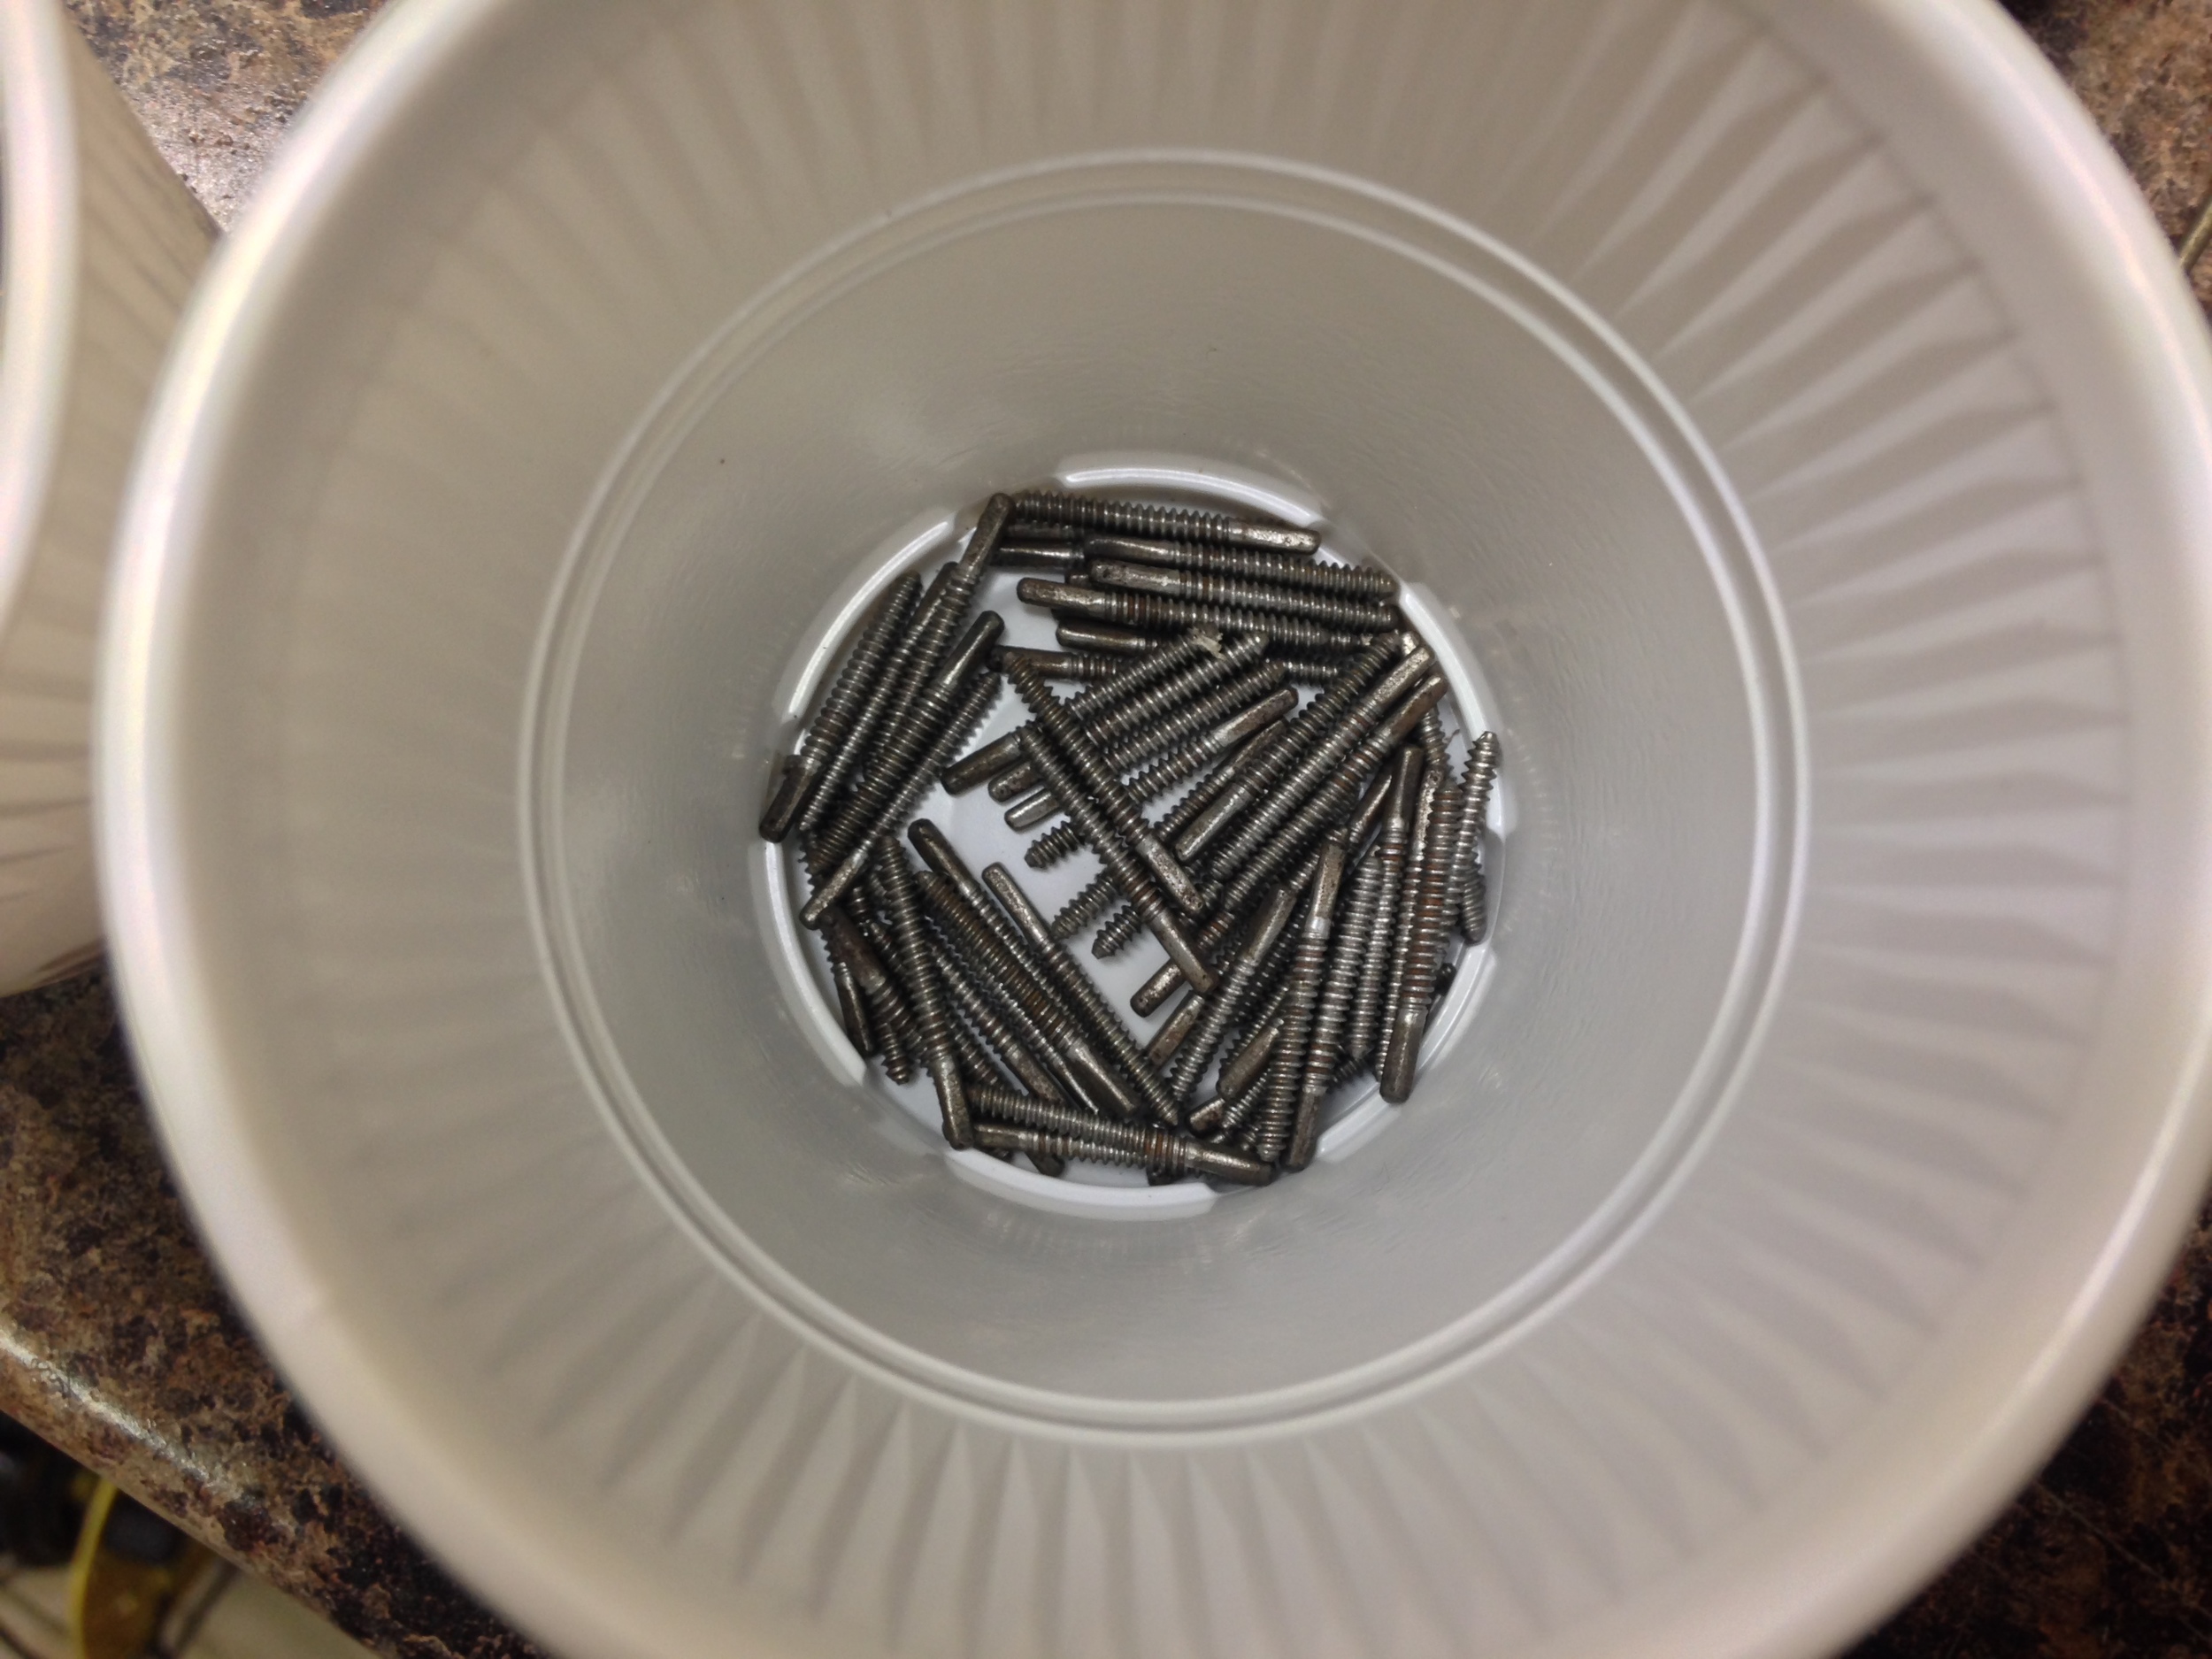
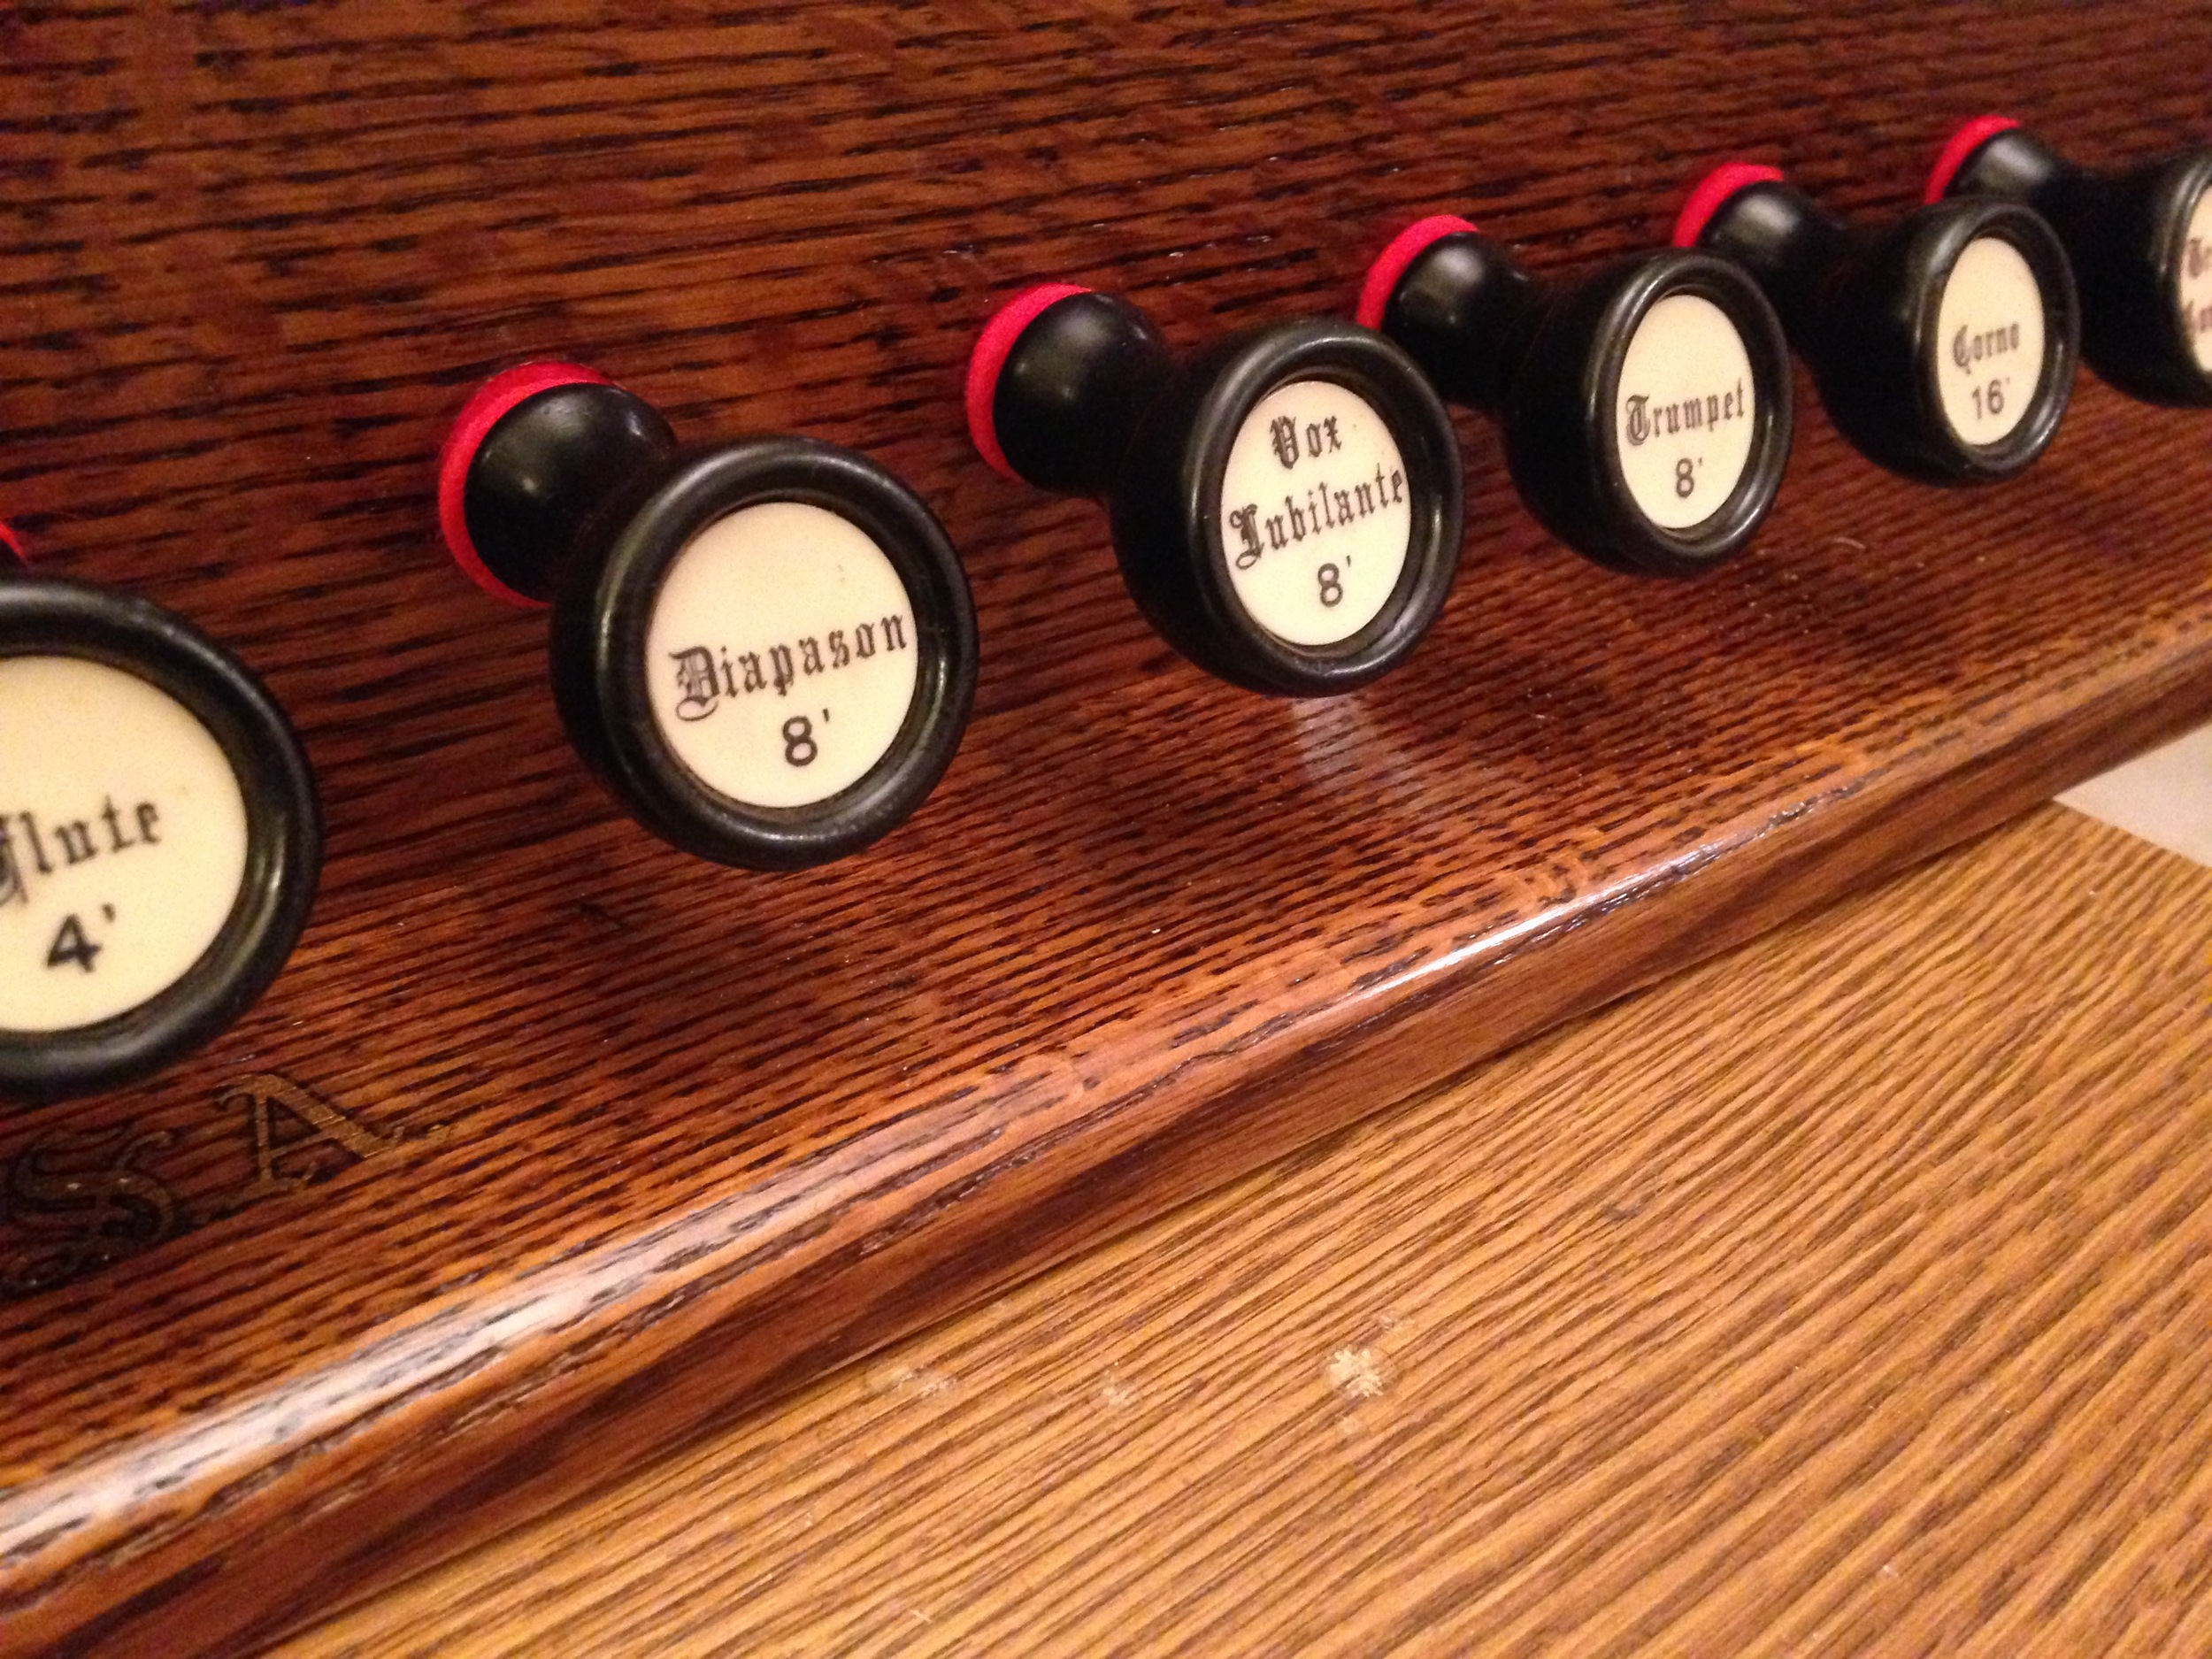
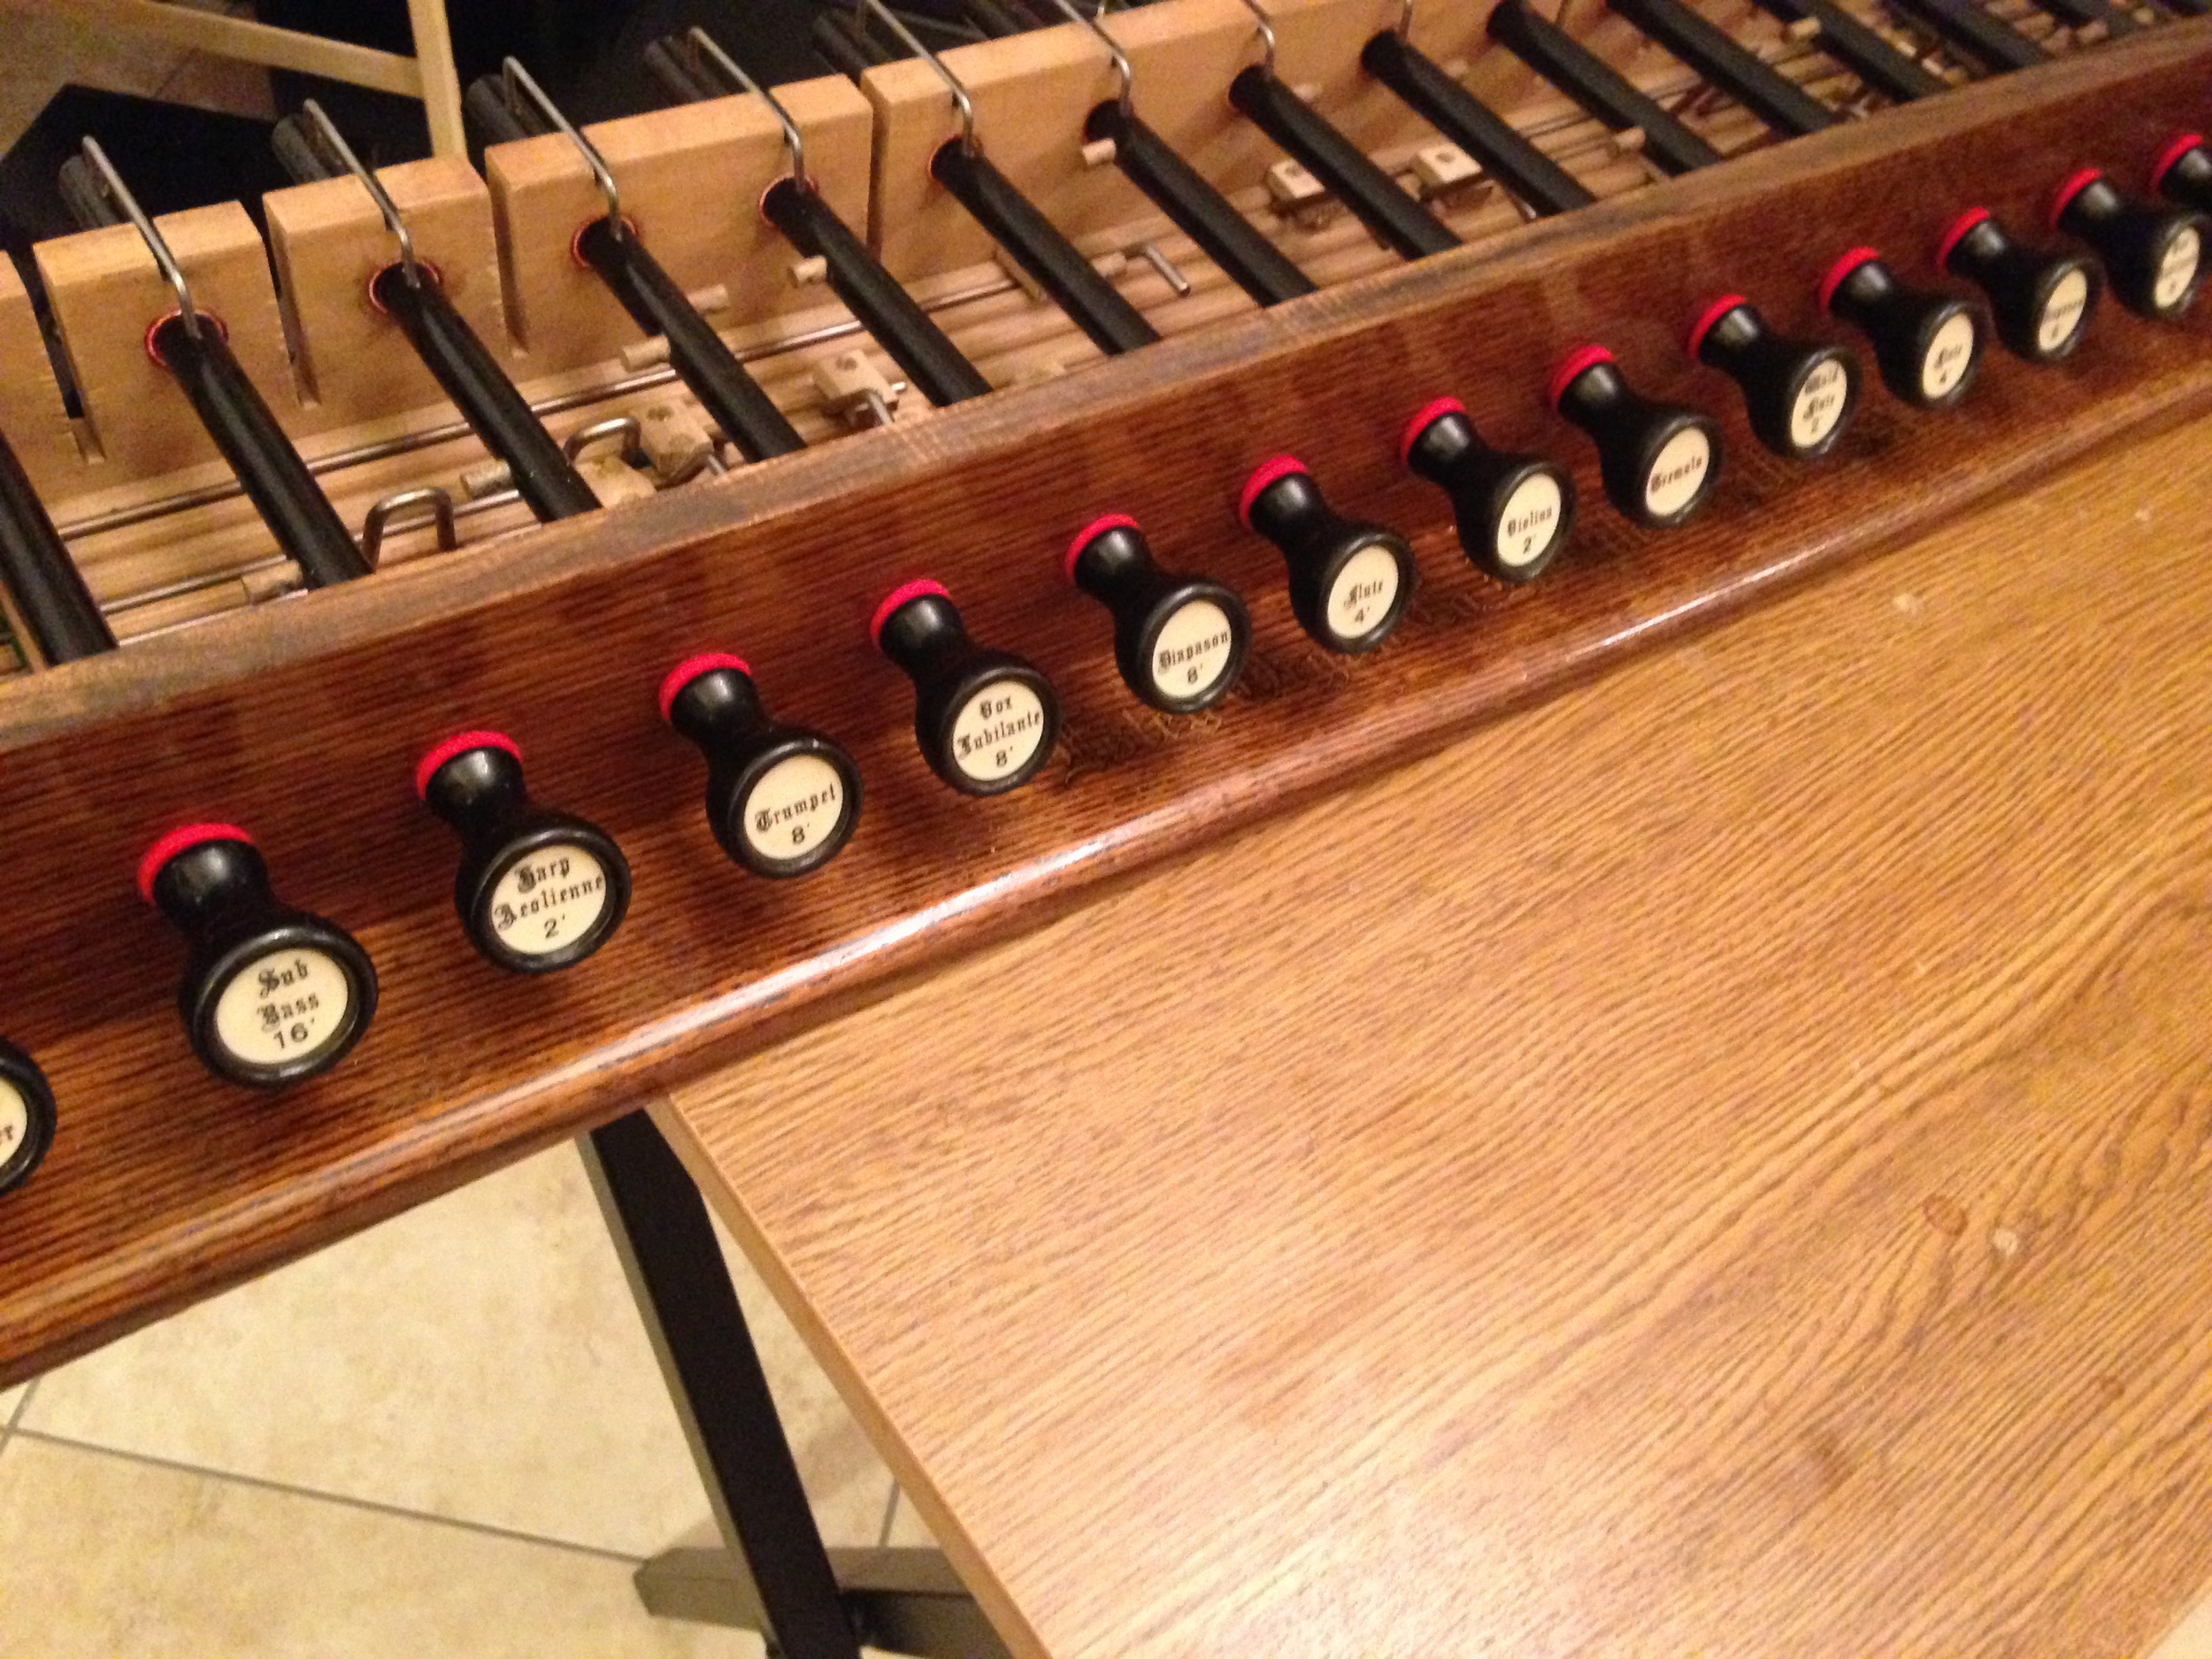
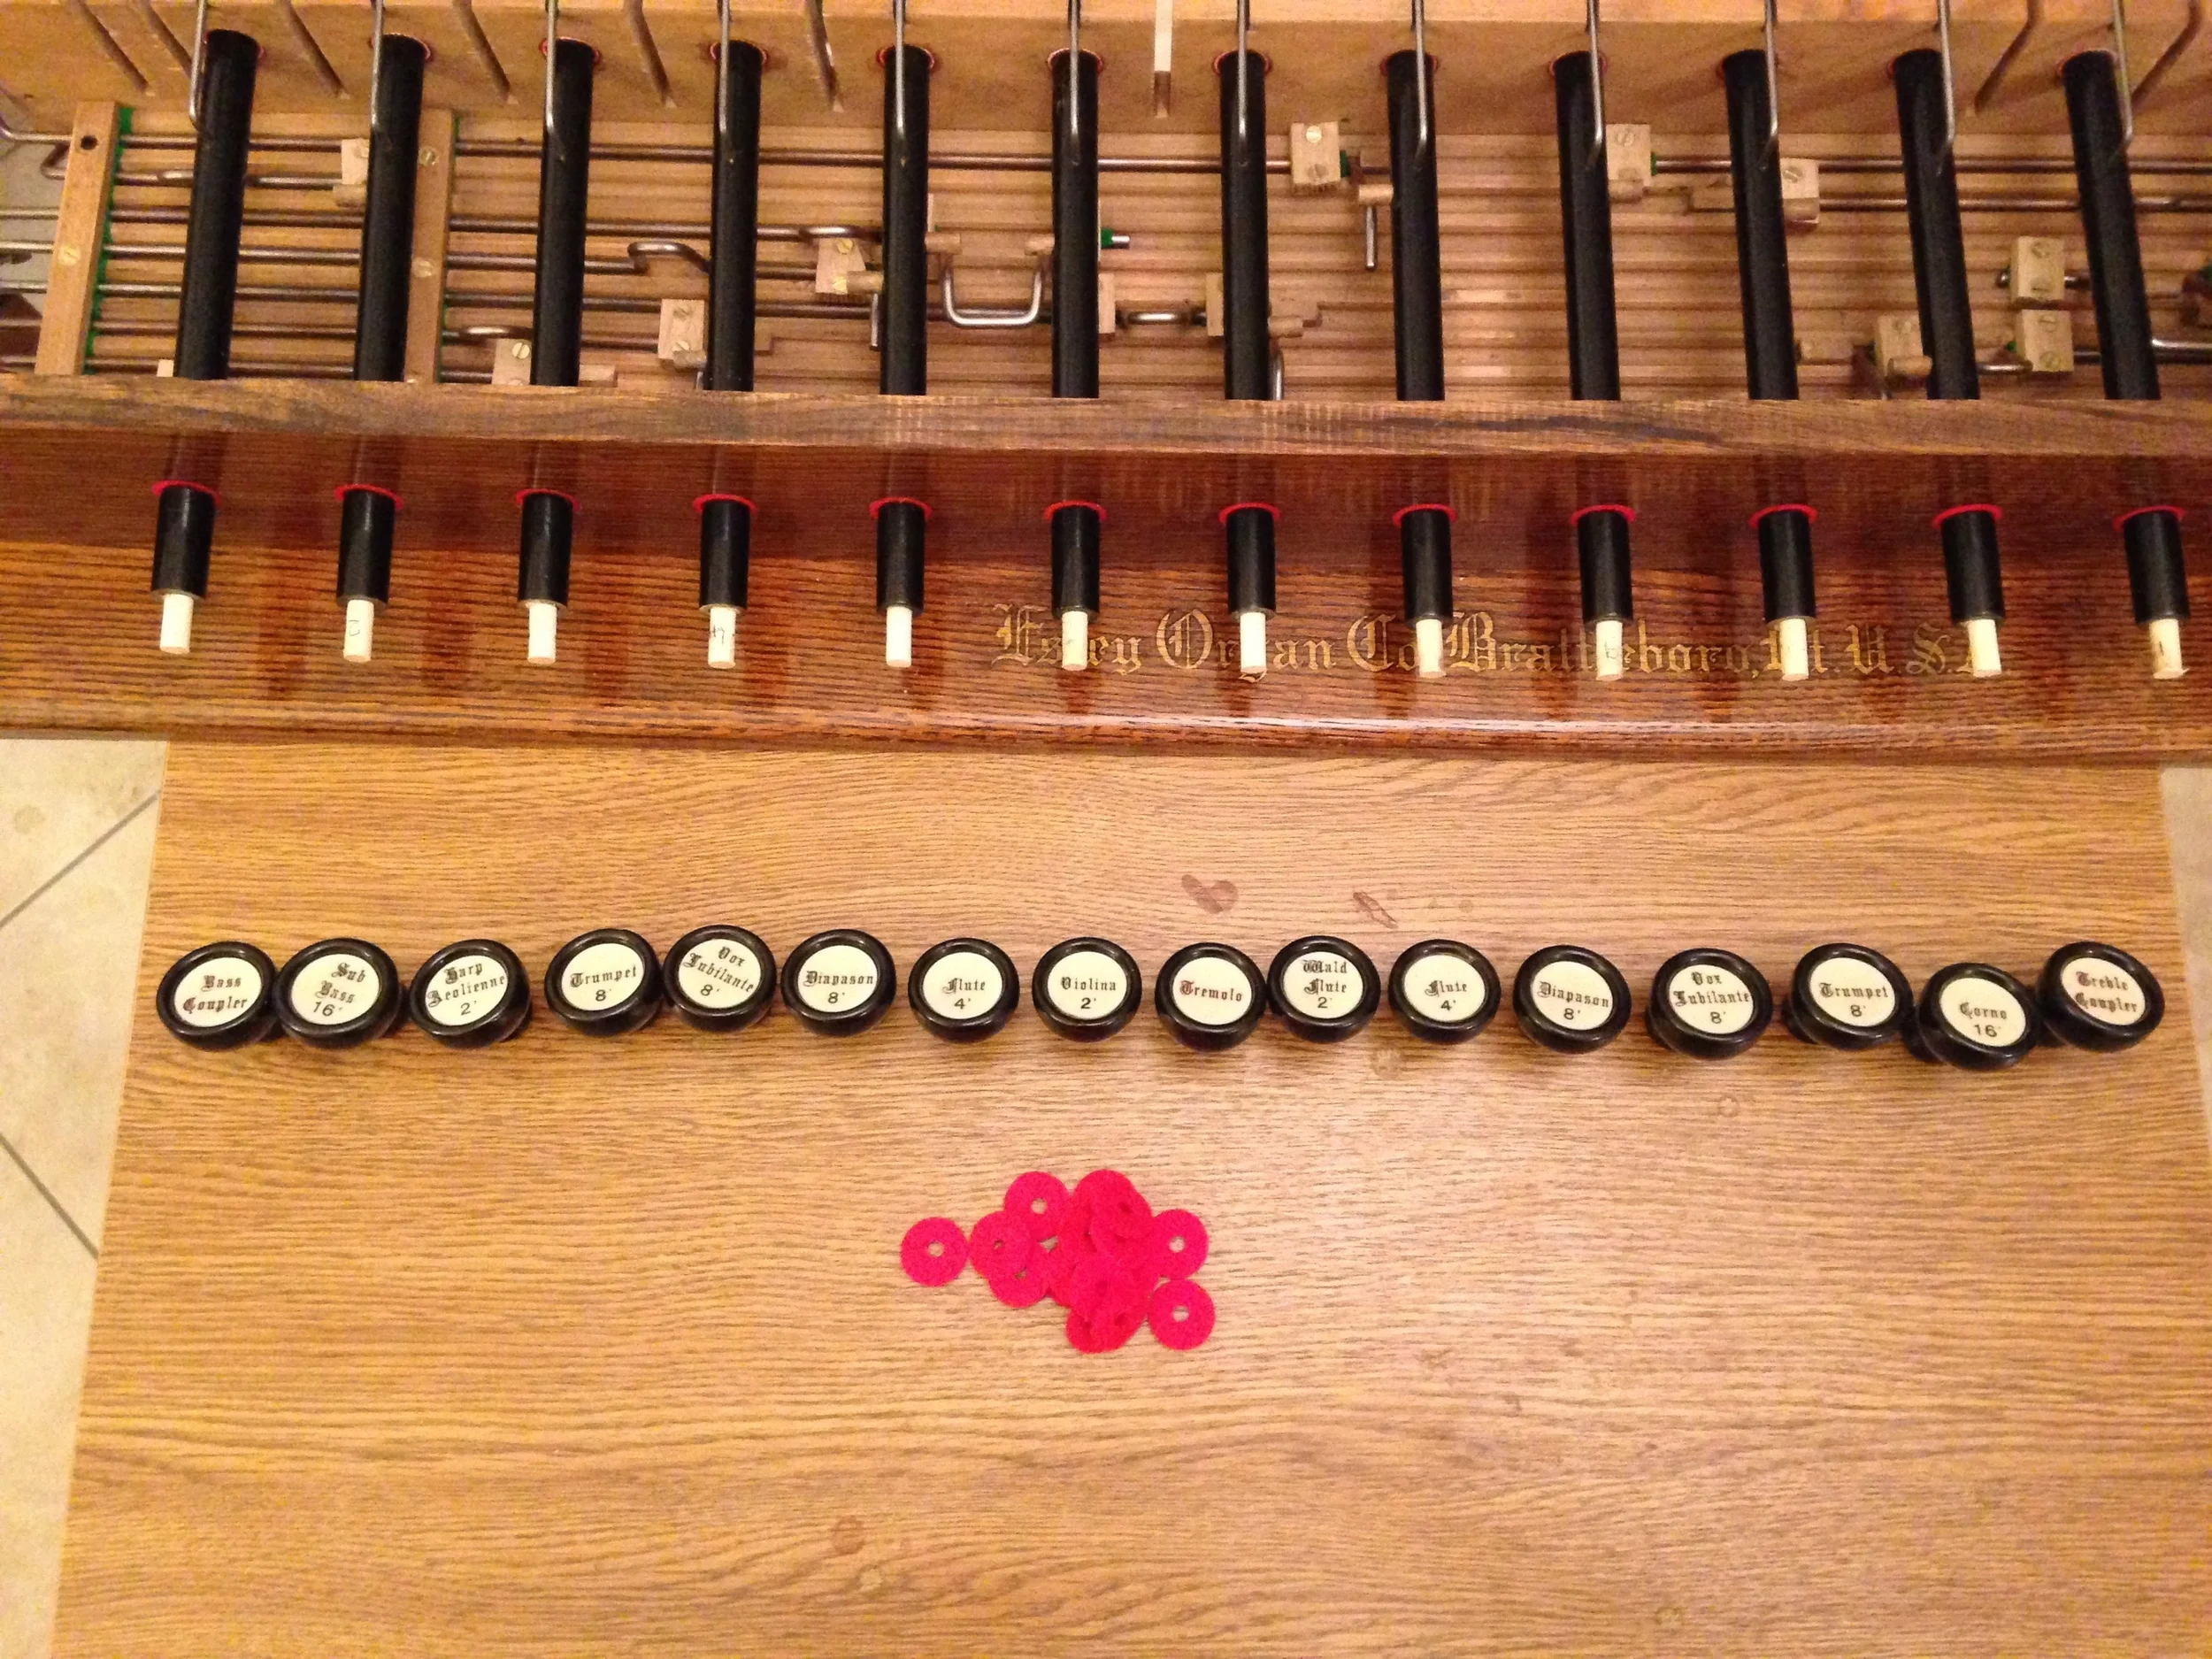
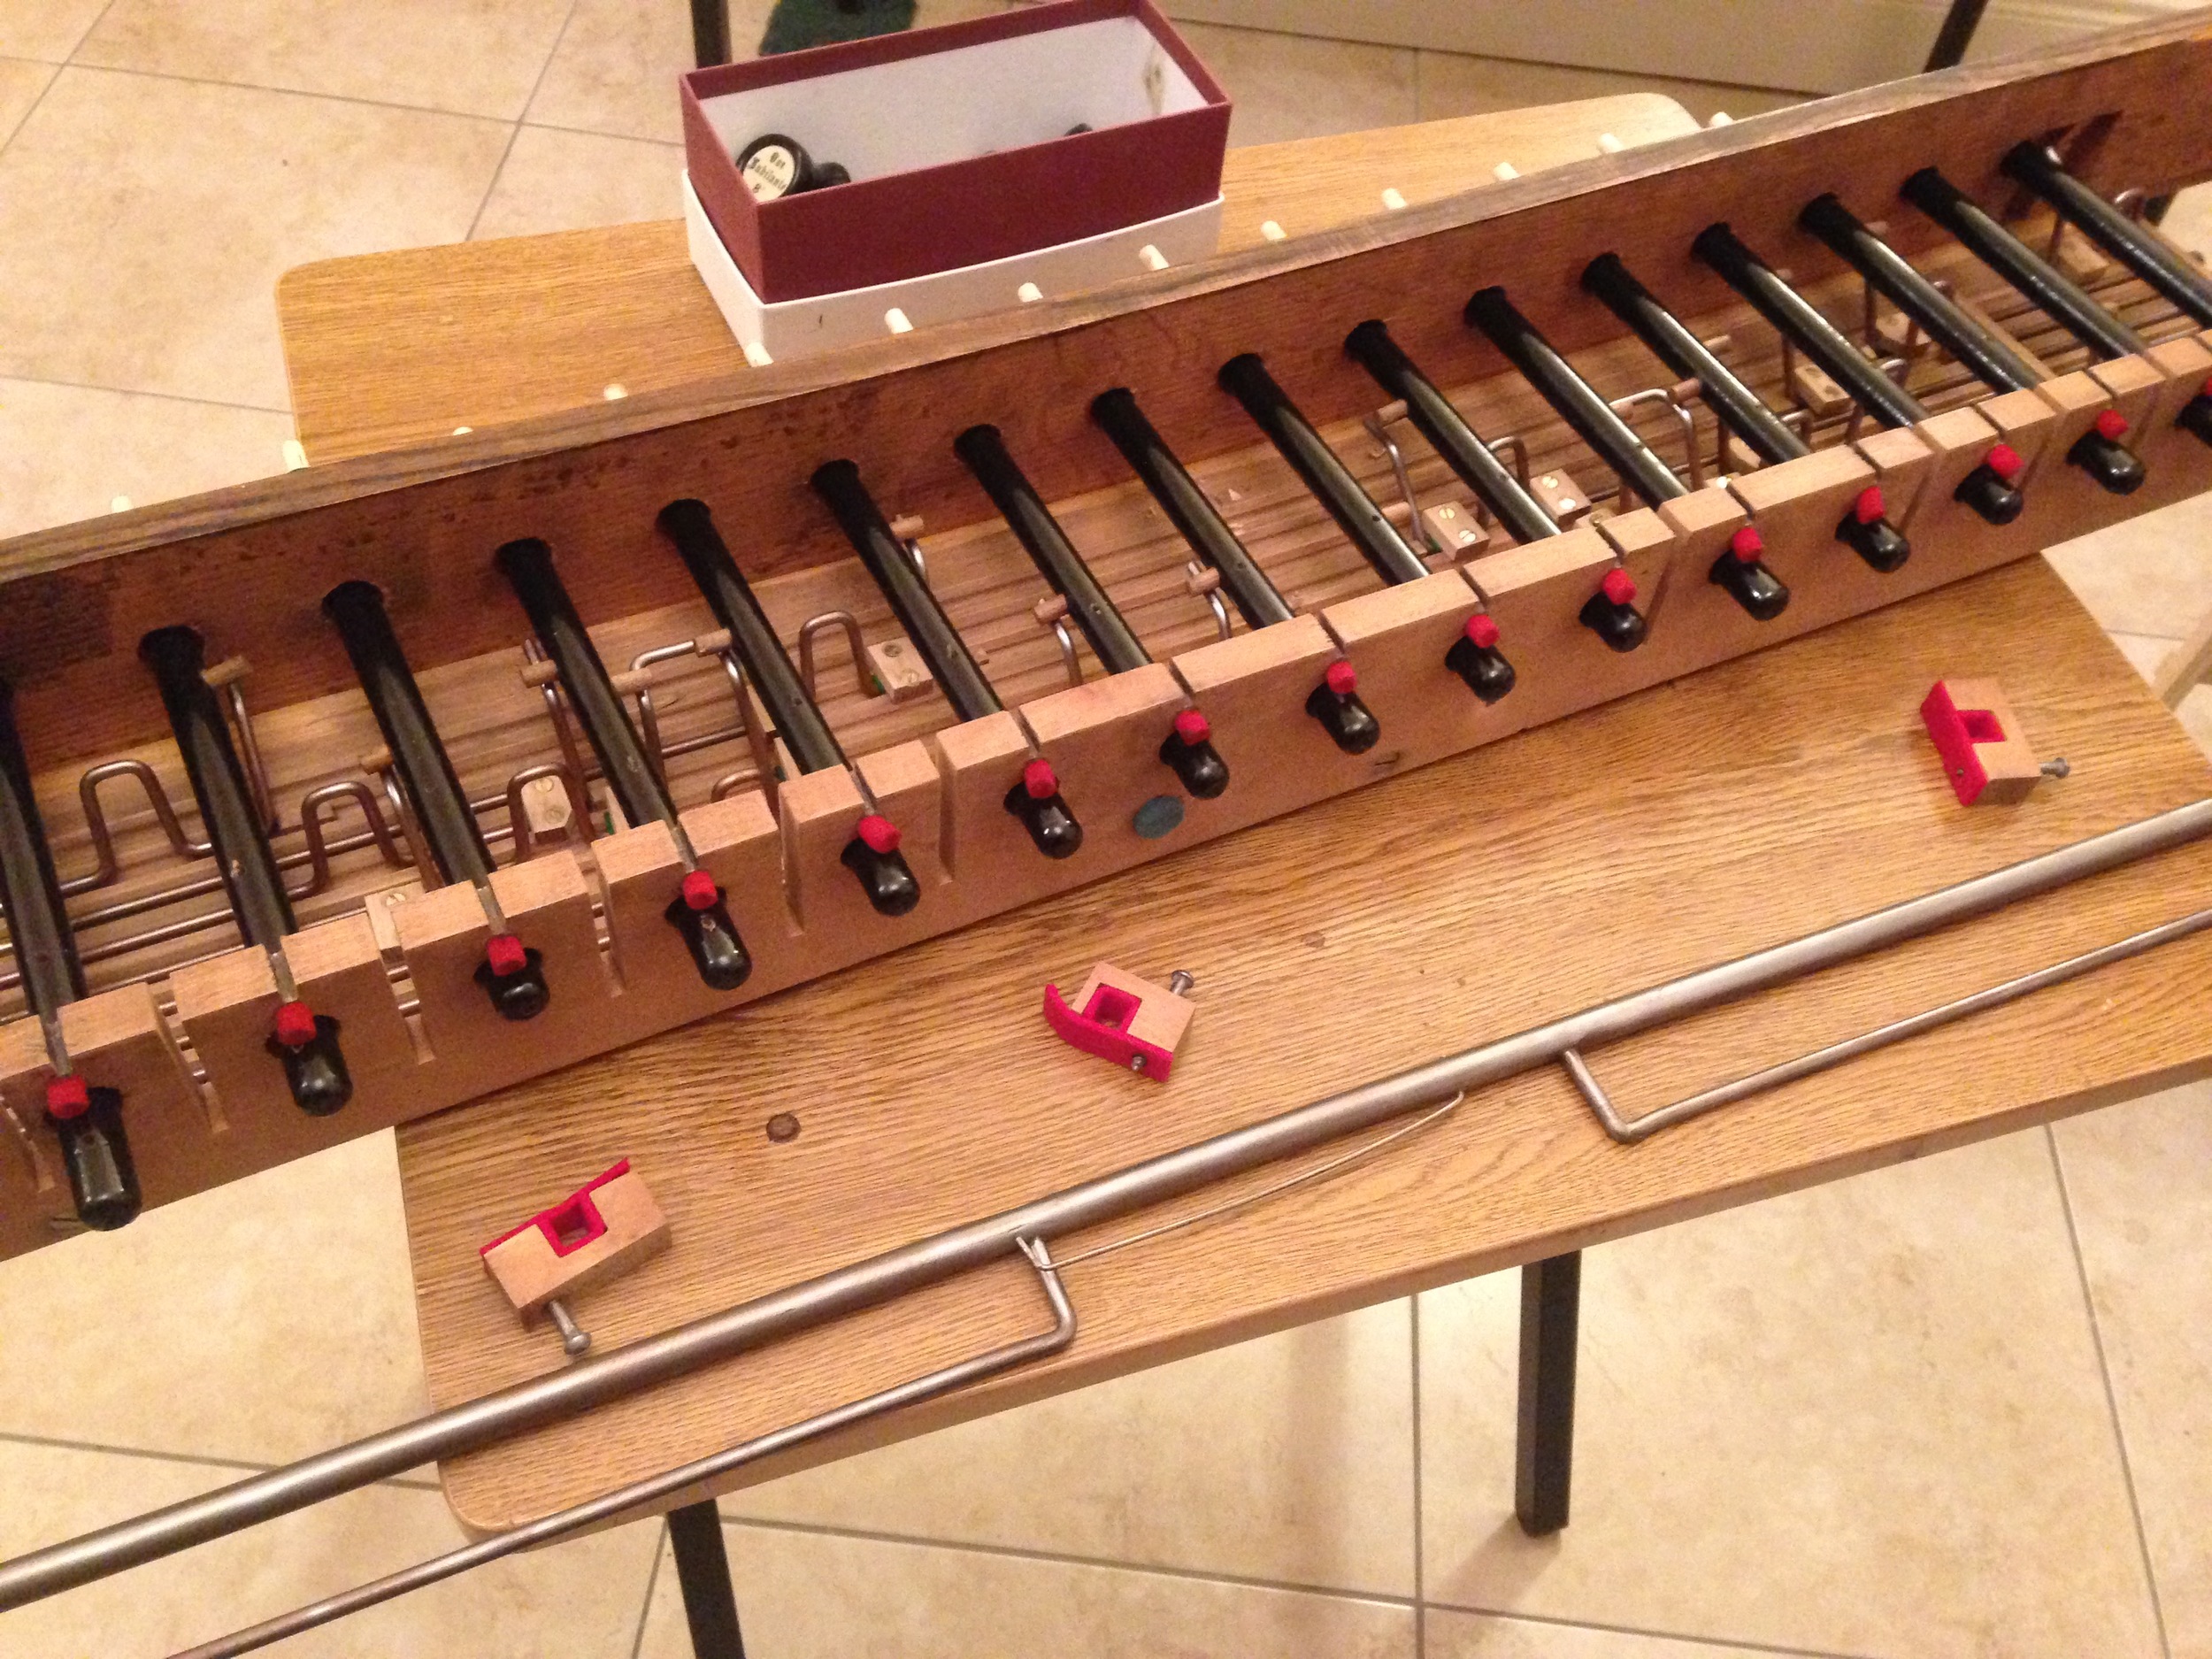
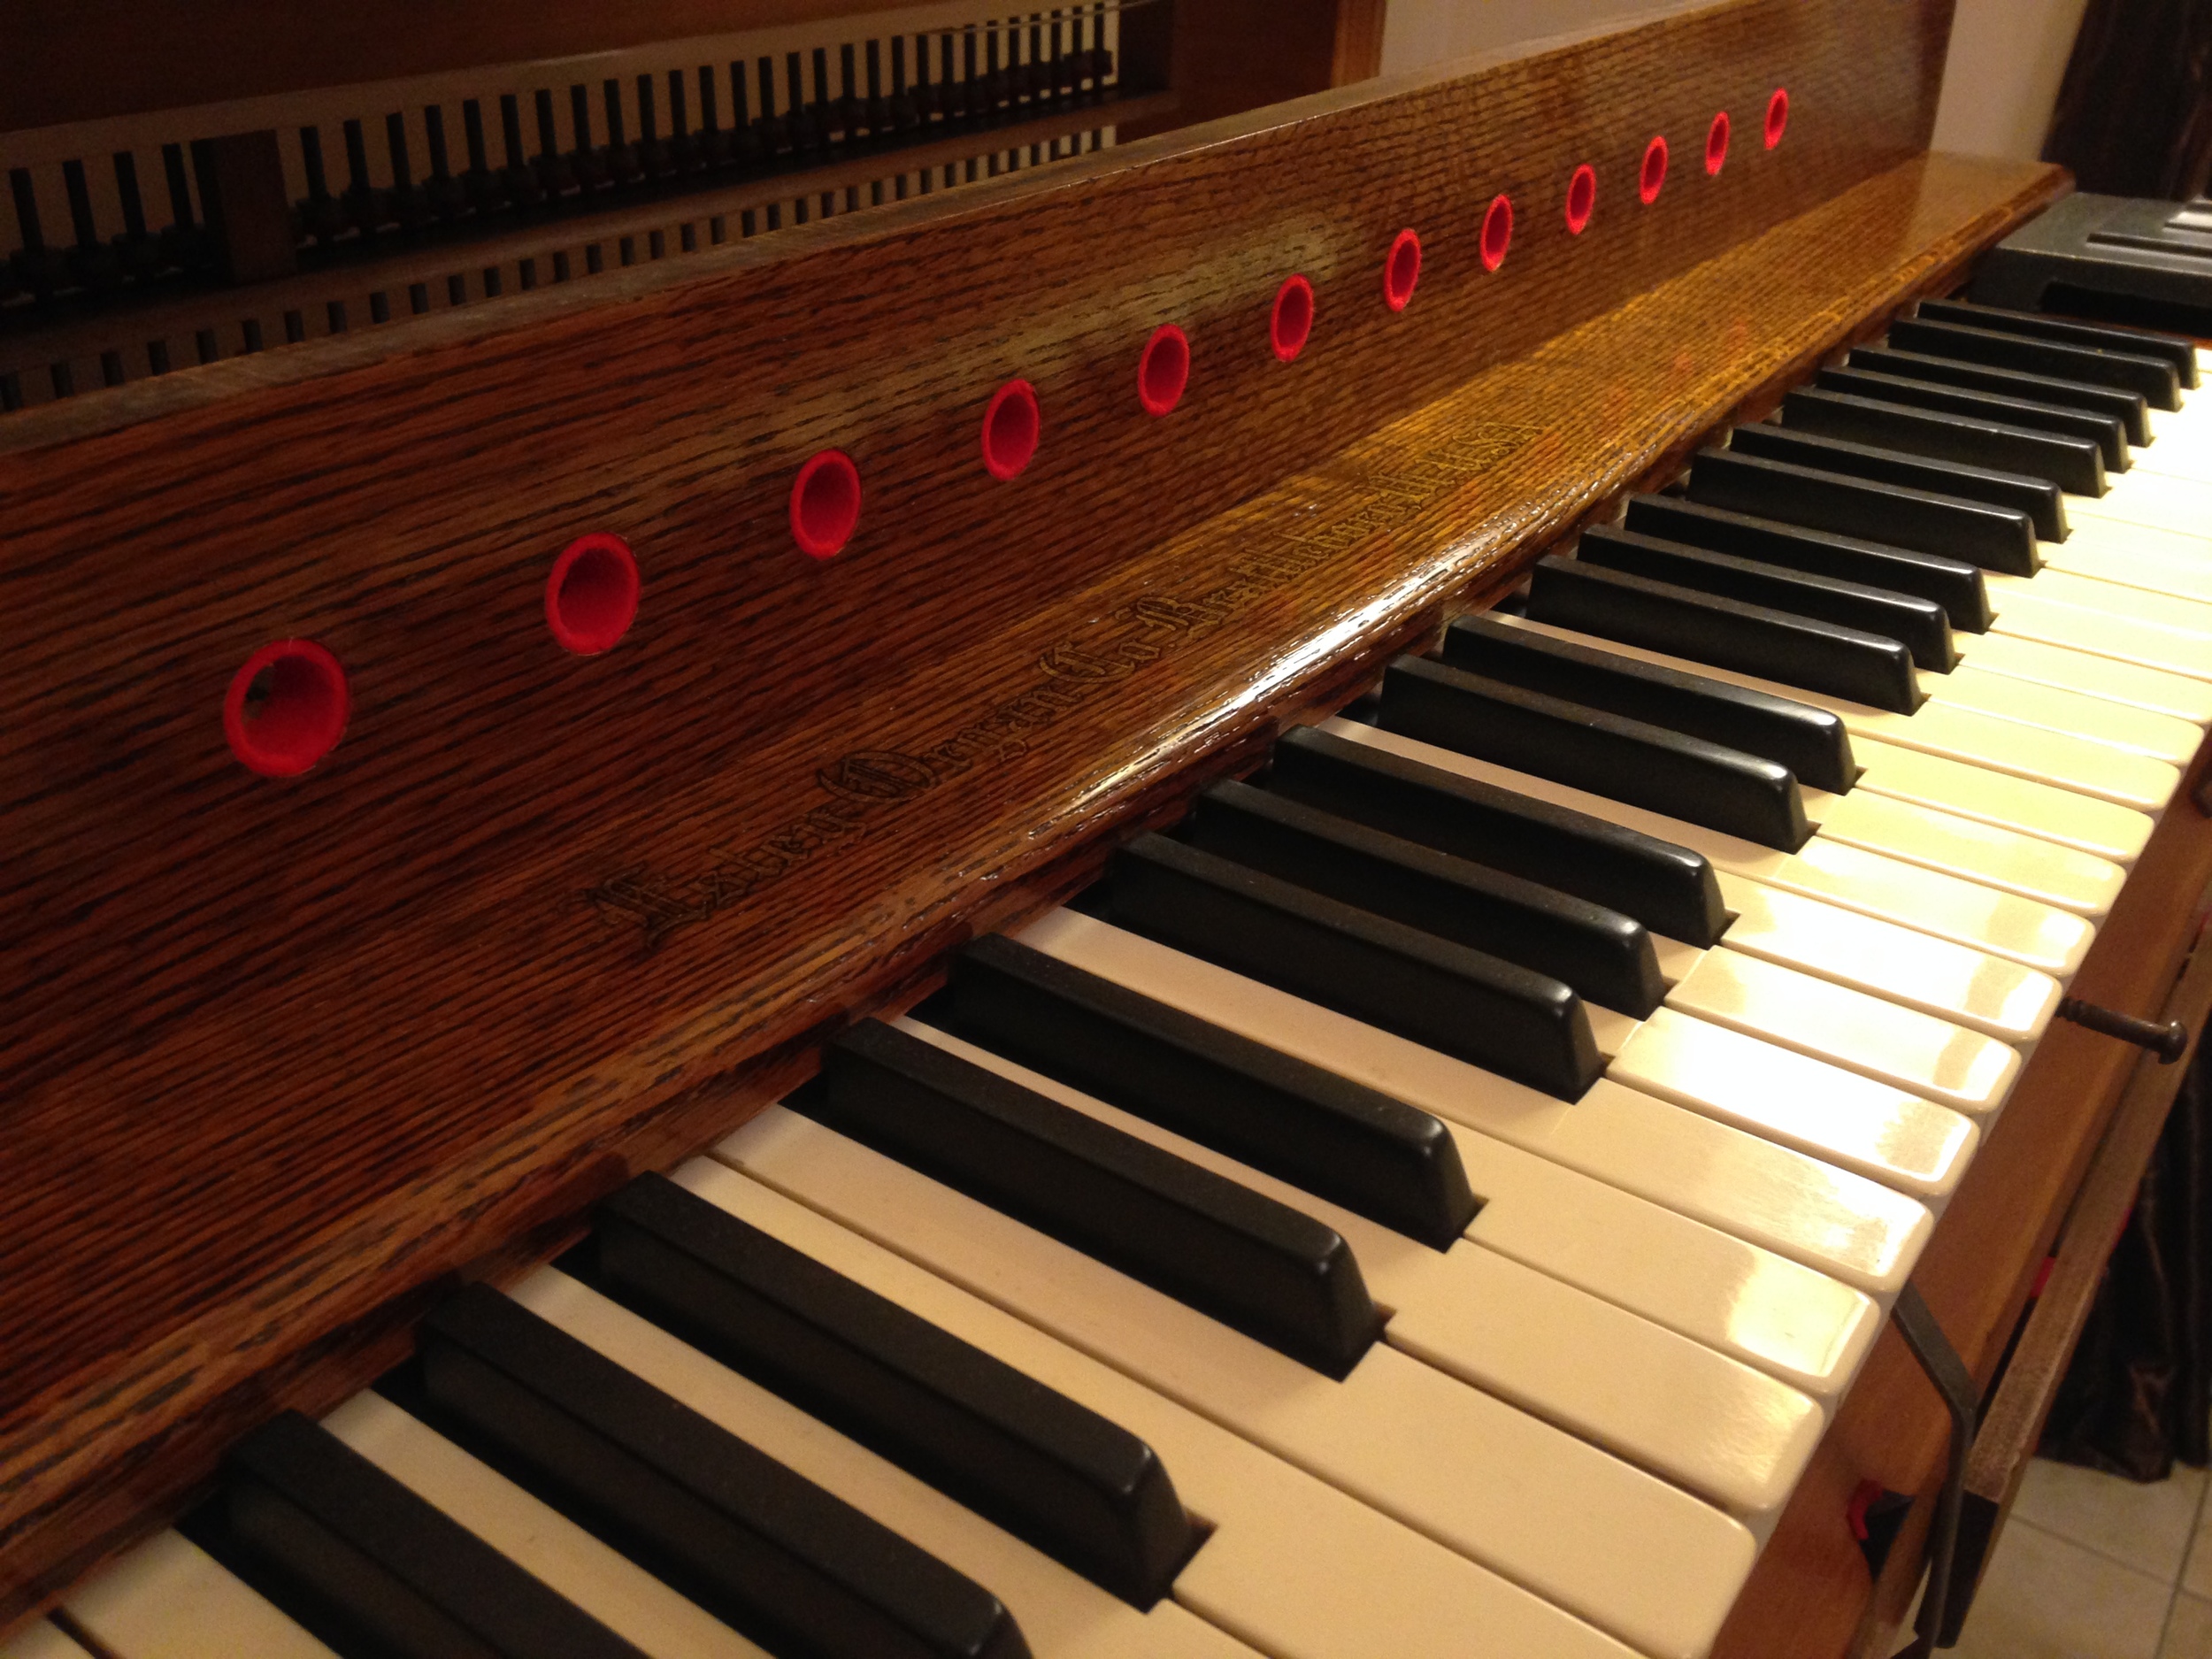
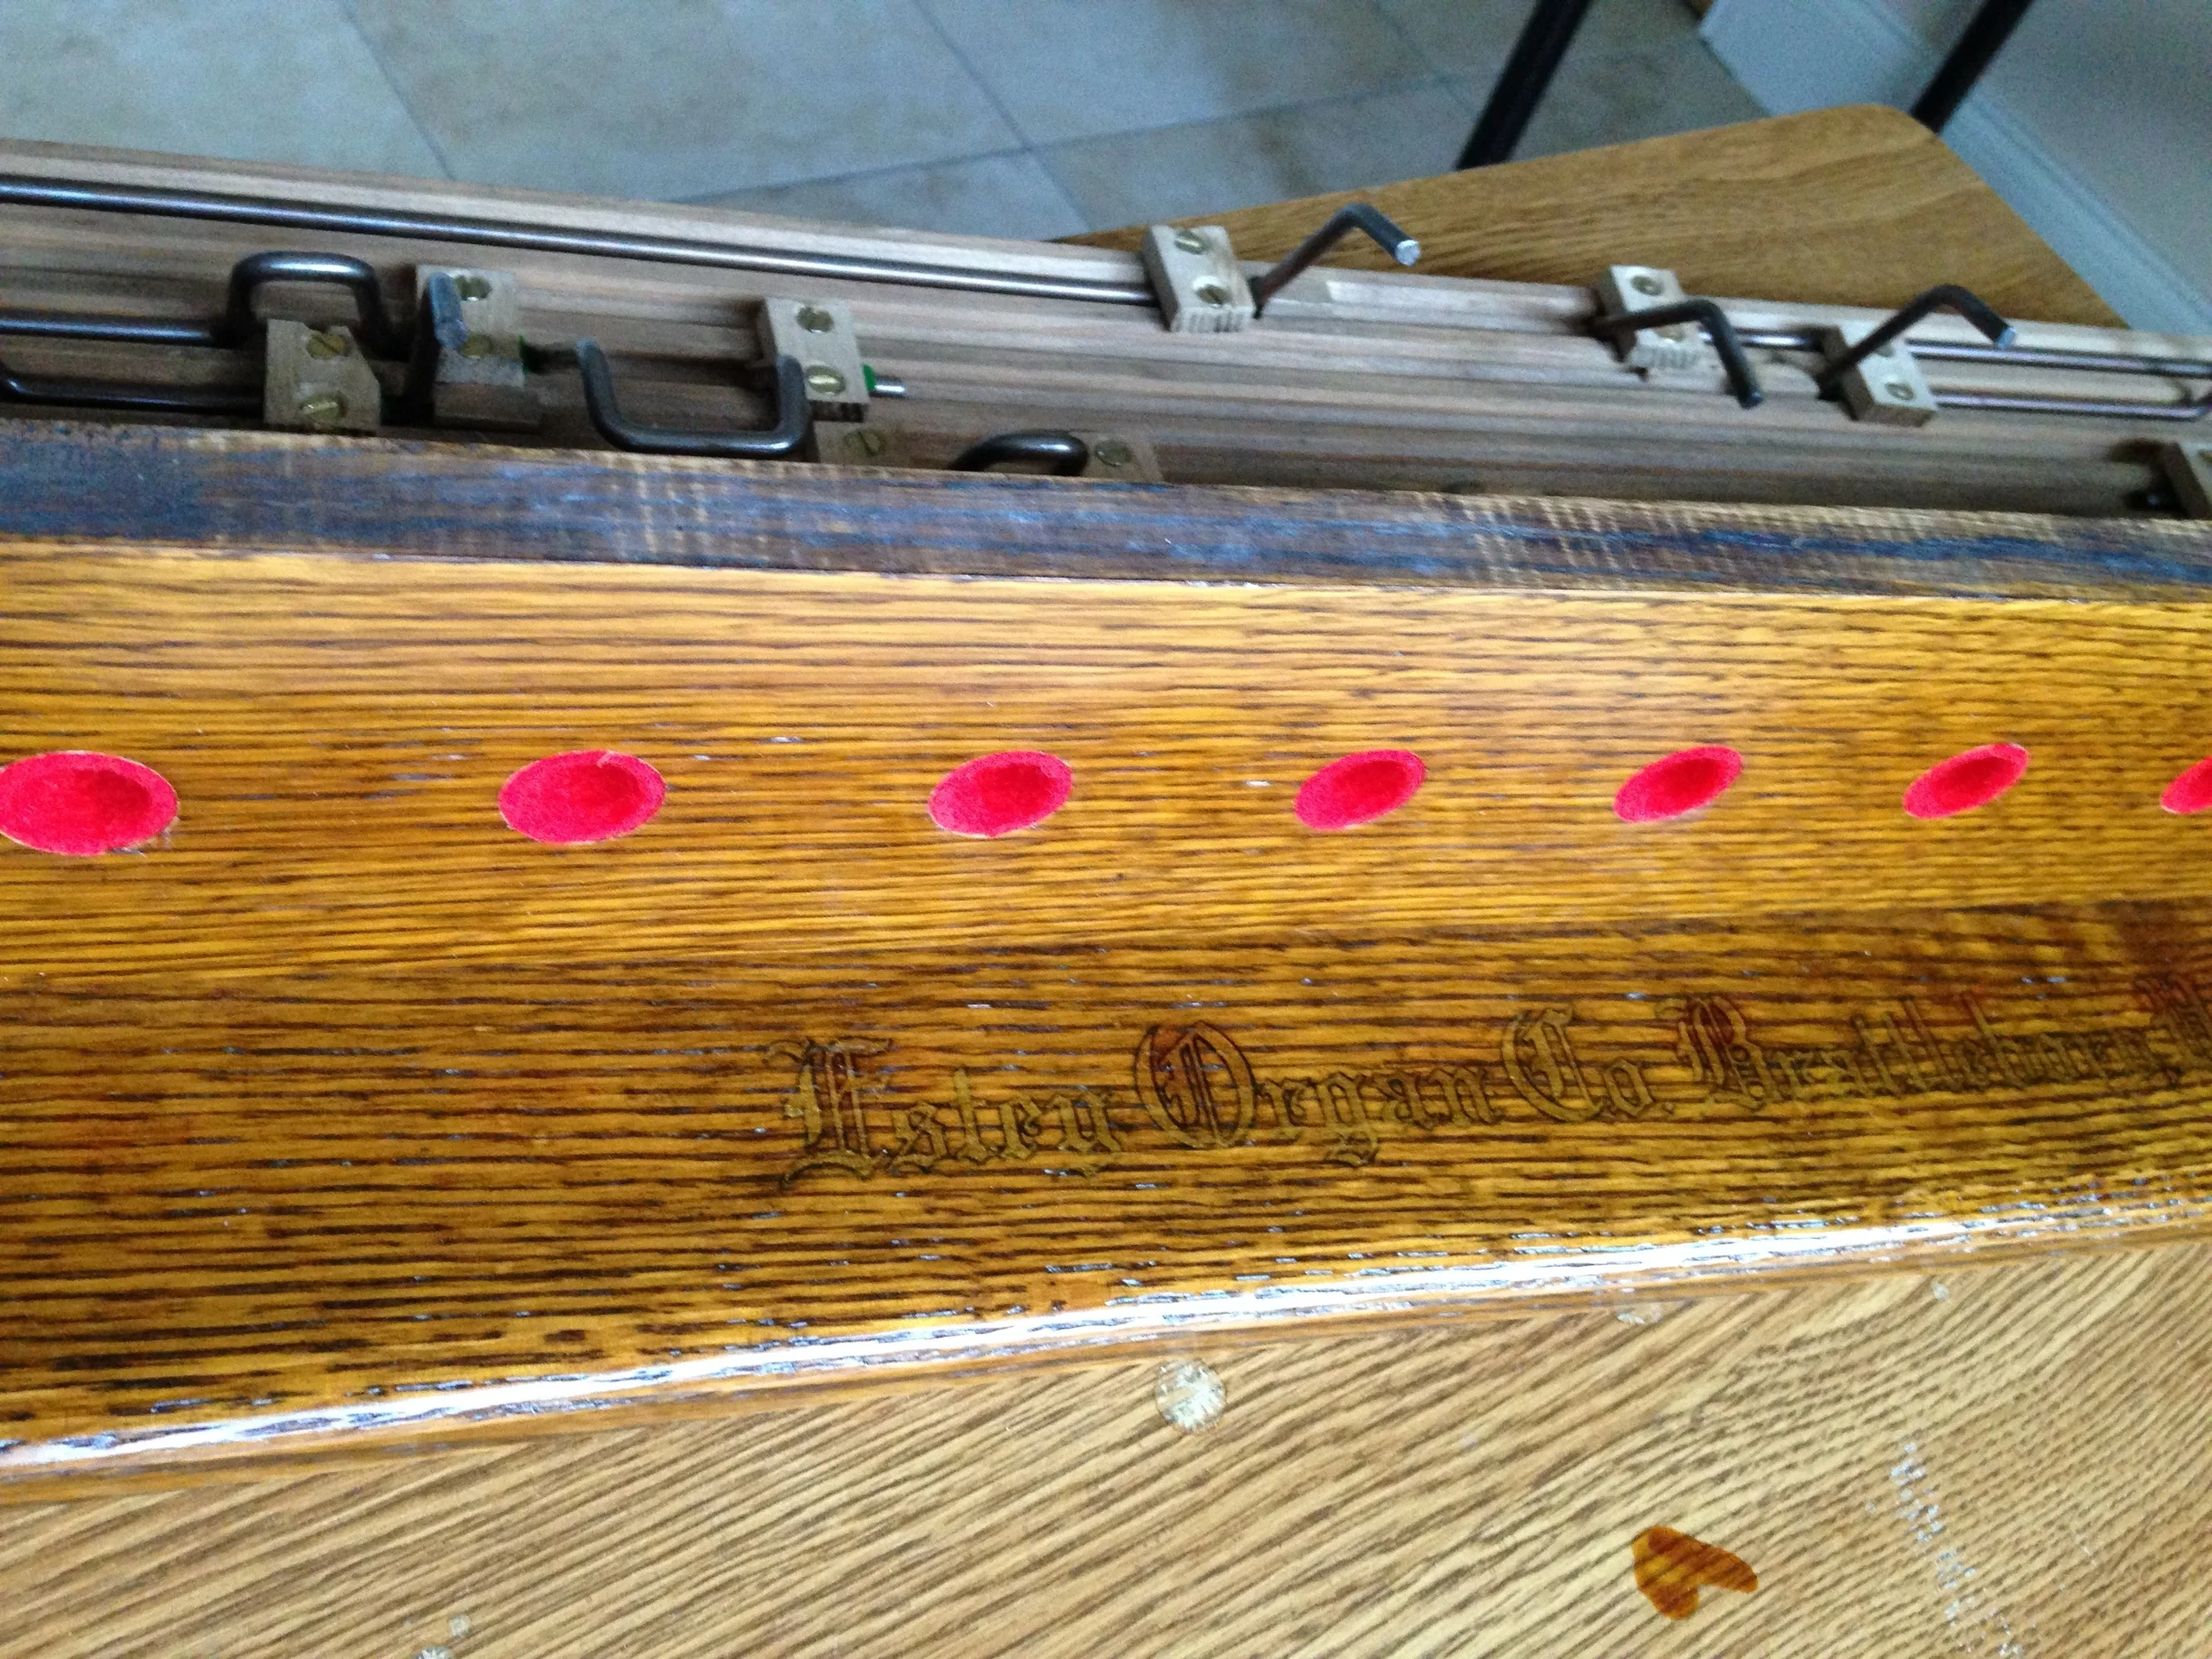
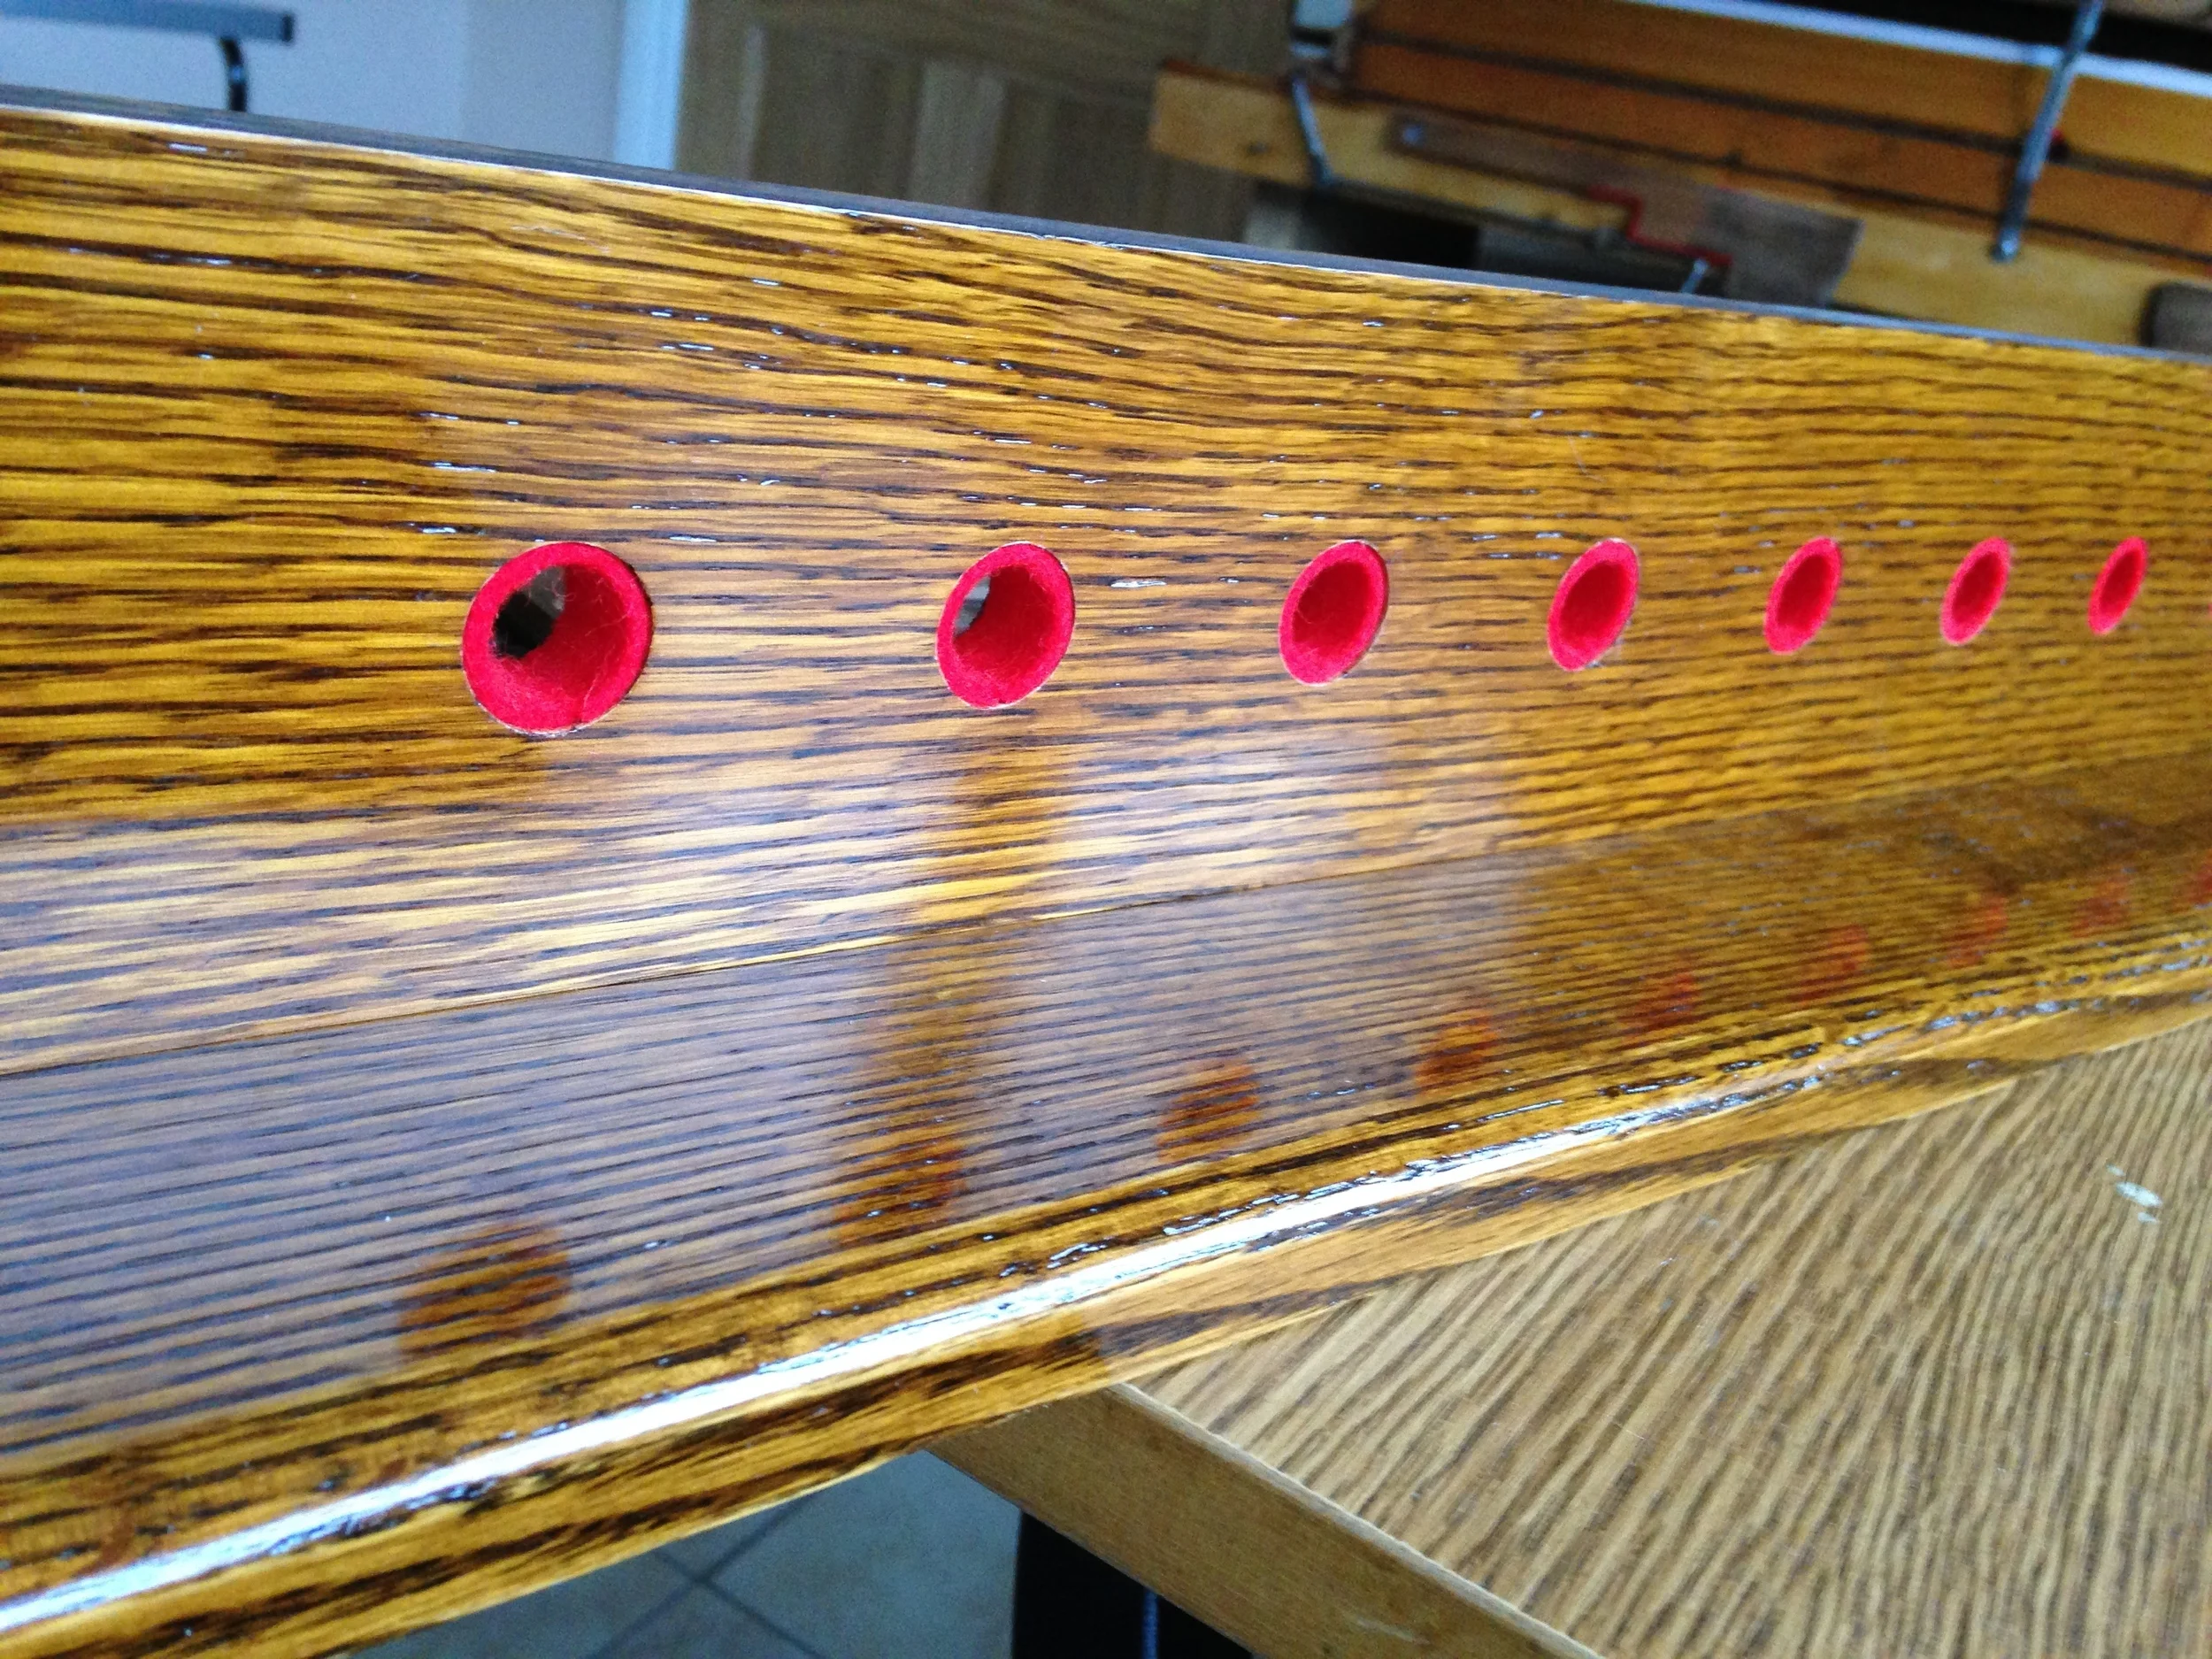
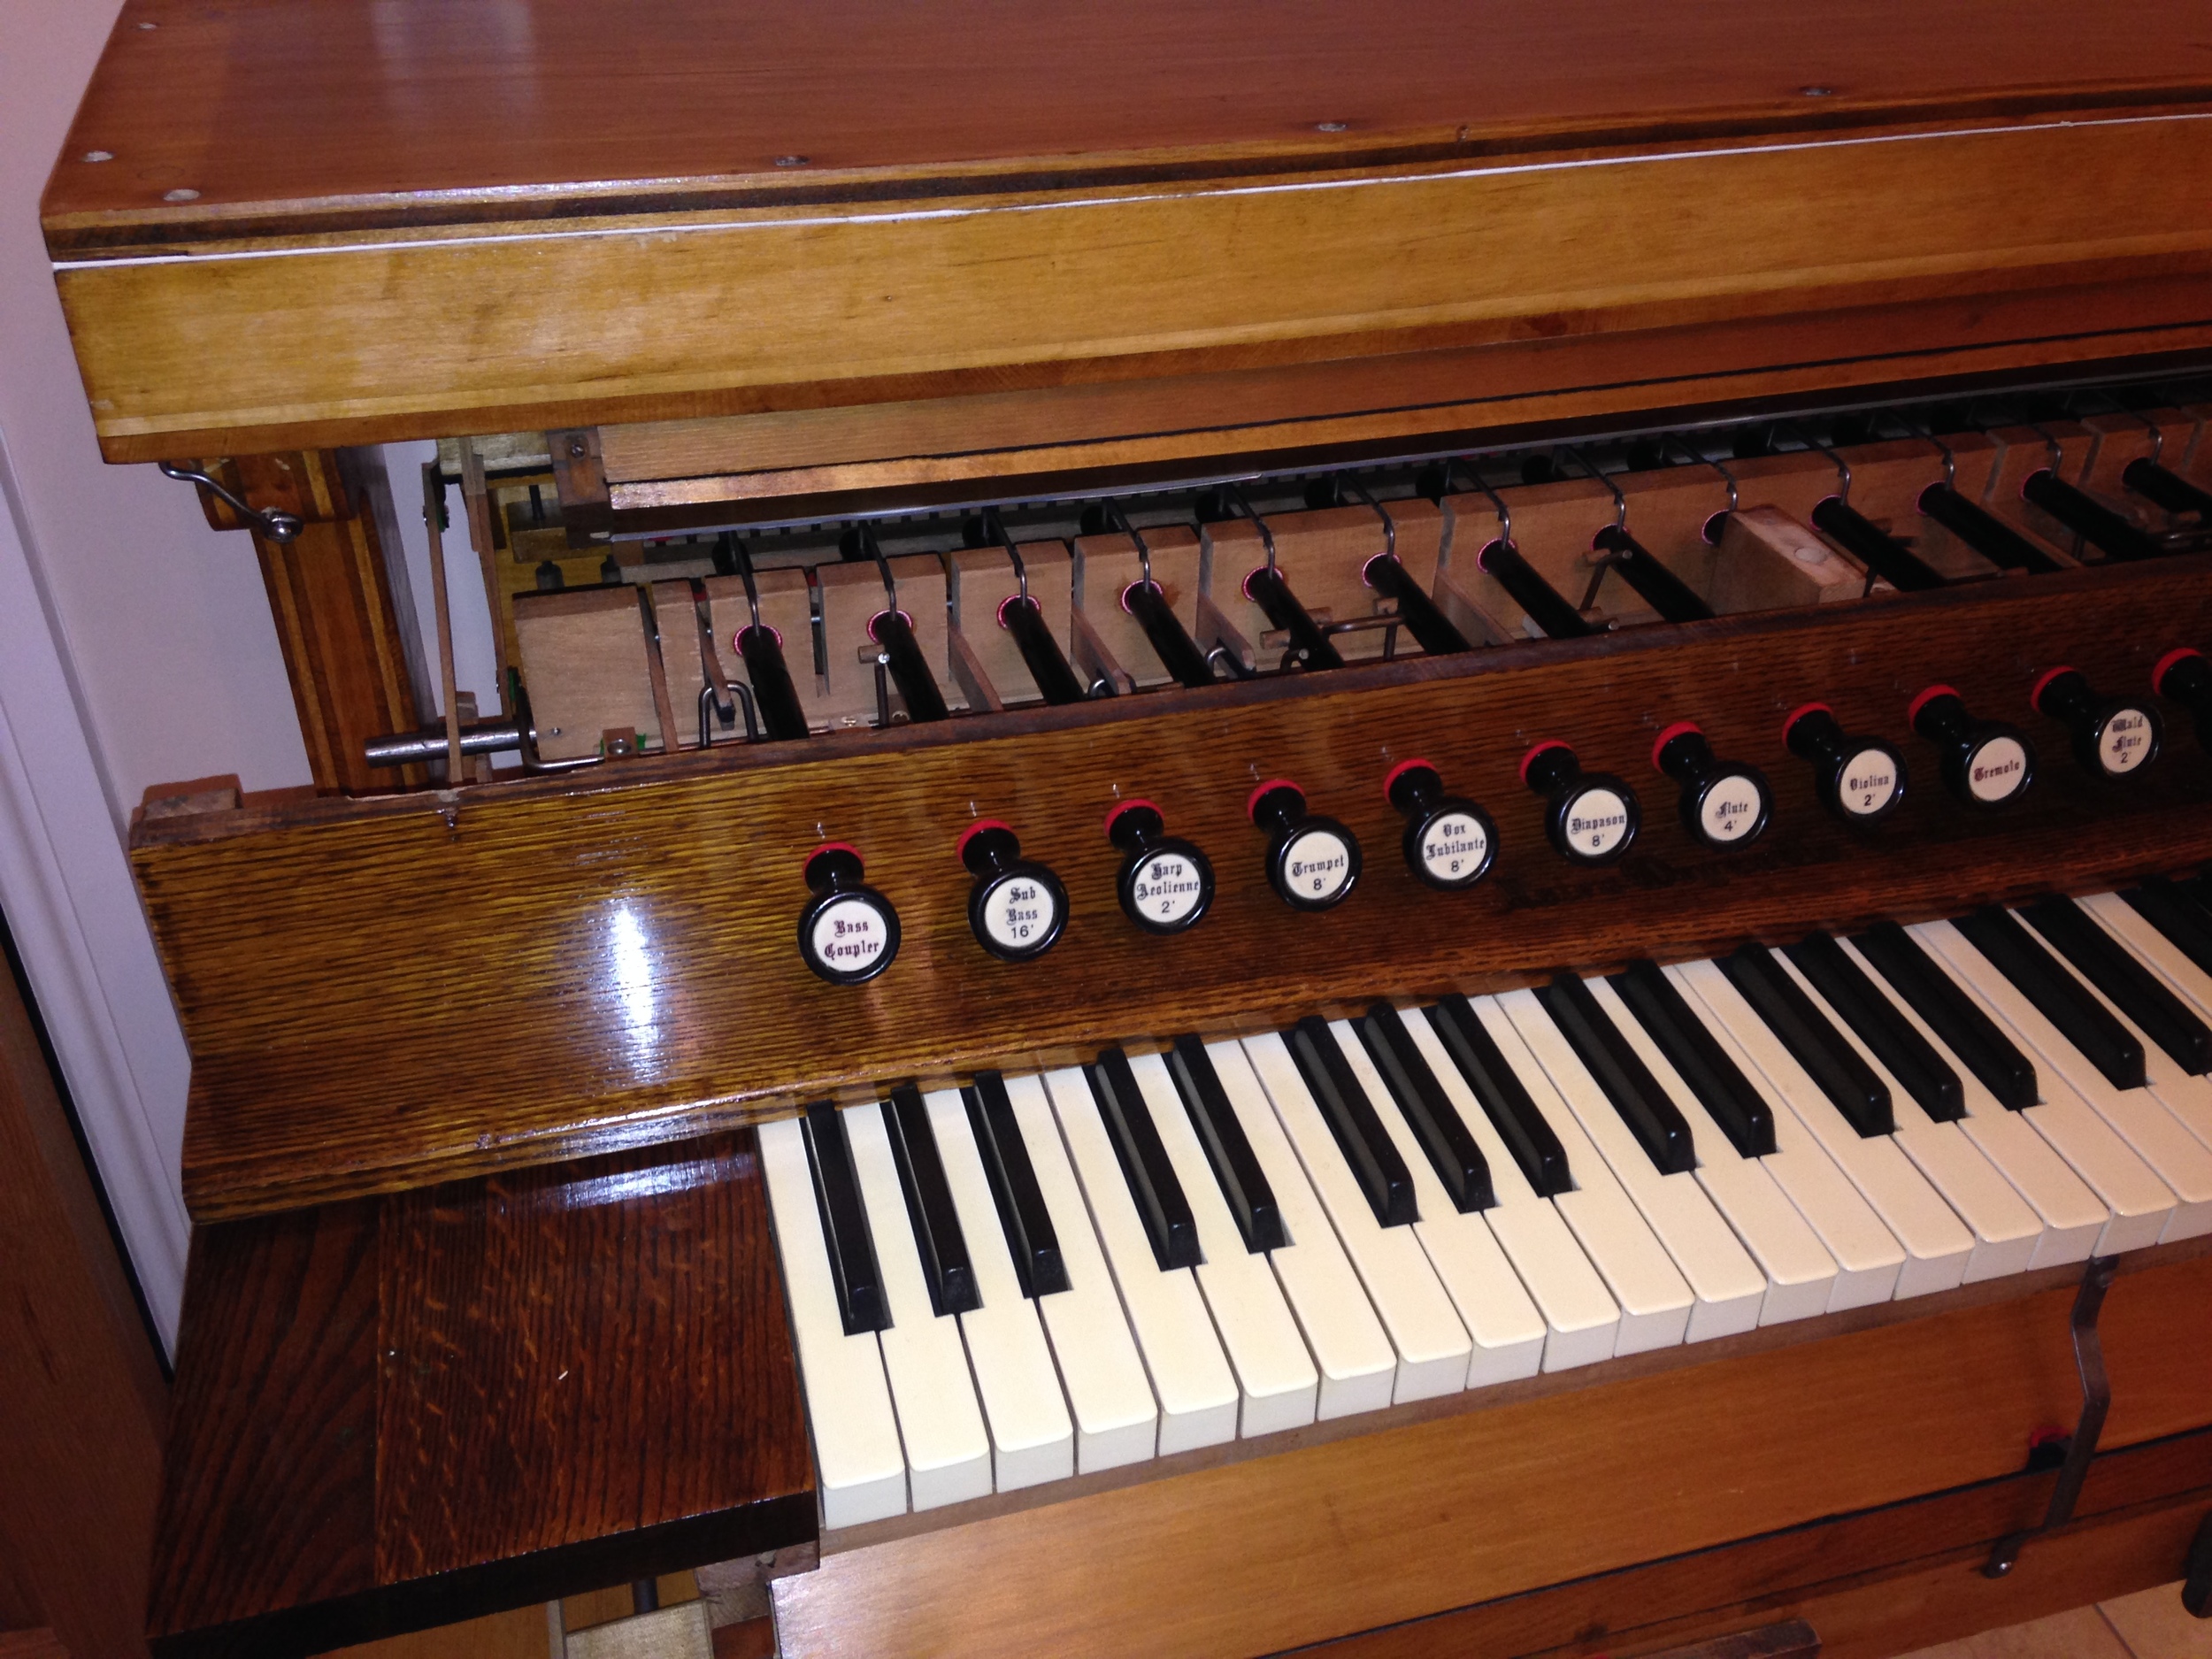
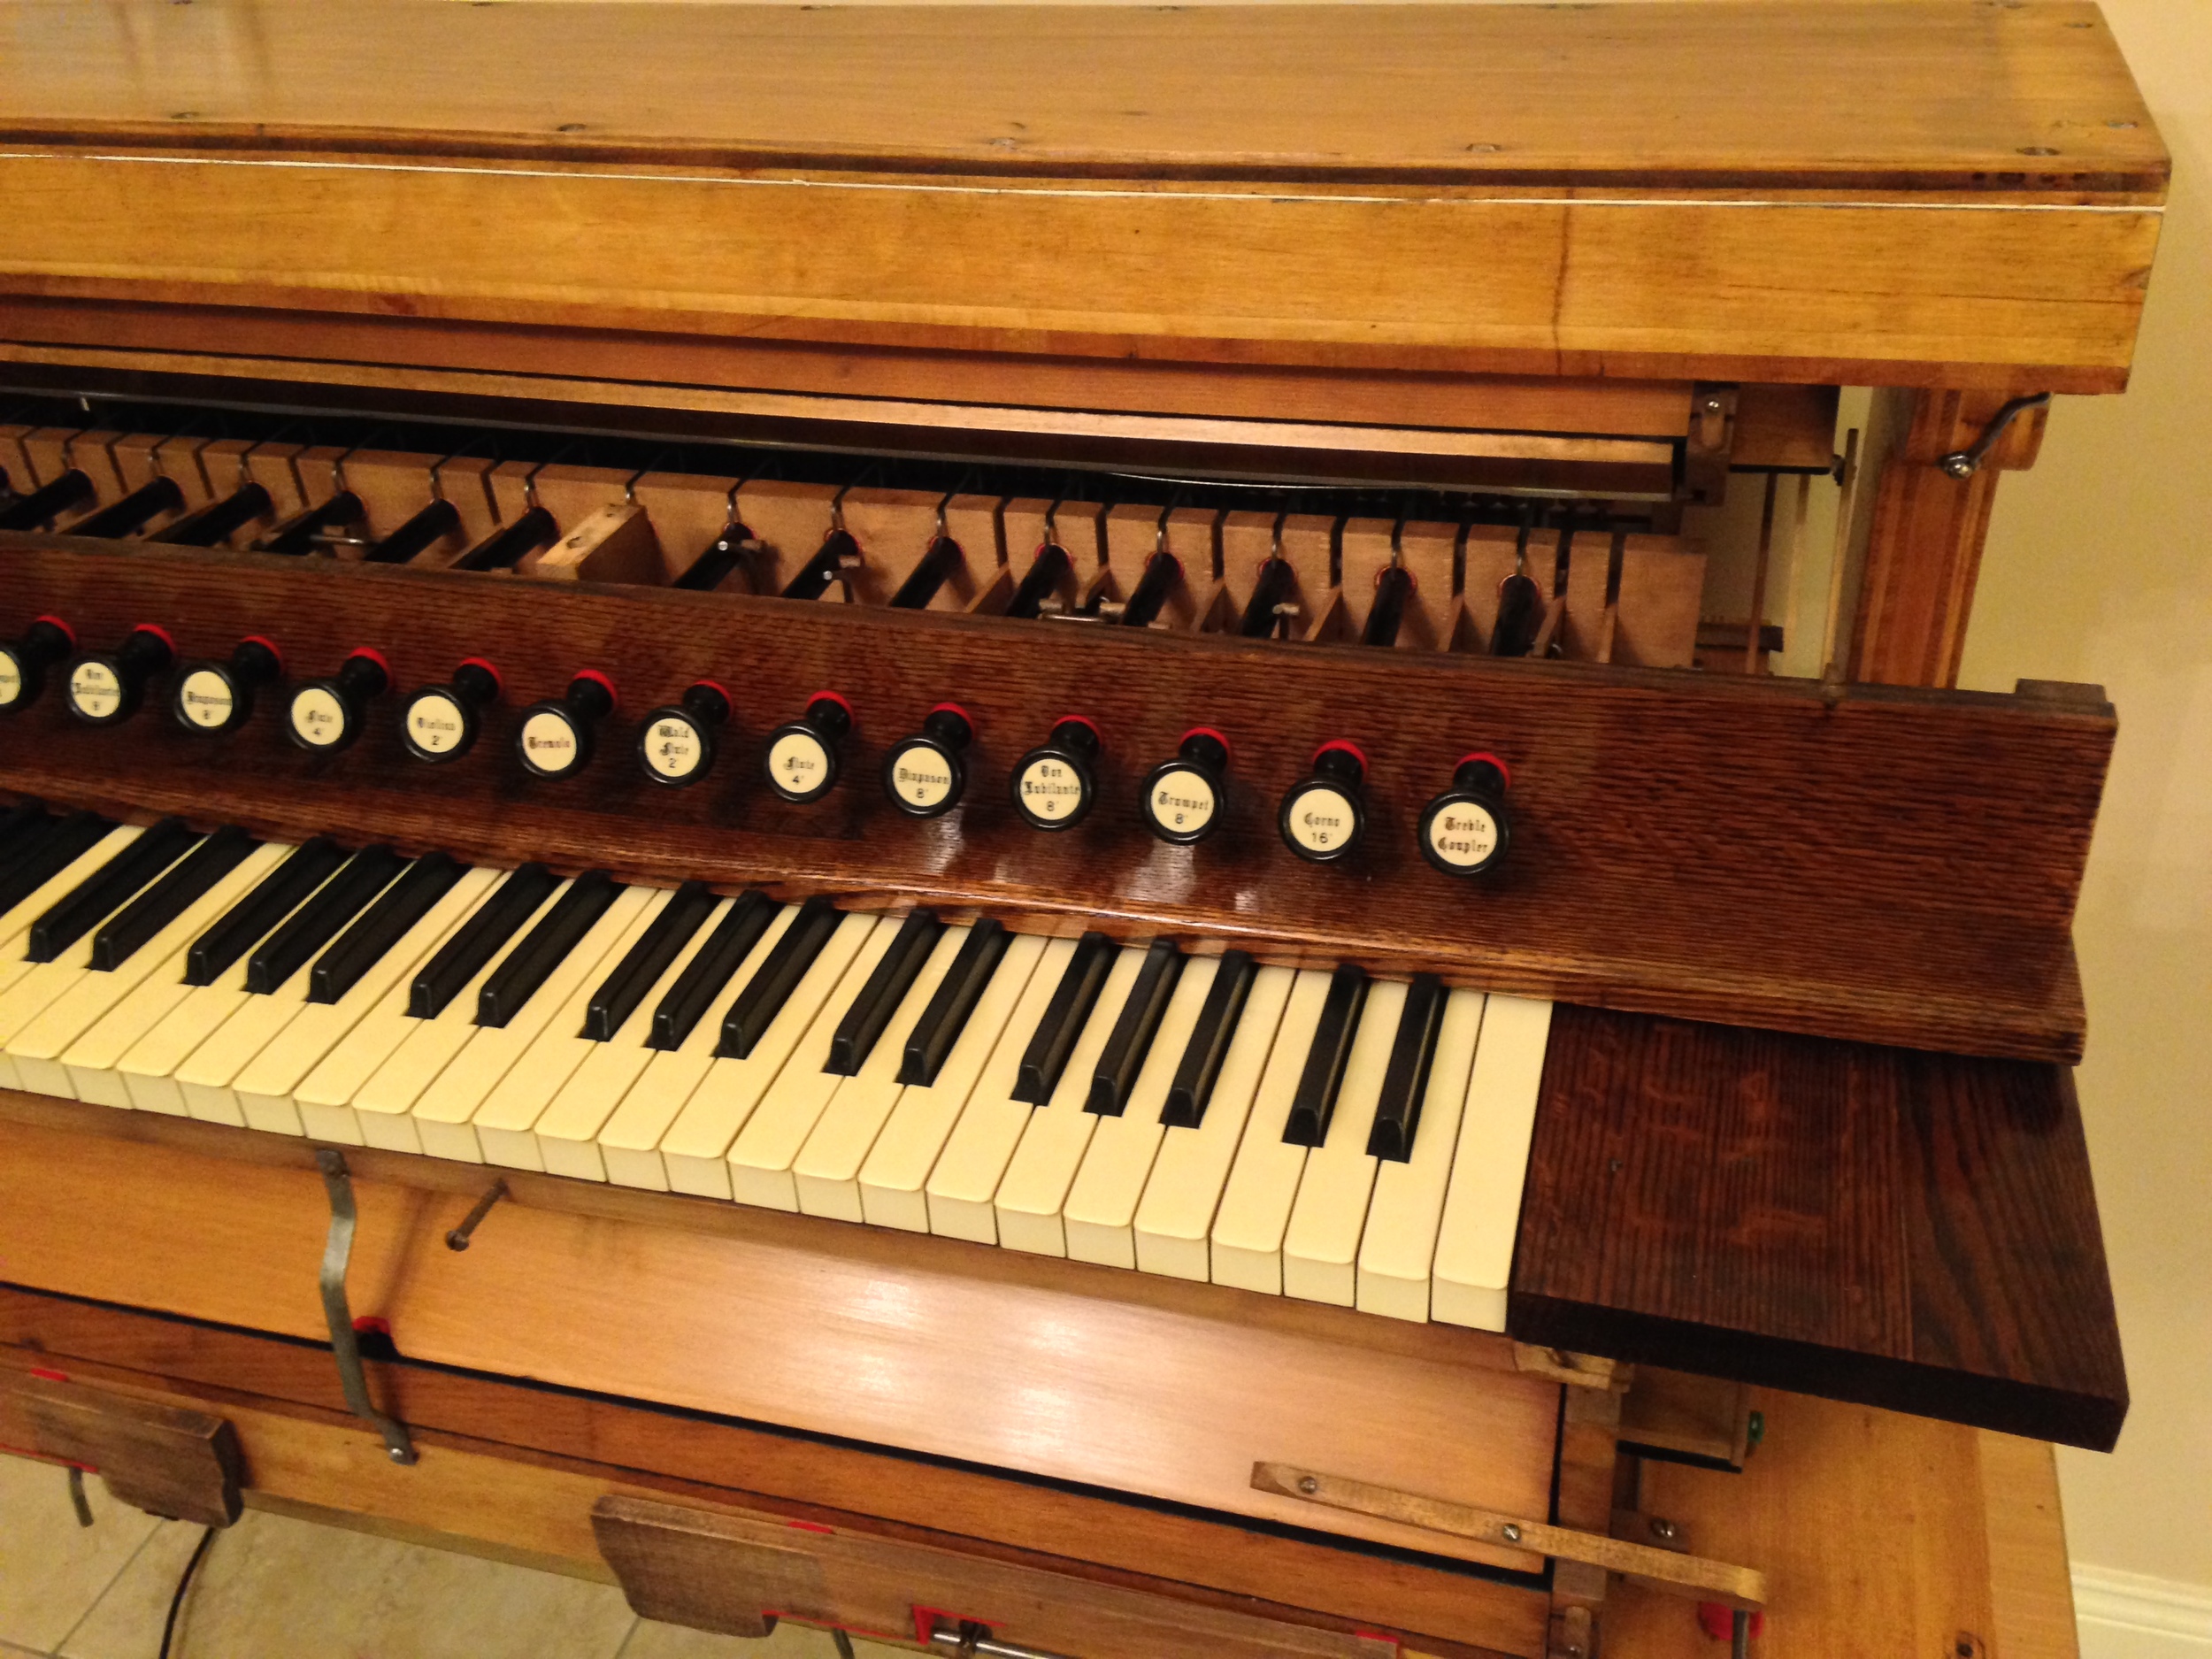
One of the most satisfying parts of a rebuild is seeing the stop board sporting a fresh coat of french polish with new red felt. The stop board assembly was completely dismantled. The lettering on the stops was touched in where it had worn away. All the metal rods were cleaned and re-bushed when reinstalled. Because Estey used pins in the blocks which hold the metal linkages in place they generally break upon removal. I replaced them all with new wood but screwed them in place for ease of removal in future.
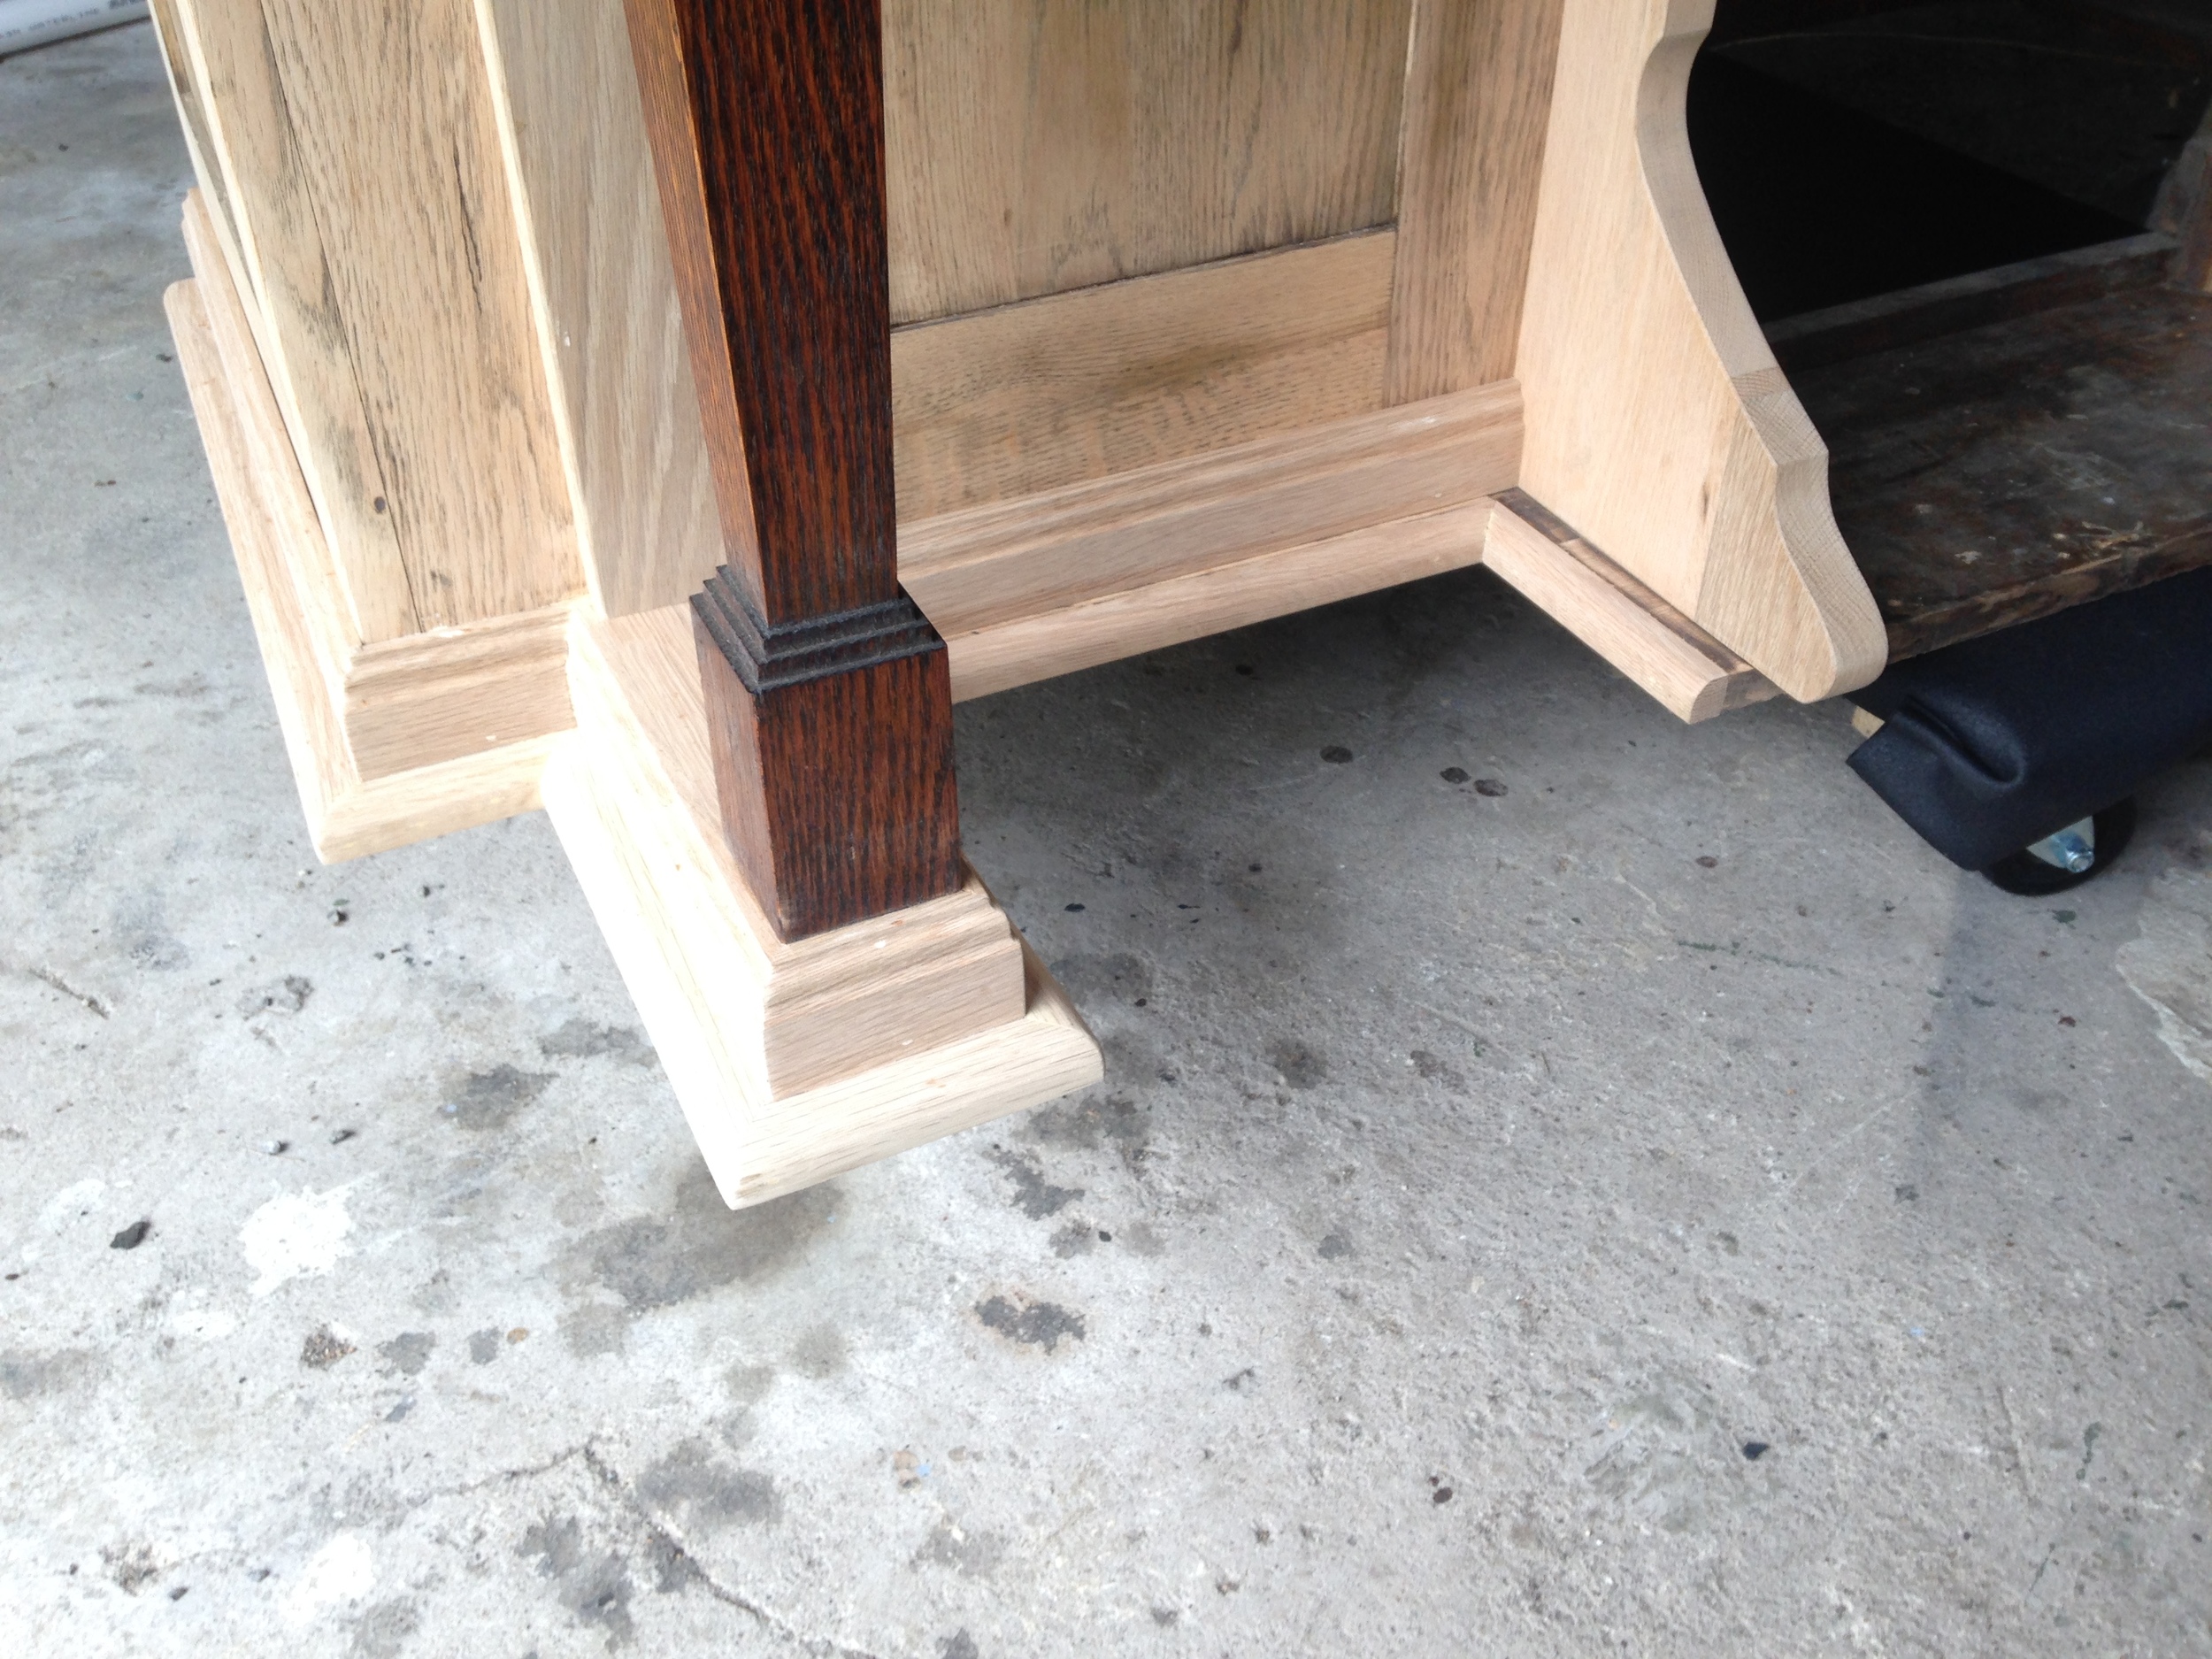
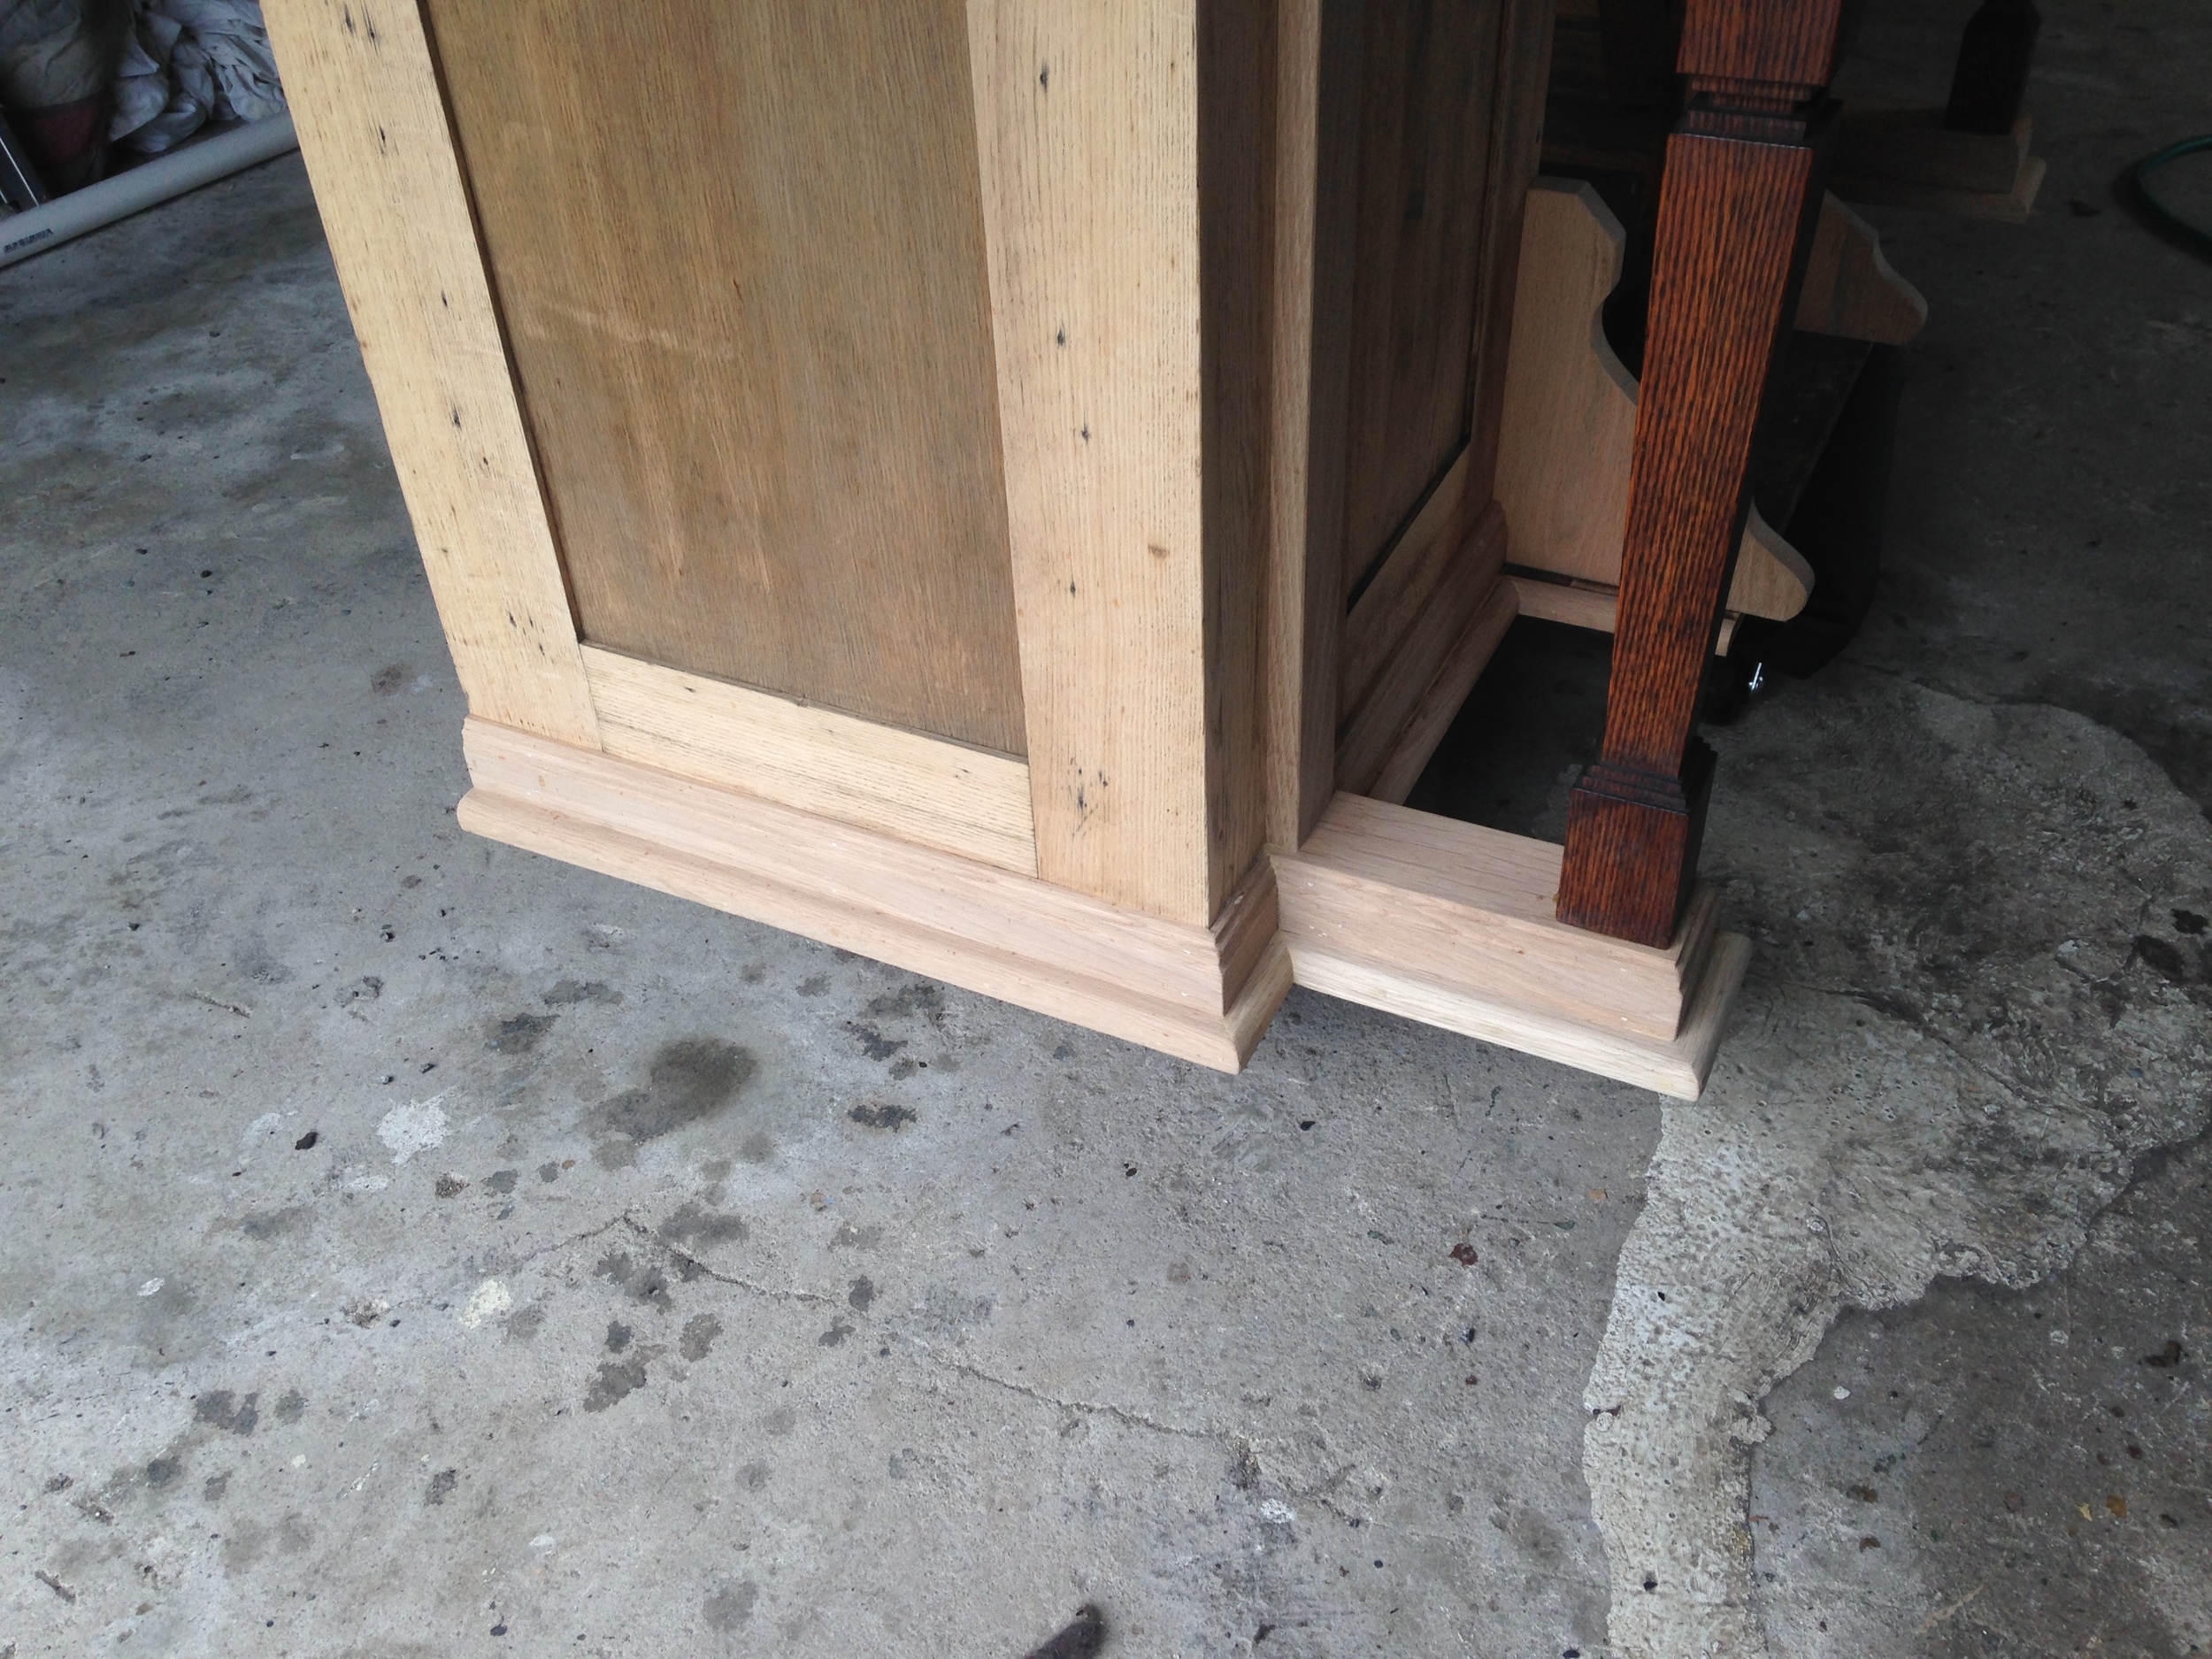
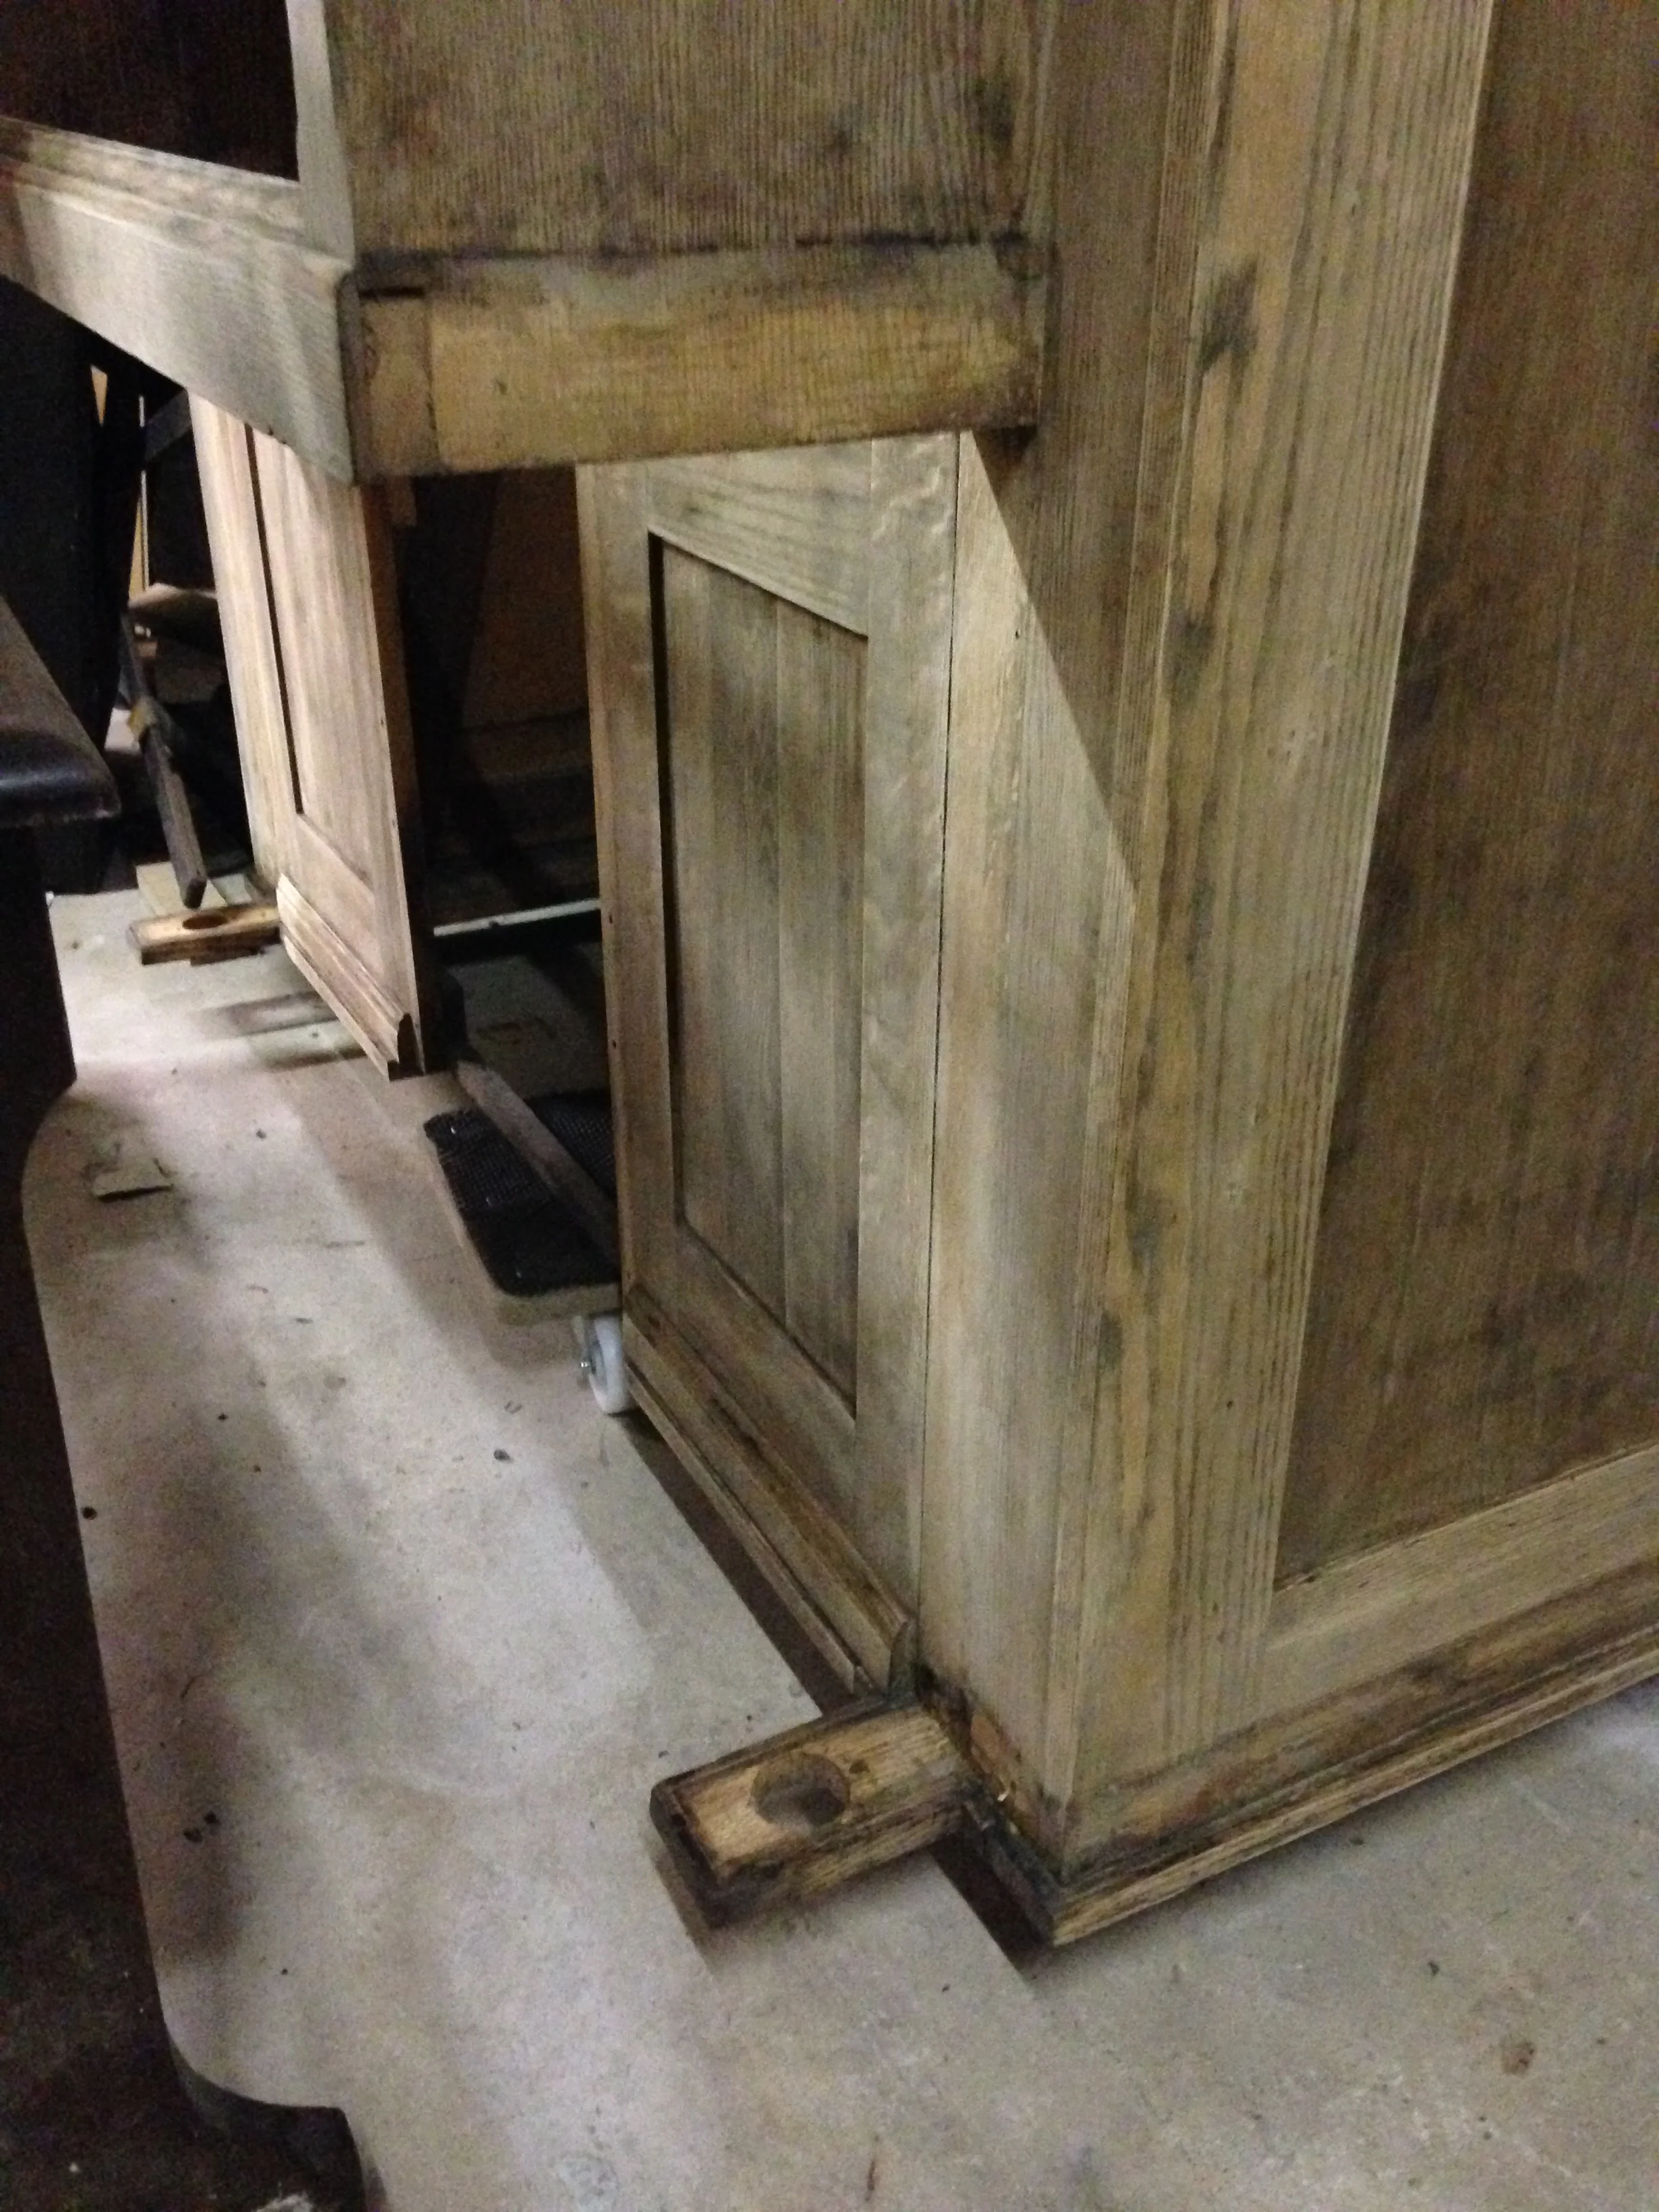
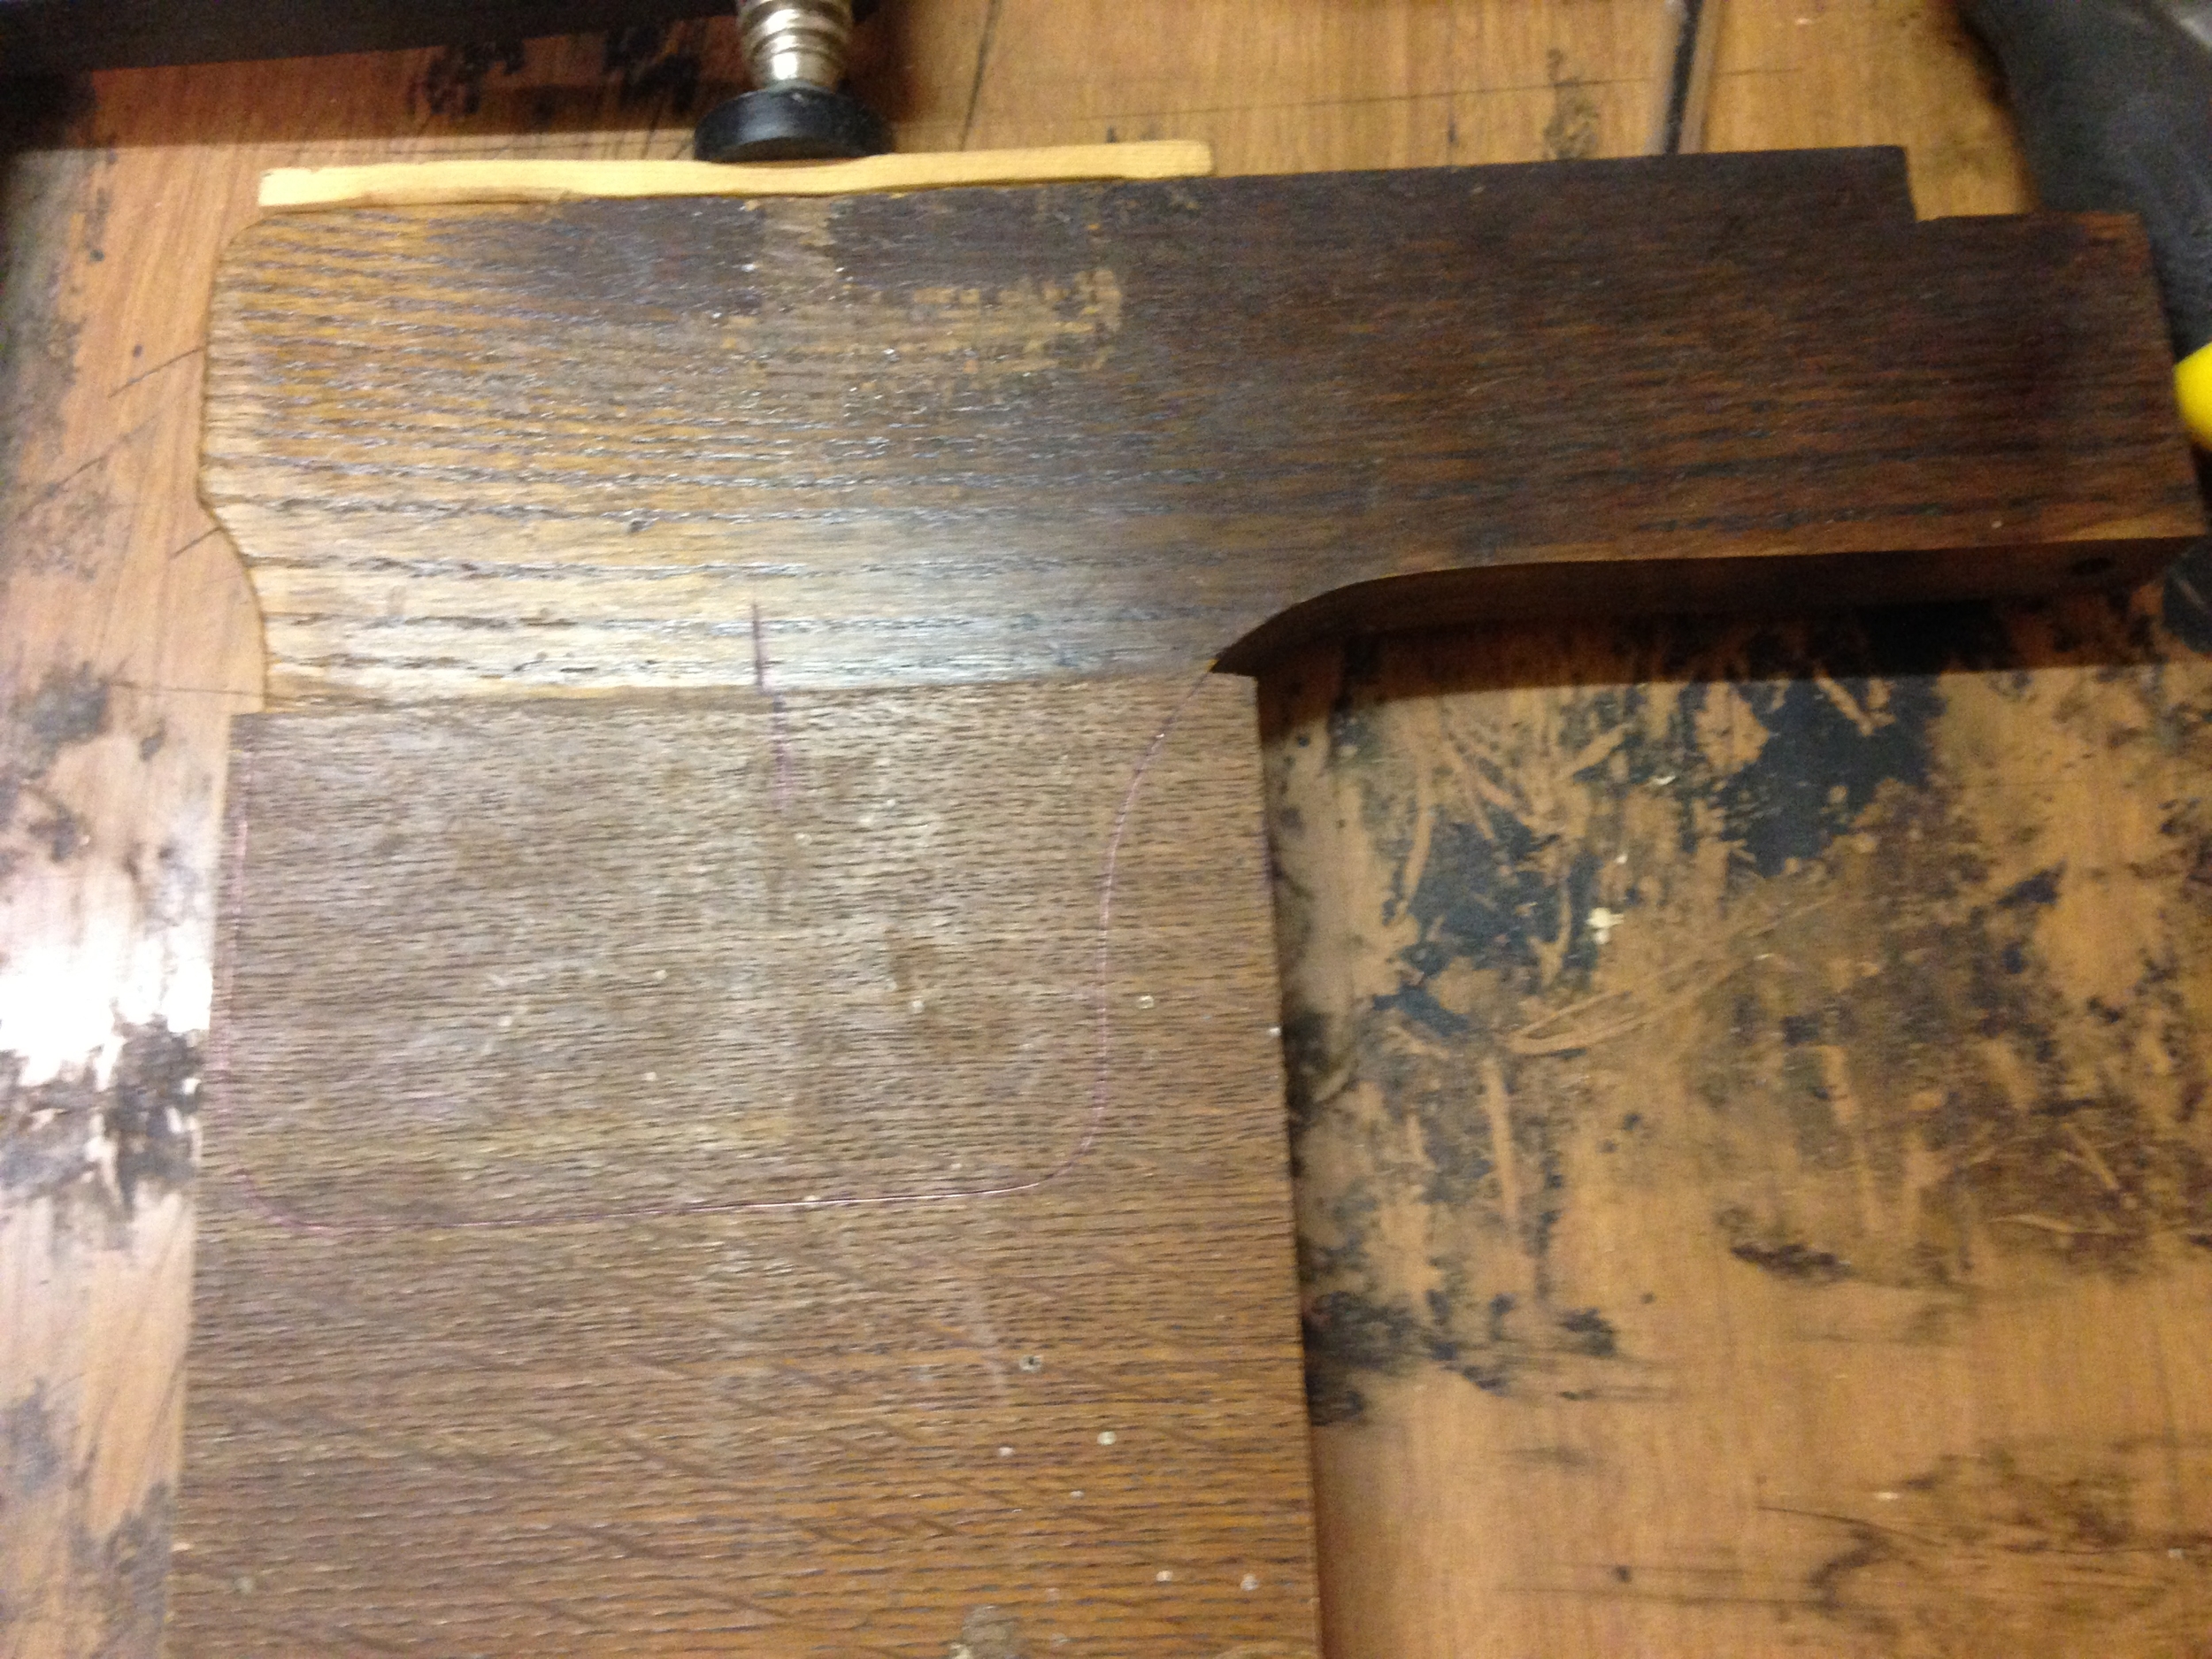
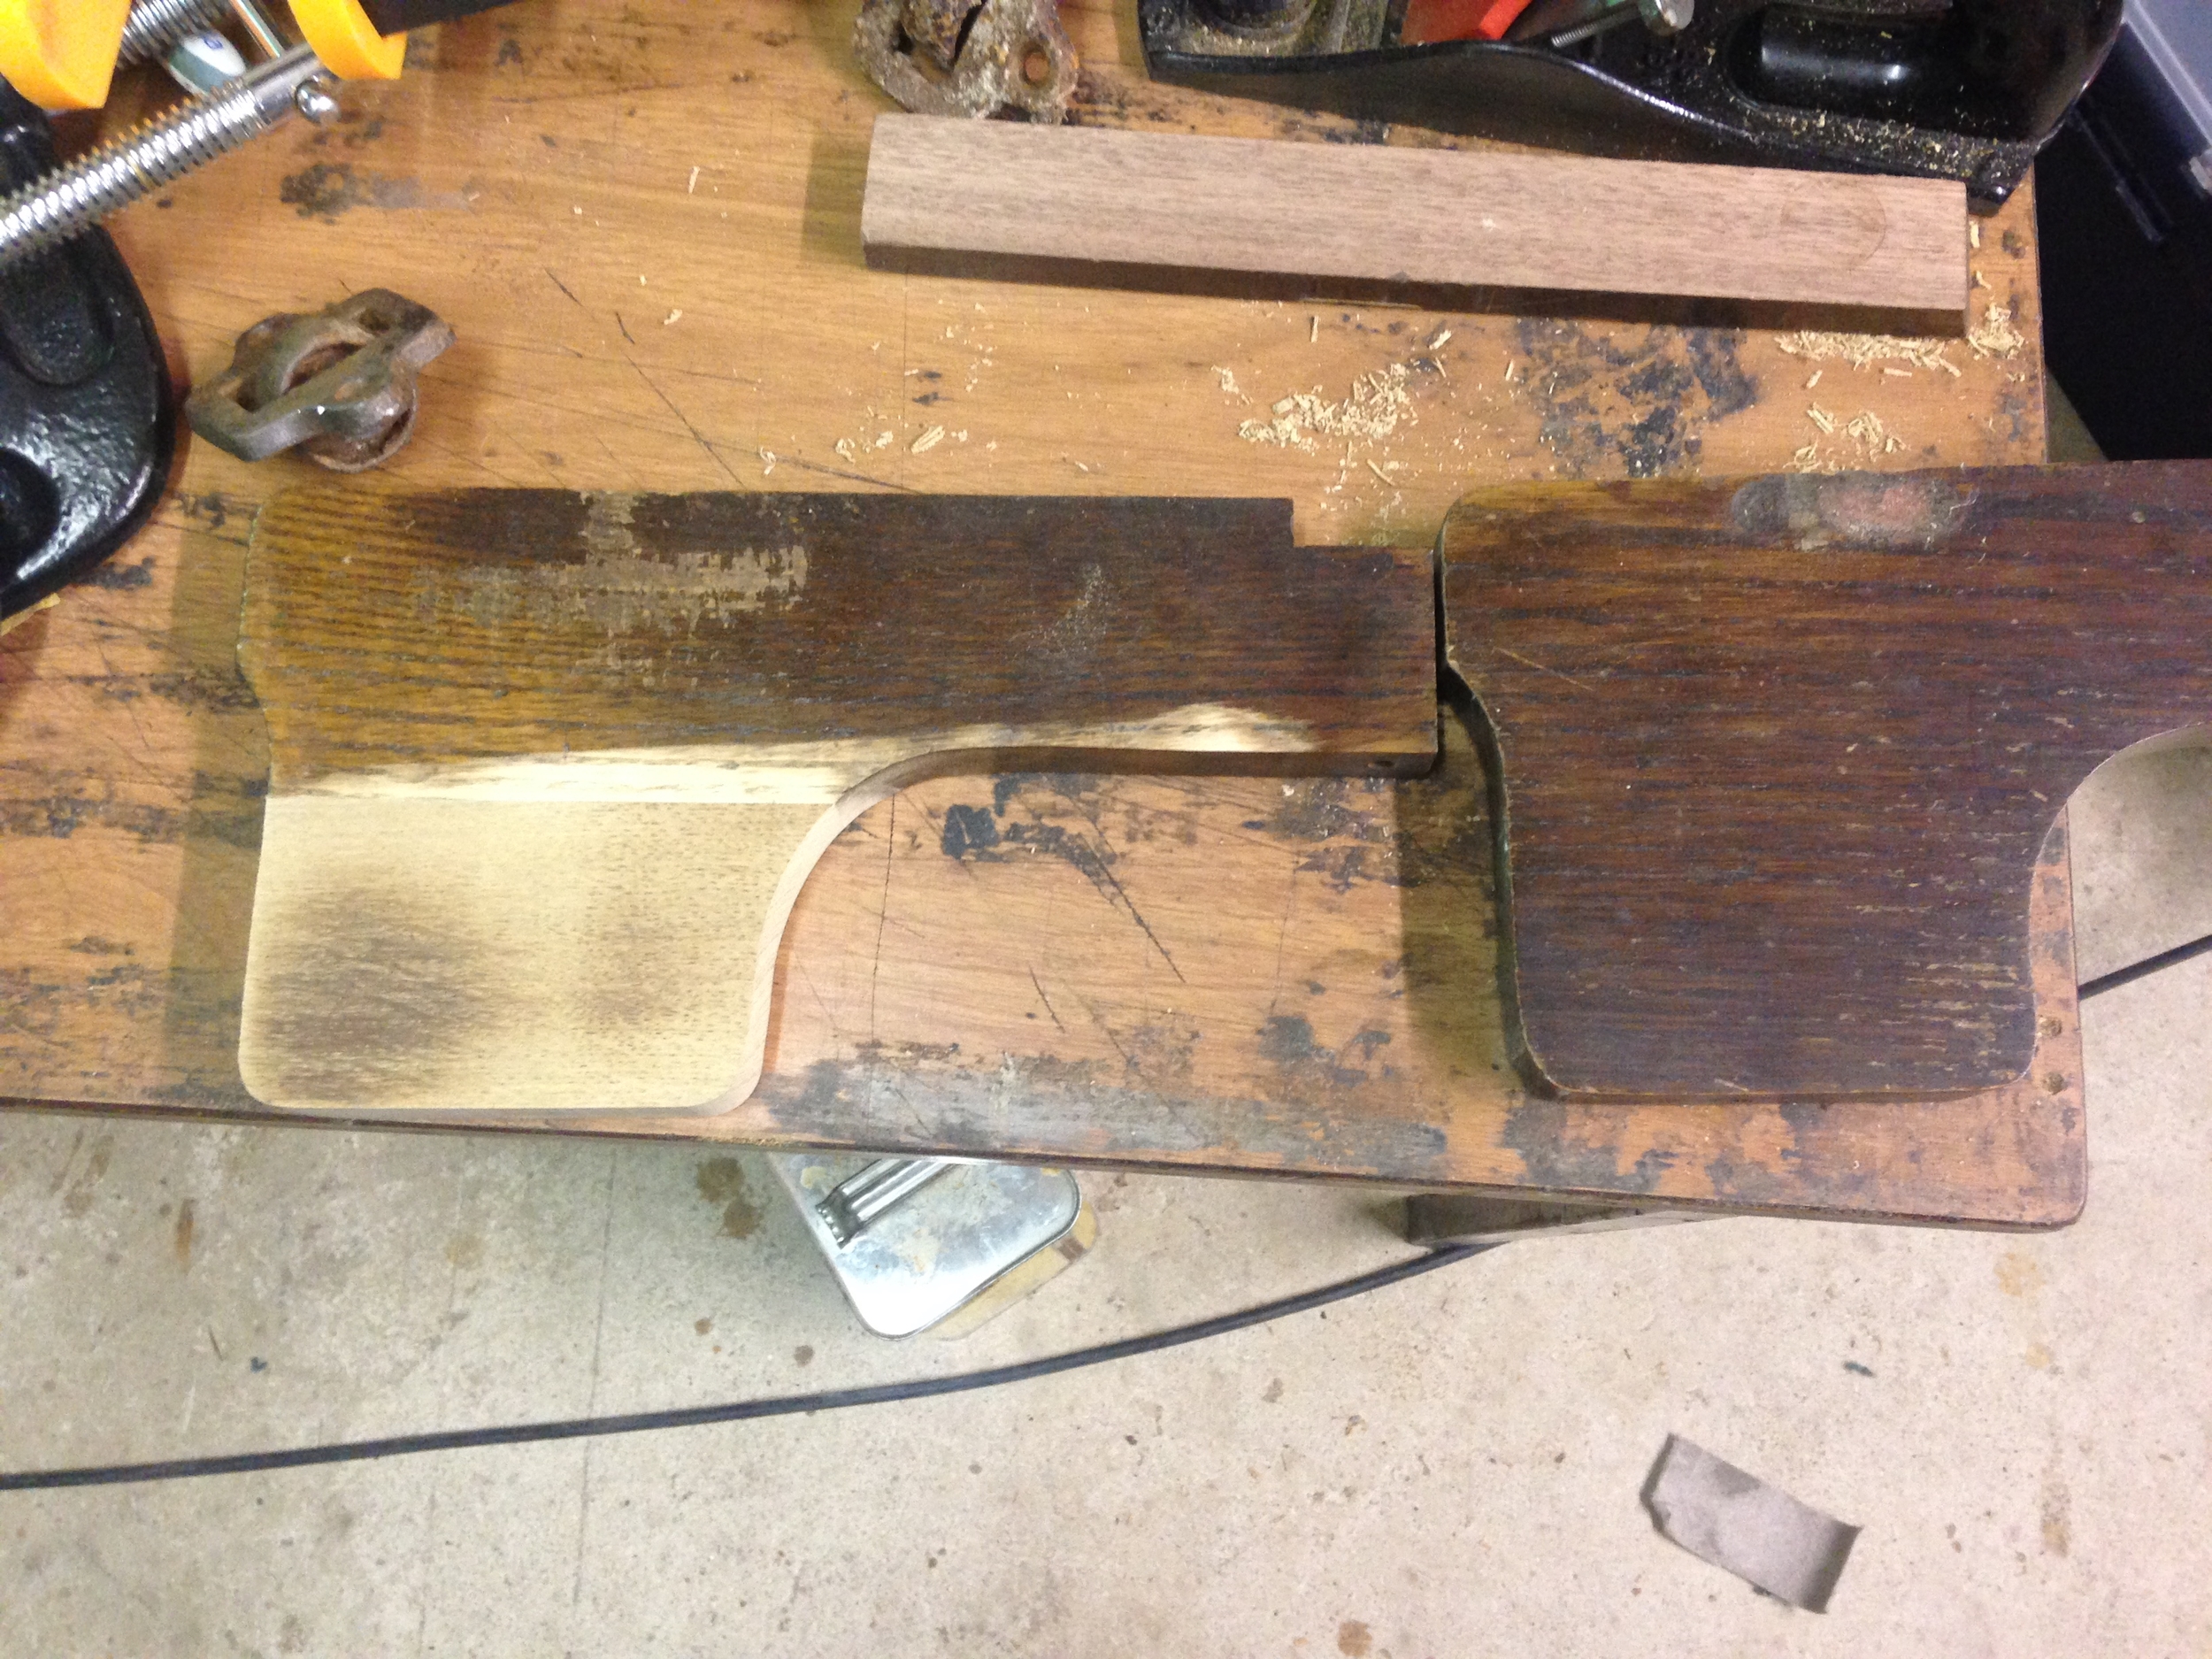
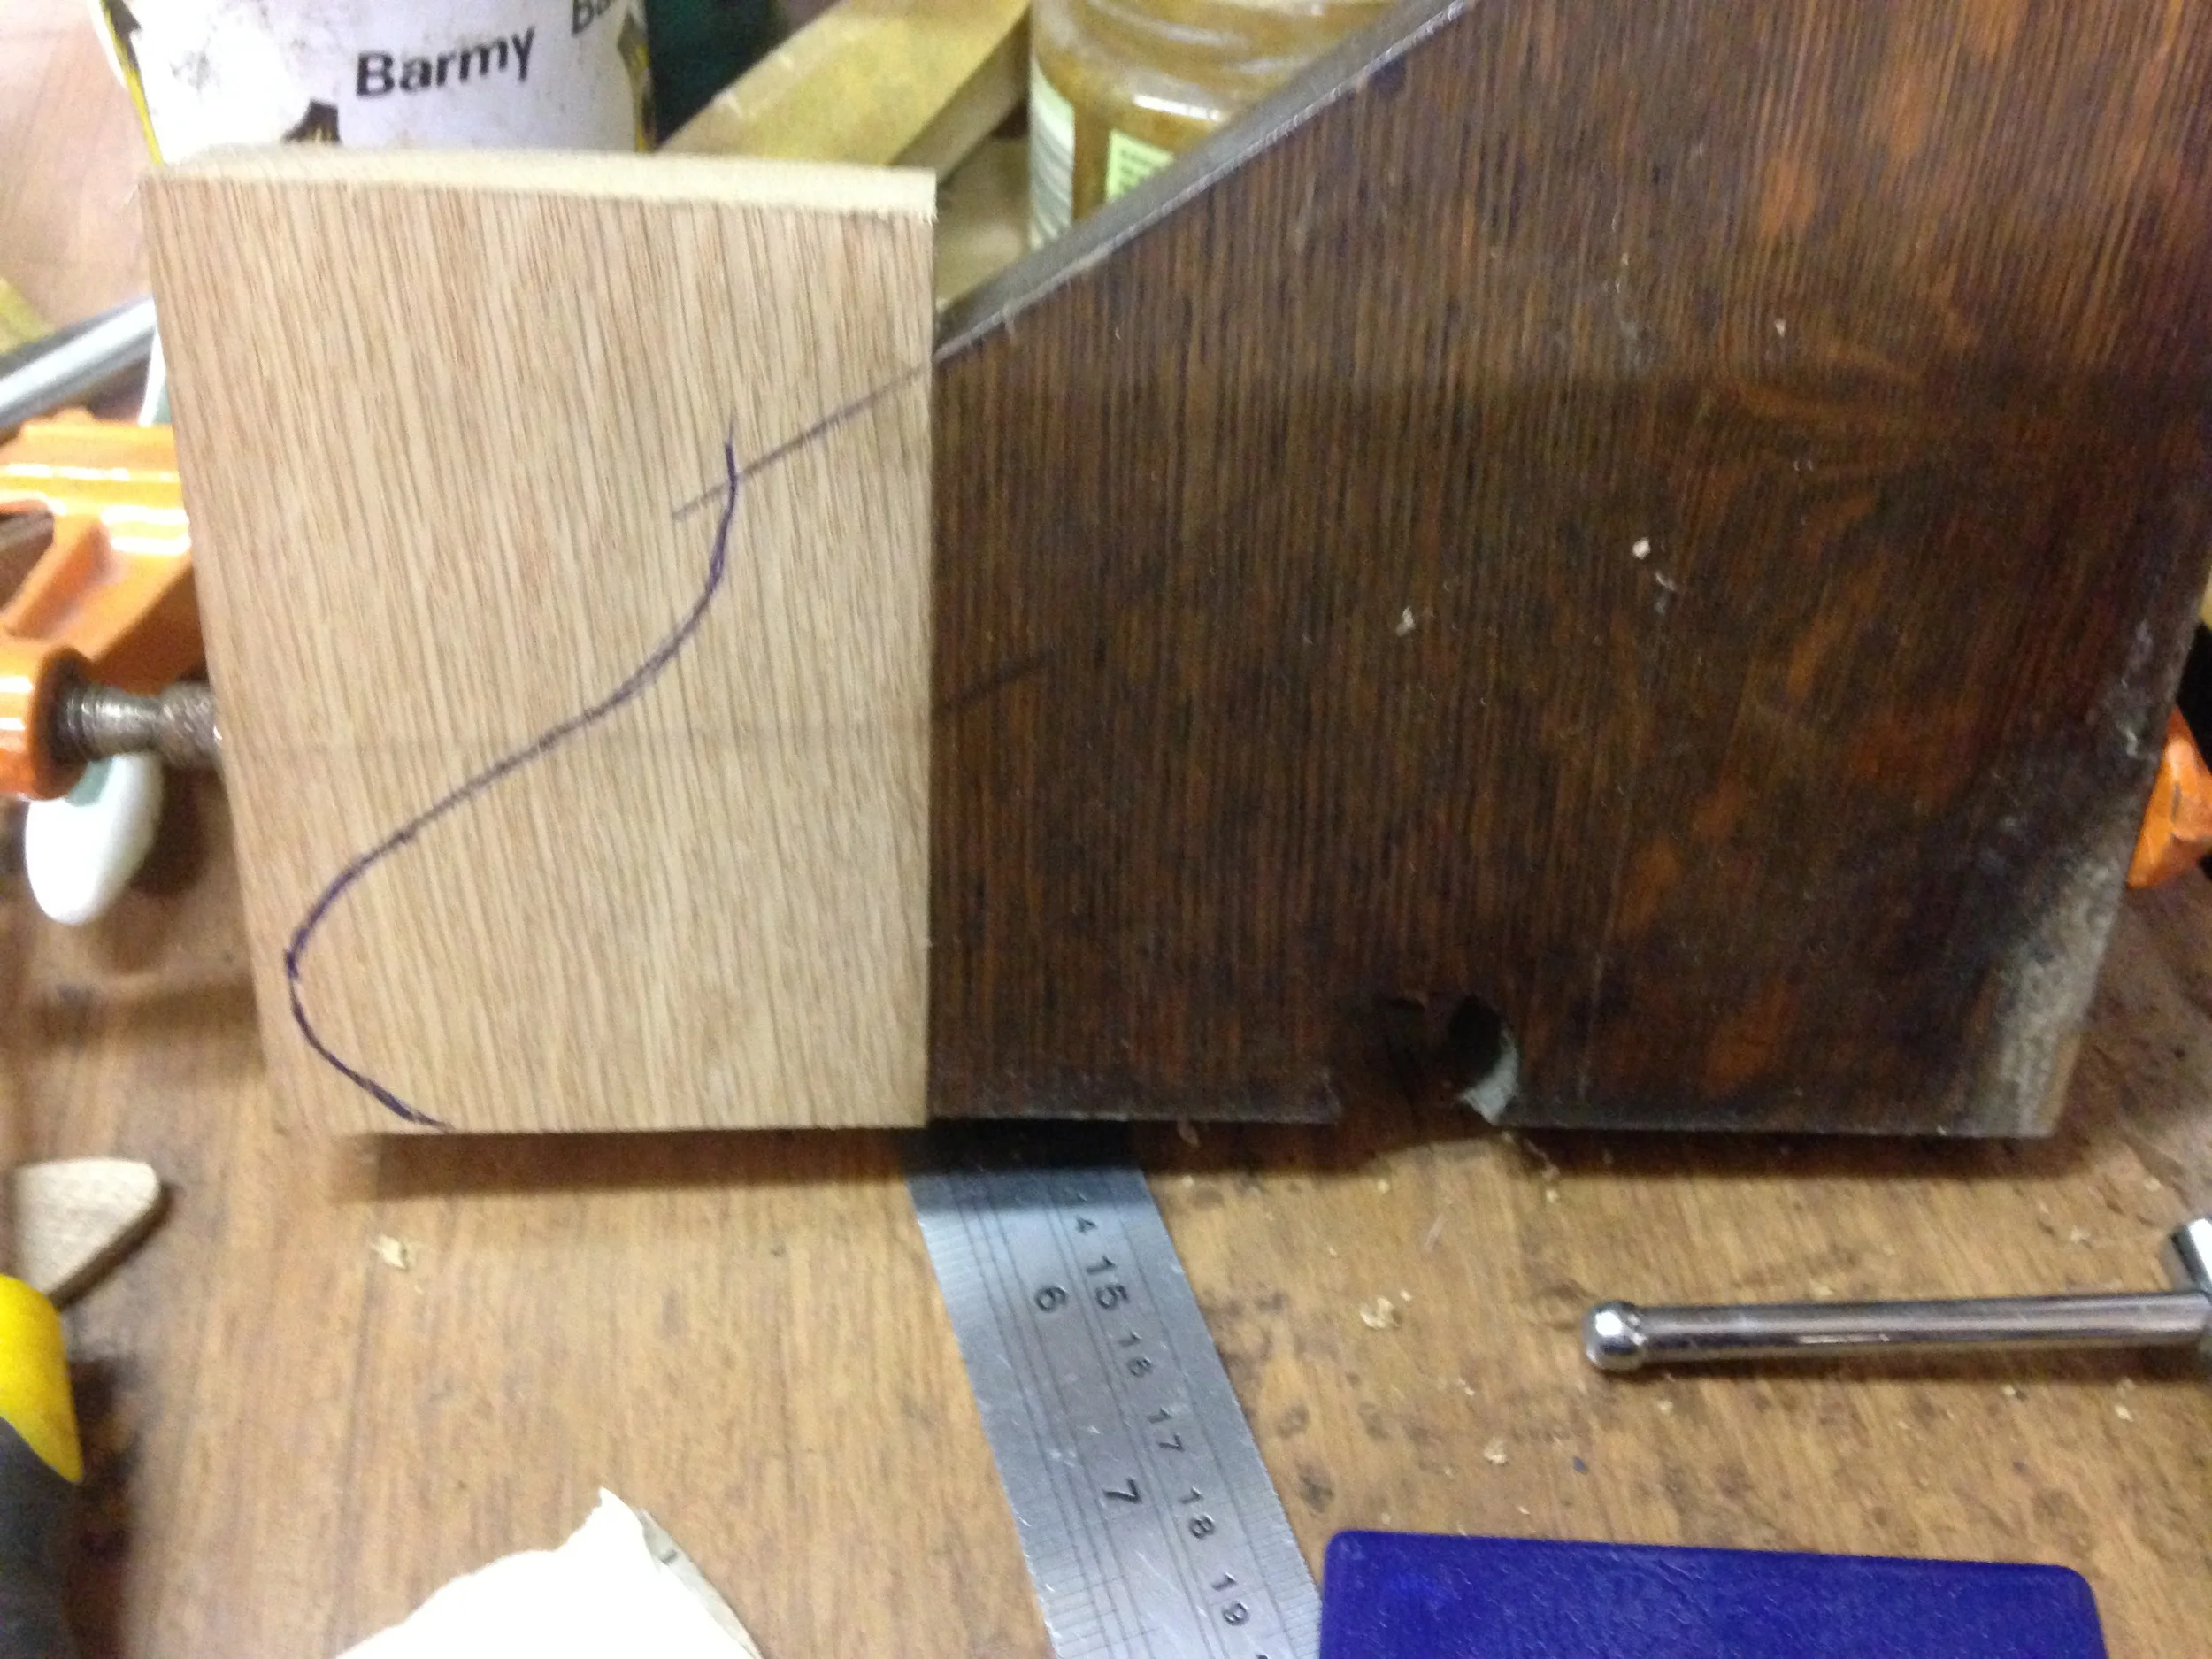
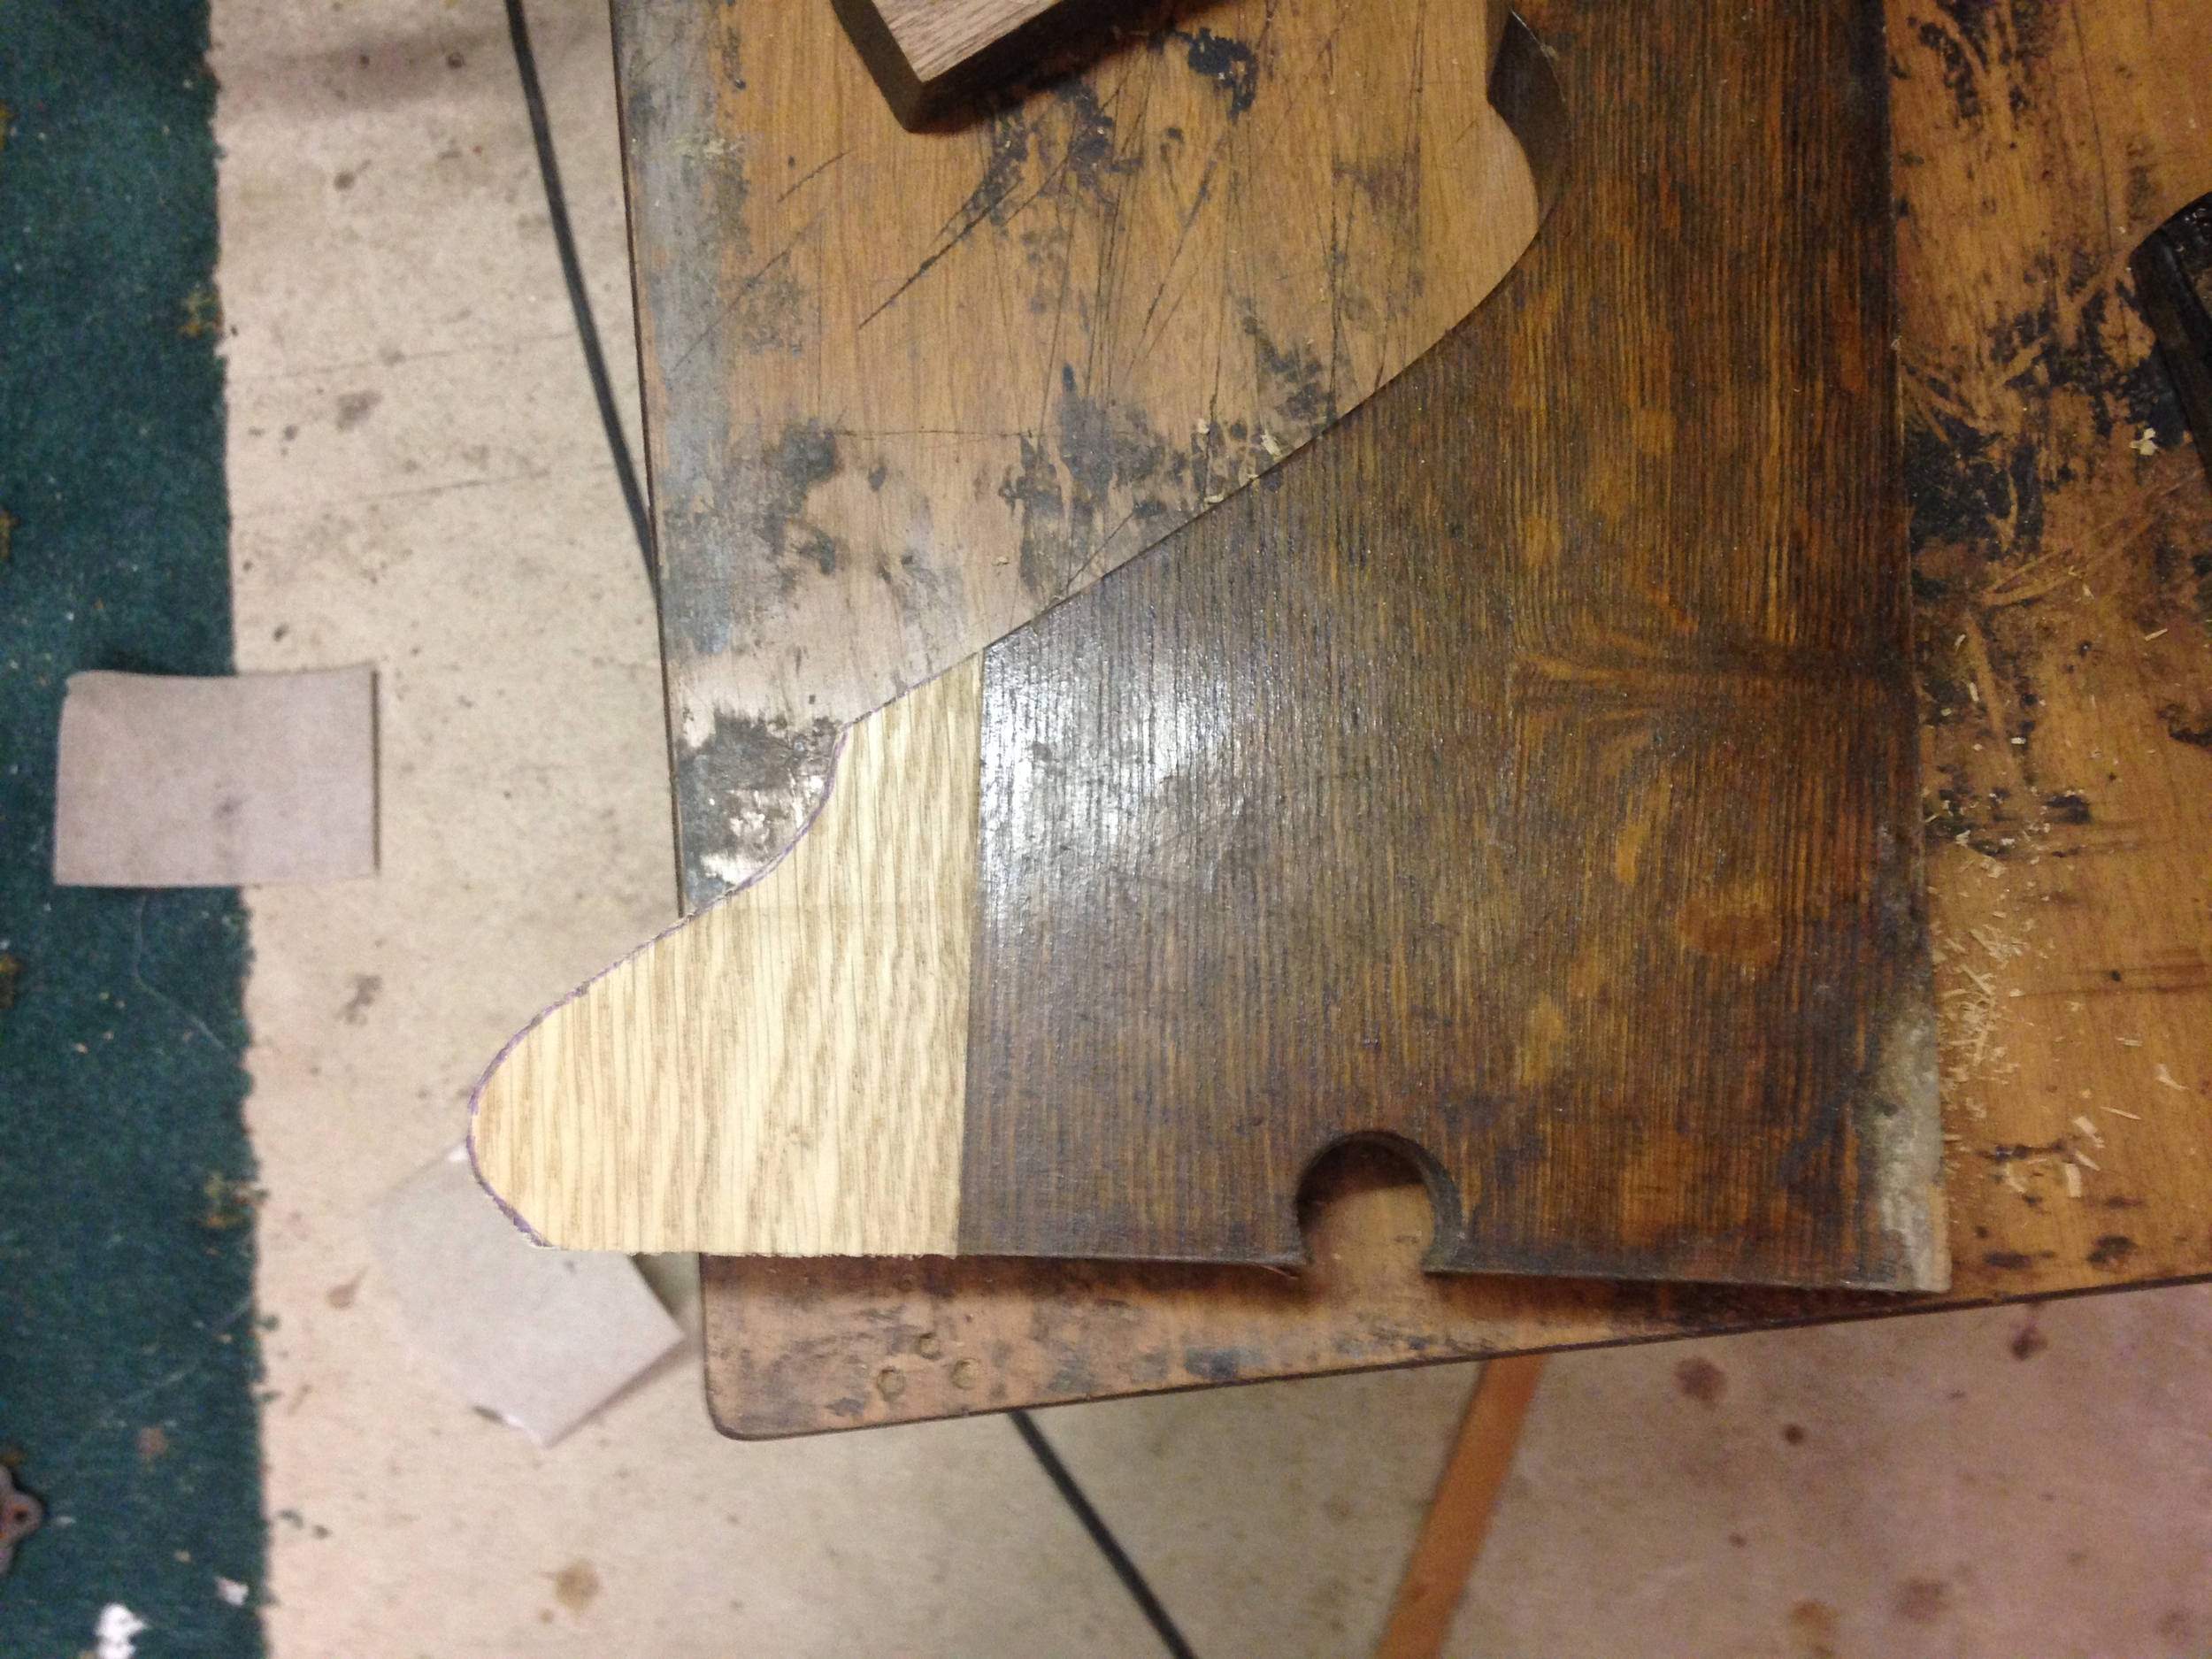
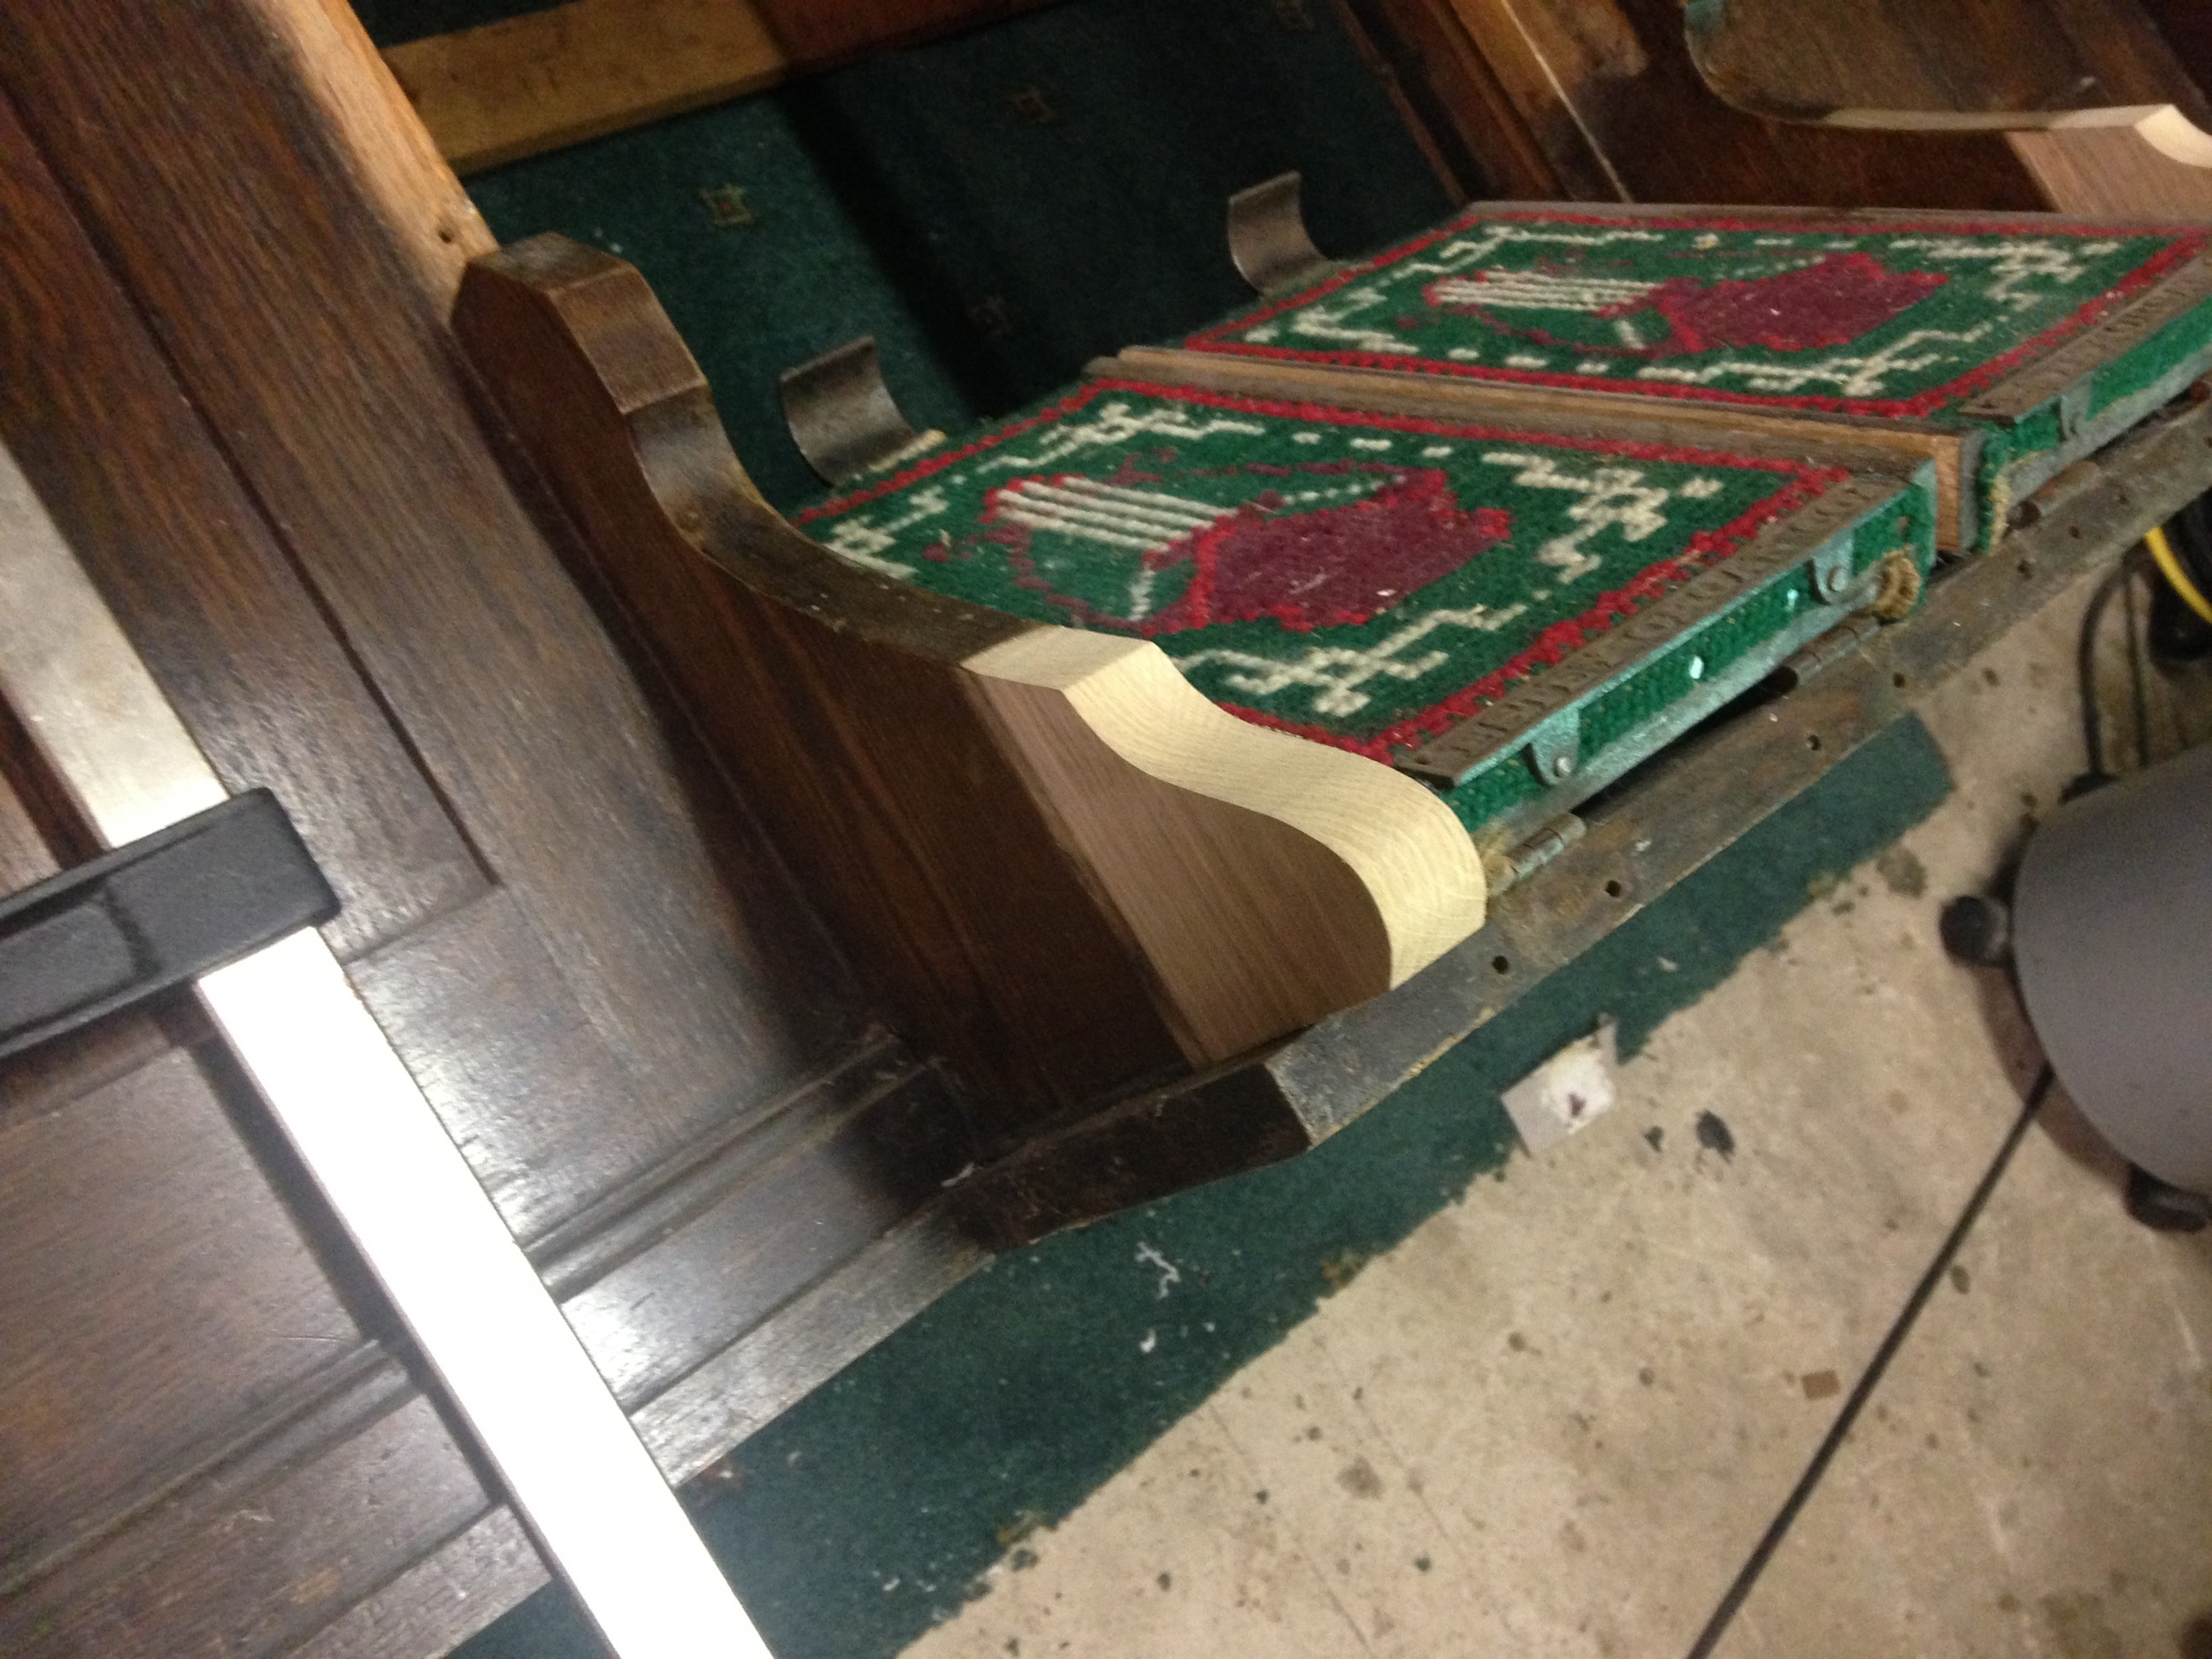
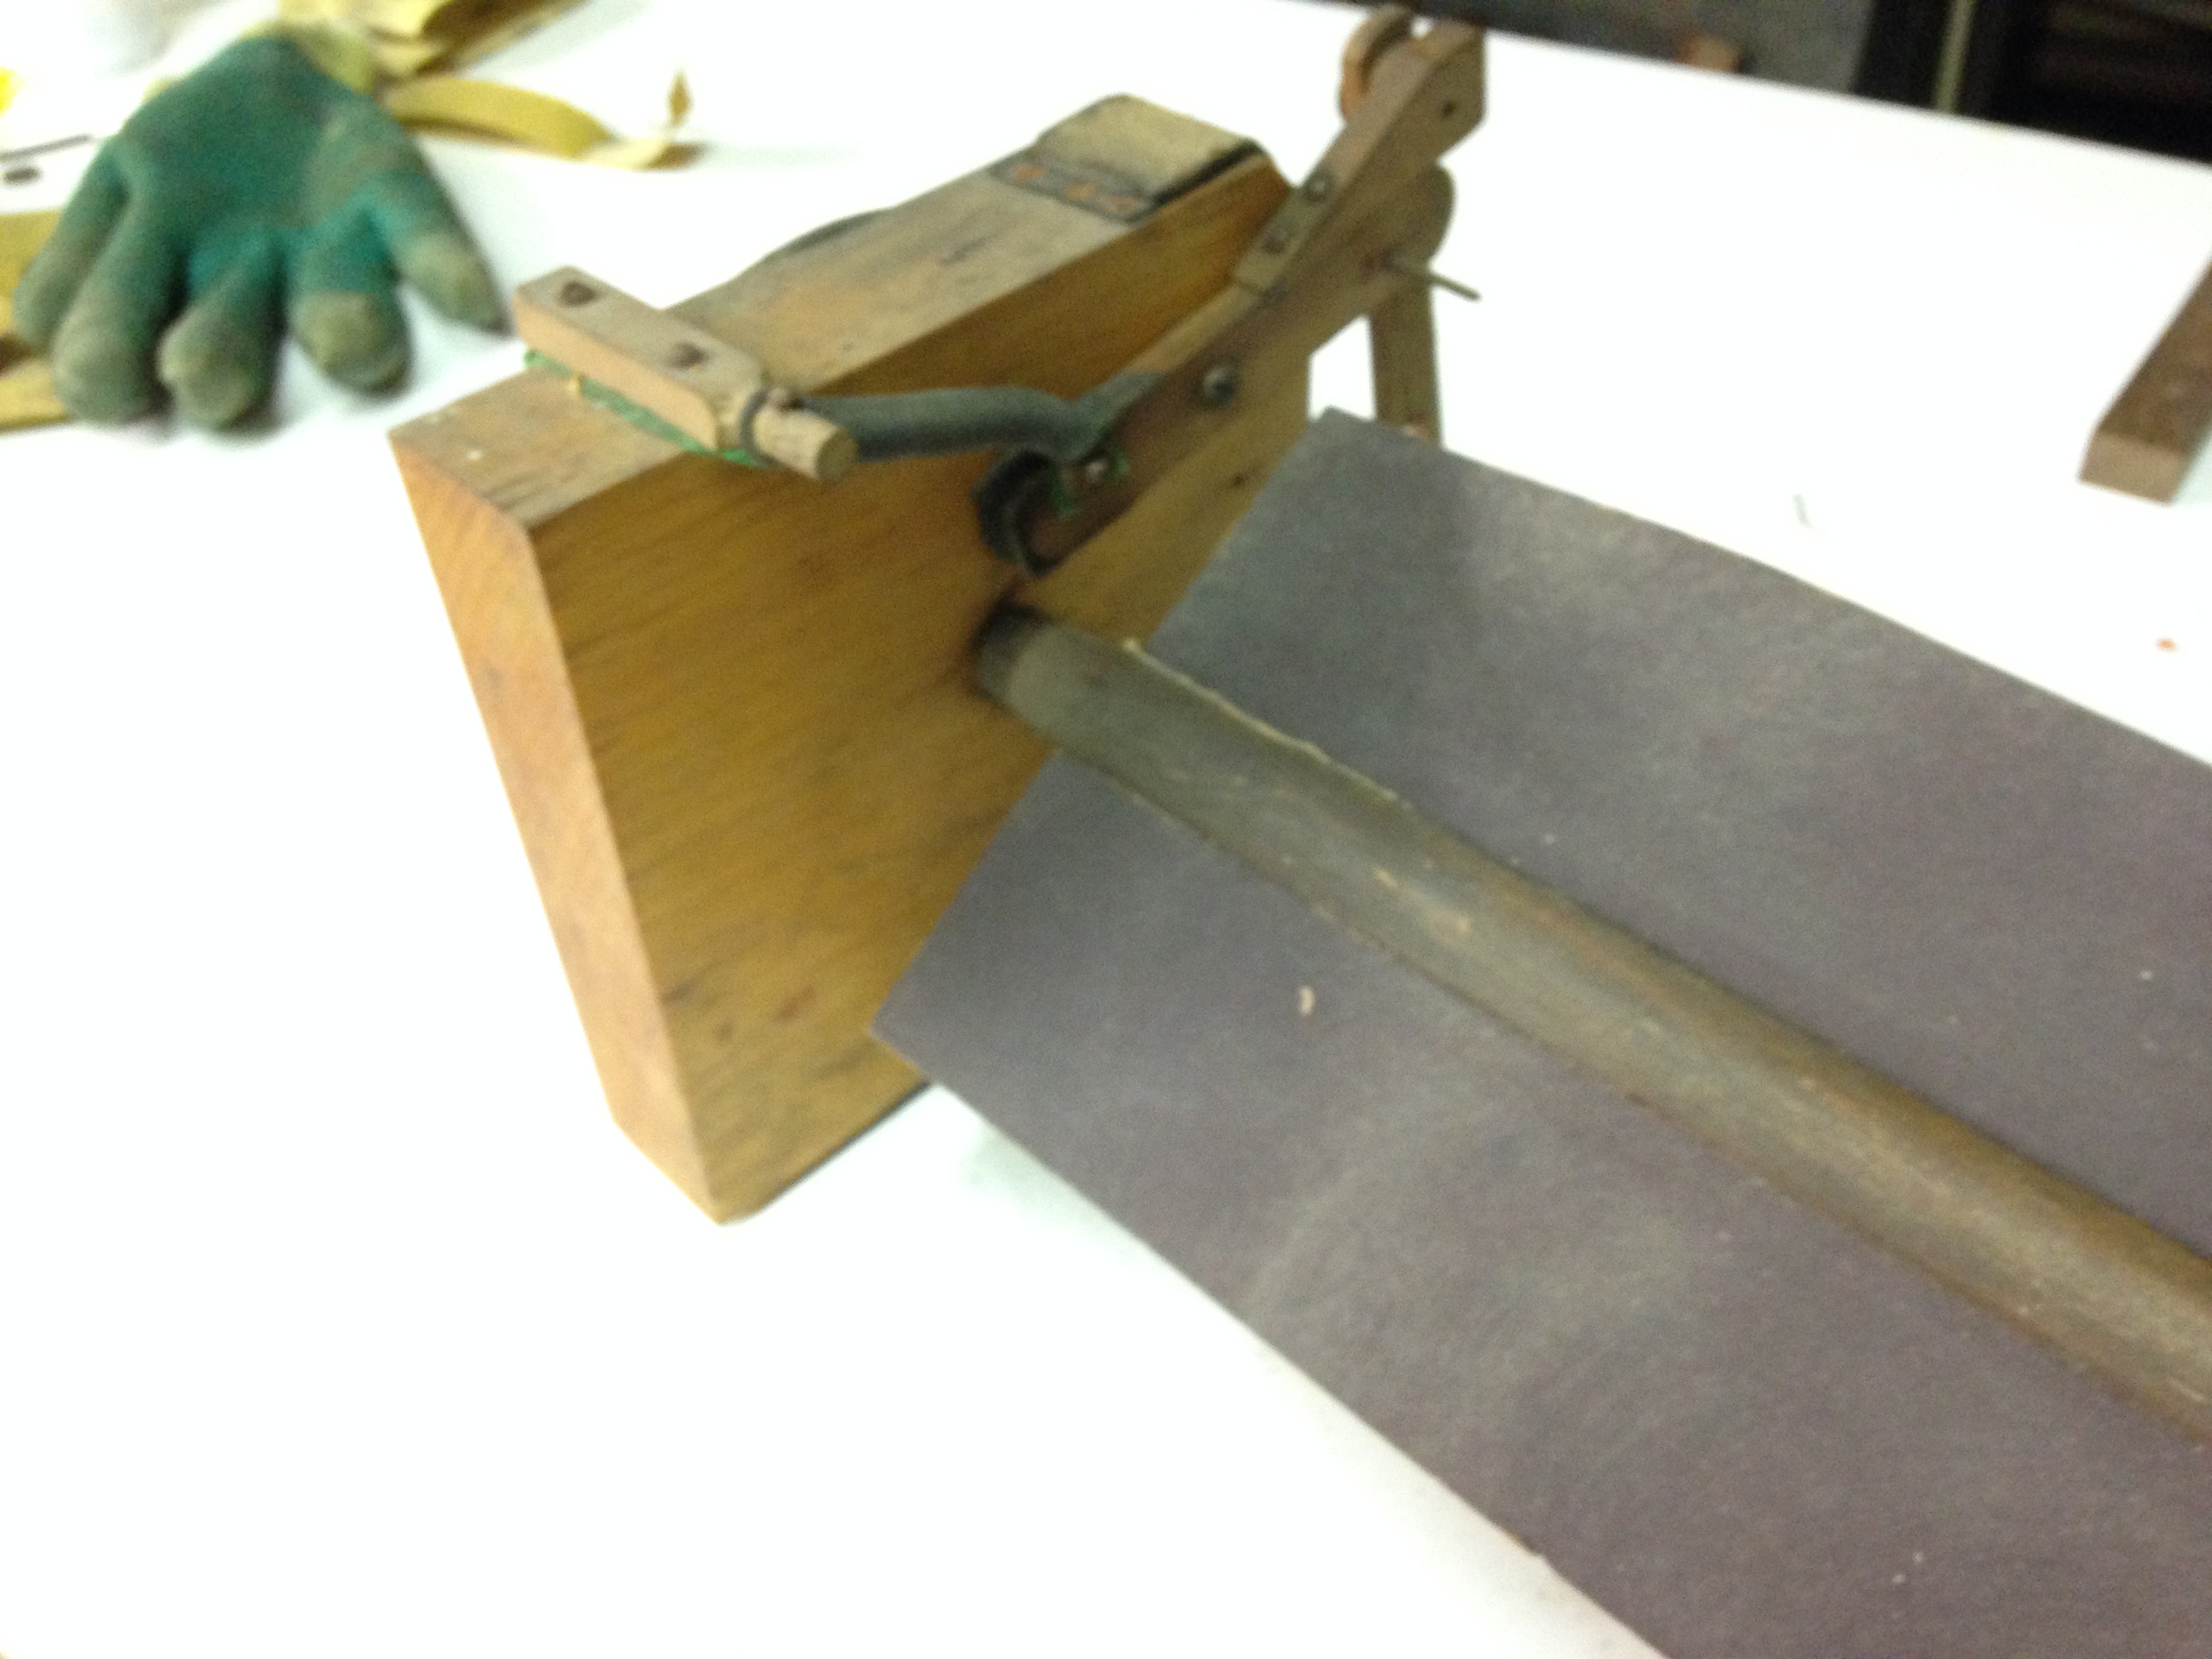
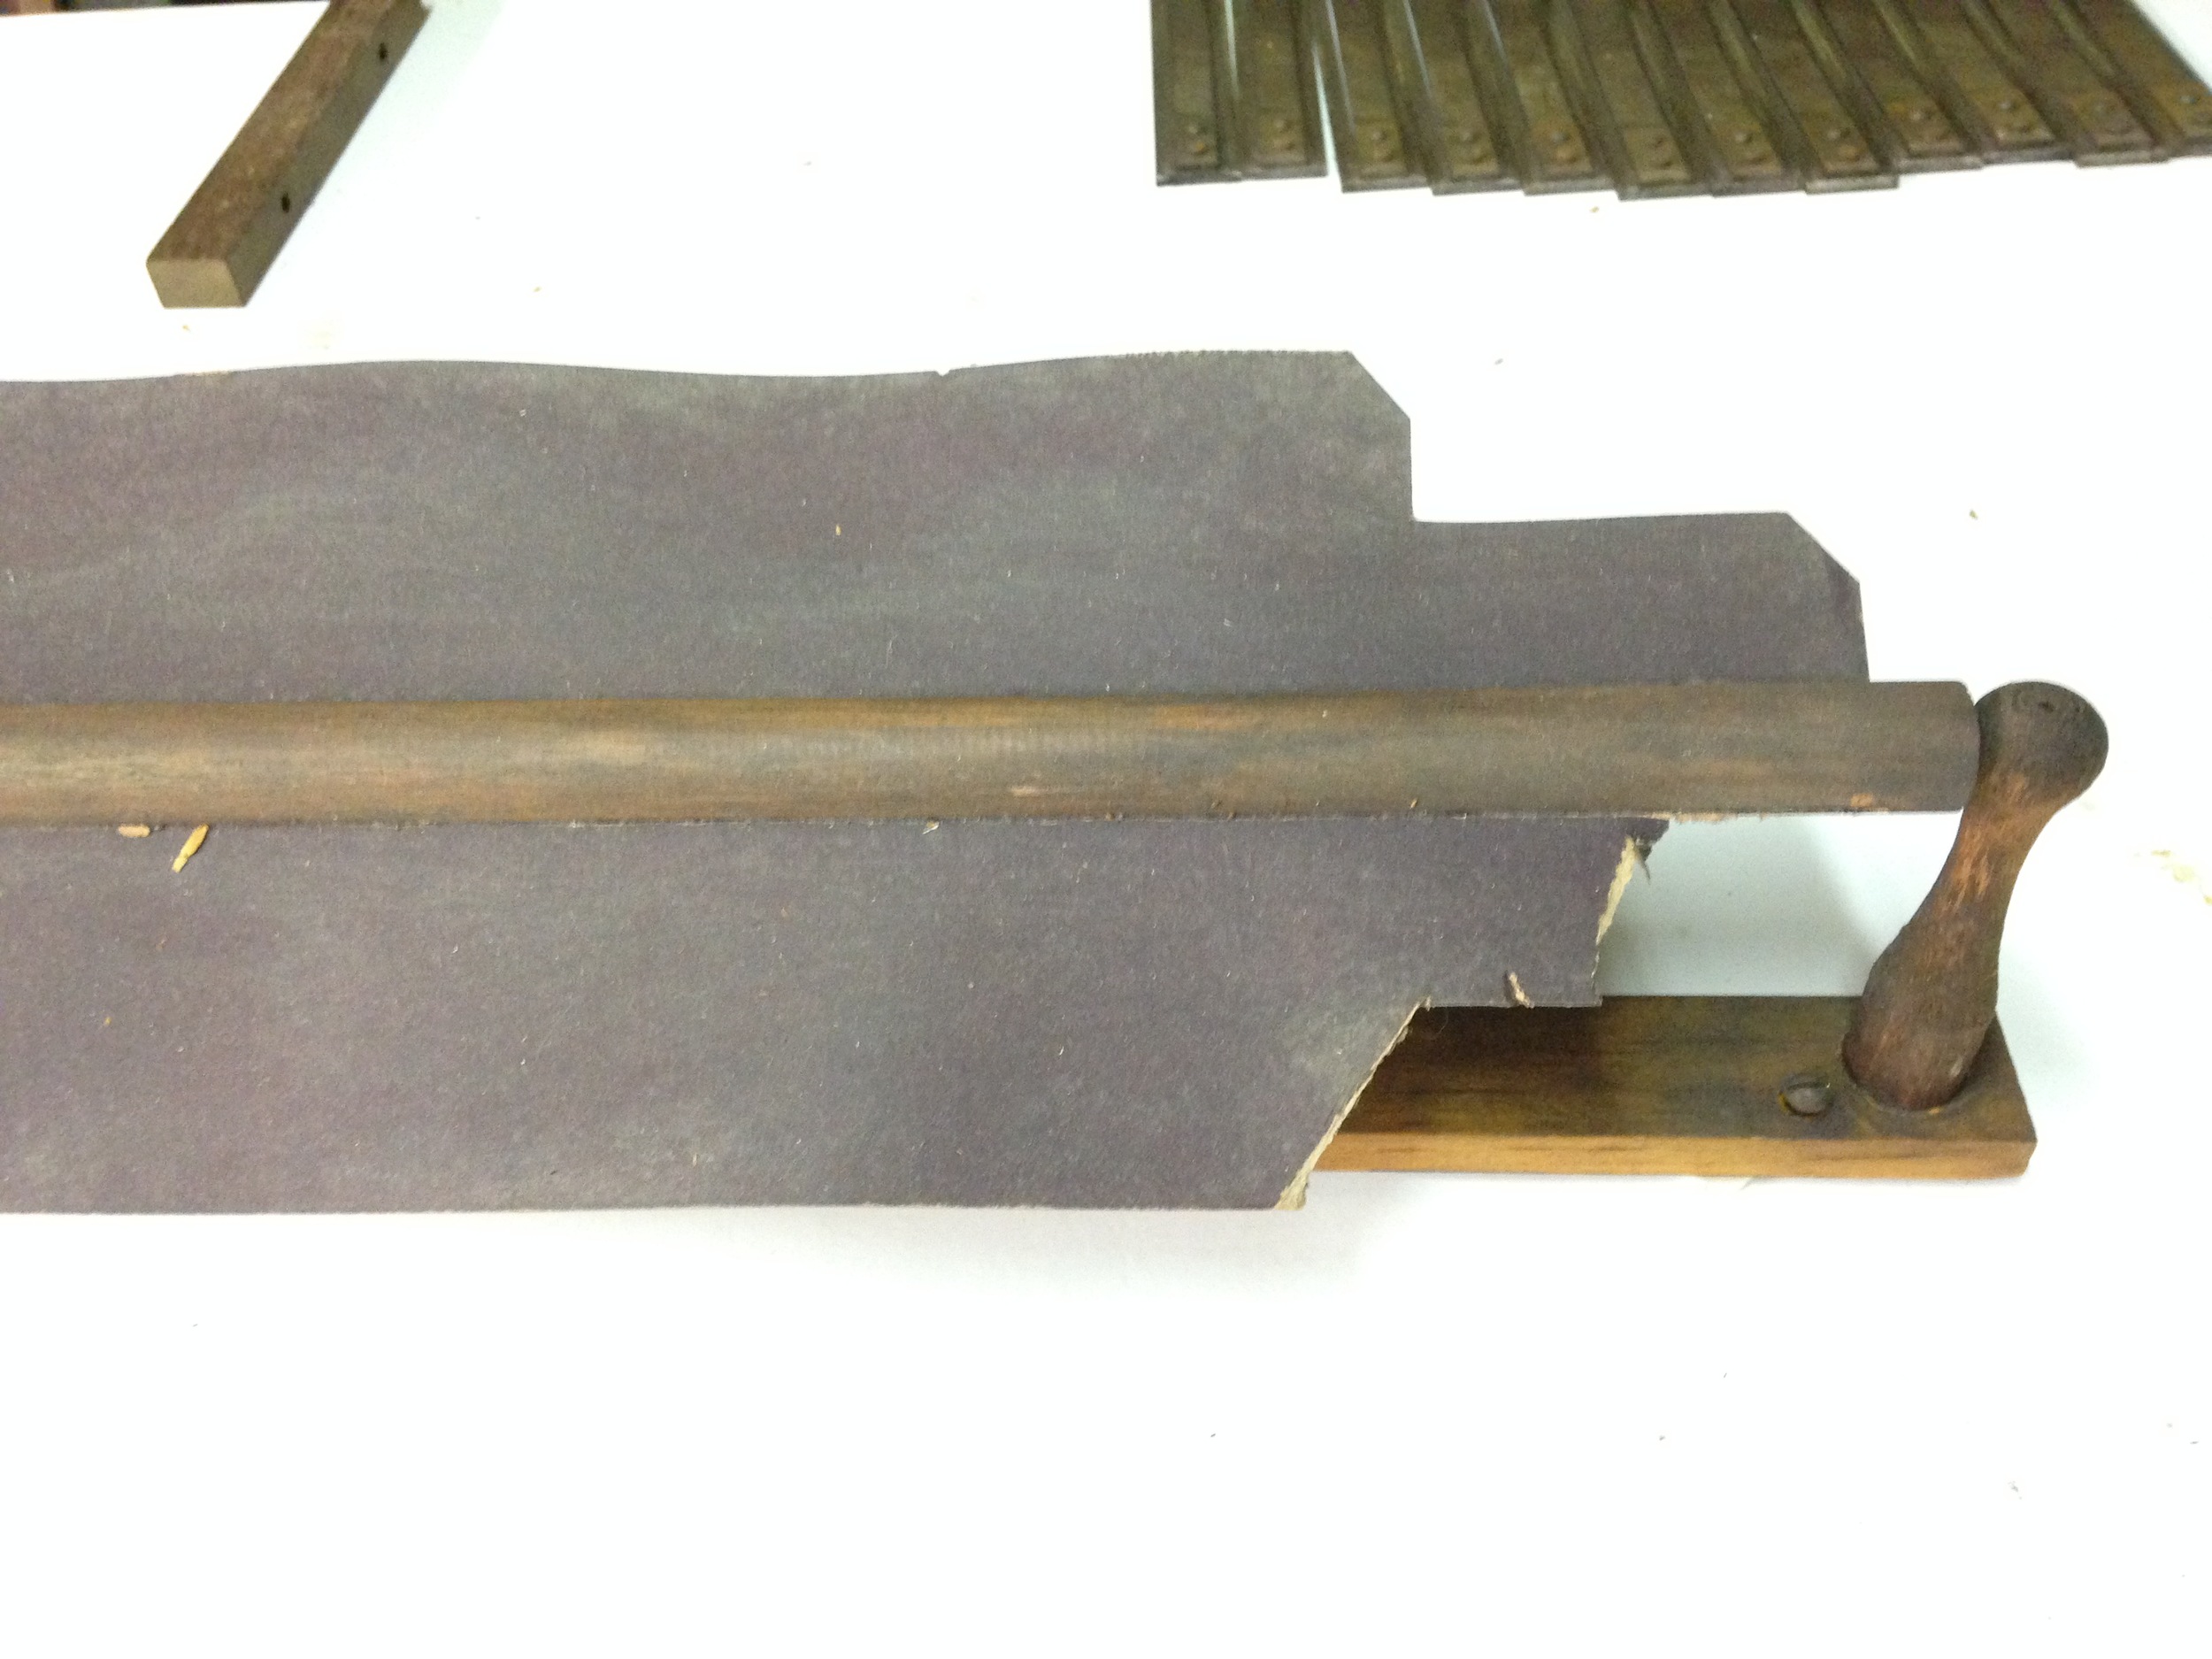
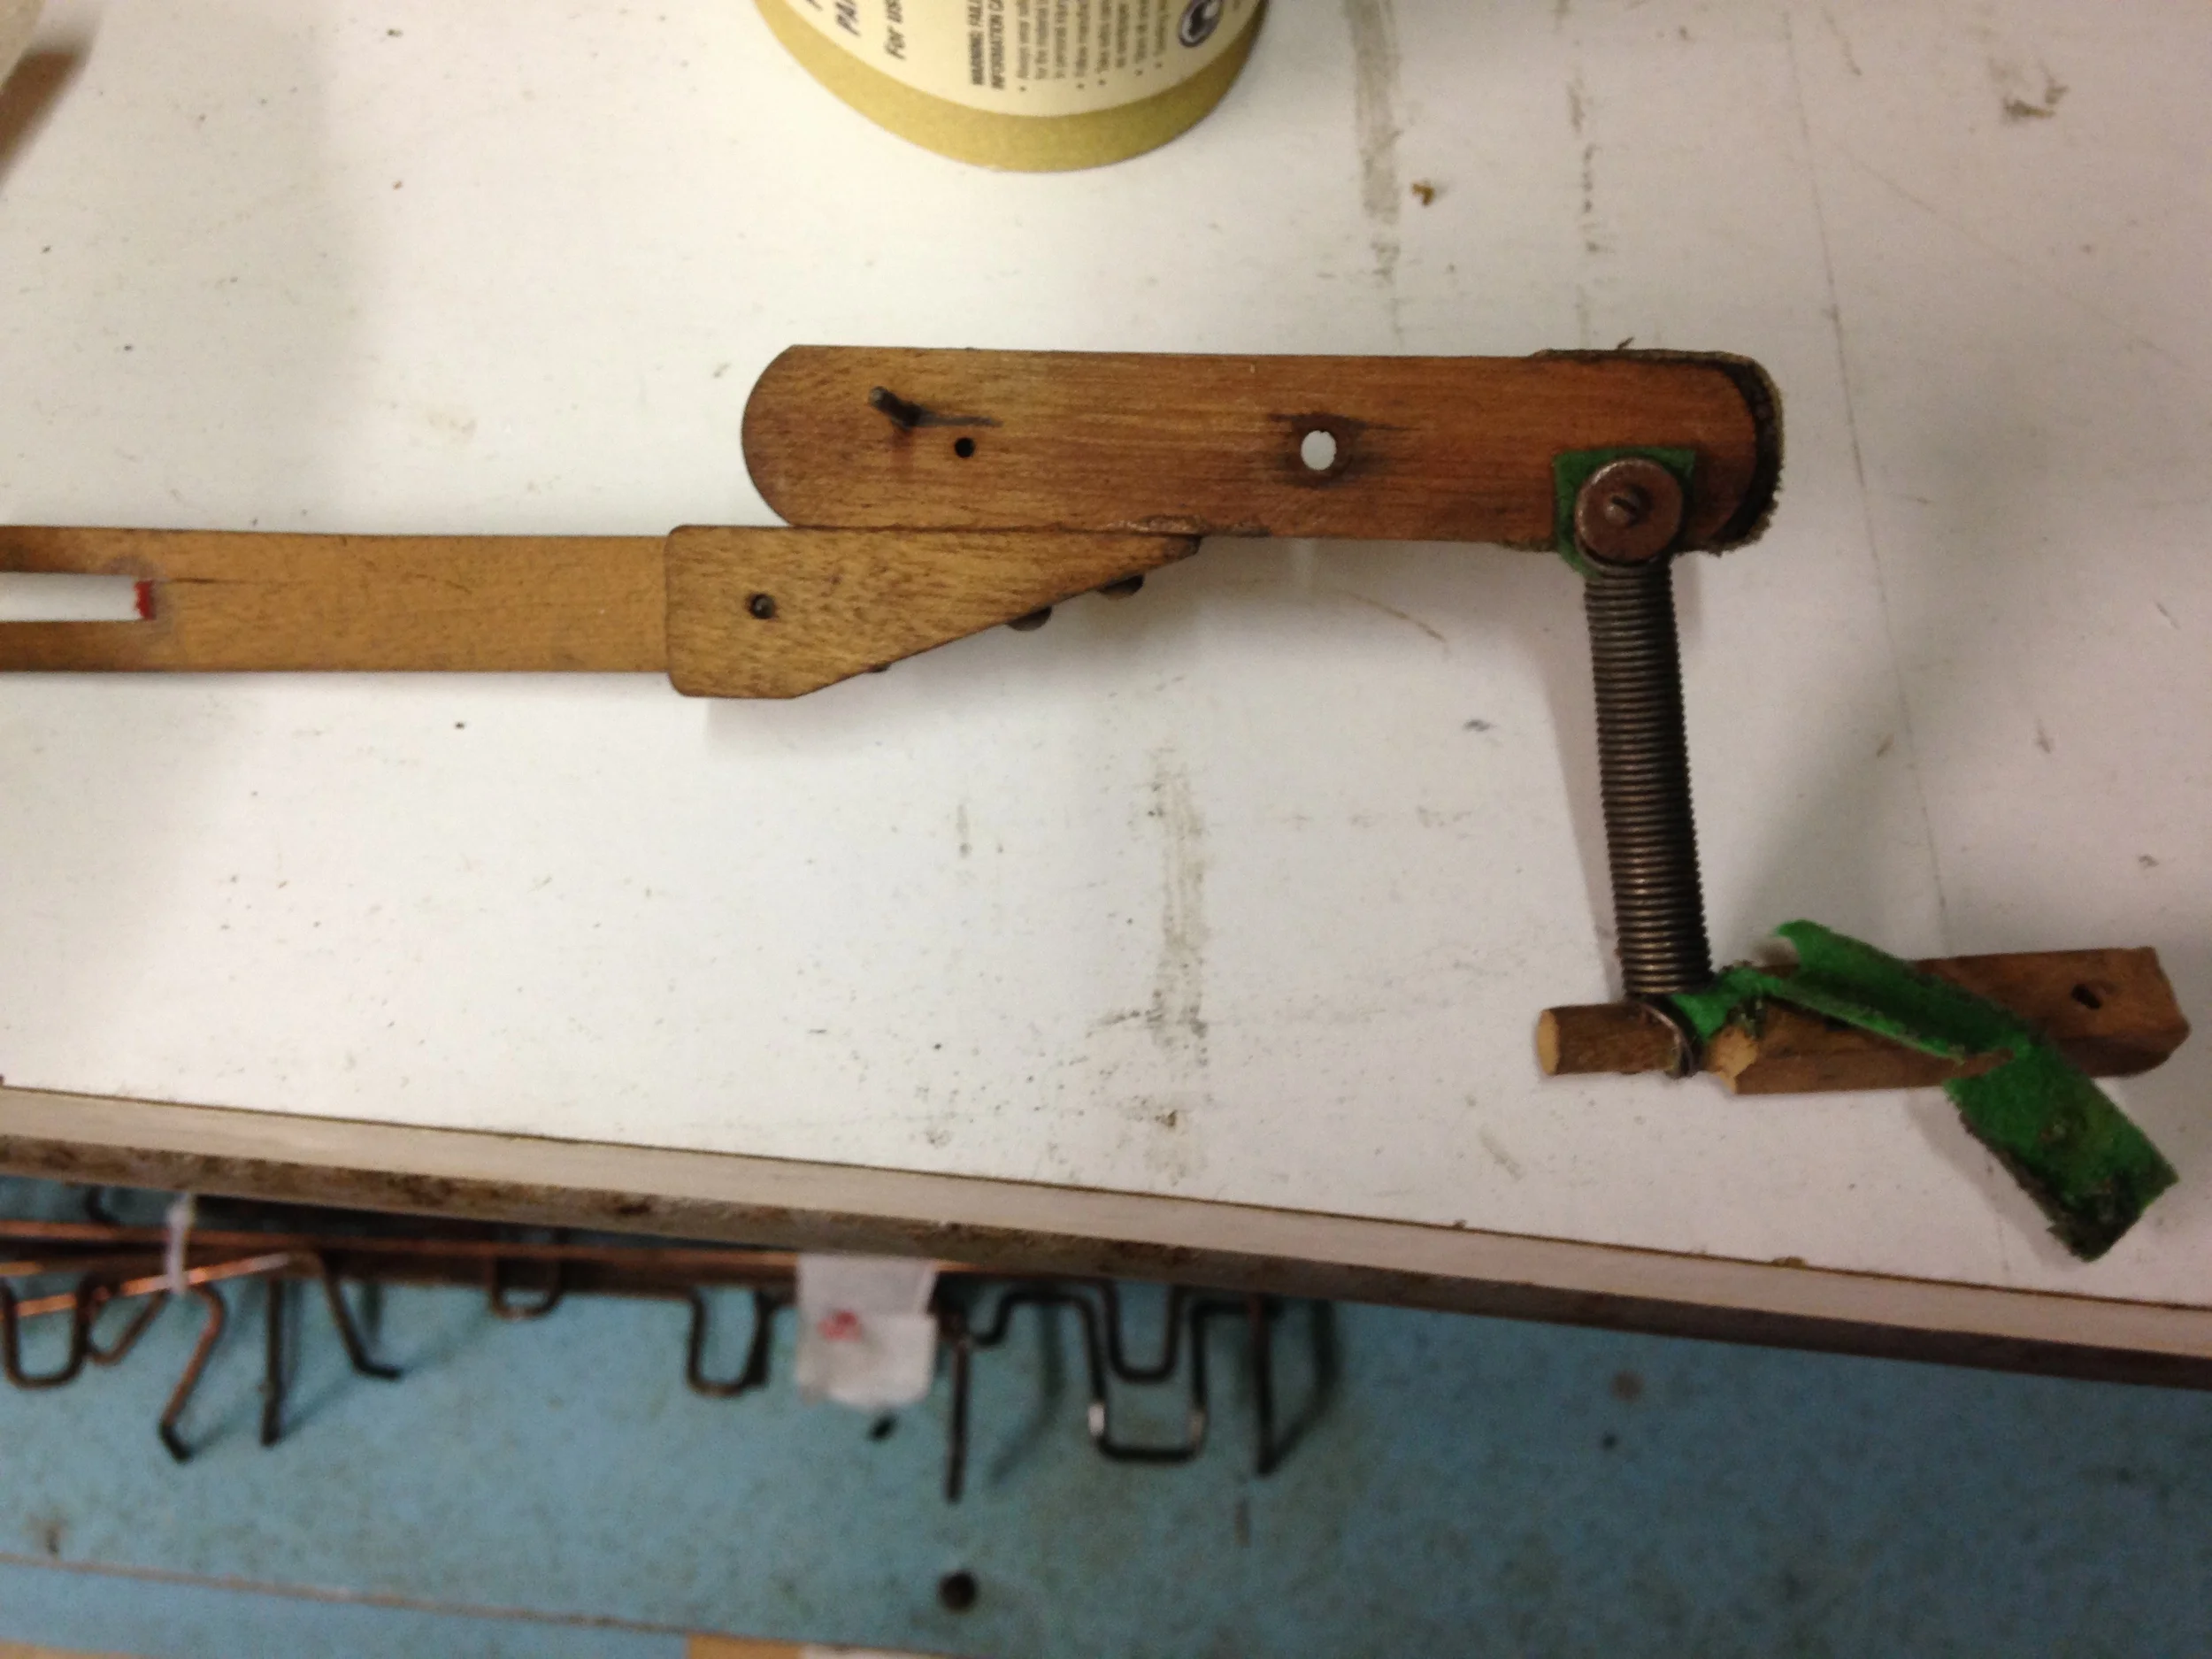
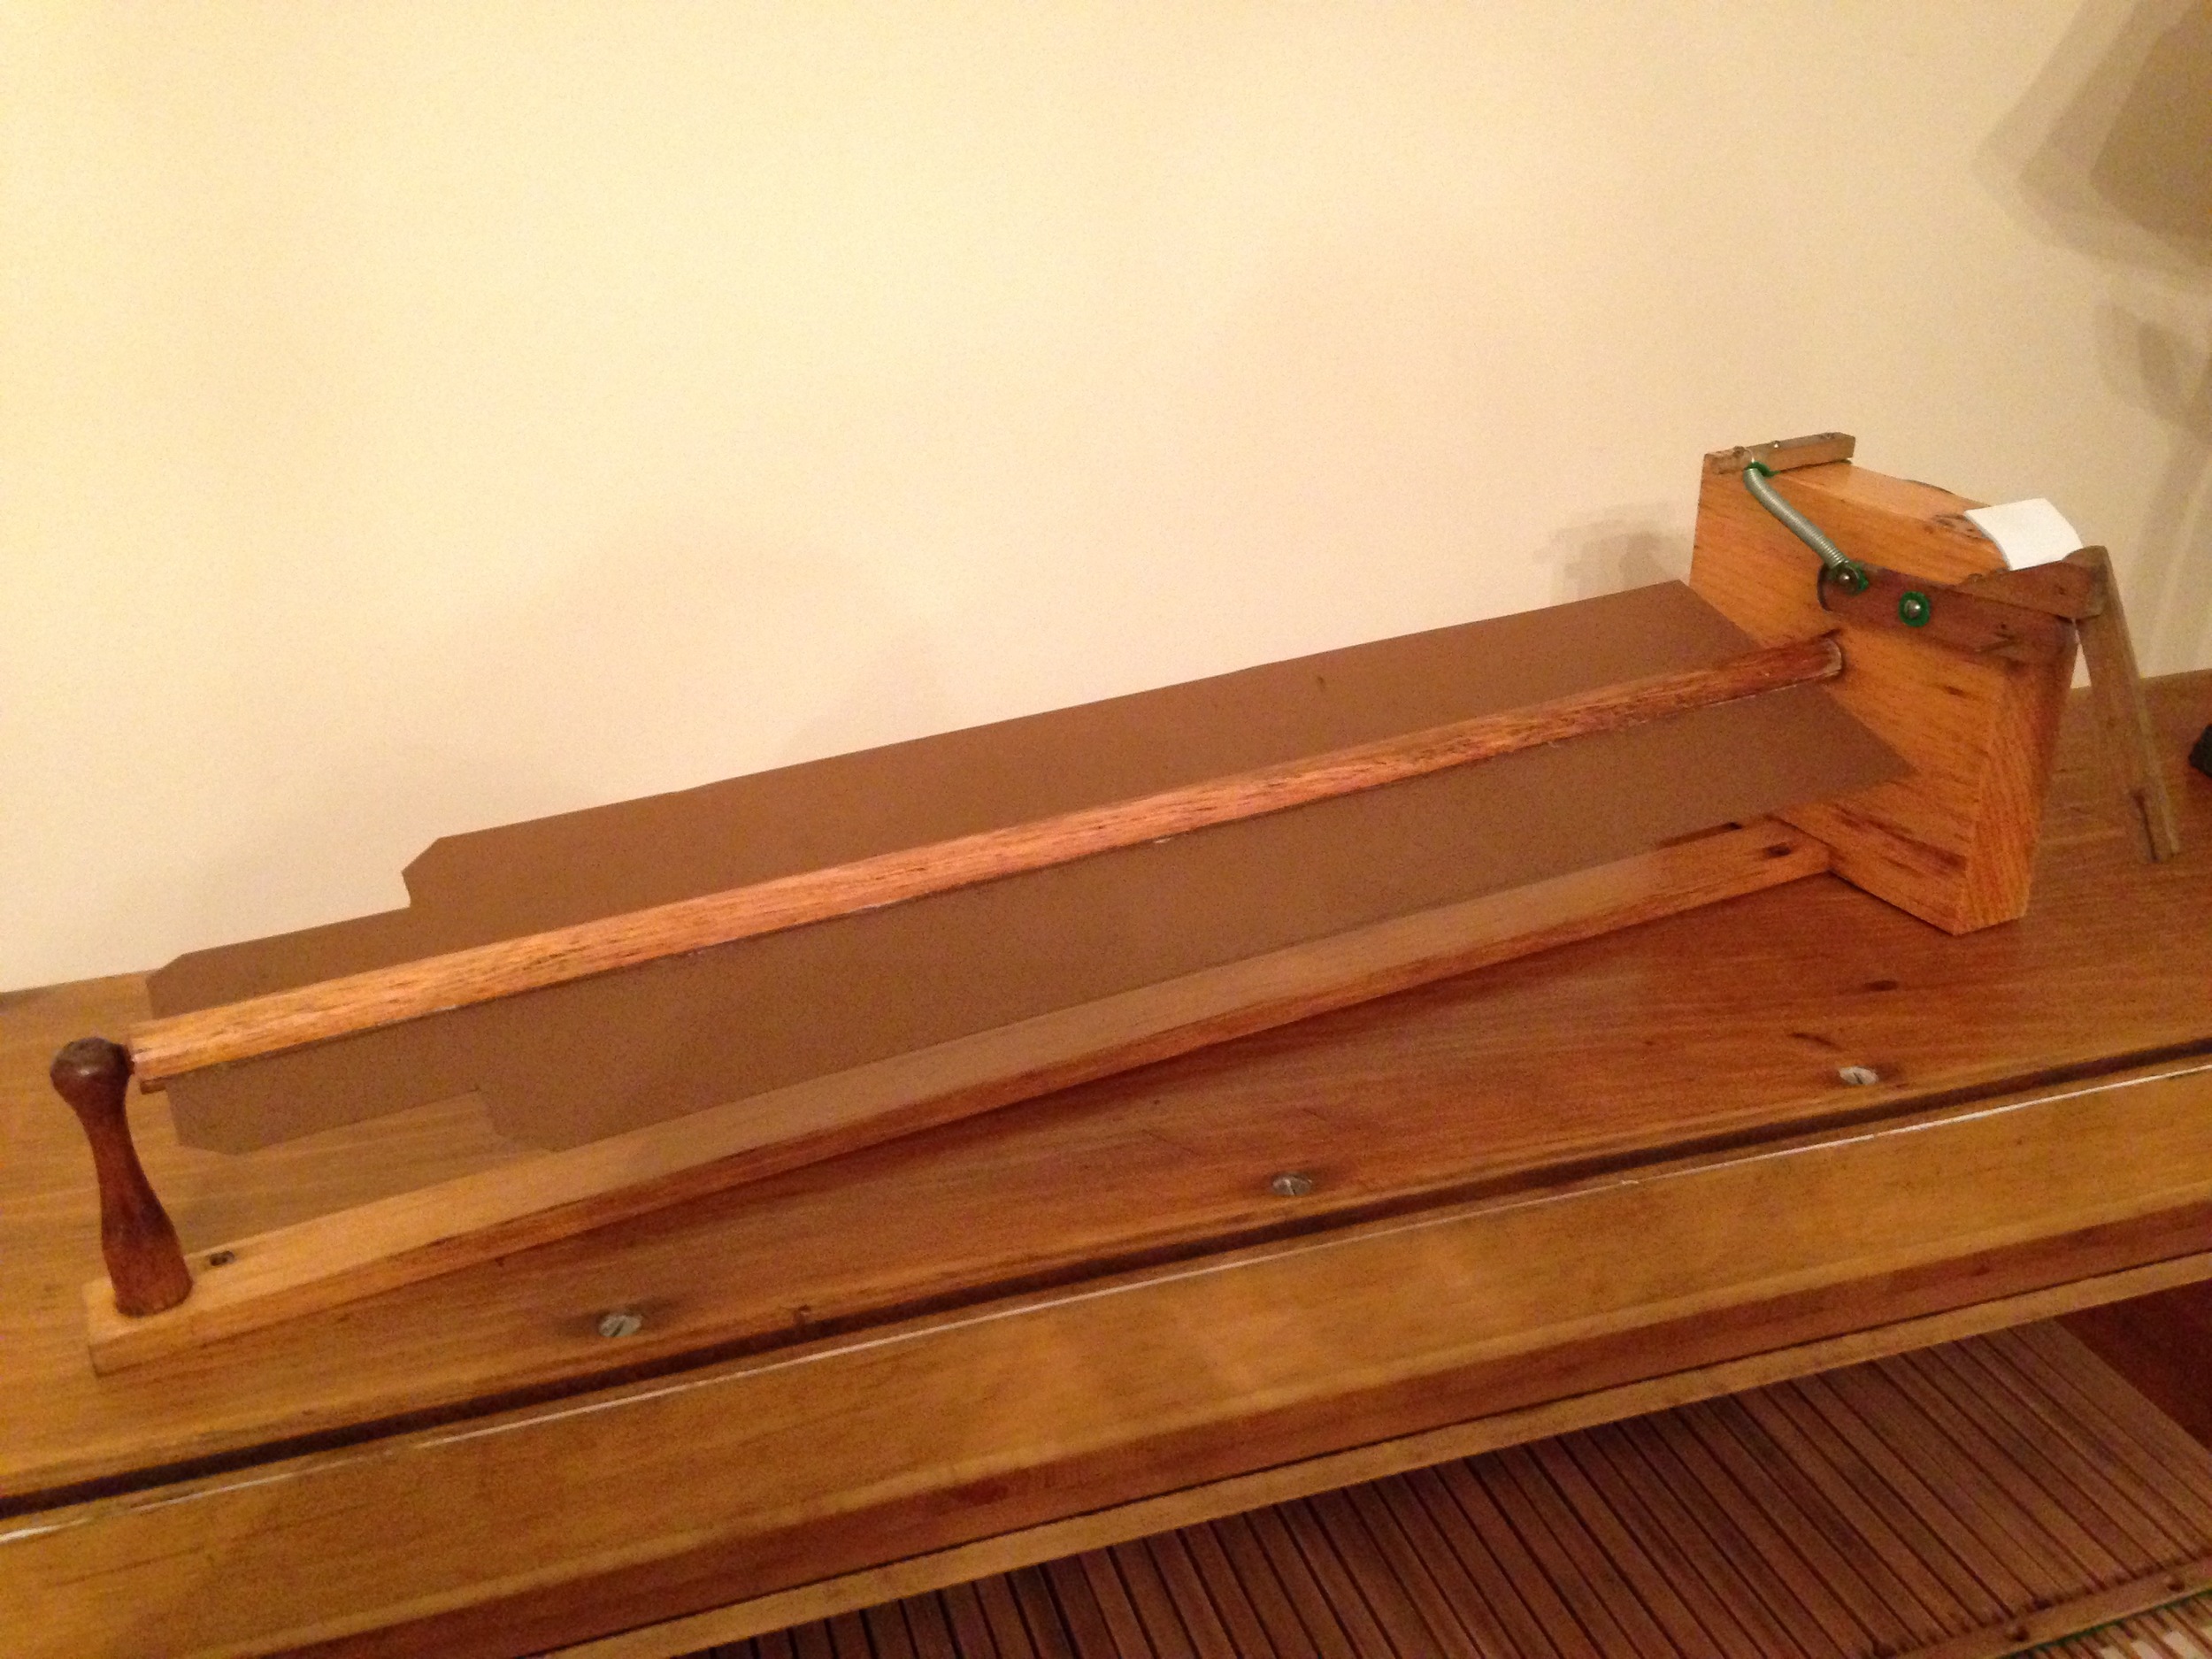
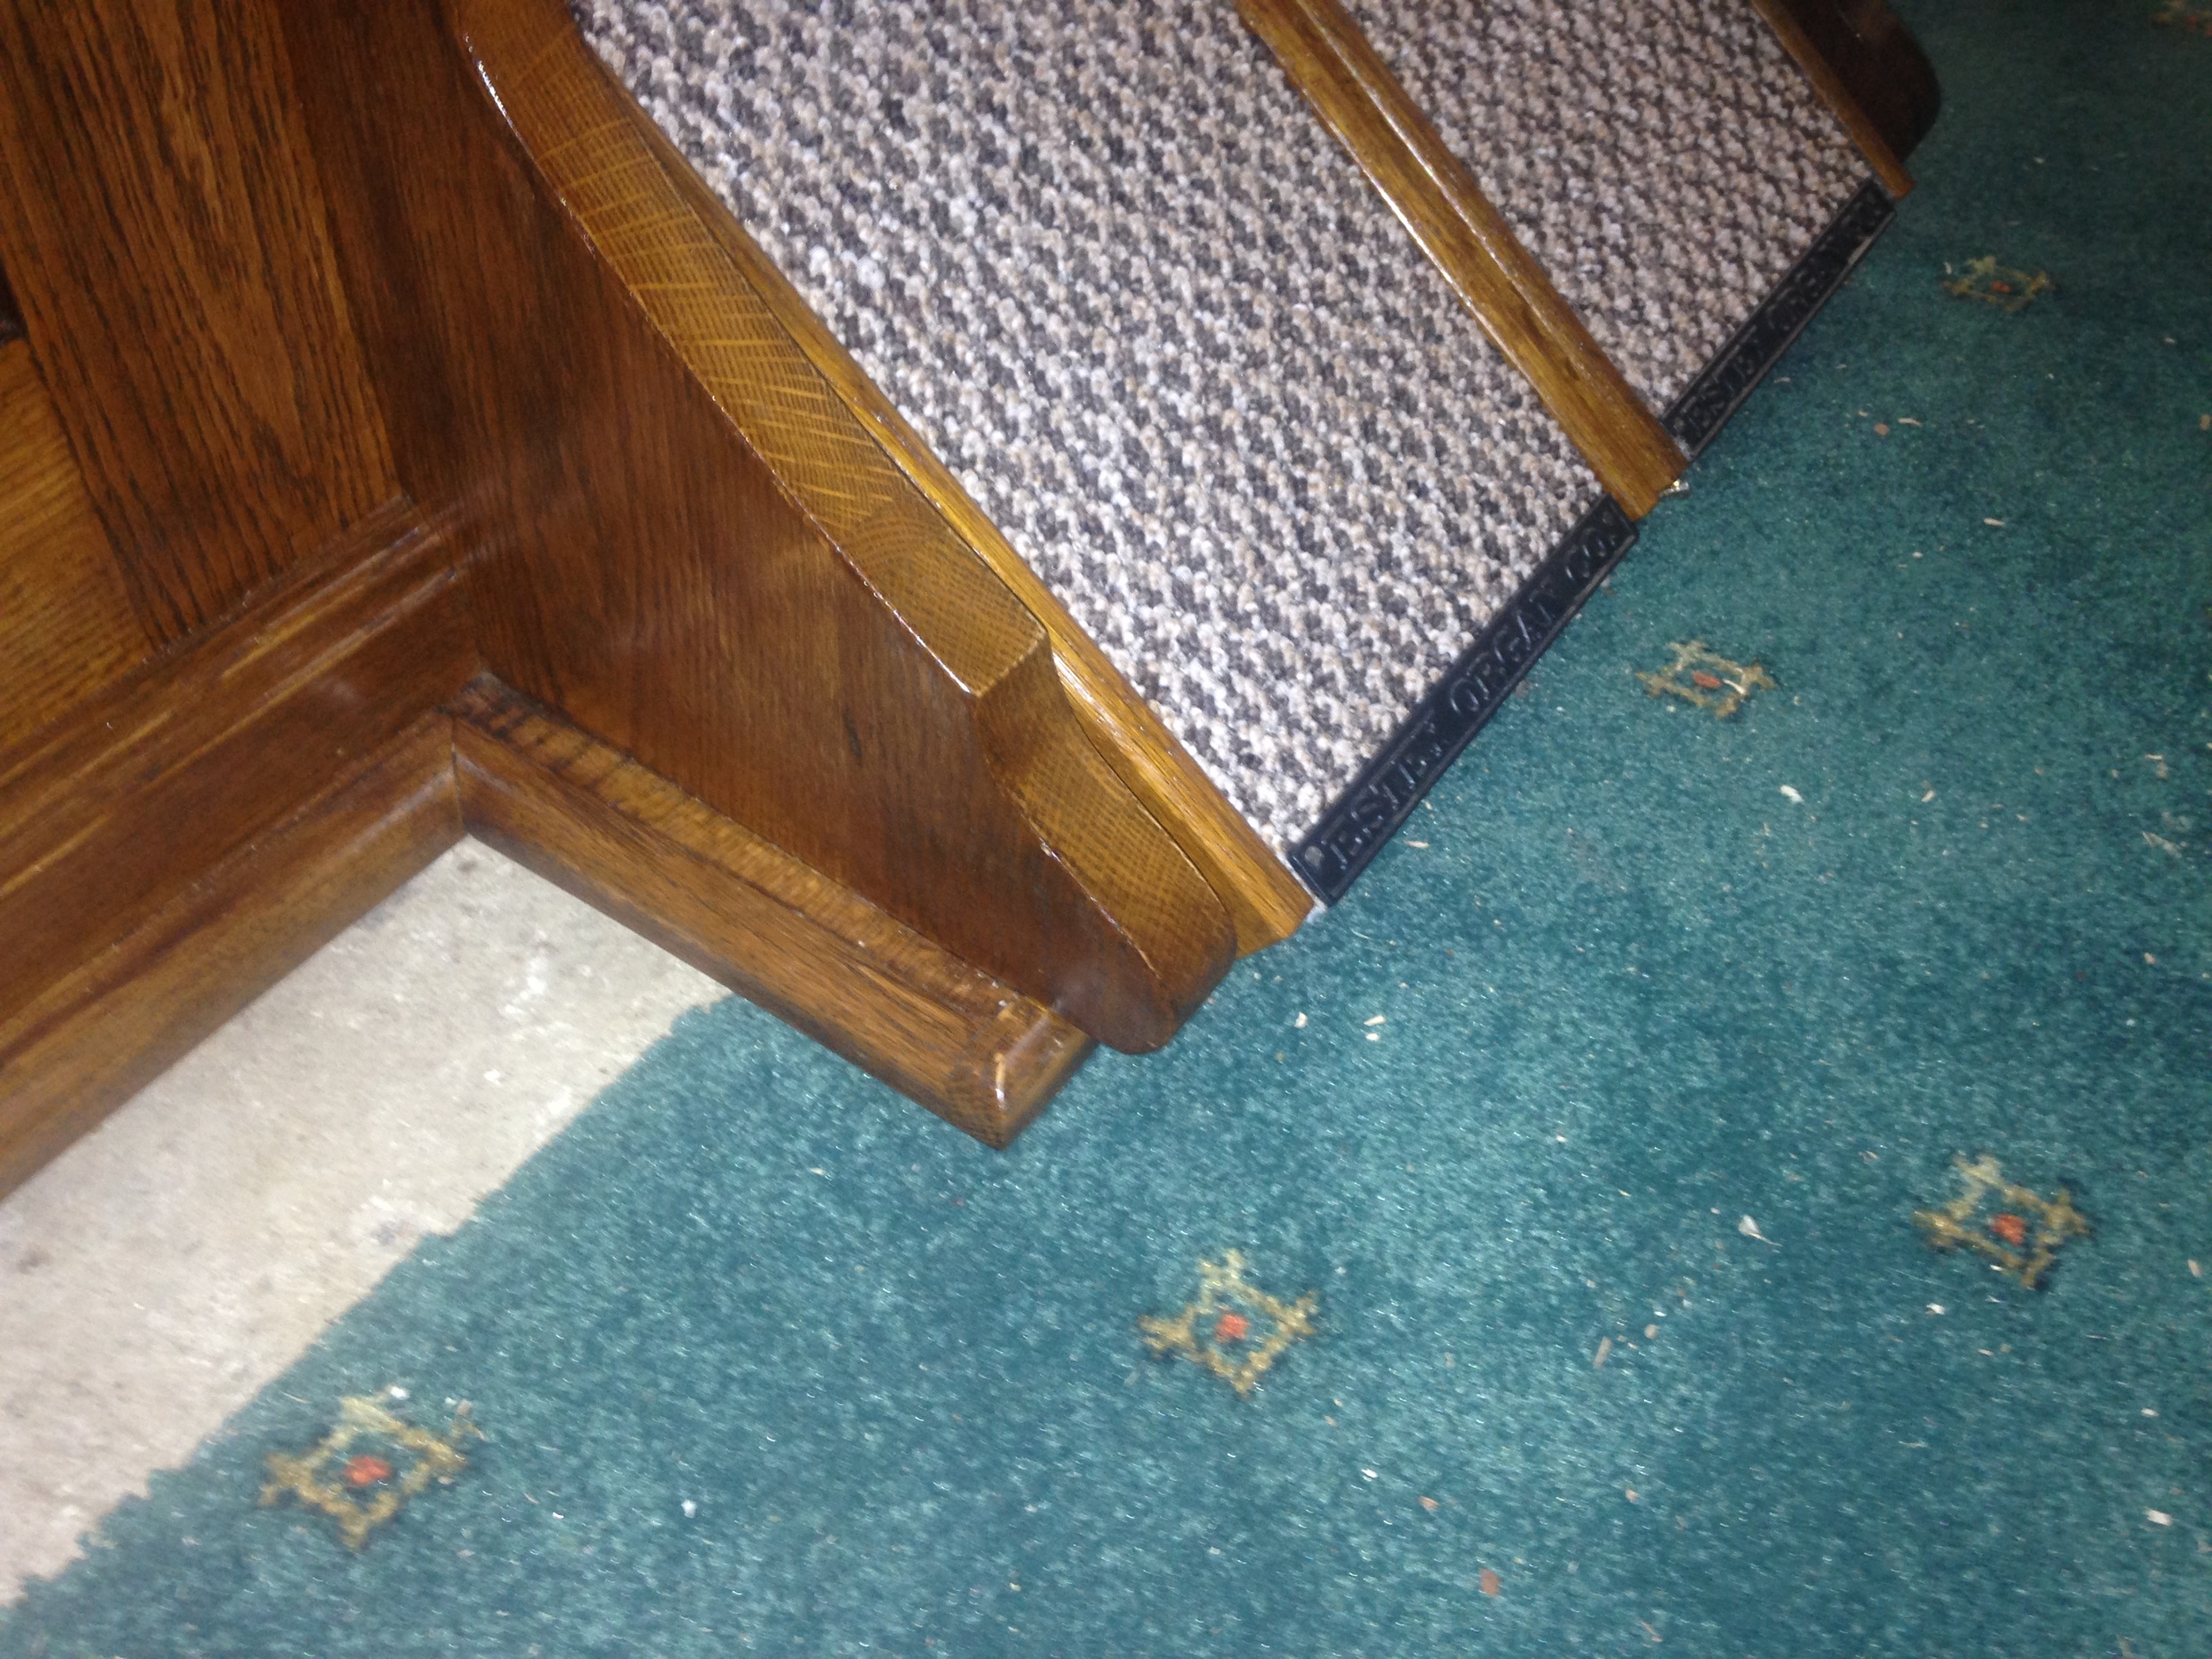
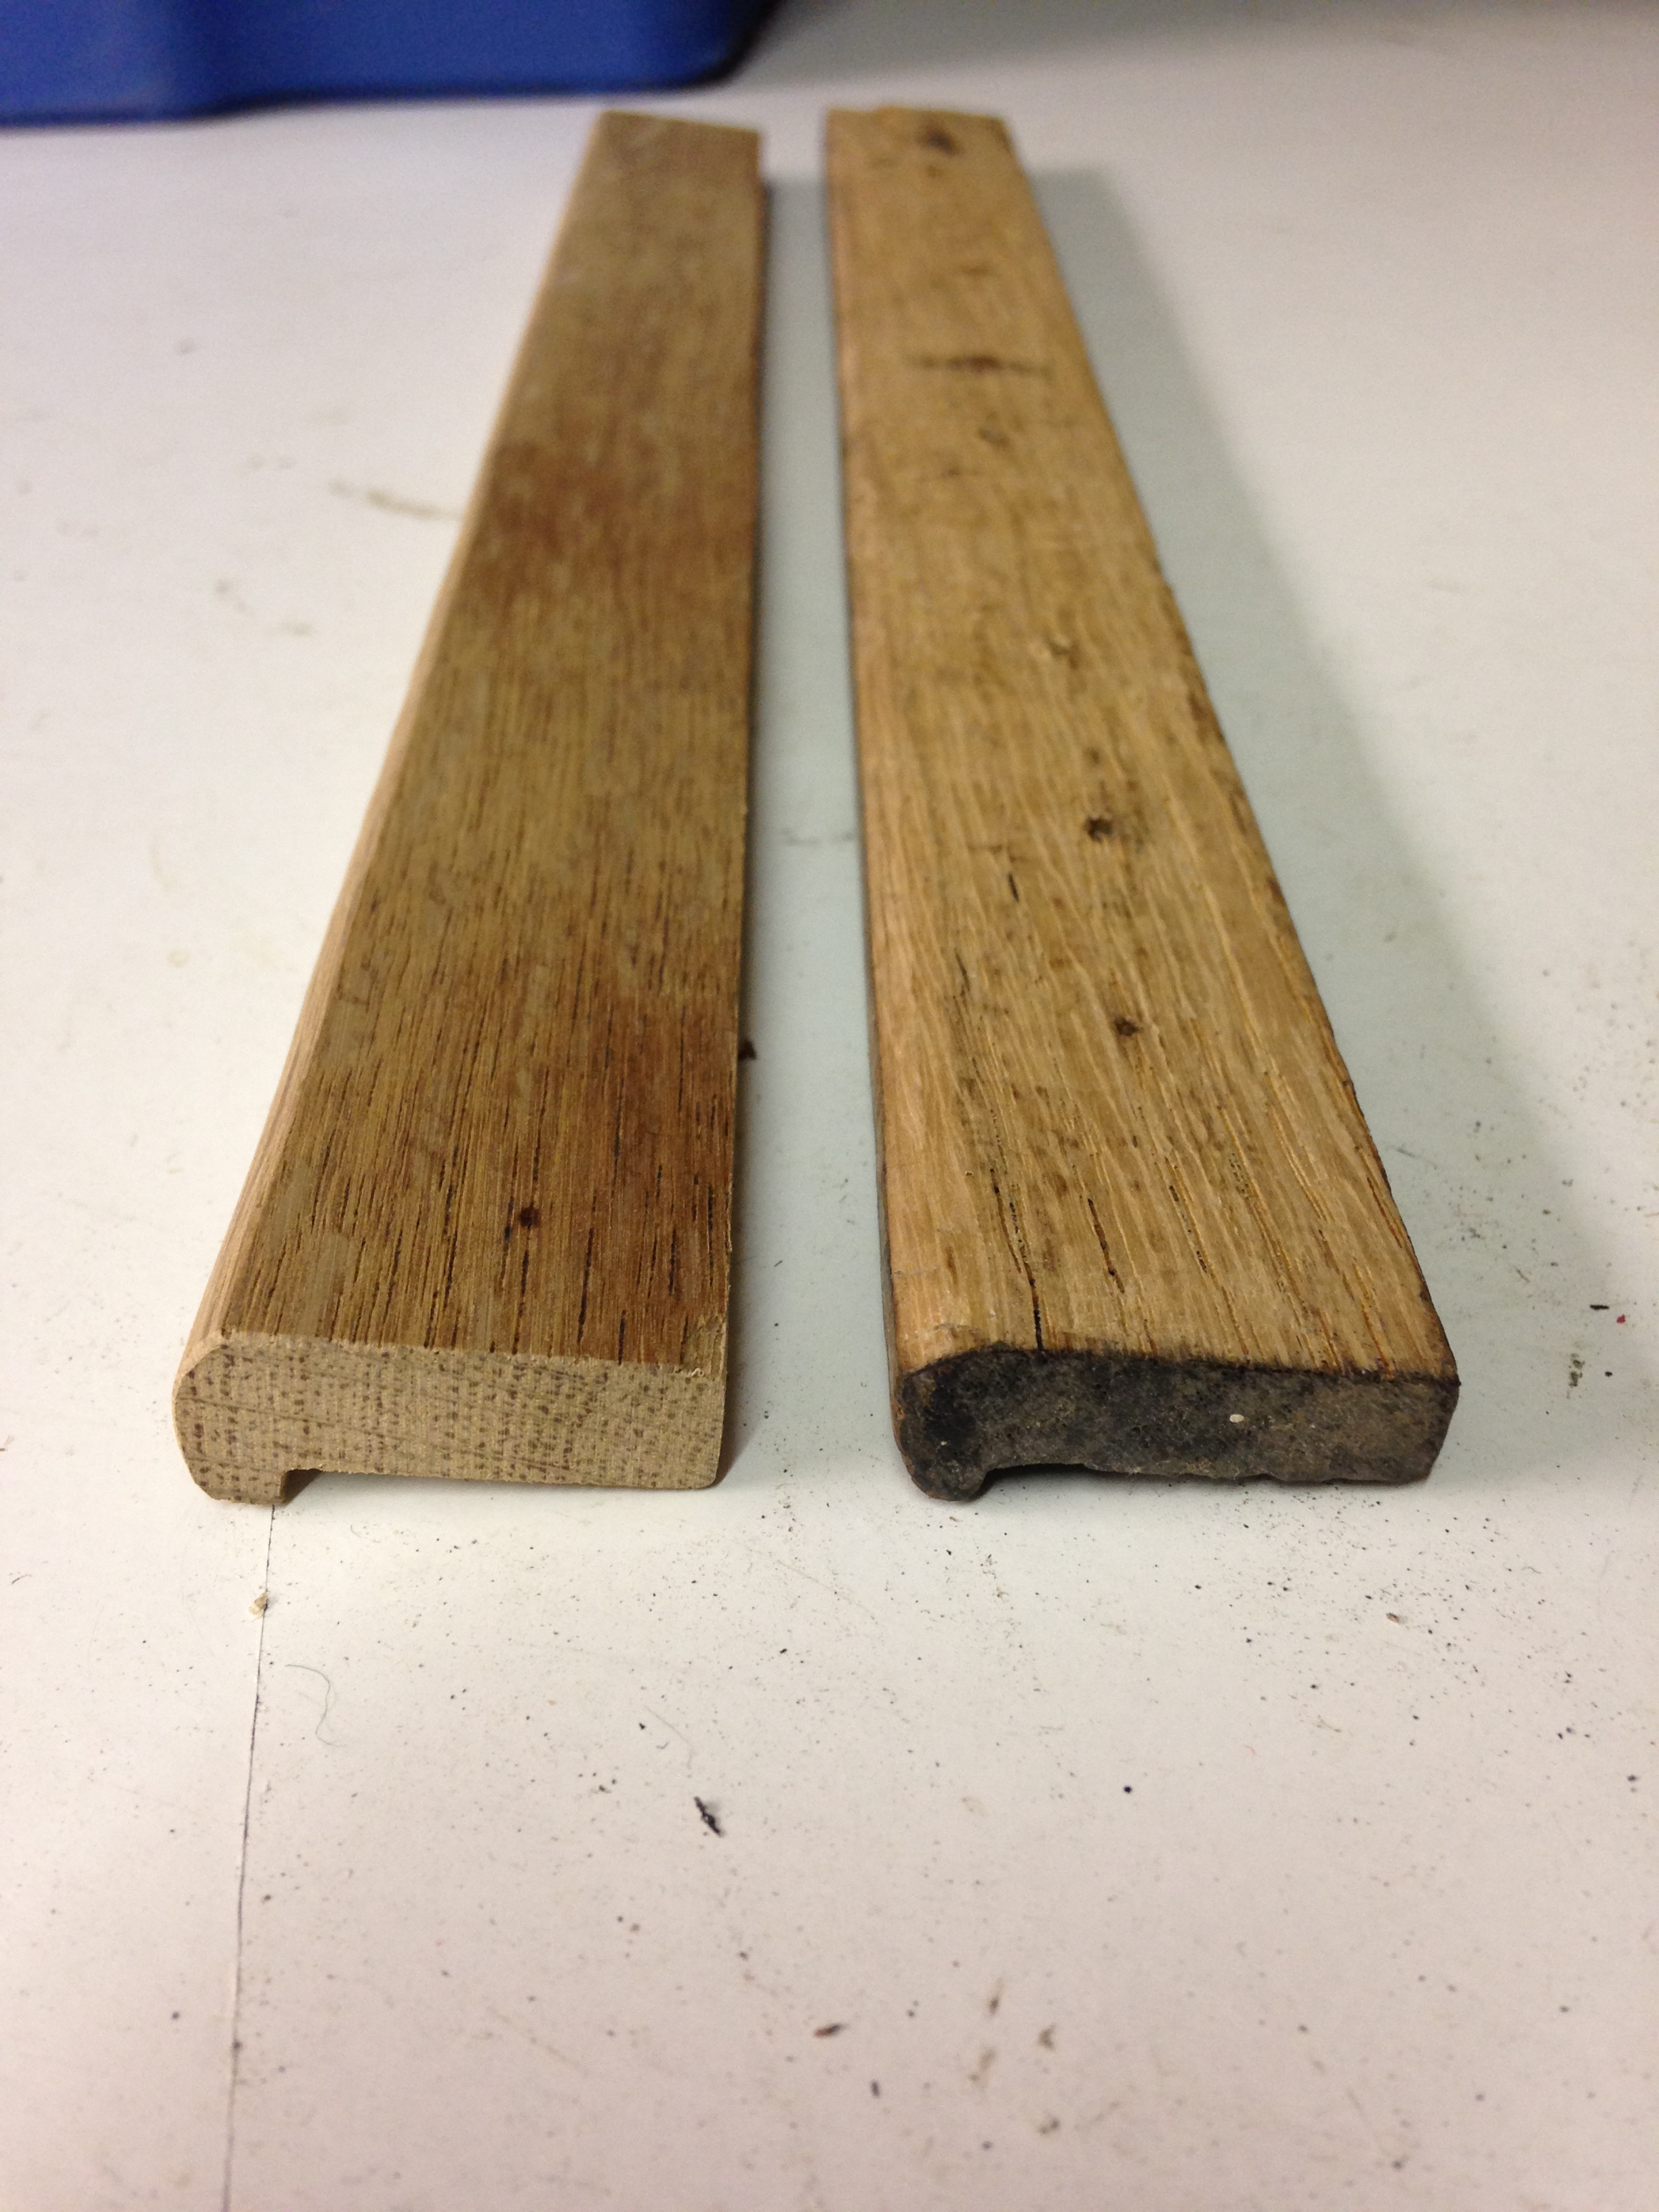
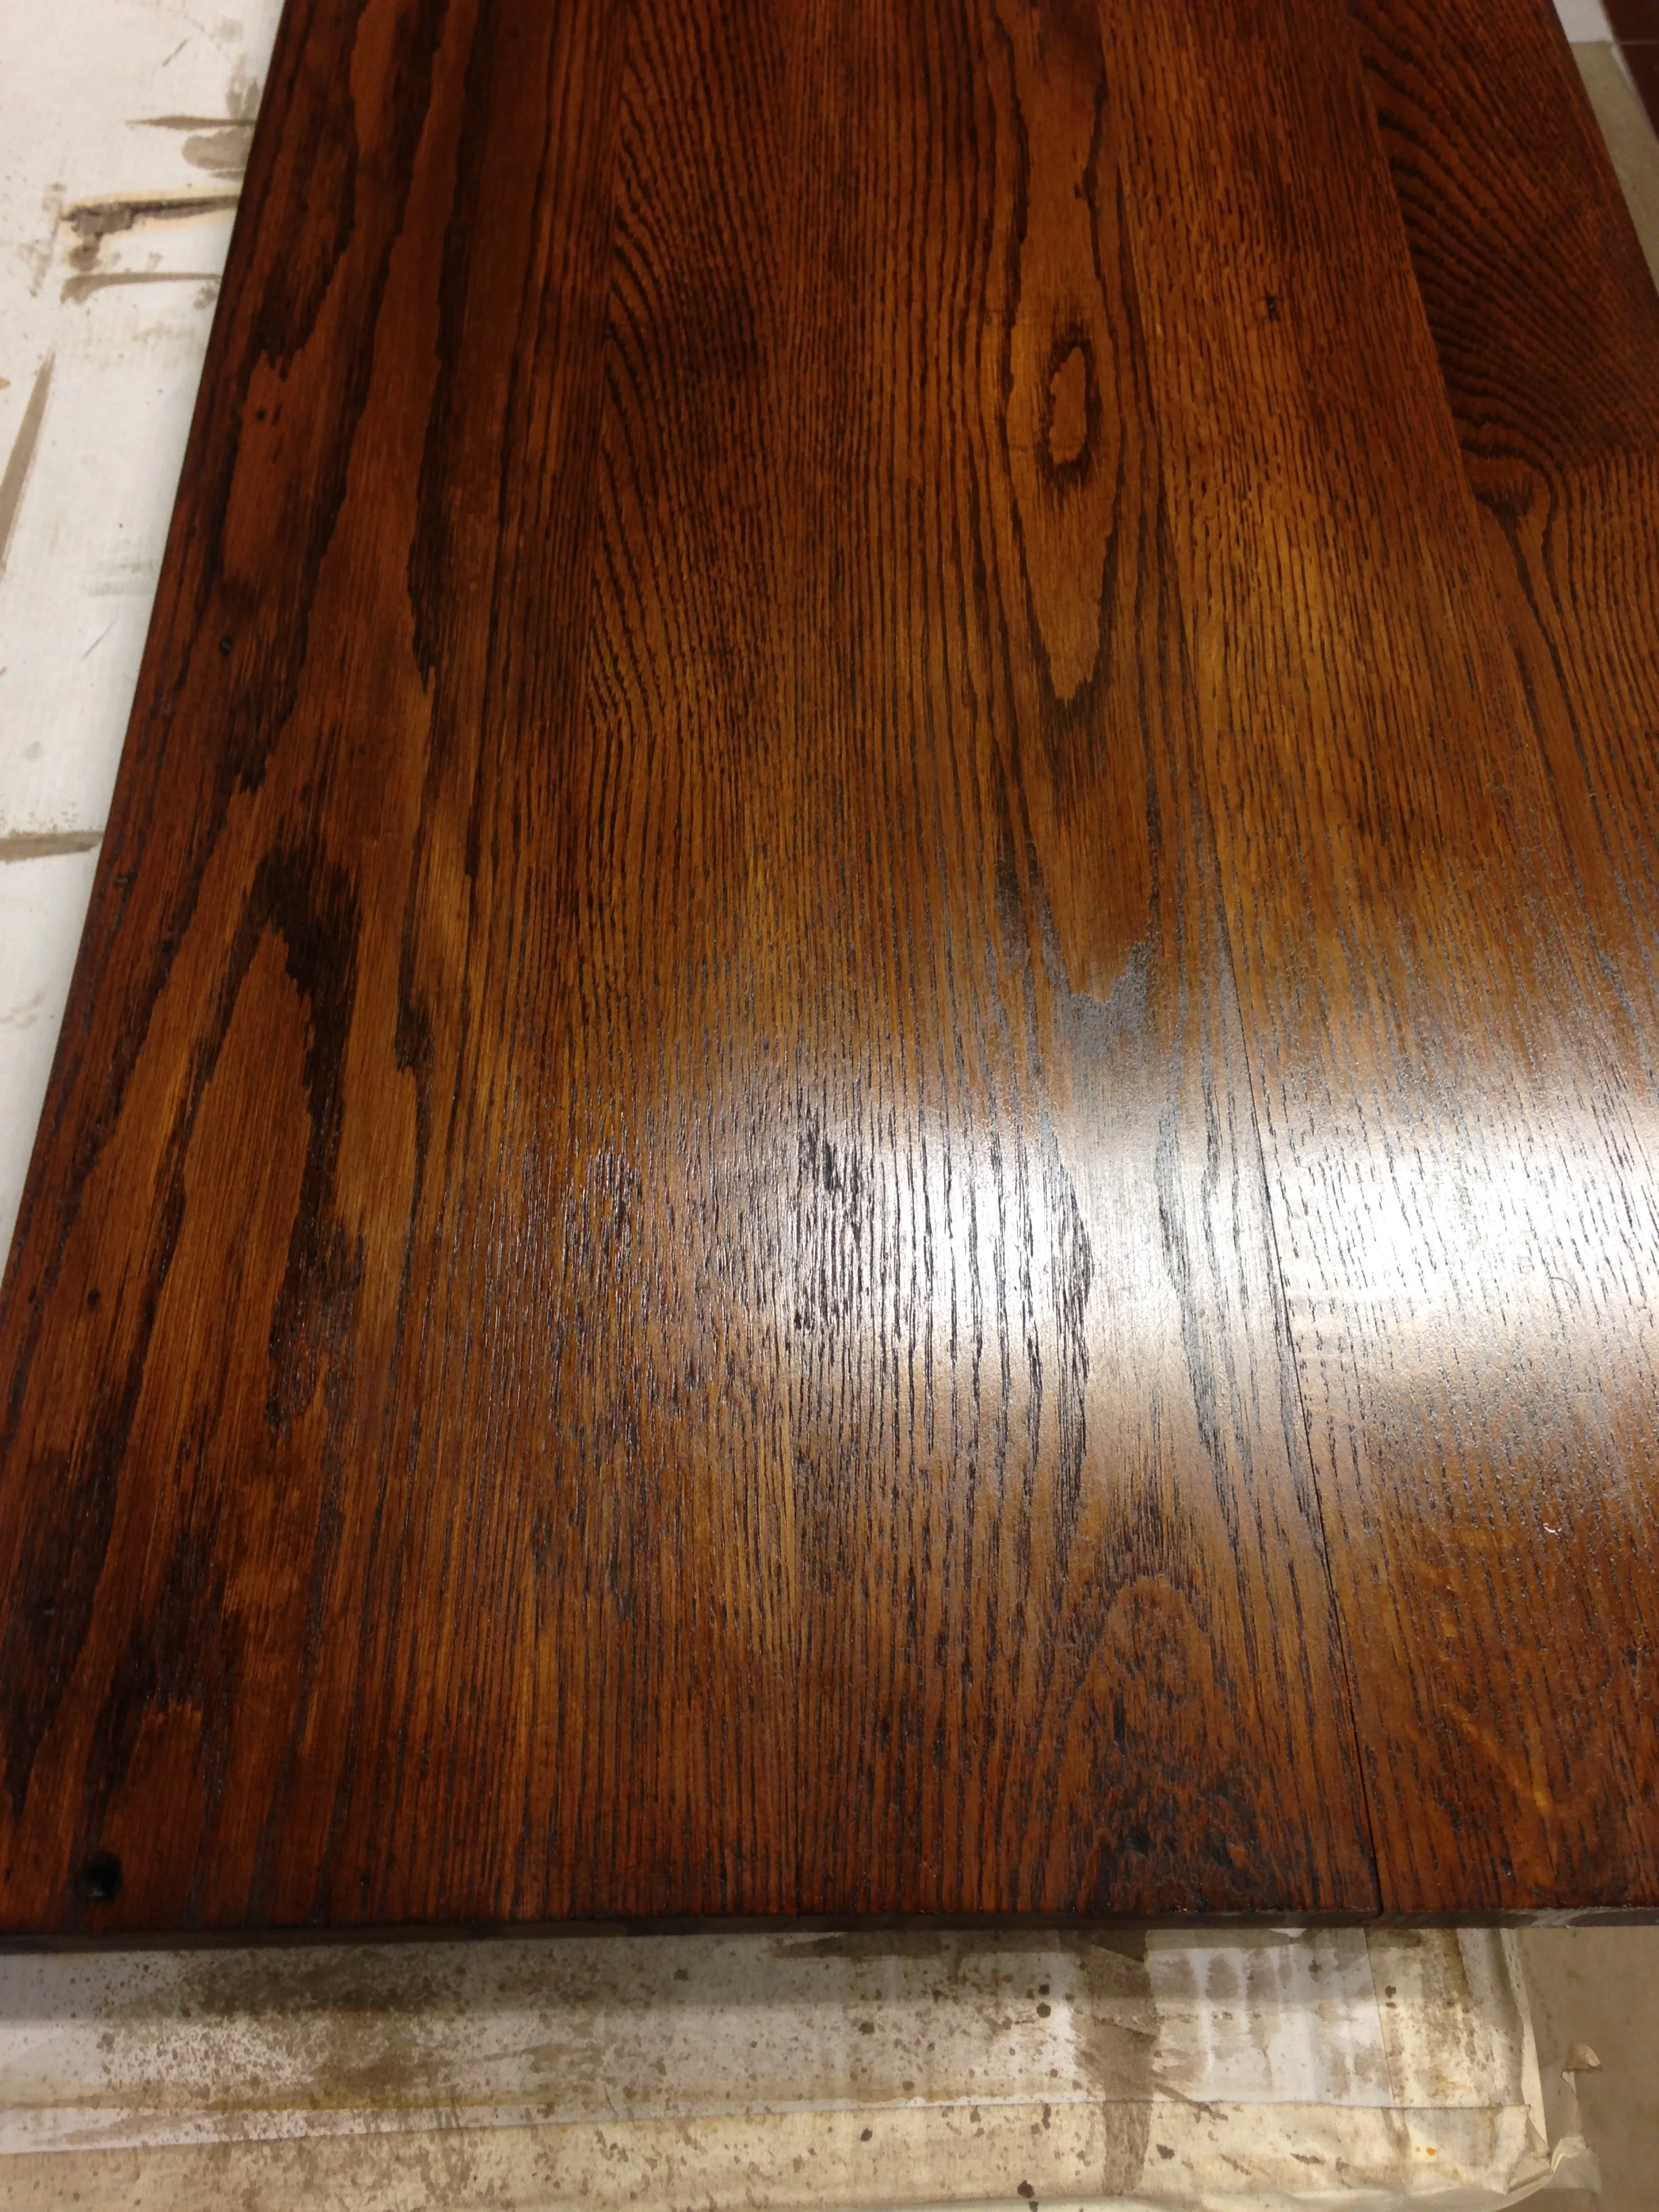
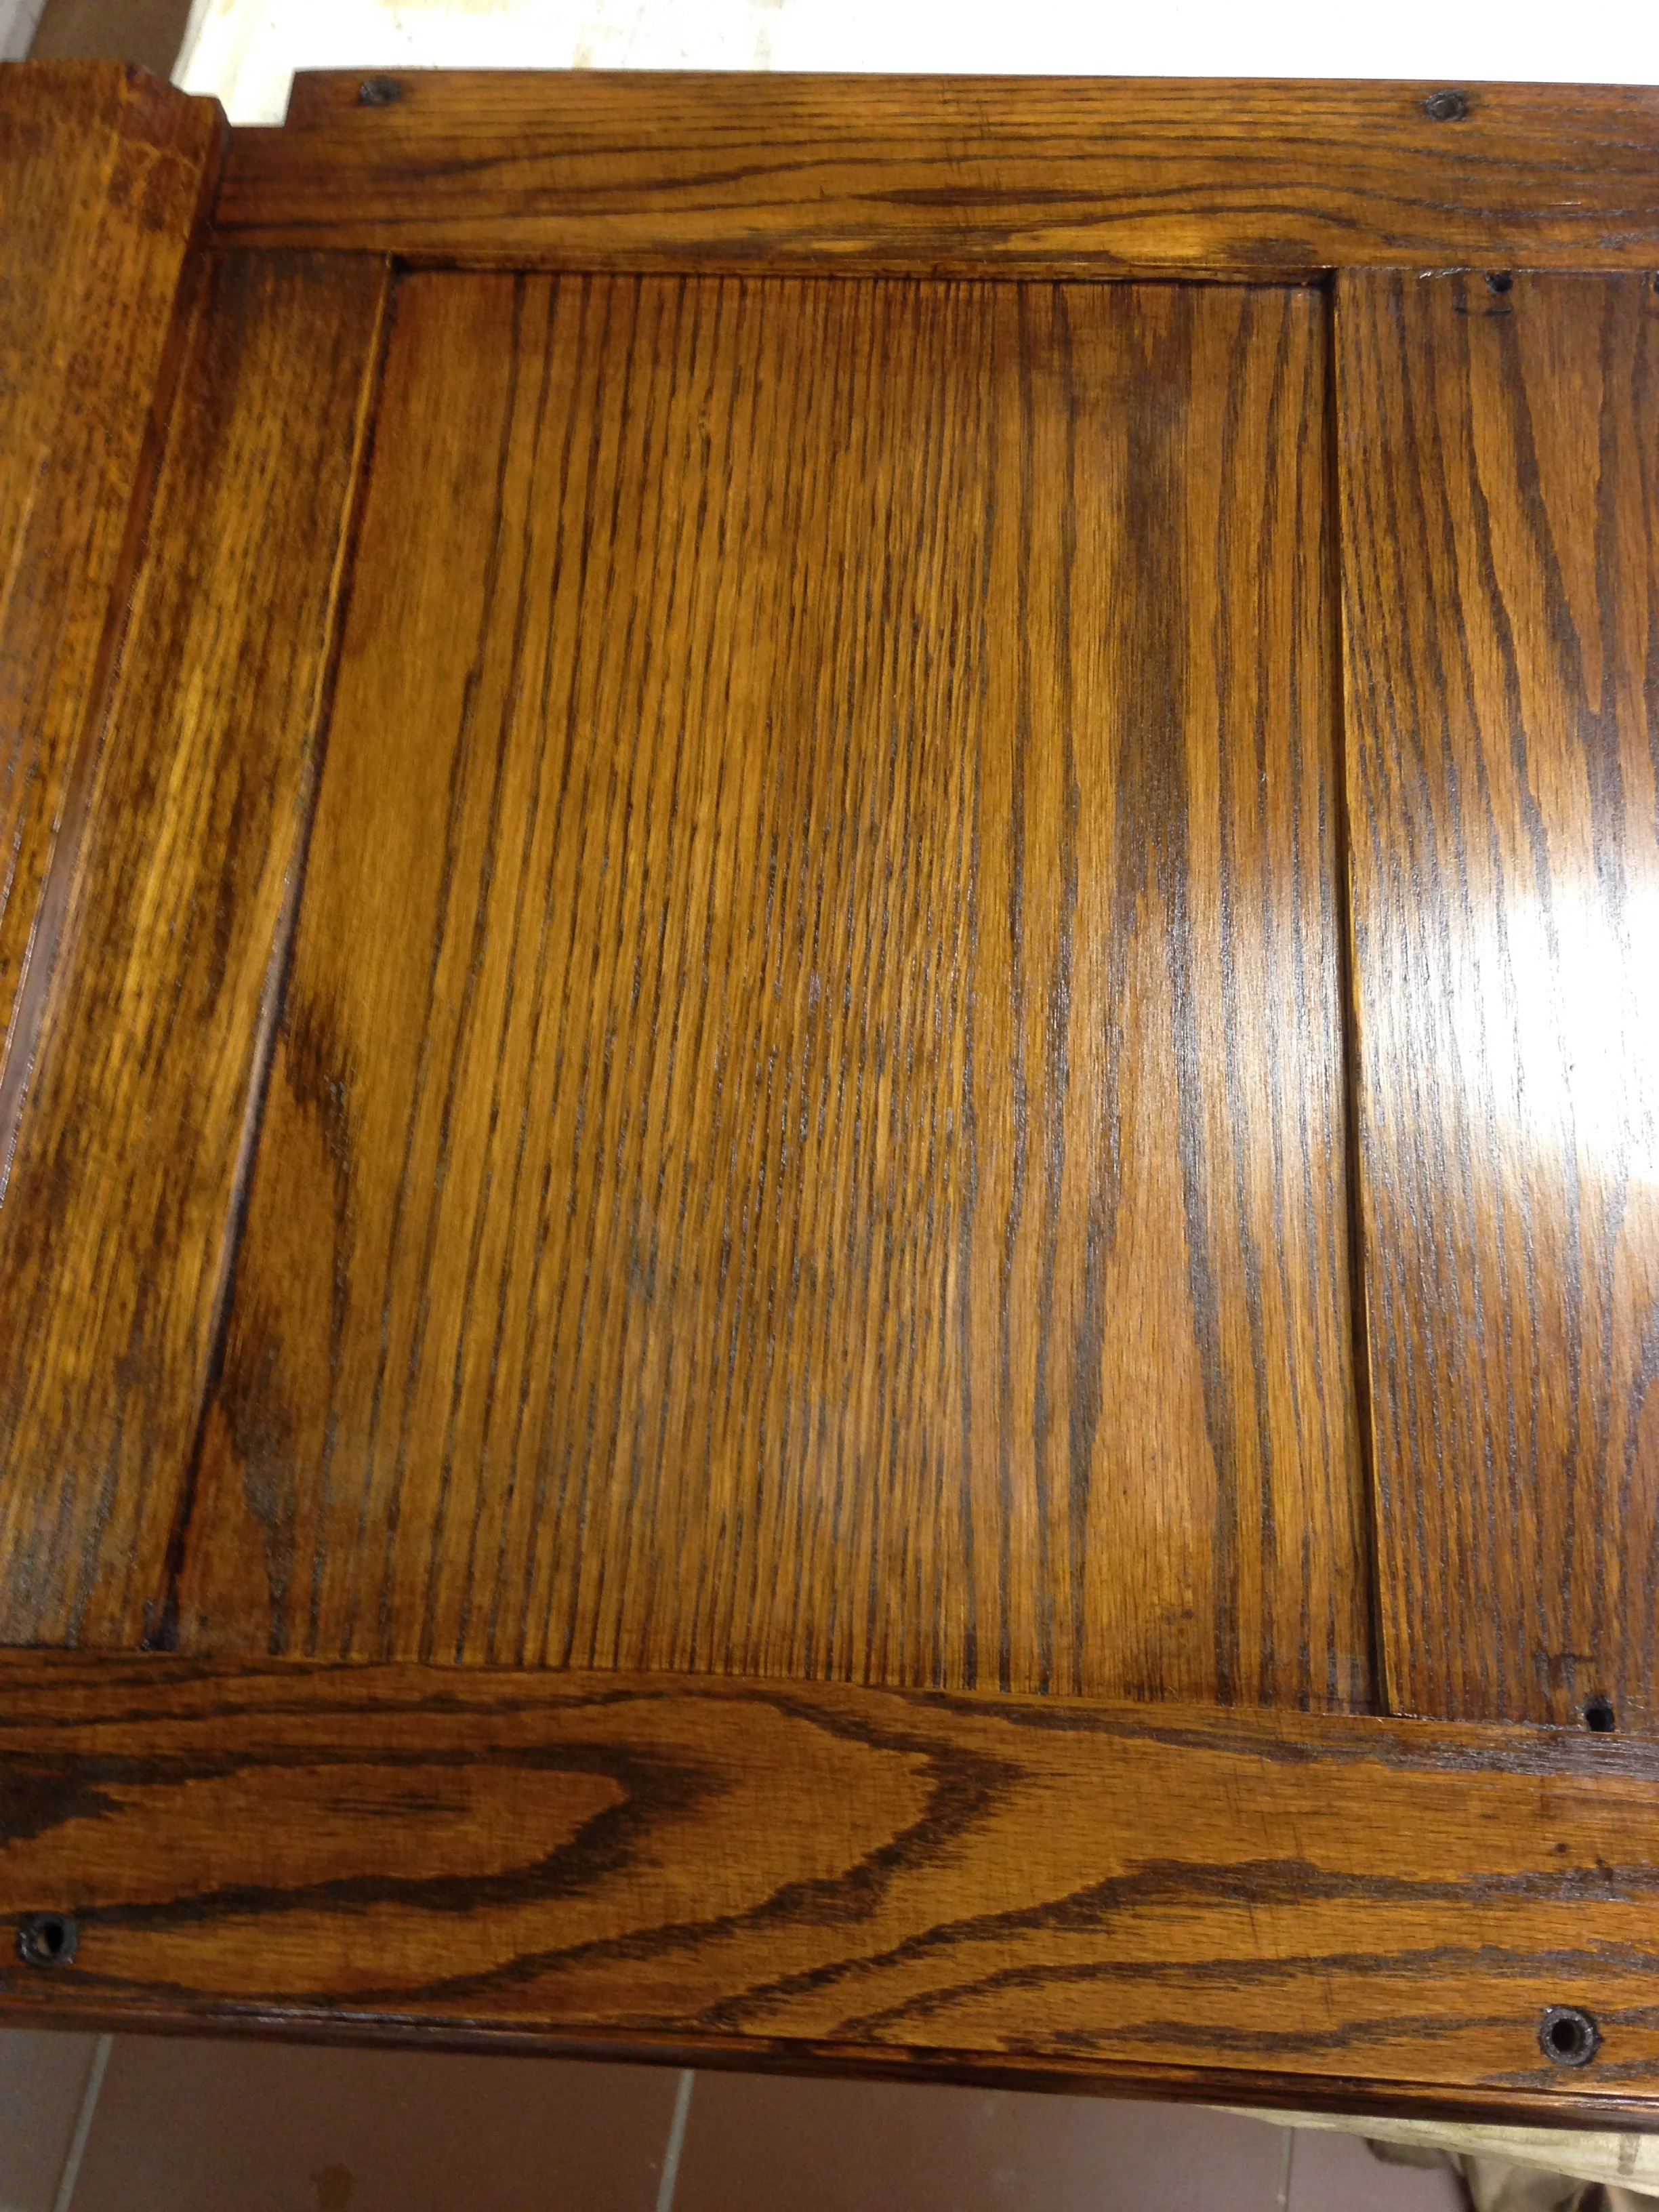
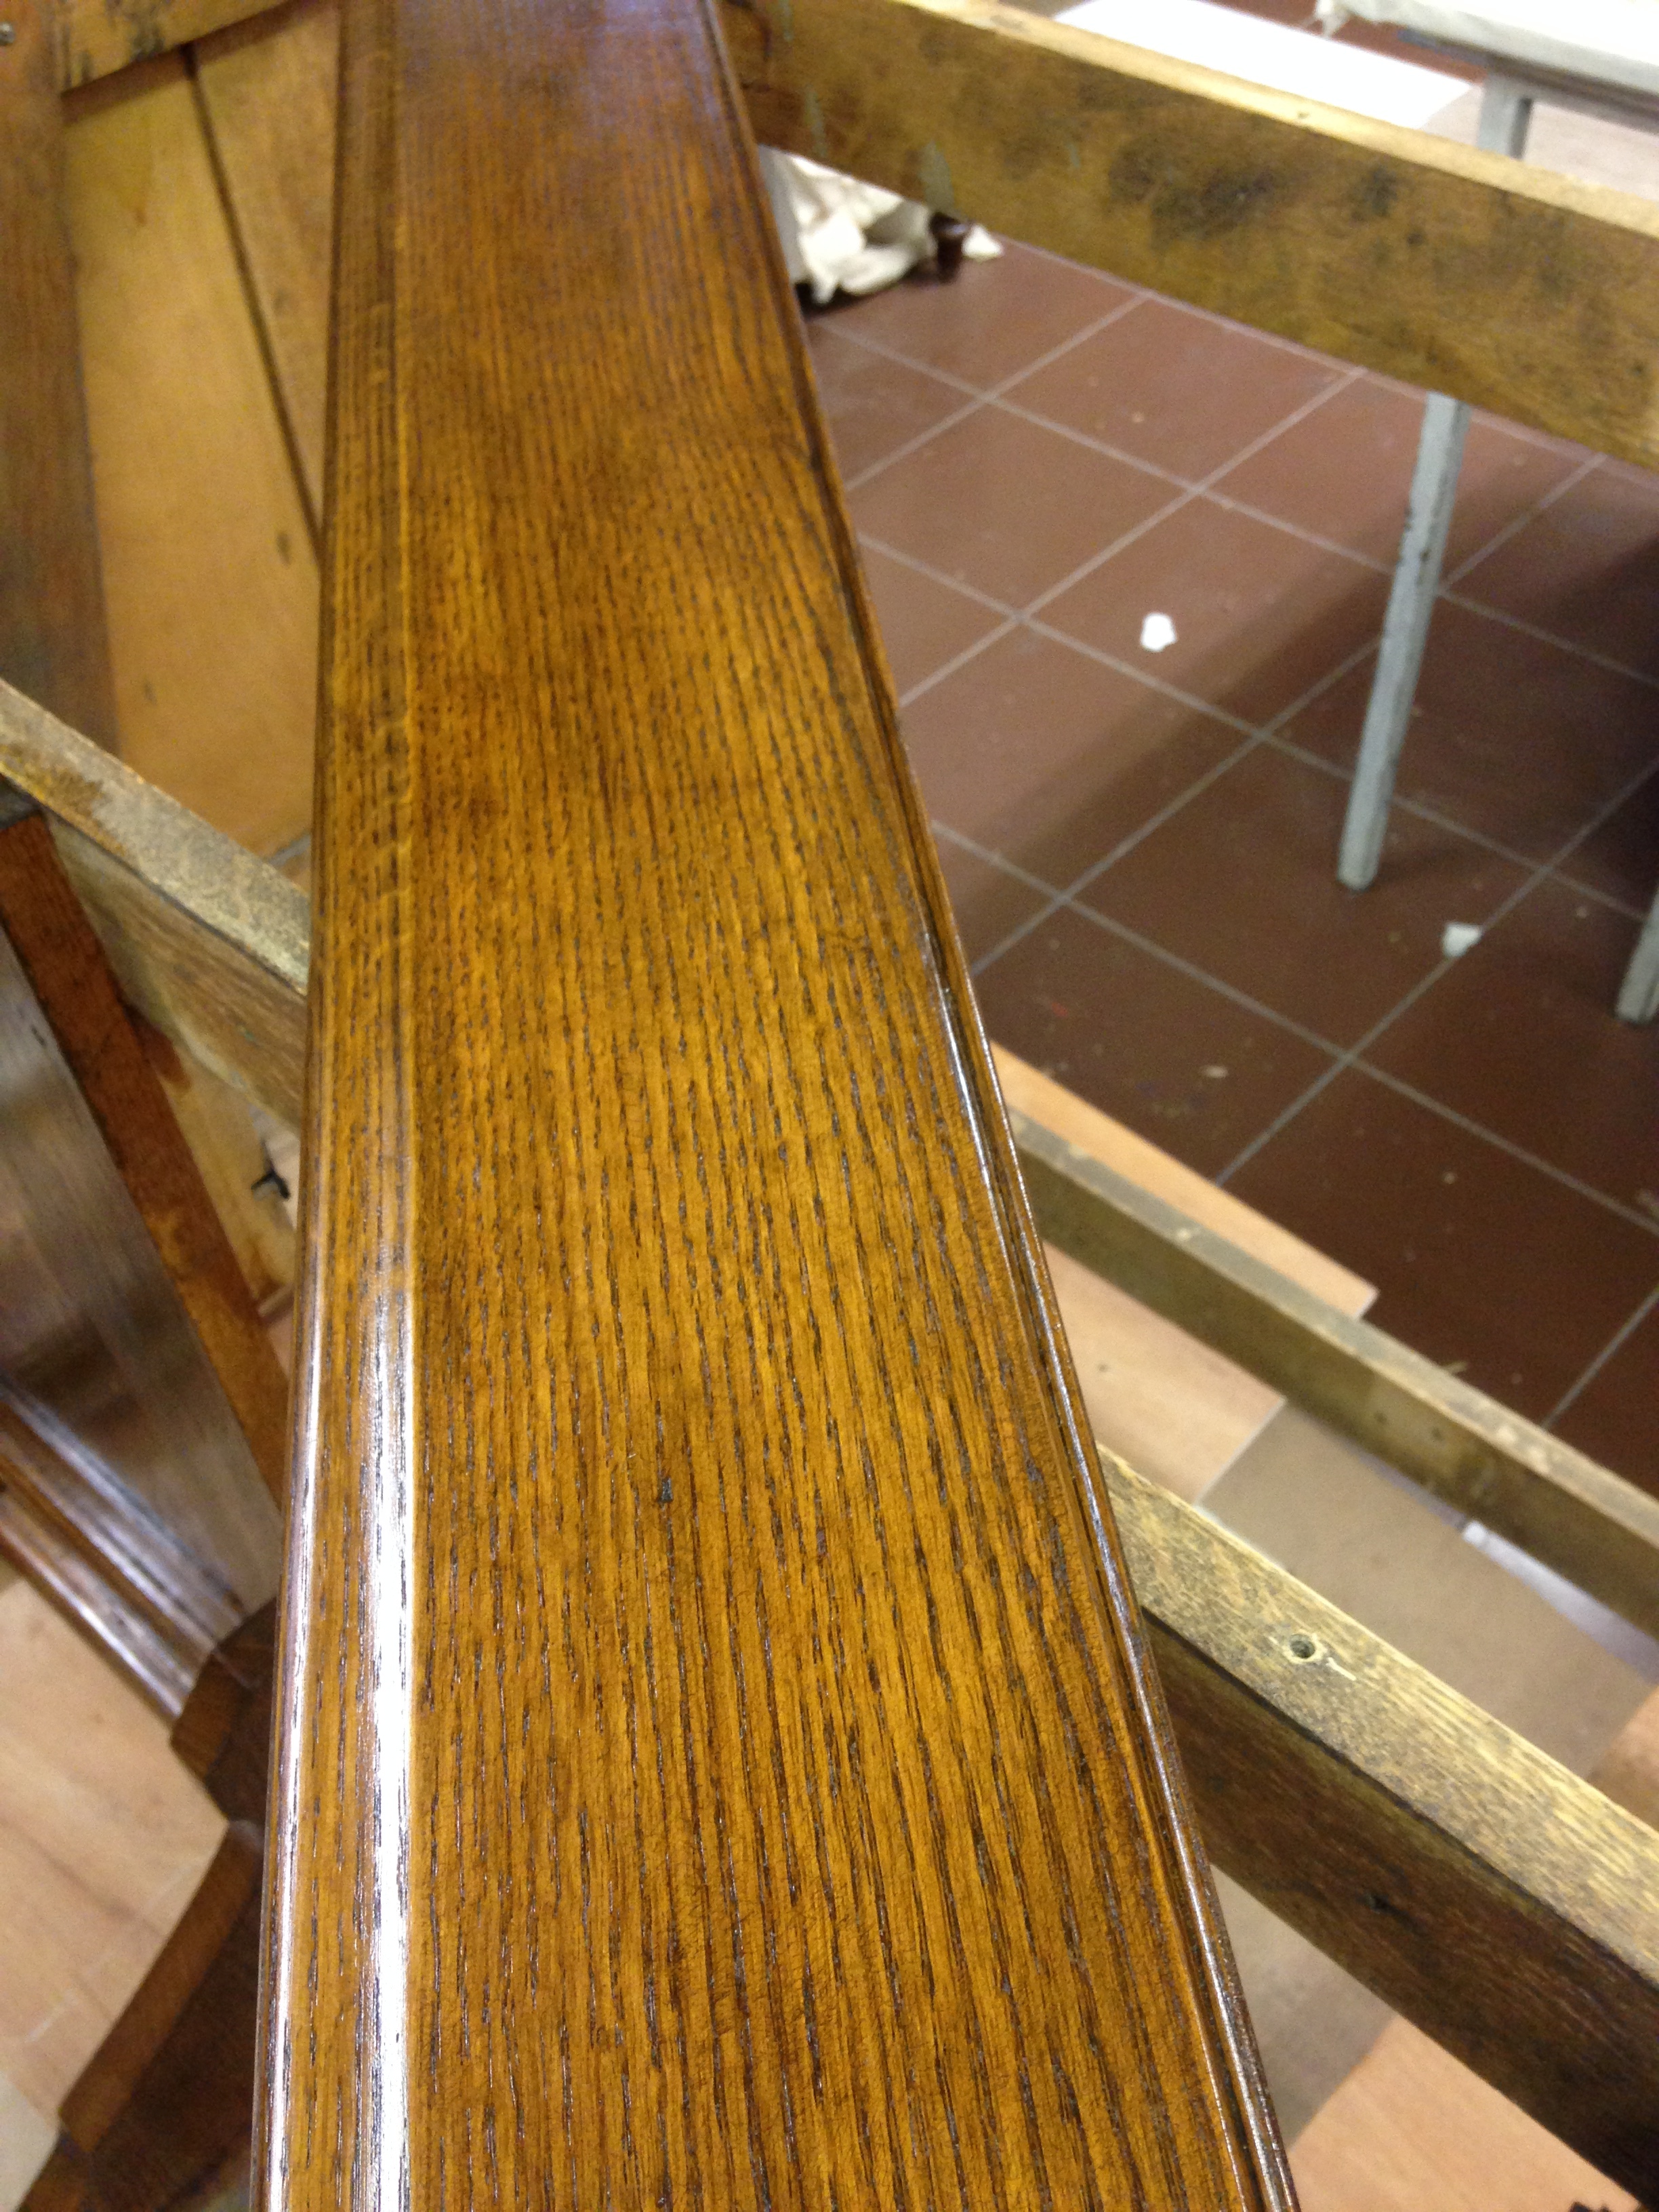
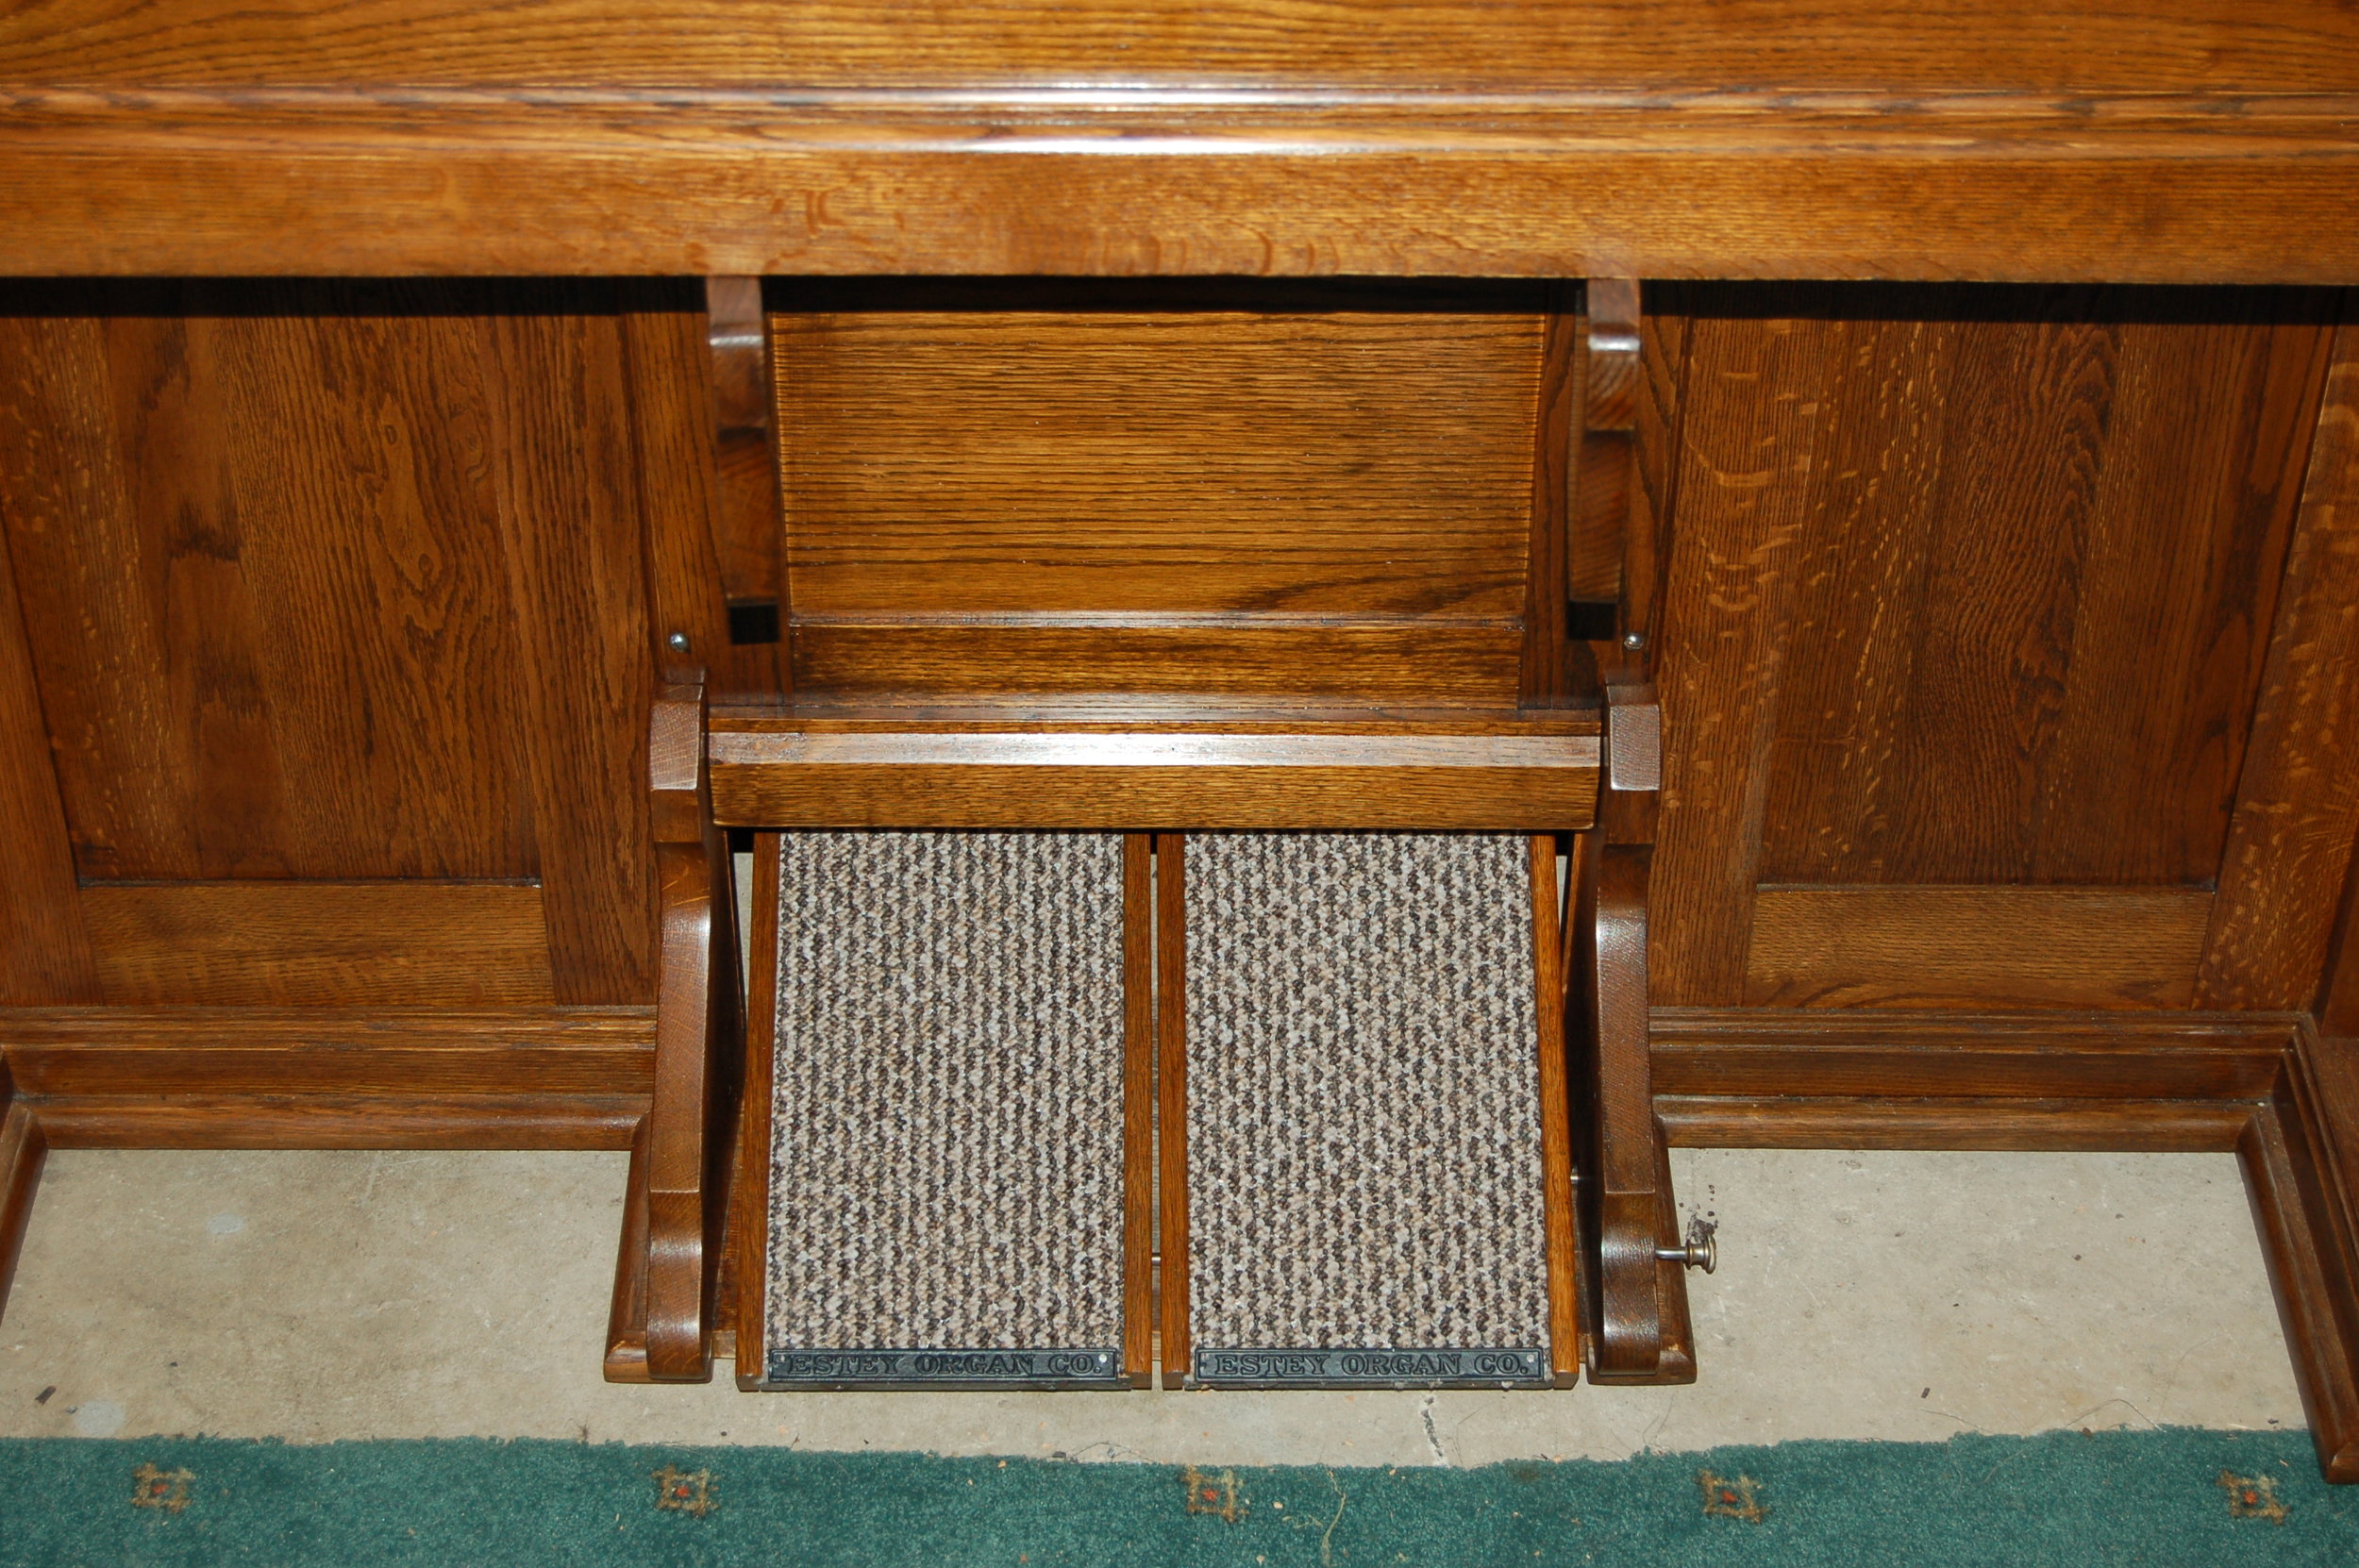
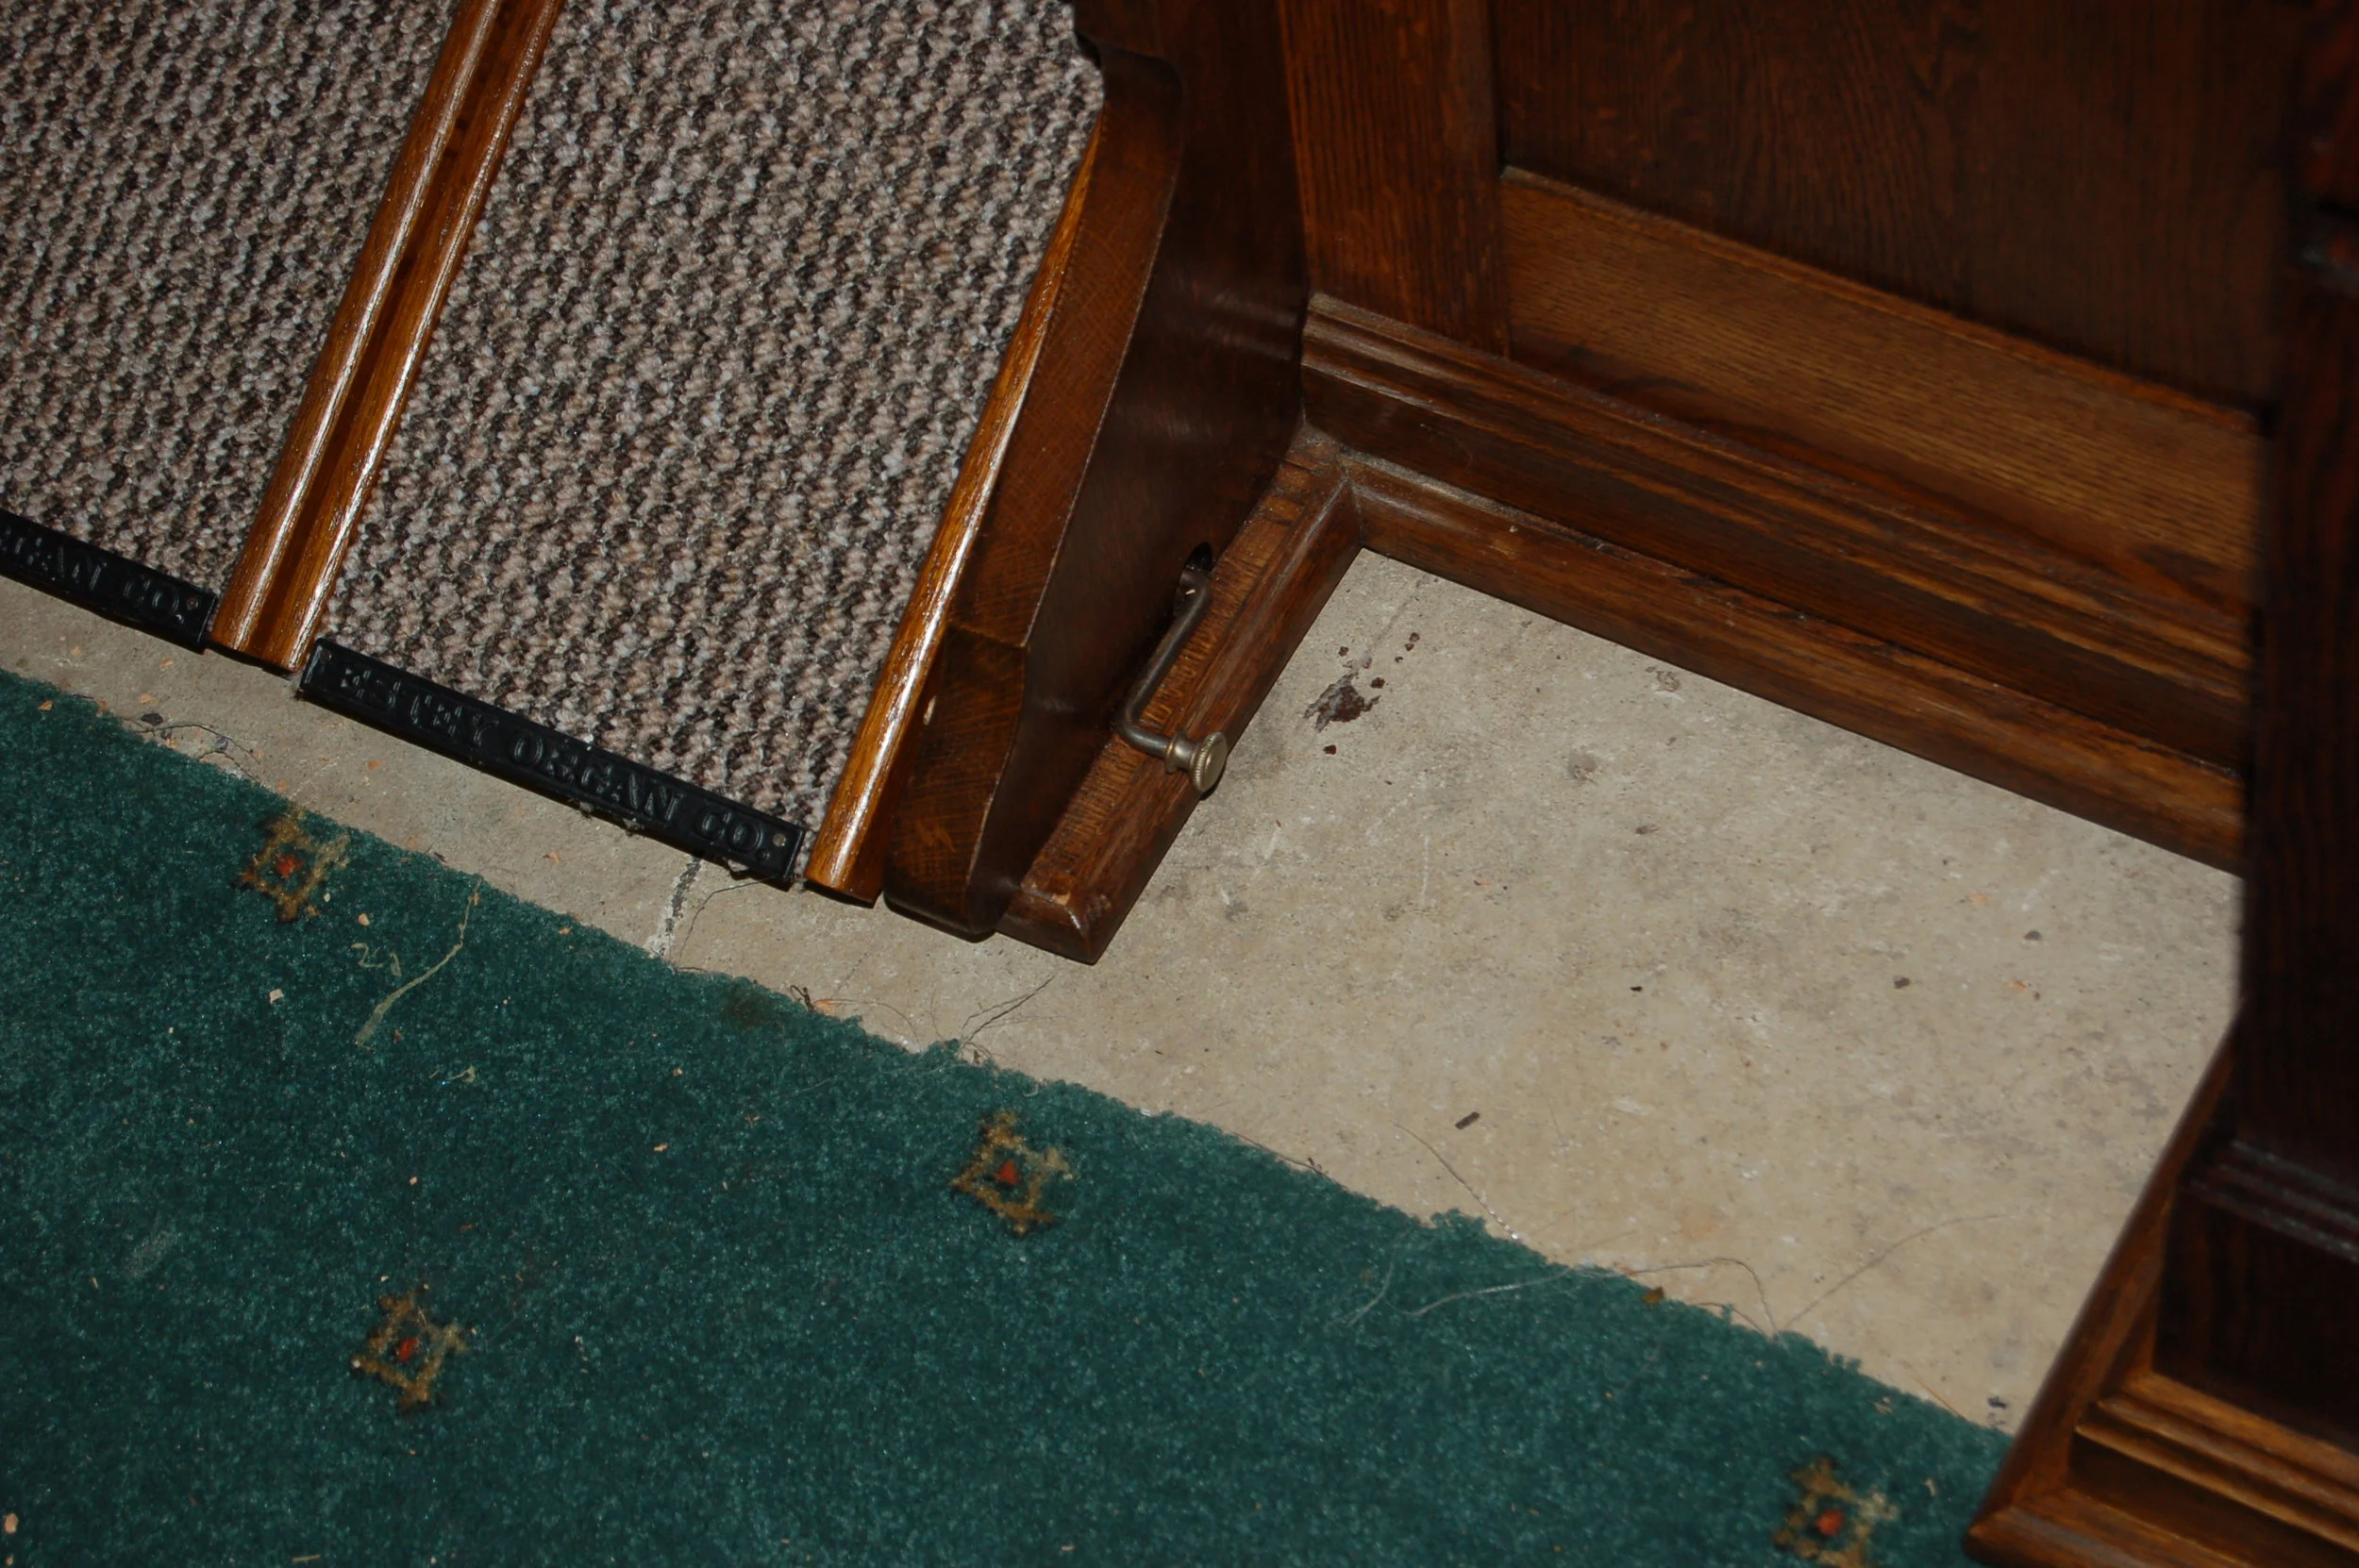
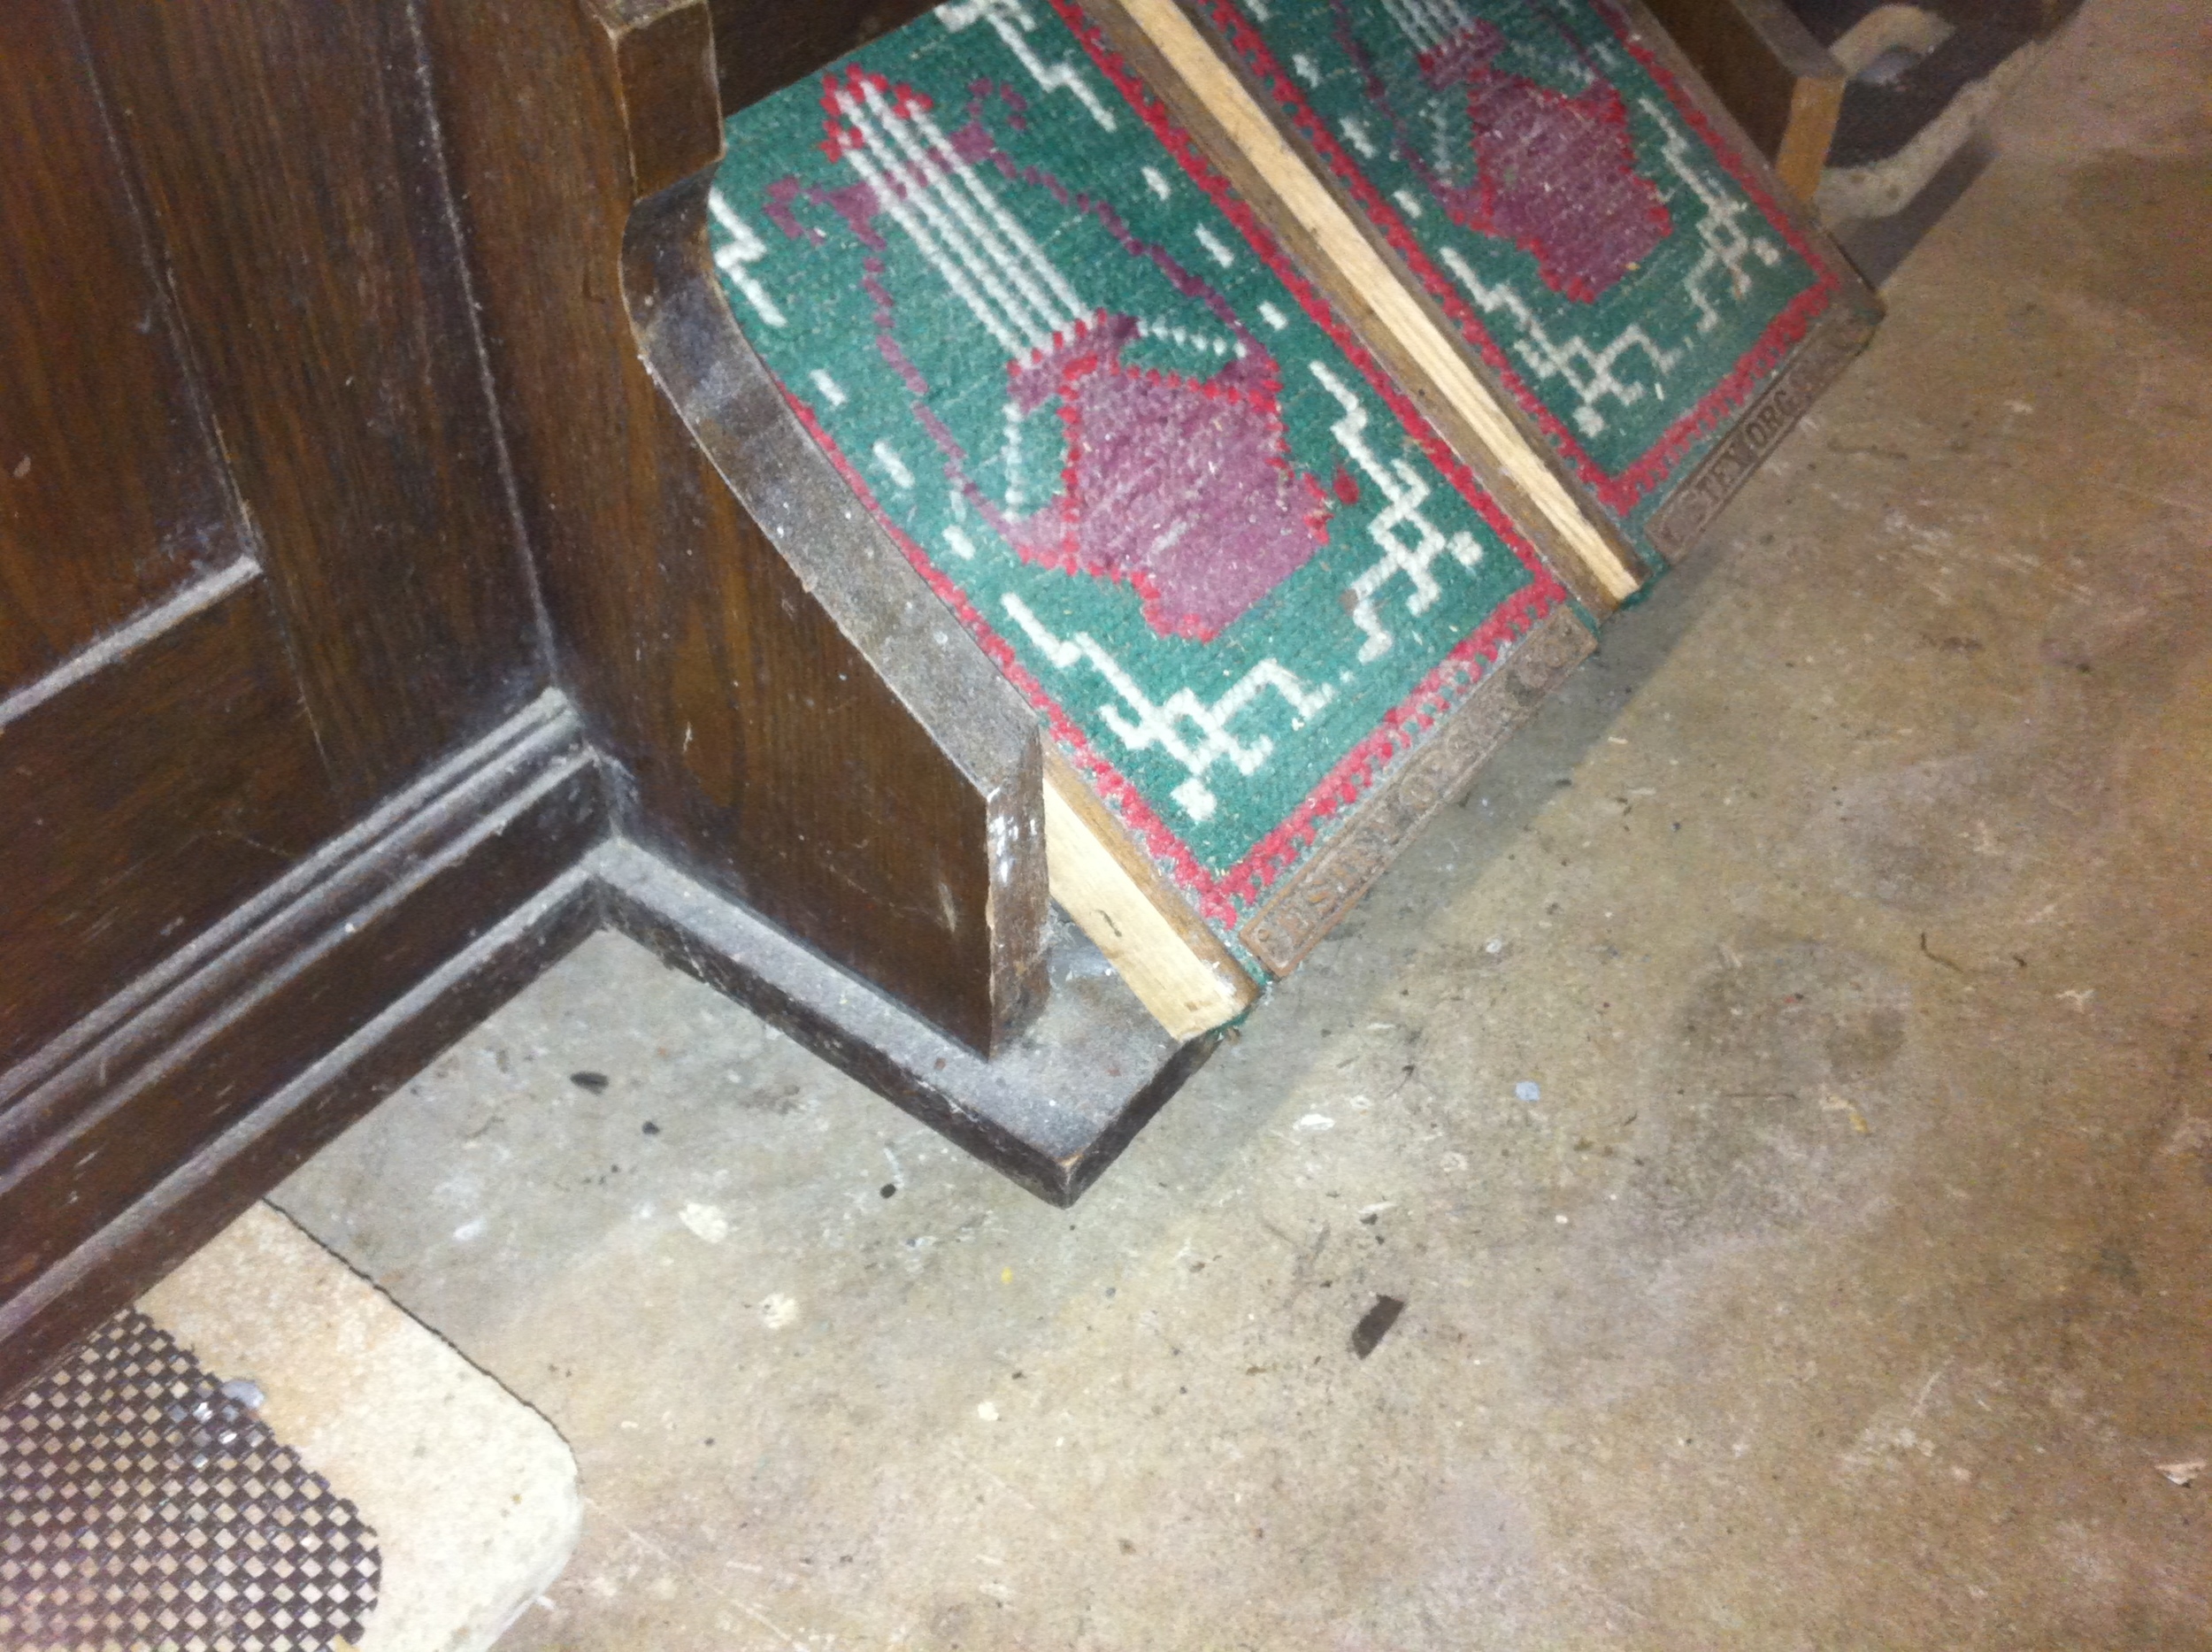
The case was completely stripped, stained and french polished. The pedals were then stripped and covered with new carpet. The side trim needed to be replaced with newly made pieces because the originals were badly damaged. All the rollers for the pedals and the hand cranking mechanism were cleaned and new felt washers inserted. The hand cranking mechanism itself was cleaned and painted.

Having tuned all the many reeds in the organ and reassembled the upper action it was put back in the fully restored case.
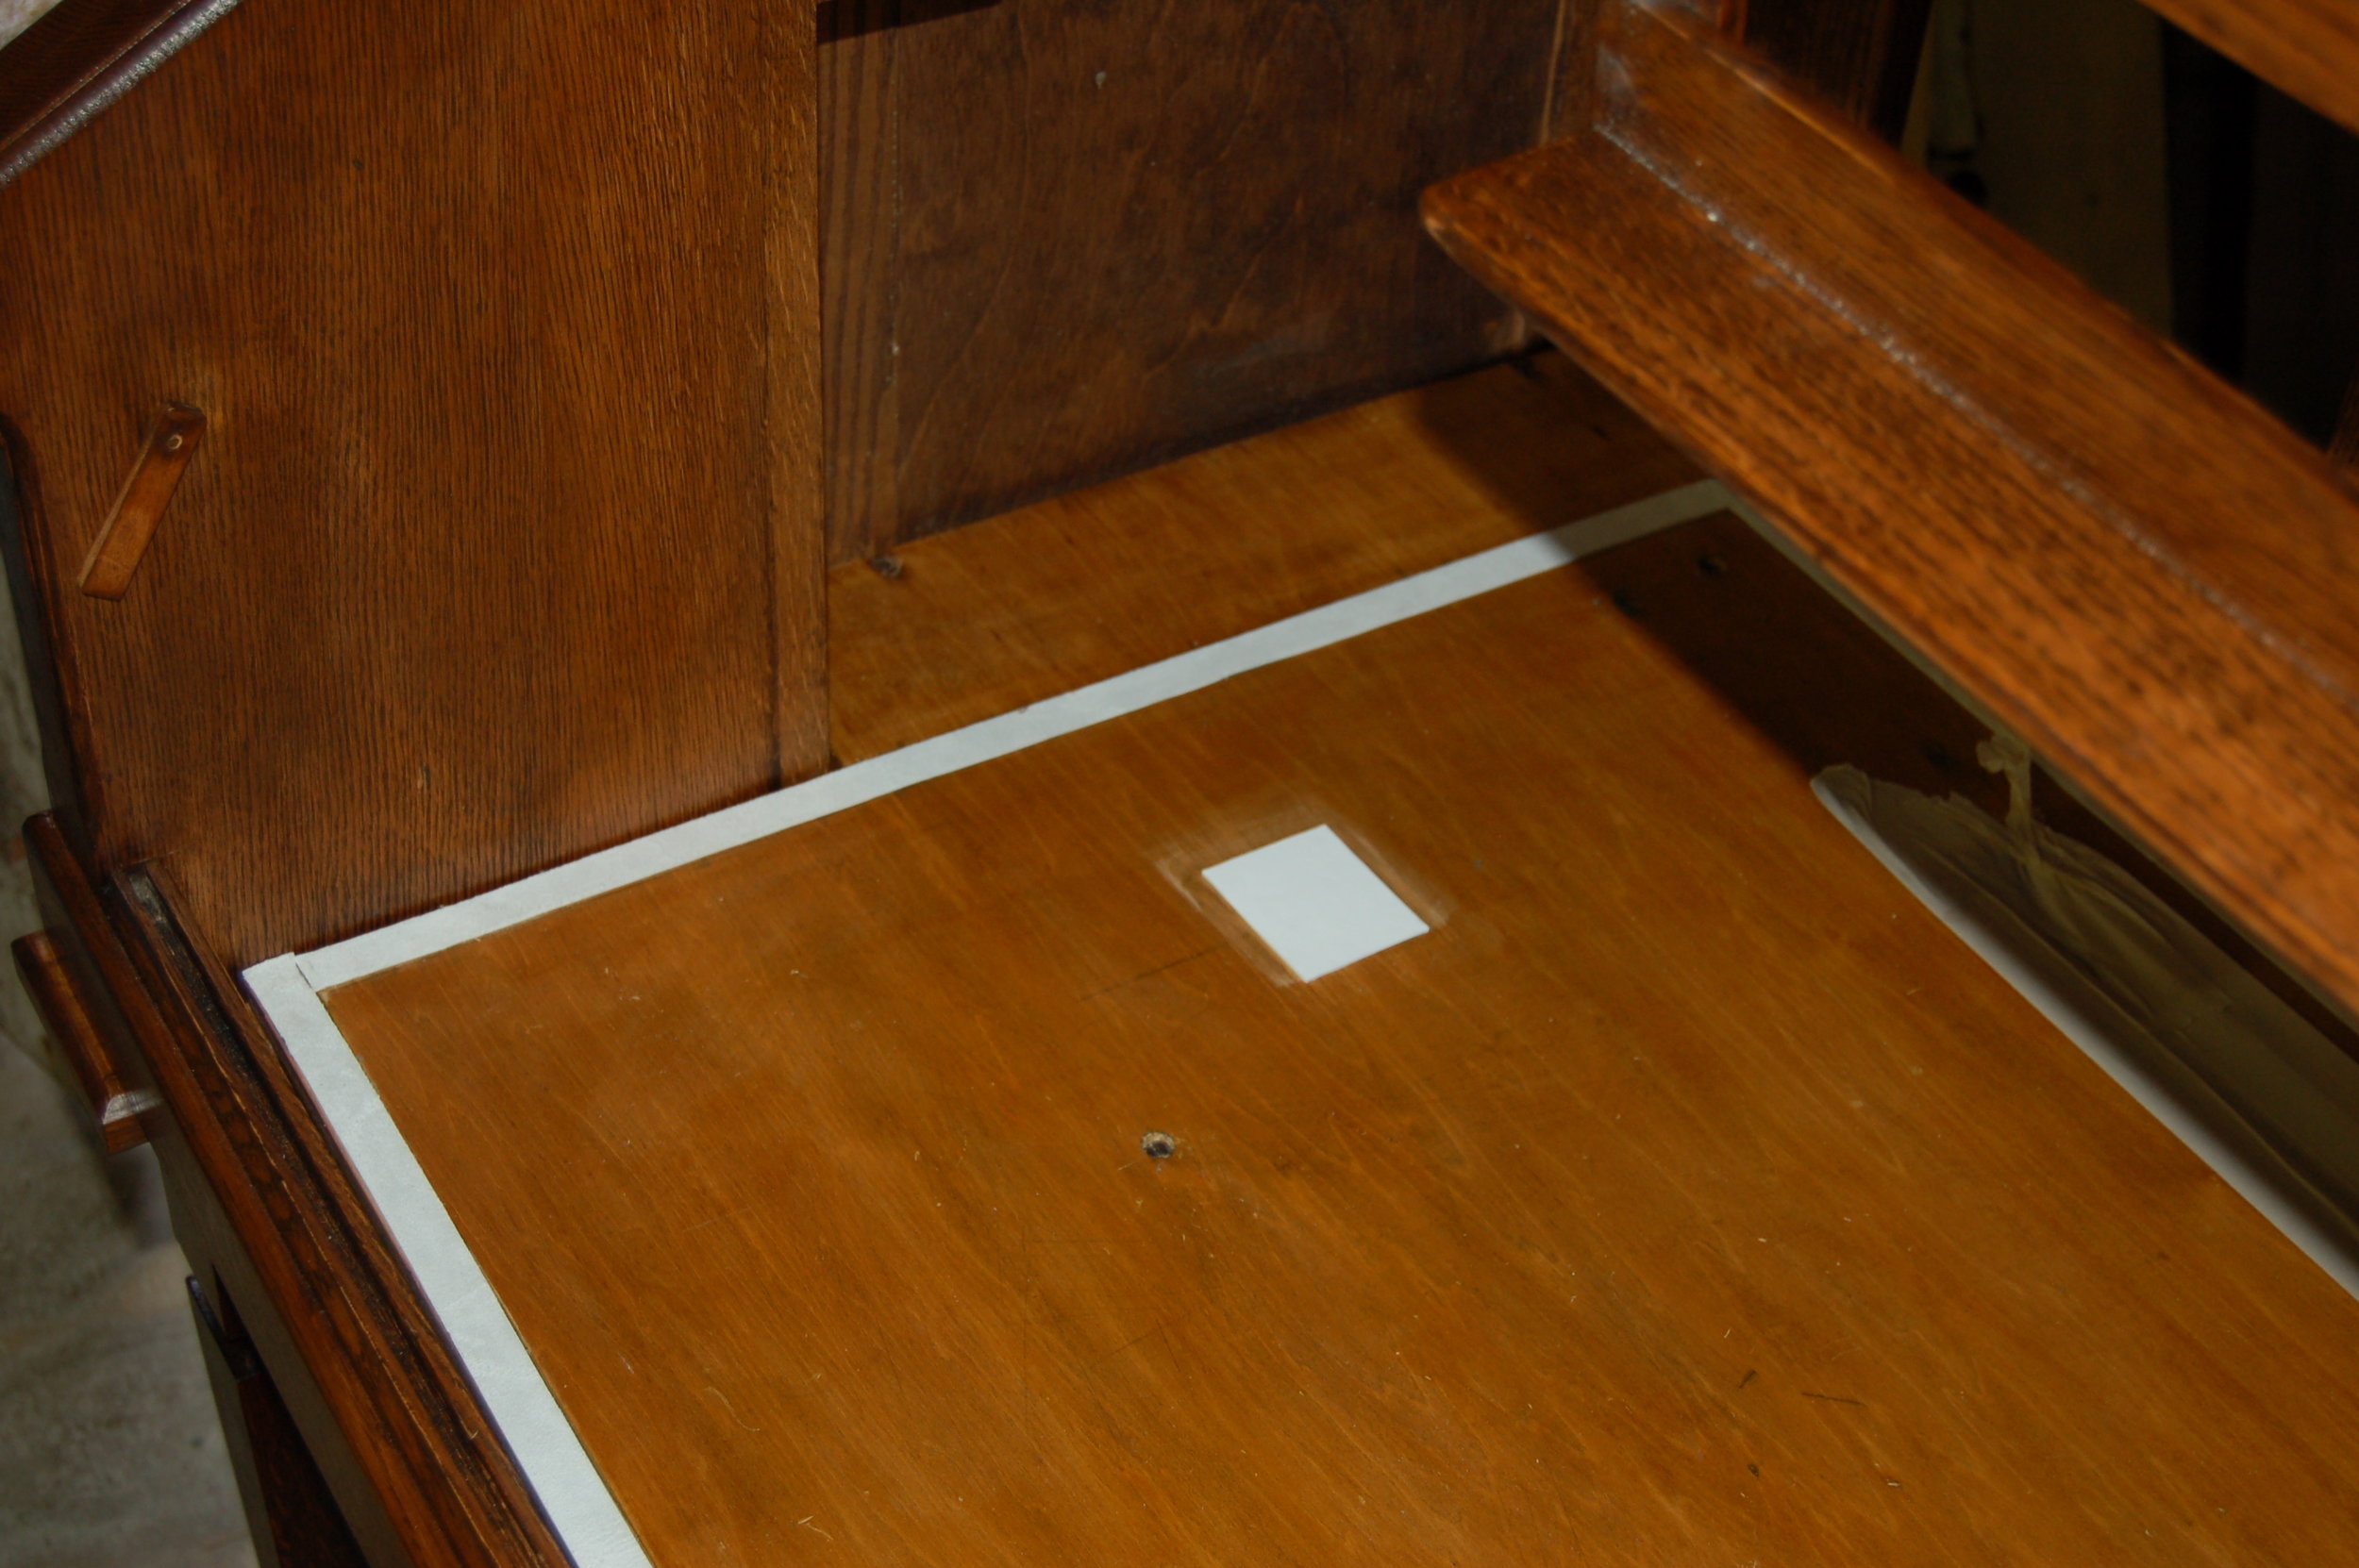

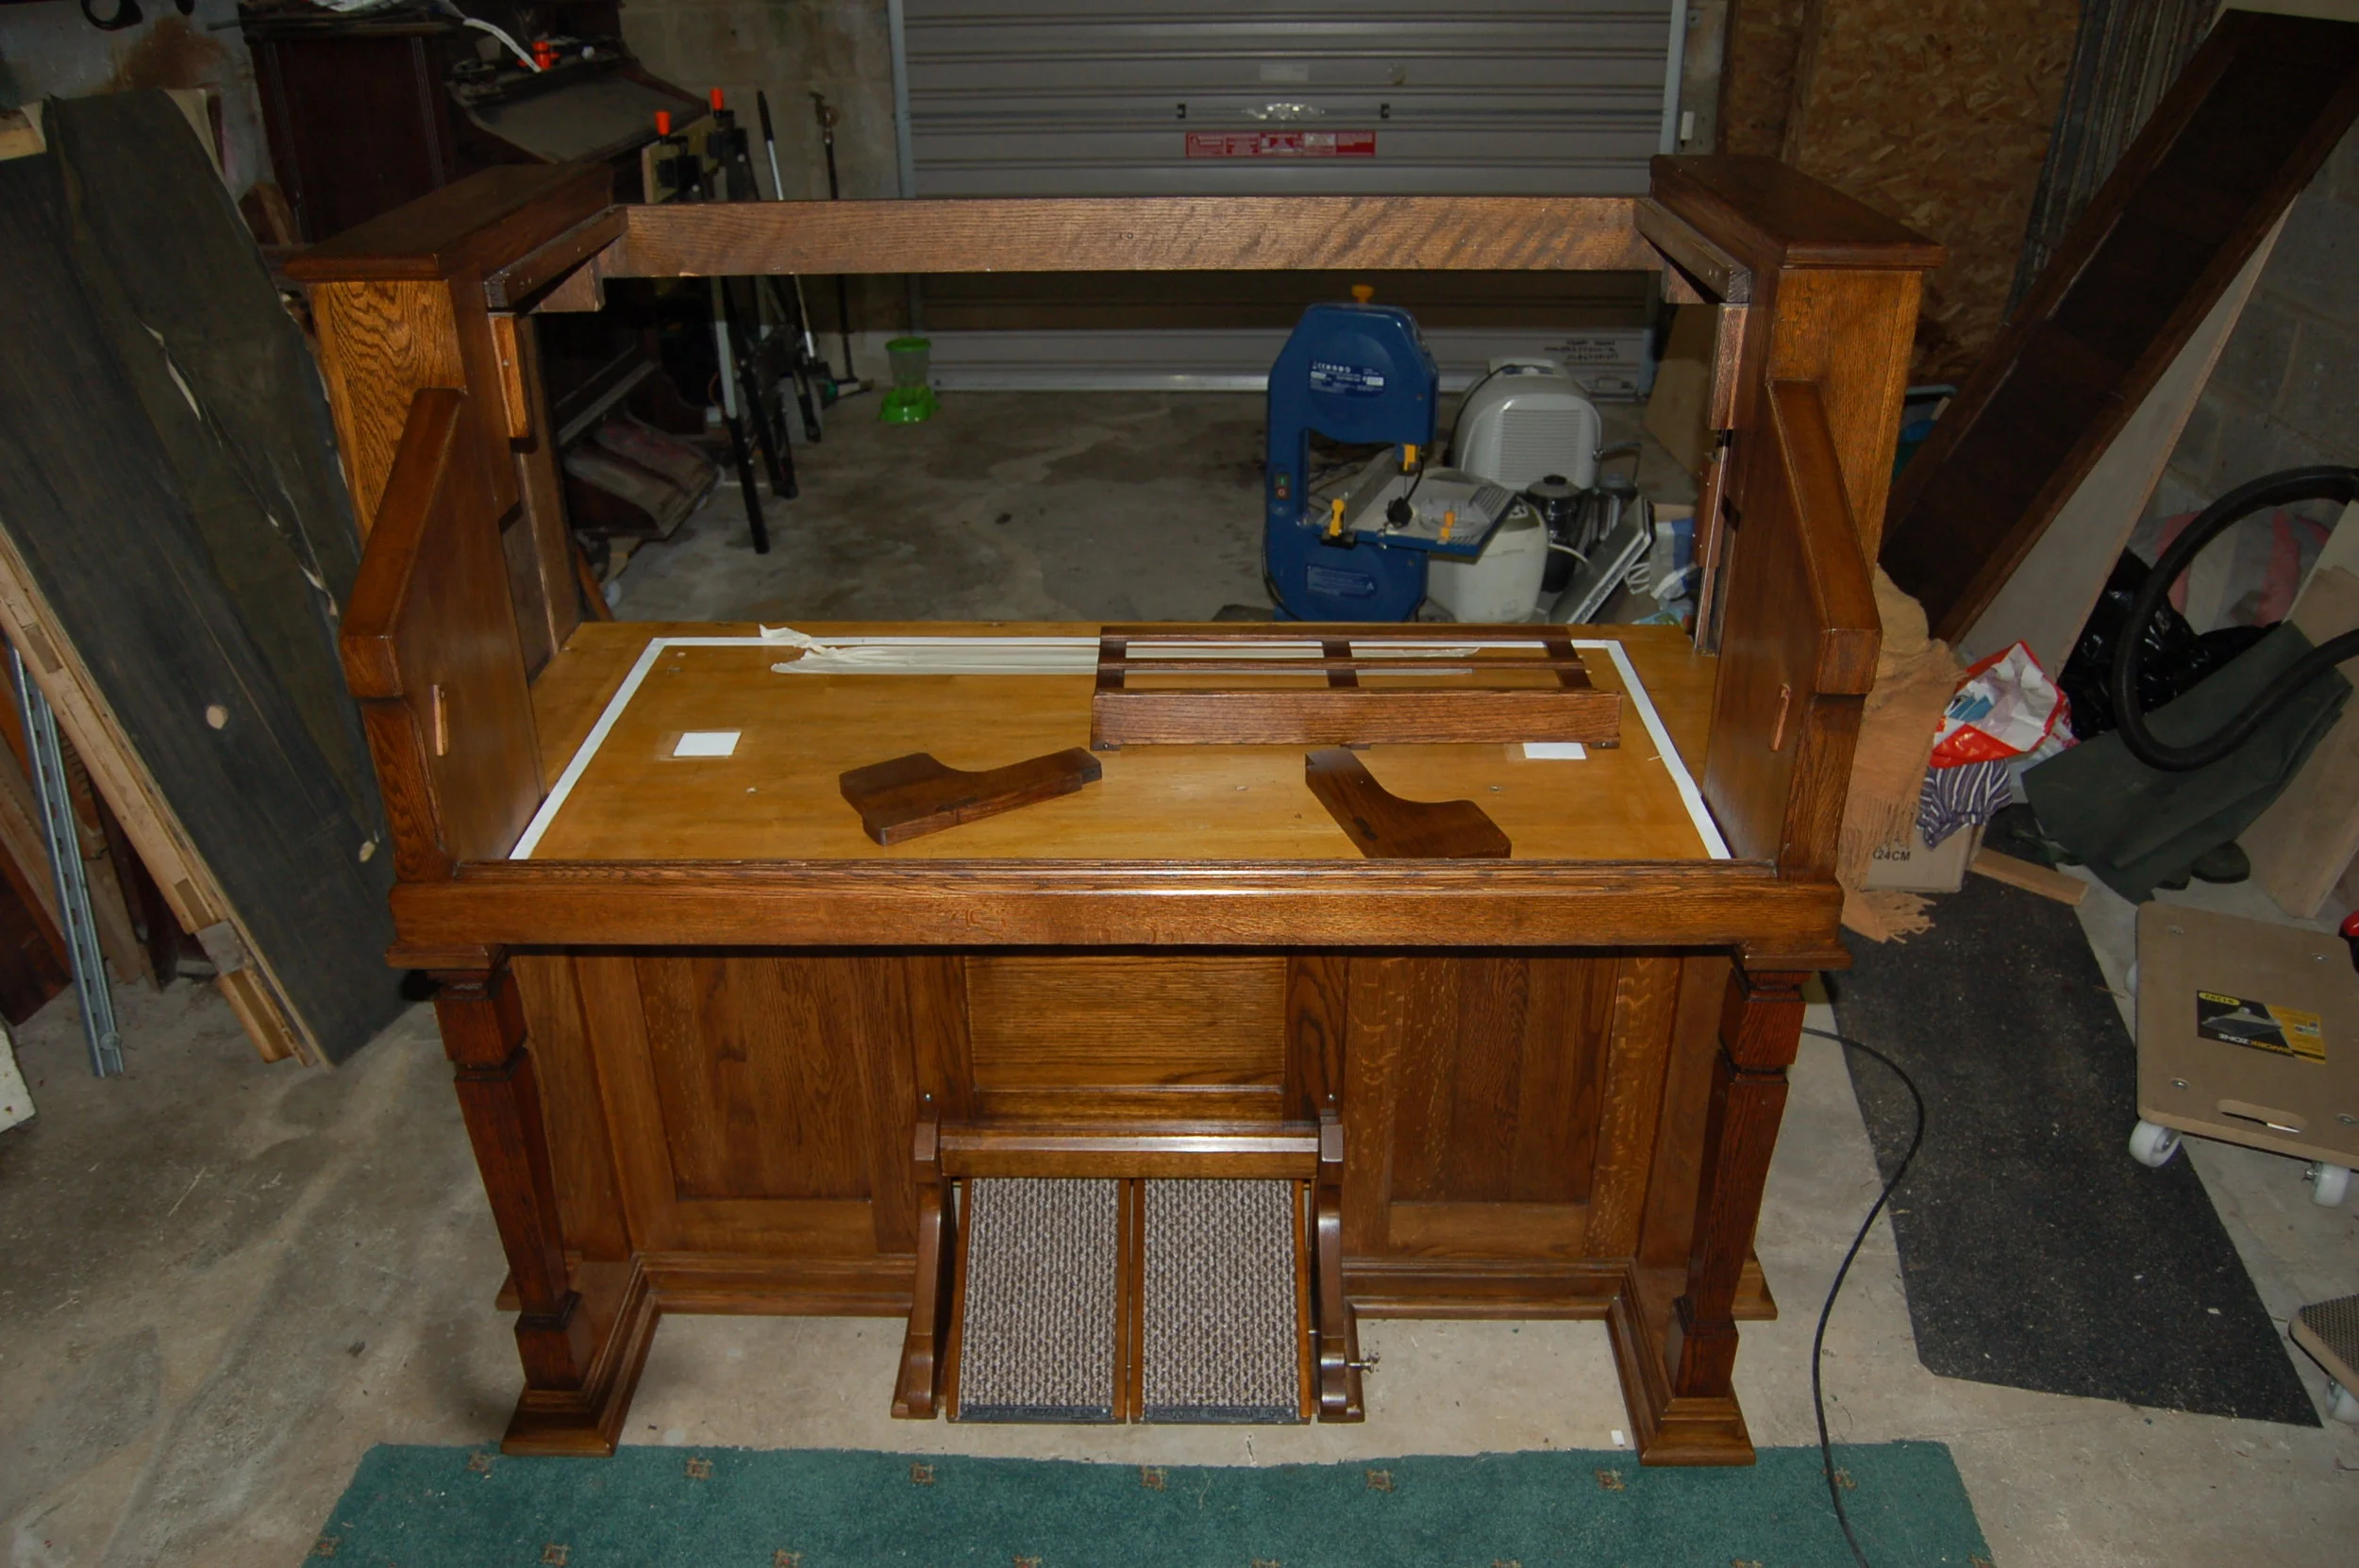
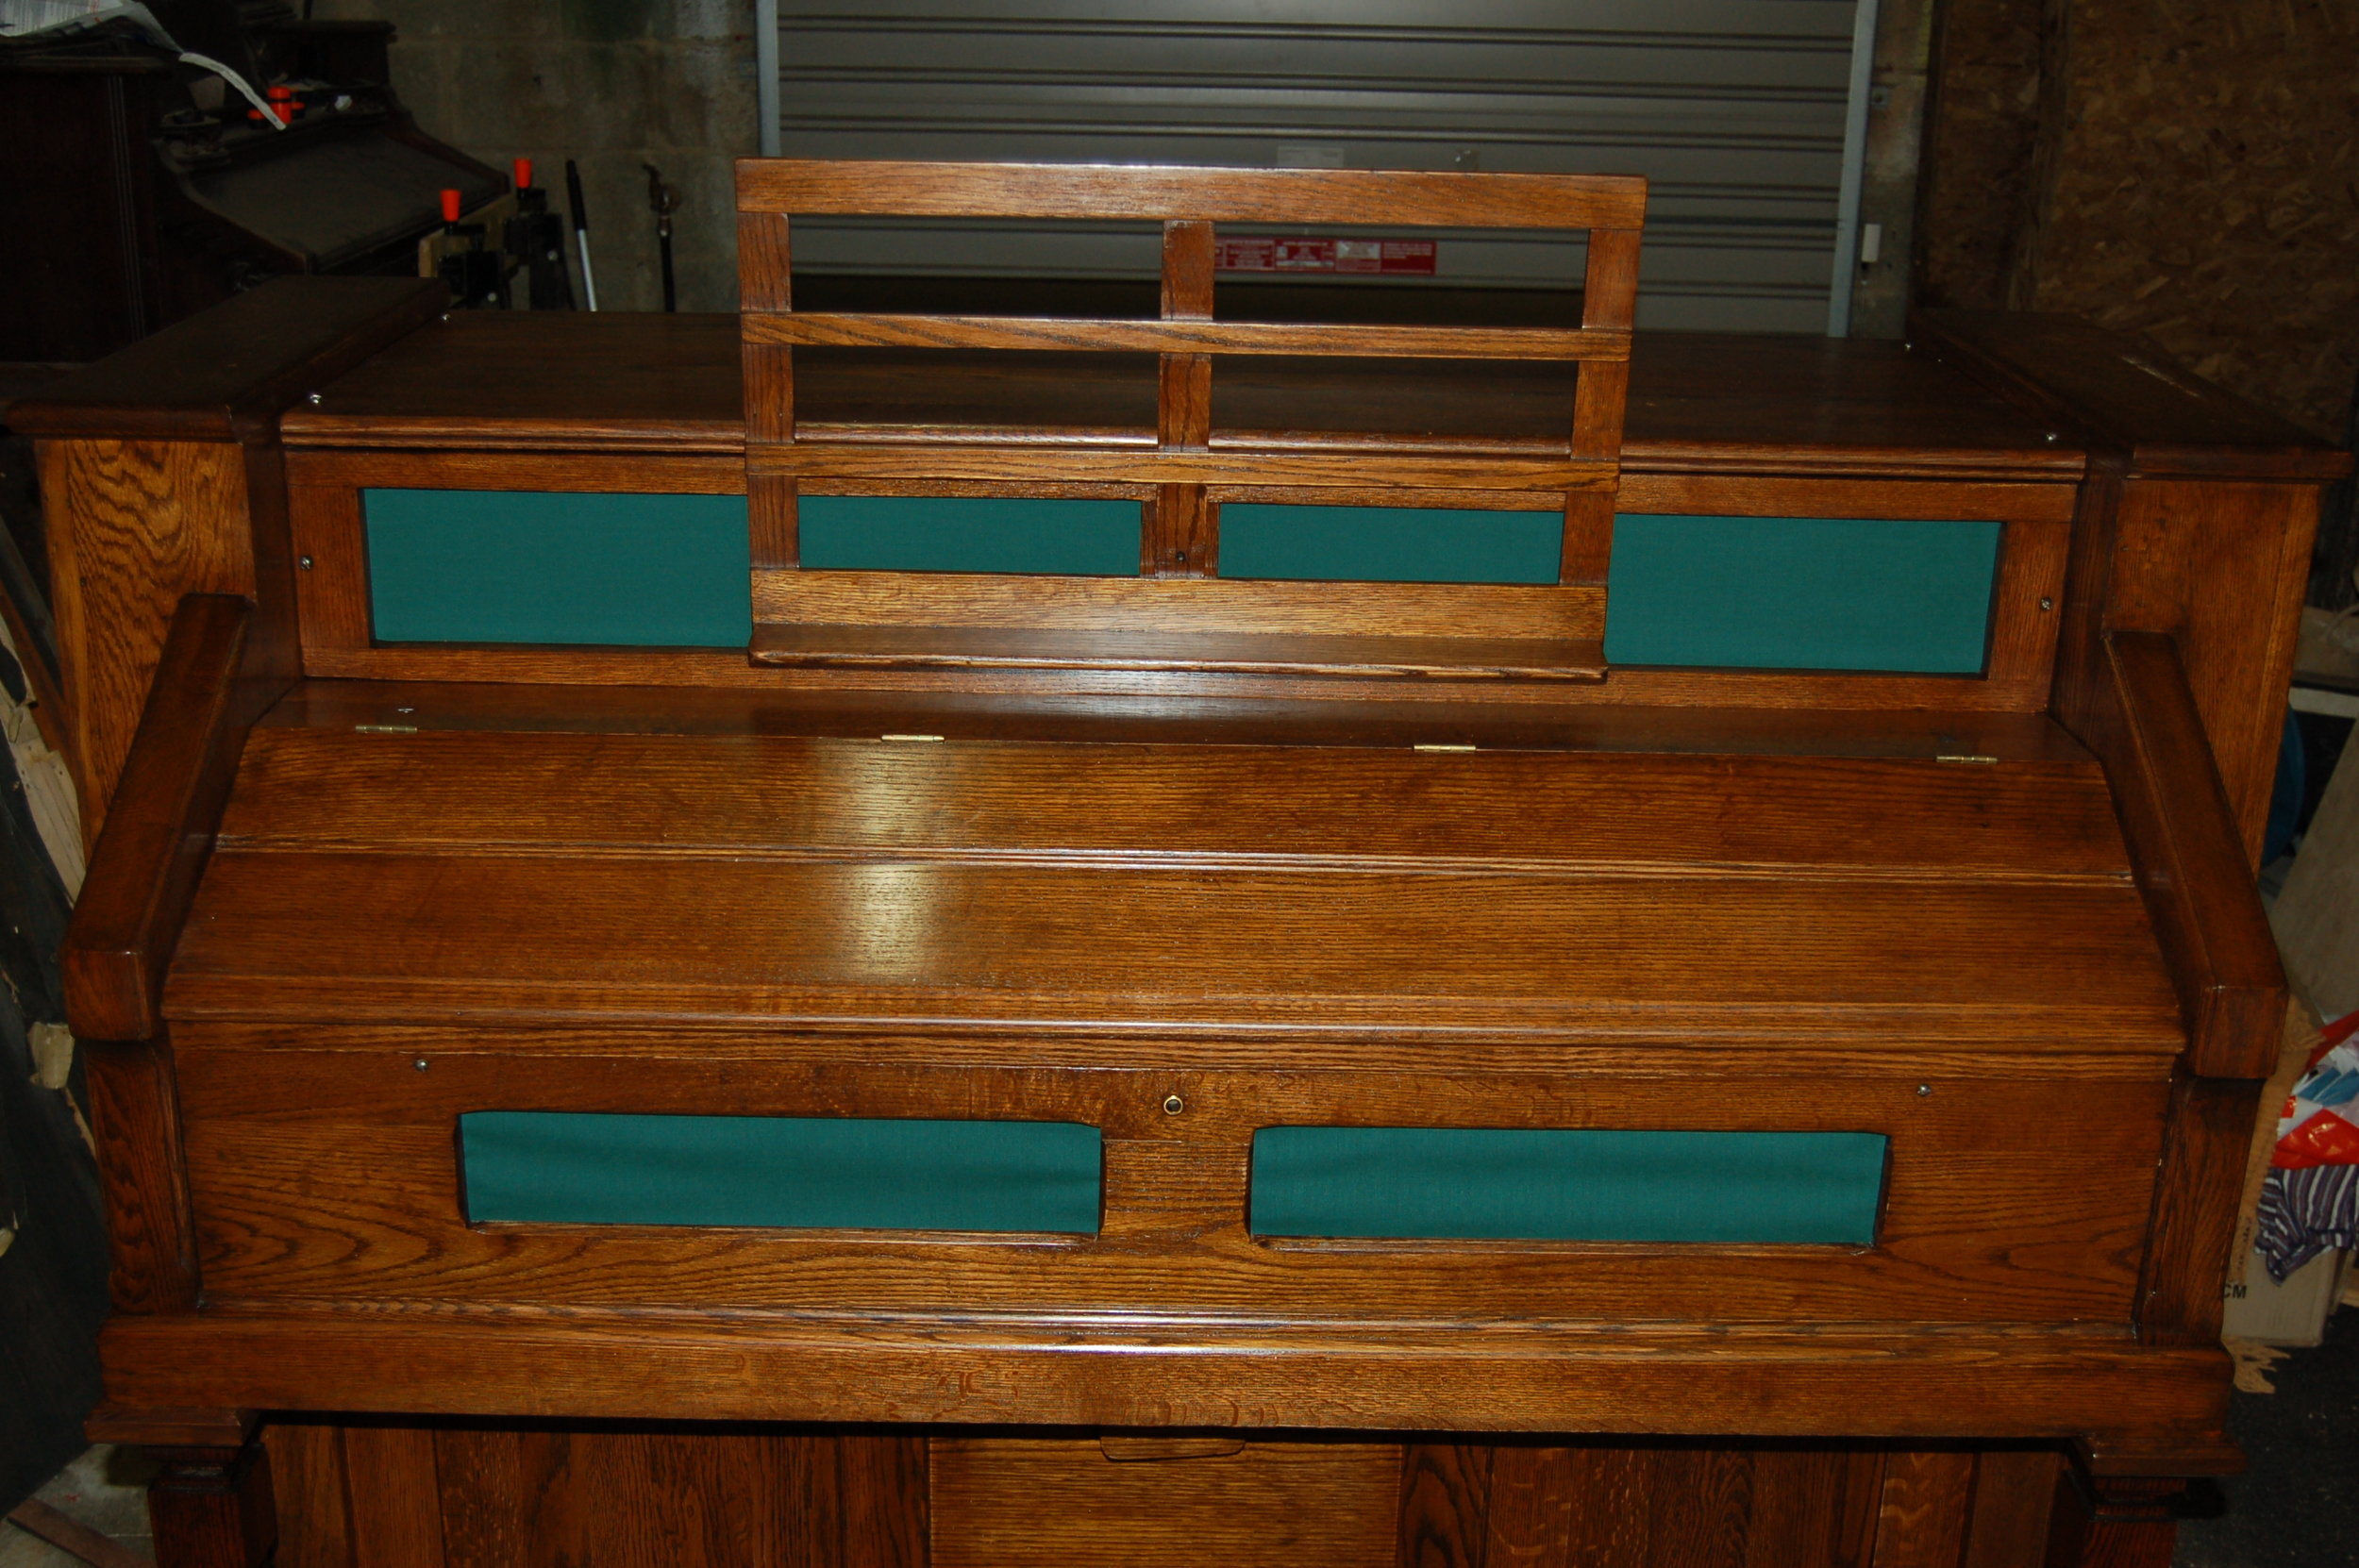
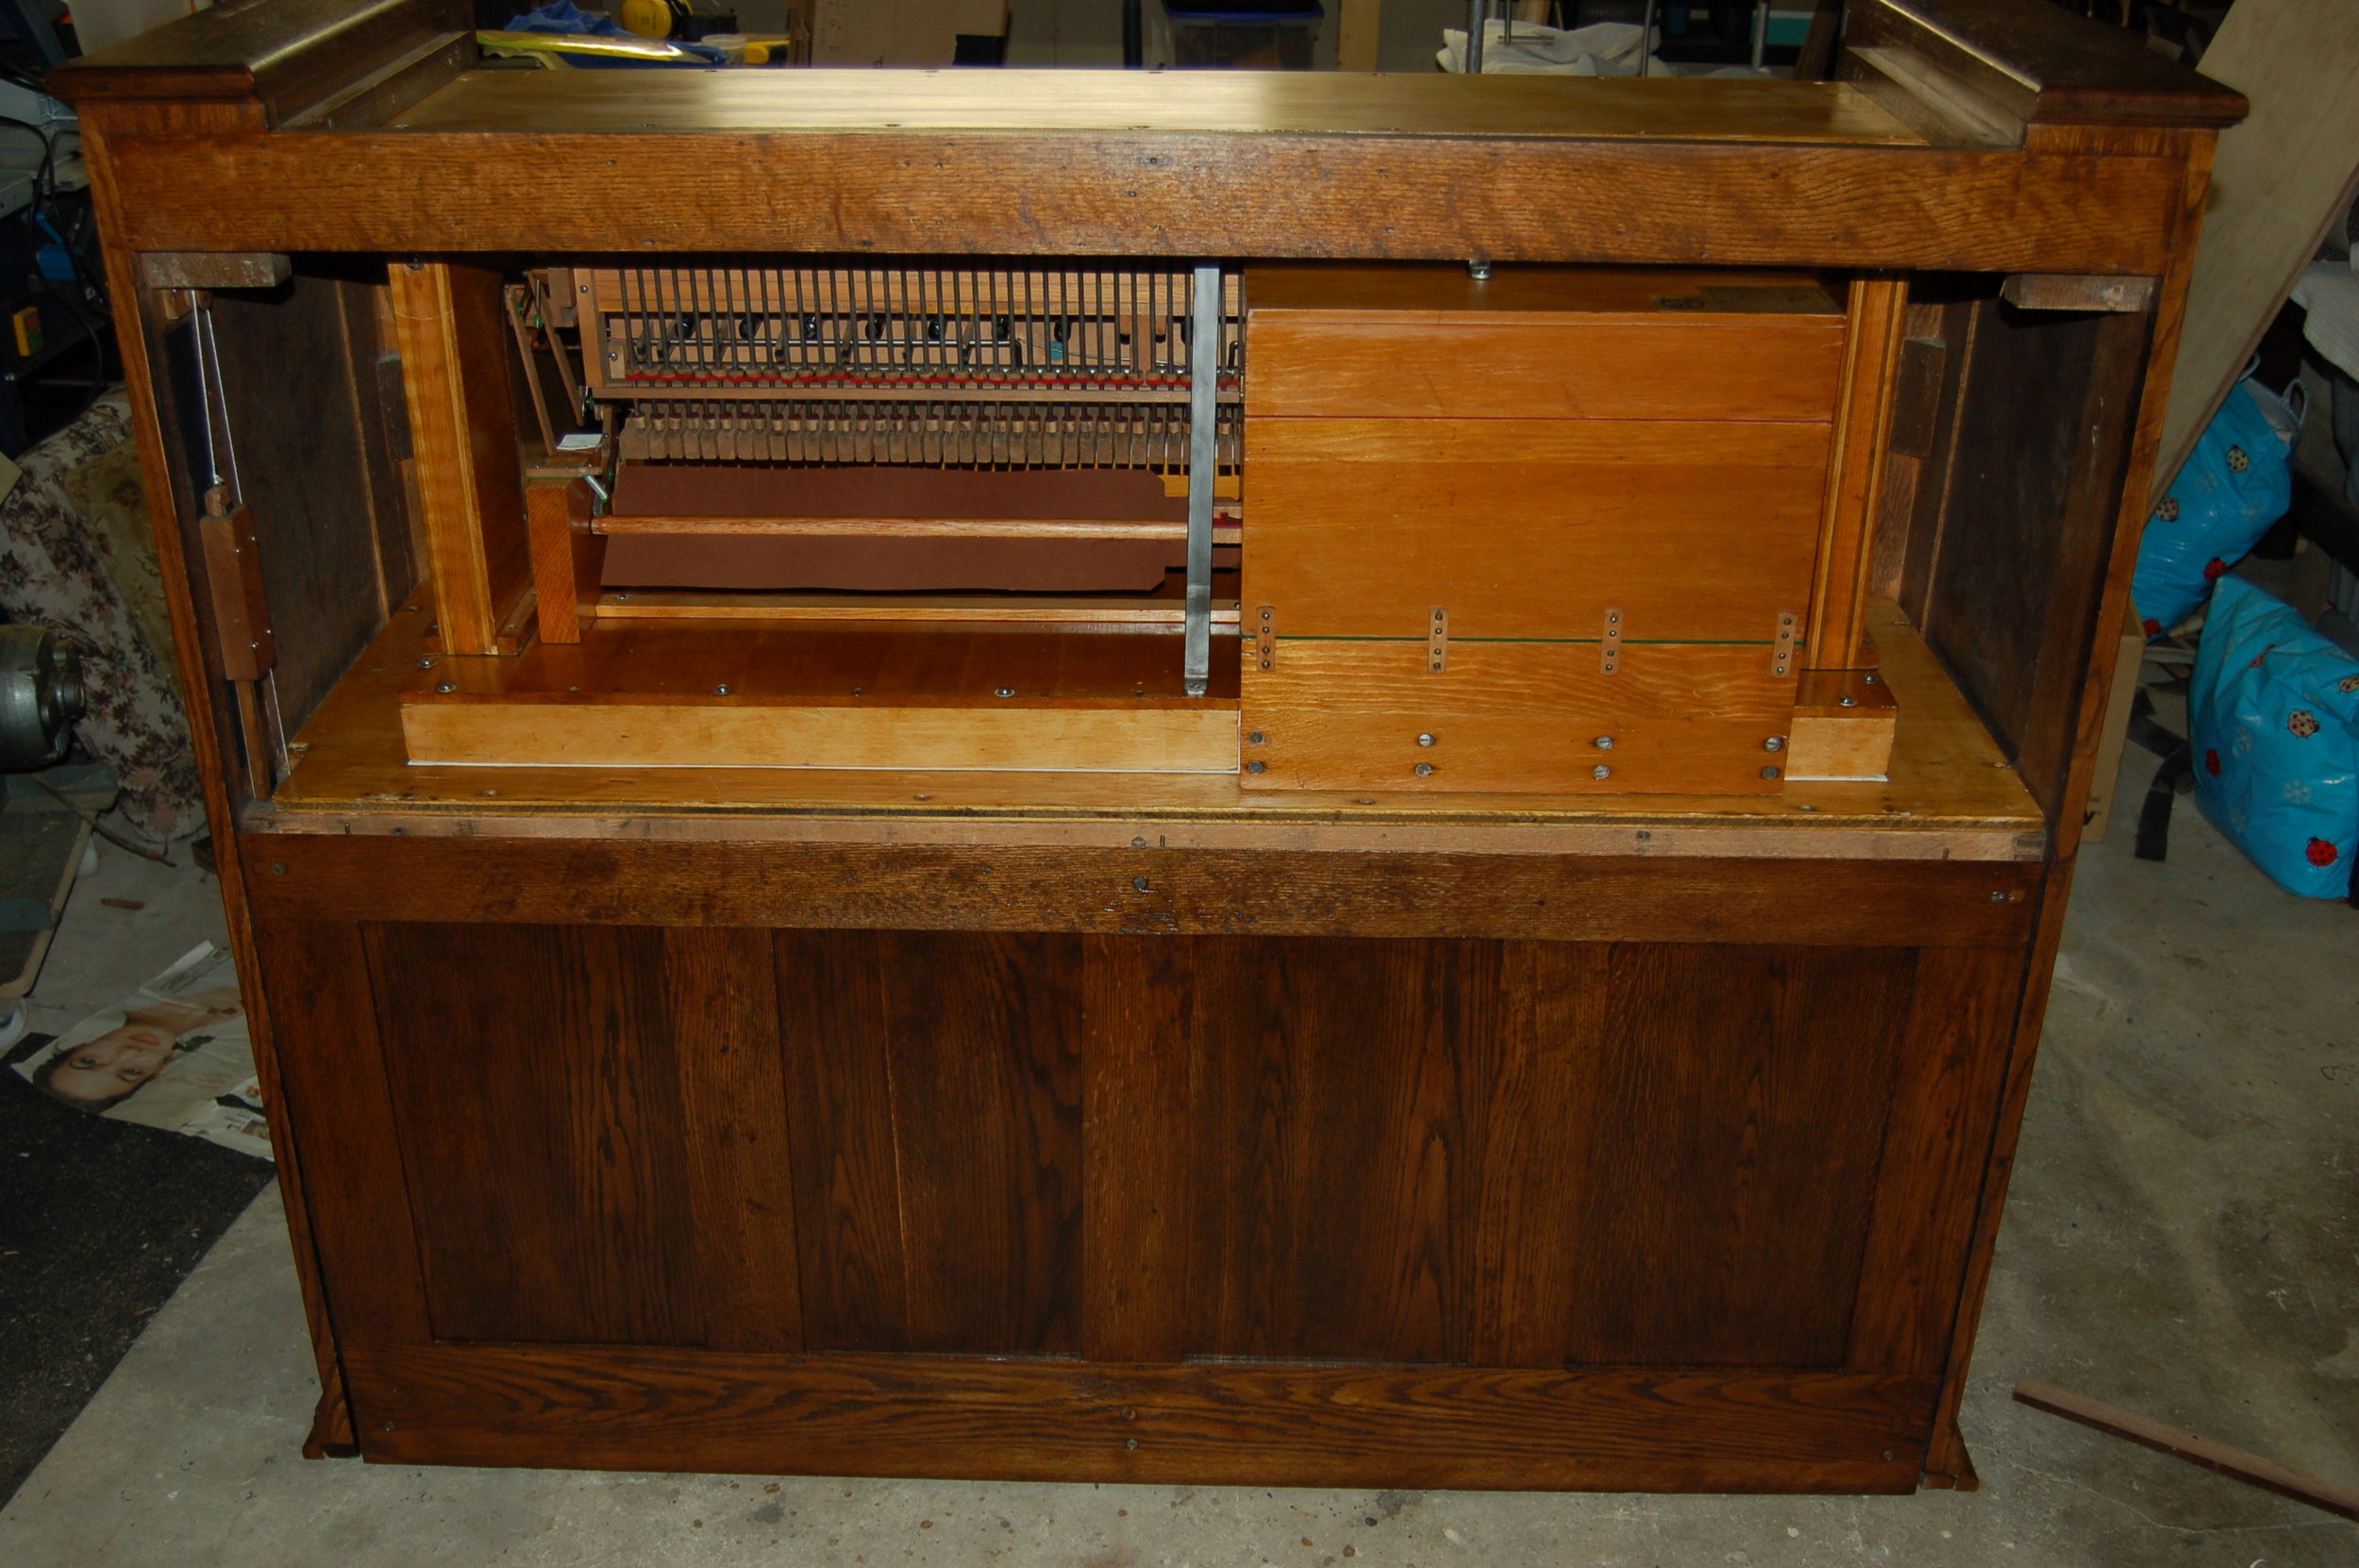
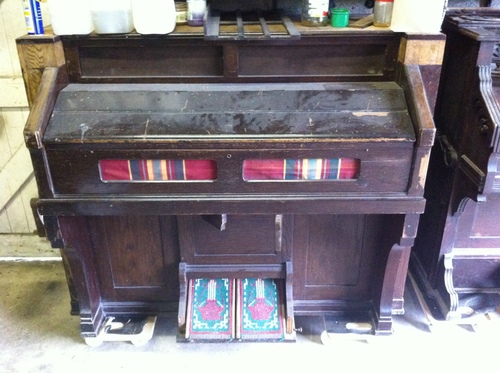
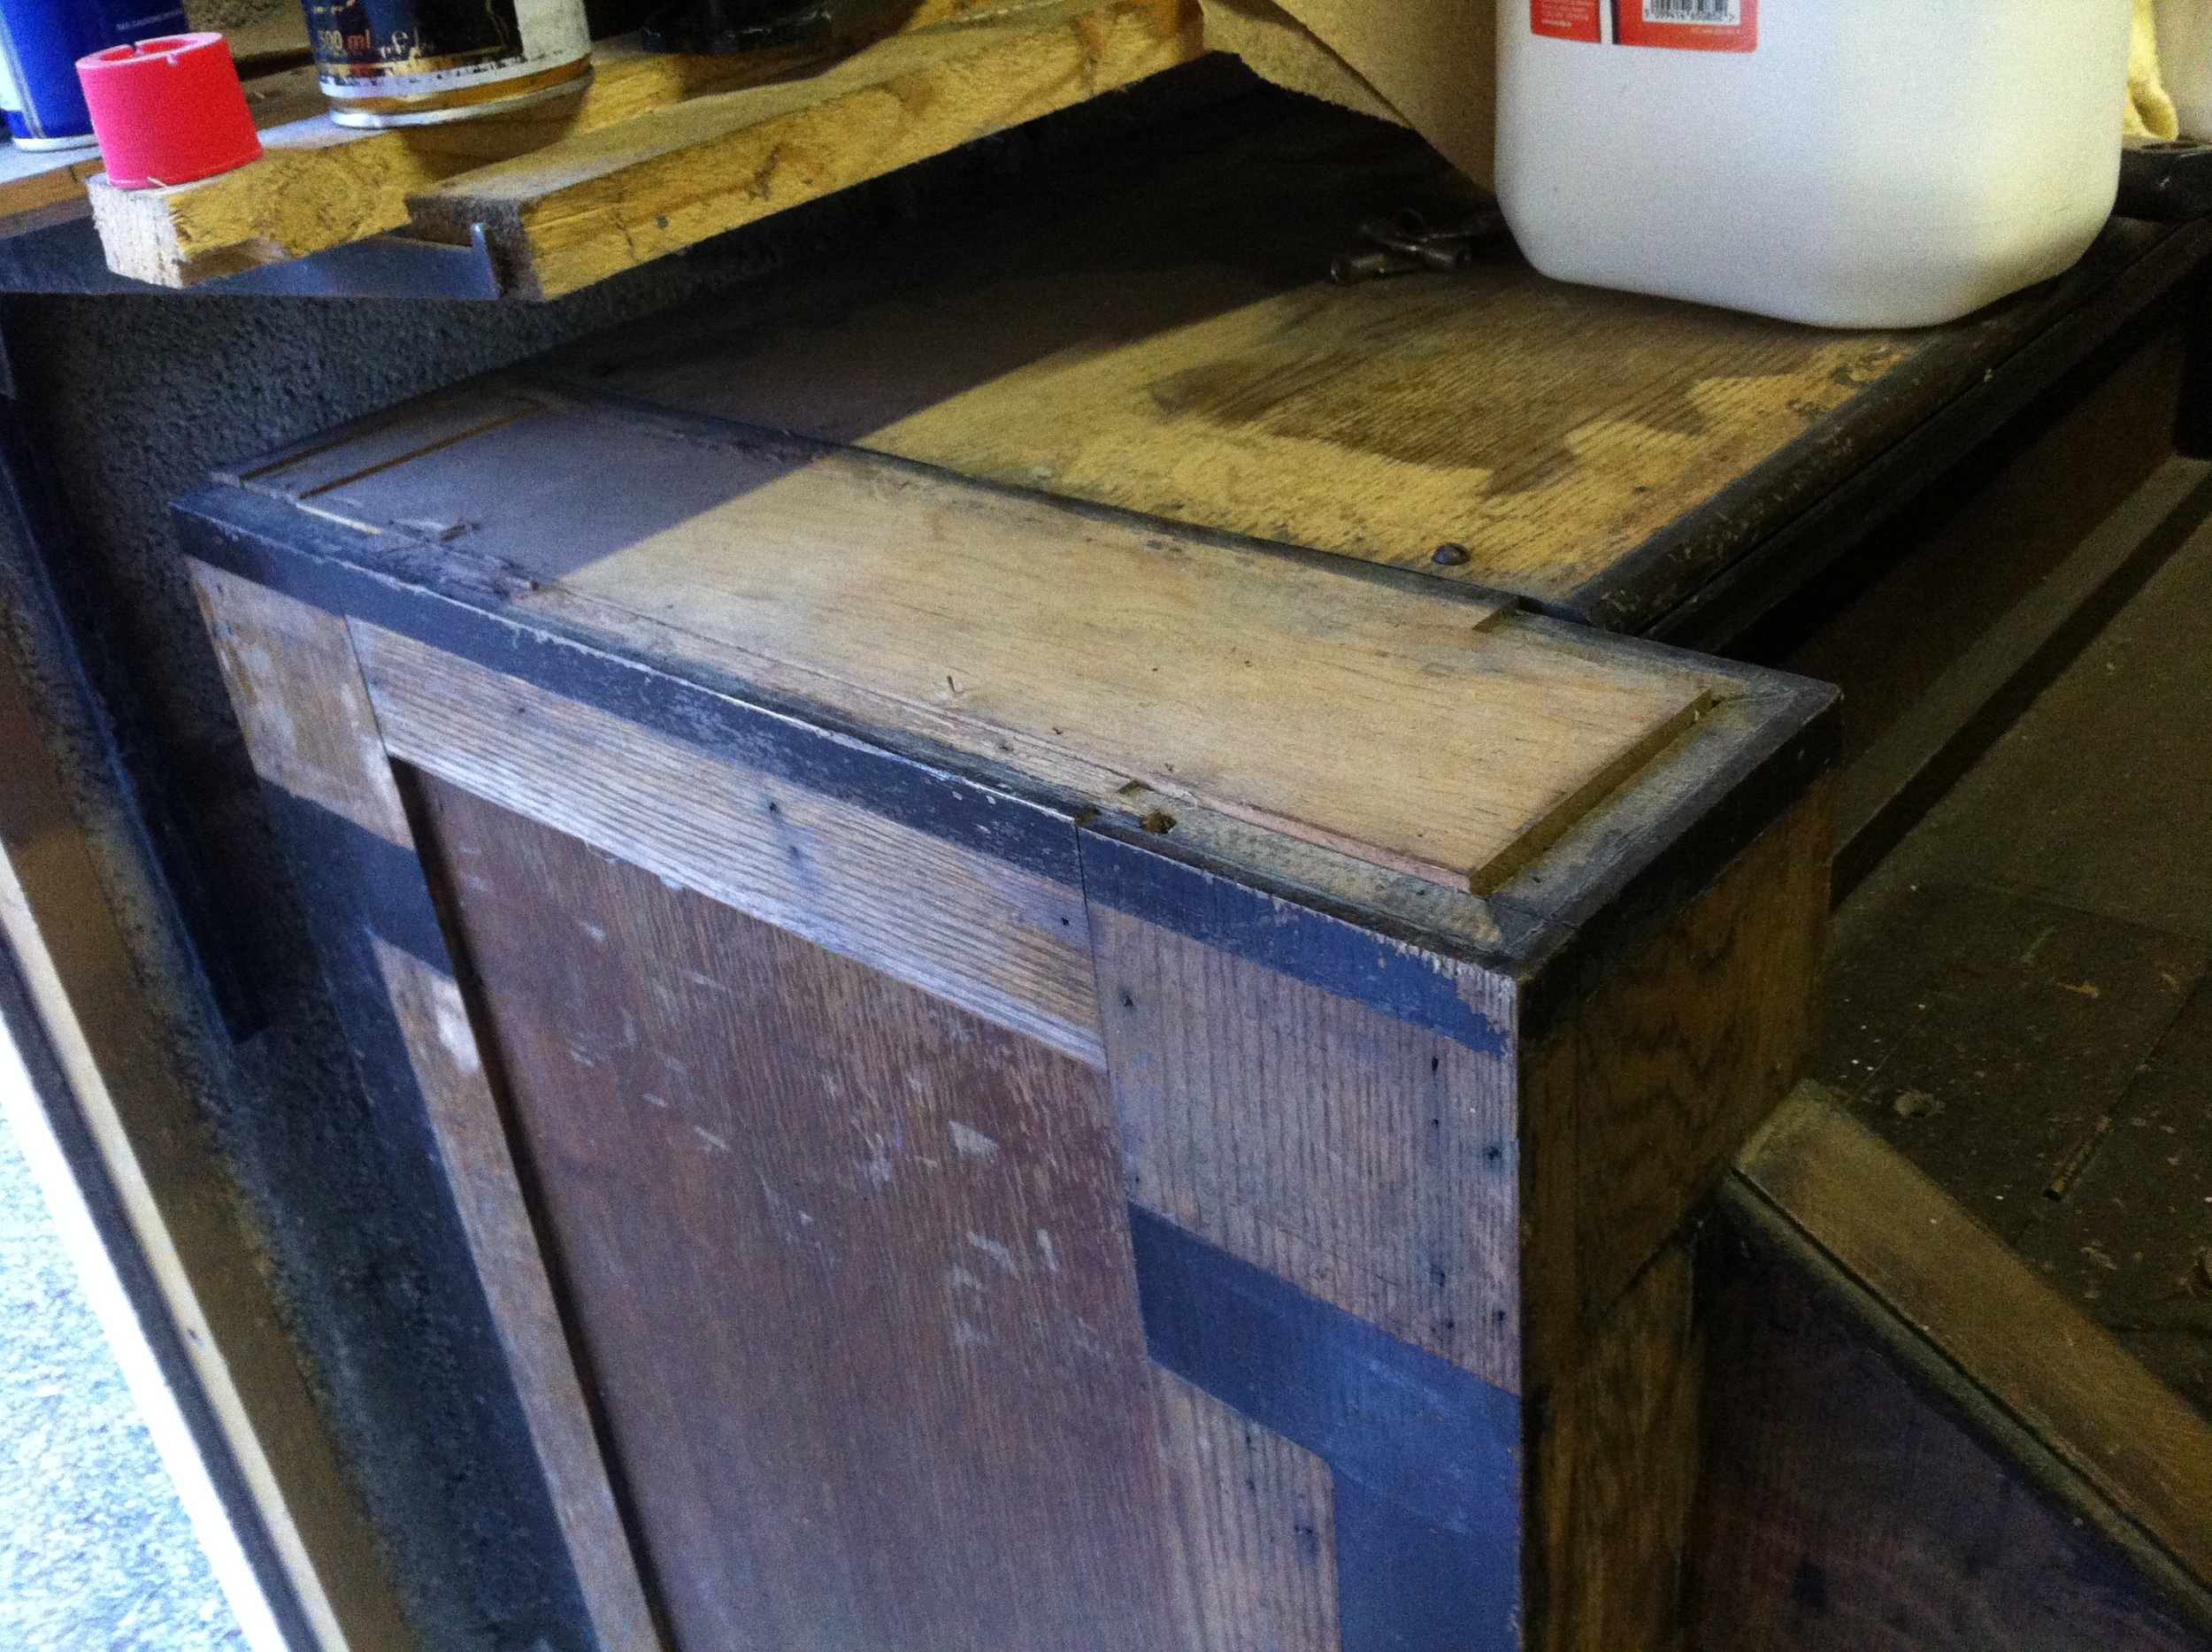
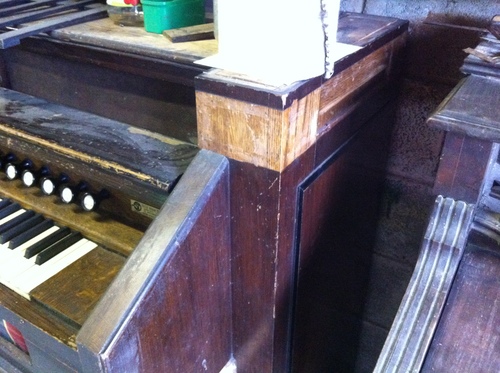
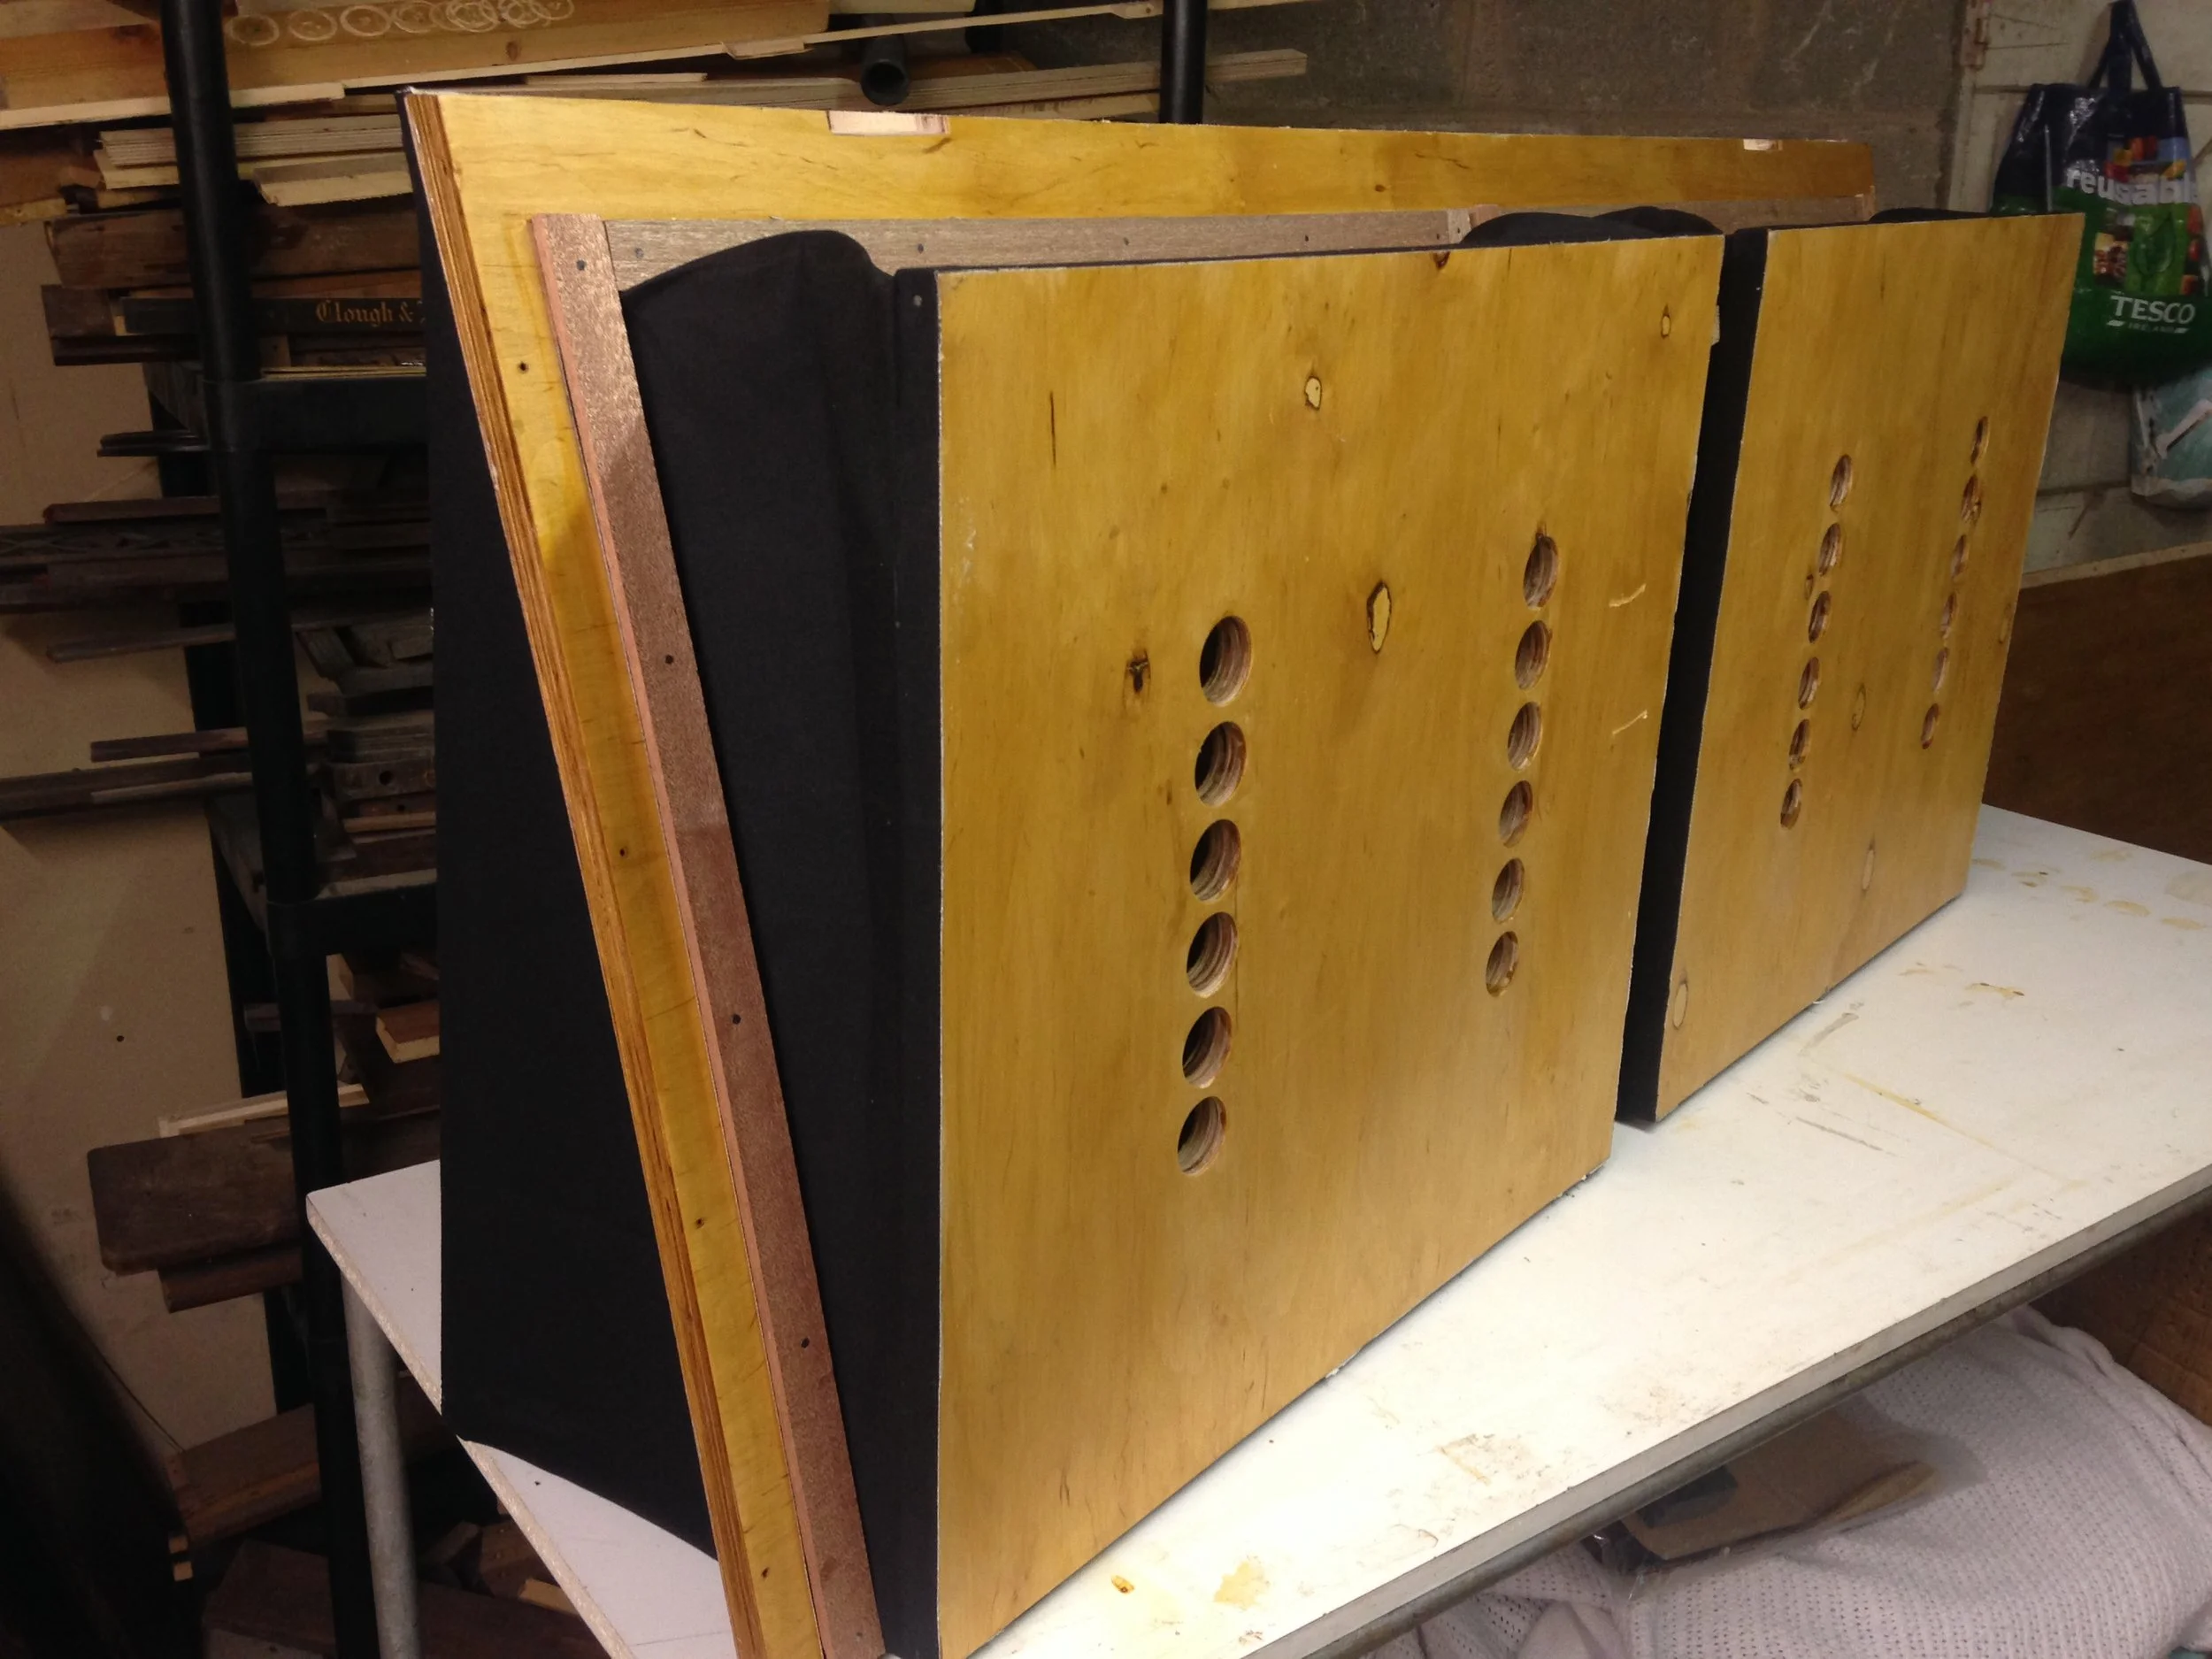
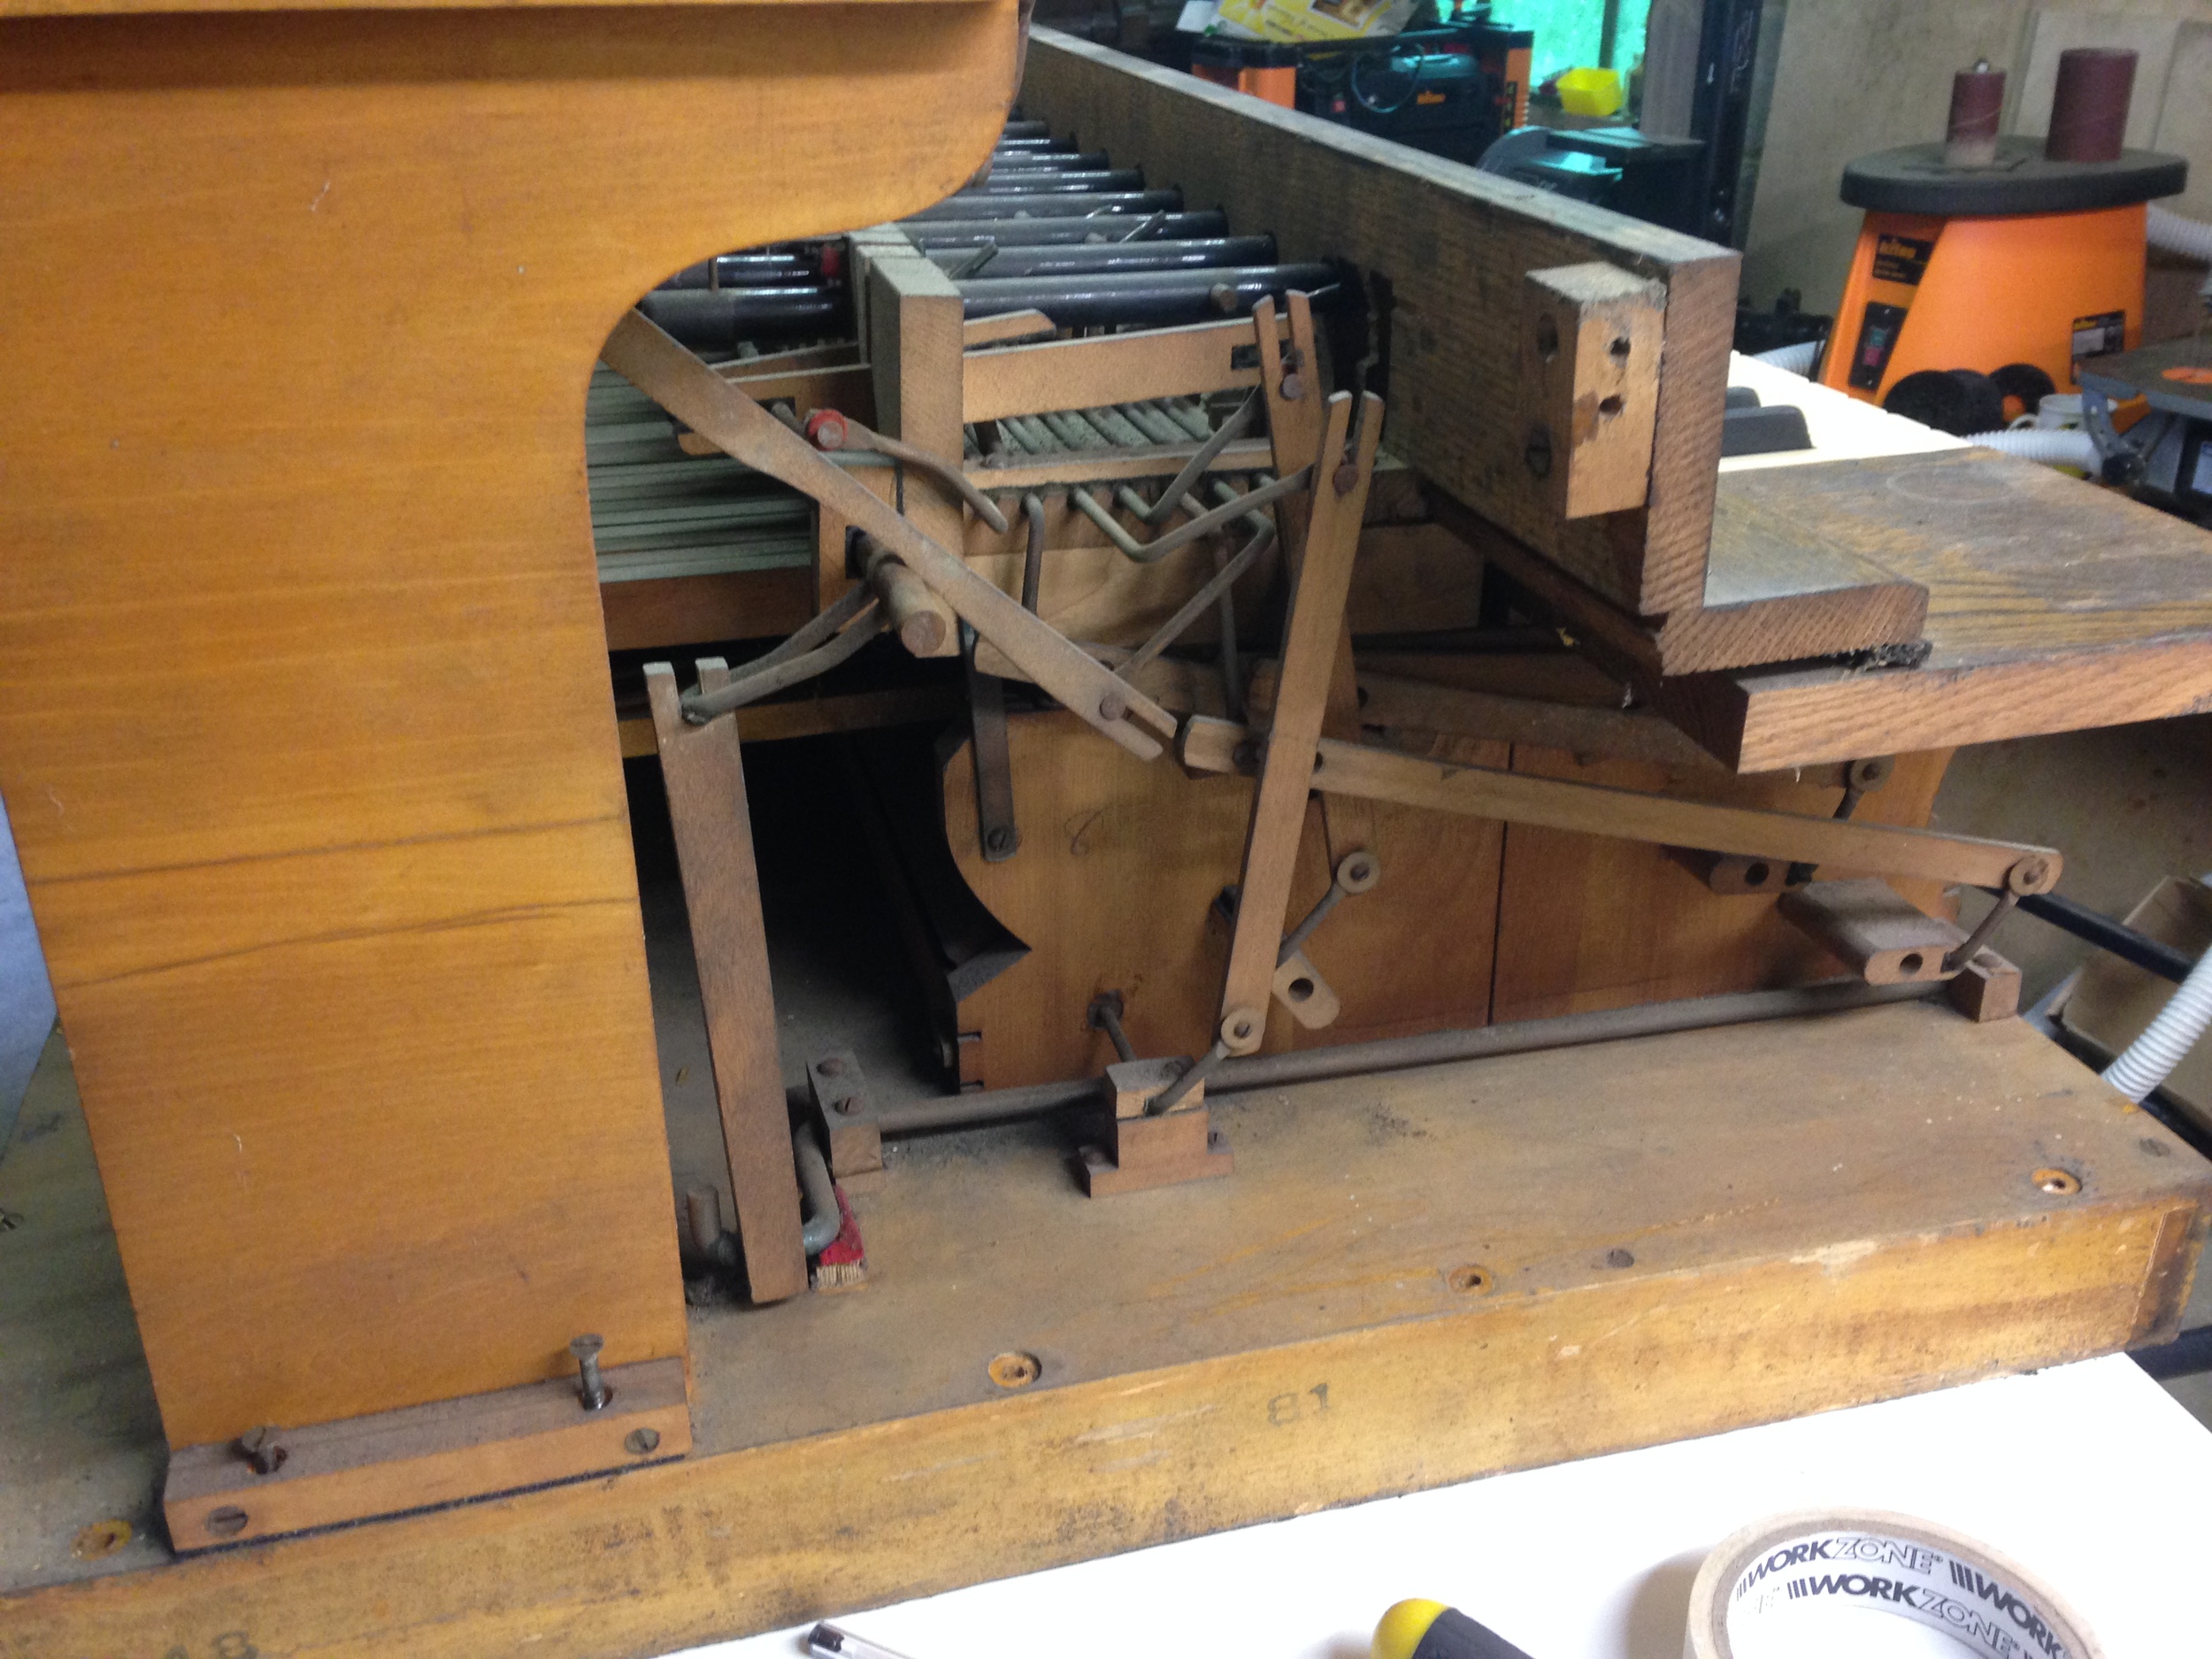
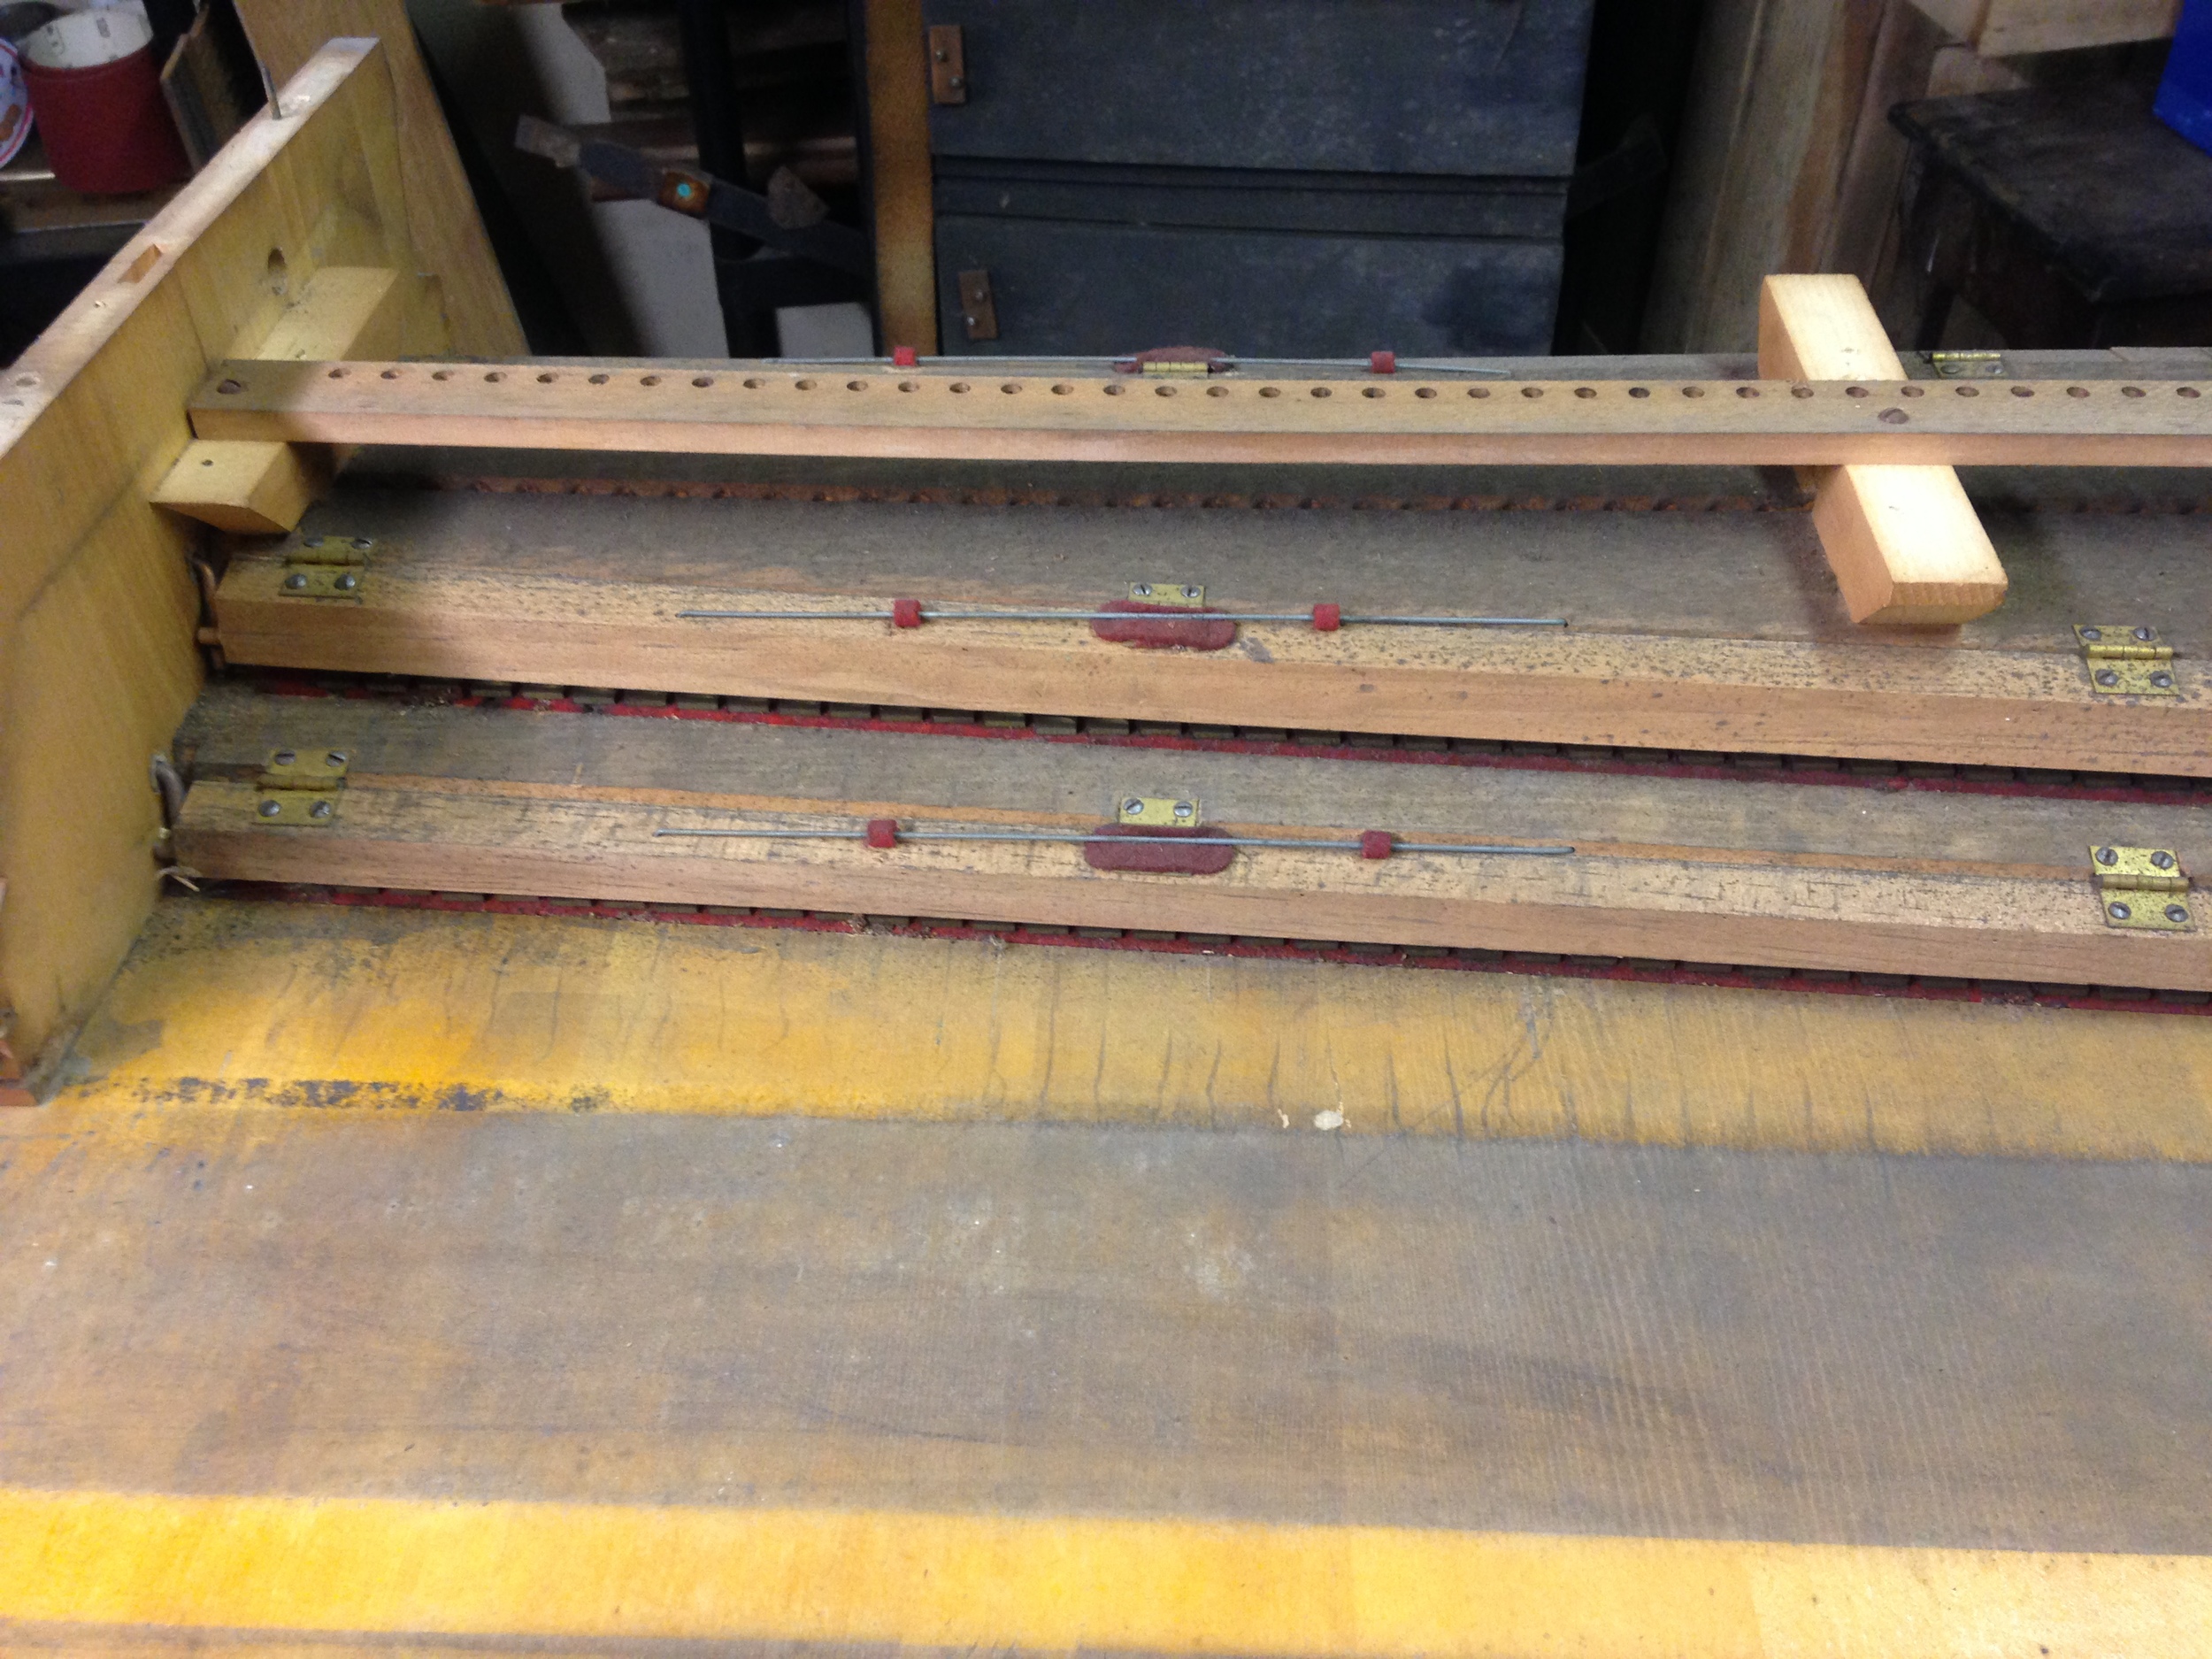
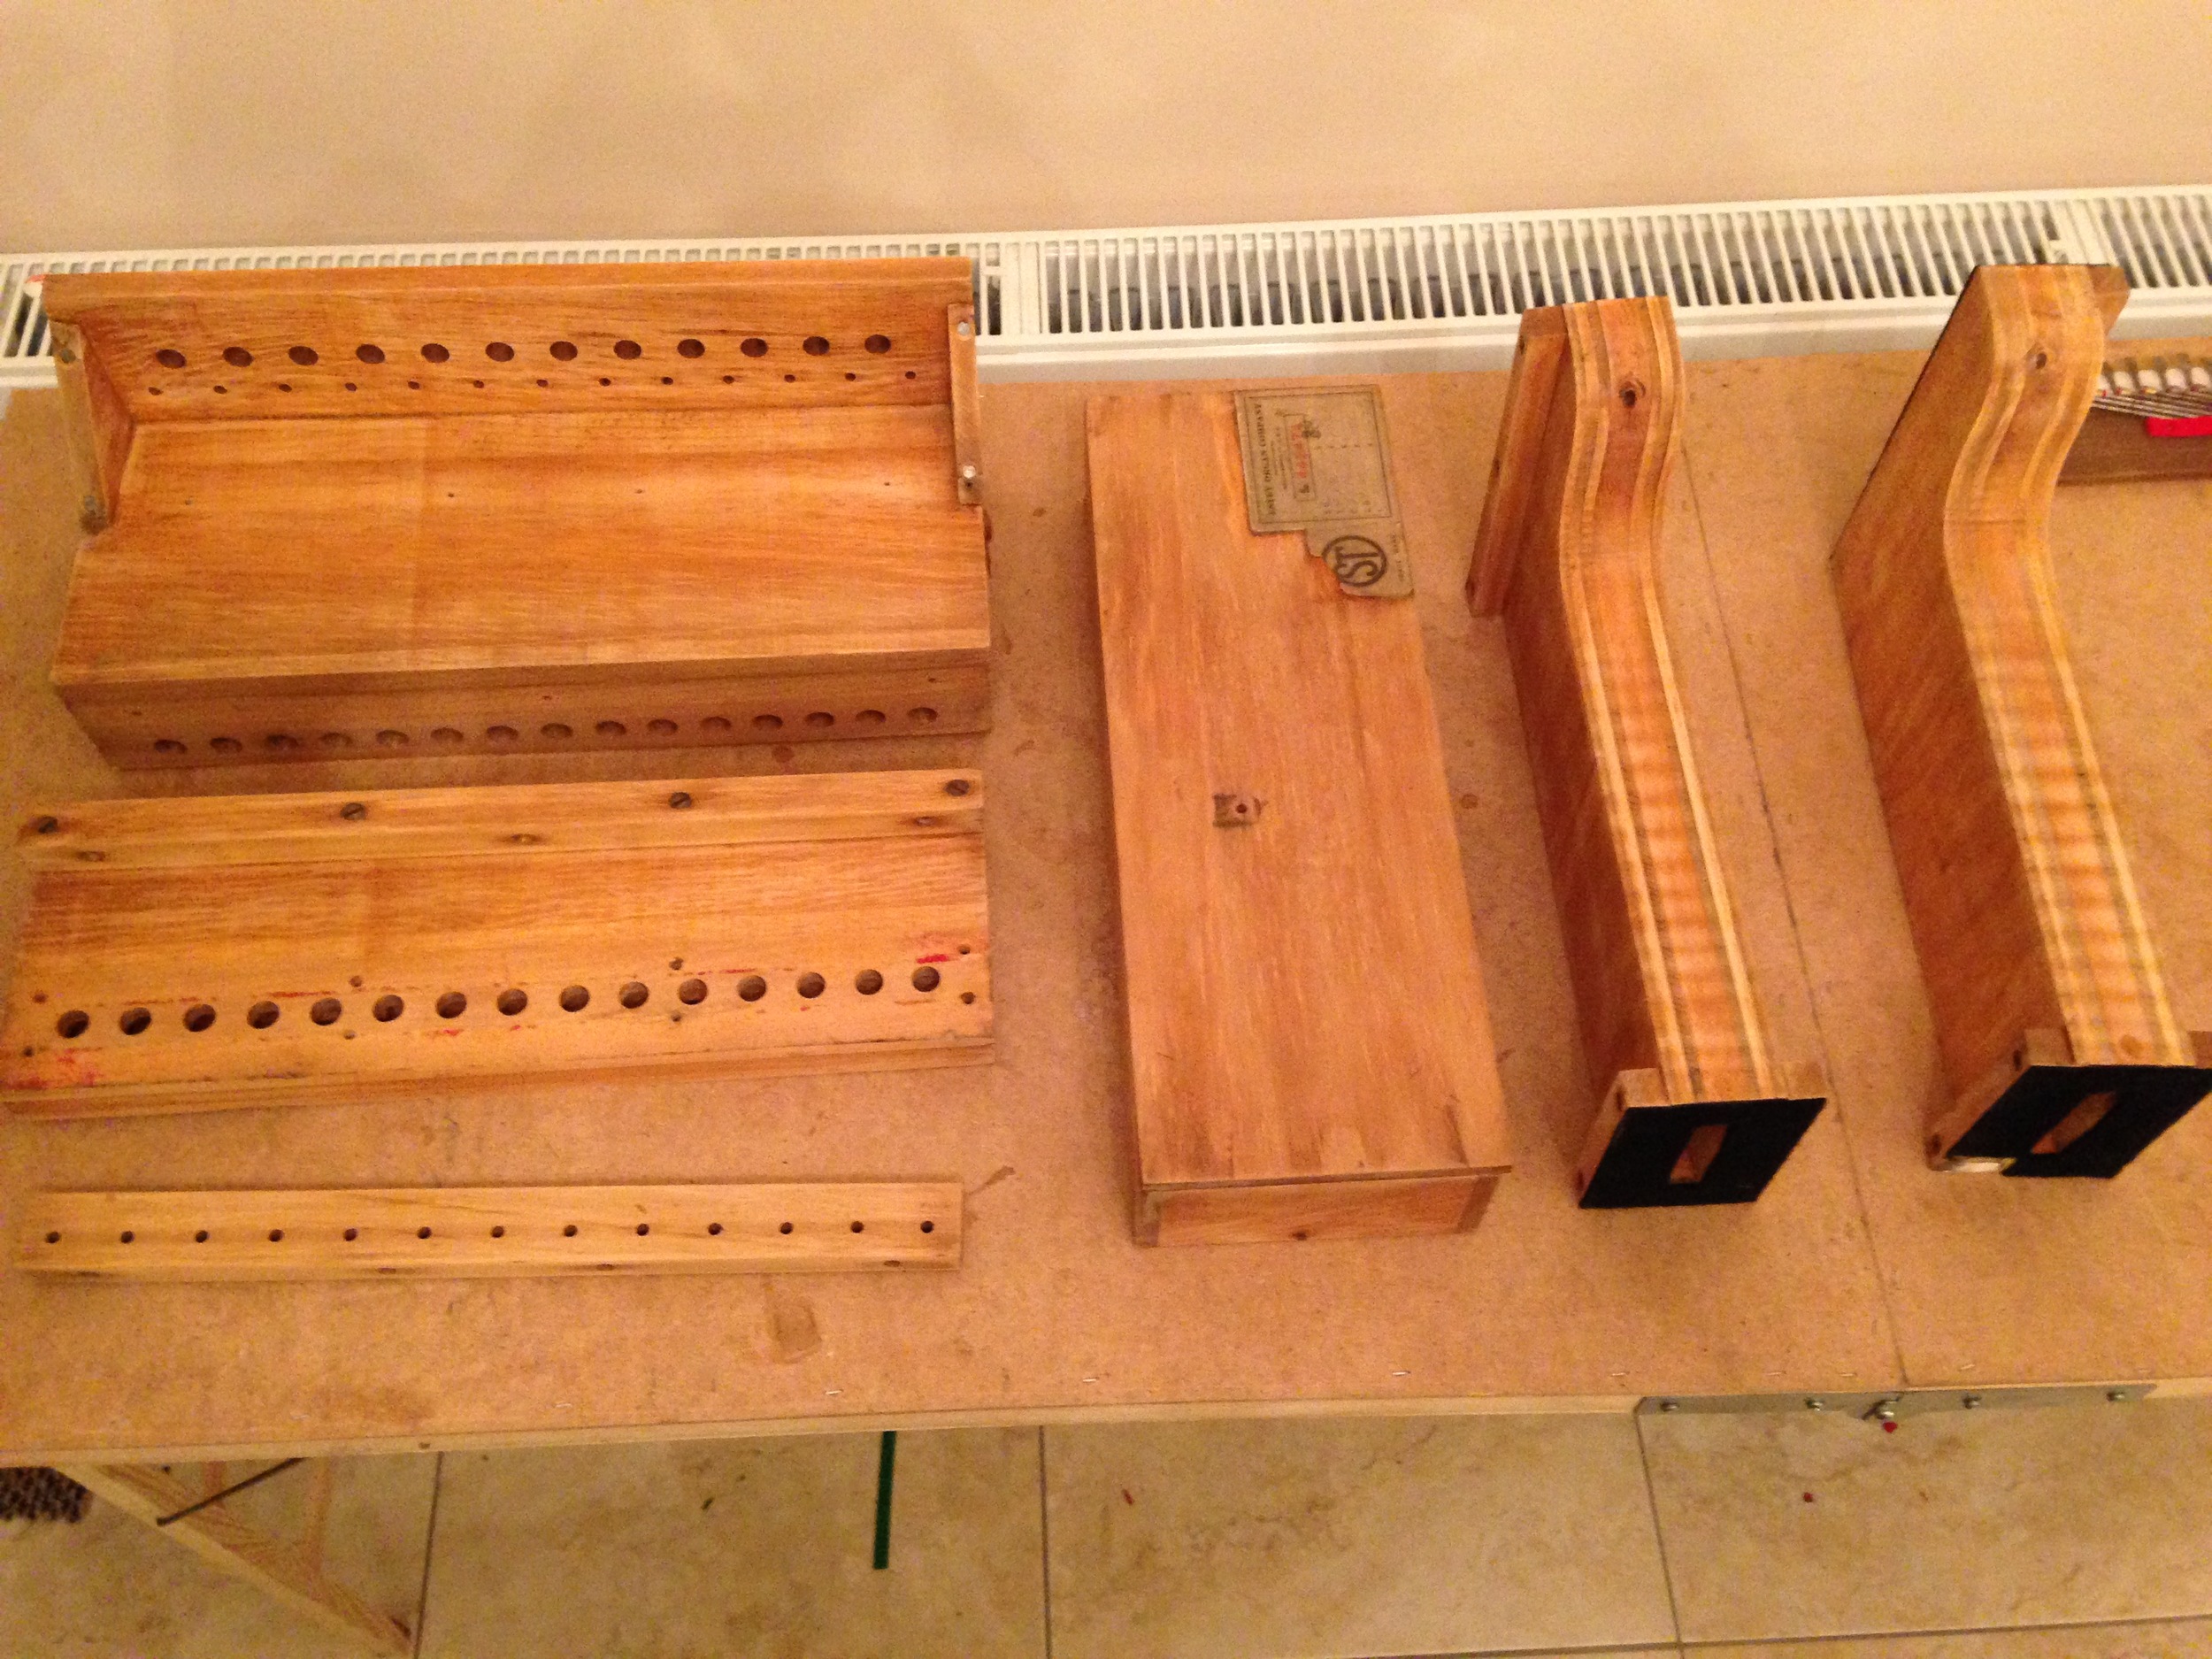
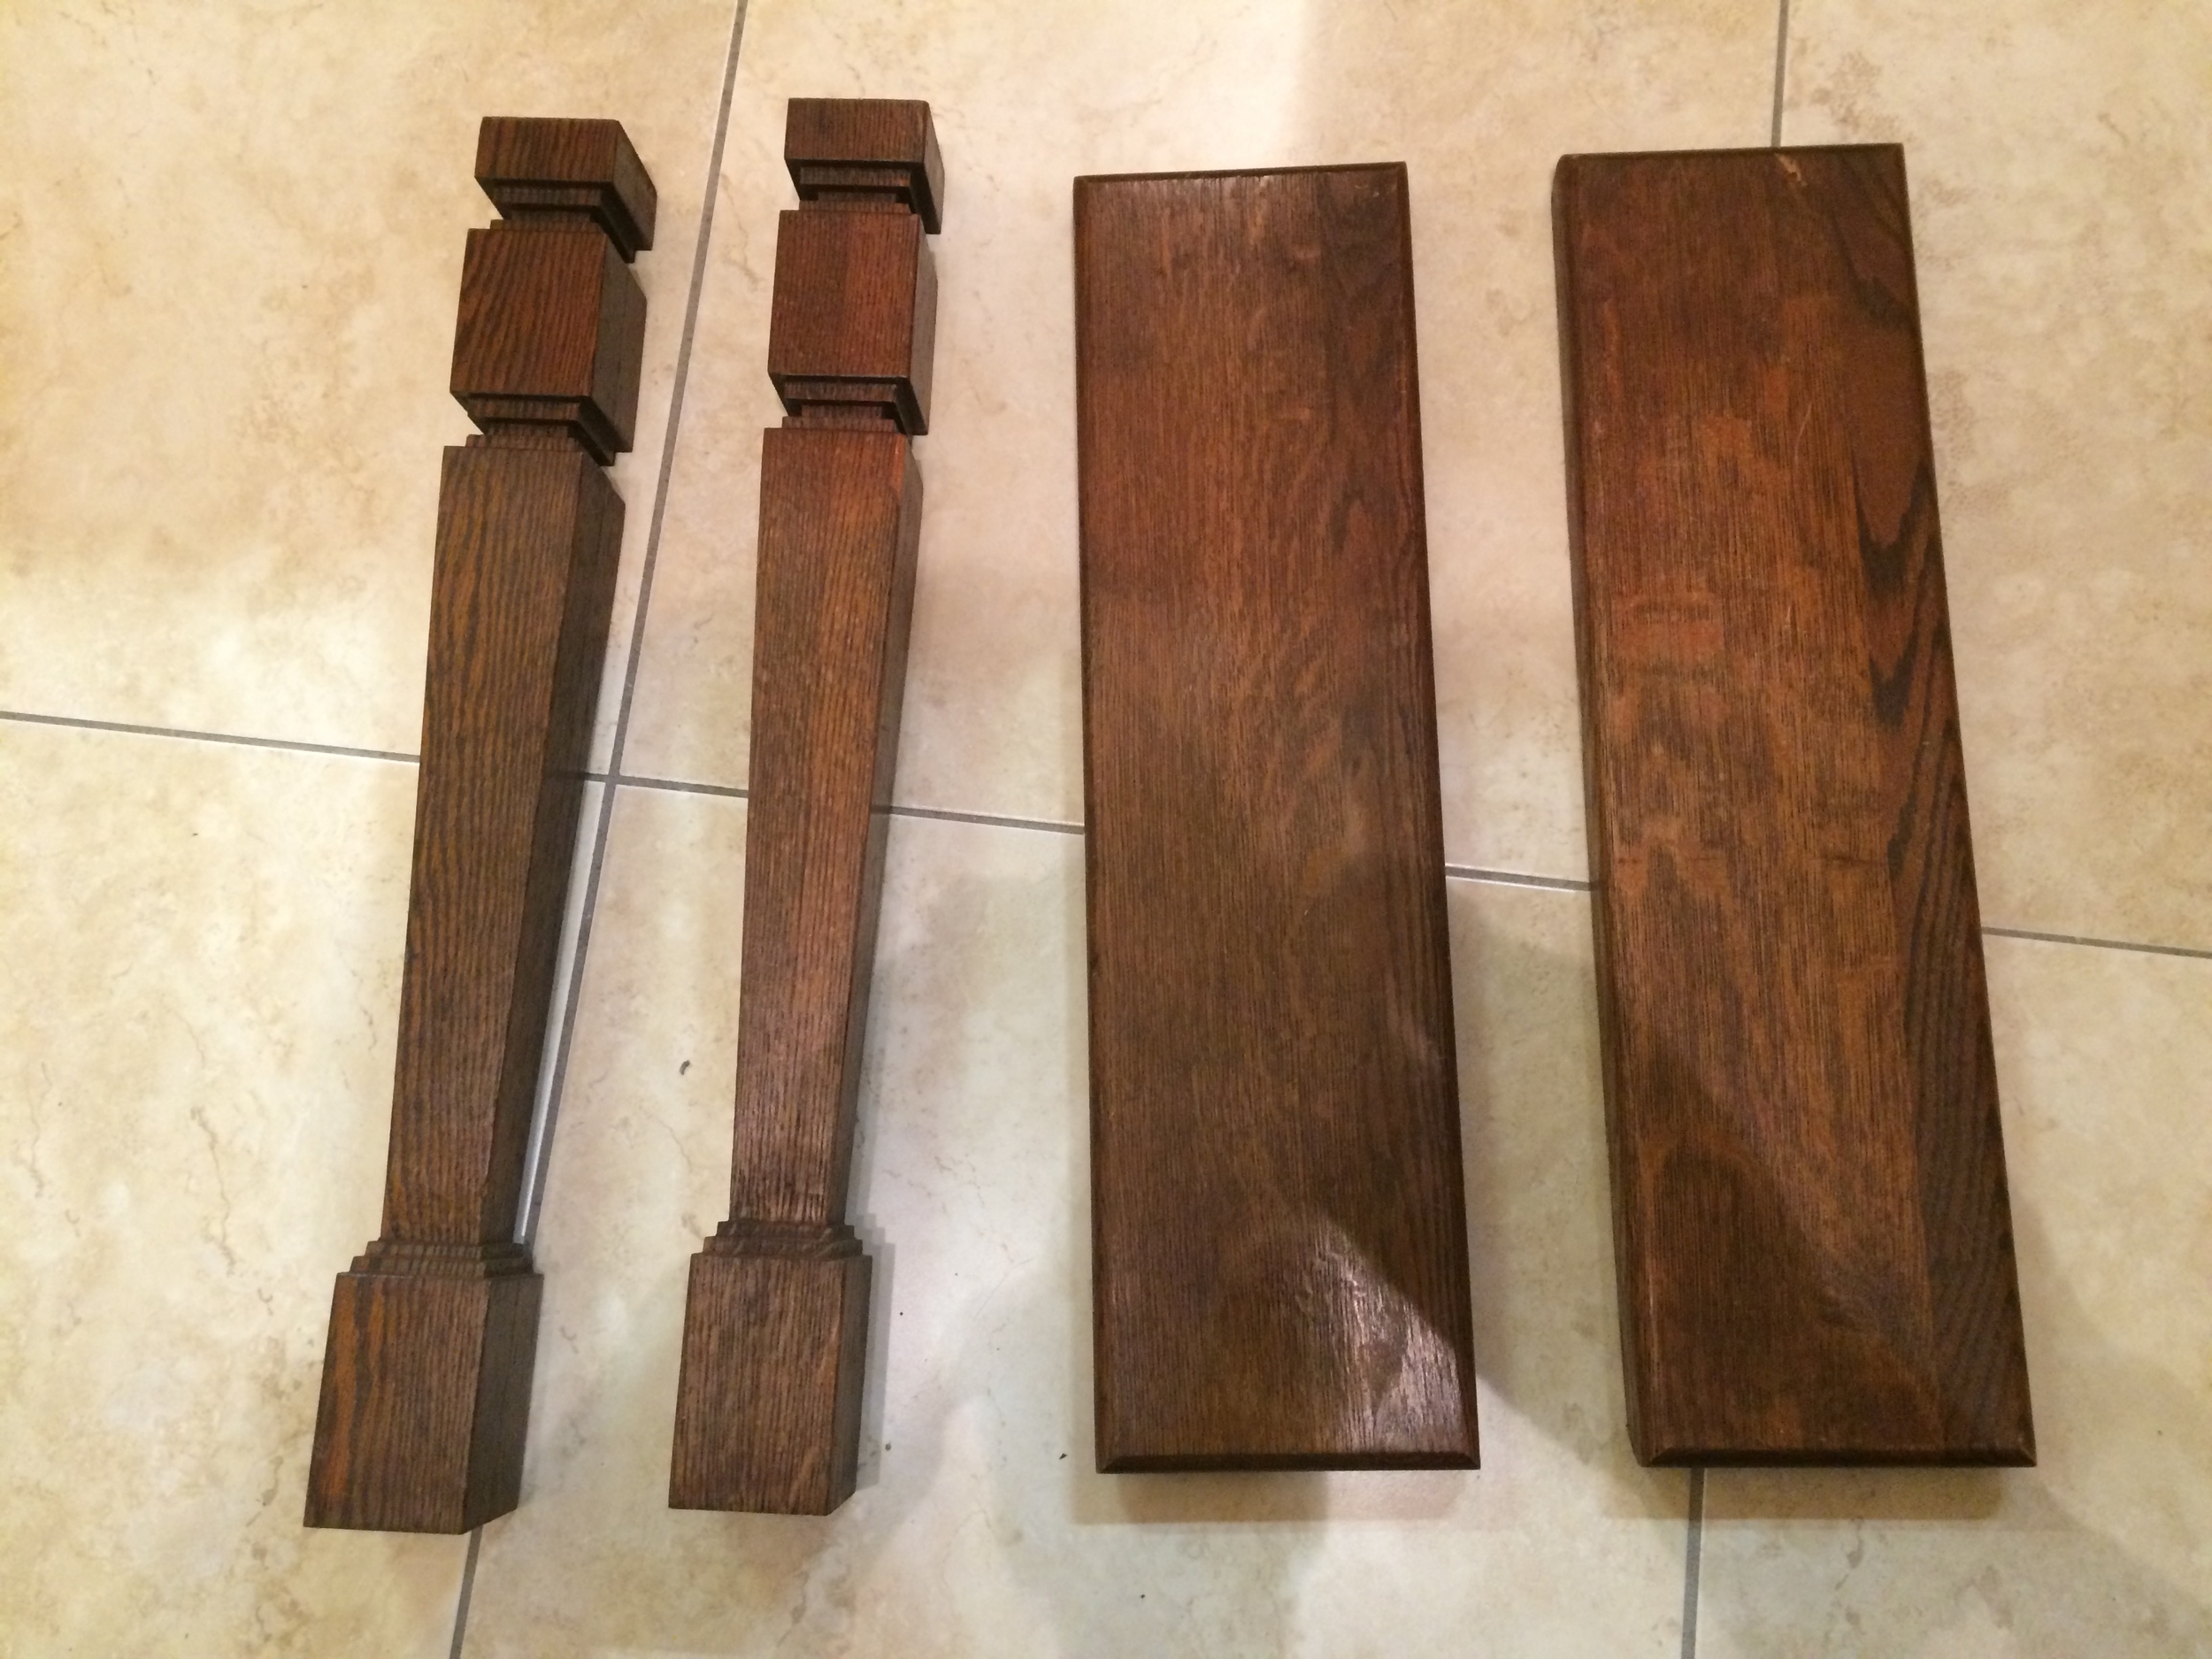
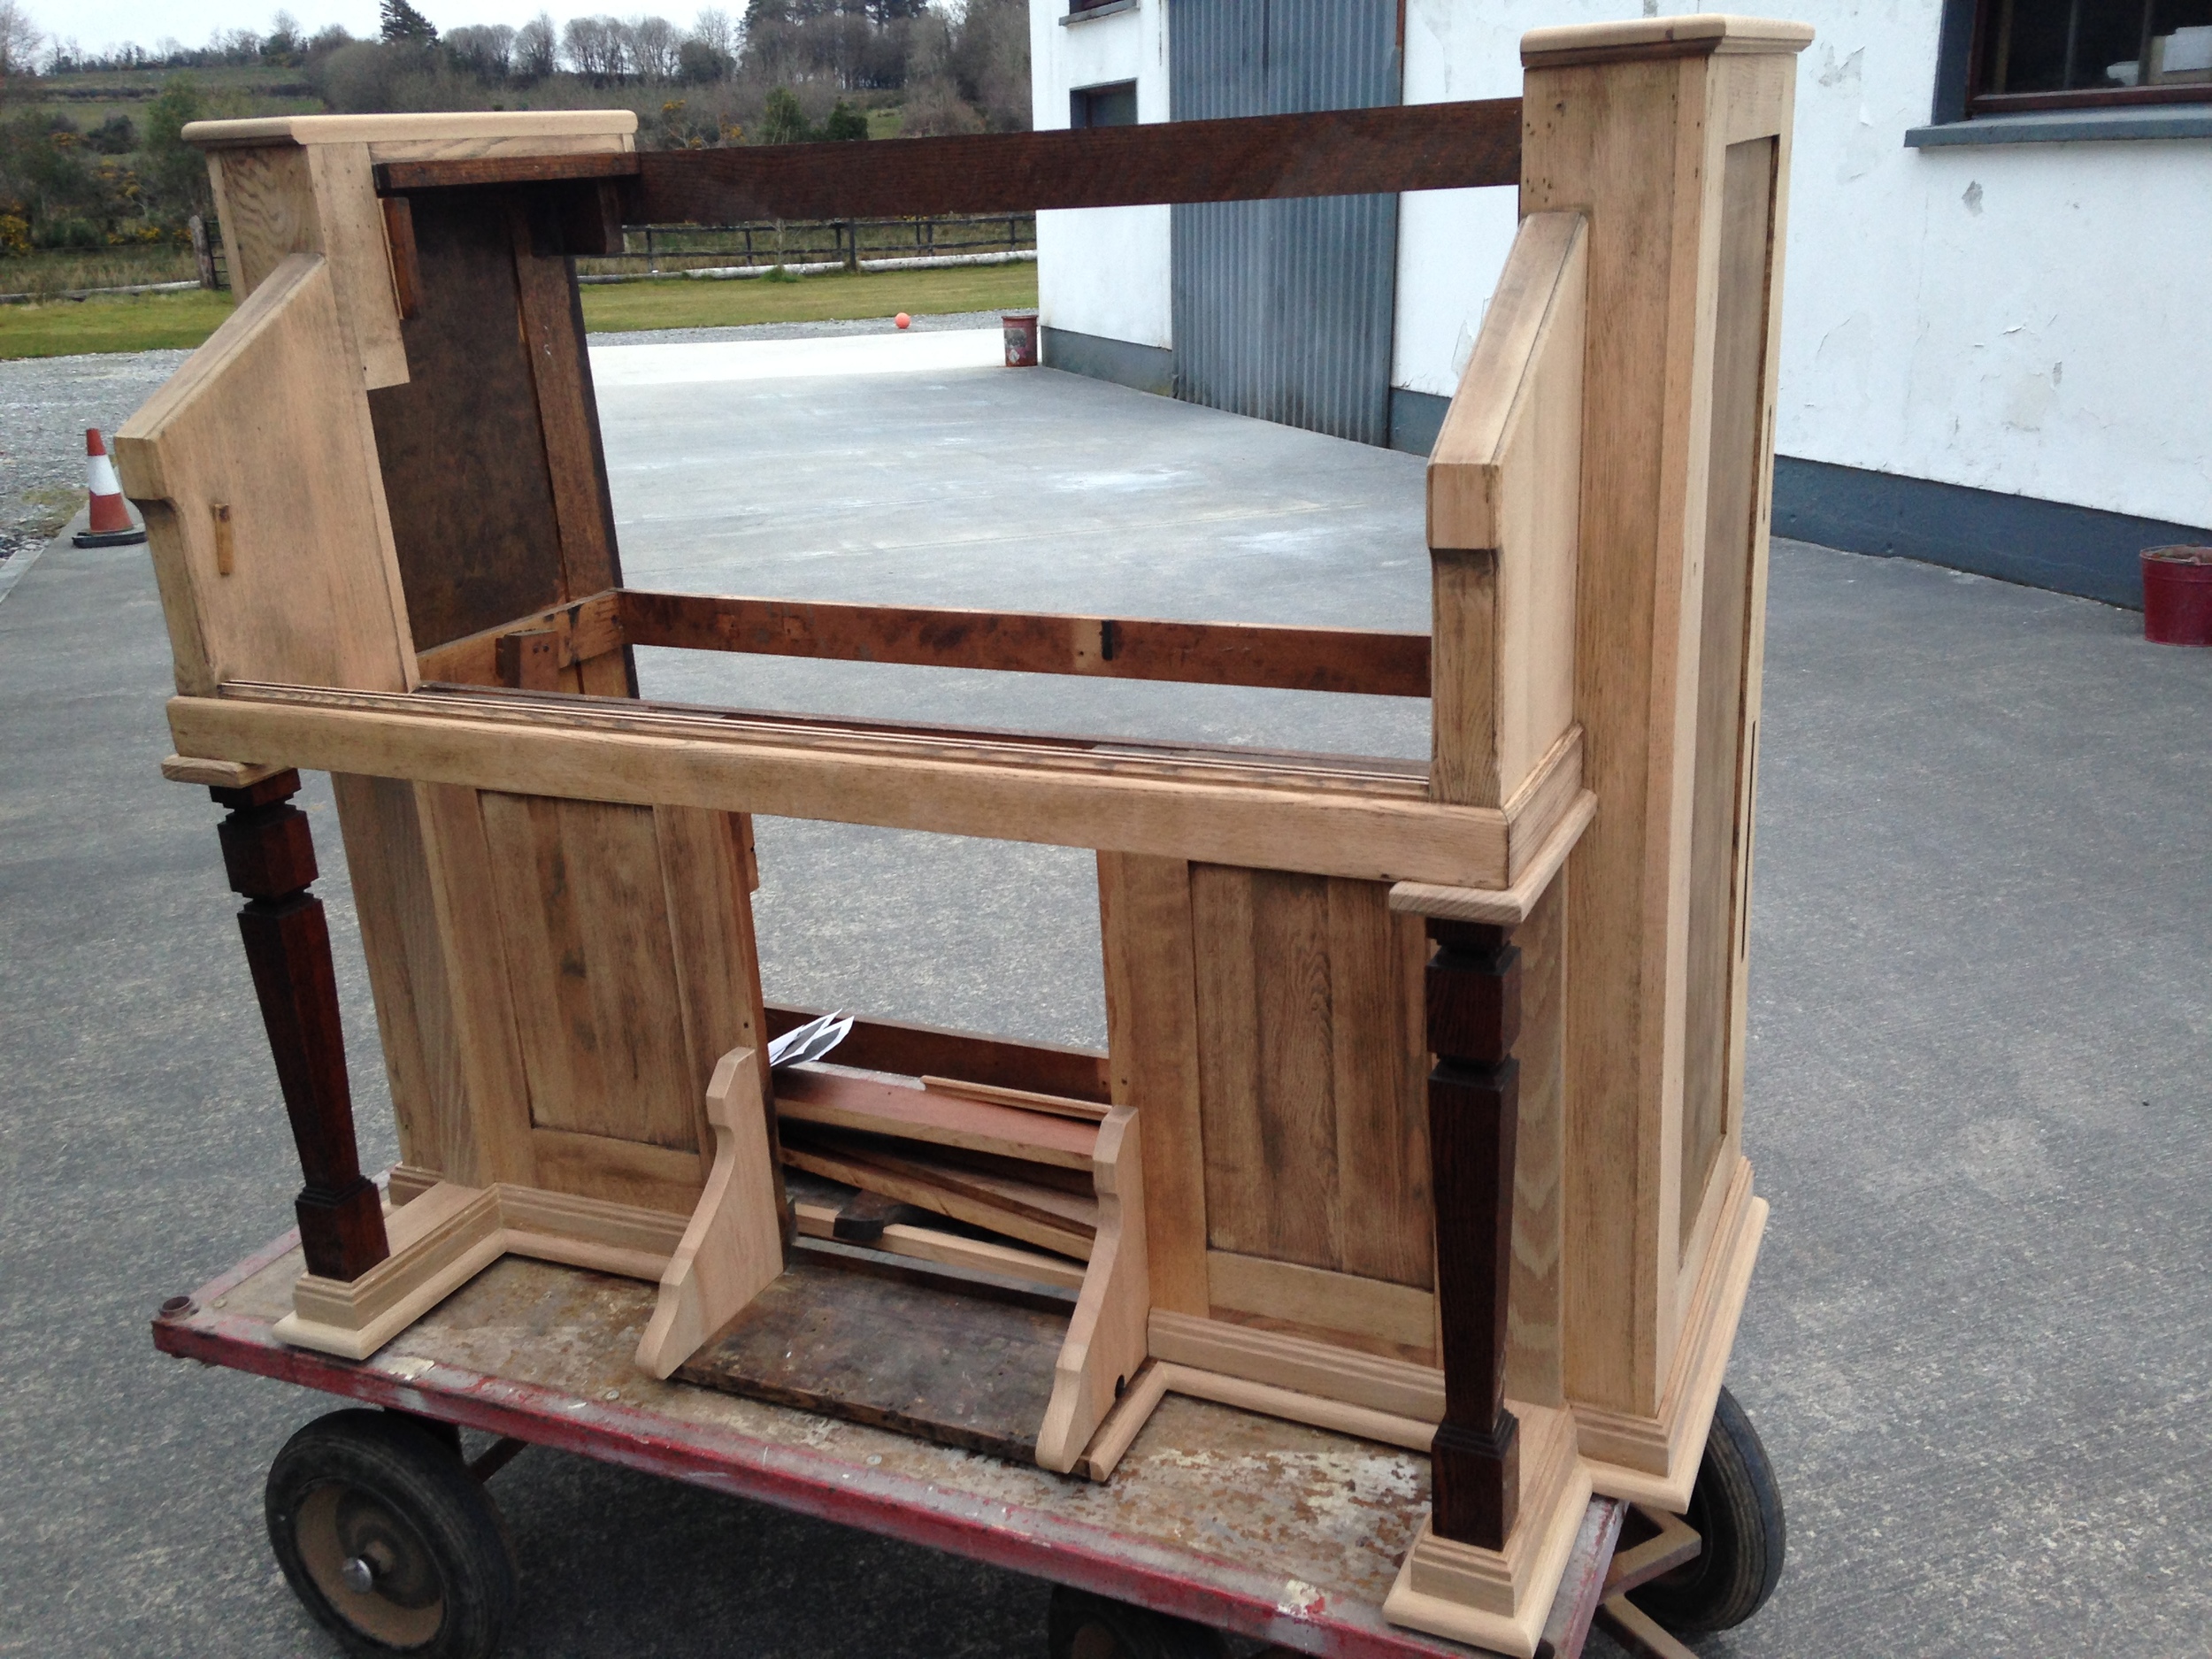
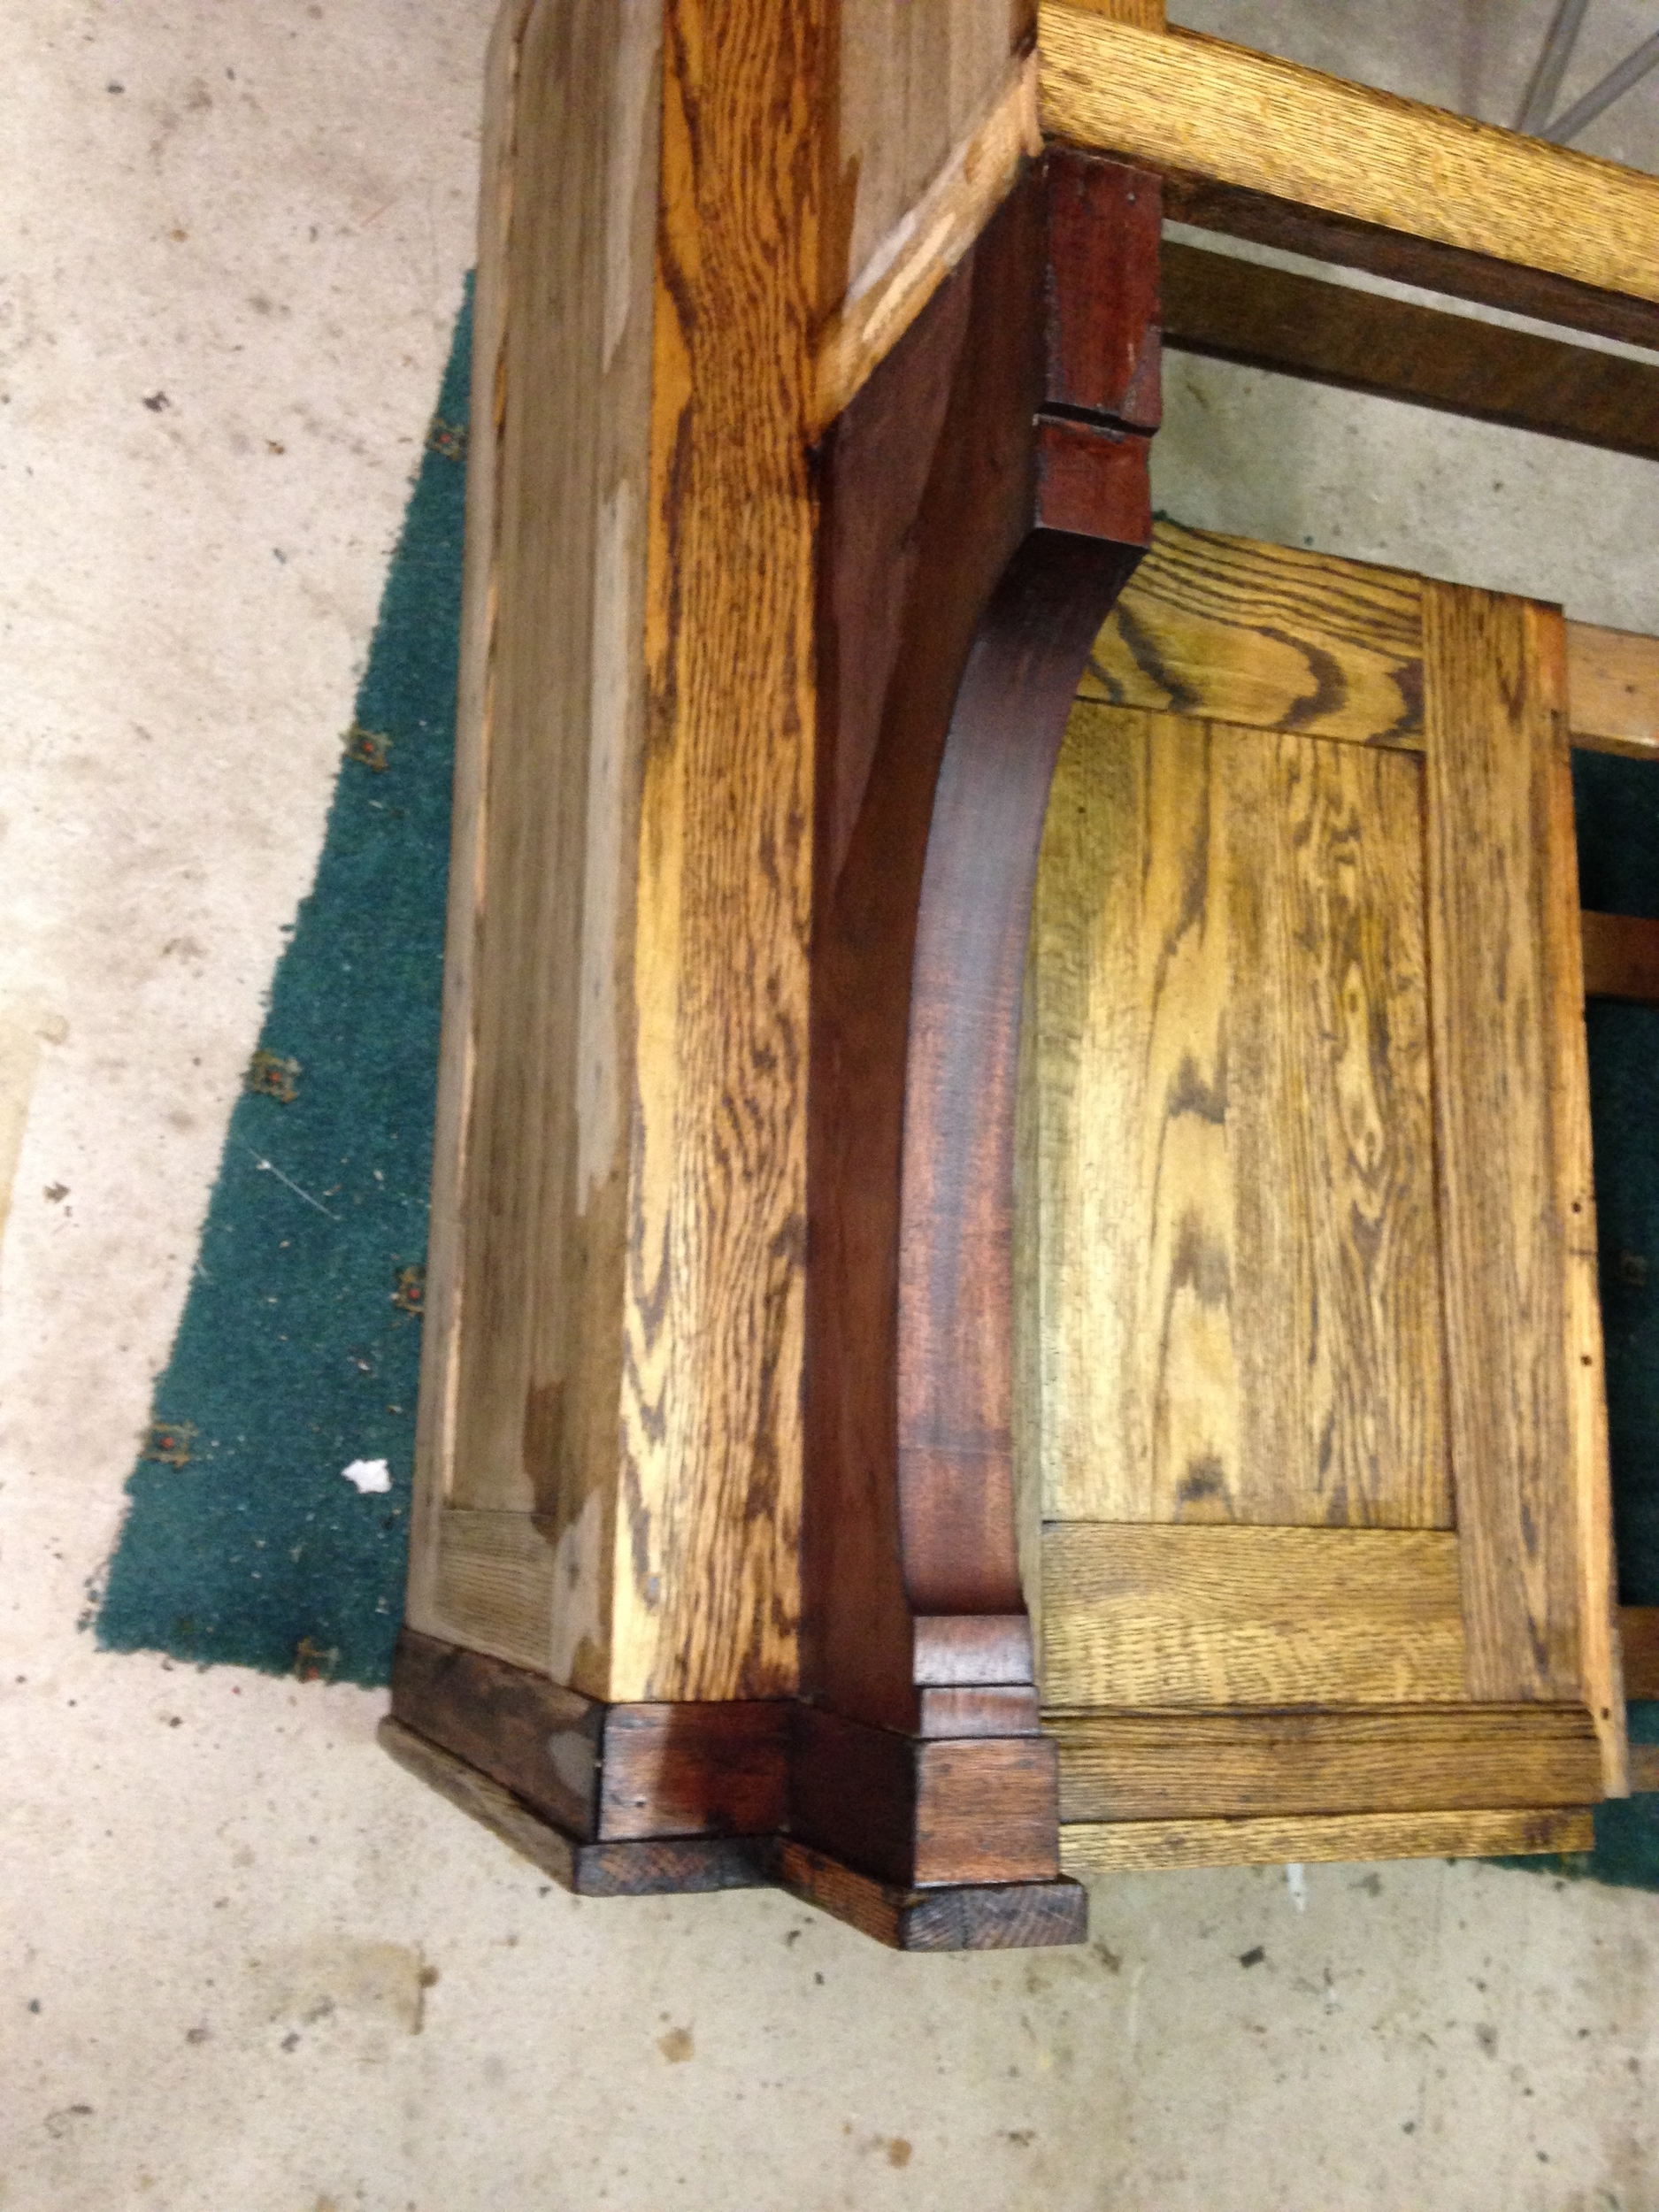
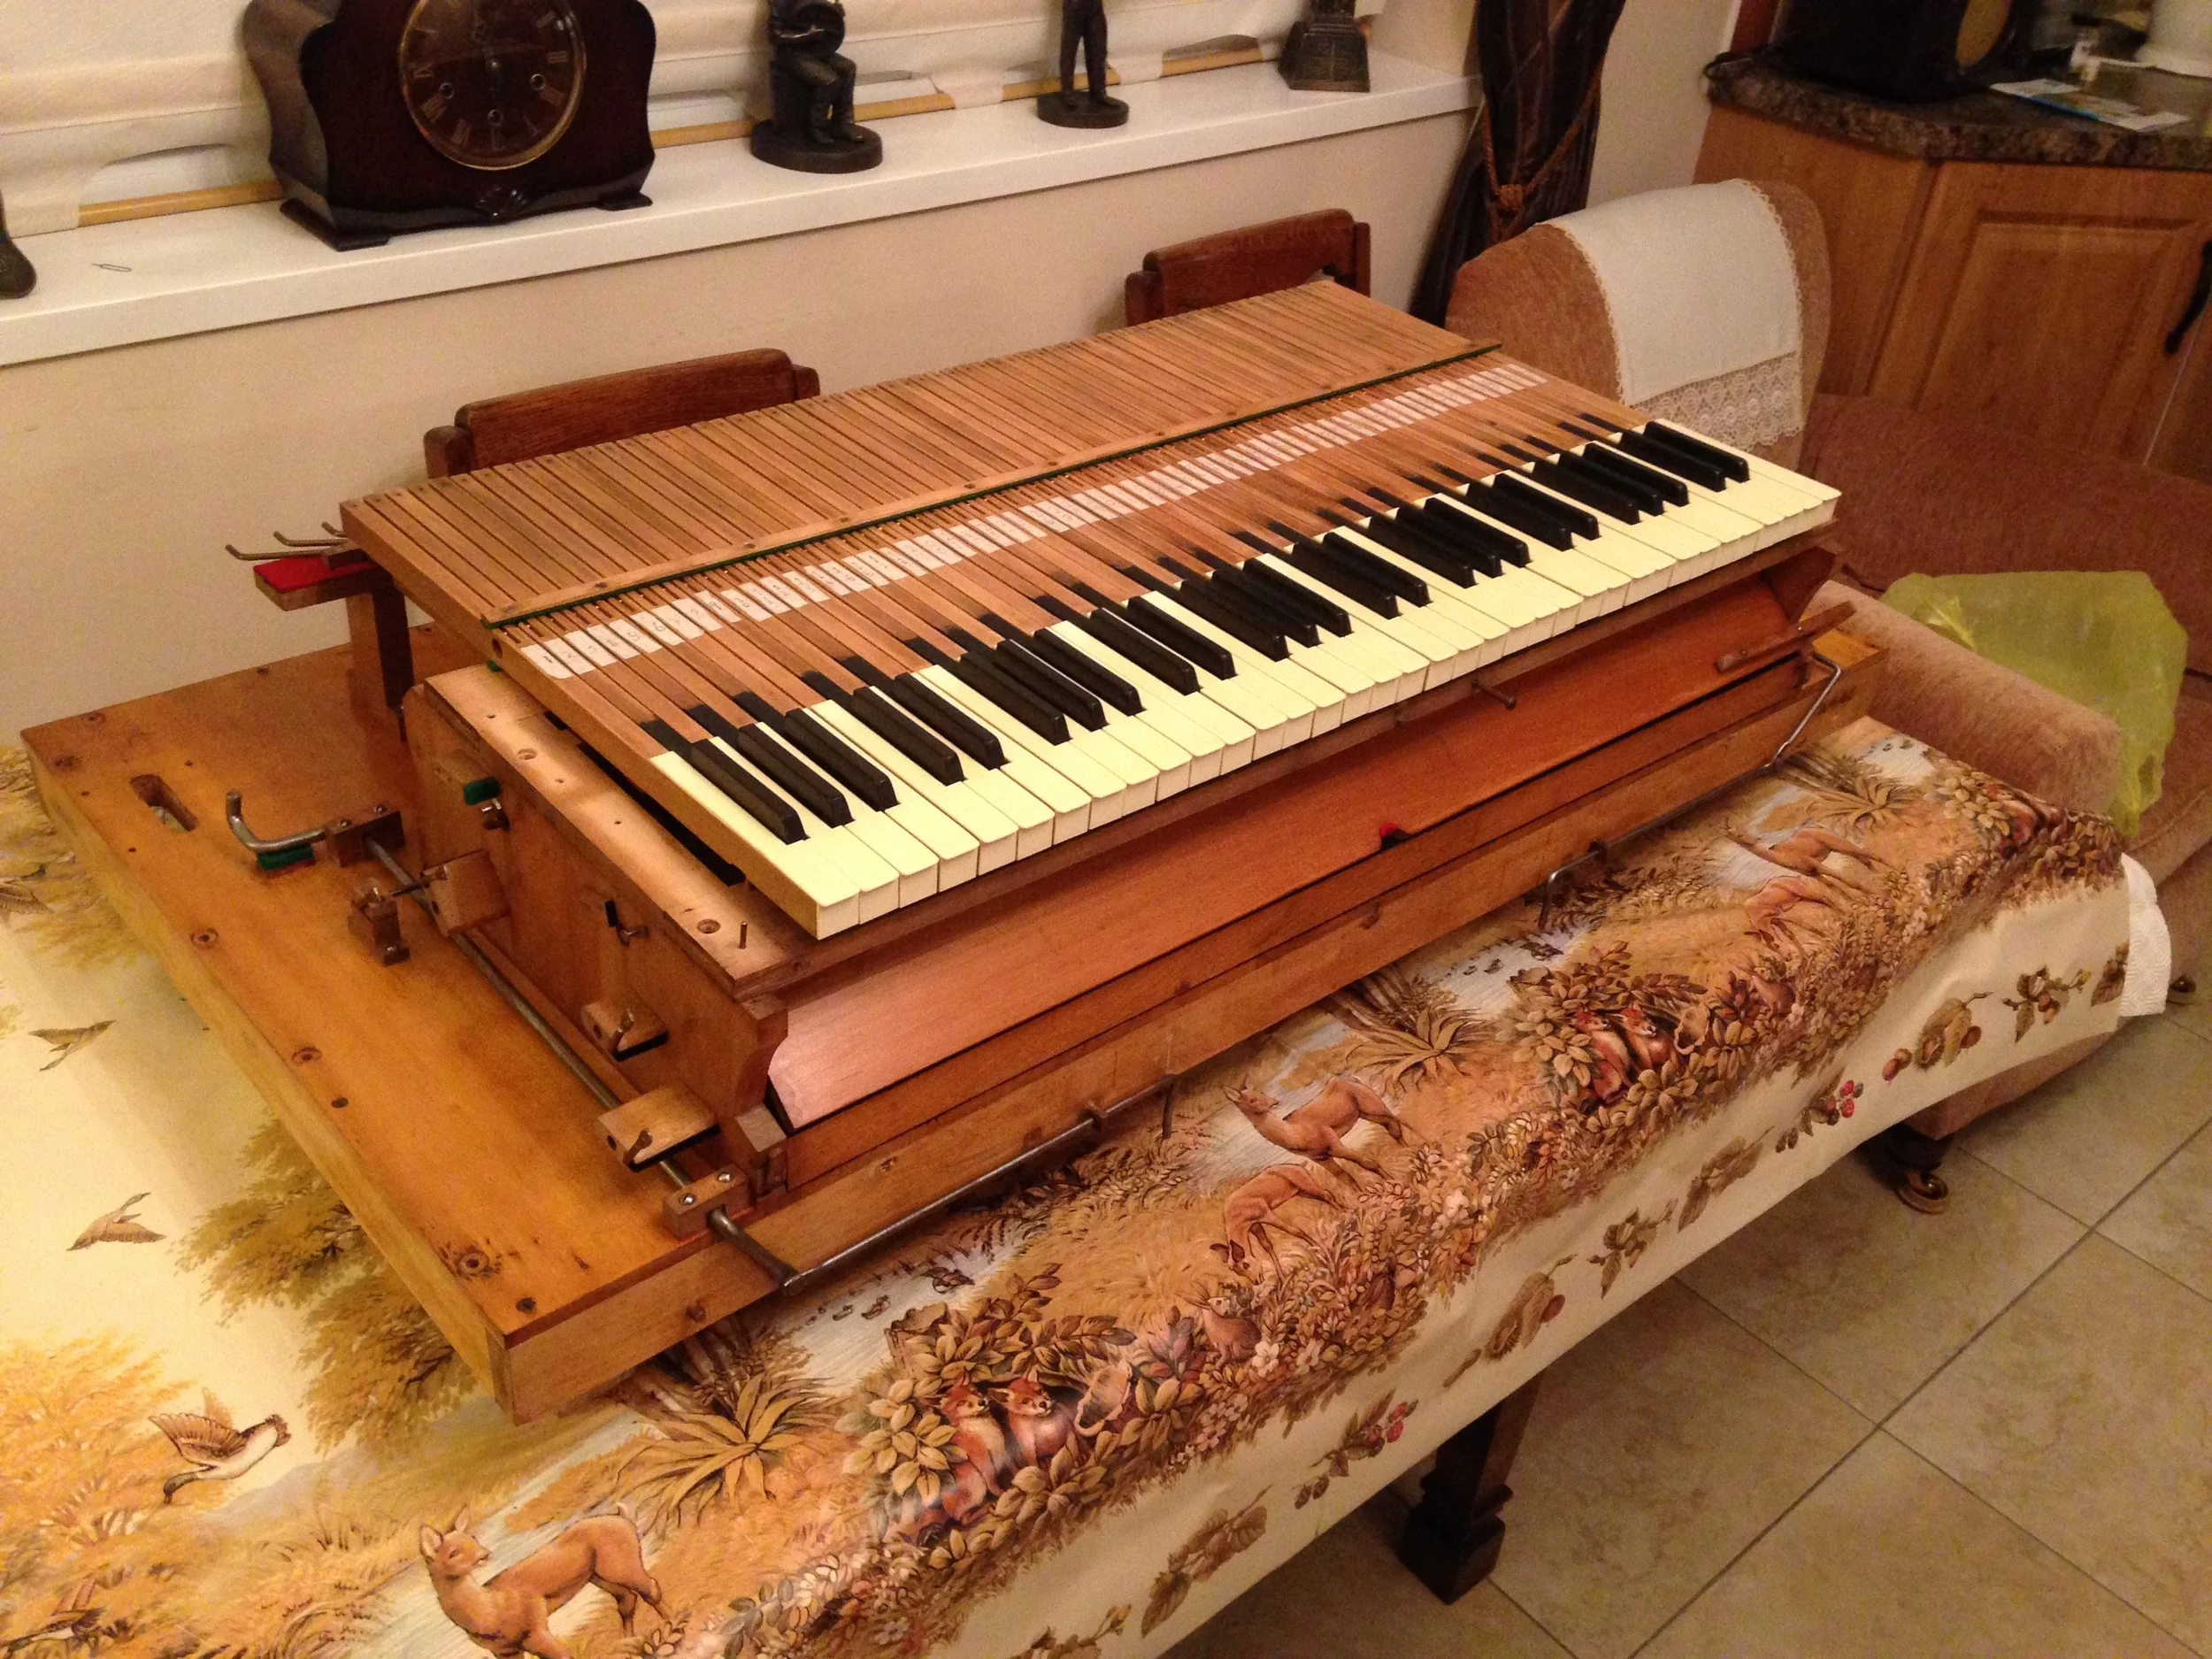
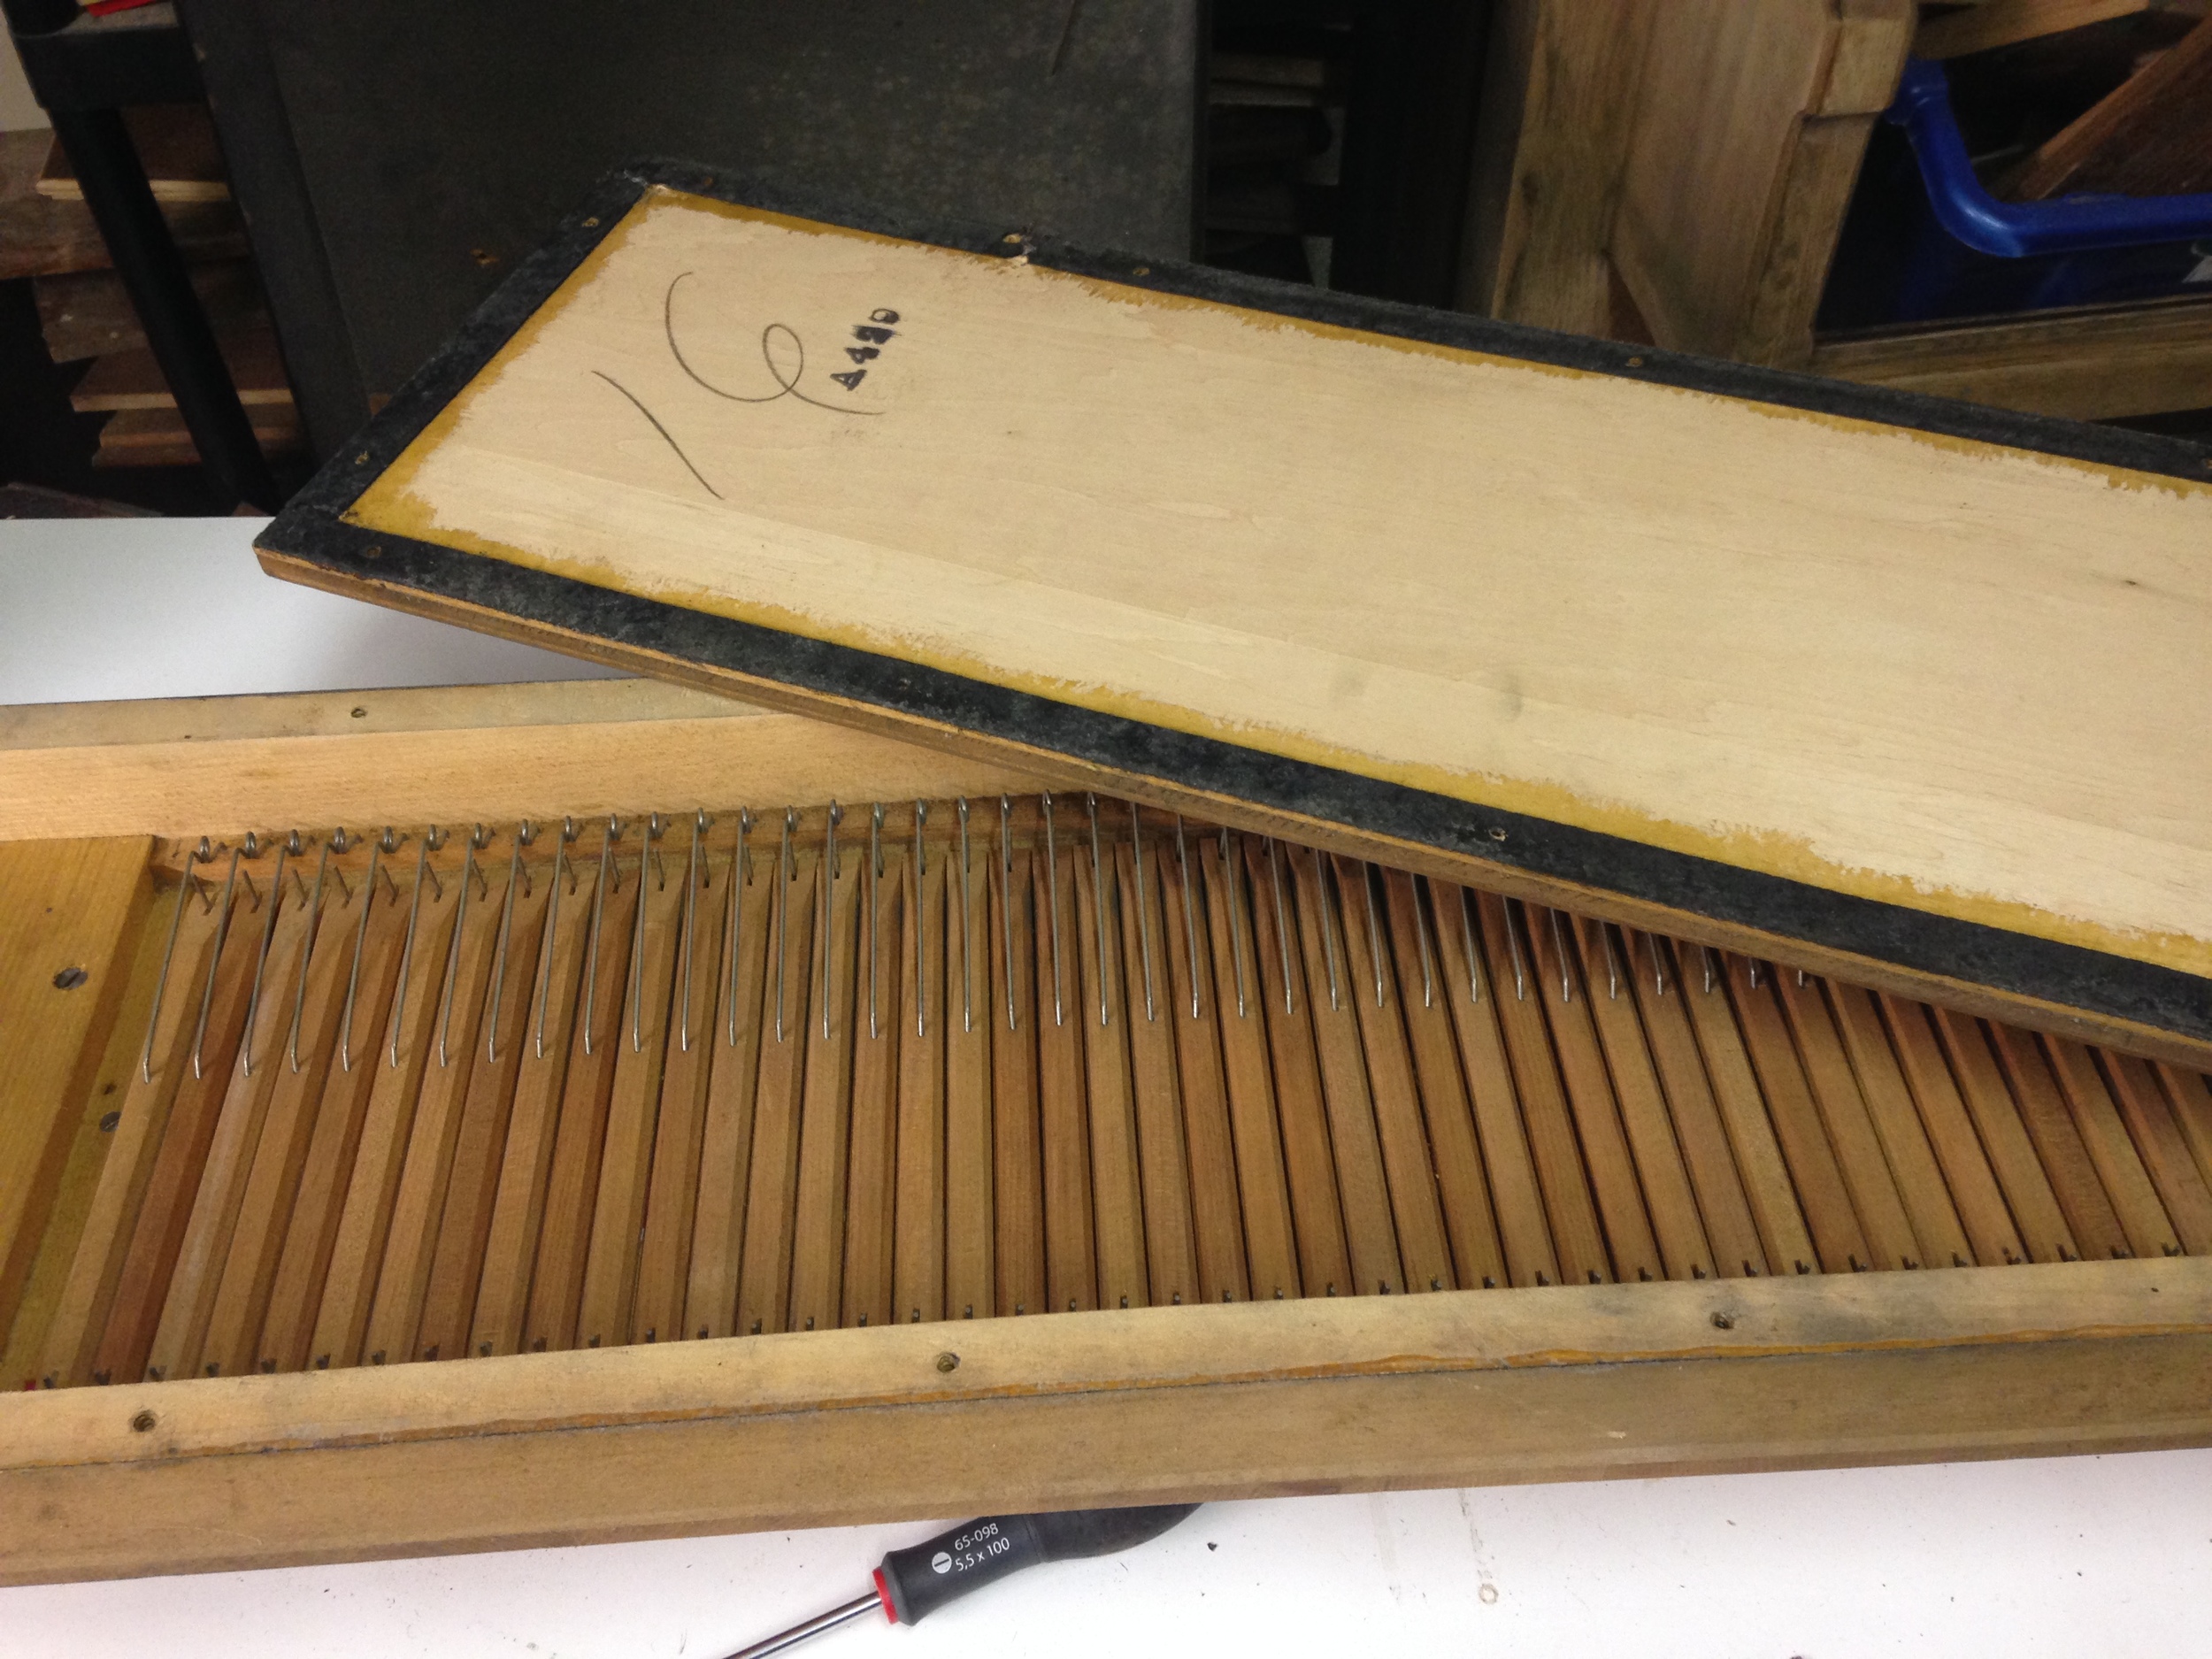
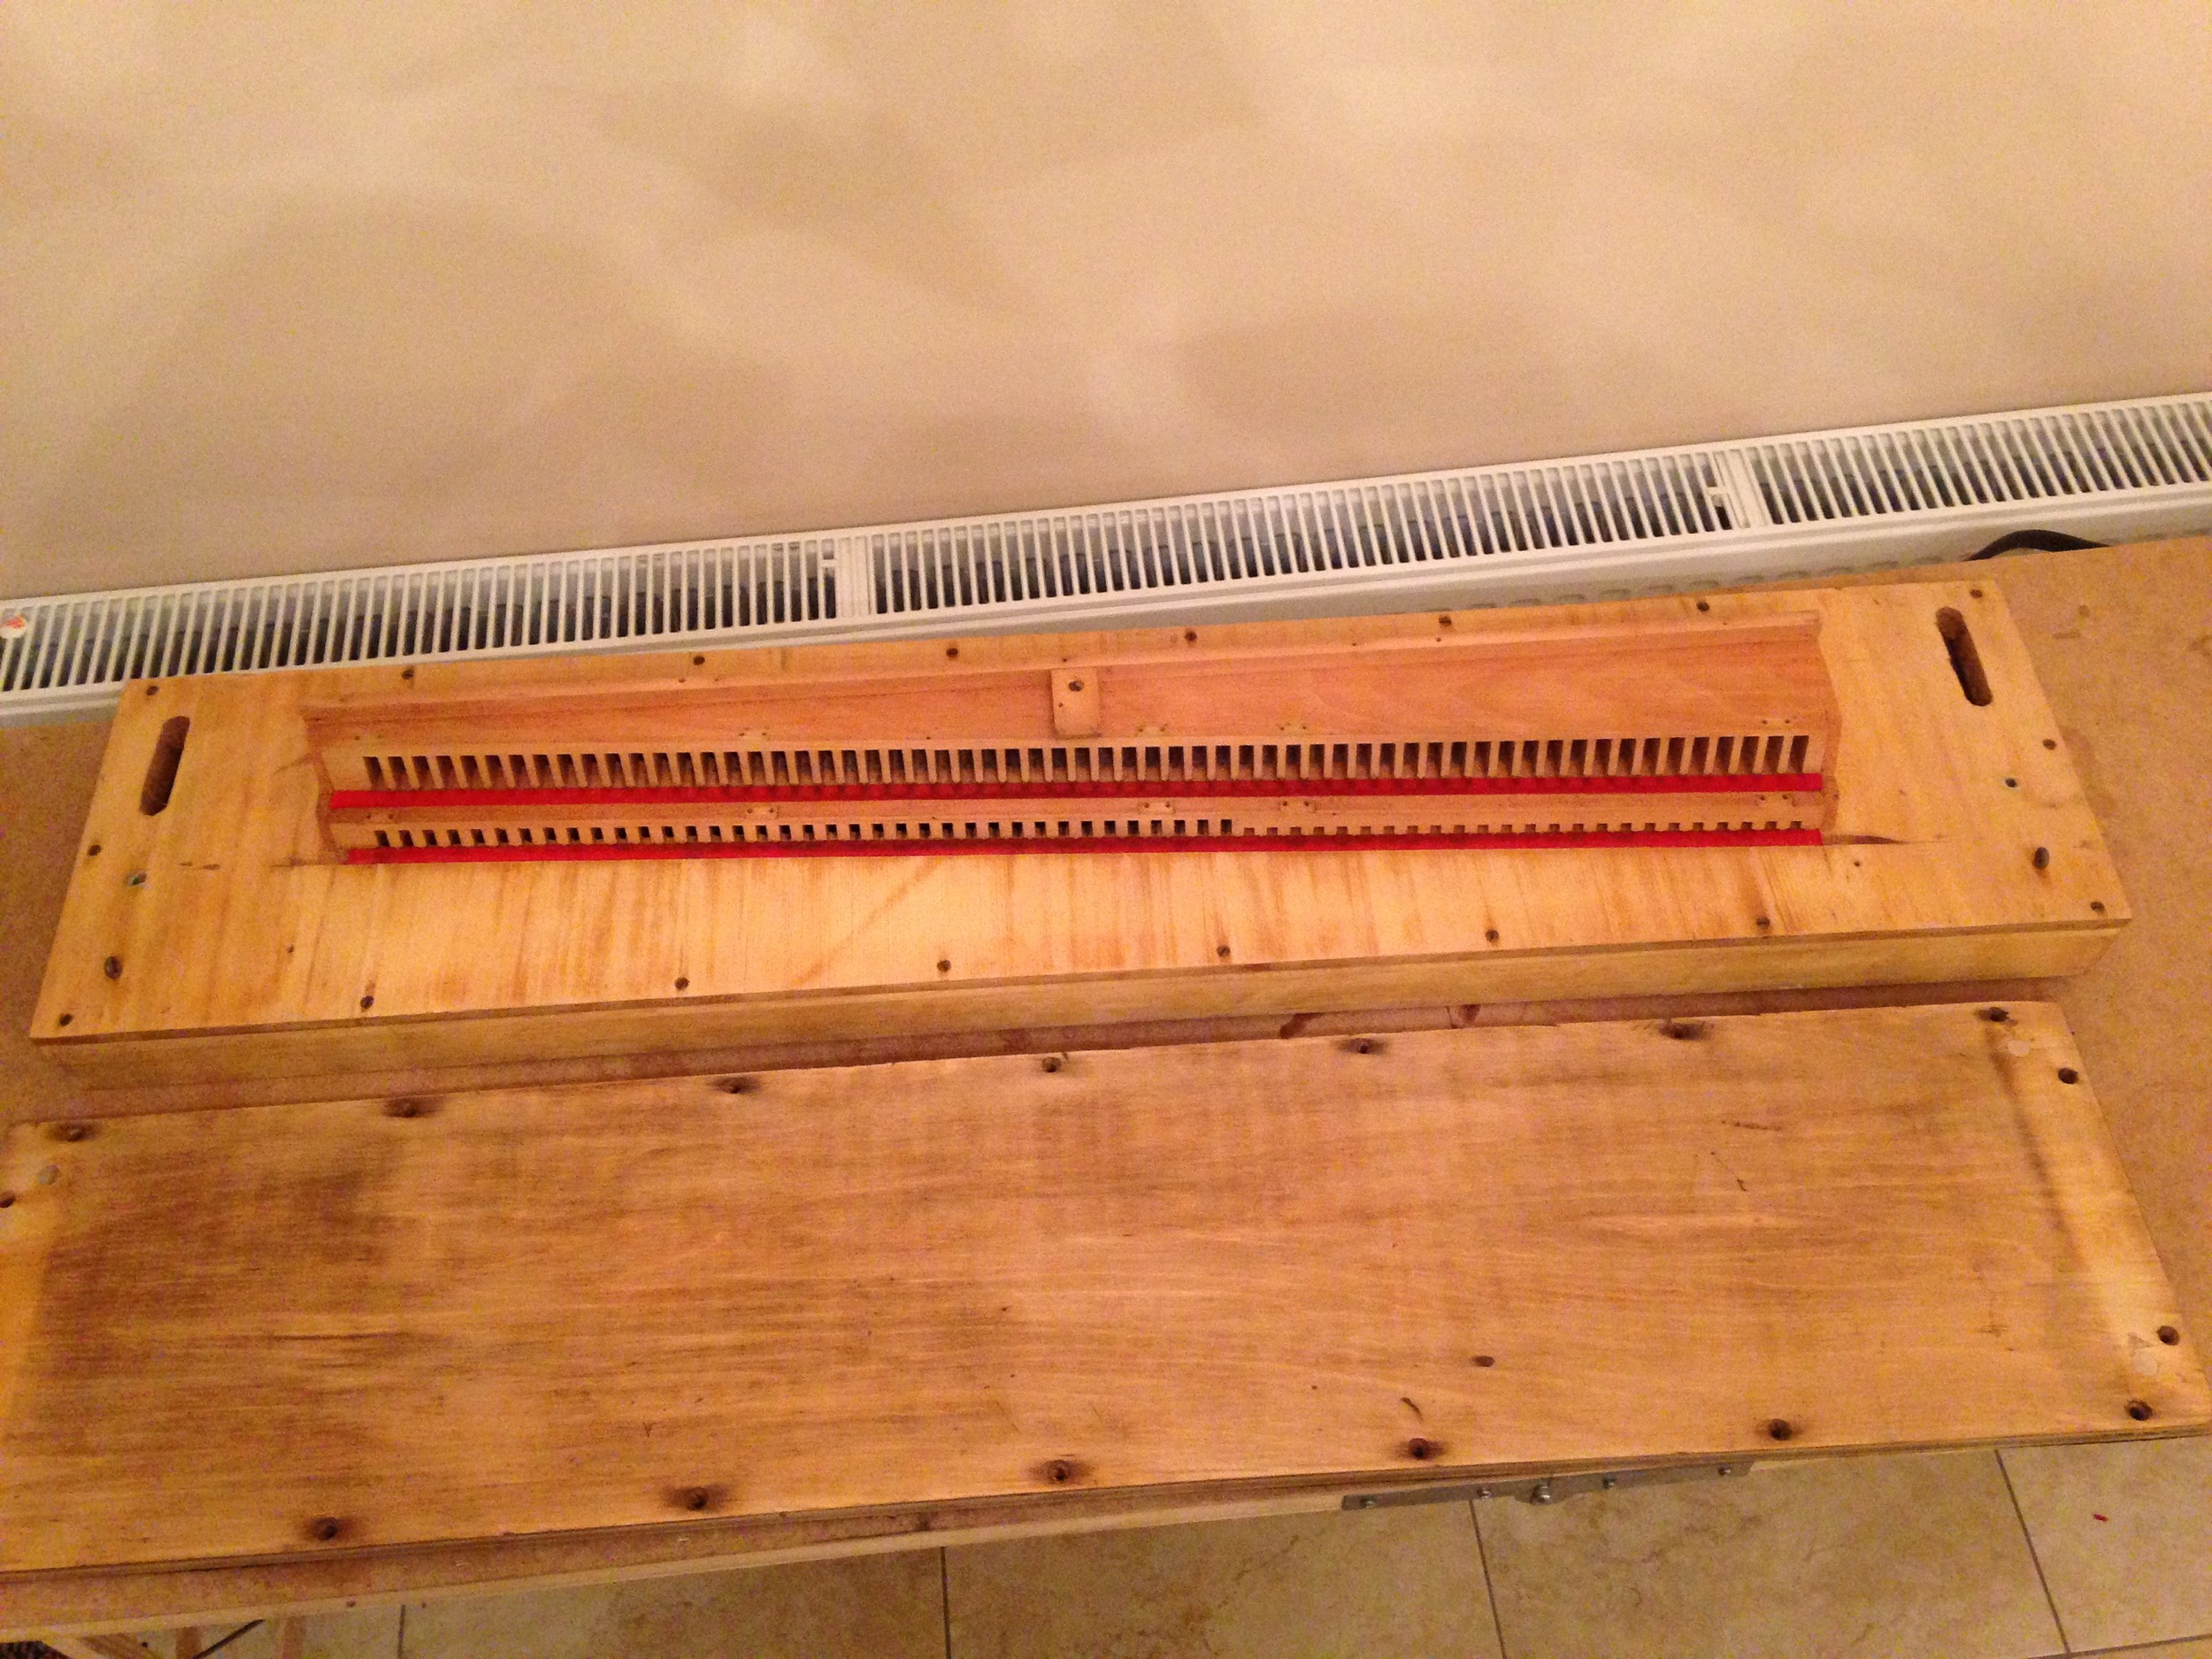
The first stage of any restoration is the complete strip down of the organ. I removed the upper and lower action and set them aside. I have completely stripped the finish on the organ since it was not salvageable. As you can see from the pictures on the left the front legs are not original but had been replaced with mahogany legs. Quite unfortunate. I removed these and managed to source originals in the US. The upper action was in generally good condition but filthy as one would expect. See below some pictures of the upper action ready for a complete rebuild.
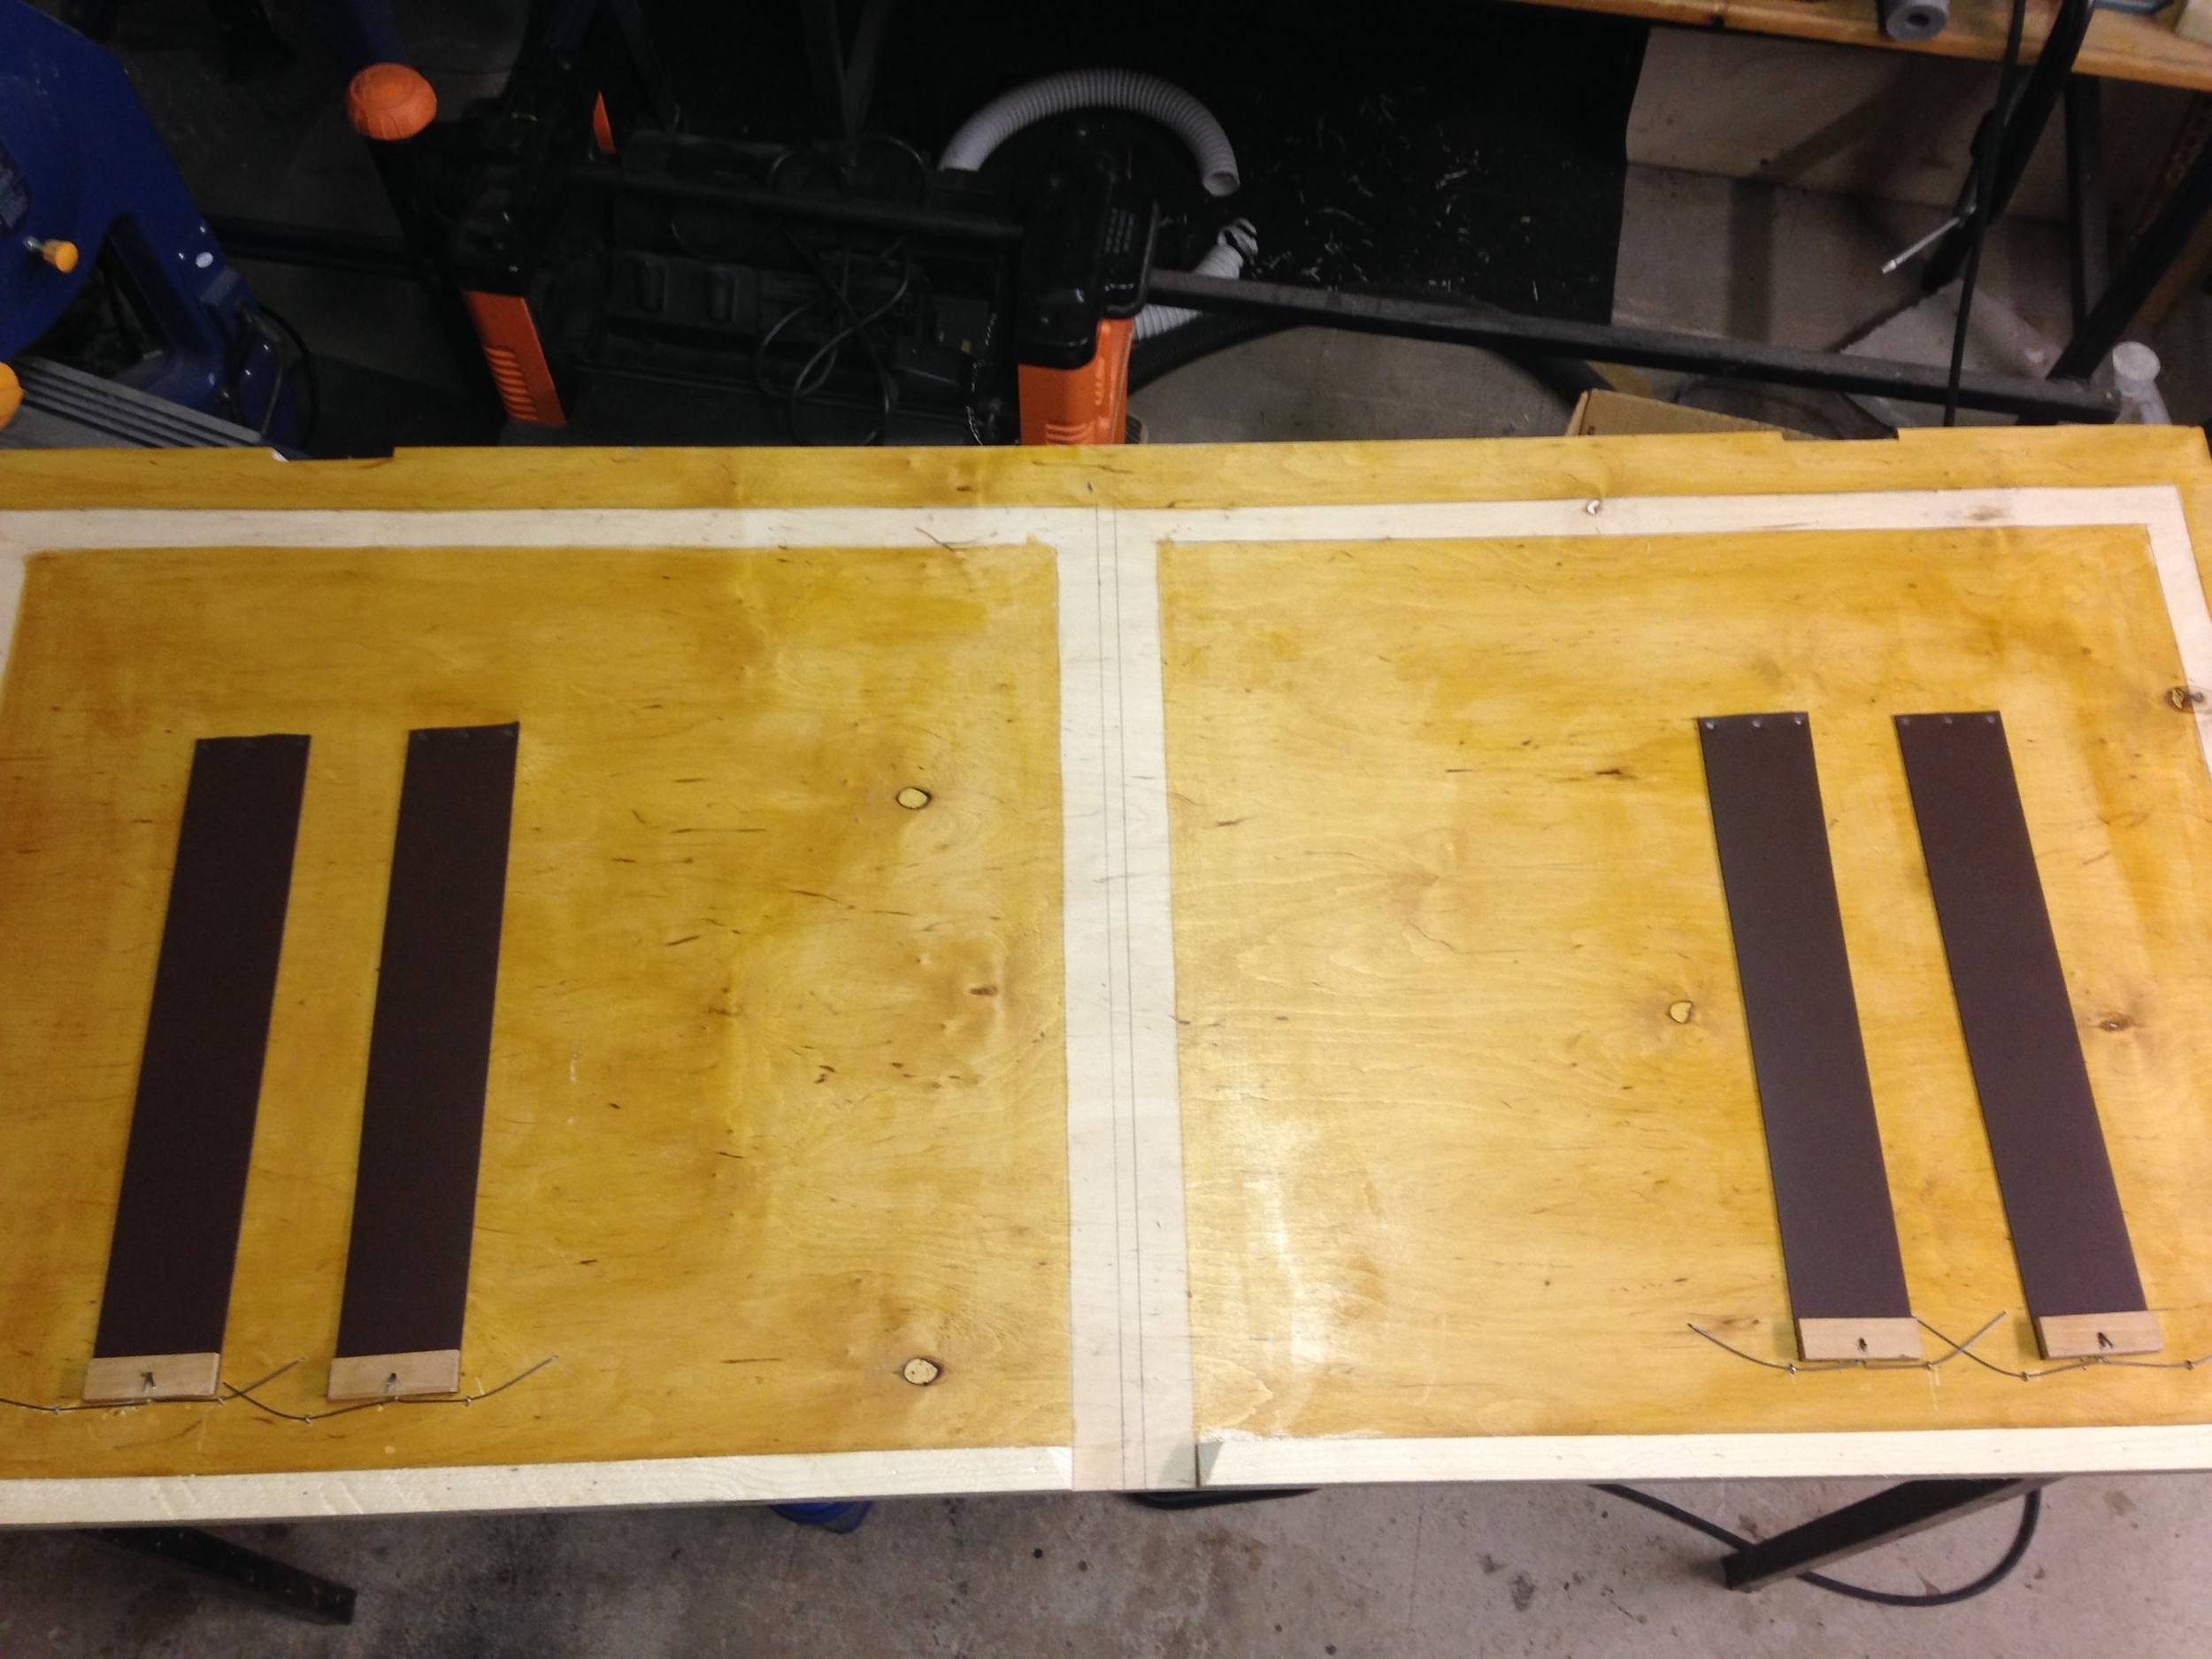
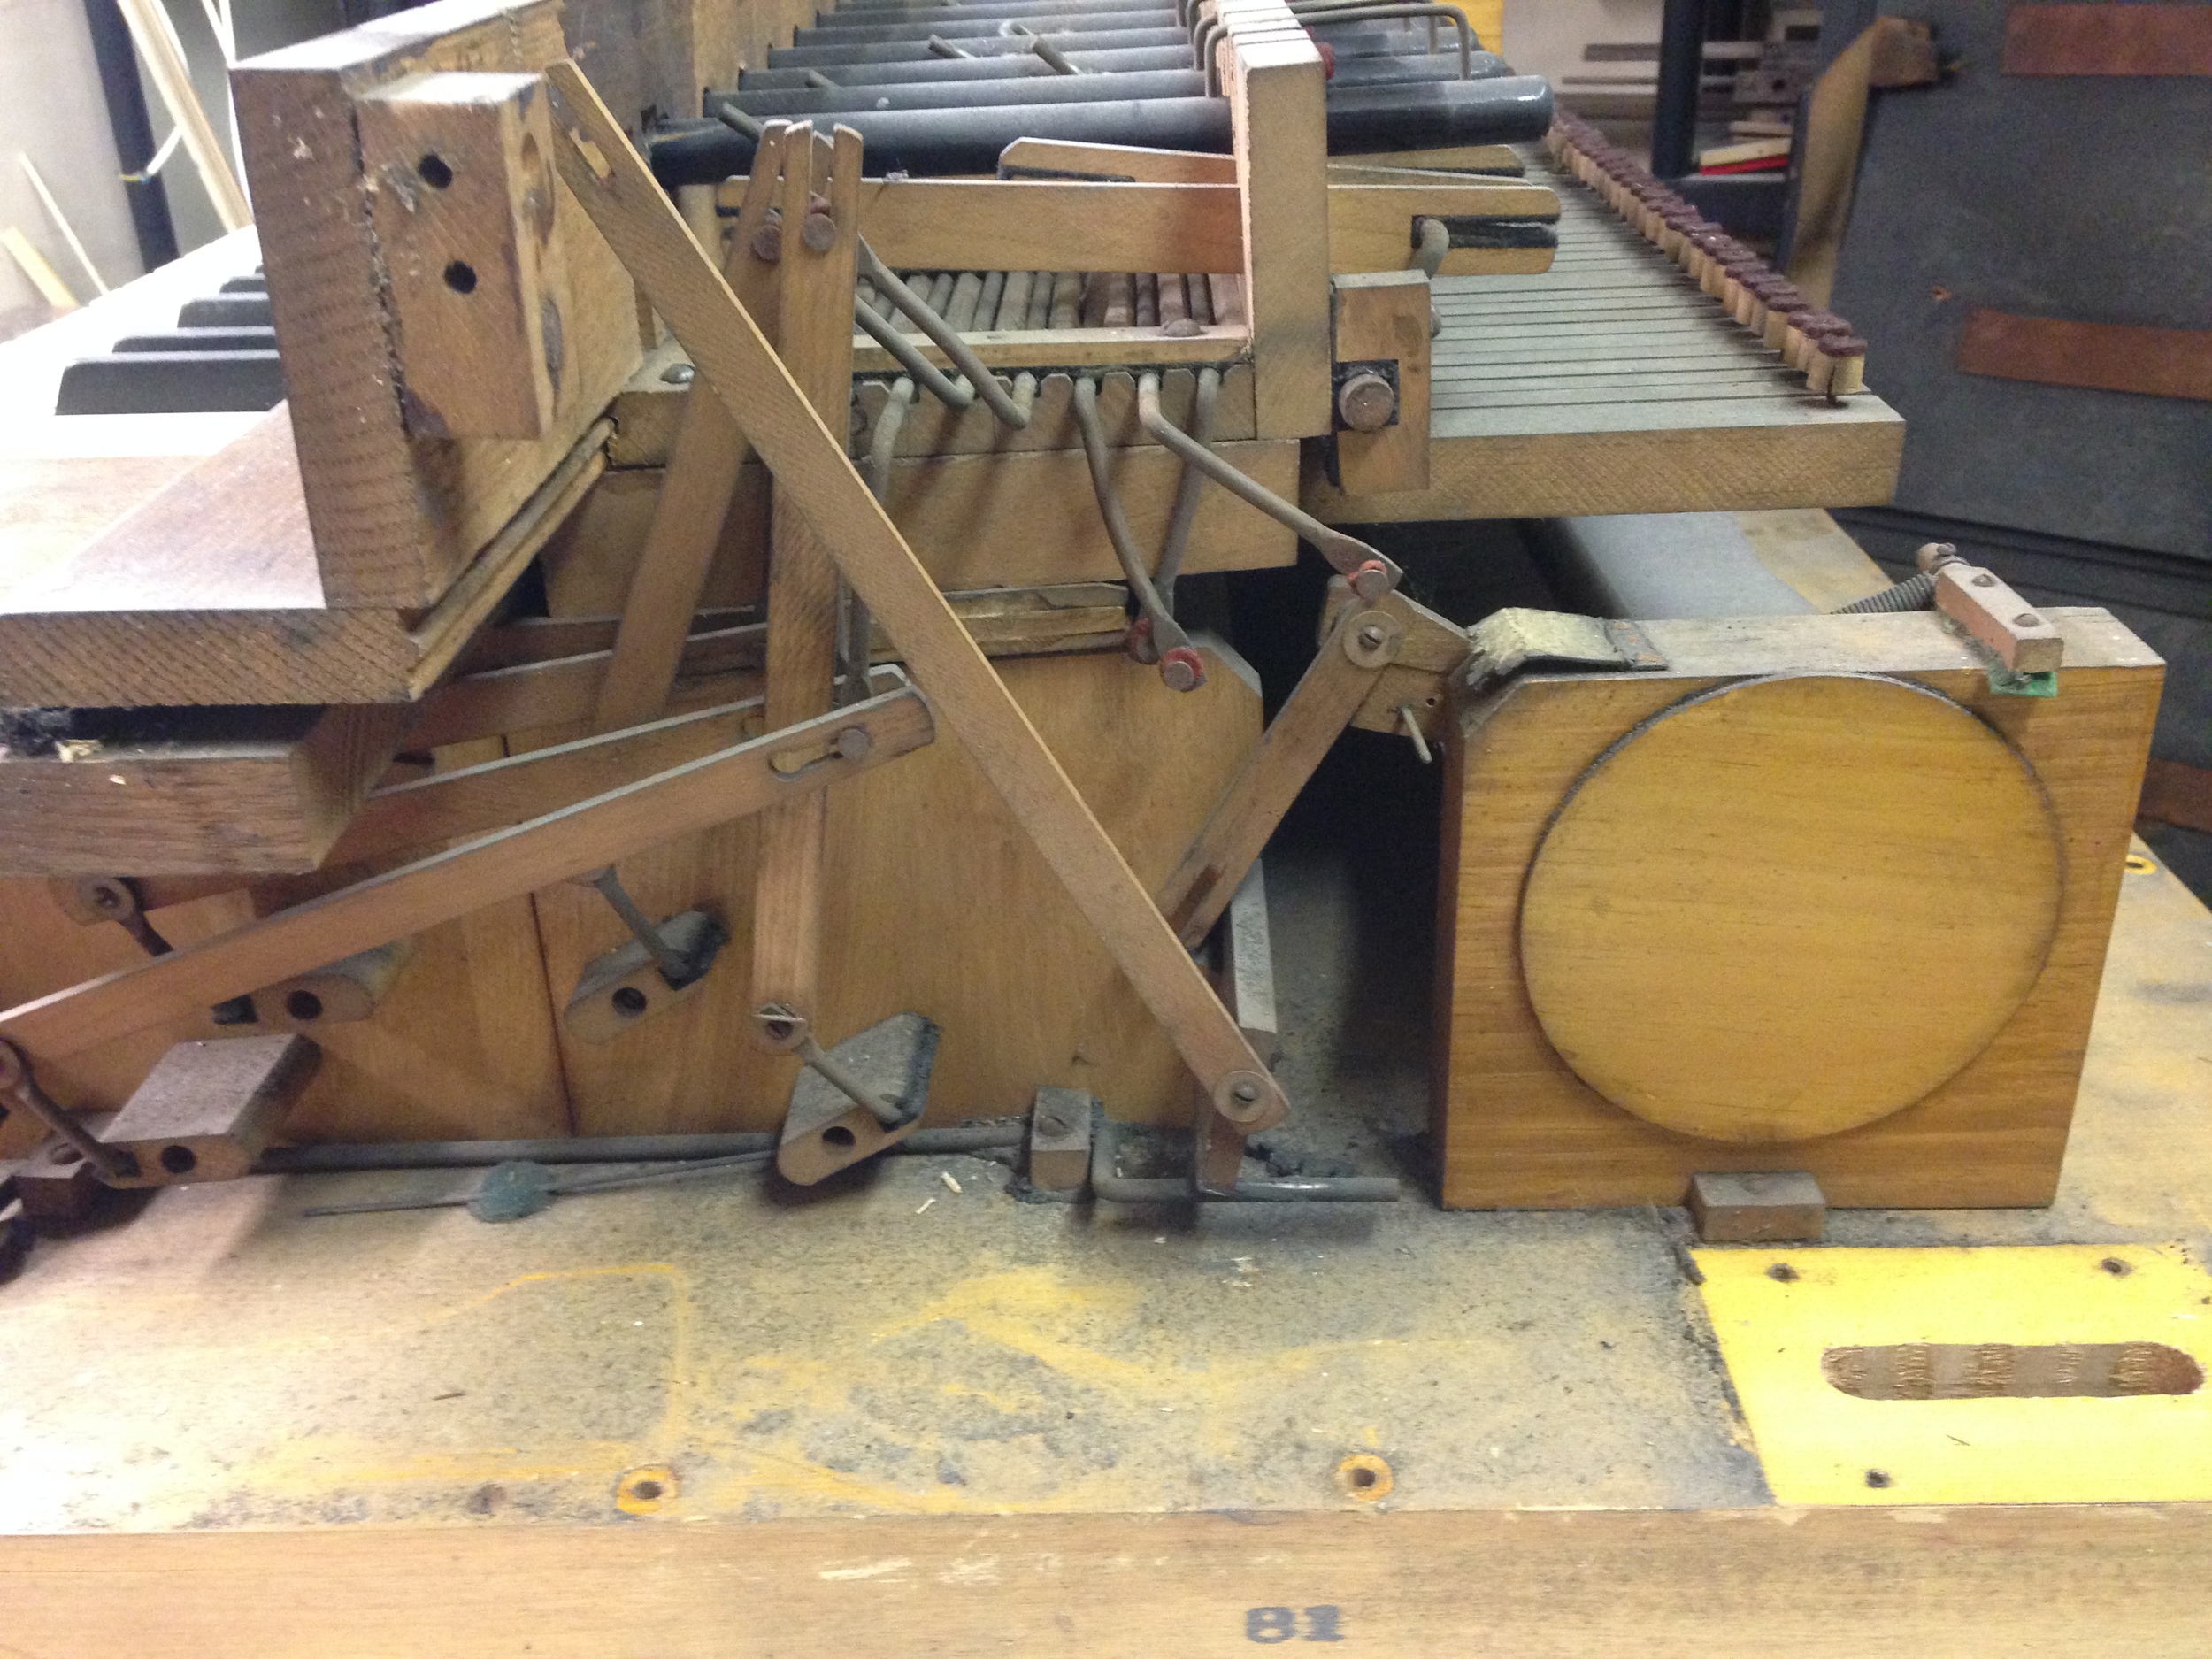
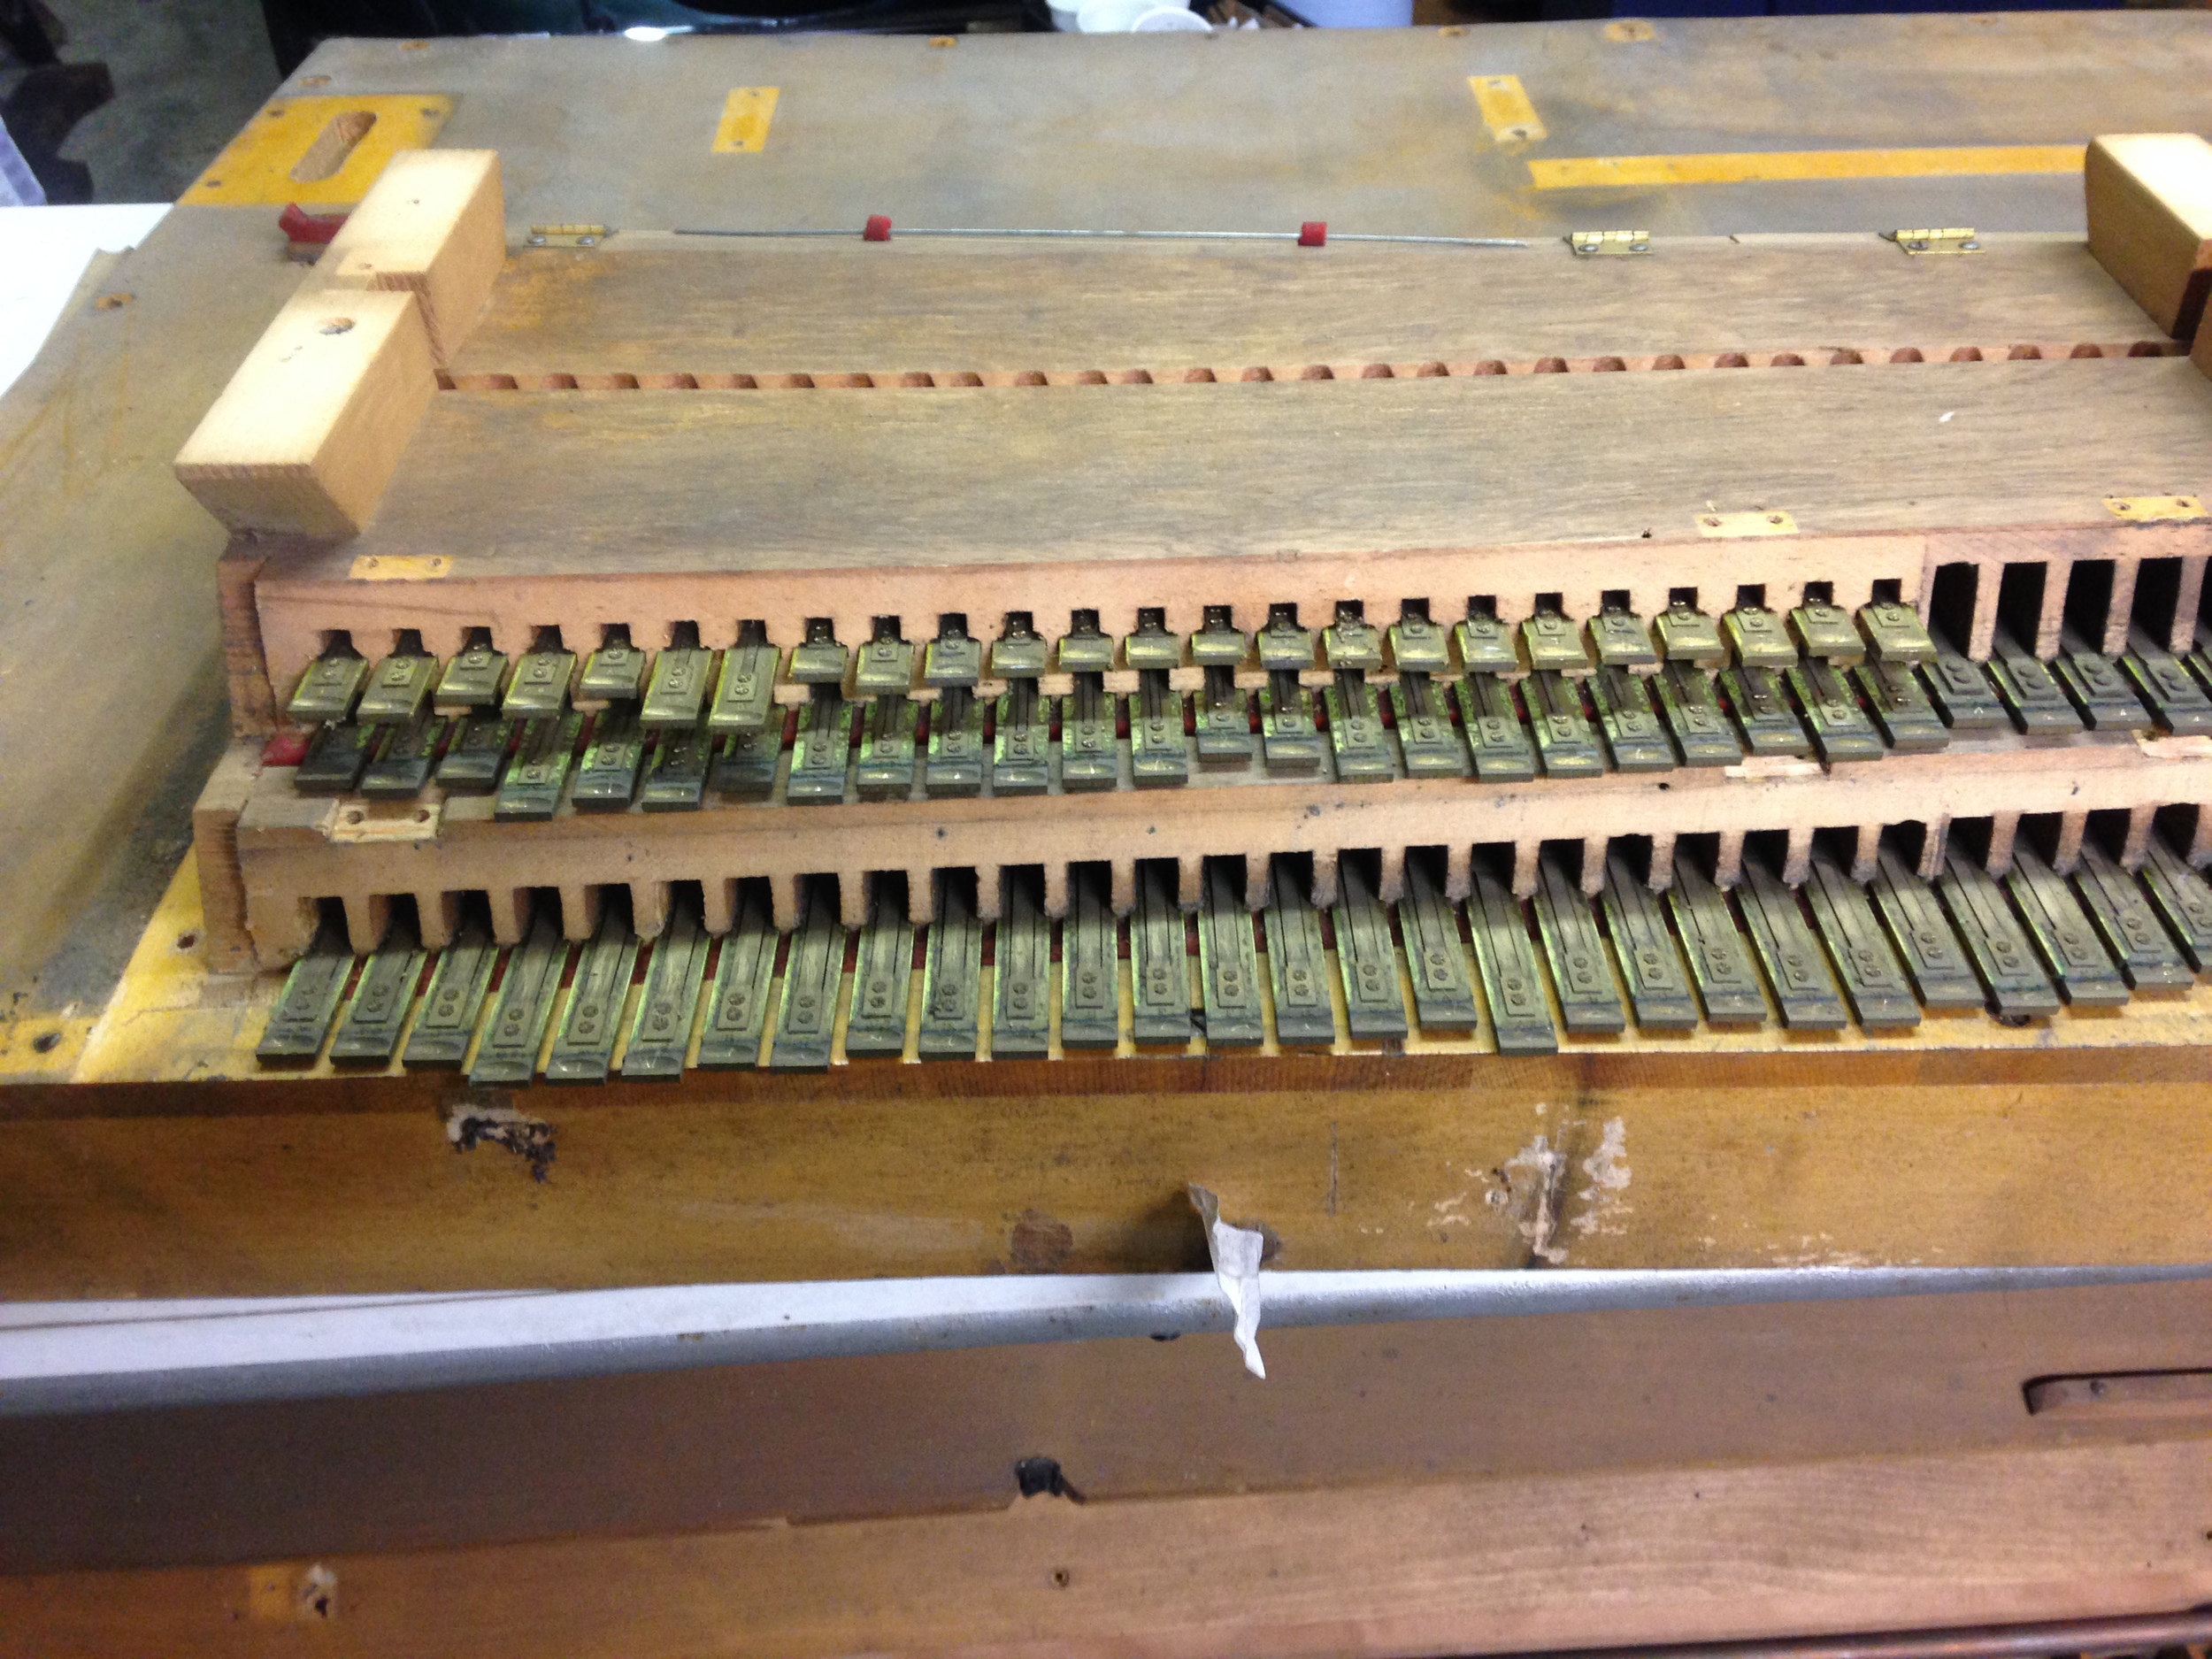
As you can see on the left the upper action was completely dis-assembled. The next stage was sanding the reed pan and replacement of the reed bed felt. Every thing else was then built back on the reed pan including the reeds, mutes and pallet valves and then the rest. Below are some pictures of the bellows assembly.


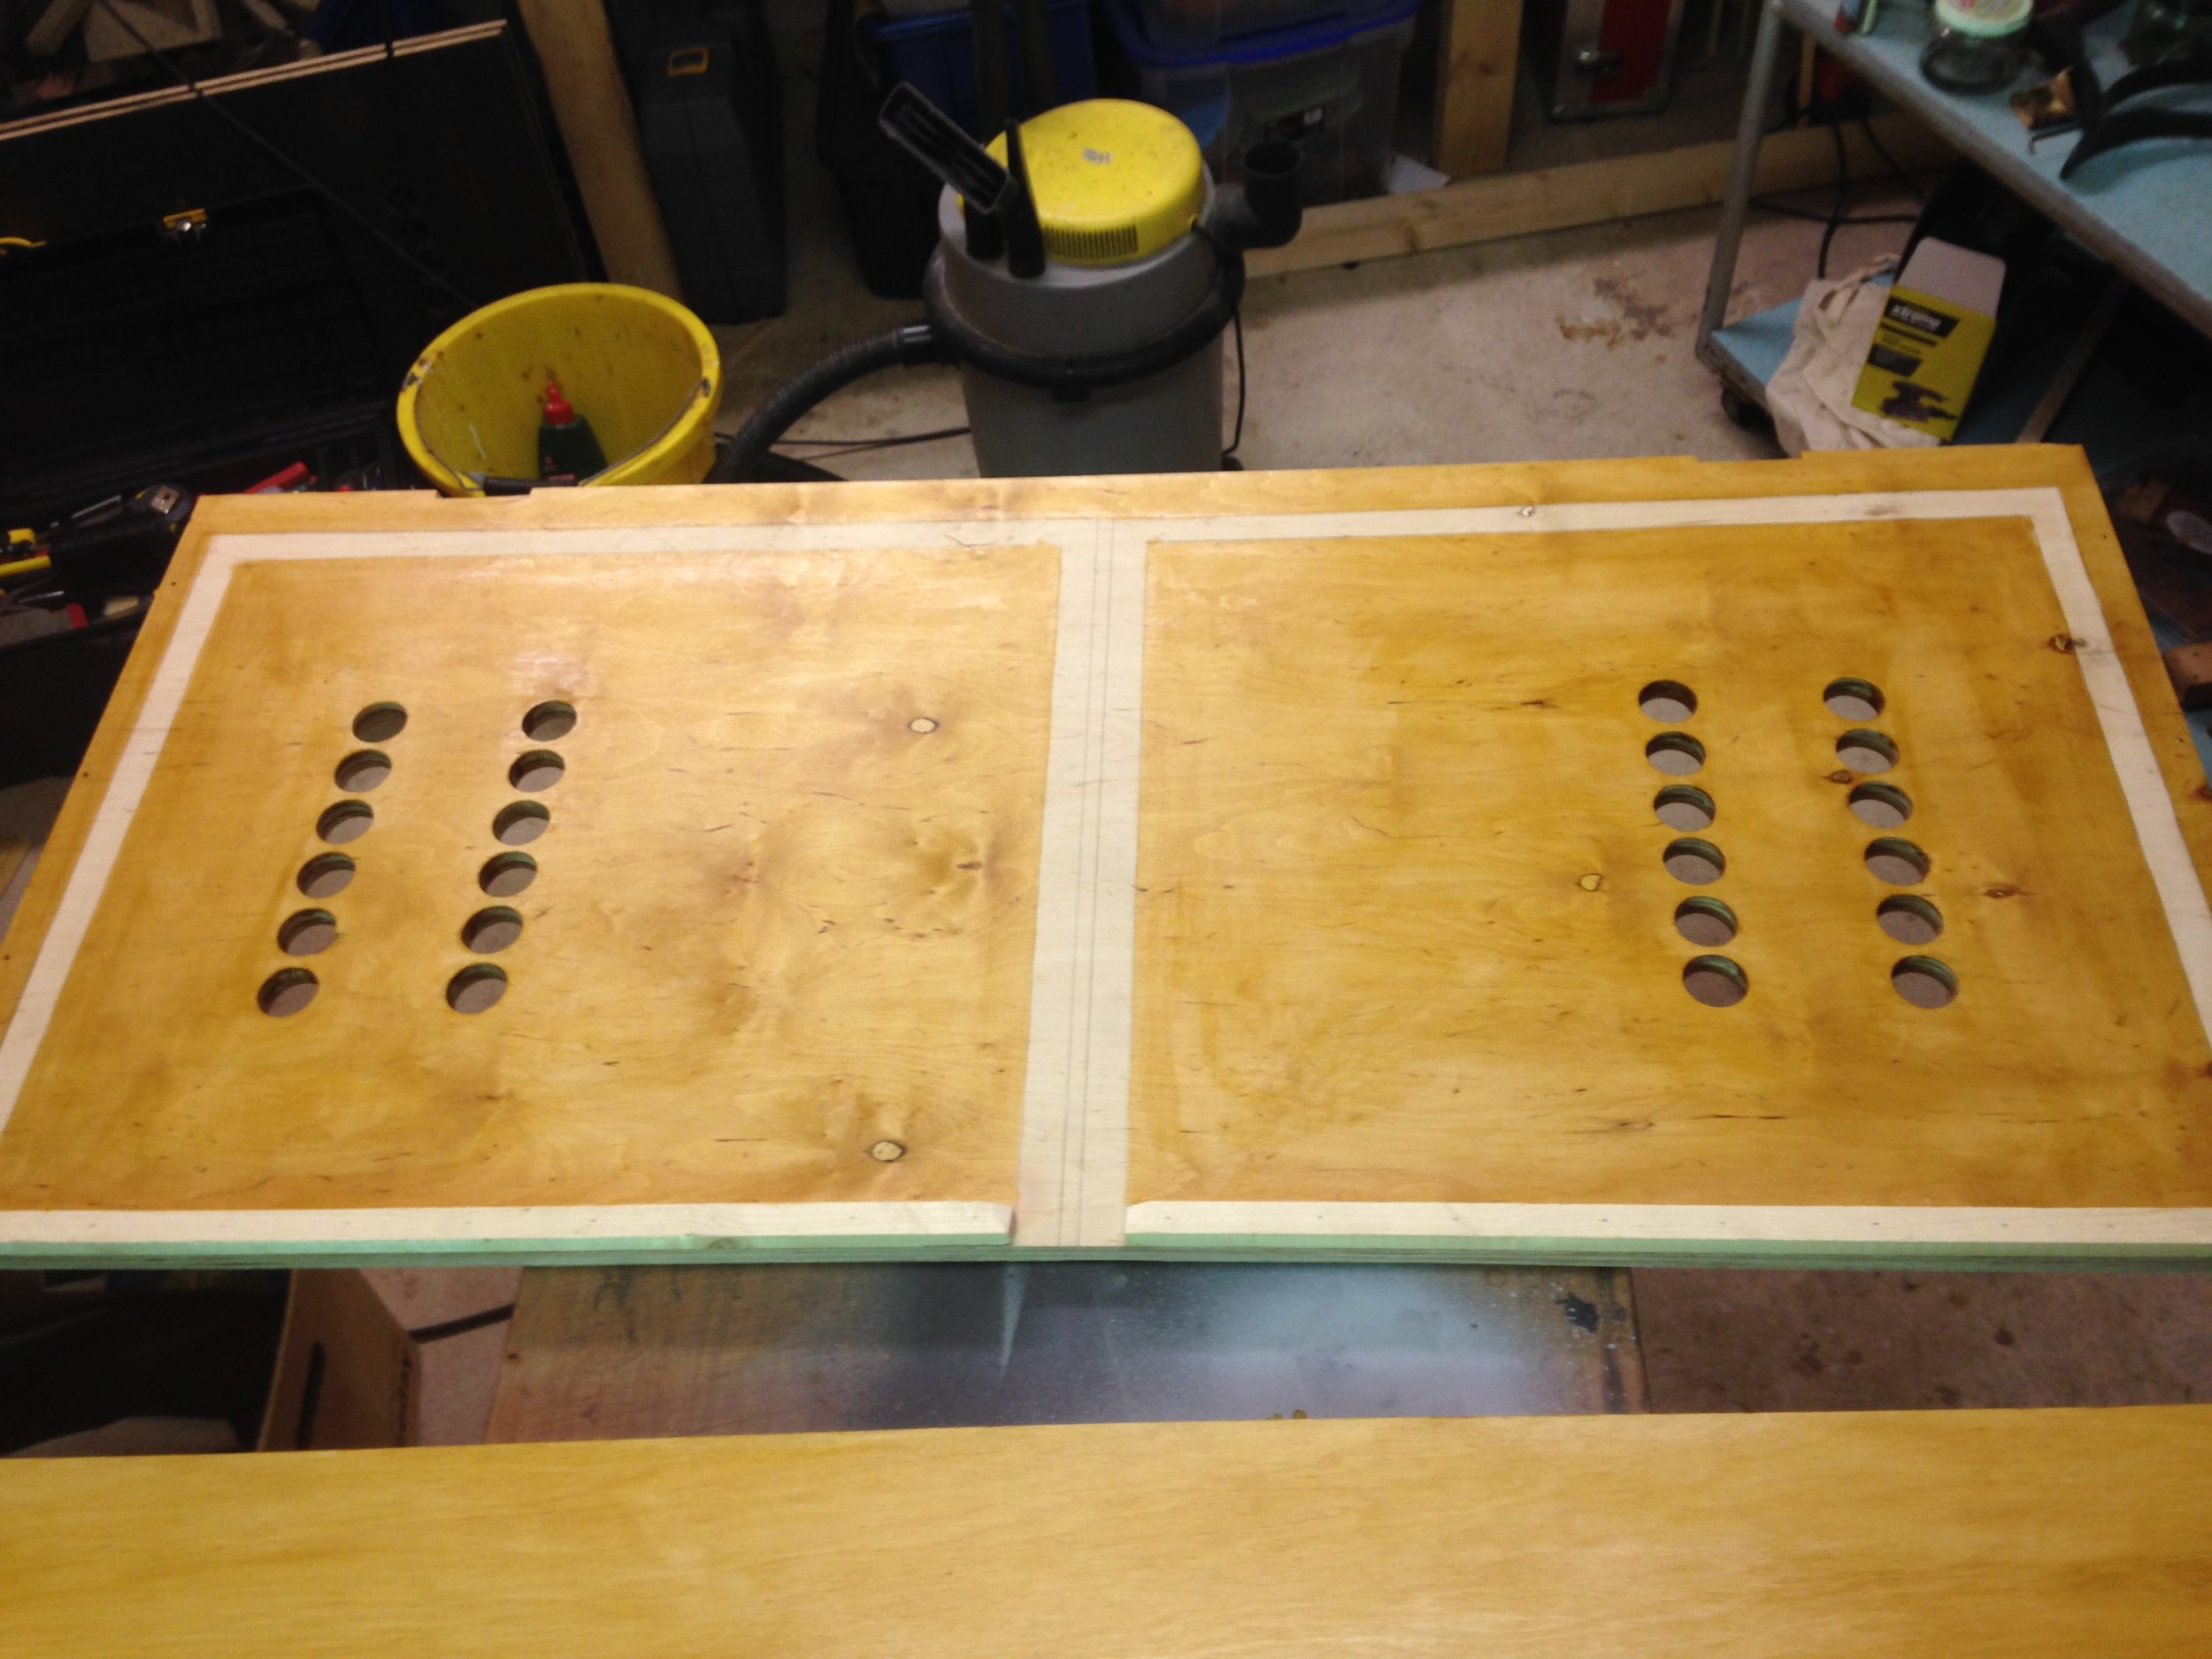
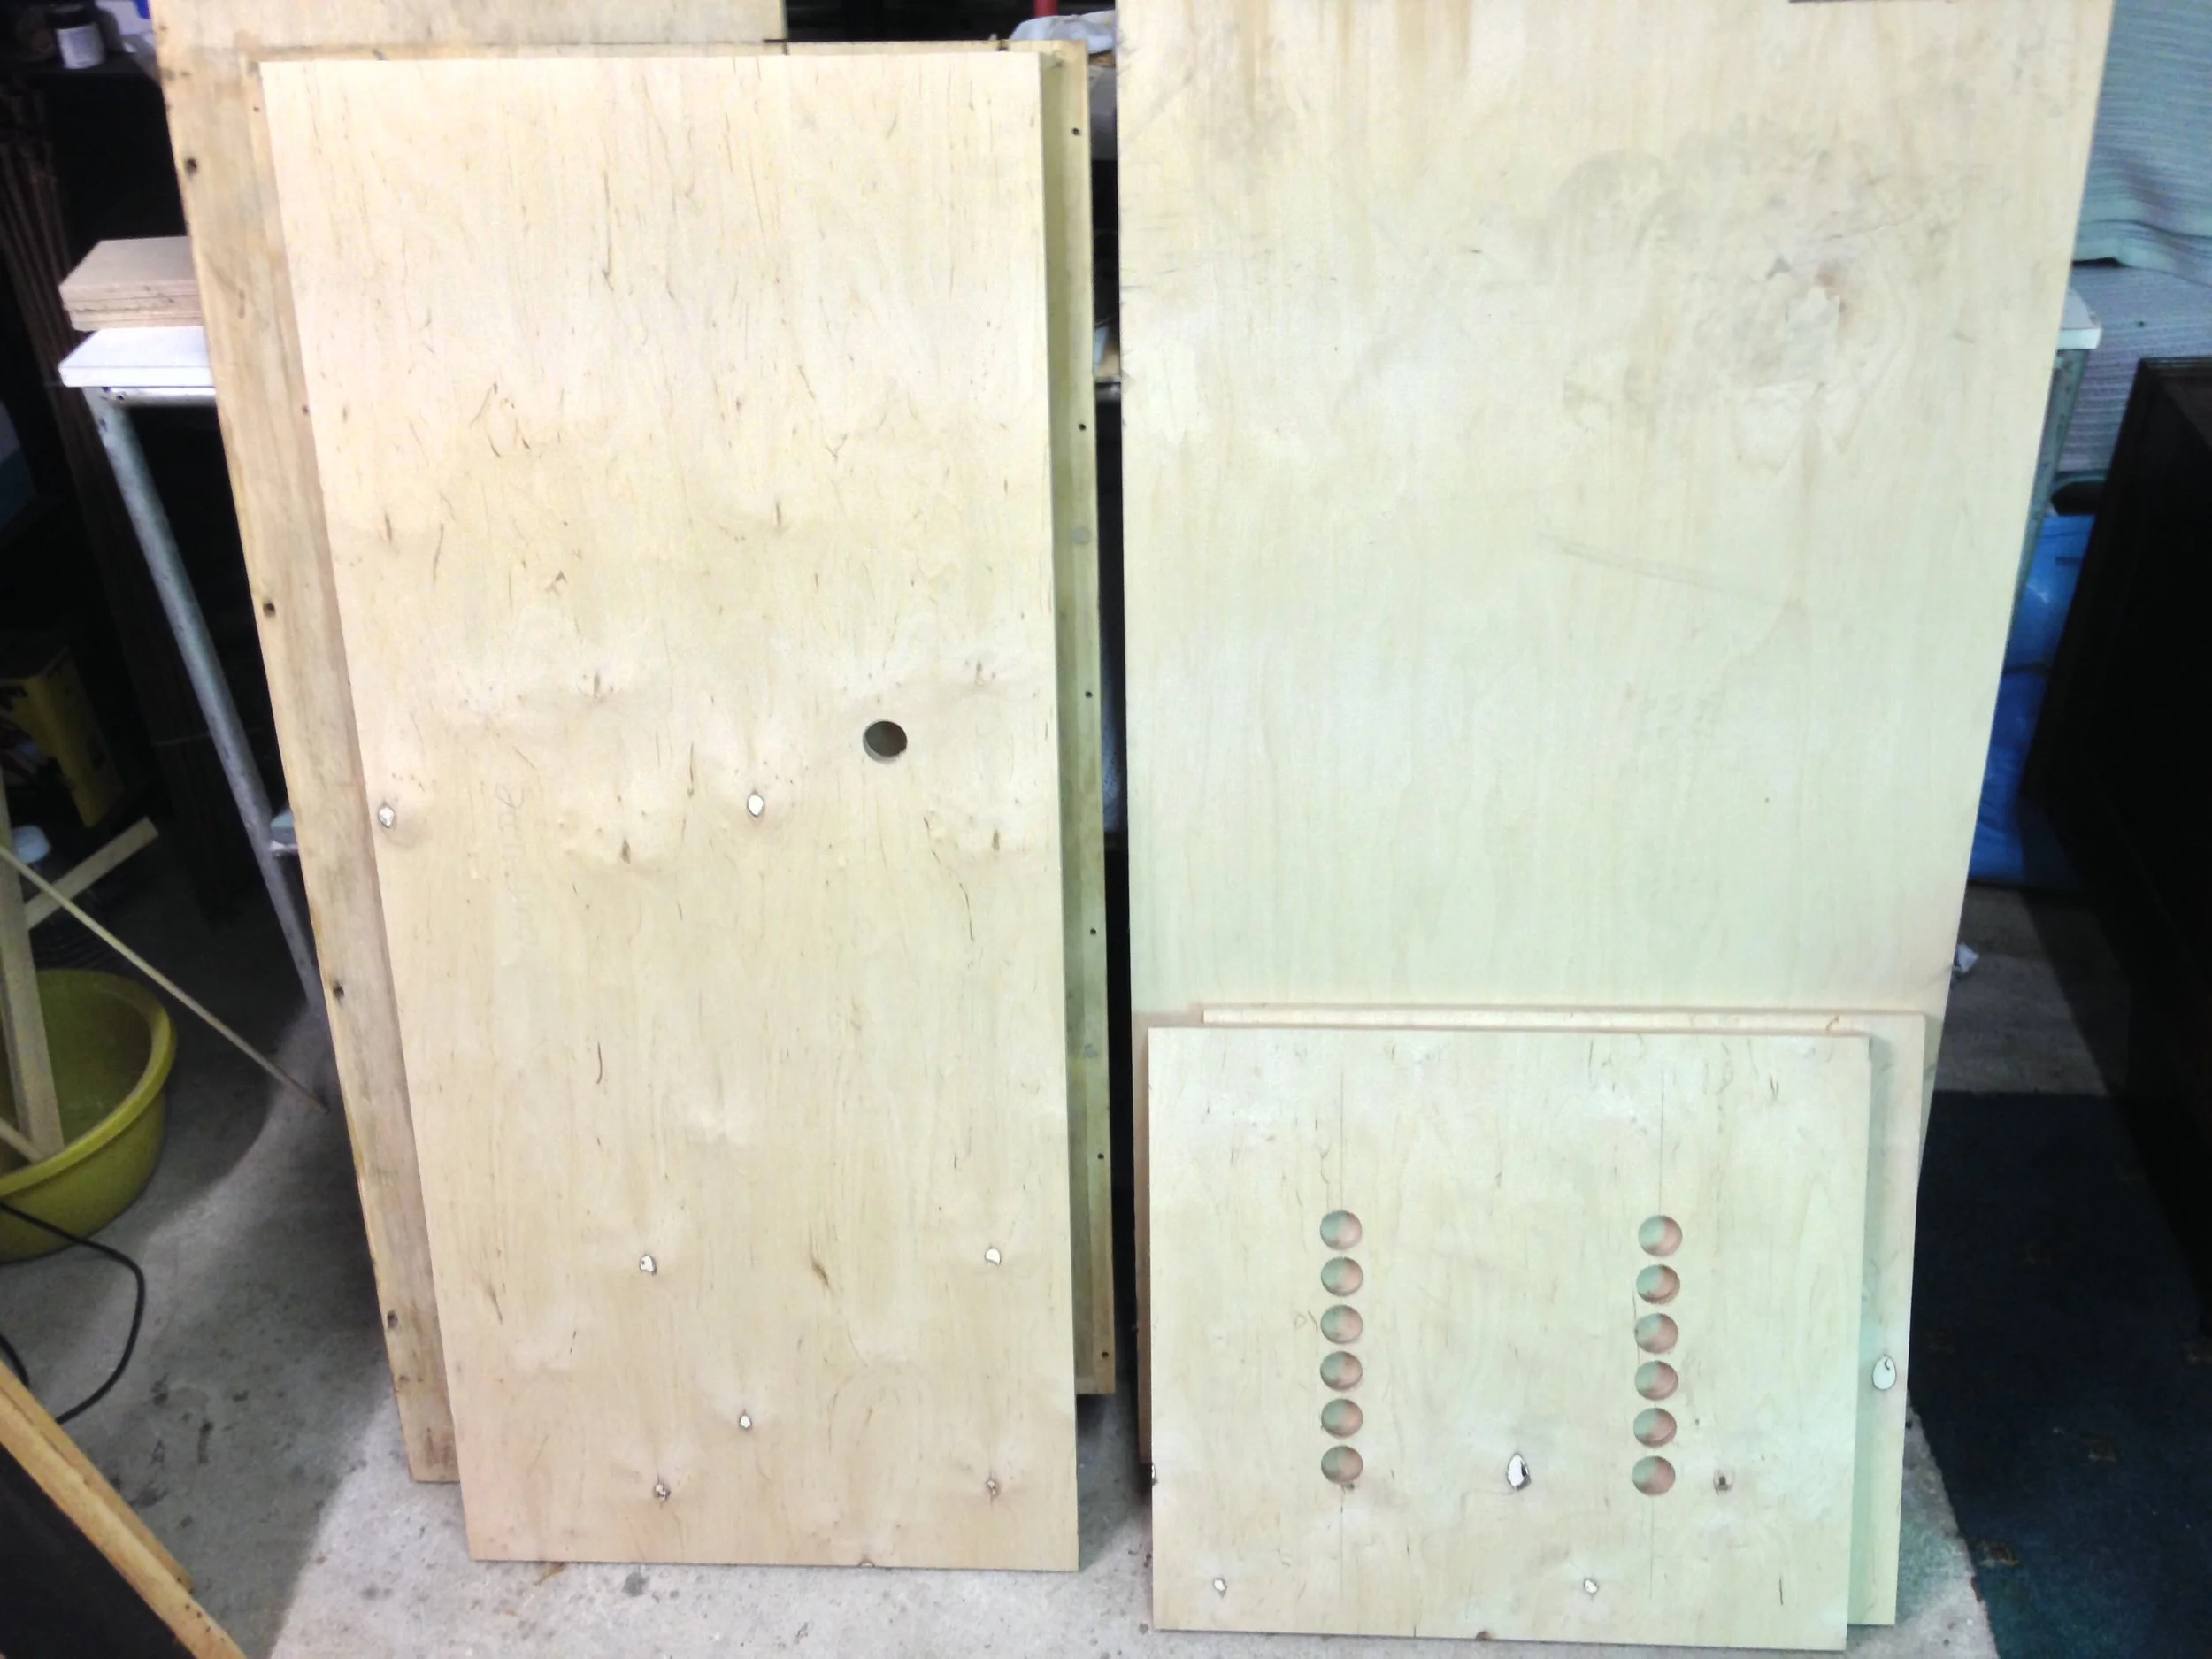
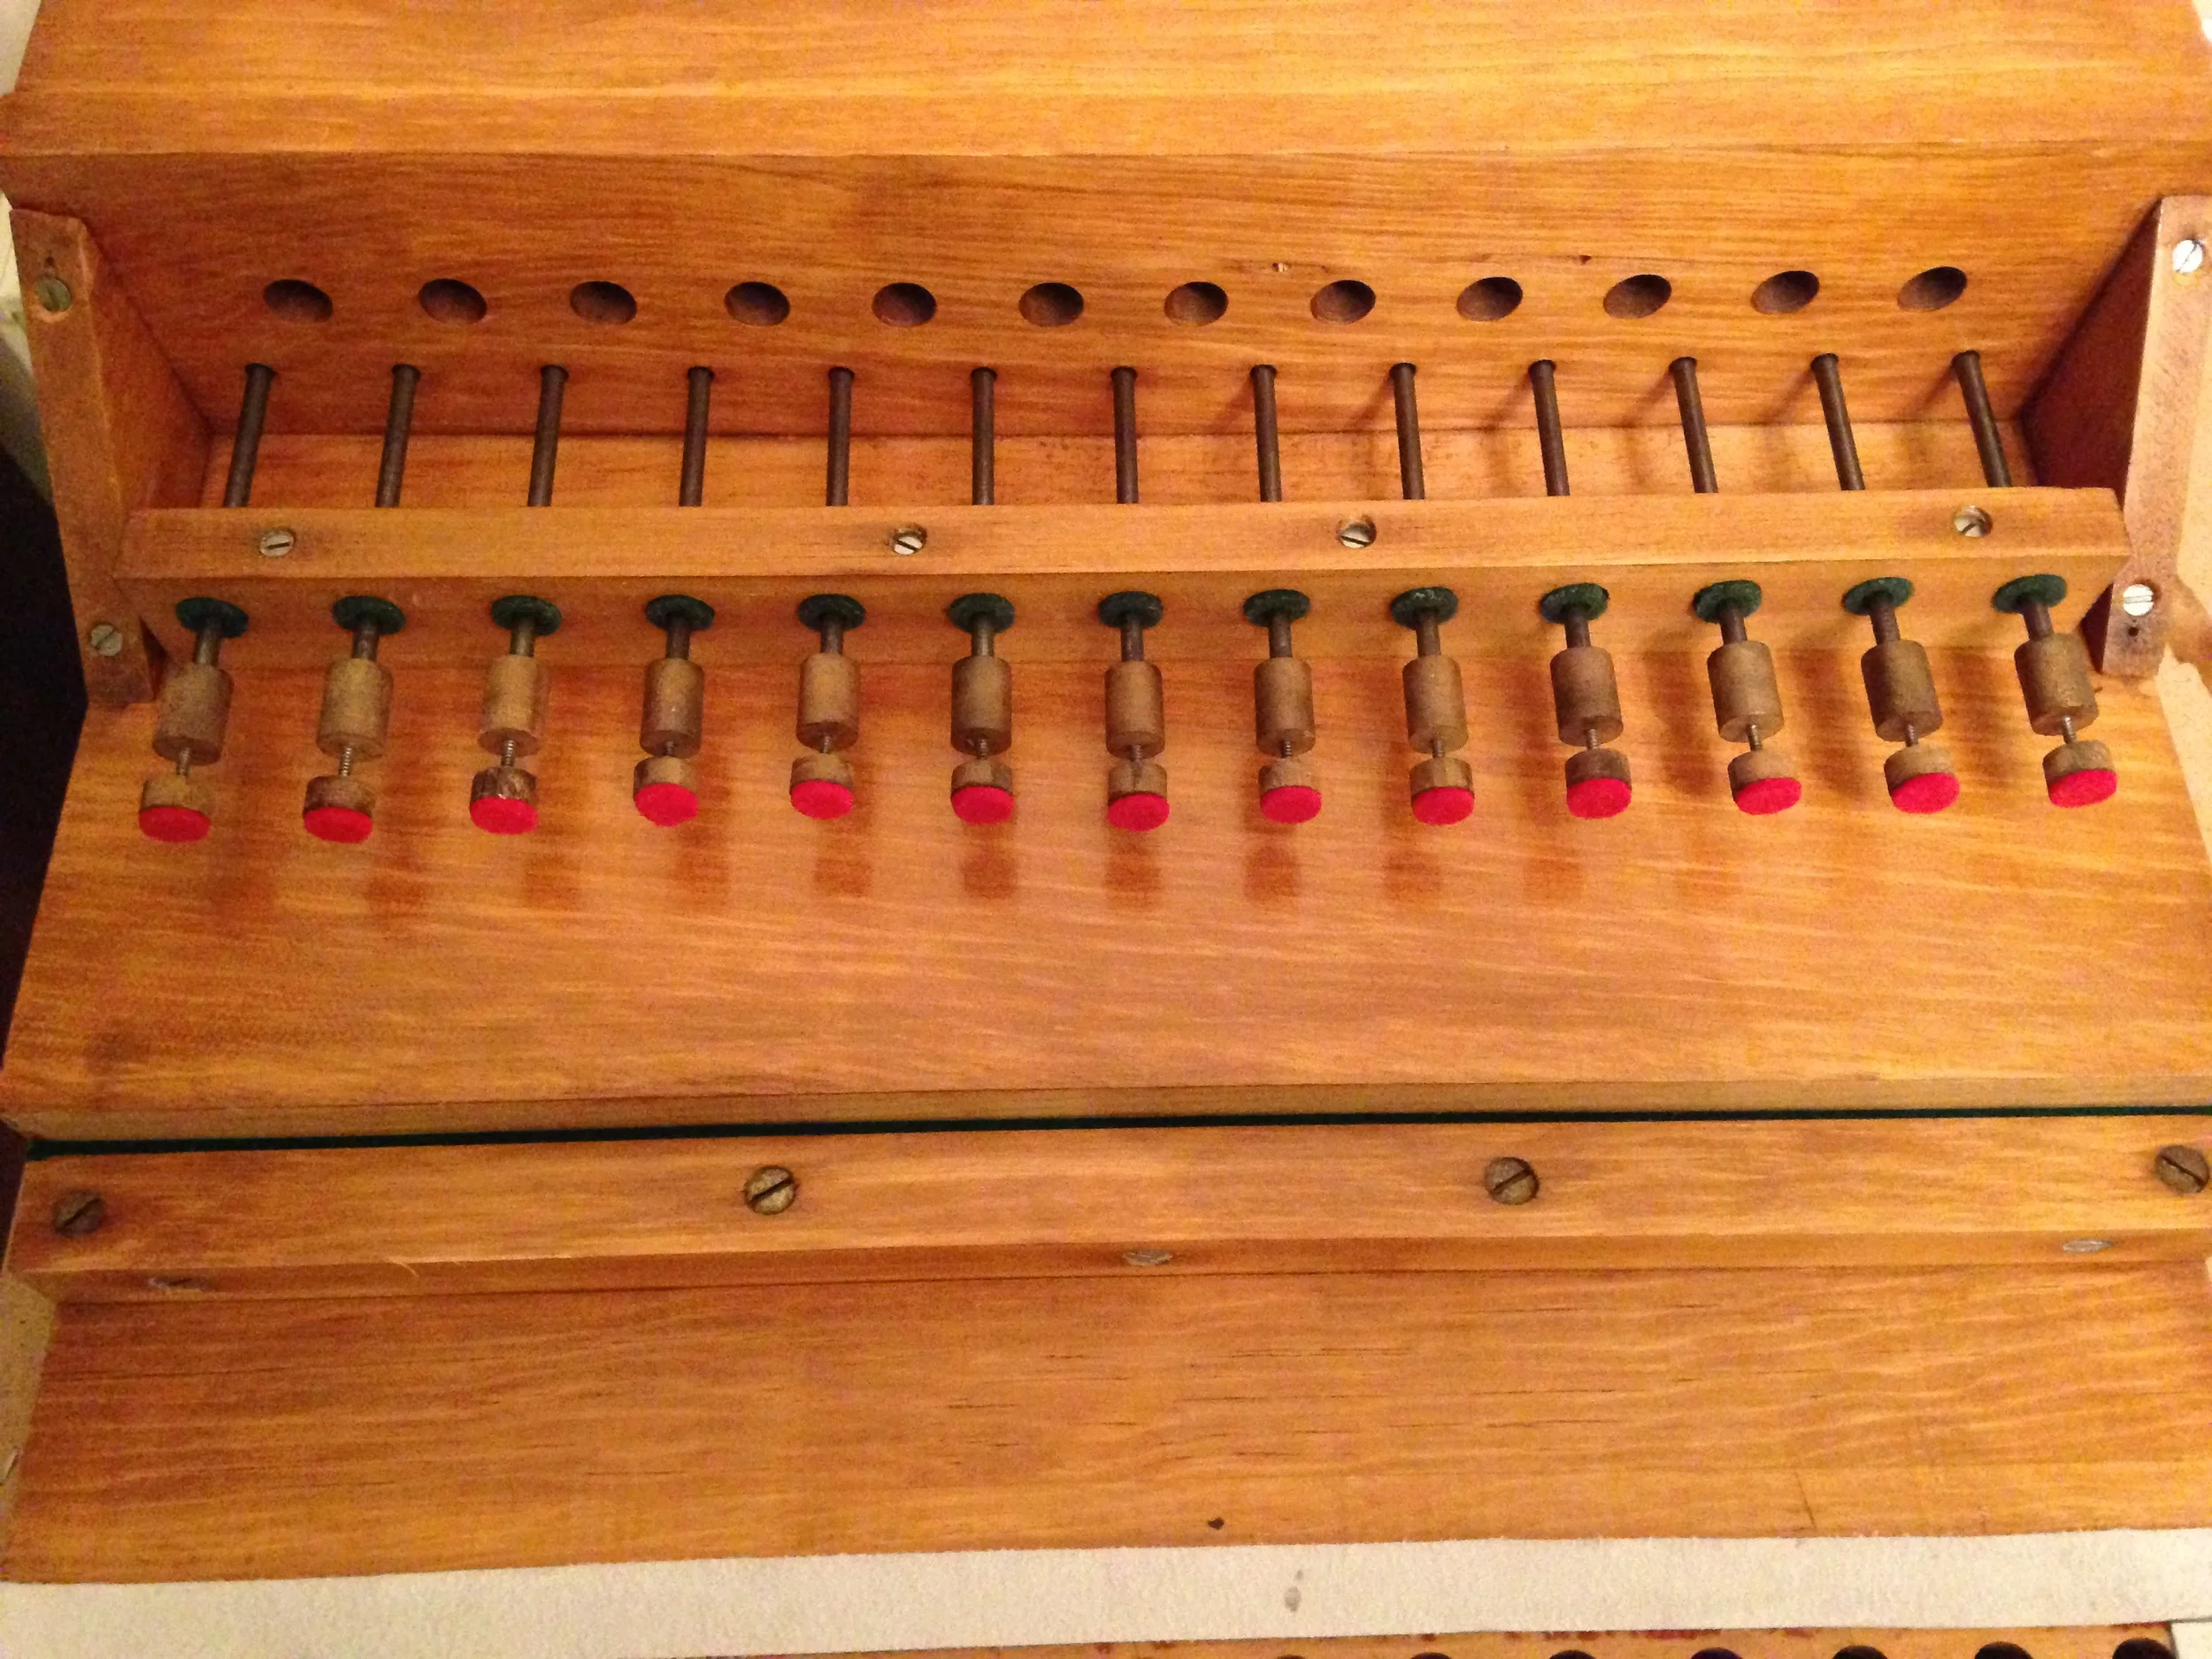
On the Estey Model O there is an upper reed chest with two sets of reeds, a set of pallet valves, pitmans, mutes and a swell shade. The whole chest was sanded, cleaned and french polished. The pallet valves were recovered with new leather, the reeds cleaned and the pitmans had fresh graphite and new felt applied. The mutes also received new leather. The top cover had a new replacement leather gasket.
The case of this organ had been significantly altered by the previous owners. The front legs were replaced with mahogany. I have brought it back to the original manufacturer's design. The legs and case tops were sourced in the US and were installed with new trim by John Kenny of Breffni Restorations for me. This part of the restoration was beyond my skill level. It is important to seek help when necessary.
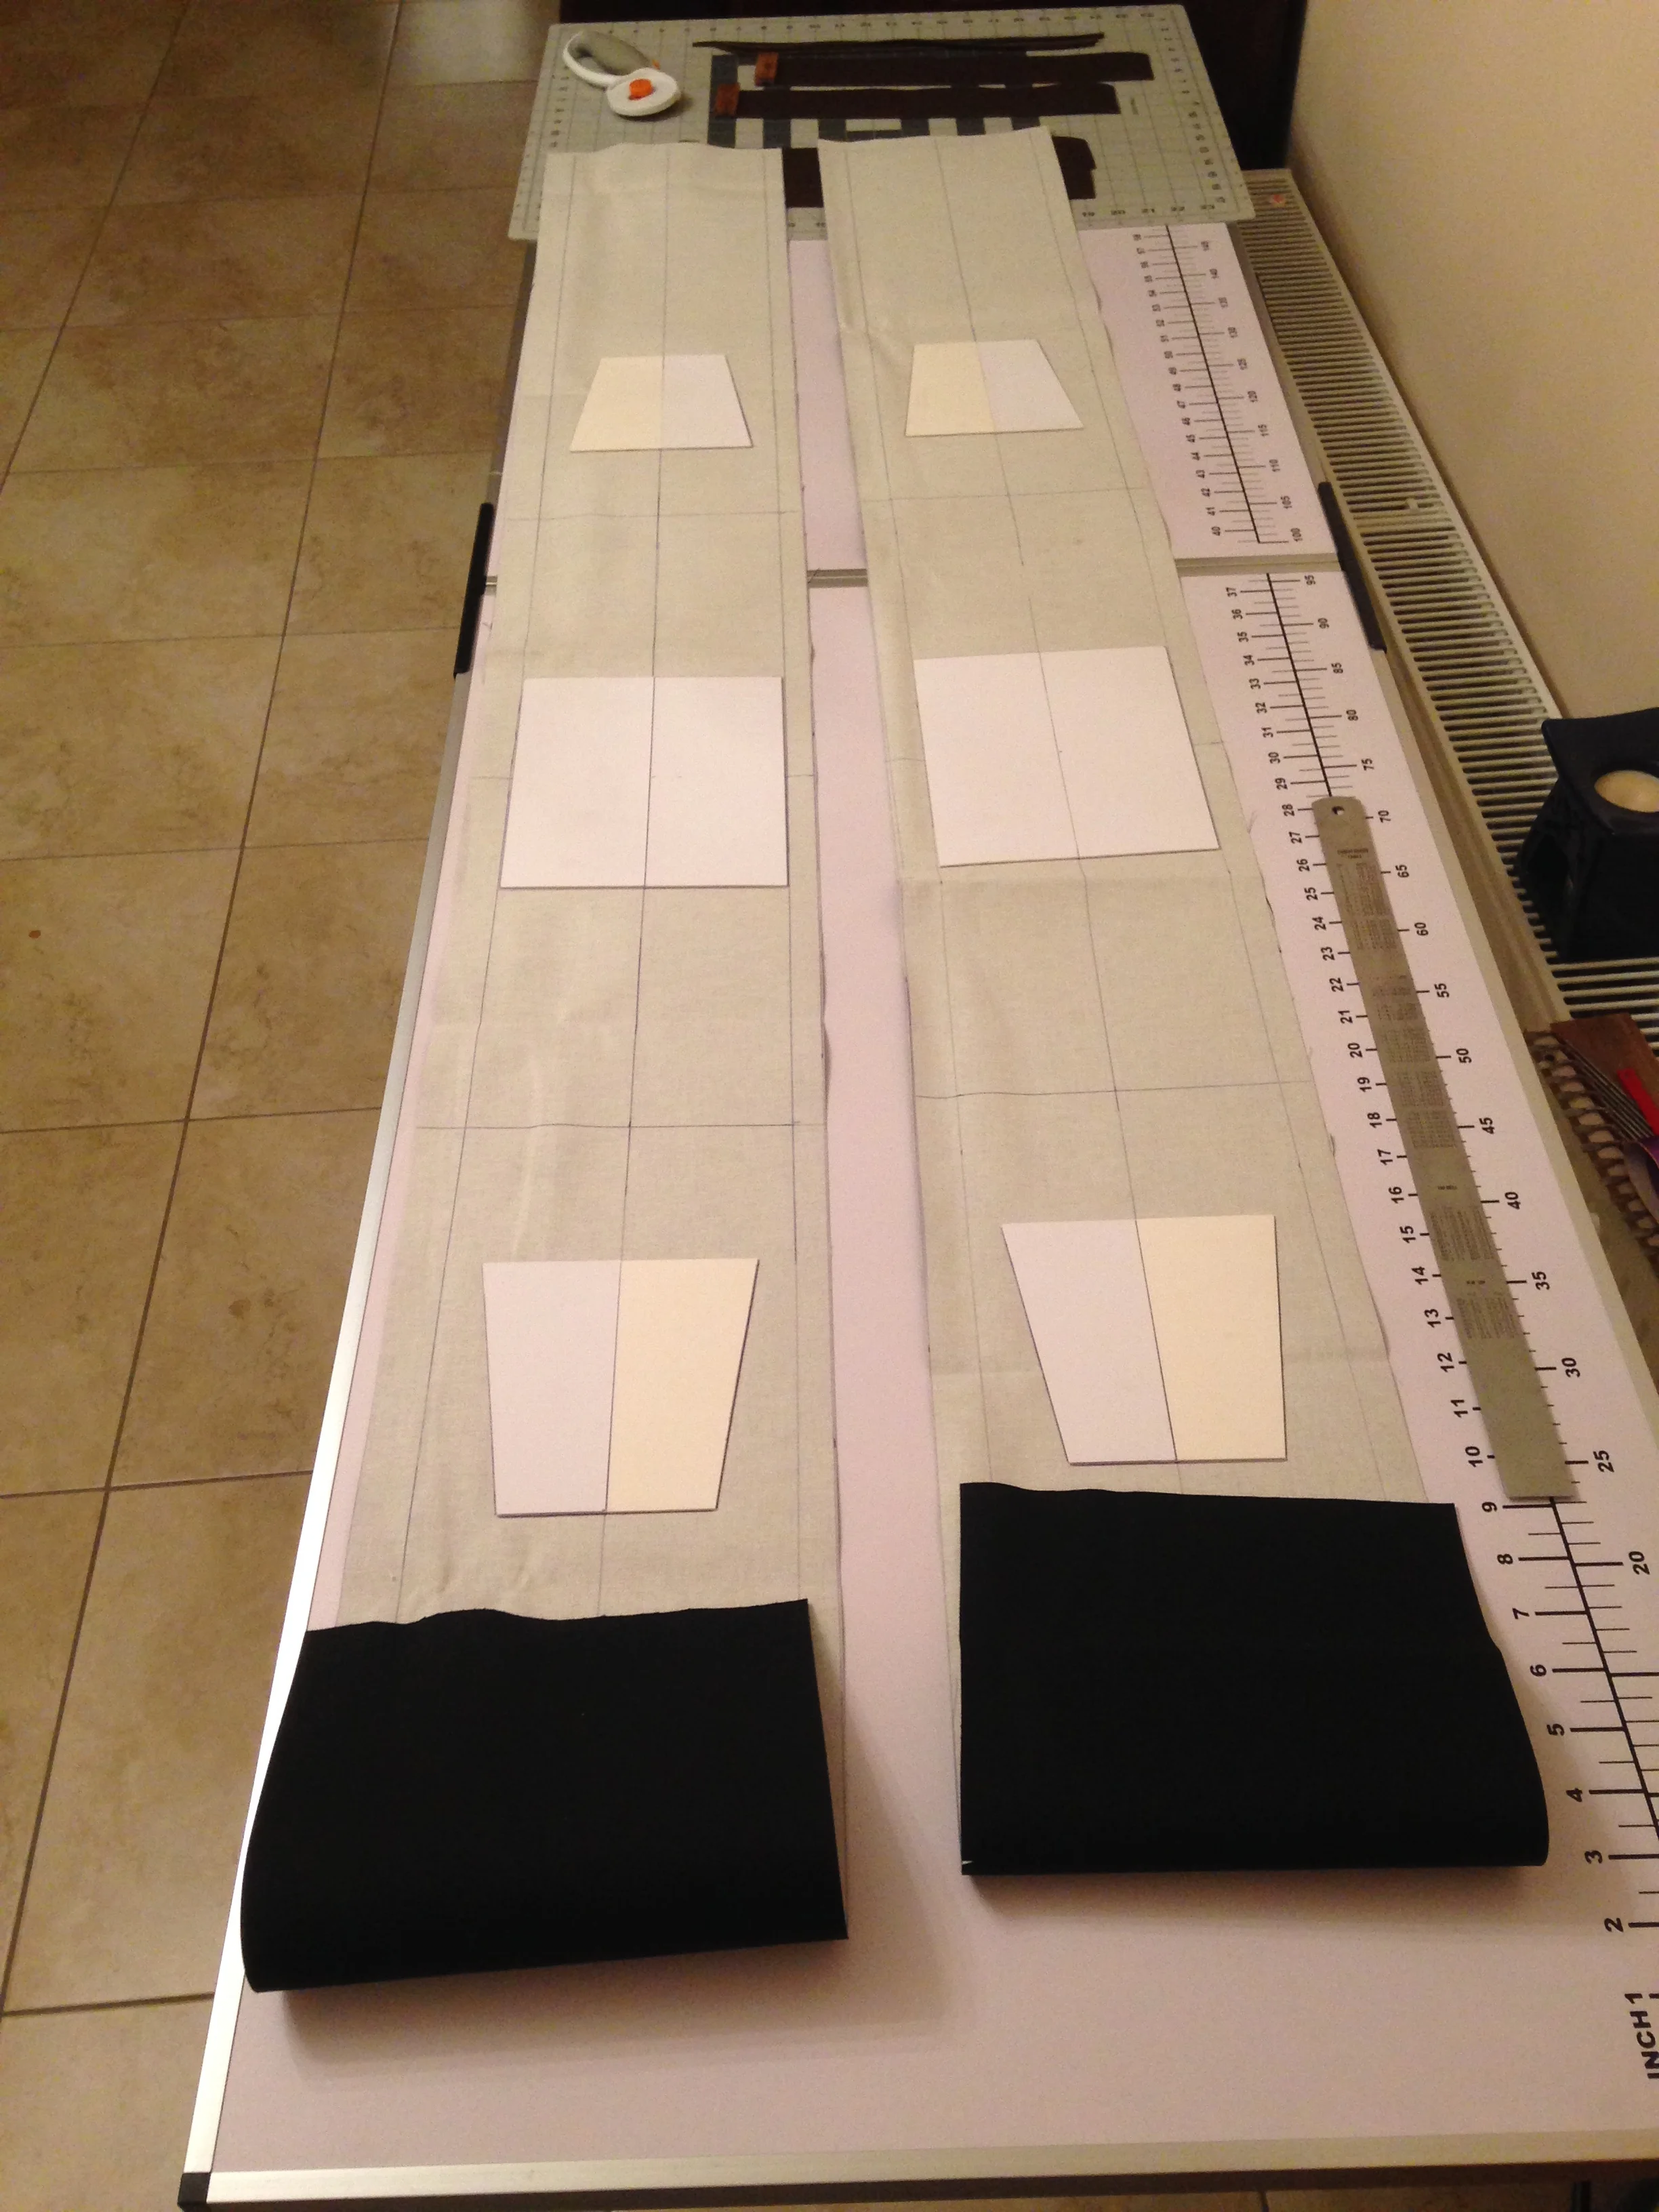
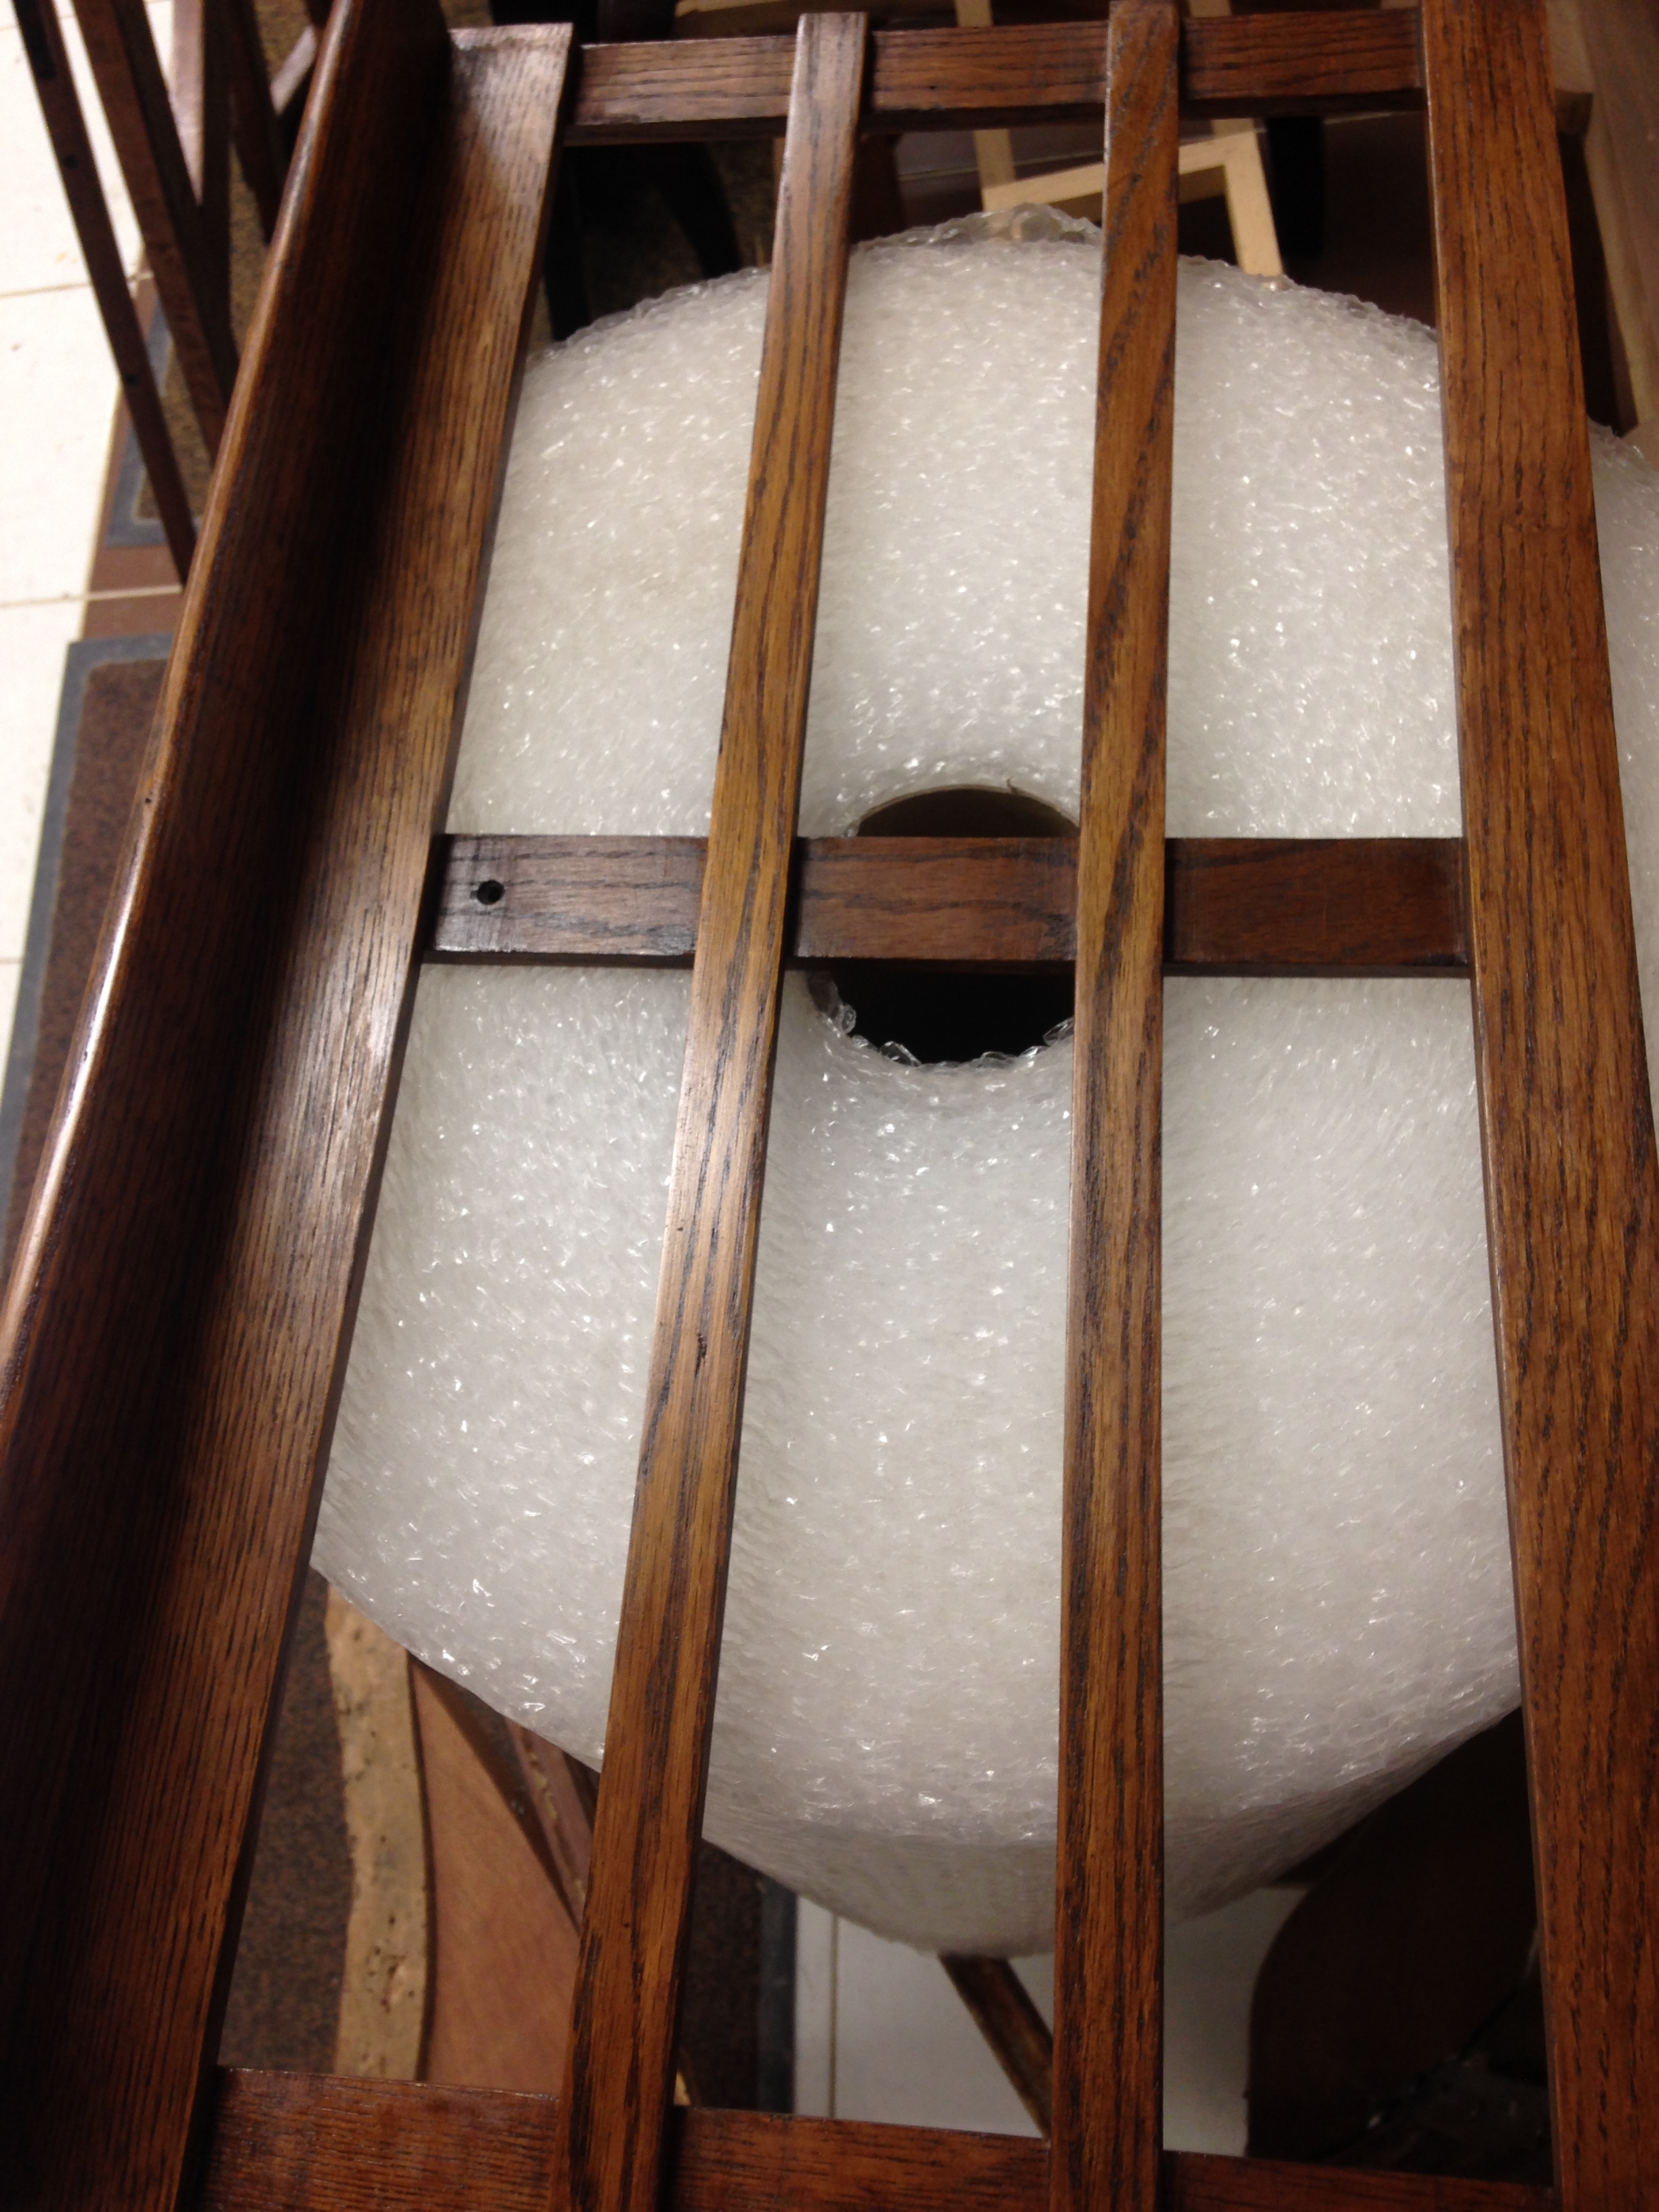
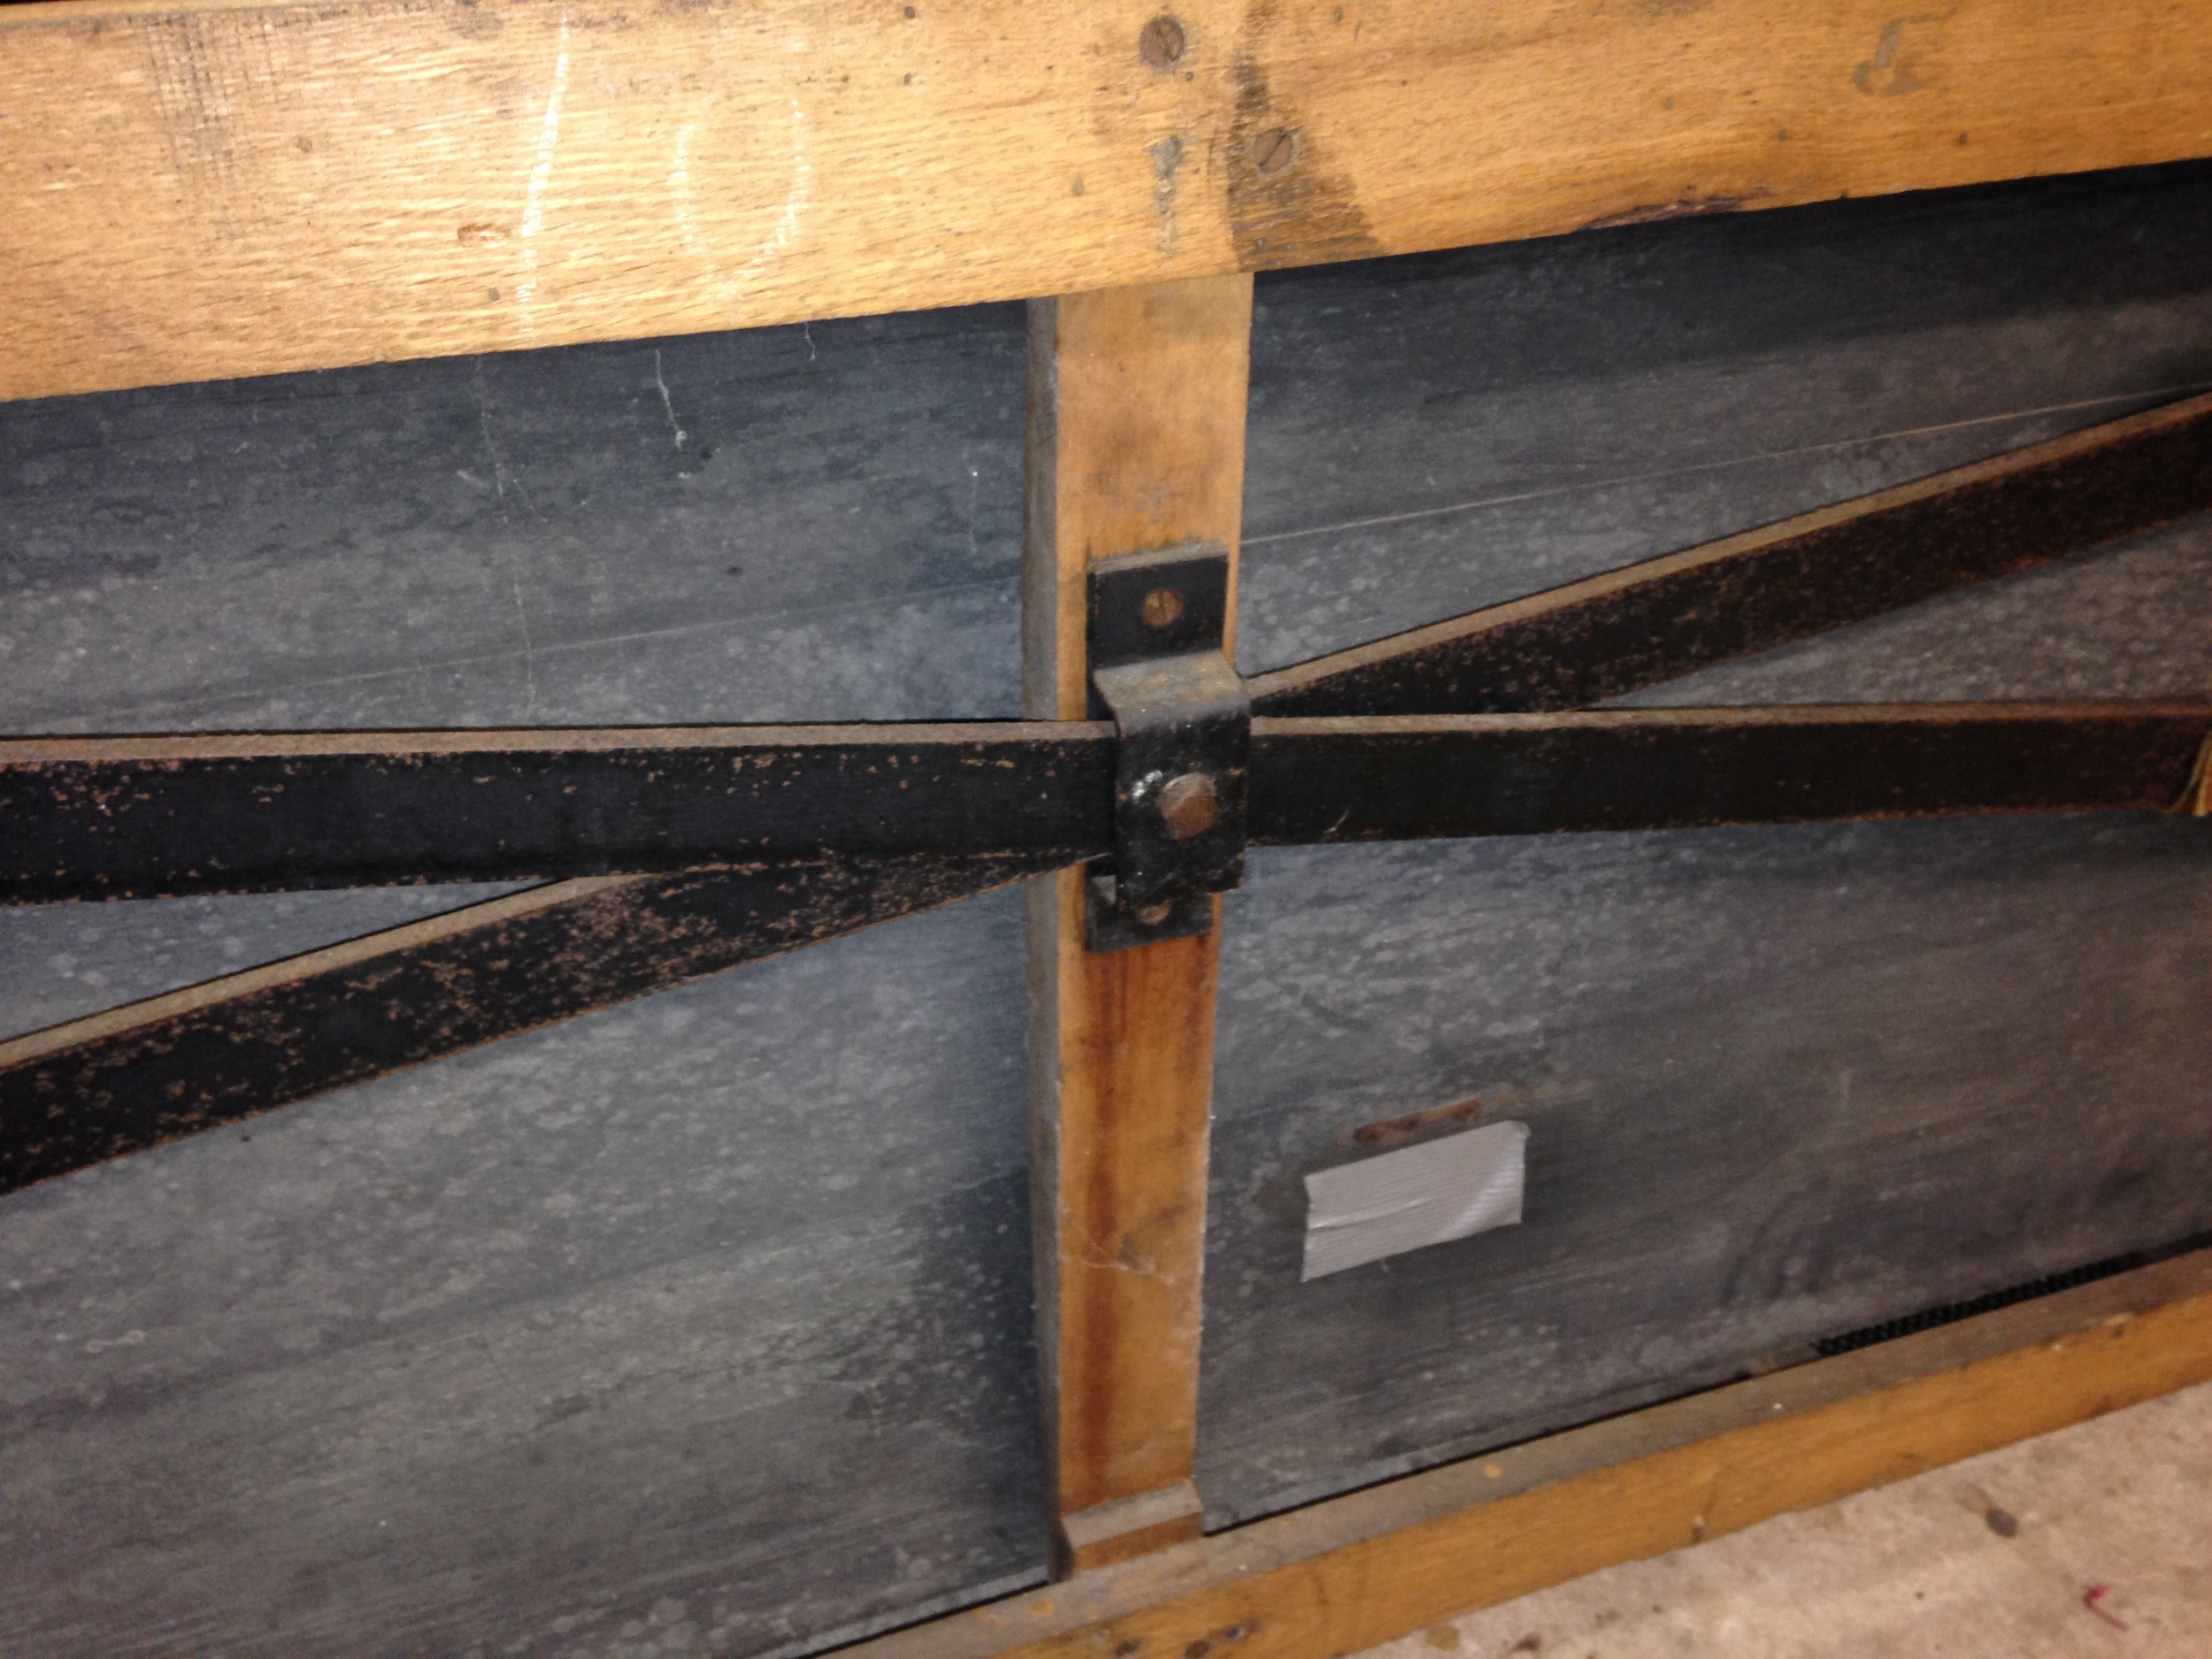
The Bellows of this organ had warped panels. They were free of woodworm but it was better to replace them in my opinion. The bellows platform was in good condition and only needed to sanded and sealed. All valves and gaskets were replaced. The hand cranking mechanism was cleaned, painted and reinstated. A new handle was made by a local metal worker. The gauge for indicating the position of the rear reservoir.